Embed Size (px)
Citation preview
Restoring a Rust Infected Muffler and Piping
Nicholas DeClario <[email protected]>
March 11, 2004
Abstract
This tutorial covers how to repair a muffler and exhaust piping that has been attacked and damaged from rust. In this tutorial themuffler used was a Stromung non-stainless steel muffler. The muffler was cracked at the exhaust inlet pipe. This covers the repair of thatas well.
An HTML version of this document can be found at http://demandred.dyndns.org:3000/Legend/exhaust-repair and full size photoscan be located here http://demandred.dyndns.org:3000/Legend/gallery/album56.
The Muffler and the Problem
Four years ago I purchased a Stromung muffler. At the time I could not afford the stainless steel version so I opted for the regular one,saving me over $200. I got my muffler with gorgeous stainless steel tips and the rest painted in a flat charcoal black high temperaturepaint.
I drove the car daily with the muffler but it is no longer a daily driver. I am doing work on her over the winter and had the rear tires offand notice the exhaust had quite a bit of rust on it. After closer inspection I saw a crack in the muffler as well.
My new plan at this point was to remove the muffler and repair the damages.
Cleaning Off the Rust
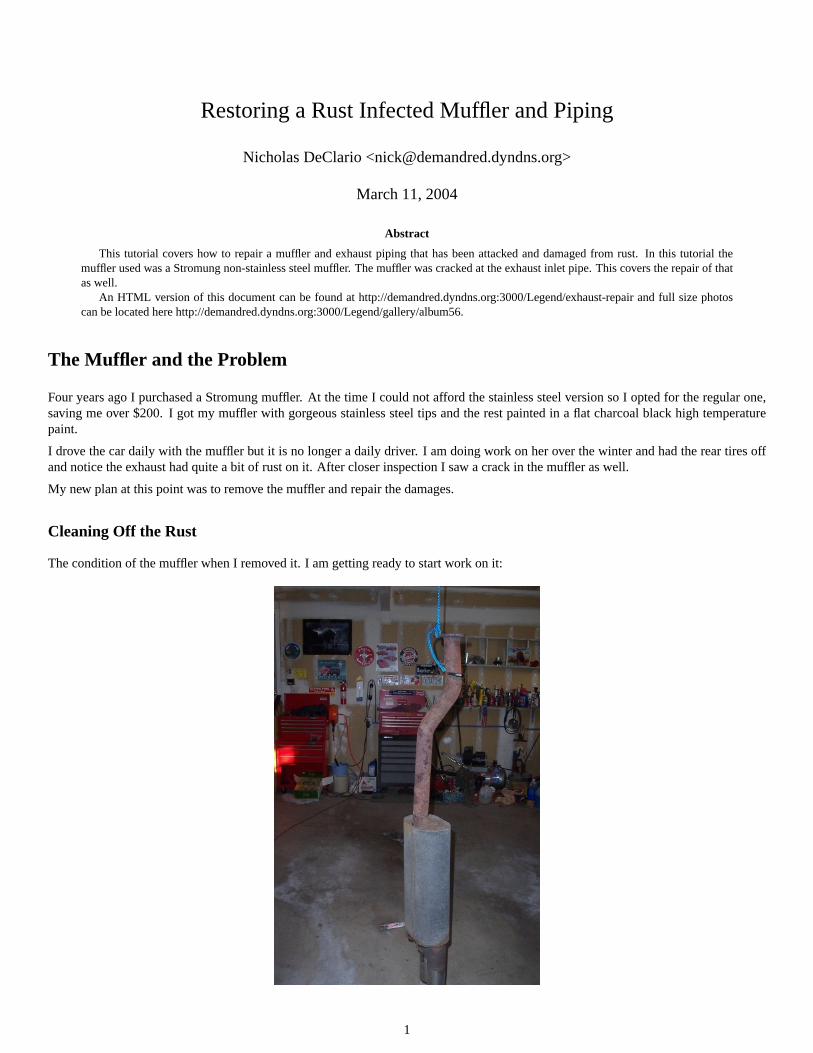
The condition of the muffler when I removed it. I am getting ready to start work on it:
1
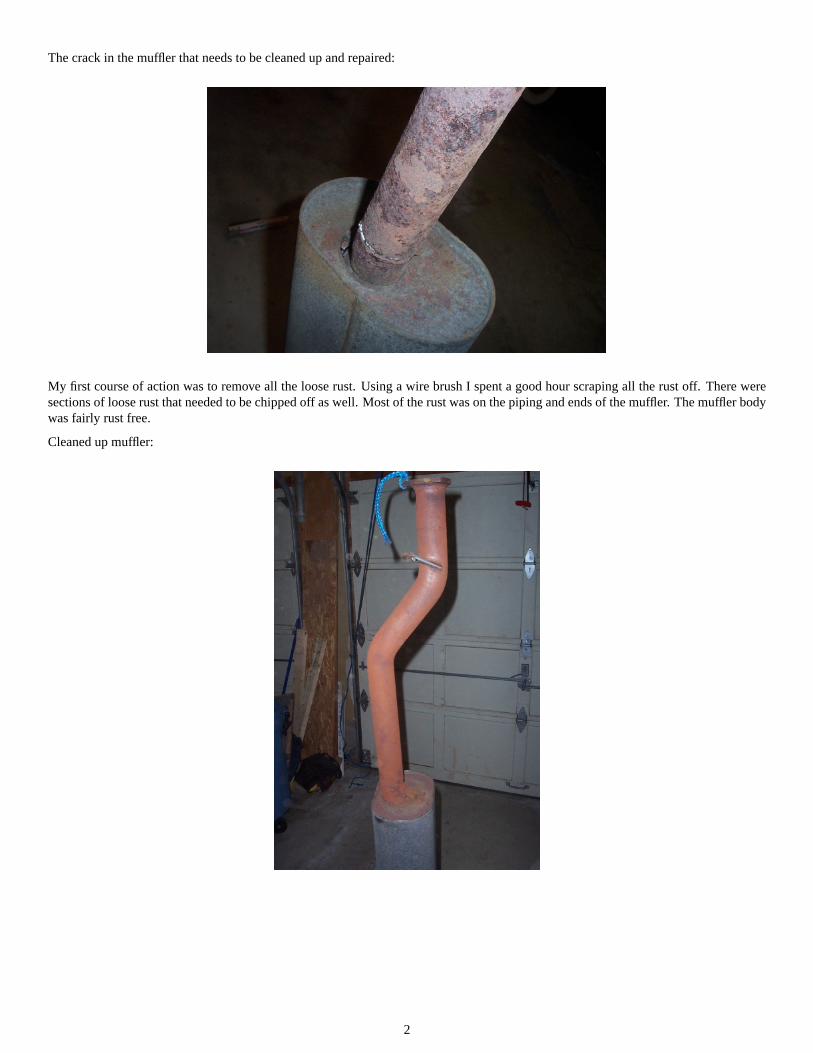
The crack in the muffler that needs to be cleaned up and repaired:
My first course of action was to remove all the loose rust. Using a wire brush I spent a good hour scraping all the rust off. There weresections of loose rust that needed to be chipped off as well. Most of the rust was on the piping and ends of the muffler. The muffler bodywas fairly rust free.
Cleaned up muffler:
2
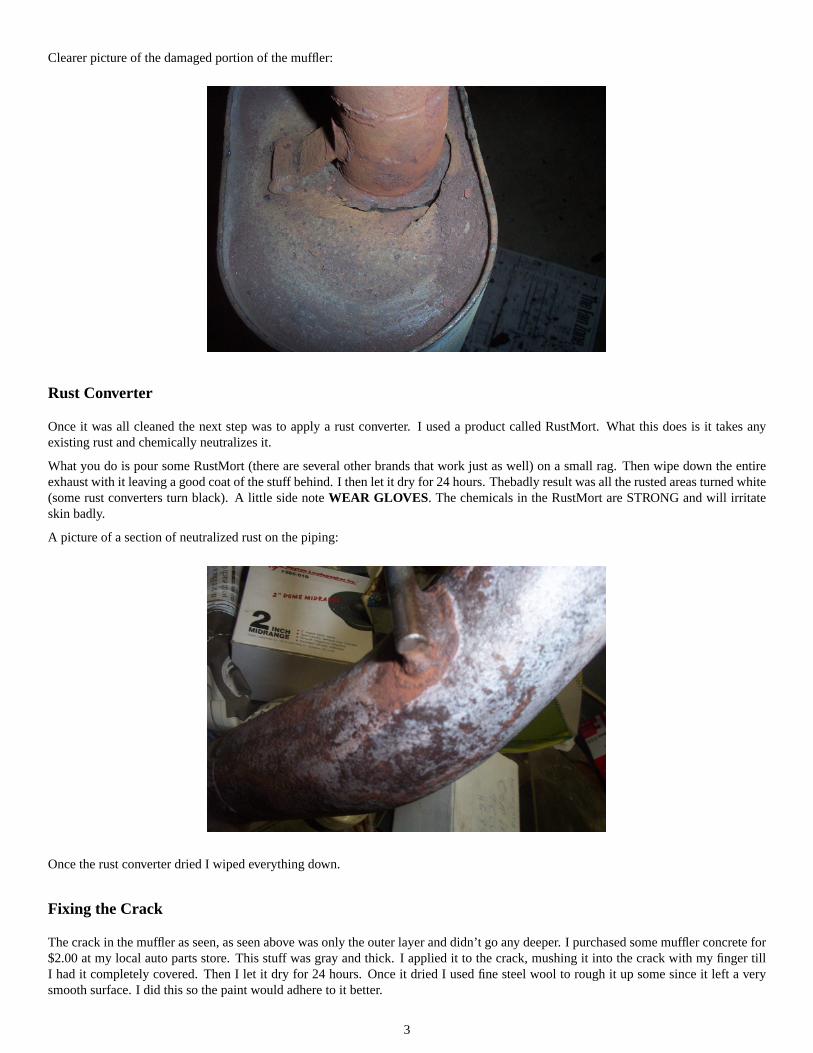
Clearer picture of the damaged portion of the muffler:
Rust Converter
Once it was all cleaned the next step was to apply a rust converter. I used a product called RustMort. What this does is it takes anyexisting rust and chemically neutralizes it.
What you do is pour some RustMort (there are several other brands that work just as well) on a small rag. Then wipe down the entireexhaust with it leaving a good coat of the stuff behind. I then let it dry for 24 hours. Thebadly result was all the rusted areas turned white(some rust converters turn black). A little side noteWEAR GLOVES . The chemicals in the RustMort are STRONG and will irritateskin badly.
A picture of a section of neutralized rust on the piping:
Once the rust converter dried I wiped everything down.
Fixing the Crack
The crack in the muffler as seen, as seen above was only the outer layer and didn’t go any deeper. I purchased some muffler concrete for$2.00 at my local auto parts store. This stuff was gray and thick. I applied it to the crack, mushing it into the crack with my finger tillI had it completely covered. Then I let it dry for 24 hours. Once it dried I used fine steel wool to rough it up some since it left a verysmooth surface. I did this so the paint would adhere to it better.
3
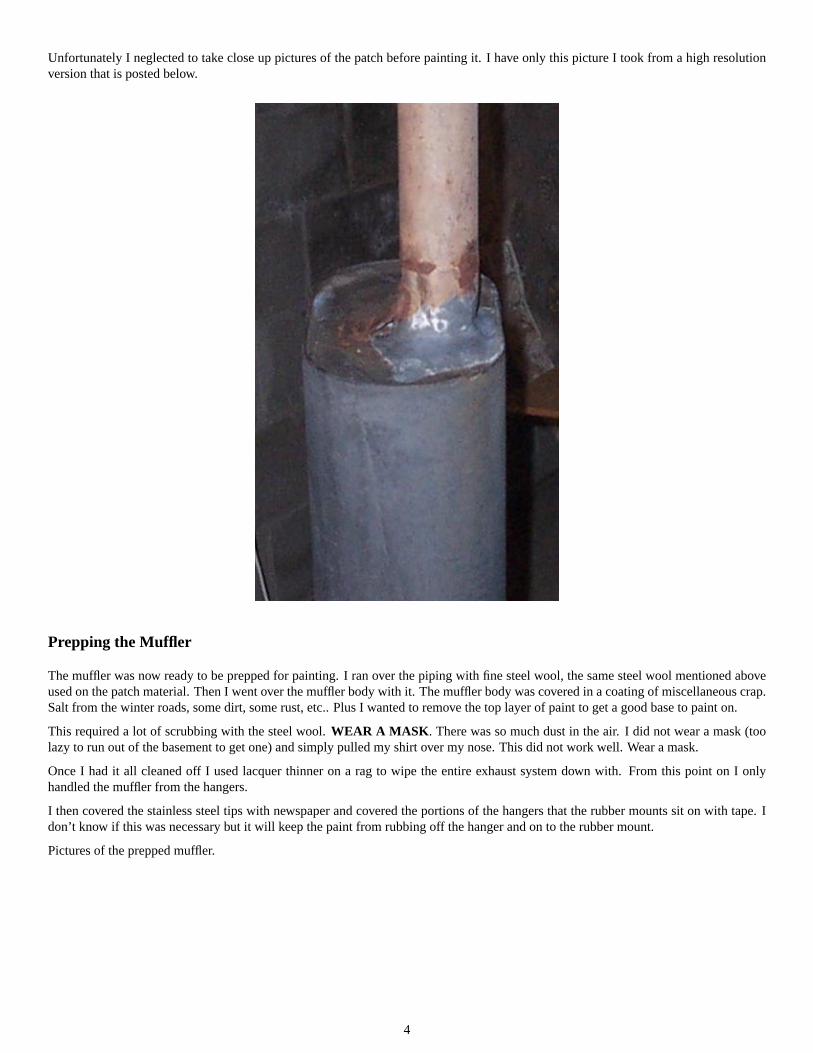
Unfortunately I neglected to take close up pictures of the patch before painting it. I have only this picture I took from a high resolutionversion that is posted below.
Prepping the Muffler
The muffler was now ready to be prepped for painting. I ran over the piping with fine steel wool, the same steel wool mentioned aboveused on the patch material. Then I went over the muffler body with it. The muffler body was covered in a coating of miscellaneous crap.Salt from the winter roads, some dirt, some rust, etc.. Plus I wanted to remove the top layer of paint to get a good base to paint on.
This required a lot of scrubbing with the steel wool.WEAR A MASK . There was so much dust in the air. I did not wear a mask (toolazy to run out of the basement to get one) and simply pulled my shirt over my nose. This did not work well. Wear a mask.
Once I had it all cleaned off I used lacquer thinner on a rag to wipe the entire exhaust system down with. From this point on I onlyhandled the muffler from the hangers.
I then covered the stainless steel tips with newspaper and covered the portions of the hangers that the rubber mounts sit on with tape. Idon’t know if this was necessary but it will keep the paint from rubbing off the hanger and on to the rubber mount.
Pictures of the prepped muffler.
4
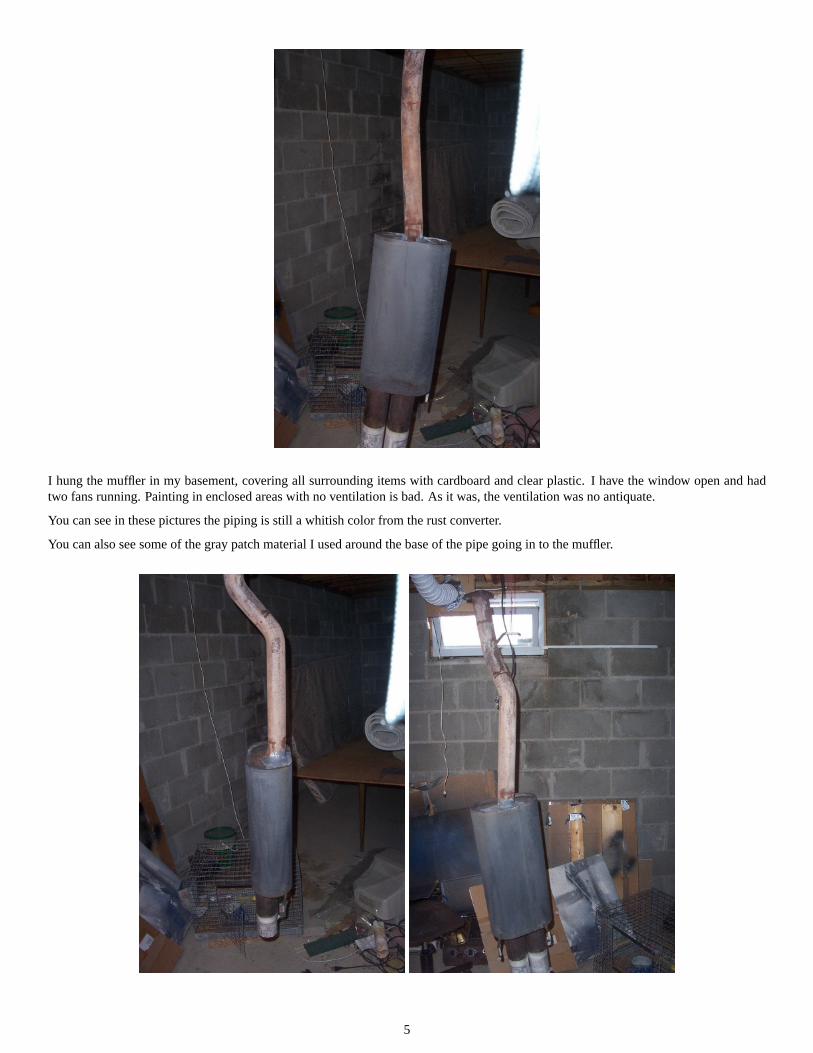
I hung the muffler in my basement, covering all surrounding items with cardboard and clear plastic. I have the window open and hadtwo fans running. Painting in enclosed areas with no ventilation is bad. As it was, the ventilation was no antiquate.
You can see in these pictures the piping is still a whitish color from the rust converter.
You can also see some of the gray patch material I used around the base of the pipe going in to the muffler.
5
Painting the Muffler
The muffler gets extremely hot so you will need high temperature paint. Something that can handle about 800 degrees. I searched aroundand most cheaper high temp automotive paint runs around $3.00 a can. Higher temperature paint, 1000 - 1200 degrees runs around $15a can!!! Ok, I bought non-stainless steel to begin with because I have little money. The situation is still the same. What to do.
My father suggested to take a look at barbecue grill paint. So off to WalMart I went and sure enough... 1200 degree Rustoleum brandcharcoal grill black paint for only $3.79 per can. Bingo! I bought two cans.
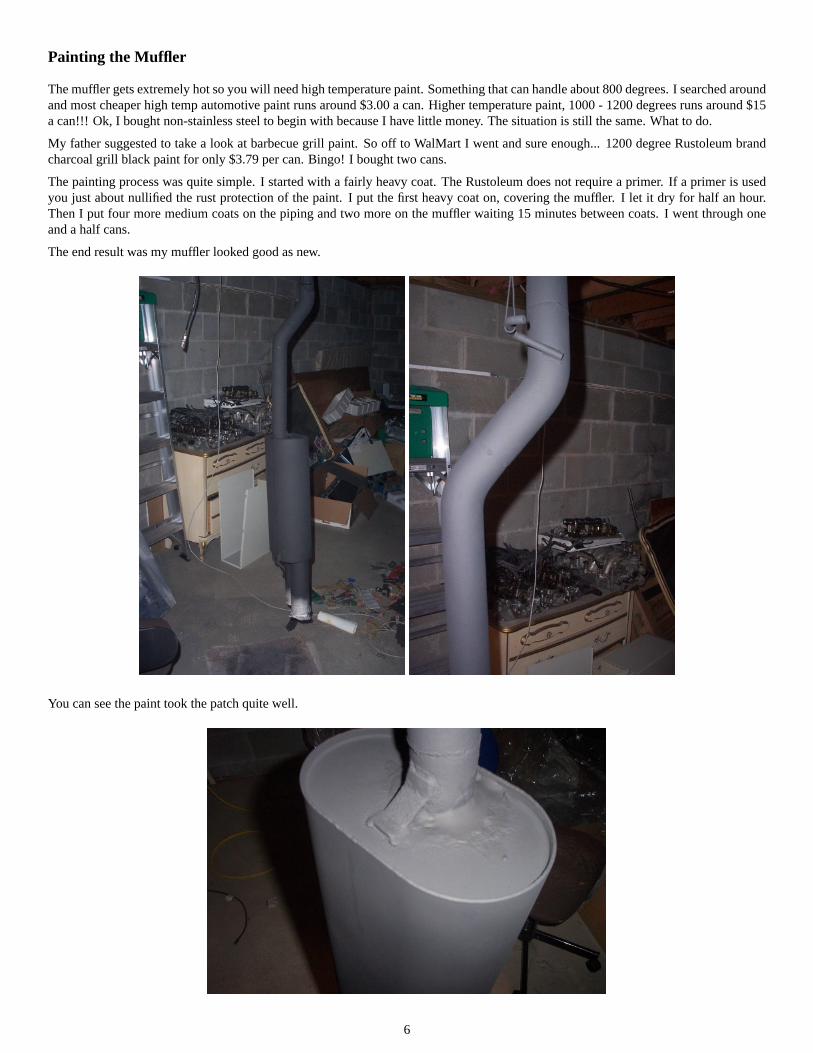
The painting process was quite simple. I started with a fairly heavy coat. The Rustoleum does not require a primer. If a primer is usedyou just about nullified the rust protection of the paint. I put the first heavy coat on, covering the muffler. I let it dry for half an hour.Then I put four more medium coats on the piping and two more on the muffler waiting 15 minutes between coats. I went through oneand a half cans.
The end result was my muffler looked good as new.
You can see the paint took the patch quite well.
6
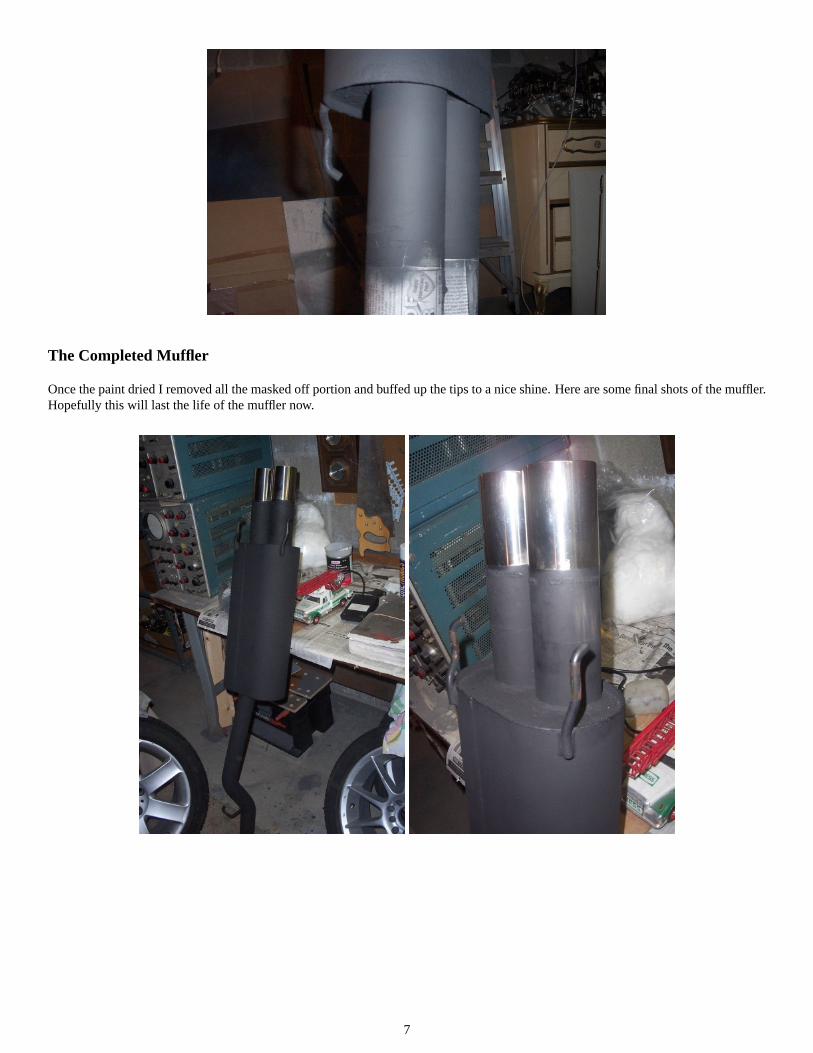
The Completed Muffler
Once the paint dried I removed all the masked off portion and buffed up the tips to a nice shine. Here are some final shots of the muffler.Hopefully this will last the life of the muffler now.
7
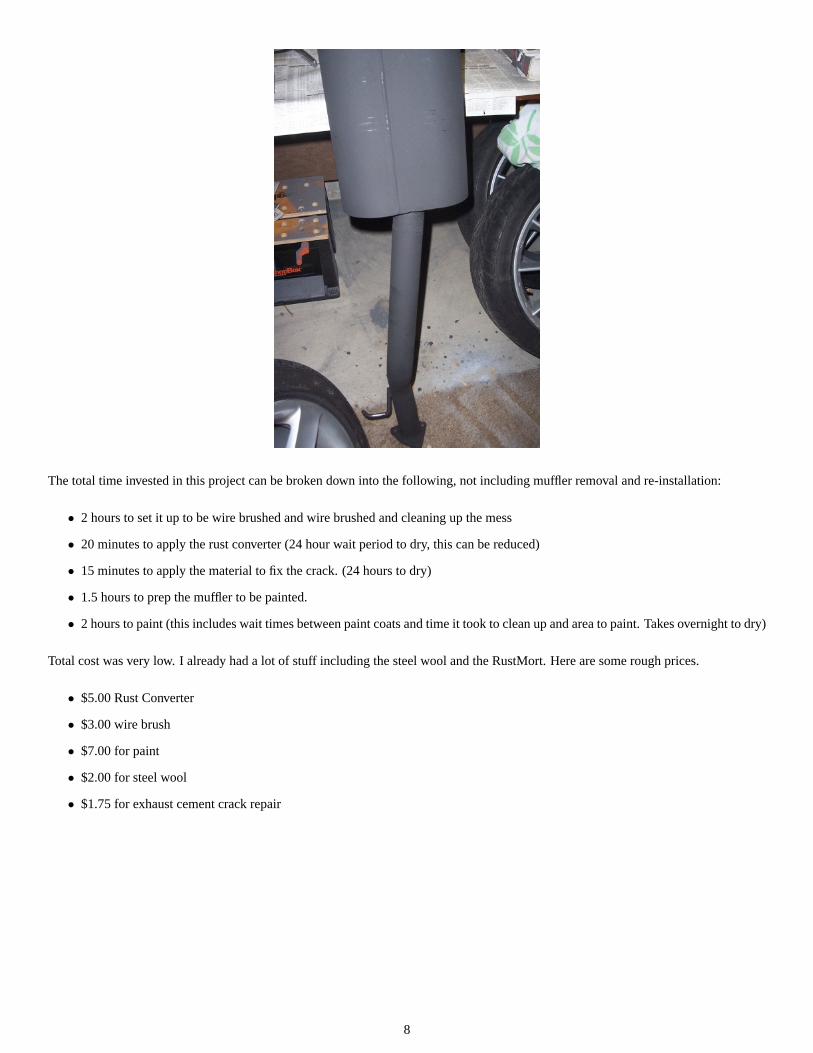
The total time invested in this project can be broken down into the following, not including muffler removal and re-installation:
• 2 hours to set it up to be wire brushed and wire brushed and cleaning up the mess
• 20 minutes to apply the rust converter (24 hour wait period to dry, this can be reduced)
• 15 minutes to apply the material to fix the crack. (24 hours to dry)
• 1.5 hours to prep the muffler to be painted.
• 2 hours to paint (this includes wait times between paint coats and time it took to clean up and area to paint. Takes overnight to dry)
Total cost was very low. I already had a lot of stuff including the steel wool and the RustMort. Here are some rough prices.
• $5.00 Rust Converter
• $3.00 wire brush
• $7.00 for paint
• $2.00 for steel wool
• $1.75 for exhaust cement crack repair
8