Embed Size (px)
DESCRIPTION
Weeks 1-3 Algorithmic sketchbook
Citation preview
S T U D I OA I RA L G O R I T H M I C . S K E T C H B O O K
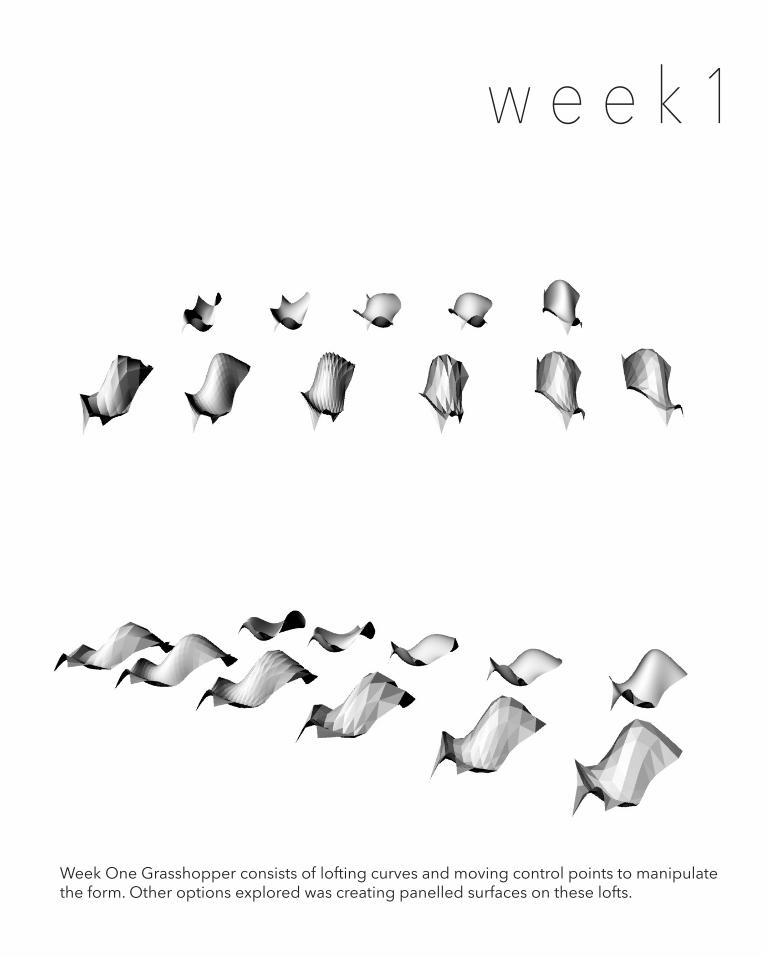
w e e k 1
Week One Grasshopper consists of lofting curves and moving control points to manipulate the form. Other options explored was creating panelled surfaces on these lofts.

Week Two Grasshopper explores loft in a different aspect - through plotting points and inter-polating them into a series of curves to create a loft. As shown in the images above, the more data inputed, the more intricate the loft becomes.
Other Grasshopper videos demonstrated waves to create random forms through ‘Populate 3D’, shown by the top image to the right. Also contouring of lofted surfaces was another exercise. The images to the bottom right show the different directions the contours can face, such as in the x unit, or the y unit. It is depen-dent on what information you are trying to portray.
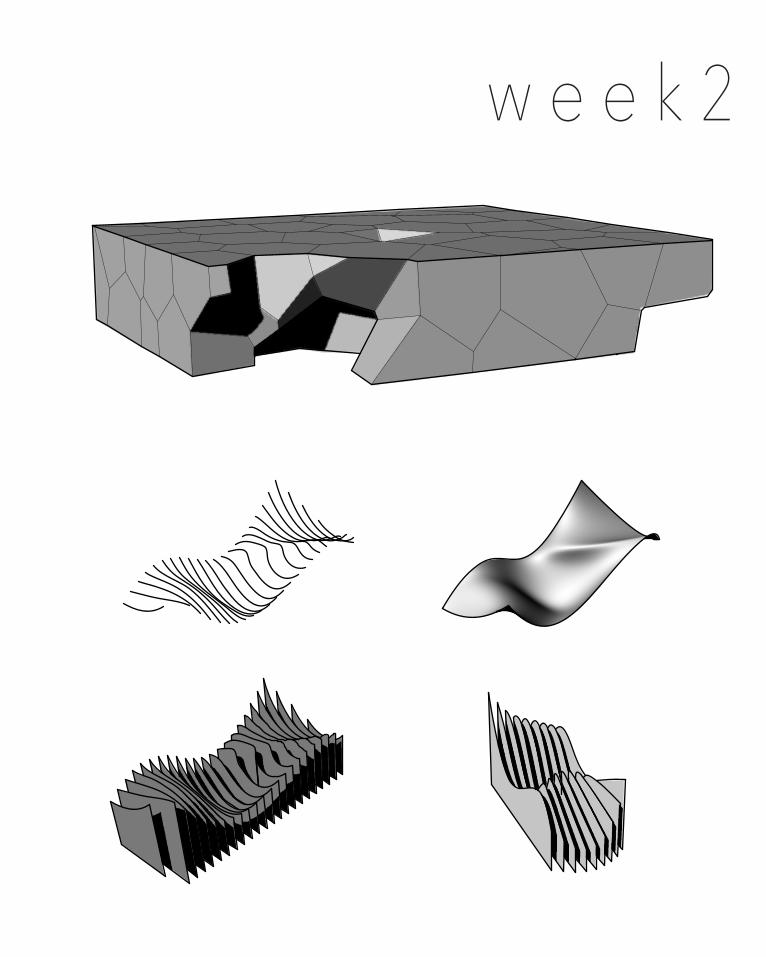
w e e k 2
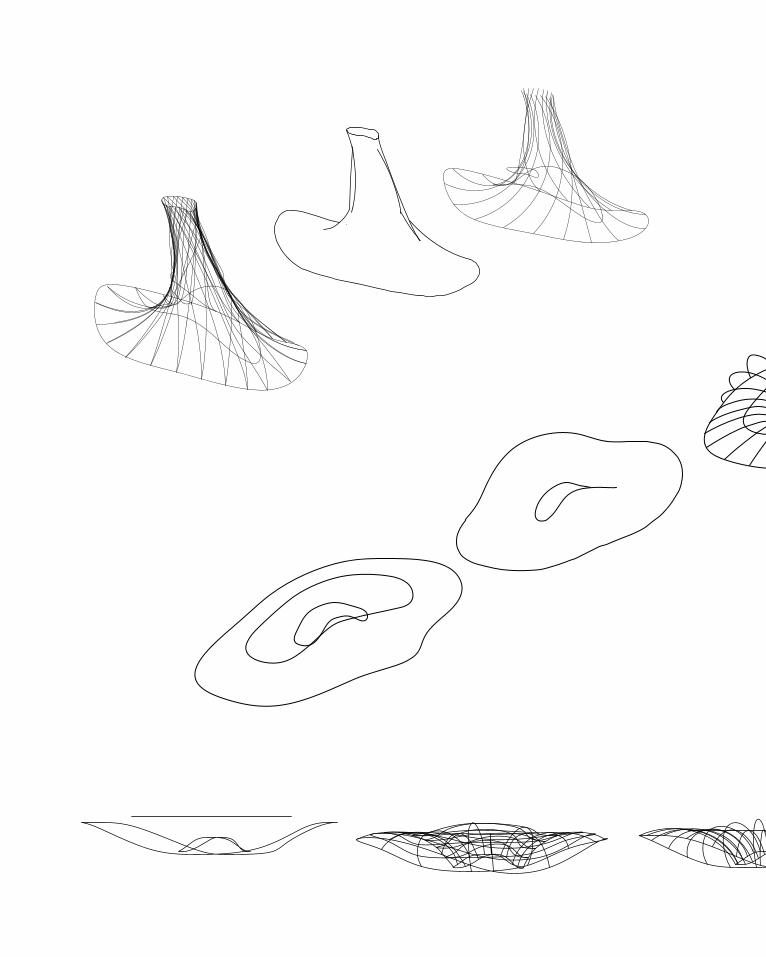
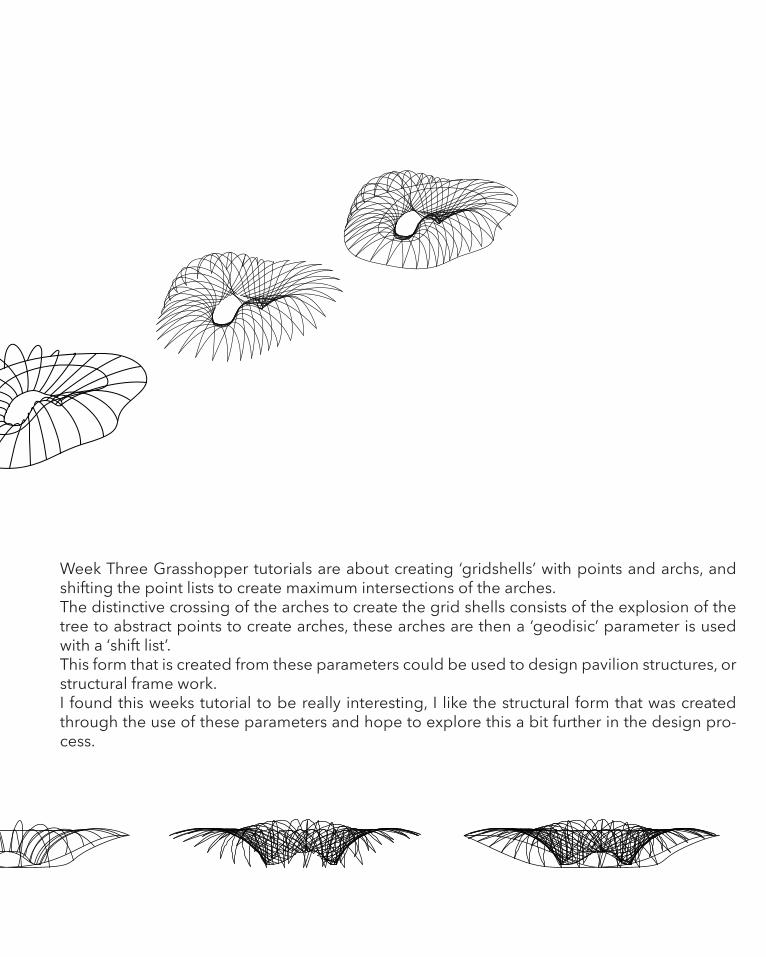
Week Three Grasshopper tutorials are about creating ‘gridshells’ with points and archs, and shifting the point lists to create maximum intersections of the arches.The distinctive crossing of the arches to create the grid shells consists of the explosion of the tree to abstract points to create arches, these arches are then a ‘geodisic’ parameter is used with a ‘shift list’.This form that is created from these parameters could be used to design pavilion structures, or structural frame work.I found this weeks tutorial to be really interesting, I like the structural form that was created through the use of these parameters and hope to explore this a bit further in the design pro-cess.
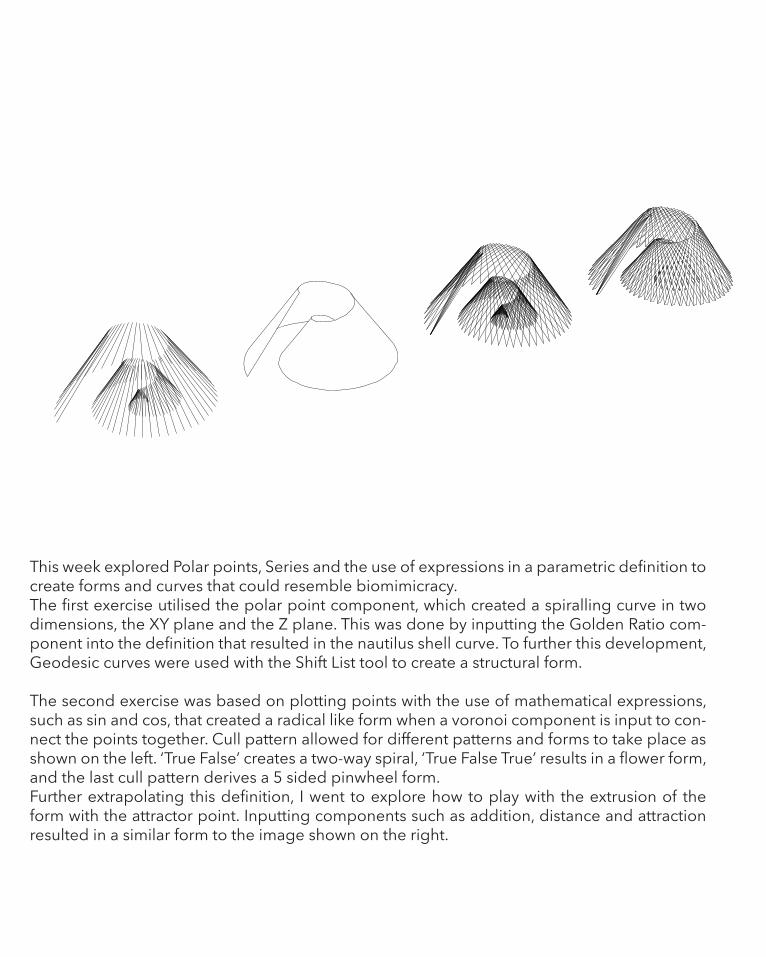
This week explored Polar points, Series and the use of expressions in a parametric definition to create forms and curves that could resemble biomimicracy.The first exercise utilised the polar point component, which created a spiralling curve in two dimensions, the XY plane and the Z plane. This was done by inputting the Golden Ratio com-ponent into the definition that resulted in the nautilus shell curve. To further this development, Geodesic curves were used with the Shift List tool to create a structural form.
The second exercise was based on plotting points with the use of mathematical expressions, such as sin and cos, that created a radical like form when a voronoi component is input to con-nect the points together. Cull pattern allowed for different patterns and forms to take place as shown on the left. ‘True False’ creates a two-way spiral, ‘True False True’ results in a flower form, and the last cull pattern derives a 5 sided pinwheel form.Further extrapolating this definition, I went to explore how to play with the extrusion of the form with the attractor point. Inputting components such as addition, distance and attraction resulted in a similar form to the image shown on the right.
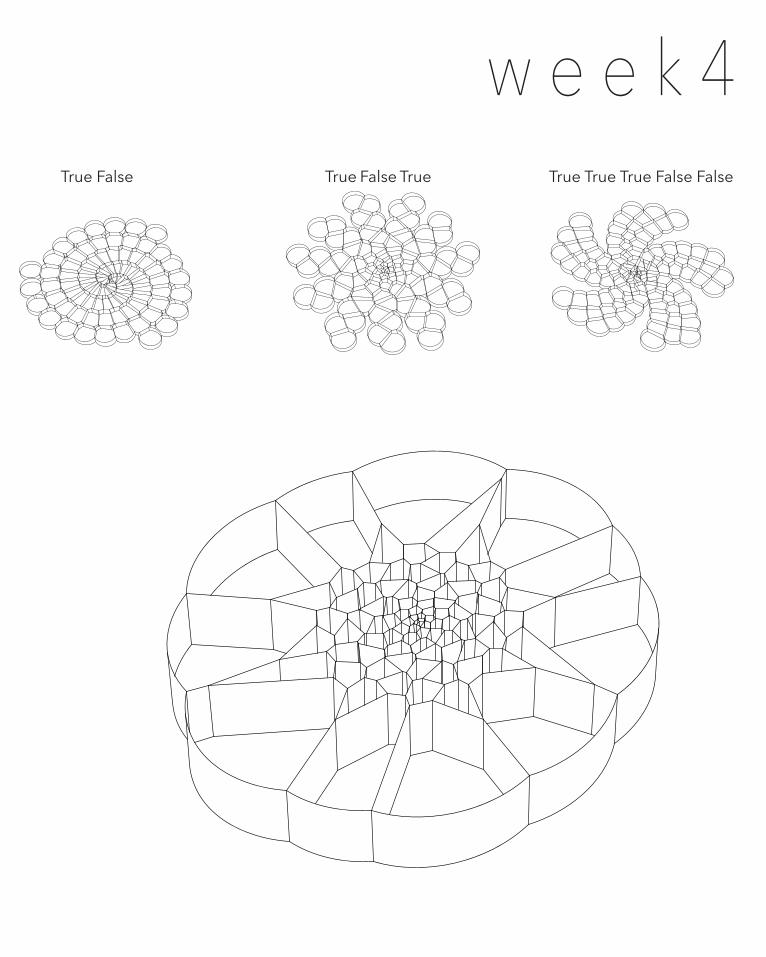
w e e k 4True False True False True True True True False False
w e e k 5
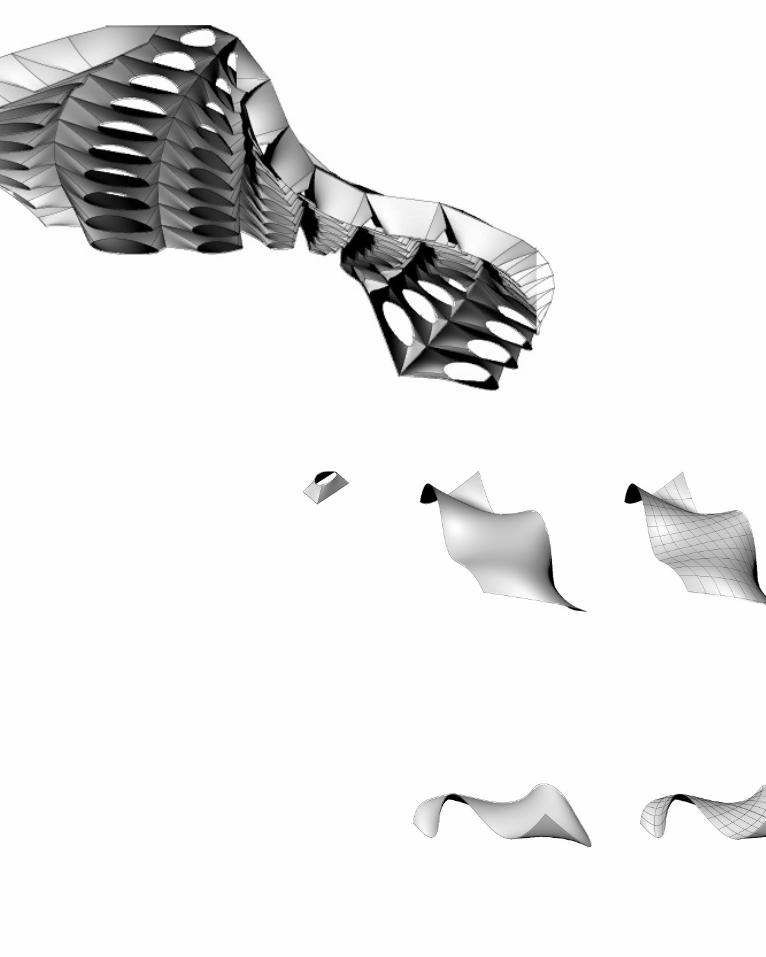
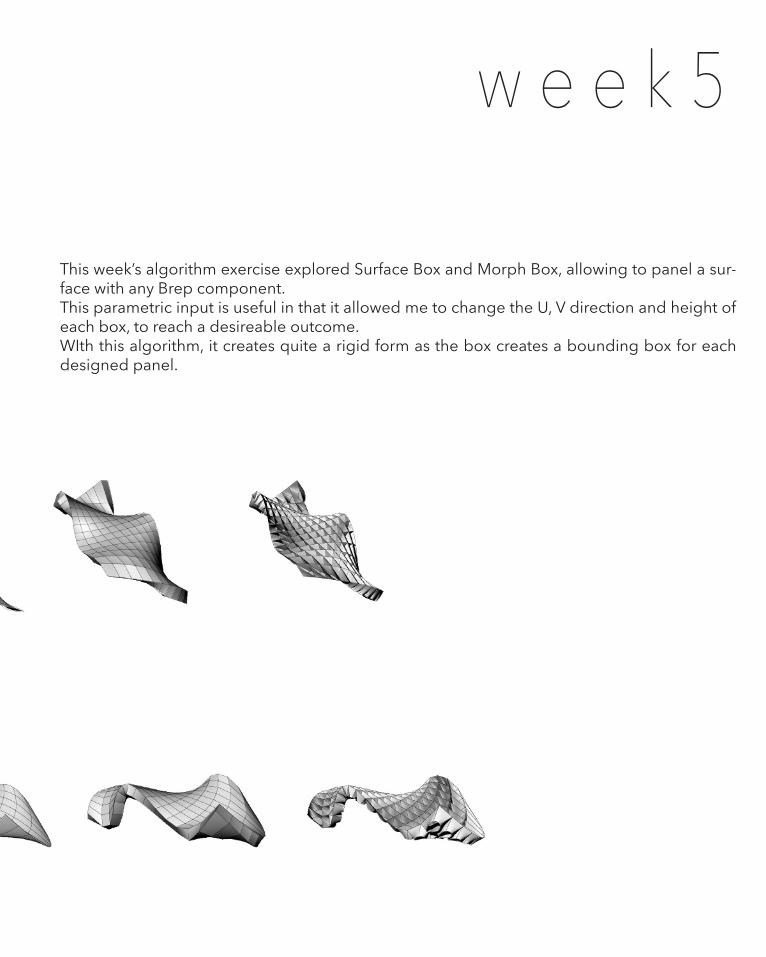
This week’s algorithm exercise explored Surface Box and Morph Box, allowing to panel a sur-face with any Brep component.This parametric input is useful in that it allowed me to change the U, V direction and height of each box, to reach a desireable outcome.WIth this algorithm, it creates quite a rigid form as the box creates a bounding box for each designed panel.
w e e k 6
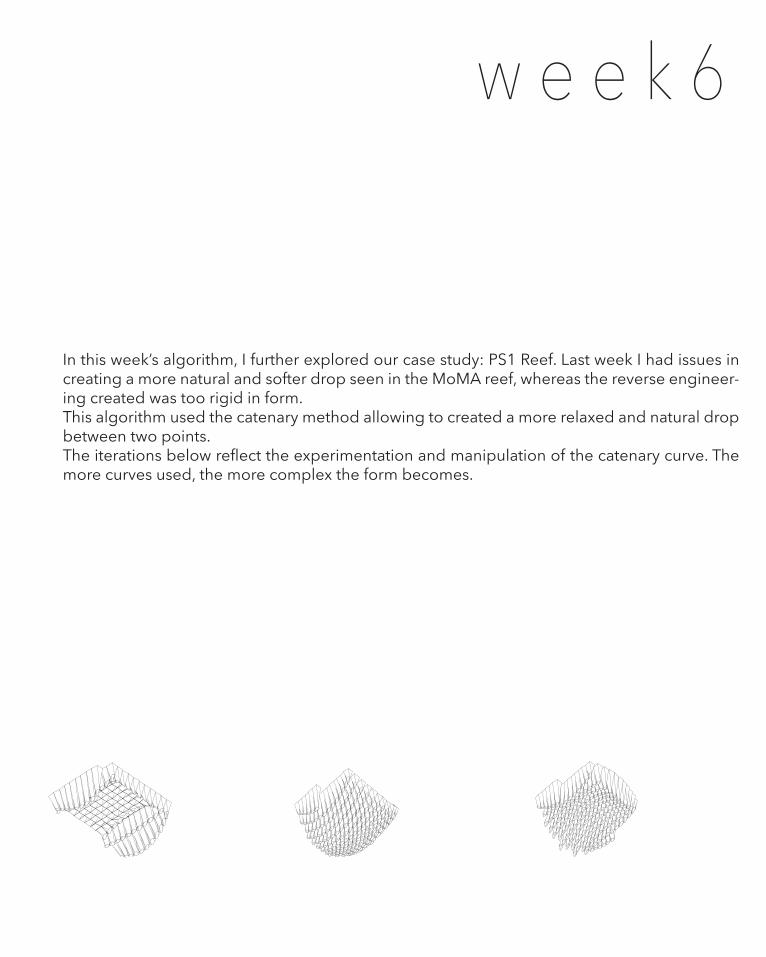
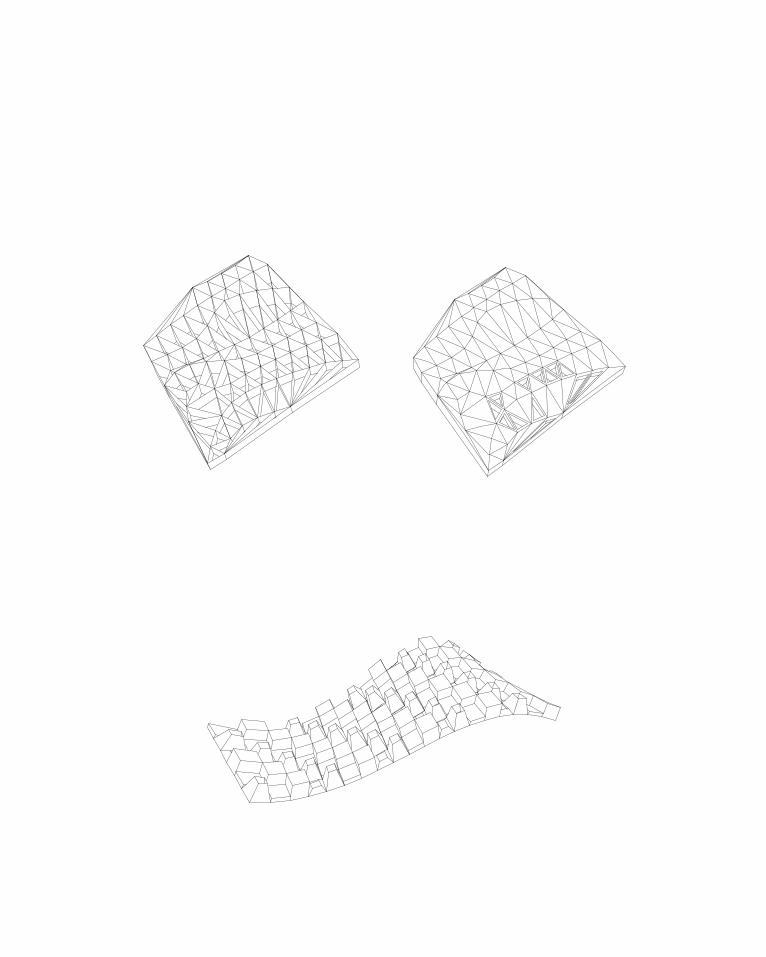
In this week’s algorithm, I further explored our case study: PS1 Reef. Last week I had issues in creating a more natural and softer drop seen in the MoMA reef, whereas the reverse engineer-ing created was too rigid in form. This algorithm used the catenary method allowing to created a more relaxed and natural drop between two points. The iterations below reflect the experimentation and manipulation of the catenary curve. The more curves used, the more complex the form becomes.
w e e k 7
This algorithm looked into more arbitrary parametric inputs and definitions. The first develop-ment was based on using Contours, Series, Voronoi and Scale NU. The series input manipu-lated each contour to ‘step-up’ in correspondence to the next - creating a gradual slope. Each contour was divided by length and a voronoi component was utilized to create the cell like structure shown in the first image.To further extrapolate this output, bounding surfaces and edges were added to create an en-closed design. Instead of using an attractor point, a curve was input to determine which cells would have aperature openings, created through the Scale NU component.Overall this exercise really explored different components of an algorithm and showed the possible outcomes of parametric design.
The next exercise consisted of using Surface Box as well as Cull Pattern.With previous knowledge about Surface Box it was easy to understand how to create the algo-rithm. Playing with Cull Pattern created interesting and dynamic forms on the surface with the two different Brep components.
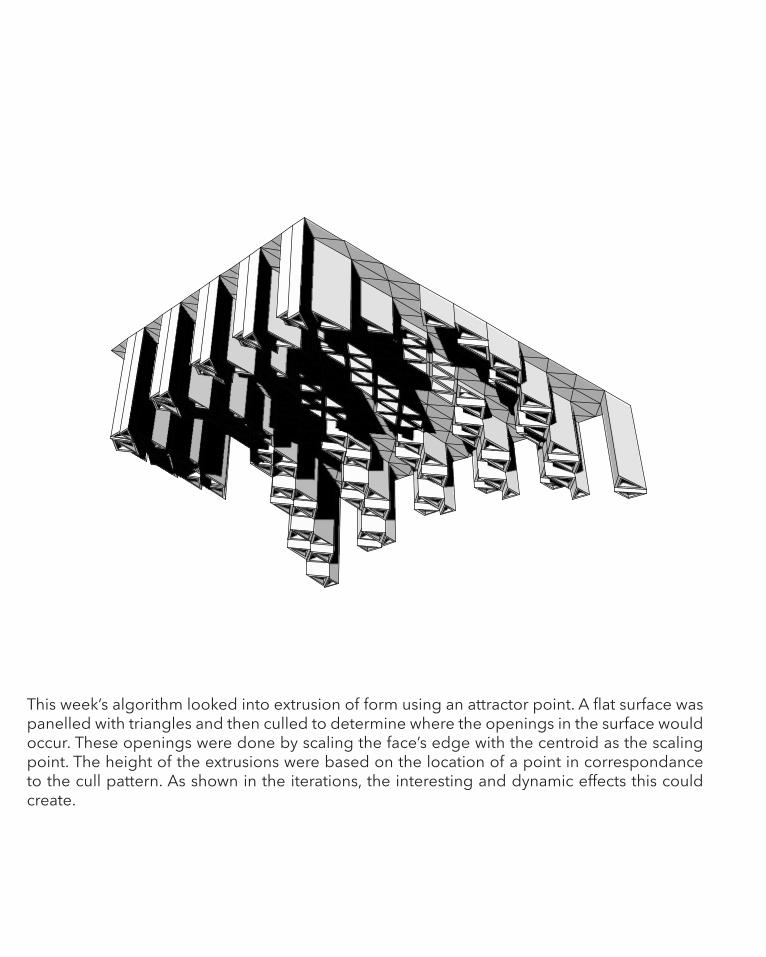
This week’s algorithm looked into extrusion of form using an attractor point. A flat surface was panelled with triangles and then culled to determine where the openings in the surface would occur. These openings were done by scaling the face’s edge with the centroid as the scaling point. The height of the extrusions were based on the location of a point in correspondance to the cull pattern. As shown in the iterations, the interesting and dynamic effects this could create.
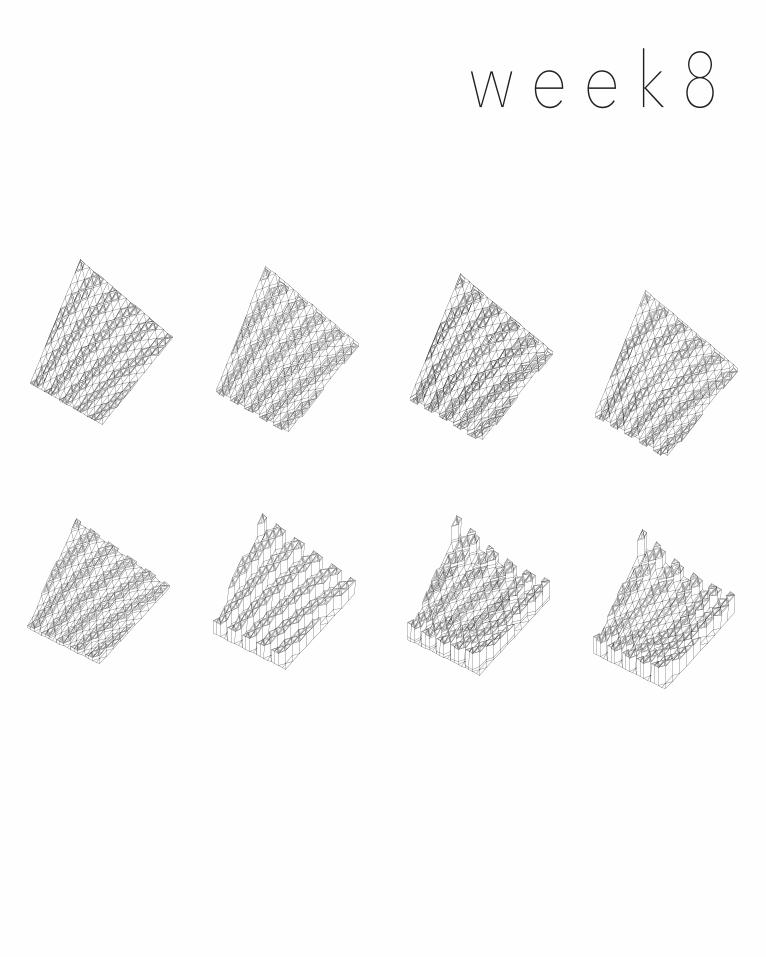
w e e k 8

w e e k 9
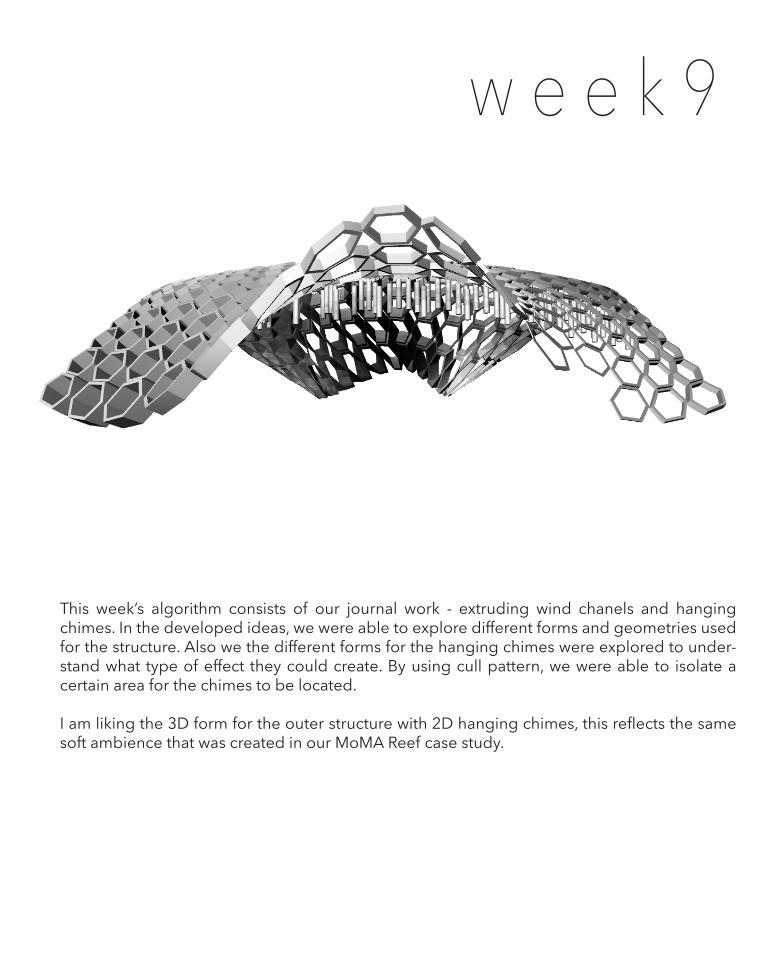
This week’s algorithm consists of our journal work - extruding wind chanels and hanging chimes. In the developed ideas, we were able to explore different forms and geometries used for the structure. Also we the different forms for the hanging chimes were explored to under-stand what type of effect they could create. By using cull pattern, we were able to isolate a certain area for the chimes to be located.
I am liking the 3D form for the outer structure with 2D hanging chimes, this reflects the same soft ambience that was created in our MoMA Reef case study.