Embed Size (px)
Citation preview

RAi™ LED Street Lighting
(2018)
Installation and Maintenance Manual
(20-160W)
Contents
01/07
Precau�ons&Warning
Specifica�onWiring
B. Side Entry Moun�ng
Installa�onA. Post Top Moun�ng
02
03
04
05
06
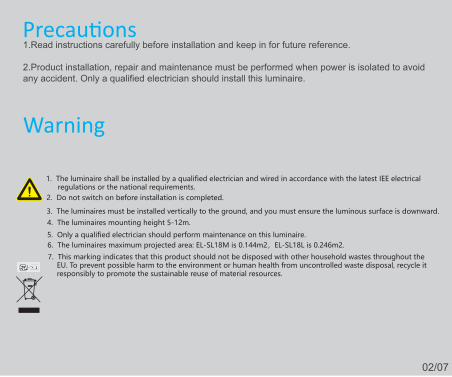
Precau�ons
02/07
1.Read instructions carefully before installation and keep in for future reference.
2.Product installation, repair and maintenance must be performed when power is isolated to avoid any accident. Only a qualified electrician should install this luminaire.
Warning
1. The luminaire shall be installed by a qualified electrician and wired in accordance with the latest IEE electrical regulations or the national requirements.2. Do not switch on before installation is completed.
3. The luminaires must be installed vertically to the ground, and you must ensure the luminous surface is downward.4. The luminaires mounting height 5-12m.
5. Only a qualified electrician should perform maintenance on this luminaire.6. The luminaires maximum projected area: EL-SL18M is 0.144m2,EL-SL18L is 0.246m2.
7. This marking indicates that this product should not be disposed with other household wastes throughout the EU. To prevent possible harm to the environment or human health from uncontrolled waste disposal, recycle it responsibly to promote the sustainable reuse of material resources.

Installa�on
03/07
A. Post Top Moun�ng
1. Using a 5mm allen key, fix the bracket base point to the bracket arm.2. Note that the gear position is facing towards the upper part of the bracket.3. Position the bracket arm onto the luminaire and align the mounting holes.4. Using a 6mm allen key, fix the bracket to the luminaire.5. Using a 6mm allen key, fix the luminaire to the lighting column.
A:Light body
B:Power cable C:Adapter
D:Install the handles
E:2XM6 Screw
F:2XM8 ScrewG:2XM8 Screw
6mm
5mm
Note:The gear position in upper part of the adapter.
1
Note:The gear position in upper part of the adapter.
2
6mm
4 53
50
1015
Angle adjustment range
Installa�on
04/07
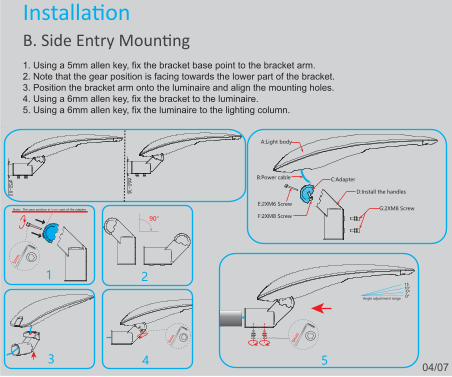
B. Side Entry Moun�ng1. Using a 5mm allen key, fix the bracket base point to the bracket arm.2. Note that the gear position is facing towards the lower part of the bracket.3. Position the bracket arm onto the luminaire and align the mounting holes.4. Using a 6mm allen key, fix the bracket to the luminaire.5. Using a 6mm allen key, fix the luminaire to the lighting column.
A:Light body
B:Power cable C:Adapter
D:Install the handles
E:2XM6 Screw
F:2XM8 ScrewG:2XM8 Screw
6mm
5mm
Note:The gear position in lower part of the adapter.
1
5
50
1015
Angle adjustment range
2
90
3 4
6mm

Wiring
05/07
1. Connect luminaire cables as per the wiring diagram below using methods that comply with all applicable codes.
2. Turn power on.
A. European Standard Power Cable
LIGHTGround
Neutral
Live
Blue Yellow & Green
Brown