Embed Size (px)
Citation preview

Quilting ClassroomJennie Rayment
15th May 2016 8.00 am
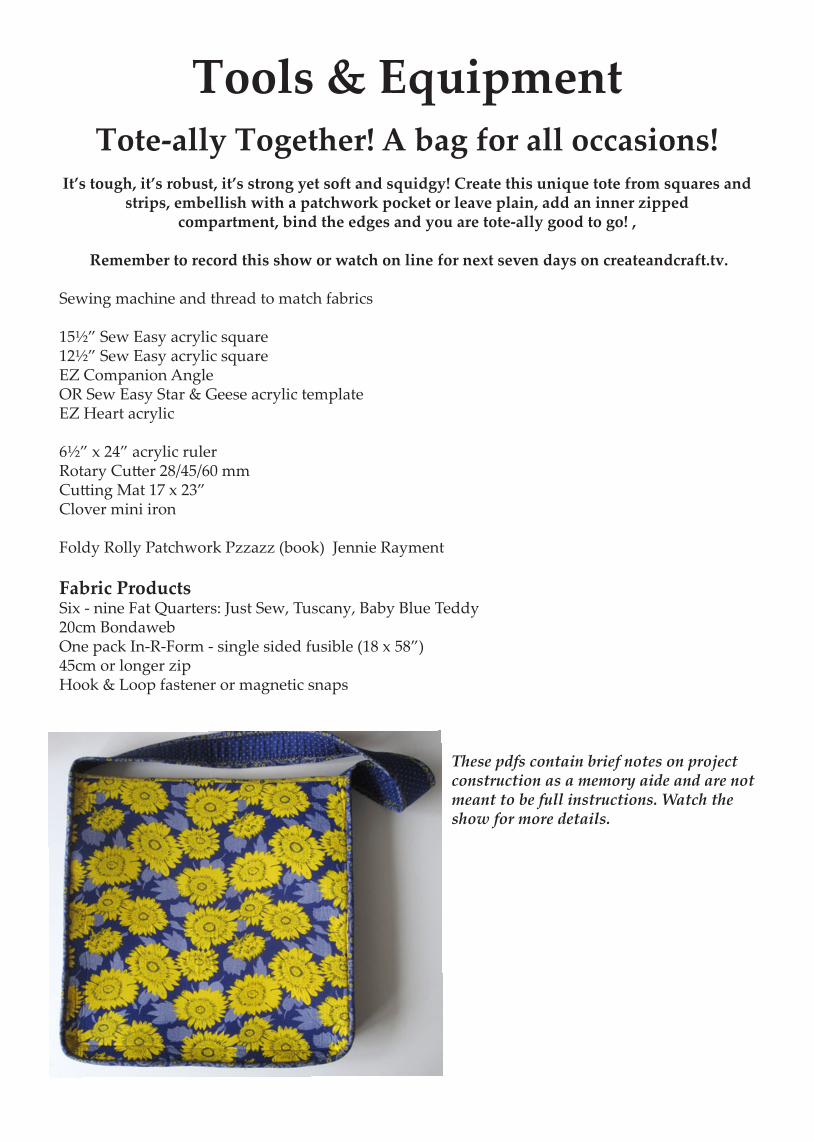
Tools & EquipmentTote-ally Together! A bag for all occasions!
It’s tough, it’s robust, it’s strong yet soft and squidgy! Create this unique tote from squares and strips, embellish with a patchwork pocket or leave plain, add an inner zipped
compartment, bind the edges and you are tote-ally good to go! ,
Remember to record this show or watch on line for next seven days on createandcraft.tv.
Sewing machine and thread to match fabrics
15½” Sew Easy acrylic square12½” Sew Easy acrylic squareEZ Companion AngleOR Sew Easy Star & Geese acrylic templateEZ Heart acrylic
6½” x 24” acrylic rulerRotary Cutter 28/45/60 mm Cutting Mat 17 x 23” Clover mini iron
Foldy Rolly Patchwork Pzzazz (book) Jennie Rayment
Fabric Products Six - nine Fat Quarters: Just Sew, Tuscany, Baby Blue Teddy 20cm BondawebOne pack In-R-Form - single sided fusible (18 x 58”)45cm or longer zipHook & Loop fastener or magnetic snaps
These pdfs contain brief notes on project construction as a memory aide and are not meant to be full instructions. Watch the show for more details.

Tote-ally Together!From In-R-Form cut: One 58 x 2¼” stripOne 12½ x 2¼” stripTwo 15½” squaresOne 12½” square
Prepare front pocket patchwork1. Cut 2½” strip. From this strip cut eight sections placing Companion Angle or Star & Geese as shown.
2. Cut 1½” strip in two colours. From each strip cut four sections. Place Companion Angle or Star & Geese as shown.
3. Join sections together to form triangles. Sew four triangles to make a square. Repeat with remaining sections.
4. Cut two 6½” squares.
5. Sew all four sections together.
6. Using EZ heart, cut two shapes and appliqué in place.
7. Press completed patch-work square to fusible side of In-R-Form.
If preferred follow Foldy Rolly Patchwork Pzzazz page 33 Trumpet Cracker. Press completed square to fusible In-R-Form. Alternatively just cut a square and have a plain pocket front.
Tote Front
1. From fabric, cut one 12½ x 14” strip.
2. Place strip R/S down. Sew strip to top edge of
fused square. Fold fabric over to the back. Match raw edges. Tack (baste) round raw edges - keep stitching close to edge. Trim excess fabric back to In-R-Form edge.
1

3. Cut one 12½ x 15½”strip. Fuse to centre of one 15½” In-R-Form square. Place pocket on top. Pin layers.
4. Cut two 2½ x 15½” strips. Sew one strip to either side of pocket. Fuse in
place.
5. Tack round outside edge. Trim any excess fabric back to edge of In-R-Form.
6. Cut one 15½ x 17” strip. Sew to top, fold over to the back. Match raw edges and tack round. Trim any excess fabric to edge of In-R-Form.
Tote Back
1. Cut one 15½” square, fuse to remaining In-R-Form square. Why not add a pretty heart appliqué?
If making Tuscany version, fuse 12½ x 15½”strip off centre (to one side). Place pocket on top. Pin layers. Cut one 4 x 15½” strip and sew to one side. Fuse in place, tack outside raw edge, trim any excess fabrics.
2

Tab: (Optional:Cut one 2½ x 4” strip In-R-Form. Cut two 2½ x 4” strips fabric.
Place fabrics R/S together, place In-R-form on top sew round leaving one end open. Turn through open end. Top stitch. Add hook & loop fastener or magnetic snap. Attach to centre of top edge of tote back.
Insert Zip1. Cut one 15½ x 14”and one 15½ x 5” strip plus two 15½ x 10”strips. (Thisis for the pocket lining. )
2. Place 15½ x 5” strip R/S down on to R/S zip. Place one 15½ x 10” pocket lining on other side. Zip is sand-wiched between both fabrics. Slide zip head beyond fabric edges. Use zipper foot, sew close to zip.
3. Repeat on other side: Sandwich zip between 15½ x 14” strip and one 15½” x 10” pocket lining (fabics R/S together). Use zipper foot, sew close to zip.
Zip can be top stitched but take care where you sew as you can catch the pocket ling in the seam then
you won’t be able to open the pocket! See the show for full details.
4. Align pocket sections. Trim excess fabrics and sew base of pocket.
5. Place zipped section R/S down on R/S of tote back. Sew along top. Fold over to back, match raw edges, tack round.
Strap/Tote sides
1. Join both In-R-Form strips together with zigzag. Join both ends to make a circle.
2. Cut two 72 x 2¼” strips - join where necessary.
3. Press one strip to fusible side of In-R-Form. Overlap ends and sew neatly in place.
4. Pin second strip to other side. Tack/baste along sides. Overlap raw edges, sew neatly in place.
3

Make Up Tote
Attach tote strap/side to tote back. Use narrow S/A.
Curve strip round corners in gentle arc.
Cut one 70 x 2¼” wide bias strip (join where necessary).
Fold binding in half. Bind raw edge of tote and strap.
Join ends of binding
Fold binding over raw edges and sew down. Edge of binding can be machined in place around strap section but hand sewing will prob-ably be easier around the tote sides. Chris Frampton (student
of mine) suggests that you use a curved needle when sewing binding in place
Attach tote front in same manner, bind and complete as above.
Attach hook and look fastener or other sec-tion of magnetic snap to tote front.
Why not purchase more In-R-Form and make another style?
© Jennie Rayment 2016
4