Embed Size (px)
Citation preview
4 Introduction
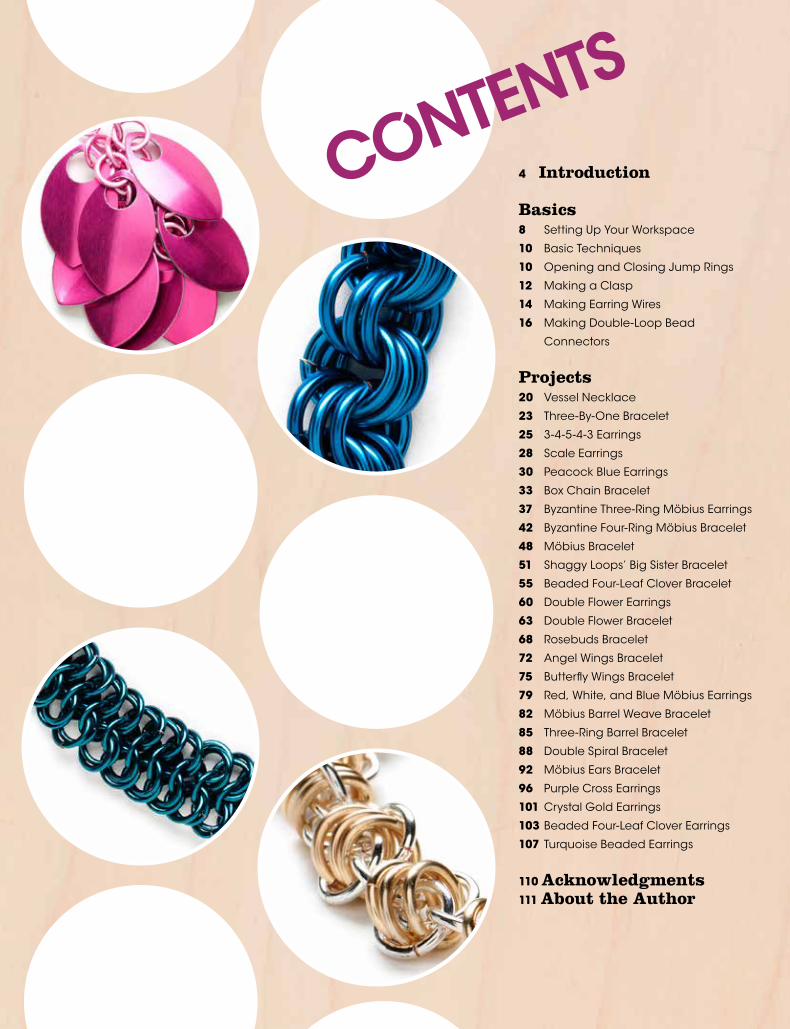
Basics8 Setting Up Your Workspace
10 Basic Techniques
10 Opening and Closing Jump Rings
12 Making a Clasp
14 Making Earring Wires
16 Making Double-Loop Bead
Connectors
Projects 20 Vessel Necklace
23 Three-By-One Bracelet
25 3-4-5-4-3 Earrings
28 Scale Earrings
30 Peacock Blue Earrings
33 Box Chain Bracelet
37 Byzantine Three-Ring Möbius Earrings
42 Byzantine Four-Ring Möbius Bracelet
48 Möbius Bracelet
51 Shaggy Loops’ Big Sister Bracelet
55 Beaded Four-Leaf Clover Bracelet
60 Double Flower Earrings
63 Double Flower Bracelet
68 Rosebuds Bracelet
72 Angel Wings Bracelet
75 Butterfly Wings Bracelet
79 Red, White, and Blue Möbius Earrings
82 Möbius Barrel Weave Bracelet
85 Three-Ring Barrel Bracelet
88 Double Spiral Bracelet
92 Möbius Ears Bracelet
96 Purple Cross Earrings
101 Crystal Gold Earrings
103 Beaded Four-Leaf Clover Earrings
107 Turquoise Beaded Earrings
110 Acknowledgments 111 About the Author

4
INTRODUCTIONWelcome to the world of chain mail! This book uses only one size jump
ring to complete all the projects in the book: 18-gauge 3⁄16" (or 4.75mm).
I have also made all of the bracelets size 7" and adjustable to a size 7½",
with the exception of the “Beaded Four Leaf Clover Bracelet,” “Double
Flower Bracelet,” and “Angel Wings Bracelet.” If you need your bracelet to
be longer than 7½", you can always extend the chain attached to the end of
each bracelet.
I chose to use enamel-coated copper jump rings because I feel they are the
easiest to manipulate. You will not have to use brute strength to open and
close your jump rings. And they come in such brilliant colors!
Each project will have an introduction, a list of materials needed for the
project, and the tools needed to complete the piece. Some of the projects
also include tips that you may find helpful.
I will tell you how to set up your basic workspace, how to open and
close jump rings so they are flush, and the importance of the orientation
of clasps and earring wires. I will also teach you how to make your own
earring wires and clasps and how to make double-loop bead connectors.
It is not necessary to learn how to make your own components, but it will
help you extend your jewelry-making techniques.
Chain mail jump rings are more commonly measured by their inside
diameter. Each seller of chain mail jump rings uses either inches or
millimeters to measure the inside diameter of their jump rings. You will
be using an 18-gauge 3⁄16" jump ring or an 18-gauge 4.75mm jump ring.
They are interchangeable.
I have used enamel-coated jump rings in my projects, but you can use
sterling silver, silver-filled, copper, brass, or any other metal as well. You
may find that the anodized aluminum jump rings are a bit larger. I hope
you enjoy your journey into the world of chain mail!
— Lauren, The ChainMaille Lady™
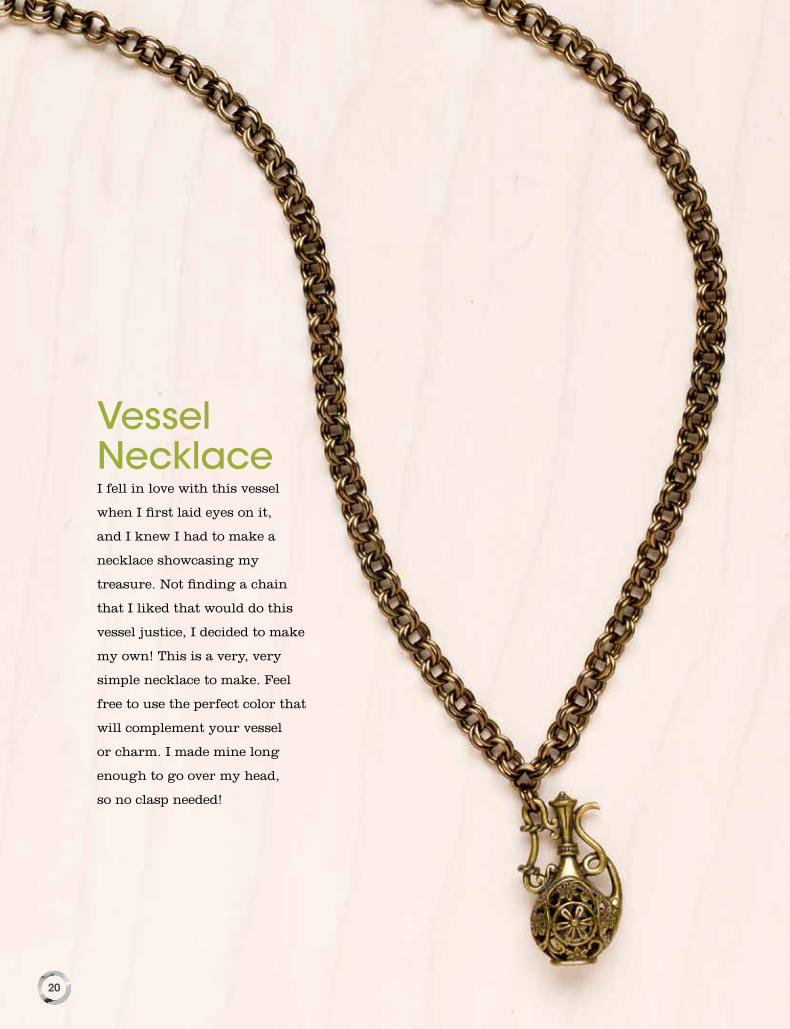
20
Vessel NecklaceI fell in love with this vessel
when I first laid eyes on it,
and I knew I had to make a
necklace showcasing my
treasure. Not finding a chain
that I liked that would do this
vessel justice, I decided to make
my own! This is a very, very
simple necklace to make. Feel
free to use the perfect color that
will complement your vessel
or charm. I made mine long
enough to go over my head,
so no clasp needed!

21
materials » 156 jump rings
(gunmetal enamel-
coated copper)
» 1 vessel or charm
tools » 2 pairs chainnose,
snubnose, flatnose, or
bentnose pliers 1. Take one open jump
ring and scoop up two
closed jump rings. Close
the jump ring.
2. Take one open jump
ring and scoop up the
same two closed jump
rings added in step 1.
Close the jump ring.
3. Take one open jump
ring and scoop up the two
closed jump rings added in
step 1. Close the jump ring.
» PREPARE: Close 2 jump rings. Open all the remaining jump rings.
Make the Necklace

22
4. Take one open jump ring
and scoop up the same
two closed jump rings that
you picked up in step 3.
Close the jump ring.
5. Take one open jump
ring and scoop up the two
jump rings added in steps
3 and 4. Close the jump
ring.
6. Take a second open
jump ring and repeat
step 5.
7. Repeat steps 5 and 6,
picking up the last two
jump rings added, for the
length of the necklace.
8. Before you connect
the ends of the necklace
together with two open
jump rings, slip on your
vessel or charm. If, like my
vessel, it is too small to slip
onto the chain, connect
the two ends together and
then add the vessel to any
of the two jump rings in
the chain.

23
Three-by-One BraceletThis is a simple yet elegant piece. I made mine using gold-colored
rings and they look just like the real thing! It would also make
a lovely charm bracelet—all you would have to do is to add
charms to the single jump rings.
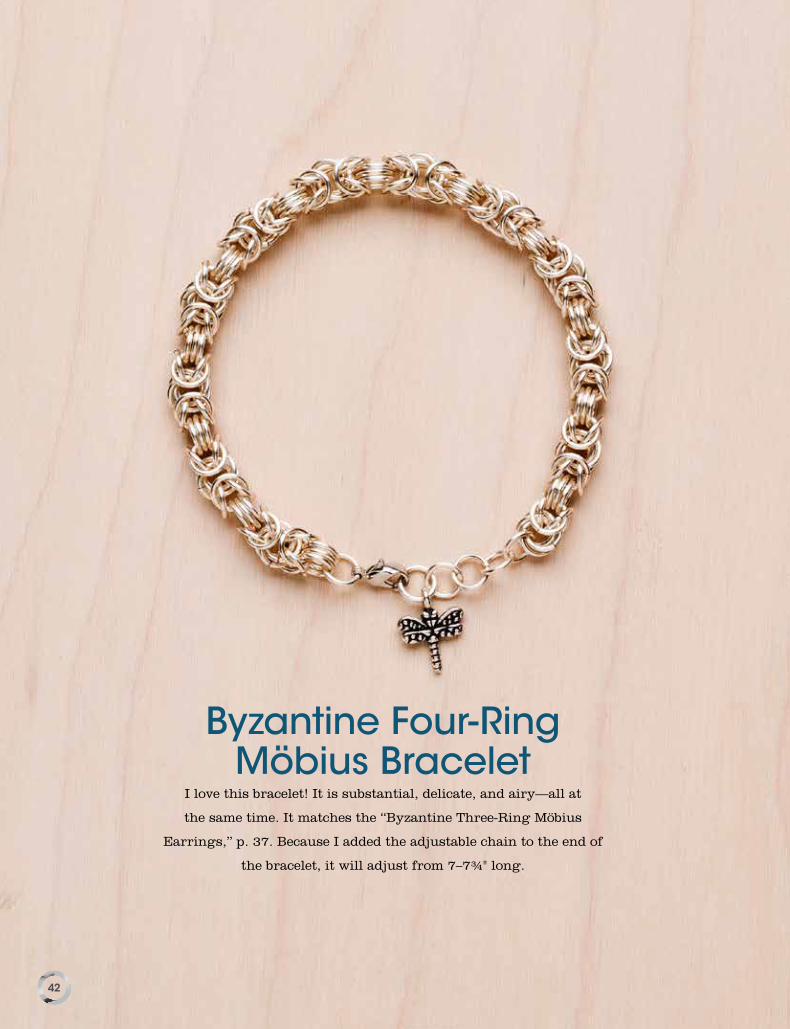
42
Byzantine Four-Ring Möbius Bracelet
I love this bracelet! It is substantial, delicate, and airy—all at
the same time. It matches the “Byzantine Three-Ring Möbius
Earrings,” p. 37. Because I added the adjustable chain to the end of
the bracelet, it will adjust from 7–7¾" long.

TIP
43
materials » 182 jump rings (silver
enamel-coated copper)
» 1 lobster-claw clasp
» 1 charm
tools » 2 pairs chainnose,
snubnose, flatnose, or
bentnose pliers
» 1 beading awl or a 2"
piece of craft wire
» PREPARE: Open 179 jump rings and close 3 jump rings.
Make the Bracelet
1. Take one open jump
ring and scoop up the
lobster-claw clasp. Before
closing, add three closed
jump rings. Close the
jump ring.
2. Take one open jump ring
and scoop up the three
closed jump rings added in
step 1. Close the jump ring.
3. Take a second open
jump ring and repeat
step 2. Close the jump ring.
4. Take one open jump
ring and scoop up the
two jump rings added in
steps 2 and 3. Close the
jump ring.
5. Take a second open
jump ring and repeat step
4. Close the jump ring.
The rings in the instructions are green because they are easier to see than silver.

60
Double Flower EarringsThese light-and-airy earrings are a breeze to make. Create them
as long or short as you like! You will be making these earrings
upside down until you get to step 6—the instructions are easier
to follow that way.

TIP
61
materials » 50 jump rings (purple
enamel-coated copper)
» 1 pair earring wires (see
“Making Earring Wires,”
p. 14)
tools » 2 pairs chainnose,
snubnose, flatnose, or
bentnose pliers
» PREPARE: Close 24 jump rings. Open 26 jump rings.
Make the Earrings
1. Take one open jump ring
and scoop up two closed
jump rings and one earring
wire. Close the jump ring.
2. Position the two closed
jump rings added in step
1 and the open jump ring
added in step 1 so you
have “mouse ears” and a
“forehead”. Looking from
left to right, the first jump
ring is the mouse’s left ear
(a closed jump ring added
in step 1), the center jump
ring (an open jump ring
added in step 1) is the
mouse’s forehead, and the
third jump ring (the other
closed jump ring added in
step 1) is the mouse’s right
ear. Always make sure the
mouse has a forehead.
3a. Take one open jump
ring and working from the
front, go down through the
mouse’s right ear.
3b. Go around the back of
the mouse’s forehead, and
come up through the back
of the mouse’s left ear.
3c. Before closing the jump
ring, add two closed jump
rings. Close the jump ring.
4. Separate the two closed
jump rings added in step
3c, making “mouse ears”
and a “forehead”. The
bottoms of the jump rings
added in step 3c should
overlap the tops of the
“ears” added in step 3.
5. Repeat steps 3a–4 four
more times. Stop at step 3c.
The rings in the instructions are purple because they are easier to see than silver.

84
12. Repeat step 11 with
one open blue jump ring
by going through the third
and fourth link in the chain.
Before closing, go through
the pink ring added in step
11. Close the jump ring.
9. Take one open purple
jump ring and go through
the top of the eye. Close
the jump ring.
10. Link four purple jump
rings together in a 1+1
chain. Before closing the
fourth purple jump ring,
scoop up the open purple
jump ring added in step 9.
Close the jump ring.
11. Take one open pink
jump ring, scoop up the
third link in the chain, and
go through the fourth link
in the chain. Close the
jump ring.
7. Take one open purple jump ring and go through the
top of the eye. Before closing, add two closed purple
jump rings. Close the jump ring.
8. Repeat steps 4–7 20 more times, ending at step 5.
6. The next purple jump
ring will be going through
the top of the eye above
the two jump rings added
in steps 4 and 5.
You want the two purple jump rings that make up the eye to be consistent. In this case, the left jump ring is always behind the right jump ring. If you prefer the right jump ring to be behind the left jump ring, make sure that you keep to that pattern.
TIP
ColorOption

85
Three-Ring Barrel BraceletFor this bracelet, I wanted to use two different precious metal colors for the jump
rings. I am hoping this will make it clearer to see where each jump ring will be. Like
most chain mail weaves, one set of instructions are repeated over and over again.
This repetition will help to solidify the weave in your mind and make the bracelet
easier to contruct as you go along.