Embed Size (px)
Citation preview
dc99cc60Document Centre Technical Support Operations
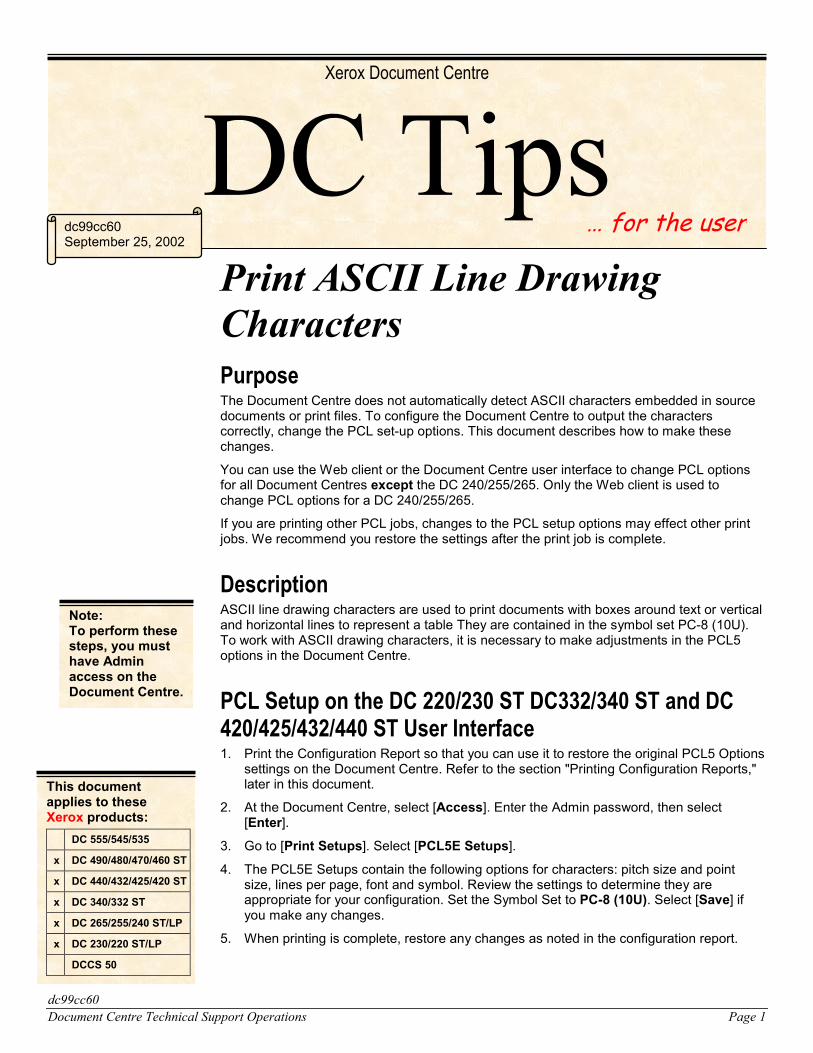
Print ASCII Line DrawinCharactersPurposeThe Document Centre does not automatically detect ASCII charactersdocuments or print files. To configure the Document Centre to output correctly, change the PCL set-up options. This document describes hchanges.
You can use the Web client or the Document Centre user interface tofor all Document Centres except the DC 240/255/265. Only the Web change PCL options for a DC 240/255/265.
If you are printing other PCL jobs, changes to the PCL setup options mjobs. We recommend you restore the settings after the print job is com
DescriptionASCII line drawing characters are used to print documents with boxesand horizontal lines to represent a table They are contained in the symTo work with ASCII drawing characters, it is necessary to make adjusoptions in the Document Centre.
PCL Setup on the DC 220/230 ST DC332/340420/425/432/440 ST User Interface1. Print the Configuration Report so that you can use it to restore the
settings on the Document Centre. Refer to the section "Printing Clater in this document.
2. At the Document Centre, select [Access]. Enter the Admin passw[Enter].
3. Go to [Print Setups]. Select [PCL5E Setups].
4. The PCL5E Setups contain the following options for characters: psize, lines per page, font and symbol. Review the settings to deteappropriate for your configuration. Set the Symbol Set to PC-8 (10you make any changes.
5. When printing is complete, restore any changes as noted in the co
Xerox Document Centre
… fodc99cc60September 25, 2002
Note:To perform thesesteps, you musthave Adminaccess on theDocument Centre.
This documentapplies to theseXerox products:
DC 555/545/535
x DC 490/480/470/460 ST
x DC 440/432/425/420 ST
x DC 340/332 ST
x DC 265/255/240 ST/LP
x DC 230/220 ST/LP
DCCS 50
r the user
Page 1
g
embedded in sourcethe charactersow to make these
change PCL optionsclient is used to
ay effect other printplete.
around text or verticalbol set PC-8 (10U).
tments in the PCL5
ST and DC
original PCL5 Optionsonfiguration Reports,"
ord, then select
itch size and pointrmine they areU). Select [Save] if
nfiguration report.
dc99cc60Page 2 Document Centre Technical Support Operations
PCL Setup on the DC 230 LP DisplayBecause the process to change DC 220/230 PCL settings with the Web interface is simple,you may wish to follow the procedure in the next section.
1. Print the Configuration Report so that you can use it to restore the original PCL5 Optionssettings on the Document Centre. Refer to the section "Printing Configuration Reports,"later in this document.
2. Ensure that the Document Centre is offline. If not, select [Online] once. The DocumentCentre should now be offline.
3. Select [Menu], the right arrow button once and the down arrow until you see "SystemAdministration", then select [Enter].
4. Enter the Admin password then select [Enter].5. At the System Administration display:
a. Press the right arrow button once and the down arrow until you see PCL Setup.
b. Press the right arrow once and the down arrow until you see the PCL options(Symbol Set, Lines per page, Font Size, Font Pitch, and Font).
c. To change the Symbol Set, scroll through (using up/down arrows) until you see PC-8 and press [Enter] on the keypad. The UI displays **Saved**.
d. Press the left arrow once and select the PCL option (so you can change the otherPCL options as necessary).
6. To exit the menu when you are done, select [Online].
7. Make any necessary adjustments to the options.
8. When printing is complete, restore the options to those shown in the configurationreport.
PCL Setup on the DC 220/230 LP/ST, DC 332/340 ST andDC 420/425/432/440 ST Web Client Interface1. Print the Configuration Report so that you can use it to restore the original PCL5 Options
settings on the Document Centre. Refer to the section "Printing Configuration Reports,"later in this document.
2. Open a Web browser. We recommend Internet Explorer 4.x and above or Netscape 3.xand above.
3. Enter the IP address of the Document Centre (such as http://<IP address>) then select[Enter].
4. At the Document Centre's main page, go to [Properties], [Emulation], [PCL Setup].
5. On the PCL Setup page there are options to change: Pitch size, Point size, Font Name,Symbol Set and Lines per page.
6. Change the options as necessary (Symbol Set = PC-8, 10U) for the desired output.Press [Apply New Settings]. Enter Admin Logon [admin] and password then select[Enter].
7. When printing is complete, press [Restore settings] to return to the default settings.
8. Restore any changes as noted in the configuration report.
Note:If you do not know thepassword, refer to theproduct manuals suchas the set-up guideand sa guide.
dc99cc60Document Centre Technical Support Operations Page 3
PCL Setup on the DC 240/255/265 ST and DC460/470/480/490 ST Web Client Interface1. Print the Configuration Report so that you can use it to restore the original PCL5 Options
settings on the Document Centre. Refer to the section "Printing Configuration Reports,"later in this document.
2. Open a Web browser. We recommend Internet Explorer 4.x and above or Netscape 3.xand above.
3. Enter the IP address of the Document Centre (such as http://<IP address>) then select[Enter].
4. At the main page, go to [Properties], [Services], [Printer Languages], [PCL Setup].
5. On the PCL Setup page there are options to change: Pitch size, Point size, Font Name,Symbol Set and Lines per page.
6. Change the options as necessary (Symbol Set = PC-8,10U) for the desired output.Press [Apply New Settings]. Enter Admin Logon [admin] and password then select[Enter].
7. When printing is complete, press [Restore settings] to return to the default settings.
8. Restore any changes as noted in the configuration report.
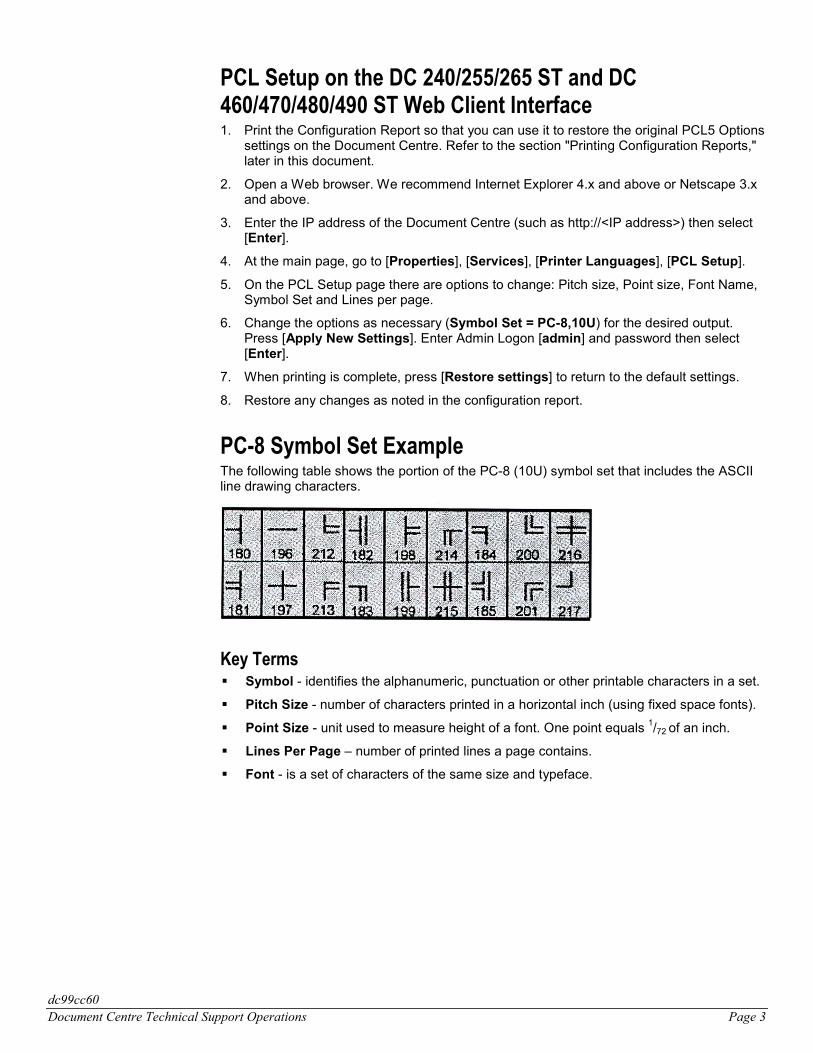
PC-8 Symbol Set ExampleThe following table shows the portion of the PC-8 (10U) symbol set that includes the ASCIIline drawing characters.
Key Terms� Symbol - identifies the alphanumeric, punctuation or other printable characters in a set.
� Pitch Size - number of characters printed in a horizontal inch (using fixed space fonts).
� Point Size - unit used to measure height of a font. One point equals 1/72 of an inch.
� Lines Per Page – number of printed lines a page contains.
� Font - is a set of characters of the same size and typeface.
dc99cc60Page 4 Document Centre Technical Support Operations
Printing Configuration Reports
DC 220/230 LP1. Select [MENU].
2. Press the right arrow once and the down arrow until you see Reports.
3. Press the right arrow once. “Print Report Config Report” appears, then select [Enter].
DC 220/230/332/340 ST1. Select [Machine Status] on the UI.
2. Select the [Reports and Counters] tab.
3. Select [Print Reports], [Printer Configuration], then press [Exit].
DC 240/255/265 LP/ST1. Select [Access], enter the Admin password, then select [Enter].2. Select [Go to Tools], [System Settings], then [Configuration Report], [Print
Configuration Report Now].
3. To exit, press [Cancel] then [Exit Tools].
Additional InformationXerox's Document Centre Technical Support Operations welcomes feedback on all DC Tipsdocumentation—send feedback via e-mail to: [email protected].
Other DC Tips are available athttp://www.xerox.com/DocumentCentreFamily/Tips
XEROX ®, The Document Company ®, the digital X ®, and all Xerox product names are trademarks of XEROXCORPORATION. Other trademarks belong to their respective owners.
Copyright © XEROX CORPORATION 2002. All Rights Reserved.


![file handling own [Read-Only]included in all file handling programs. ... • Text File – Data is stored as ASCII values – Strings , characters and numeric data is stored as ASCII](https://img.pdfslide.us/doc/110x75/5f0590837e708231d41396a1/file-handling-own-read-only-included-in-all-file-handling-programs-a-text.jpg)