Embed Size (px)
Citation preview
Preparing Task 2 edTPA Video
Instructional Resource Center
Disclaimer
The information in this presentation and examples given are for information purposes only.
Please verify all specifics with your handbook.
Summary
● Each subject specific handbook has certain video requirements for their candidates.
● One or two clips, 15 or 20 minutes total, etc.● Video clips must be unedited and your
Instruction Commentary is to reflect what happened in your clips via timestamps
Summary Continued
● Always record your entire unit!● The more you film, the more evidence you
have to choose from.
What do you need to do?
● Look at your Evidence Chart.
● Obtain required permission for video recording.

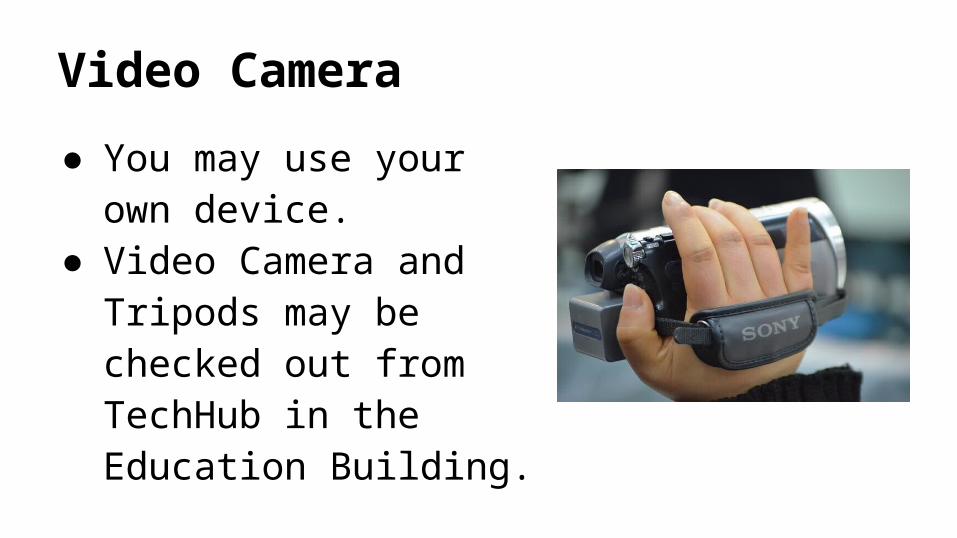
Video Camera
● You may use your own device.
● Video Camera and Tripods may be checked out from TechHub in the Education Building.
Timestamp
● Occurs as a natural part of clipping a video.● Videos must be completely clipped and
ready to use before you consider the time-stamp.
● Time-stamping is not a physical feature on the computer. Once the videos are clipped, you can pull them up and view them, and at the bottom corner, it will have the time.
Timestamp Example
● “I demonstrated mutual respect for two of my students at 2:37. The first student asked…..”
● Think of time-stamping as an additional piece of evidence. So, in all reality, the evaluator will not have to watch the video in its entirety, if the evaluator does not want to.
Be Strategic!
● You have to be strategic about recording what students are saying, especially with the use of academic language.
● Make sure you are in proximity to students so that they can be heard on the microphone/video camera.
● For items difficult to hear or see, you may insert a digital transcript at the end of the Instructional Commentary in Task #2. It cannot be longer than 2 pages.
Remember, audio > video
Make sure that your recording clearly picks up what students are saying. If a student says something “right on the academic money,” but is not on camera, don’t fret. You can still use it by including a transcription. Good audio will save a bad video, but a good video without audio is a lost cause.
Practice
You and your students need to be familiar with the camera before you begin your actual recording.
Try to forget the camera isactually there.
Most importantly, your video is evidence
Showcase your teaching and your students learning.
Remember you are not trying to win an Oscar!
Backup Copy
Make a backup copy of your video clip on your hard drive, a flash drive, or on a CD/DVD.
Video recordings are NEVER to be posted anywhere publicly or used for a purpose other than what is defined in the permission form.
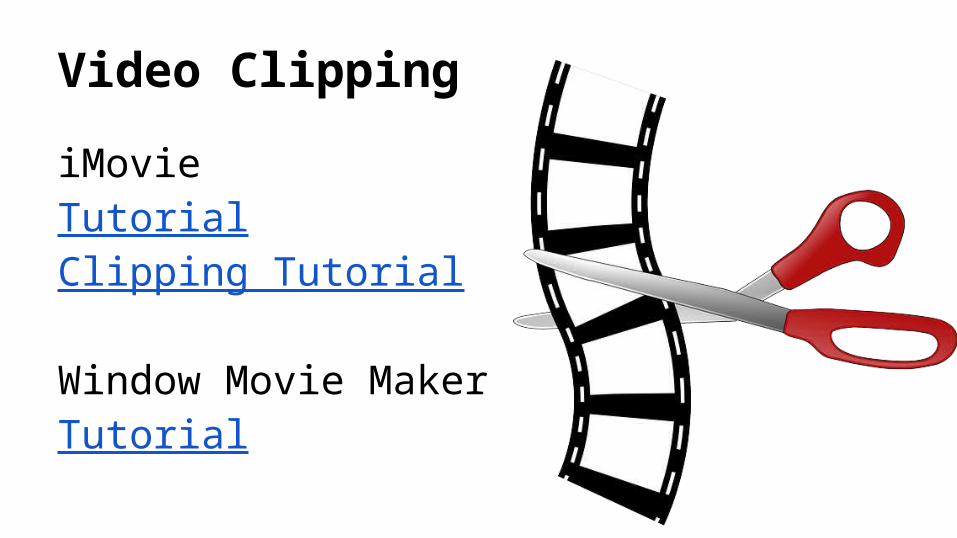
Video Clipping
iMovieTutorialClipping Tutorial
Window Movie MakerTutorial
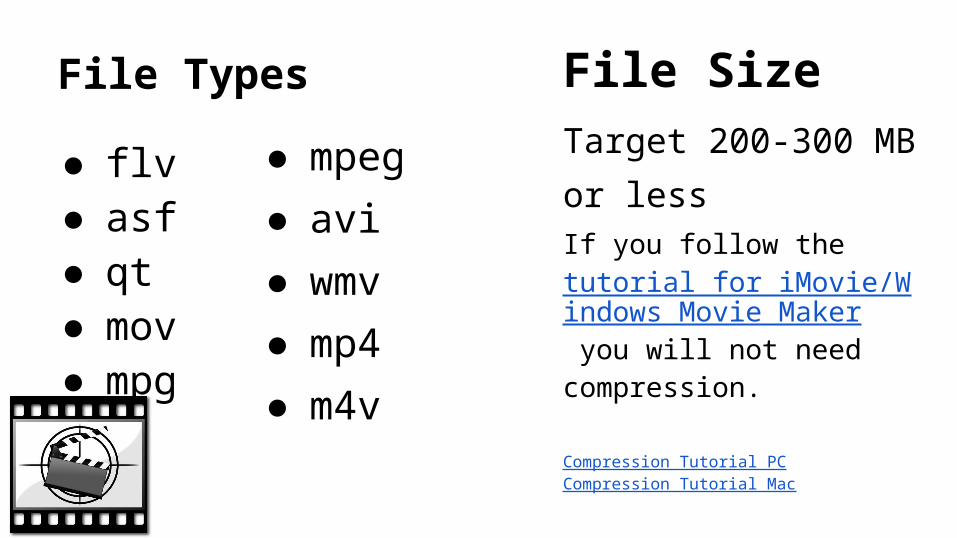
File Types
● flv● asf● qt● mov● mpg
● mpeg● avi● wmv● mp4● m4v
File SizeTarget 200-300 MB
or lessIf you follow the tutorial for iMovie/Windows Movie Maker you will not need compression.
Compression Tutorial PCCompression Tutorial Mac
Please Consult Your edTPA Handbook
As a reminder the information in this presentation and examples given are for information purposes only.Please verify all specifics with your handbook.