Embed Size (px)
Citation preview
1
Wiki Tutorial
2
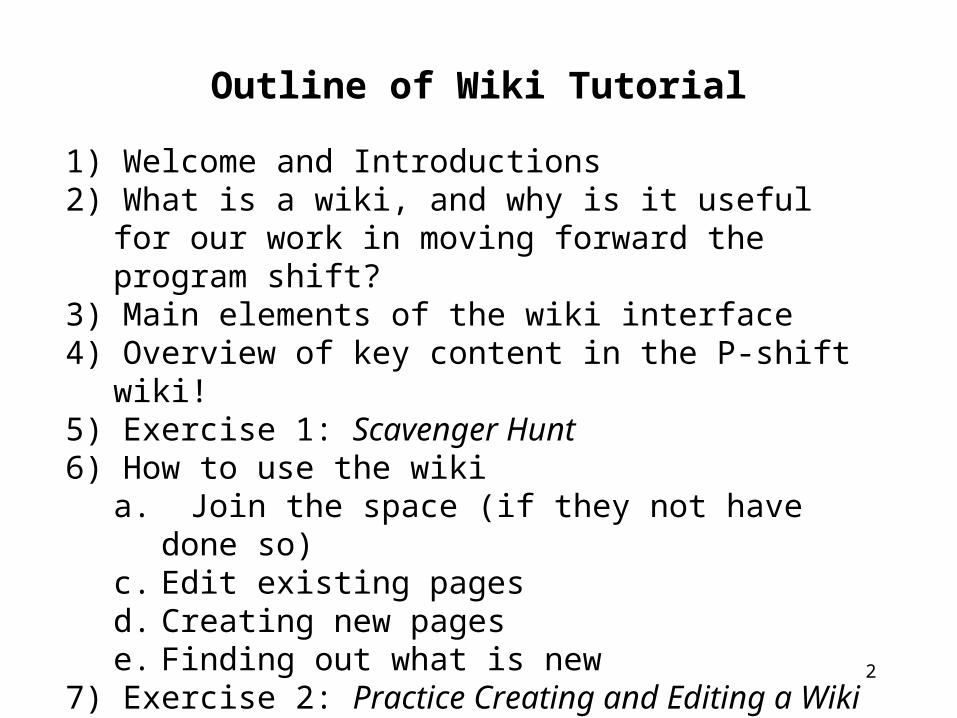
Outline of Wiki Tutorial
1) Welcome and Introductions2) What is a wiki, and why is it useful for our work in
moving forward the program shift?3) Main elements of the wiki interface4) Overview of key content in the P-shift wiki!5) Exercise 1: Scavenger Hunt6) How to use the wiki
a. Join the space (if they not have done so)c. Edit existing pagesd. Creating new pagese. Finding out what is new
7) Exercise 2: Practice Creating and Editing a Wiki Page8) Discussion on expectations and needs
3
What is a “Wiki”?
• A wiki is an online space, consisting of a collection of Web pages designed to enable anyone who accesses it to contribute or modify content.
• Wikis are often used to create collaborative websites and to empower communities, such as ours around the program shift, to share and build knowledge together.
• A well-known example of a very successful wiki is the collaborative encyclopedia “Wikipedia” (www.wikipedia.com).
The goal of our P-shift Wiki is to serve as a global platform for all of you who are leading the program shift in CARE to share knowledge around the program shift The success of our wiki will depend on the contributions you make, and your commitment to visiting it to connect to and learn from others
4
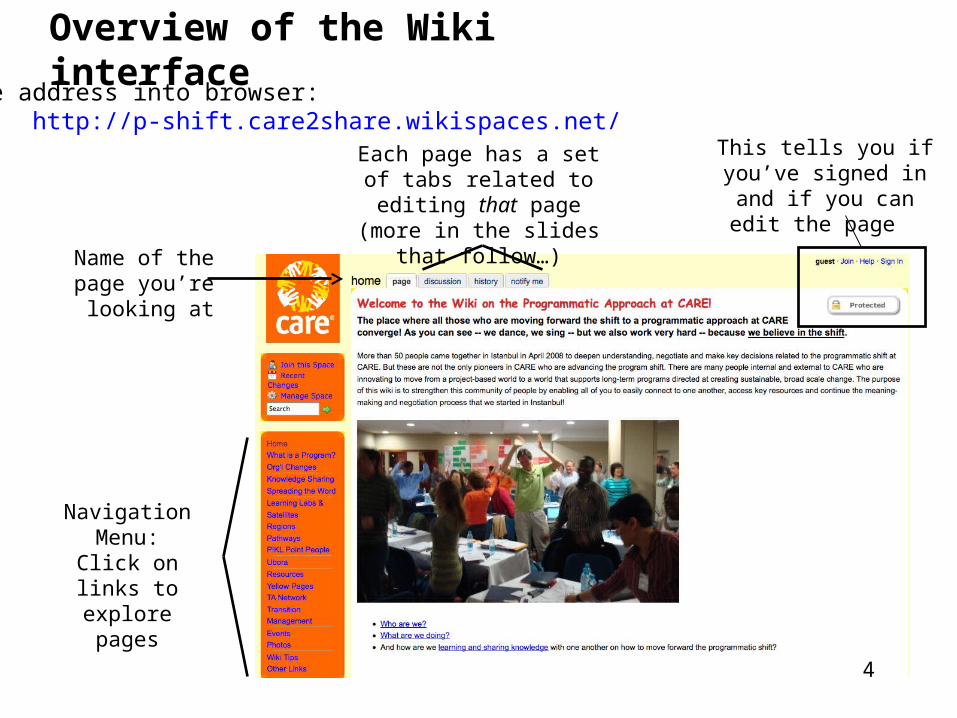
Overview of the Wiki interfaceType address into browser: http://p-shift.care2share.wikispaces.net/
Navigation Menu:
Click on links to explore
pages
Name of the page you’re
looking at
Each page has a set of tabs related to editing that page
(more in the slides that follow…)
This tells you if you’ve signed in and if you can
edit the page
4
5
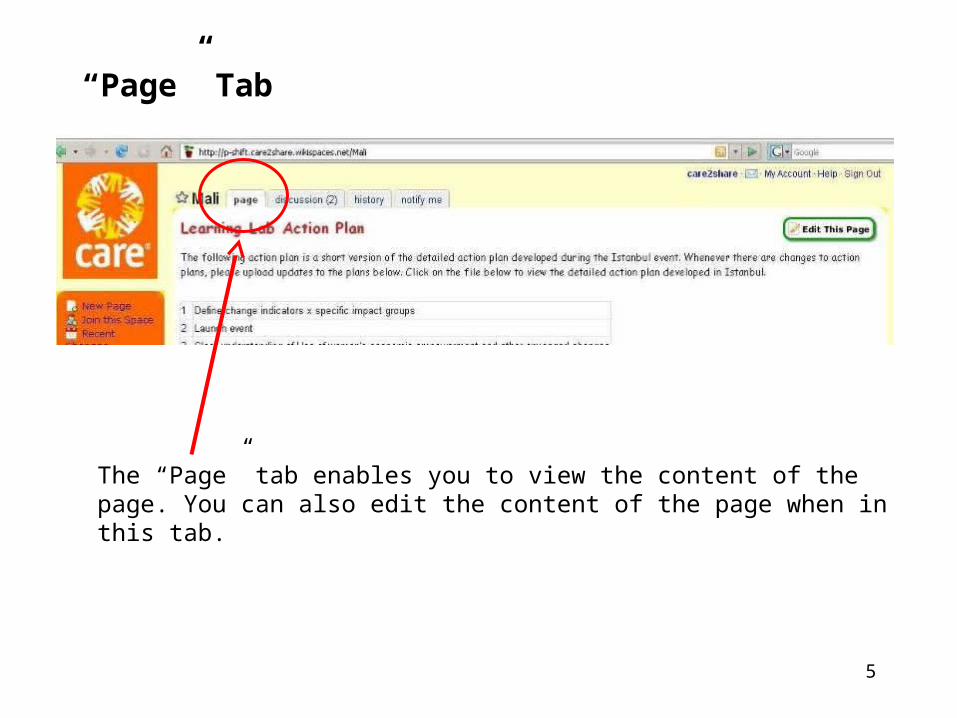
“Page” Tab
The “Page” tab enables you to view the content of the page. You can also edit the content of the page when in this tab.
6
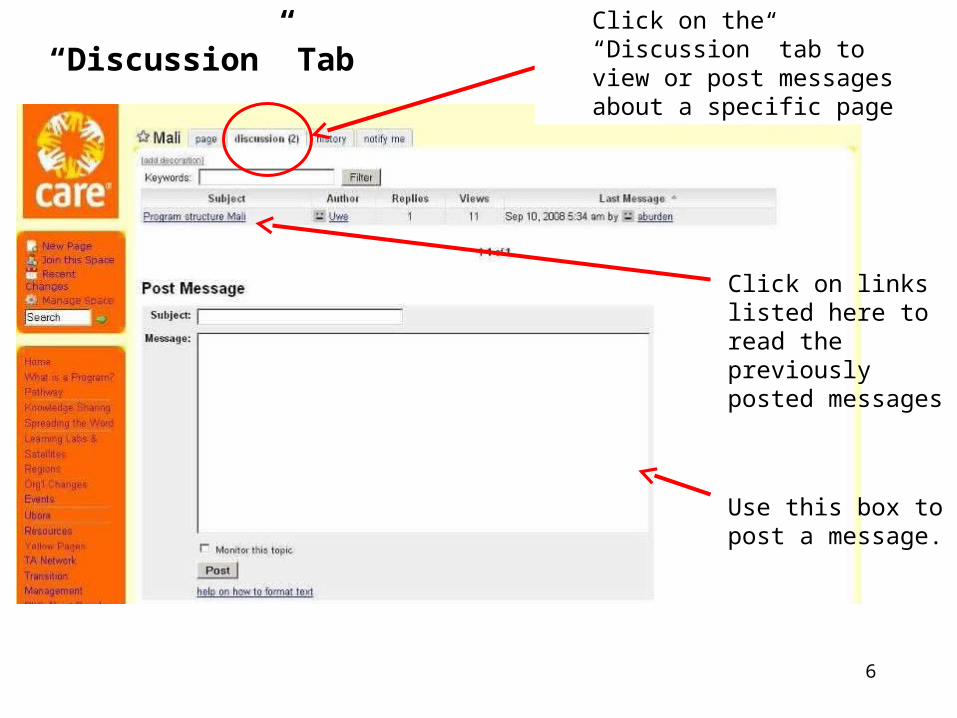
“Discussion” TabClick on the “Discussion” tab to view or post messages about a specific page
Use this box to post a message.
Click on links listed here to read the previously posted messages

7
“History” Tab Click on the “History” tab to see all previous changes made to the page. If you make a mistake editing a page, you can always revert back to a previous version through this tab.
Click on any of these links to view previous versions of the page. To show you what changes were made on any previous version, any new text inserted will appear in green and any deleted text in red.
8
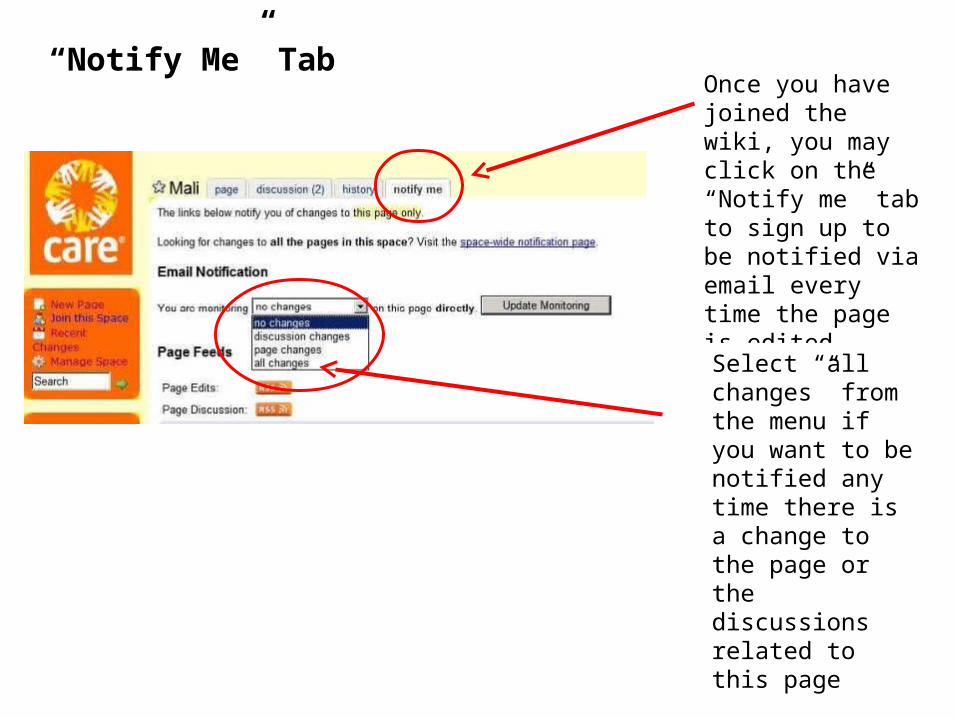
“Notify Me” TabOnce you have joined the wiki, you may click on the “Notify me” tab to sign up to be notified via email every time the page is edited.
Select “all changes” from the menu if you want to be notified any time there is a change to the page or the discussions related to this page
9
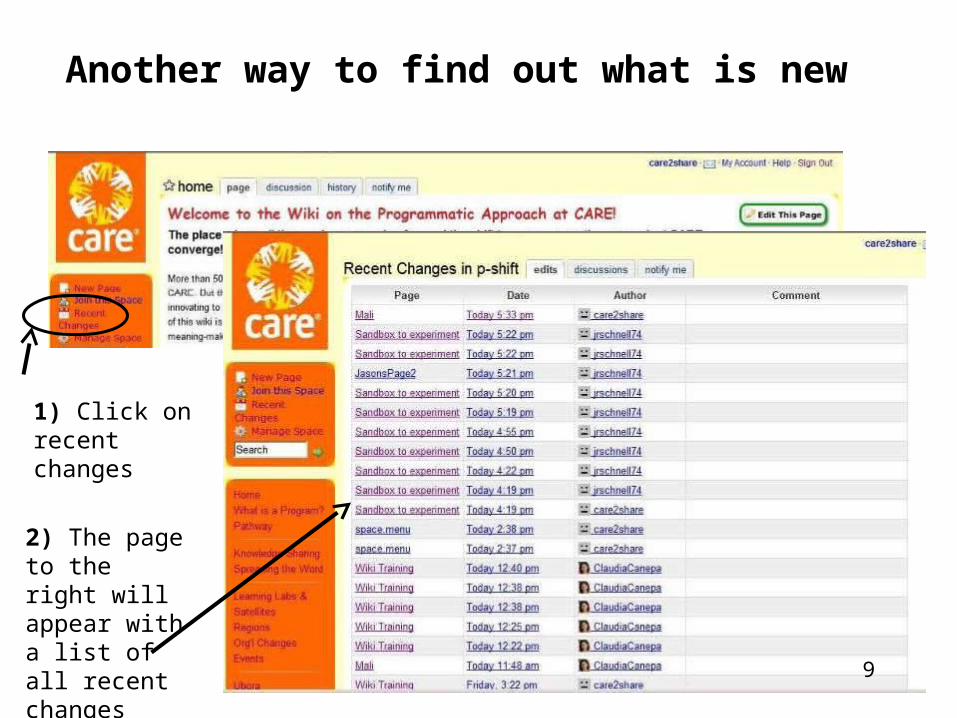
Another way to find out what is new
1) Click on recent changes
2) The page to the right will appear with a list of all recent changes
9
10
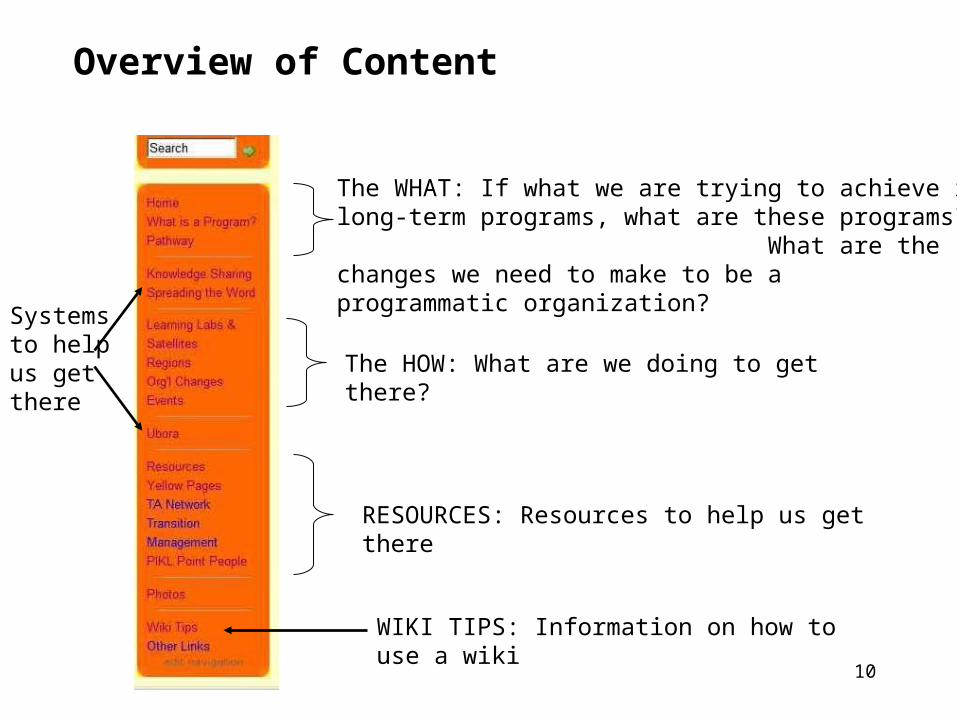
Overview of Content
The WHAT: If what we are trying to achieve is long-term programs, what are these programs? What are the changes we need to make to be a programmatic organization?
The HOW: What are we doing to get there?
RESOURCES: Resources to help us get there
Systems to help us get there
WIKI TIPS: Information on how to use a wiki
11
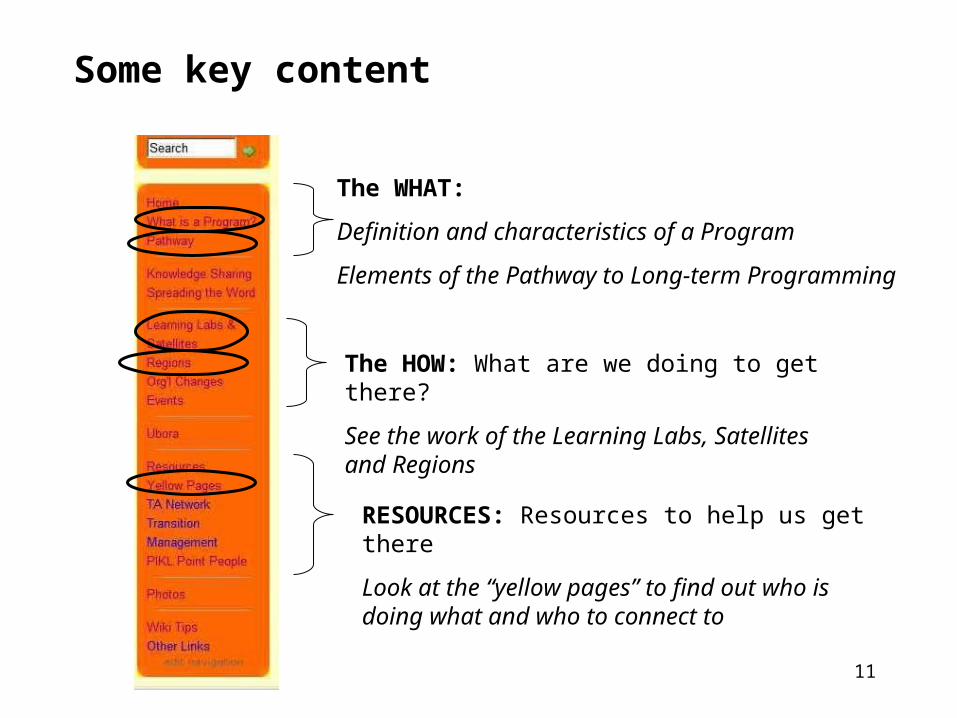
Some key content
The WHAT:
Definition and characteristics of a Program
Elements of the Pathway to Long-term Programming
The HOW: What are we doing to get there?
See the work of the Learning Labs, Satellites and Regions
RESOURCES: Resources to help us get there
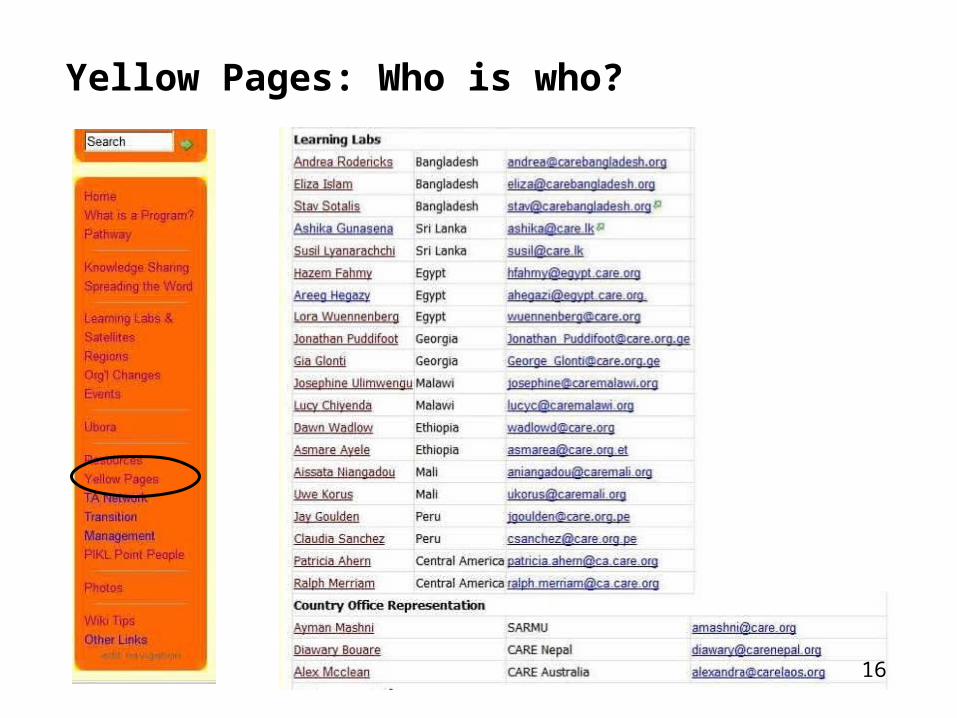
Look at the “yellow pages” to find out who is doing what and who to connect to
12
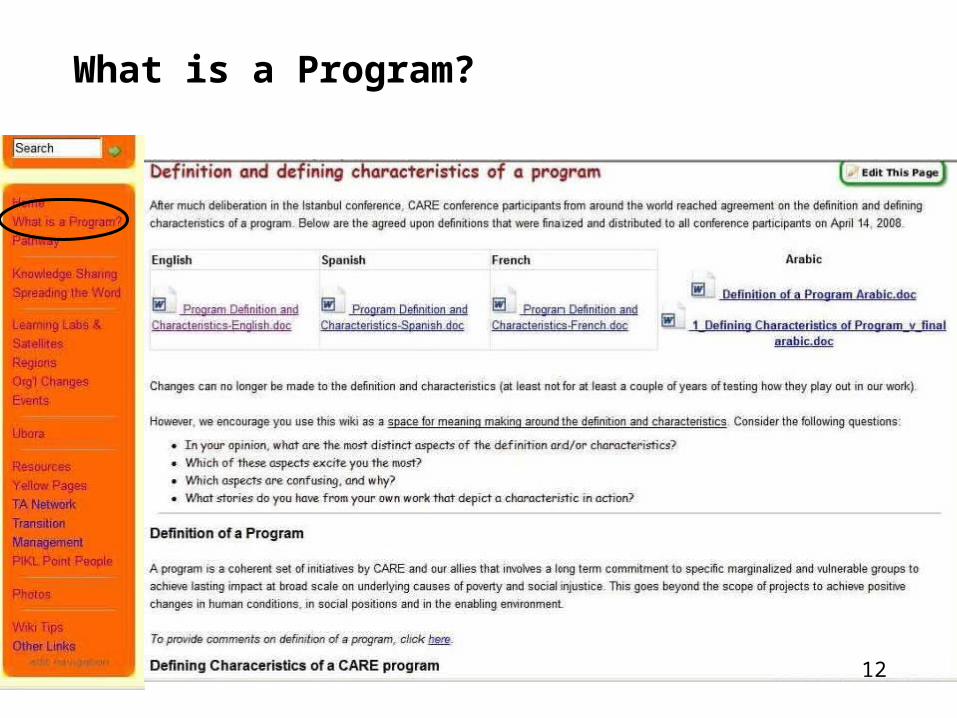
What is a Program?
12
13
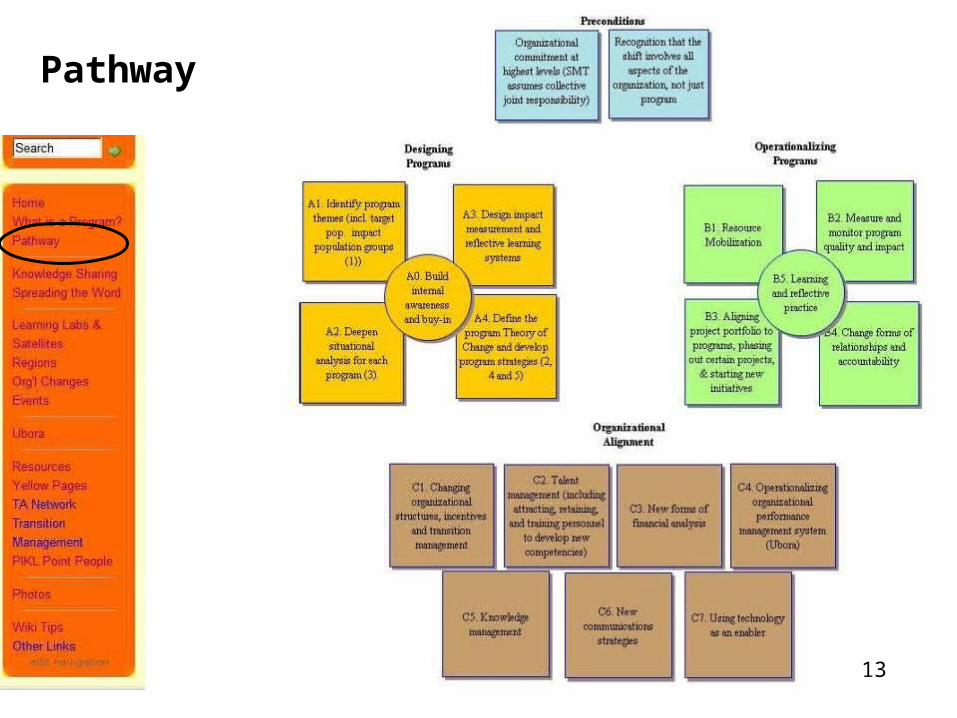
Pathway
13
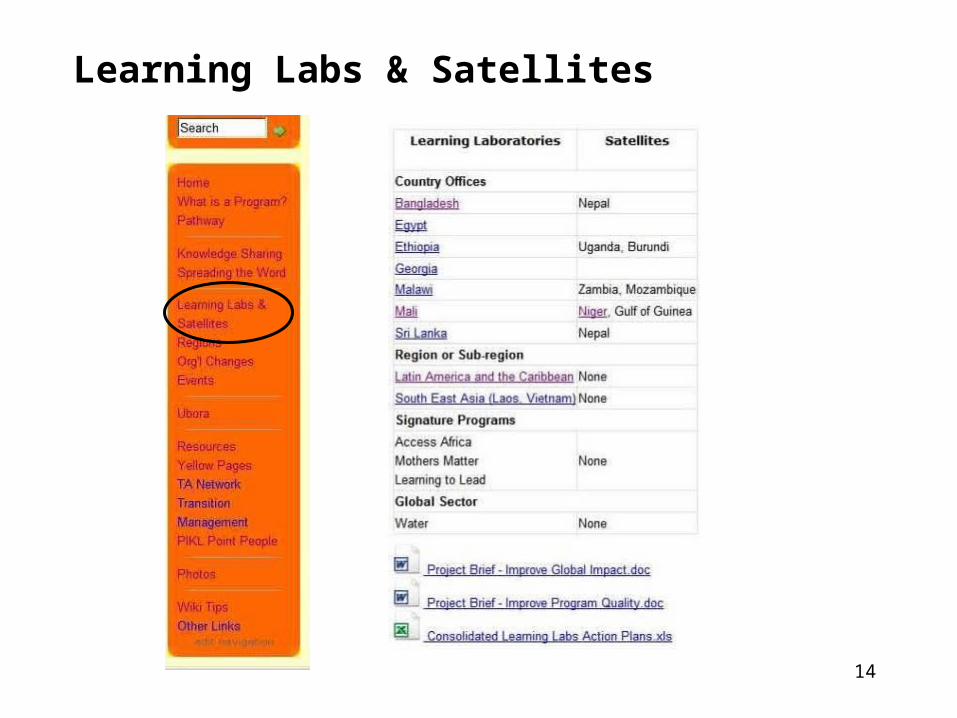
14
Learning Labs & Satellites
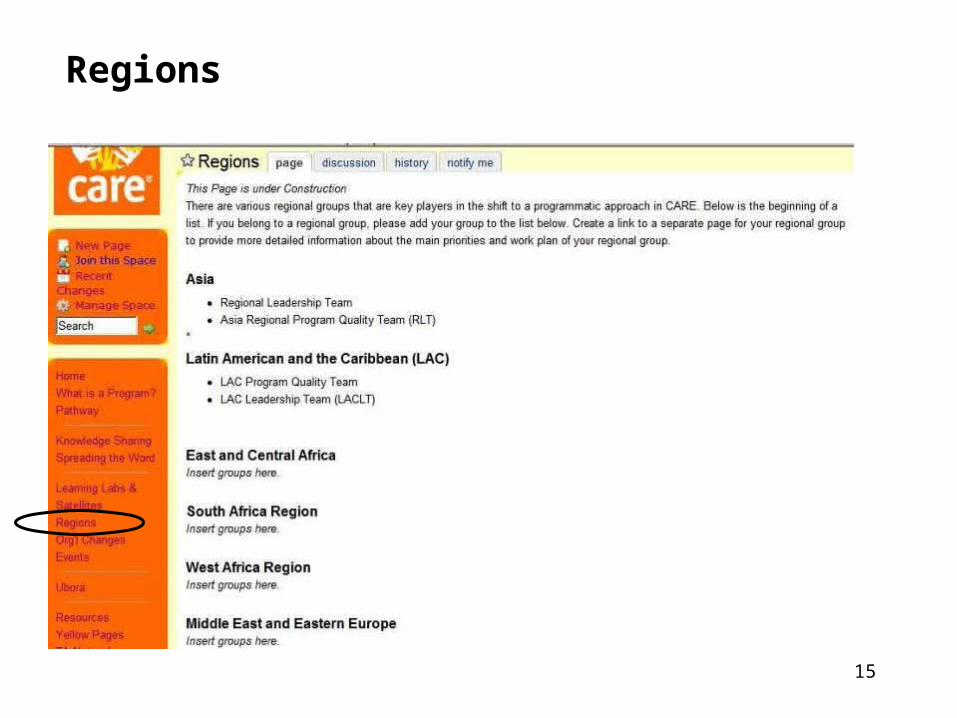
15
Regions
16
Yellow Pages: Who is who?
16
17
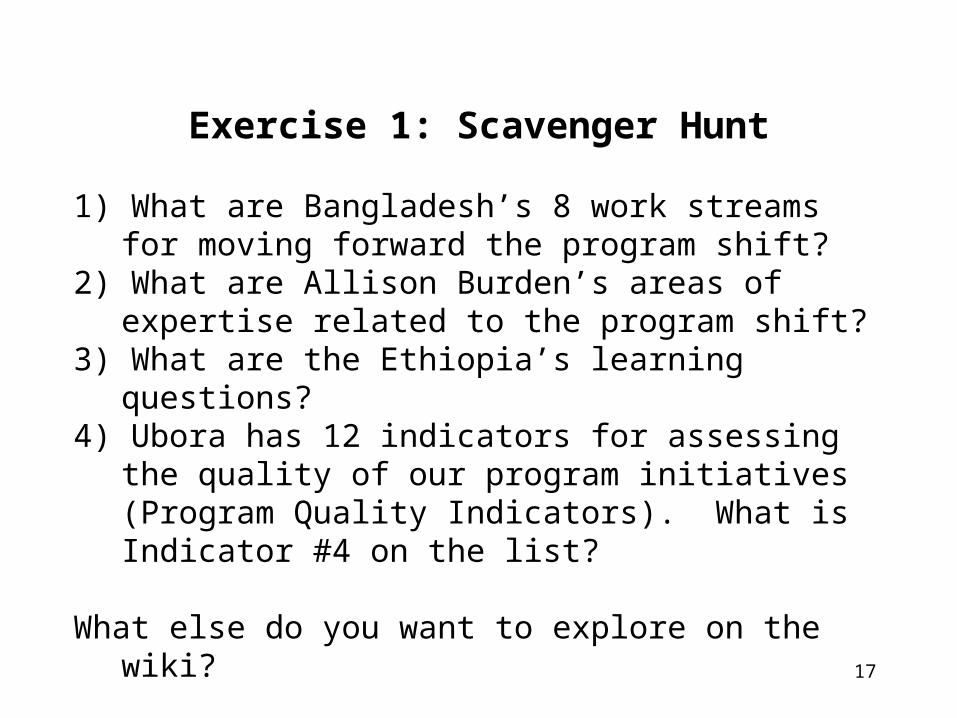
Exercise 1: Scavenger Hunt
1) What are Bangladesh’s 8 work streams for moving forward the program shift?
2) What are Allison Burden’s areas of expertise related to the program shift?
3) What are the Ethiopia’s learning questions?4) Ubora has 12 indicators for assessing the quality of
our program initiatives (Program Quality Indicators). What is Indicator #4 on the list?
What else do you want to explore on the wiki?
18
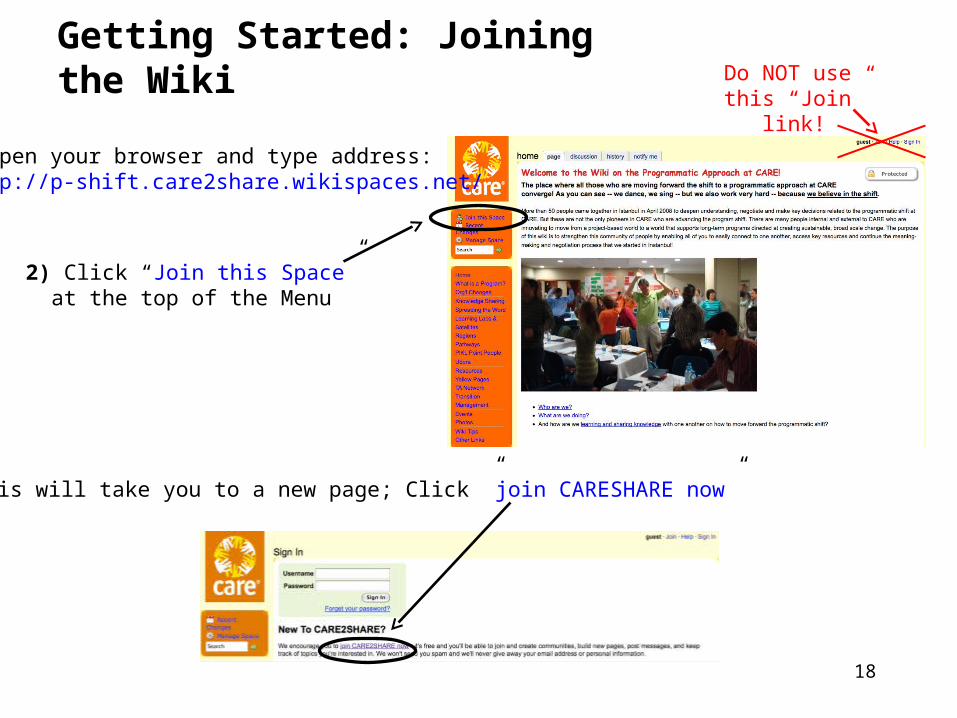
Getting Started: Joining the Wiki
3) This will take you to a new page; Click ”join CARESHARE now”
1) Open your browser and type address: http://p-shift.care2share.wikispaces.net/
2) Click “Join this Space” at the top of the Menu
Do NOT use this “Join” link!
19
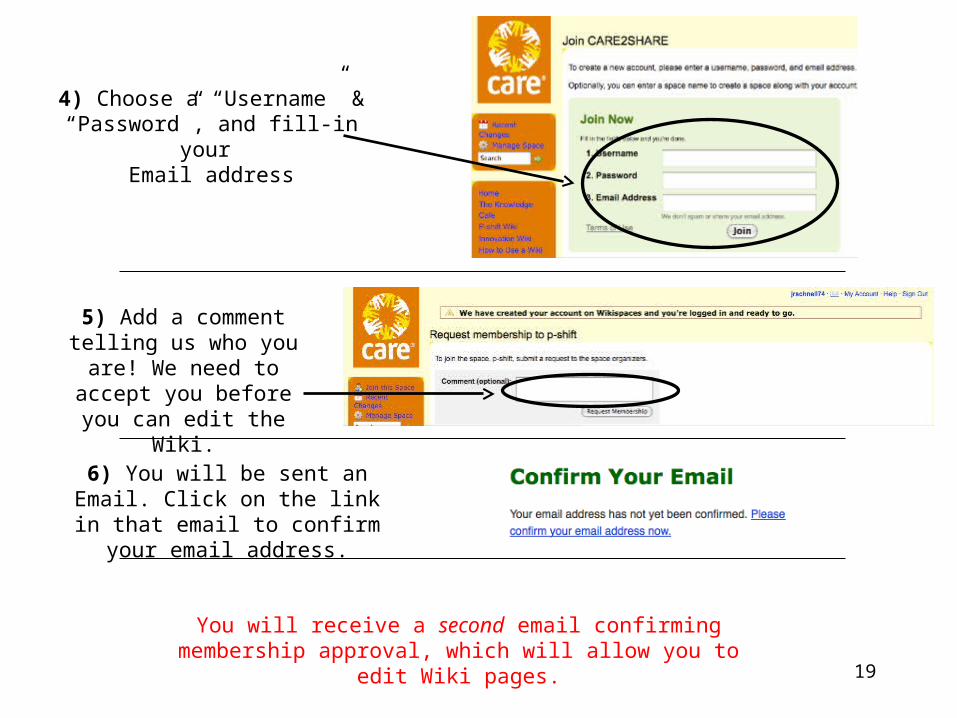
Joining, Part II
4) Choose a “Username” & “Password”, and fill-in your
Email address
6) You will be sent an Email. Click on the link in that email to
confirm your email address.
5) Add a comment telling us who you are! We need to accept you
before you can edit the Wiki.
You will receive a second email confirming membership approval, which will allow you to edit Wiki pages.
20
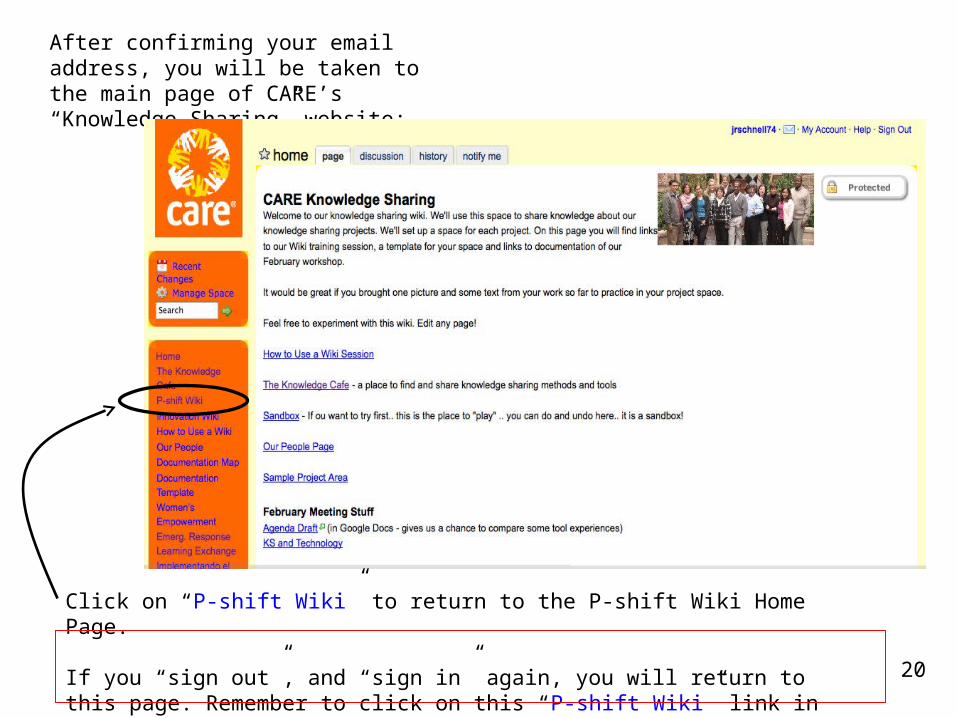
Joining, Part IIIAfter confirming your email address, you will be taken to the main page of CARE’s “Knowledge Sharing” website:
Click on “P-shift Wiki” to return to the P-shift Wiki Home Page.
If you “sign out”, and “sign in” again, you will return to this page. Remember to click on this “P-shift Wiki” link in the left menu to get back to the P-shift Wiki Home Page 20
21
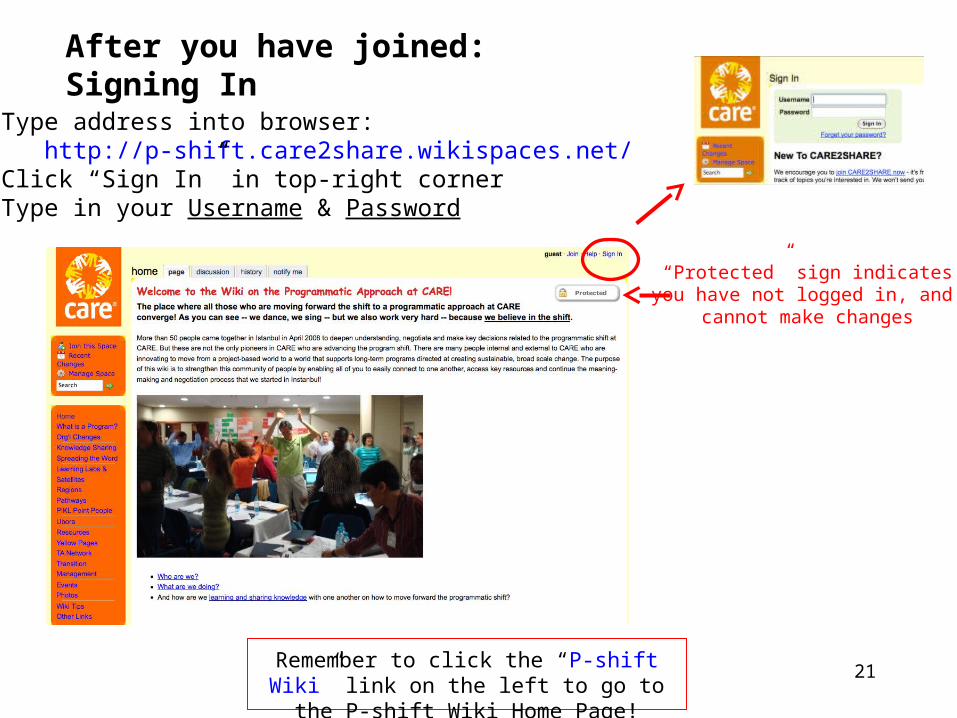
After you have joined: Signing In1) Type address into browser: http://p-shift.care2share.wikispaces.net/2) Click “Sign In” in top-right corner3) Type in your Username & Password
“Protected” sign indicatesyou have not logged in, and
cannot make changes
Remember to click the “P-shift Wiki” link on the left to go to the P-shift Wiki Home Page!
22
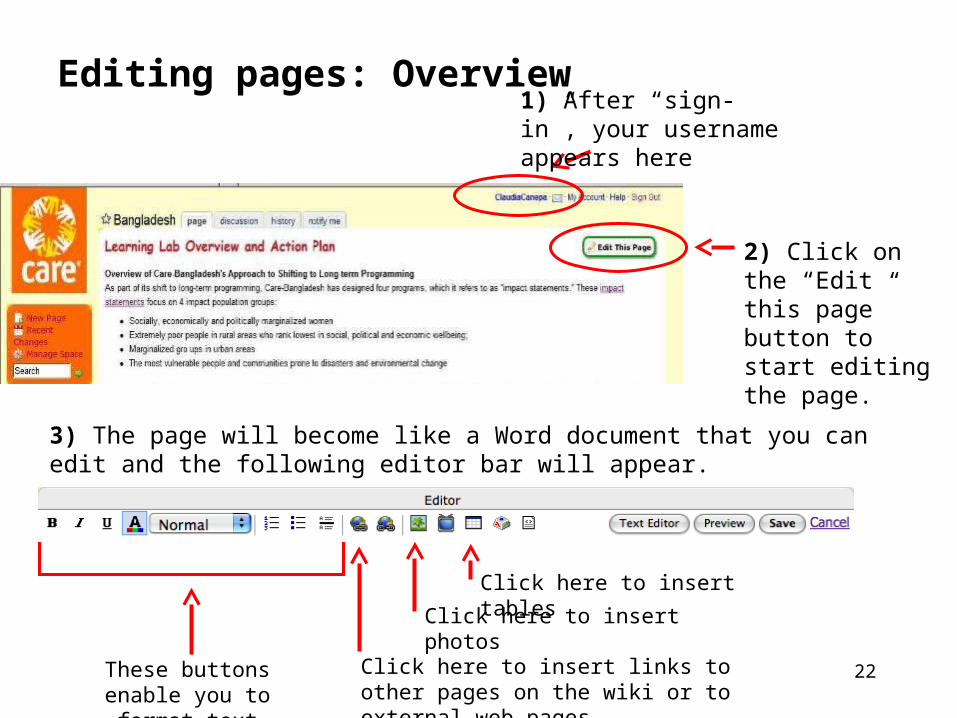
Editing pages: Overview
3) The page will become like a Word document that you can edit and the following editor bar will appear.
These buttons enable you to format text
Click here to insert links to other pages on the wiki or to external web pages
Click here to insert photosClick here to insert tables
1) After “sign-in”, your username appears here
2) Click on the “Edit this page” button to start editing the page.
23
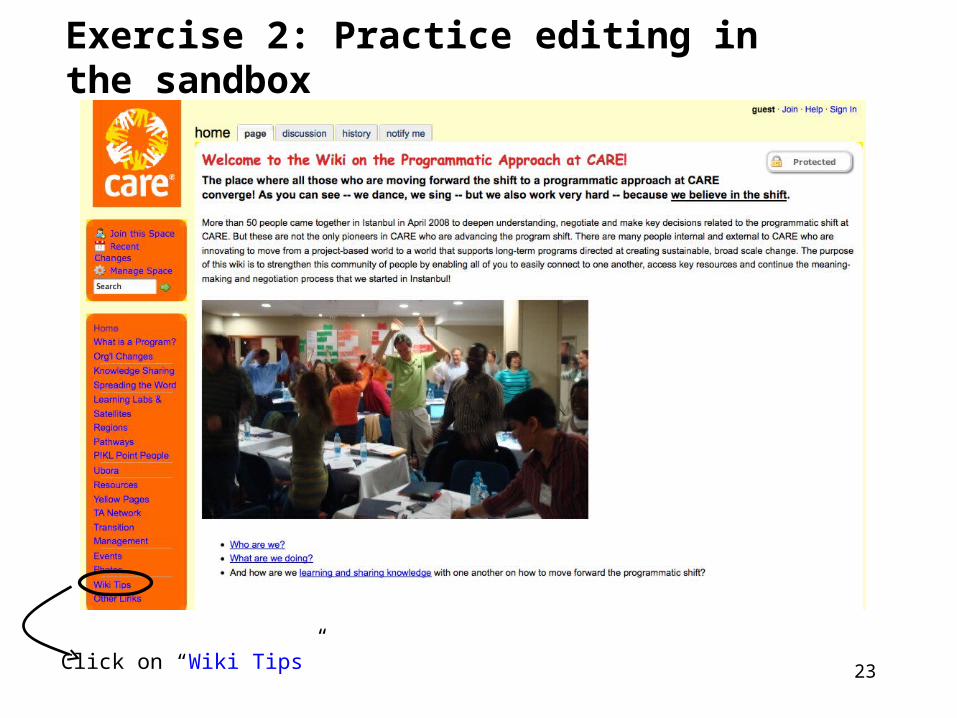
Exercise 2: Practice editing in the sandbox
Click on “Wiki Tips”
24
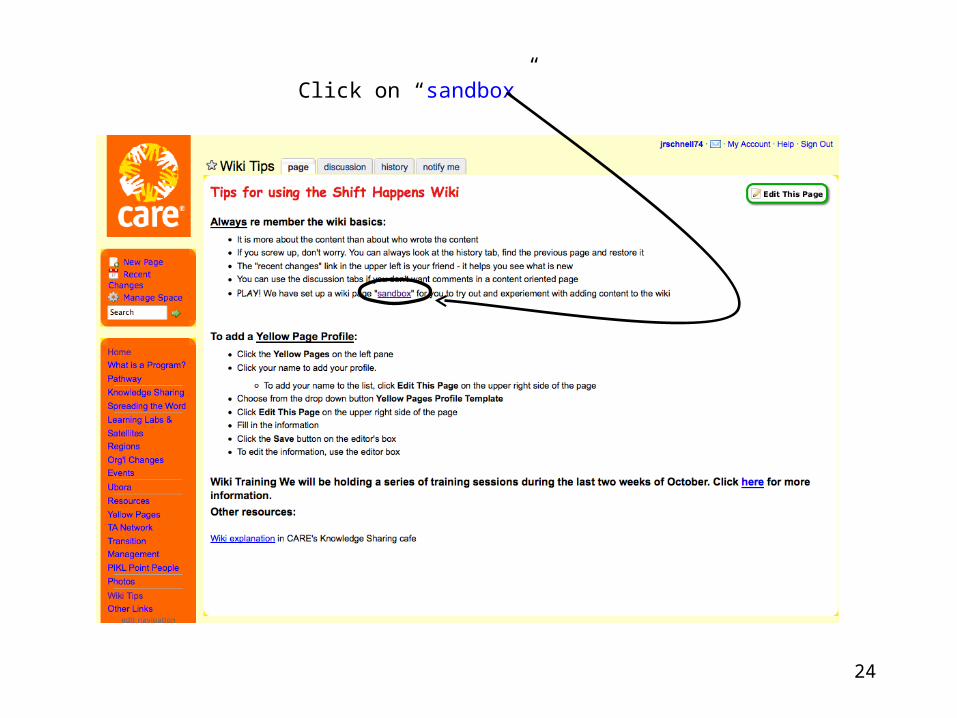
The Sandbox, Getting ThereClick on “sandbox”
25
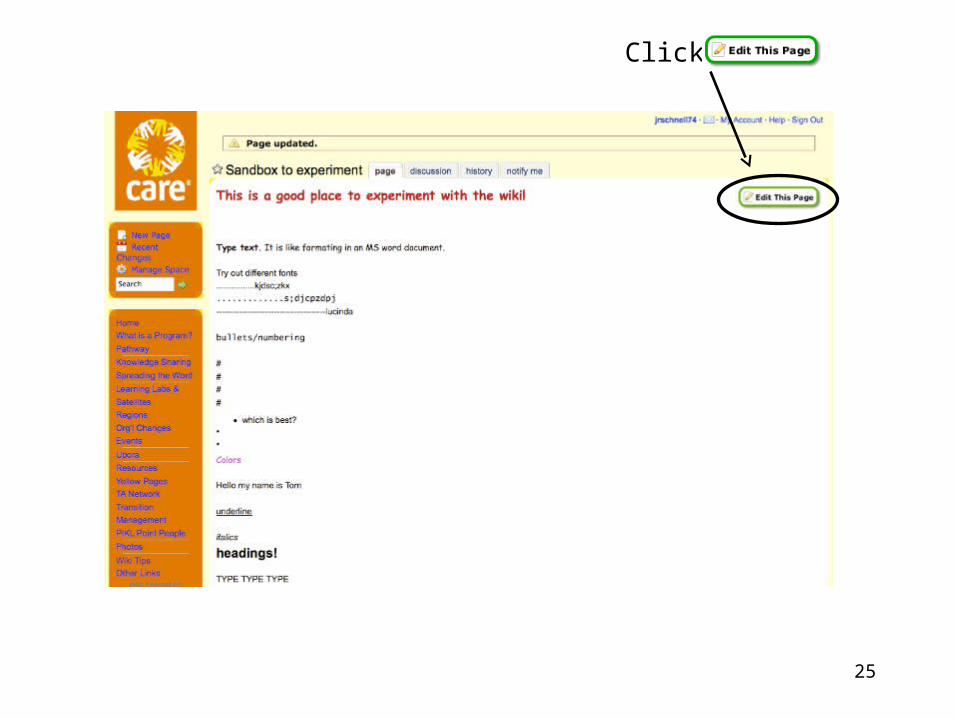
The Sandbox, Editing Click
26
The Sandbox, Tool Bar
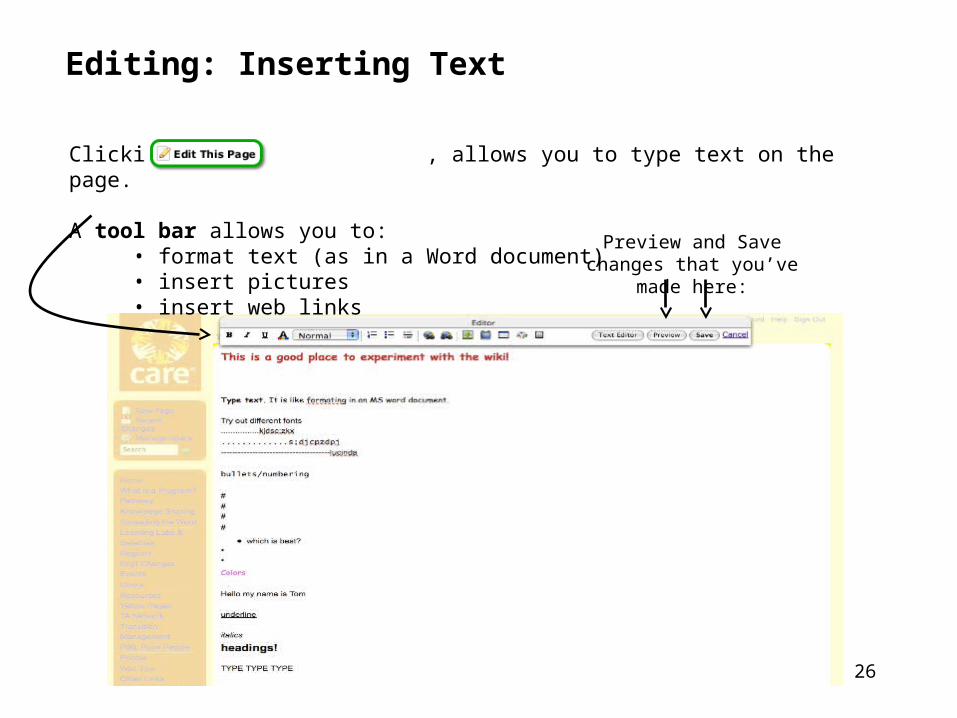
Clicking , allows you to type text on the page.
A tool bar allows you to: • format text (as in a Word document) • insert pictures • insert web links
Preview and Save changes that you’ve made here:
Editing: Inserting Text
27
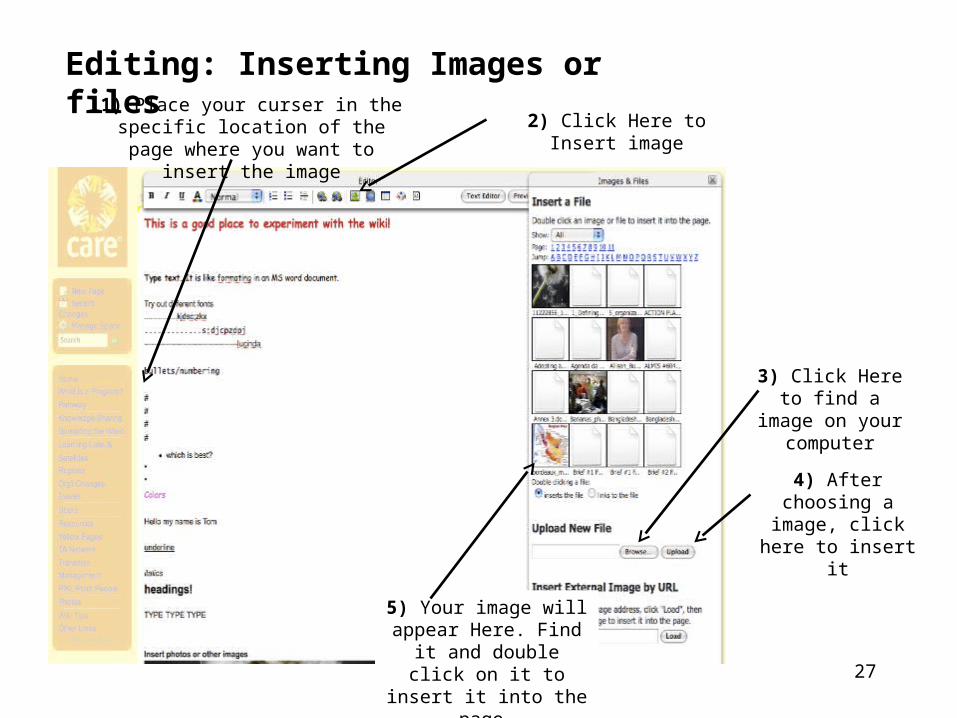
The Sandbox, Insert ImageEditing: Inserting Images or files
2) Click Here to Insert image
3) Click Here to find a image on your computer
4) After choosing a image, click here
to insert it
1) Place your curser in the specific location of the page where you want
to insert the image
5) Your image will appear Here. Find it and
double click on it to insert it into the page
28
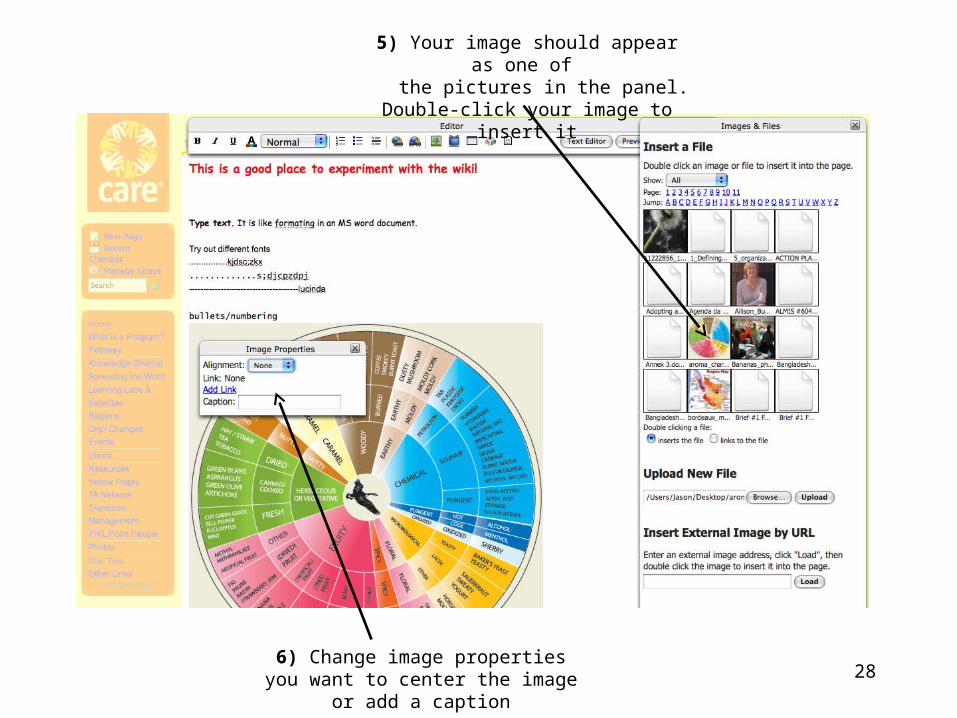
The Sandbox, Insert Image 25) Your image should appear as one of the pictures in the panel. Double-
click your image to insert it
6) Change image properties you want to center the image or add a caption
29
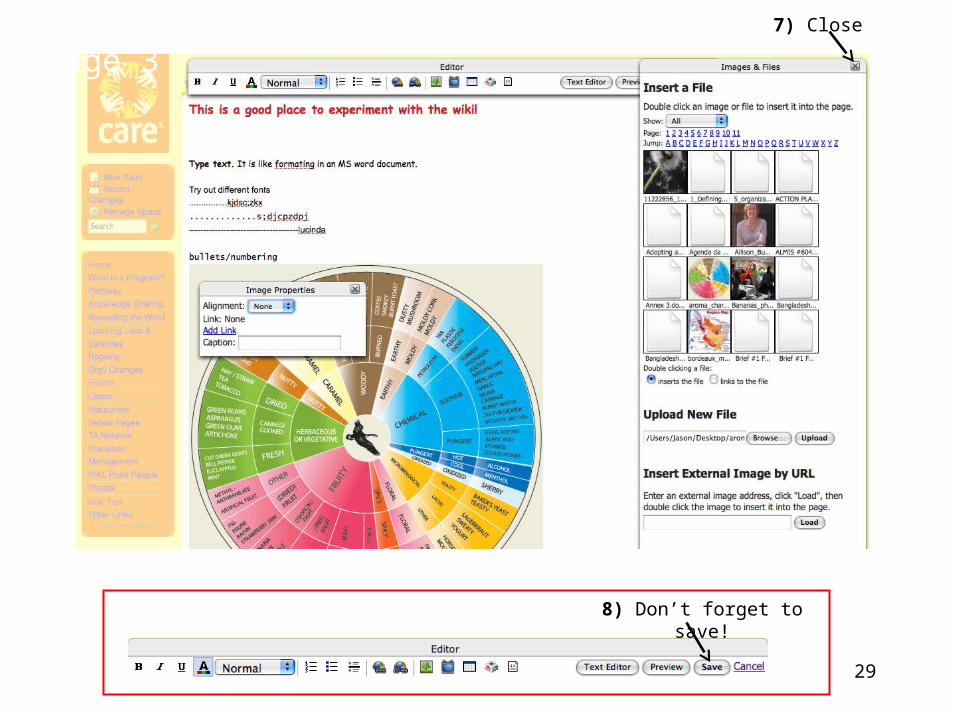
The Sandbox, Insert Image 37) Close
8) Don’t forget to save!
30
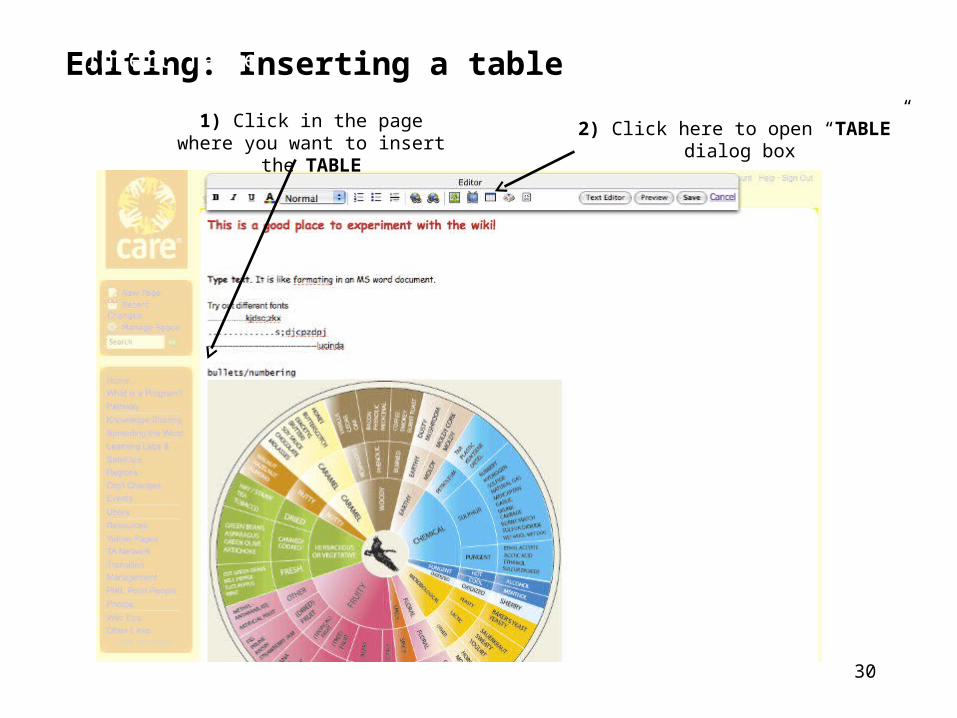
The Sandbox, Insert LinkEditing: Inserting a table
2) Click here to open “TABLE” dialog box1) Click in the page where you want to insert the TABLE
The Sandbox, Insert Table

31
The Sandbox, Insert Link3) Choose the numbers of rows
and columns (this can be changed later)
The Sandbox, Insert Table 2
4) Place cursor inside a table cell,
and click on to insert rows
or columns, change alignment, or delete the table
8) Don’t forget to save!
32
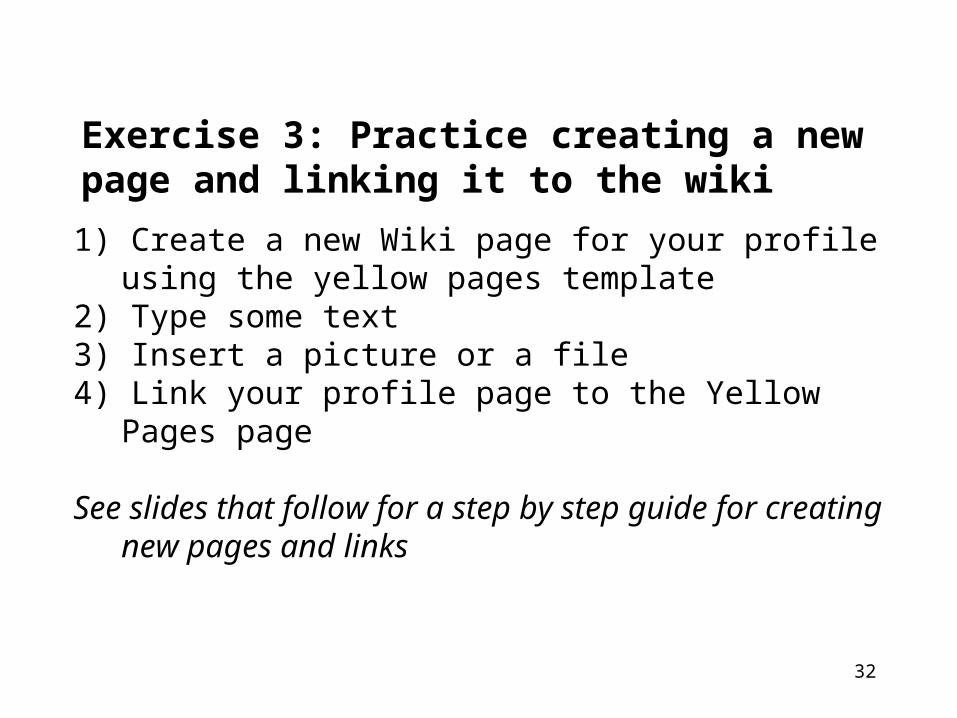
Exercise 3: Practice creating a new page and linking it to the wiki1) Create a new Wiki page for your profile using the
yellow pages template2) Type some text 3) Insert a picture or a file4) Link your profile page to the Yellow Pages page
See slides that follow for a step by step guide for creating new pages and links

33
Creating a new page
1) From any page on the wiki, click on “New Page” to create a new page
2) Next, the dialogue box to the left will appear.
4) Choose “Yellow Pages Profile Template” from the pulldown menu.
3) Use your name for the name of the new page.
6) You will be taken to the new page, in “editing” mode. Type text.
7) Insert relevant tags as key words to facilitate future searching.
8) When you are done, be sure to click on “Save”!
5) Click on “Create” and the page below will appear.
yellow_pages
33
34
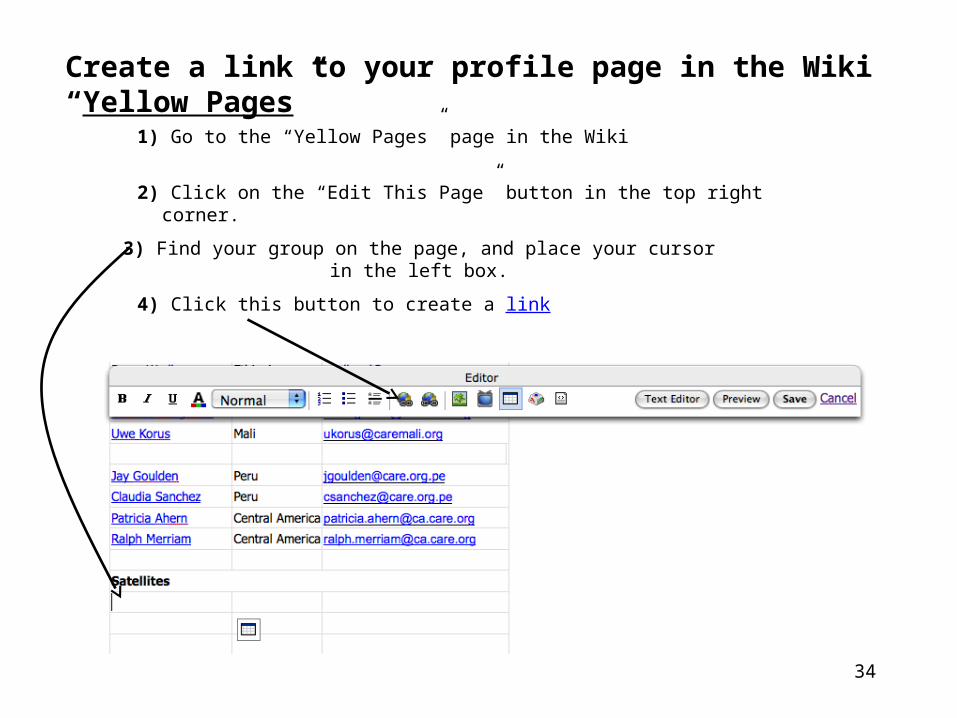
The Sandbox, Insert LinkCreate a link to your profile page in the Wiki “Yellow Pages”
3) Find your group on the page, and place your cursor in the left box.
1) Go to the “Yellow Pages” page in the Wiki
2) Click on the “Edit This Page” button in the top right corner.
4) Click this button to create a link
35
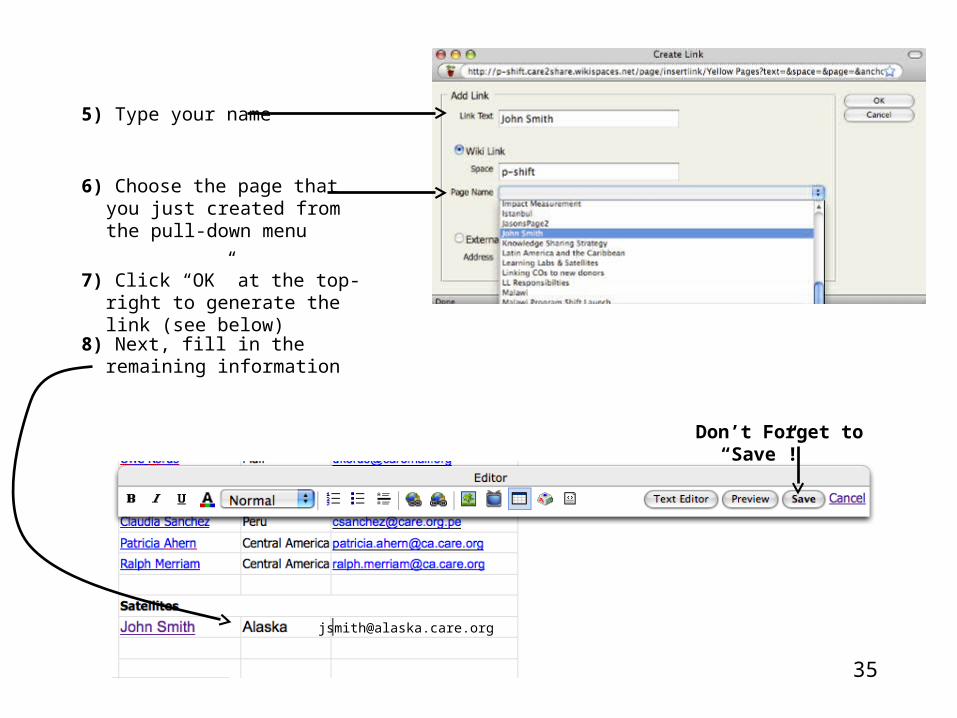
The Sandbox, Insert Link 2
6) Choose the page that you just created from the pull-down menu
5) Type your name
7) Click “OK” at the top-right to generate the link (see below)
8) Next, fill in the remaining information
Don’t Forget to “Save”!
35
36
Expectations and needsLeaders of the program shift in Learning Labs and
Satellites are expected to:• Generate Learning Questions and Knowledge
Sharing Objectives, and upload them onto the wiki• Upload their action plans and update them when
necessary• Use the wiki to document progress in their work and
share key knowledge with others on how to move forward the shift
• Sign up to get notified of changes to pages that are of your interest
• Engage in discussions related to pages of interest• Access resources to strengthen your work
Comments? Needs?