Embed Size (px)
Citation preview

www.openeering.com
powered by
FIRST STEPS WITH SCILAB The purpose of this tutorial is to get started using Scilab, by
discovering the environment, the main features and some useful
commands.
Level
This work is licensed under a Creative Commons Attribution-NonComercial-NoDerivs 3.0 Unported License.

First steps with Scilab www.openeering.com page 2/16
Step 1: The purpose of this tutorial
Are you new in Scilab and you want to learn it easily and quickly?
Are you looking for an open source MATLAB® alternative?
The purpose of this tutorial is to make the user comfortable with the Scilab
software, introducing him/her the features and the potentialities of this
program through the use of the main commands and windows.
Step 2: Roadmap
In this tutorial, after explaining how to install Scilab, we will give a
description of the Scilab environment and start practicing with an example
of data processing, using data stored in an Excel file, which is a typical
format in industrial applications.
We will also learn how to get information through the use of the help and
the demos.
Descriptions Steps
How to install Scilab 3
Scilab environment 4-5
Importing data from Excel 6
Visualizing data 7-9
Basic data processing 10-13
Useful commands and help 14-15
Getting started Demo 16
Conclusions and remarks 17-18

First steps with Scilab www.openeering.com page 3/16
Step 3: How to install Scilab
You can download Scilab for Linux, Windows or MacOSX from the official
page at http://www.scilab.org/products/scilab/download.
If you save the installation file on your Desktop, once the entire file is
downloaded, you will find a file with extension .exe. Just double click on
the icon and the installation will start. You have the option of selecting your
language.
Be careful, you must have administrator privileges to install Scilab, then
simply accept the license terms, select the installation folder and you're
done.
When the installation ends, you will see the Scilab icon on your
desktop. Double click on the icon to start the software.
Step 4: The Scilab environment: Console and Prompt
Once the user has opened Scilab, the window shown on the right appears.
The main part is the Scilab Console, in which is contained the Prompt of
commands, identified by the symbol
-->
Here the user types the commands and interacts with the environment.
(Scilab environment)

First steps with Scilab www.openeering.com page 4/16
Step 5: The Scilab environment: Bars and Windows
On the top of the environment we find the Main Menu and, right below it,
the Toolbar. The content of these two bars changes depending on the
selected part of the environment.
On the left we can see the File Browser, which specifies the current
working directory and shows the files with extensions .sci and .sce, which
are the Scilab files interpreted by the environment.
On the top right we have the Variable Browser, which allows to see all
the variables in use. For example, in the figure on the right we have three
variables stored: a global one and two local variables a and b, where a is
a double and b a string.
Lastly, on the bottom right there is the Command History, which contains
the commands typed so far. All commands entered in a given Scilab
session get stored in this docked window, making them accessible for re-
use or editing.
(Main Menu and Toolbar)
(Docked windows)

First steps with Scilab www.openeering.com page 5/16
Step 6: Importing data from Excel
Our dataset is stored in the Excel file testdata.xlsx and it consists of two
columns of data. This file is available in the Scilab Tutorial section of the
Openeering website ( http://www.openeering.com/scilab_tutorials), in the
compressed folder First Steps (Additional files).
The first step to import data in Scilab is to open the Excel file, select the
cells we wish to copy and copy them to the clipboard, as shown in the
figure on the right.
(Excel file with data stored)

First steps with Scilab www.openeering.com page 6/16
Then we create an empty variable in Scilab where to store the data, by
typing in the Console the command
data = [];
Here data is the name of the variable we are creating. With the empty
square brackets [] we are assigning to this new variable an empty
content and the assignment is done through the symbol =.
The semicolon operator suppresses the visualization of the output in the
console.
After pressing Enter we will find in the Variable Browser the new variable
“data” with no dimension, as shown in the figure on the right.
(Creating an empty variable)

First steps with Scilab www.openeering.com page 7/16
Once our variable has been created, it is possible to select in the Variable
Browser the cell “data” with a double click, which will open the Variable
Editor, as shown in the figure below.
We now paste in the table given by the Variable Editor the data copied
from Excel (figure on the right), making the variable “data” available in
Scilab for data processing. We can paste the data from the clipboard.
(Variable Editor with data stored)

First steps with Scilab www.openeering.com page 8/16
Step 7: Visualizing data
The simplest way to visualize data is to select one of the predefined charts
available in the Variable Editor: the user has just to select the column of
data he/she wants to plot by clicking on the column header and to choose
the kind of plot from the list given by clicking on the icon .
On the right we have plotted the second column of our dataset by
choosing the plot2d chart among the options.
(Example of data plotting from the Variable Editor)

First steps with Scilab www.openeering.com page 9/16
Step 8: Editing figure properties
It is possible to change properties of the figure by selecting Figure
Properties from the Edit menu of the figure:
(Figure properties modified)
Step 9: Exporting data in png format
It is possible to export data in png format selecting from the menu:
File Export to... png
Many other exportation formats are available in the menu.
(Exporting the figure in png format)

First steps with Scilab www.openeering.com page 10/16
Step 10: How to duplicate a variable
We can now practice with a simple example of data processing on a single
vector of data, in particular, on the second column of our dataset.
The first step is to duplicate the variable “data” to get a new variable that
we can modify without losing the original dataset.
To duplicate the data from the Variable Editor we have to right click on a
cell and then select Duplicate the variable (figure on the right).
Hence the window shown below pops up and we create a new variable
with name data2.
(Duplication of a variable)

First steps with Scilab www.openeering.com page 11/16
Step 11: Removing a column
To remove an unused column, he/she just have to right click on the
column header and select Remove column.
In the Variable Browser we have the possibility to check the dimensions of
our two variables:
(Removing a column)
Step 12: Basic data analysis
We are now going to apply to the new dataset the two functions listed on
the right to perform a simple data analysis.
We will compute the mean value and the standard deviation of the vector
“data2”.
Command Description
mean Mean (row mean, column mean) of vector/matrix entries
stdev
st_deviation Standard deviation (row or column-wise) of vector/matrix entries

First steps with Scilab www.openeering.com page 12/16
Step 13: Performing basic data analysis
In the figure on the right we can see the following commands typed in the
console:
mean(data2)
stdev(data2)
The commands are not followed by semicolons, hence the outputs are
displayed in the console and stored one by one in the variable ans. This
variable contains the result of the last operation computed without
assigning to it a variable name.
(Example of data processing)
First steps with Scilab www.openeering.com page 13/16
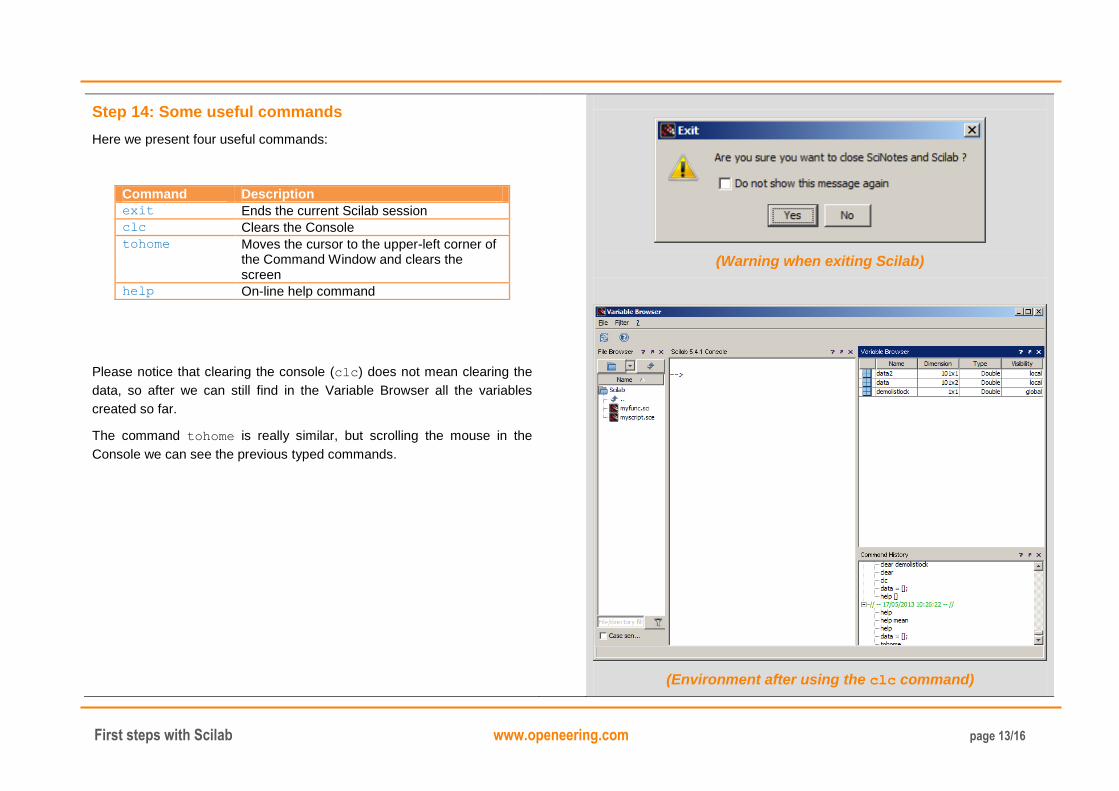
Step 14: Some useful commands
Here we present four useful commands:
Command Description
exit Ends the current Scilab session
clc Clears the Console
tohome Moves the cursor to the upper-left corner of the Command Window and clears the screen
help On-line help command
Please notice that clearing the console (clc) does not mean clearing the
data, so after we can still find in the Variable Browser all the variables
created so far.
The command tohome is really similar, but scrolling the mouse in the
Console we can see the previous typed commands.
(Warning when exiting Scilab)
(Environment after using the clc command)

First steps with Scilab www.openeering.com page 14/16
Step 15: How to obtain online help
There are several ways to get the online help:
- Typing the command help in the Console
- Selecting from the Menu: ? Scilab help
- Pressing F1 on the keyboard
We might want to get directly the specialized help of a given function:
- We have to type in the Console the command help followed
by the name of the function
For example, to get the specialized help of the mean function we type
help mean
(Scilab Help)
(Contextual help)

First steps with Scilab www.openeering.com page 15/16
Step 16: Getting started demo
In Scilab a really useful demo to get started with the software is available:
clicking on the icon in the Toolbar we get the window shown below and
by selecting
Introduction Getting started with Scilab
the demo starts displaying in the Console commands and examples of the
main Scilab objects, operations and structures.
The user controls the timing by entering empty lines to continue, pressing
“Enter” on the keyboard.
(Demo “Getting started with Scilab”)
First steps with Scilab www.openeering.com page 16/16
Step 17: Concluding remarks and References
In this tutorial we have introduced to the user the features and the
potentialities of the Scilab software through the use of the main commands
and windows.
On the right-hand column you may find a list of references for further
studies.
1. Scilab Web Page: www.scilab.org.
2. Openeering: www.openeering.com.
3. Scilab download page:
http://www.scilab.org/products/scilab/download.
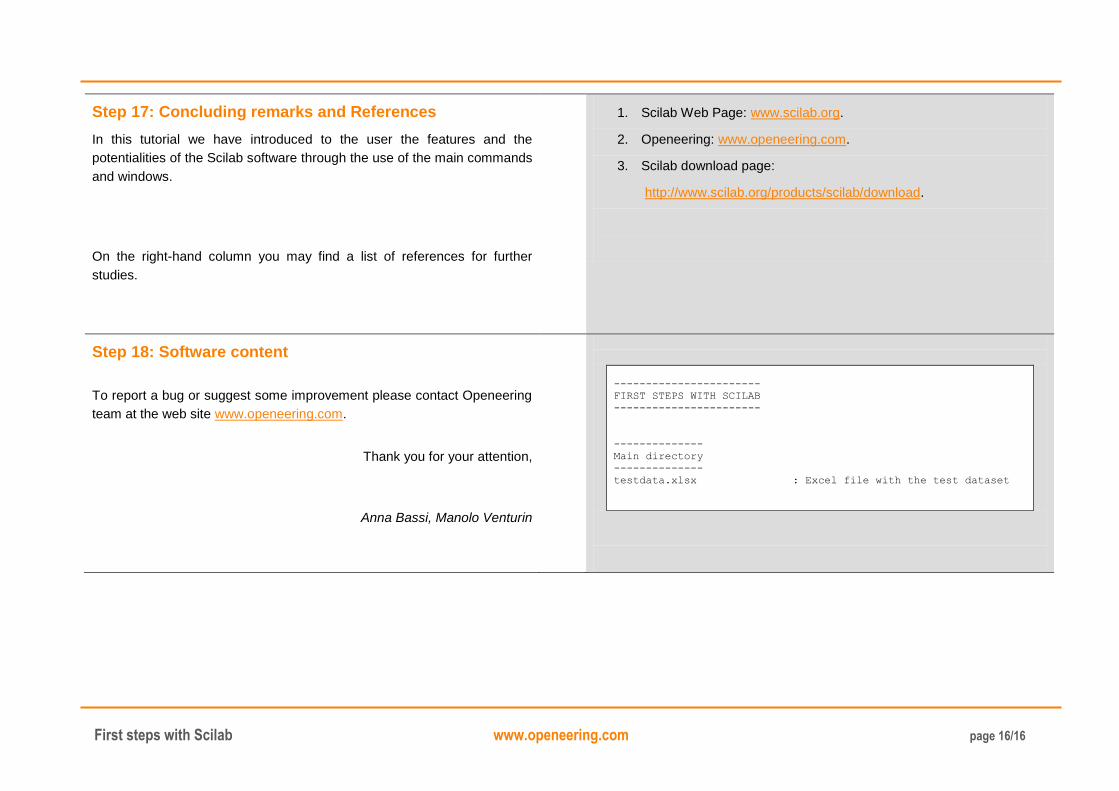
Step 18: Software content
To report a bug or suggest some improvement please contact Openeering
team at the web site www.openeering.com.
Thank you for your attention,
Anna Bassi, Manolo Venturin
-----------------------
FIRST STEPS WITH SCILAB
-----------------------
--------------
Main directory
--------------
testdata.xlsx : Excel file with the test dataset