Embed Size (px)
Citation preview
PolymersPolymersIntroduction
The Big Question:What is a polymer? What are some common uses of polymers? What happens to molecules when a polymer is formed? What is a crosslink and what are the different types of crosslinks?
Objective:The goal of the polymers unit is to teach kids about the characteristics of polymers and their uses. The students will learn about common polymers and how they are formed. They will learn about the “big seven” recyclable plastics, what they are, and how they differ. They will find out how crosslinks form, and how the characteristics of a polymer change when it is crosslinked.
Background:Polymers (“poly” means many, and “mer” means parts) are made of many molecules connected to form a chain. There are many kinds of polymers that we often see every day. The most common of these are plastics. Plastic is a polymer that can be melted down and made into different things through the recycling process. There are seven types of plastic that are commonly recycled, and they are given numbers (1 through 7) that are molded into them.
An important characteristic of polymers is their ability to form crosslinks. A crosslinked polymer forms a gel. There are two types of crosslinks, chemical and thermal. Chemical crosslinks are formed when points along a polymer chain have a charge, due to the orientation of the electrons, and a chemical is introduced that has molecules with the opposite charge. Thermal crosslinks are formed when a polymer that already has crosslinks attached to it changes temperature so that the open ends of the crosslinks bonds to another polymer chain. The result of both methods is a structure resembling a web, known as a gel.
Do you really want to know more?A gel is a crosslinked polymer. When in solution, polymers frequently act like viscous liquids. Due to the size of the polymer molecule and its tendency to expand or unwind in solution, the intermolecular interactions serve to increase the solution’s viscosity. However, in some special polymer solutions, the ability to bond polymer chains together and form crosslinks exists. A crosslink therefore is a bond between two or more polymer chains. There are two primary mechanisms for crosslinking, chemical and thermal.
A chemical crosslink is a crosslink between polymer chains formed by a chemical reaction involving additional species. Frequently the bond in ionic in nature and can vary in strength from quite weak to surprisingly strong. Many polymer chains have charged regions on either the molecular backbone or a side chain. In the presence of a polyvalent
1
ion of the opposite charge, a link between chains can be made by the ion turning the polymer into a gel.
A thermal crosslink is a crosslink formed by changes in the system’s thermal energy. The most cosmopolitan example is Jell-O. In a thermal crosslink, the polymer side chains are primarily responsible for the link between changes; additional species are not needed. Frequently these crosslinks are formed by some thermal cycle. A polymer solution is heated, increasing the energy of the system and encouraging more and bigger molecular vibrations and movement. As the side chains vibrate, they interact; bump into, with each other. The second stage is a relatively rapid decrease in the thermal energy causing less molecular vibration and movement. If the molecule looses sufficient energy it is possible for the side chains to “stick” forming a crosslink. This is what occurs in Jell-O.
Gels present an excellent opportunity to discuss diffusion, the movement of a substance from a region of high concentration to a region of lower concentration. For example, the chemical crosslink will form as soon as the polymer is brought in contact with the ion. However, the crosslinking will only take place until the bonding sites are consumed. After the crosslinking ion must diffuse, or travel further into the bulk polymer to find available bonding sites.
A very common use of gels is in the form of Super Absorbent Polymers, SAP. SAP is a set of dehydrated gels that can rehydrate and absorb many hundreds times their weight in water. The most common use is in disposable diapers. Simply, the SAP traps water in between the crosslinks formed in the structure. The water is held in the gel by ionic forces. Therefore, unlike cotton or other physical absorbers, the water can not be squeezed from the structure like in a sponge. The high absorbency and the resistance to physical discharge make SAP the ideal material for diapers. SAP is also used in grow toys, not the sponge type. Grow toys are SAP in a matrix. The toy traps water and swells as is makes room for the extra mass. The final size is reached after the gel can hold no more water. The toy will shrink is the water is removed and allowed to evaporate out of the structure.
2
PolymersPolymersState Standards and Benchmarks
Oregon Standards for 3rd and 5th grade
Science- Collecting and Presenting Data.Oregon Common Curriculum Goal:
Conduct procedures to collect, organize, and display scientific data.
Benchmarks:Grade 3: Collect data from an investigation.Grade 5: Collect, organize, and summarize data from investigations.
Science- Physical Science Oregon Common Curriculum Goal:
Understanding structure and properties of matter
Benchmarks:Grade 3: Describe objects according to their physical properties.Grade 5: Identify substances, as they exist in different states of matter.
Science- Scientific InquiryOregon Common Curriculum Goal:
Formulate and express scientific questions or hypotheses to be investigated
Benchmarks:Grade 3: Make observations. Based on these observations, ask questions or form hypotheses, which can be explored through simple investigations.Grade 5: Make observations. Ask questions or form hypotheses based on those observations, which can be explored through scientific investigations
Science- Science in Personal and Social PerspectivesOregon Common Curriculum Goals:
Describe the role of science and technology in local, national, and global issues. Describe how daily choices of individuals, taken together, affect global resource cycles, ecosystems, and natural resource supplies.
Benchmarks:
None for this CCG
3
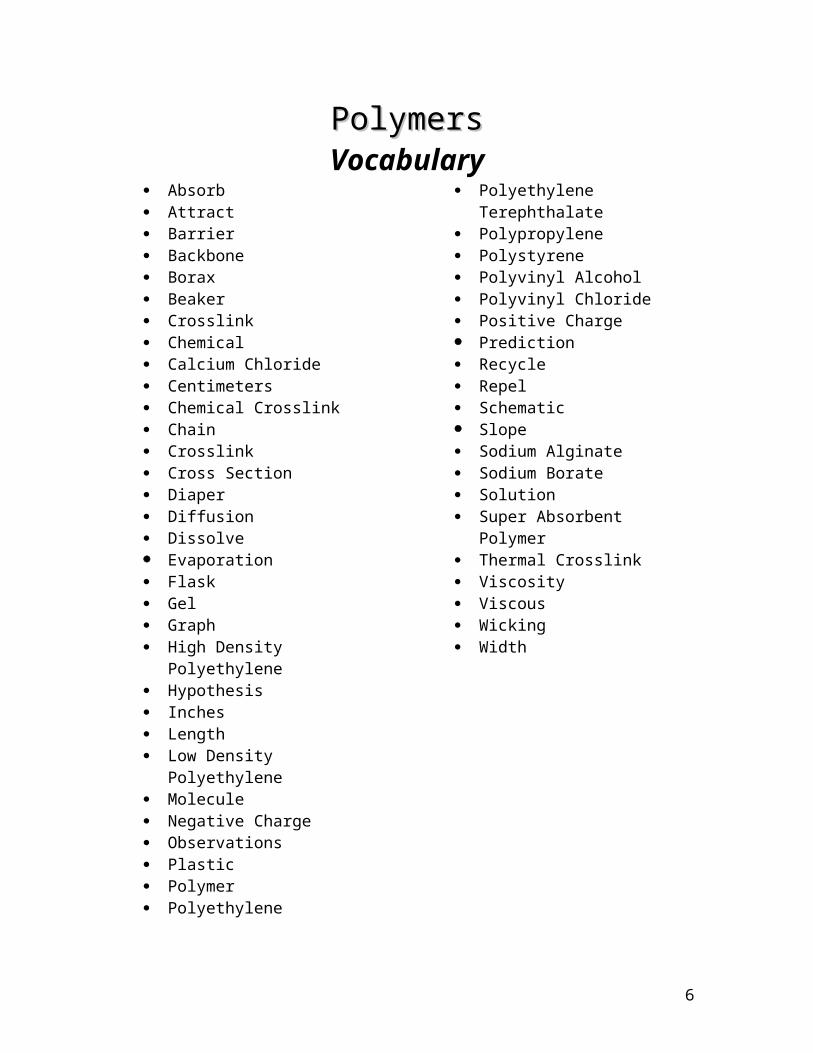
PolymersPolymersVocabulary
Absorb Attract Barrier Backbone Borax Beaker Crosslink Chemical Calcium Chloride Centimeters Chemical Crosslink Chain Crosslink Cross Section Diaper Diffusion Dissolve Evaporation Flask Gel Graph High Density Polyethylene Hypothesis Inches Length Low Density Polyethylene Molecule Negative Charge Observations Plastic Polymer Polyethylene Polyethylene Terephthalate Polypropylene Polystyrene Polyvinyl Alcohol Polyvinyl Chloride Positive Charge Prediction Recycle Repel Schematic Slope
Sodium Alginate Sodium Borate Solution Super Absorbent Polymer Thermal Crosslink Viscosity Viscous Wicking Width
4
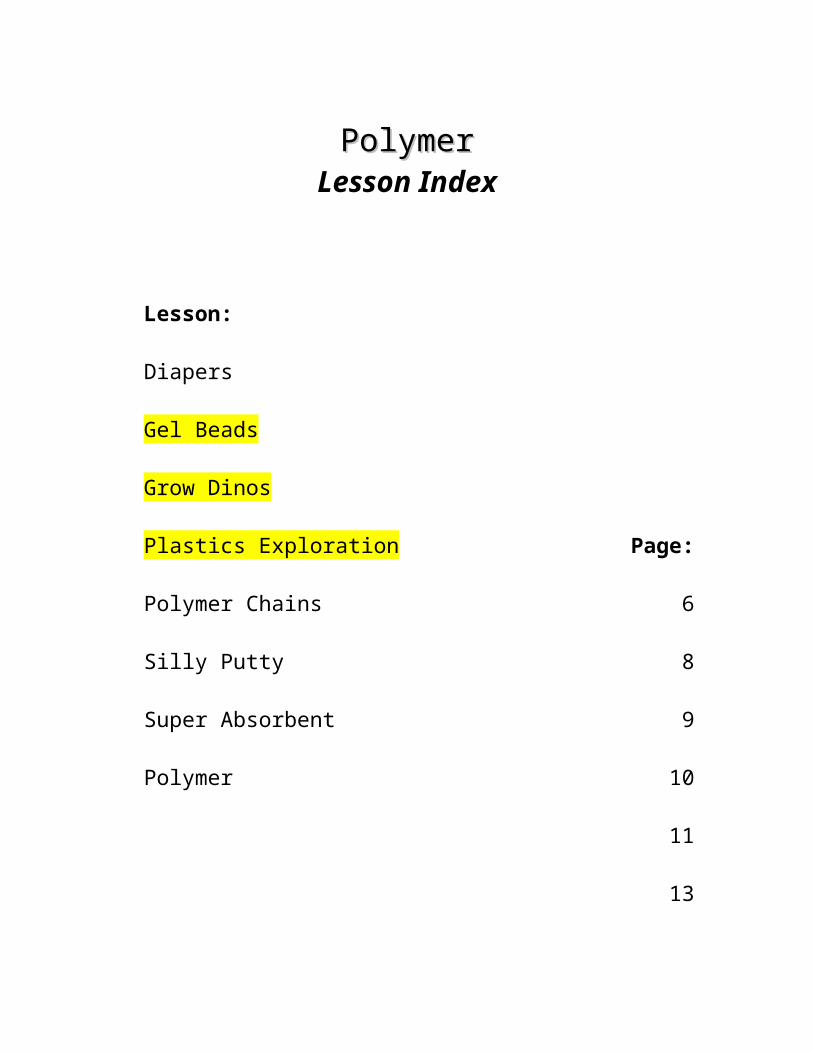
PolymerPolymerLesson Index
Lesson:
Diapers
Gel Beads
Grow Dinos
Plastics Exploration
Polymer Chains
Silly Putty
Super Absorbent Polymer
Page:
6
8
9
10
11
13
17
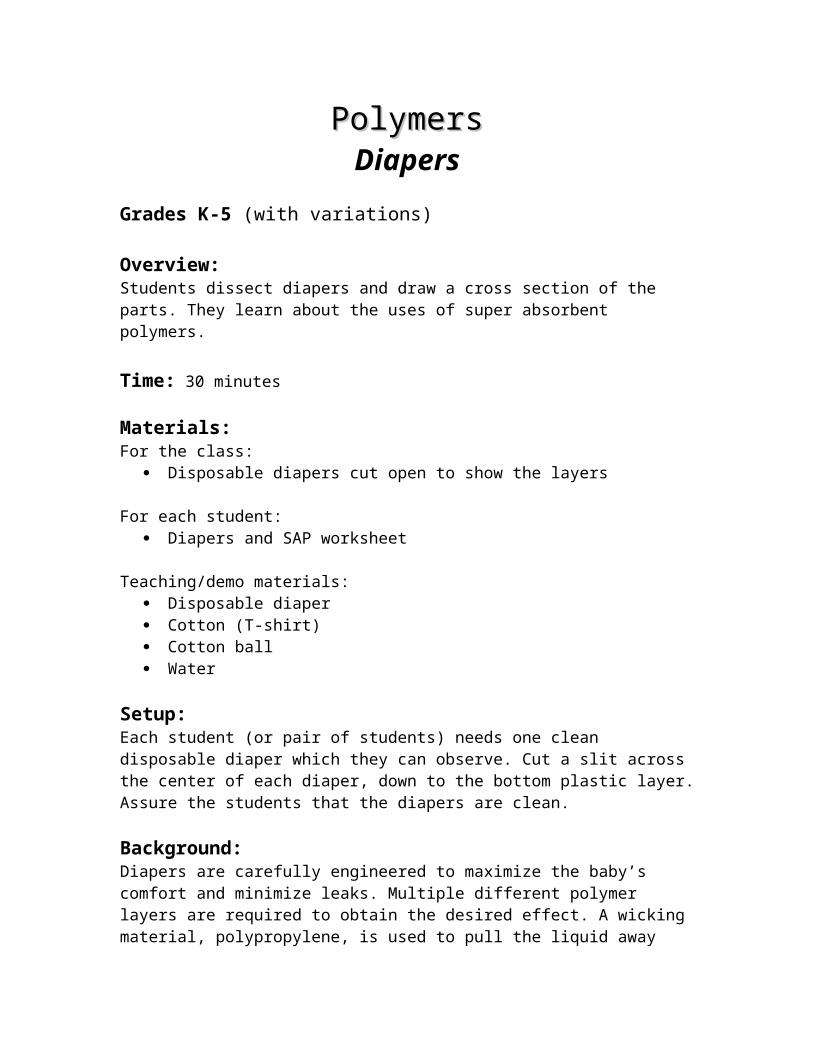
PolymersPolymersDiapers
Grades K-5 (with variations)
Overview:Students dissect diapers and draw a cross section of the parts. They learn about the uses of super absorbent polymers.
Time: 30 minutes
Materials:For the class:
Disposable diapers cut open to show the layers
For each student: Diapers and SAP worksheet
Teaching/demo materials: Disposable diaper Cotton (T-shirt) Cotton ball Water
Setup:Each student (or pair of students) needs one clean disposable diaper which they can observe. Cut a slit across the center of each diaper, down to the bottom plastic layer. Assure the students that the diapers are clean.
Background:Diapers are carefully engineered to maximize the baby’s comfort and minimize leaks. Multiple different polymer layers are required to obtain the desired effect. A wicking material, polypropylene, is used to pull the liquid away from the baby’s skin, resulting in a dry feeling. The liquid is pulled through to a layer of a fluffy cotton-like material, mixed with grains of super absorbent polymer. The cotton absorbs the liquid quickly, but it can be squeezed out. The SAP absorbs more slowly, and as it absorbs it forms a gel. SAP is a crosslinked polymer in a matrix. Water gets trapped inside that matrix where it is held until too much water is absorbed, and the matrix falls apart. The gel serves the double purpose of holding in liquid, as well as creating a soft pad for the baby to sit on. The bottom layer of the diaper is the polyethylene barrier. It is a plastic intended to block moisture from leaking out.
Activities/procedure:Pass out a disposable diaper to each student (or pair of students), and tell them to lay it on the desk in front of them. Together, an instructor drawing on the board and the students drawing on their worksheets, draw a schematic cross section of the diaper. Draw the three layers. Ask the students what they think the function of each layer is. After reaching the cotton, ask if it feels different than normal cotton. They should feel the grains of the SAP within the material.
At this point, to demonstrate why the SAP is mixed into the cotton, pour a small amount of water on a piece of cotton or a cotton ball (a T-shirt works well). Show how the water can be squeezed out.
Label the final layer, the polyethylene barrier. Remind the students what polyethylene is by going back to the plastic exploration lesson and the list of recyclable plastics and finding an example of it.
Discussion:Explain the functions of schematic drawings and cross sections.Talk about the different layers of the diaper.Discuss how engineered disposable diapers are more comfortable for babies to wear, and has been blamed for extending potty training.
Questions to ask the students:What is the purpose of each layer?What is each layer made of?Why is there SAP in the cotton?
Extra:As a class a diaper can be taken and each student can take a syringe of water and dispense it into a clean diaper to see how much water a diaper will hold before it will leak out.
Vocabulary: Diaper Wicking Barrier Polyethylene Polypropylene Super Absorbent Polymer (SAP) Cross Section Schematic

PolymersPolymersGel Beads
Grades K-5 (with variations)
Overview:In this activity, students get to combine two liquids- one colored, one clear. When they drop the colored solution into the clear solution, it forms a bead of gel that can be examined. It is a fun and colorful way to teach students about polymers, crosslinks, and diffusion.
Time: 40 minutes
Materials:For the class:
Sodium alginate (2 wt% in water) in jars colored with food coloring Calcium chloride (1.5 wt% in water) Droppers Small strainers to remove gel beads from solution
For each student: Small plastic dish Small baggies for them to take home their beads
Setup:Place four jars of sodium alginate (one of each color) on each table with droppers for each jar. Provide a dish of calcium chloride for each student.
PolymersPolymersGrow Dinos
Grades K-5 (with variations)
Overview:This activity teaches students about careful scientific procedure and measuring. Students get their own grow dinosaur, made of a super absorbent polymer, to measure and study the rate of growth.
Time: 30-40 minutes every day
Materials:For the class:
Water Rulers
For each student: Plastic grow dino (available at toy stores) Clear plastic clamshell container labeled with his or her name Worksheet for daily observations Labeled graph for plotting growth
Teaching/demo materials: Overhead projector Labeled graph on an overhead for plotting group data
Setup:Give each student his or her own grow dino and a plastic clamshell container (or cup). Be sure the students know what each dino is called in order to avoid confusion while reporting data. We had a Triceratops, a Tyrannosaurus Rex, a Dimetrodon and an Apatosaurus (a long-neck or one time Brontosaurus) Provide a ruler for each student for measuring their dinos. It is a good idea to practice using a ruler with the class and to talk about what all of the marks mean. Depending on age, some kids have had little practice with measuring, fractional pieces or the metric system. Since each of these can be a considerable skill to master, make allowances throughout the lesson and just have the kids work at their skill level.
PolymersPolymersPlastic Exploration
Grades K-5 (with variations)
Overview:In this activity students learn about the different types of recyclable plastics, their unique properties, and how to identify them.
Time: 30 minutes
Materials:For the class:
Pieces of different recyclable plastics numbers 1 through 7 (about 4 pieces per student)
For each student: Plastics Exploration worksheet
Setup:Spread the recyclables across many tables. Make sure there are multiple samples of each of the seven types.
PolymersPolymersPolymers Chains
Grades K-5 (with variations)
Overview:This is an activity that allows students to move around while helping them to understand the different properties of polymers.
Time: 10 minutes
Materials:For the class:
Stopwatch
Setup:Bring the students to the front of the classroom to perform the experiment. Let them know that they are now going to be molecules!
Background:The word “polymer” means many parts. (“Poly” means many and “mer” means parts.) So a polymer is made of many parts, or molecules, connected in long chains. The properties of polymers can be attributed to the length of the chains. A polymer liquid is much more viscous, moves slower, than a liquid consisting of smaller molecules. The larger the molecules get, the slower the polymer will move.
Activities/procedure:Call all the students to the front of the classroom. Tell them that they are each a molecule, and explain that they are going to be “poured” out of a flask and into a beaker. The flask is the classroom, the doors are the mouth of the flask, and the hallway is the beaker. Have the students walk, as a group, from the front of the room, out of the room, to the front doors of the building where they will touch the lab doors, and then walk back to the front of the room. Have an assistant time from when the teacher says “go” to when the last student returns to the front of the room. Record this time on the board, and label it “individual molecules”. Next, put the students in groups of three or four, and have the groups link arms to form a chain. Again, time them as they walk to the front doors, touch them, and then walk back. Record this time, and label it “small chains”. Emphasize to the students the importance of walking carefully and as slowly as possible to avoid any injuries, especially during the final trial. Finally, have class helpers form crosslinks between the polymer chains. The helpers will hold on to the middle of the two chains rather than grabbing the ends and creating one long chain. Time the group as it moves, carefully, from the classroom, to the front doors (where each person must touch them), and back to the classroom. Record this time, and label it “crosslinked chains”.
Discussion:This lesson can be used to introduce the properties of polymers.
Questions to ask the students:What happened to the times as the molecules got larger? Did the time increase or decrease?Why do you think the time increased? What did the crosslinks do to the polymer chains?
For each of the three trials, the times should increase. This represents the liquids becoming more and more viscous as the size of the molecule chains increases. The crosslinks hold the chains together to form a highly structure matrix. This matrix is a gel. Polymers can create durable materials, such as plastic. Polymers also exist in the human body (DNA), in household products (hair gel), in nature (wood) and in certain foods (Jell-O).
Vocabulary: Polymer Chain Crosslink Viscous Flask Beaker Molecule Backbone
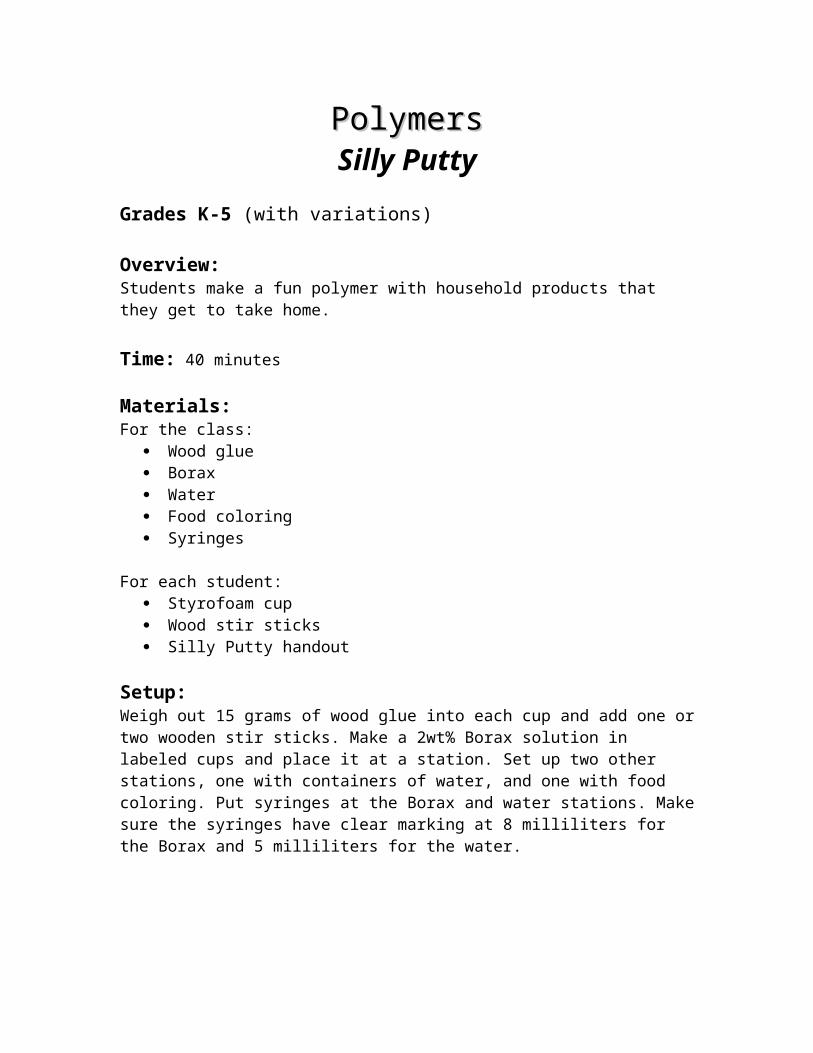
PolymersPolymersSilly Putty
Grades K-5 (with variations)
Overview:Students make a fun polymer with household products that they get to take home.
Time: 40 minutes
Materials:For the class:
Wood glue Borax Water Food coloring Syringes
For each student: Styrofoam cup Wood stir sticks Silly Putty handout
Setup:Weigh out 15 grams of wood glue into each cup and add one or two wooden stir sticks. Make a 2wt% Borax solution in labeled cups and place it at a station. Set up two other stations, one with containers of water, and one with food coloring. Put syringes at the Borax and water stations. Make sure the syringes have clear marking at 8 milliliters for the Borax and 5 milliliters for the water.

Silly Putty Q and A1. So, just what is Silly Putty?
Silly Putty is a unique, classic toy that kids (and adults) have been playing with for 50 years. When rolled into a ball, it bounces. When pulled slowly, it stretches. When pulled quickly, it snaps off cleanly. It can pick up certain comics and newsprint. And, it comes in a plastic egg.
2. What is Silly Putty made from?
Silly Putty is silicone oil and boric acid and other silly ingredients. Colors are also added to Silly Putty to create a broad array of fun shades. The combination creates a "solid liquid" which can be molded, stretched and bounced.
3. Where did Silly Putty come from?
A man-eating flowering plant from the deepest, darkest jungles of the Amazon…only kidding. Silly Putty was discovered in 1943 by scientist James Wright, who was working on a synthetic rubber substitute for General Electric during World War II. While the mixture of silicone oil and boric acid was a dud as a rubber substitute, the substance did have some unique properties. Wright found that it could be molded, stretched and bounced.
No practical use for this "bouncing putty" was found until 1949, when a toy shop owner was handed a piece at a party. Her advertising consultant, Peter Hodgson, convinced her to include one ounce pieces of the strange substance in her Block Shop holiday toy catalog. With only a simple description, bouncing putty outsold the catalog's hundreds of items except one - a 50 cent box of Crayola® crayons. Certain of its marketing potential, Hodgson, already $12,000 in debt, borrowed $147 to buy another batch. After studying 15 names he settled on one - Silly Putty. He packaged the pliable plaything in red plastic eggs and debuted Silly Putty at the 1950 International Toy Fair in New York City . The rest, as they say, is history.
4. How much Silly Putty is made each day?
Binney & Smith, manufacturer of Silly Putty, makes between 17,000 and 20,000 "eggs" a day at its plant in Pennsylvania. That translates into about 425 to 500 pounds of Silly Putty each day.
5. How many eggs have been made since 1950?
More than 300 million Silly Putty or 4.5 tons of the real solid liquid - enough to make a wad the size of the Goodyear® blimp have been made since 1950.
6. How many colors does Silly Putty come in?
Today, Silly Putty is available in its original pinkish color, a brighter pink, blue, yellow, and orange; four glow-in-the dark colors (green, pink, yellow and blue); three changeable colors (purple to pink, orange to yellow and forest green to bright green); and, for its 50th Anniversary, Silly Putty is available for the first time in commemorative metallic gold.
7. How does color-changing Silly Putty work?
Here's the scientific skinny on color-changing Silly Putty: "Silly Putty uses thermochromic (a big word for color change through temperature change) to change color. Changeable Silly Putty is formulated with a base color, to which an additional thermochromic dye is added. When the putty is handled, body heat causes a chemical reaction that makes the thermochromic dye disappear, leaving only the base color. (For example, purple to pink change happens when the base color is pink and the thermochromic dye is blue. Take blue from purple and you get pink.) When the putty cools, the dye "recongeals," returning the color.
8. How high can Silly Putty bounce?
Prominent physicists and basement experimenters have been pondering over this one for years. Several treatises have been written on the subject, highlighting the super bouncing properties of Silly Putty.
How high it bounces depends on how high you drop it from, the surface you're bouncing off of, and the size and shape of your Silly Putty piece. Our scientists have done no conclusive testing on Silly Putty's bounce-ability. However, a quick test in this writer's office finds that a standard size piece of Silly Putty, rolled into a near-perfect ball and dropped onto a standard faux wood desktop from three feet, will bounce back about two and a half feet on its first bounce. Your results may vary.
9. Does it still pick up comics?
For years, Silly Putty was great at picking up images from comics pages and newspapers. While Silly Putty hasn't changed since 1950, printing processes have prohibiting Silly Putty to lift up images. The Wall Street Journal still works great. Try pressing some on to Bill Gates and morphing him into Tom Cruise.
10. What else can you do with Silly Putty?
There are a zillion uses for Silly Putty, 101 of which were humorously cataloged by author Linda Sunshine in her book, "101 Uses for Silly Putty." Some of those uses include: Cleaning typewriter and computer keys; plugging leaks; removing lint from clothing; leveling the leg of a wobbly table; helping smokers kick the habit; as a stress
reliever; and as a forearm strengthener. Do you have a silly use for Silly Putty? Be sure to enter our "50 Silliest Uses for Silly Putty" contest at this link.
11. I know Silly Putty can stretch, but I've also heard you can break Silly Putty cleanly. How do you do it?
Because of the molecular structure of Silly Putty, when you pull it slowly, it stretches like taffy. However, if you pull it with a quick, hard yank, it will snap off cleanly. Believe it or not, Silly Putty in theory is a liquid. In science-speak it is referred to as a "dilatant" compound which means the more pressure you apply to it, the more it acts like a solid. When a small amount of pressure is applied to Silly Putty, it stretches, but when a larger amount of pressure is applied, like pulling it apart quickly, it acts like a solid and snaps.
12. Why does Silly Putty come in an egg?
You know, we're a little cloudy on that, too. Some say it’s because the egg shape provides the ultimate package for this unique liquid solid. Others believed Peter Hodgson, the marketing mastermind behind Silly Putty did his most creative thinking over scrambled eggs and bacon. Still others say it’s because, well, eggs are kind of silly in their own right…
While we can't confirm it, here's a little history we've picked up along the way: When Hodgson first packaged Silly Putty, all he had available were plastic Easter eggs. Toy buyers everywhere fell in love with the egg, and it stuck. Think about it -- what else (besides yolks and whites and certain panty hose) come in eggs? Pretty distinctive, no?
13. Can you explain the Silly Putty mystique?
Well, we can try. Maybe it's because it comes in an egg (see above) or in a bunch of cool colors. It's been around since your parents were kids, and we all had one when we were kids (many of us still do!). It's part of our collective consciousness, like the Slinky, the yo-yo, the 64 box of Crayola crayons, the Barbie doll, the GI Joe, the Matchbox and Hot Wheels cars.
Most importantly, though, even after 50 years, it's still a ton of fun. You buy a Silly Putty egg to have fun -- no practical agendas here! It stretches and it breaks -- how cool is that? You can mold it into any shape and bounce it high. The mystique of Silly Putty will continue as long as there are kids -- and folks who think like kids -- are looking for something uniquely fun.
PolymersPolymersSuper Absorbent Polymers (SAP)
Grades K-5 (with variations)
Overview:Students experiment with the absorbent qualities of super absorbent polymers (SAP). They get to test how much water a small amount of the polymer will hold before falling apart.
Time: 30 minutes
Materials:For the class:
Super absorbent polymer (about 5g per student) Water Salt water (10 wt. %) Paper towels
For each student: Petri dish Syringe Diapers and SAP Worksheet SAP outreach handout and sample
Teaching/demo materials: Opaque cup Super absorbent polymer Water Petri dish Syringe Overhead projector
Setup:For the demonstration have some SAP in an opaque cup easily accessible from the teaching location. Have a bottle of water nearby. This demo is most effective if it is done before beginning discussion on super absorbent polymers.
For the group experiment pour a small amount (about 5 grams) of SAP into each Petri dish, and put a dish and syringe at each place. Set out containers of water on the tables for the students to share. This lesson is messy, so have paper towels ready for clean-up.
Background:Super absorbent polymers are a dehydrated gel. They are crosslinked polymers capable of holding many times their weight in water within the matrix using ionic force. Once the water is absorbed into the polymer, it cannot be squeezed out. Eventually, if enough water is added, the ionic force will not be strong enough to hold it in, and the gel will disintegrate.
SAP is used it diapers where it serves to absorb urine and prevent leaks. Urine has a relatively high salt concentration, so the SAP absorbs it differently. The sodium ions form ionic bonds inside the polymer matrix, preventing the water from absorbing as efficiently. While a small amount of SAP may be capable of holding around 10 syringes of water, it will only hold about 4 syringes of salt water.
SAP is used to protect industrial power and optical wires from water leaks and to filter aviation fuel. It is added to gardens to retain water and it is added to the soil in some places of extreme erosion. In Japan, it is frozen and used to ski on. It is also scattered dry over houses in danger of wildfires, and then it can be saturated as the fire draws near.
Activities/procedure:Before discussing super absorbent polymers, do a demonstration in the form of a “magic” trick. Pour some water into an “empty” cup, which actually contains a small amount of SAP. Ask the class if one of them wants to help with the trick and have water dumped on his or her head. While doing this, make sure that the SAP has completely absorbed the water. Once a student has volunteered (or if none do, have an instructor assist), dump the cup over his or her head. They will be surprised when nothing comes out. Explain how the trick worked. This is a good introduction to get the students interested in super absorbent polymers. Perform a demonstration using a clear Petri dish so the class can see how the trick works. When the Petri dish is put on an overhead projector and water is added, they can see the gel swell and absorb the water,
The students will each have his or her own dish of SAP and syringe, and there will be a communal dish of water on the table. Make this activity like a competition. Tell the students to see who can get the most syringes of water in their SAP without it falling apart. Show them how to use a syringe properly to get an accurate measurement and not spray water across the room. Each time they put in a syringe of water they will turn the dish over quickly to see if the gel is still holding together. They may have to put a couple syringes in before the powdered SAP has all formed a gel. If this is the case, they should not turn the dishes over until the powder is no longer visible. On the worksheet have them keep a tally of how many syringes they have put in. Once the gel begins to slip out of the container while turned upside-down, stop adding water.
Repeat this same experiment using salt water rather than pure water. The results will change significantly.
Discussion:Explain, briefly, how super absorbent polymers work. The water gets stuck between the crosslinks in the polymer. Talk about what happens when too much water is added. Drawing pictures of the gel crosslinks with the water trapped inside and what happens when there is too much water may help some students understand the concept.
Ask the questions:Could the SAP hold more pure water or salt water?Why do you think this is the case?Which took longer to absorb?
Draw a picture of how the salt interferes with the SAP’s ability to hold water.Which is more like what a diaper would absorb: pure water or salt water?What would engineers have to do differently because of this when designing a diaper?
Vocabulary: Super absorbent polymer Absorb Gel Crosslink
ChemistryChemistryWorksheet Index
Worksheet:
Diapers K-2
Diapers 3-5
Gel Beads
Grow Dino Graph
Grow Dino Observations
Plastics Exploration
Page:
21
22
23
24
25
27
SKIESPolymersDiapers and SAPGrades K-2
Schematic of Dissected Diaper:
# of filled syringes put into diaper:
Observations of diaper with water:
# of water filled syringes put into SAP
Observations of water in SAP
SKIESPolymersDiapers and SAPGrades 3-5
Schematic of Dissected Diaper:
# of filled syringes put into diaper:
Observations of diaper with water:
# of water filled syringes put into SAP
#of NaCl filled syringes put into SAP
Observations of water in SAP
Observations of NaCl in SAP

SKIES PolymersGel Beads Data SheetDraw the beads/Make observations:
Strength of the Orbitz beads:
1 2 3 4 5
Weak Strong
Strength of our gel beads:
After 1 minute:
1 2 3 4 5
Weak Strong
After 5 minutes:
1 2 3 4 5
Weak Strong
After 10 minutes:
1 2 3 4 5
Weak Strong
SKIESPolymersGrow Dino GraphLength and Width in cm
15 cm
14 cm
13 cm
12 cm
11 cm
10 cm
9 cm
8 cm
7 cm
6 cm
5 cm
4 cm
3 cm
2 cm
1 cm
Day 1 Day 2 Day 3 Day 4 Day 5
KEY: WIDTH color = LENGTH color =
SKIESPolymersGrow Dinos- ObservationsDay 1, Monday Notes:
Day 2, Tuesday: Notes:
Day 3, Wednesday: Notes:
Day 4, Thursday: Notes:
SKIES Polymers
Plastic Exploration
1. PET – Polyethylene Teraphthalate:
2. HDPE – High Density Polyethelene:
3. PVC – Polyvinyl Chloride:

4. LDPE – Low Density Polyethylene:
5. PP – Polypropylene:
6. PS – Polystyrene:
7. OTHER – Other, treated like HDPE: