Embed Size (px)
Citation preview

PATHWAY: Climate Control Systems Technology
COURSE: Introduction to Mechanical Systems
UNIT 5: ACCT-IMS-5 Basic Mechanical Installation and Maintenance
Annotation: This unit covers safe working procedures. It will expand on how to identify and limit hazards at the workplace. The unit also examines OSHA, personal protective equipment, and lockout/tag-out procedures.
Grade(s):
X 9th
X 10th
X 11th
X 12th
Time: 90 Hours
Author: Travis Ouzts
Students with Disabilities:
For students with disabilities, the instructor should refer to the student's IEP to be sure that the accommodations specified are being provided. Instructors should also familiarize themselves with the provisions of Behavior Intervention Plans that may be part of a student's IEP. Frequent consultation with a student's special education instructor will be beneficial in providing appropriate differentiation.
CTAE Resource Network Introduction to Mechanical Systems • Grades 9-12 • Unit 5 Page 1 of 12
A R C H I T E C T U R E , C O N S T R U C T I O N , C O M M U N I C A T I O N S , & T R A N S P O R T A T I O N

GPS Focus Standards: ACCT -IMS-5. Students will identify and demonstrate basic mechanical installation and maintenance
practices.a) Identify different types of threaded and non-threaded fasteners.b) Identify different types of gaskets, seals, and seal parts.c) Align and properly adjust V-belts.d) Identify different types of drive couplingse) Compare different types of bearings.f) Distinguish between and use bearing pullers and feeler gauges.g) Demonstrate the proper use of a grease gun.h) Demonstrate the proper method for joining metal duct sections and fittingsi) Demonstrate the proper way to install takeoffs and attach flexible duct.
GPS Academic Standards:SCSh2. Students will use standard safety practices for all classroom laboratory and field
investigations.a) Follow correct procedures for use of scientific apparatus.b) Demonstrate appropriate techniques in all laboratory situations.c) Follow correct protocol for identifying and reporting safety problems and
violations.
SPS8. Students will determine relationships among force, mass, and motion.a) Apply Newton’s three laws to everyday situations by explaining the following:
i. Inertia ii. Relationship between force, mass and acceleration
iii. Equal and opposite forcesb) Relate falling objects to gravitational forcec) Explain the difference in mass and weight.d) Calculate amounts of work and mechanical advantage using simple machines.
MA1P1. Students will solve problems (using appropriate technology).a) Build new mathematical knowledge through problem solving.b) Solve problems that arise in mathematics and in other contexts.c) Apply and adapt a variety of appropriate strategies to solve problems.d) Monitor and reflect on the process of mathematical problem solving.
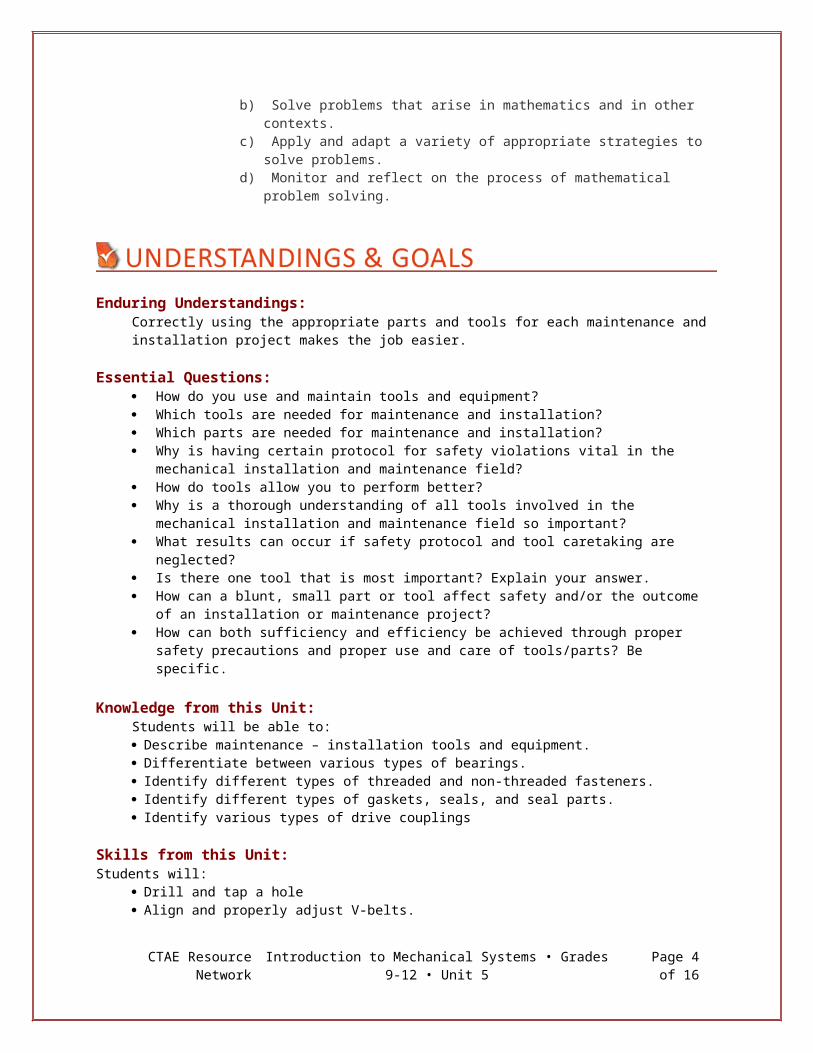
Enduring Understandings: Correctly using the appropriate parts and tools for each maintenance and installation project makes the job easier.
Essential Questions: How do you use and maintain tools and equipment? Which tools are needed for maintenance and installation? Which parts are needed for maintenance and installation? Why is having certain protocol for safety violations vital in the mechanical installation and maintenance
field?
CTAE Resource Network Introduction to Mechanical Systems • Grades 9-12 • Unit 5 Page 2 of 12

How do tools allow you to perform better? Why is a thorough understanding of all tools involved in the mechanical installation and maintenance
field so important? What results can occur if safety protocol and tool caretaking are neglected? Is there one tool that is most important? Explain your answer. How can a blunt, small part or tool affect safety and/or the outcome of an installation or maintenance
project? How can both sufficiency and efficiency be achieved through proper safety precautions and proper use
and care of tools/parts? Be specific.
Knowledge from this Unit: Students will be able to: Describe maintenance – installation tools and equipment. Differentiate between various types of bearings. Identify different types of threaded and non-threaded fasteners. Identify different types of gaskets, seals, and seal parts. Identify various types of drive couplings
Skills from this Unit: Students will:
Drill and tap a hole Align and properly adjust V-belts. Distinguish between and use bearing pullers and feeler gauges. Demonstrate the proper use of a grease gun. Demonstrate the proper method for joining metal duct sections and fittings Demonstrate the proper way to install takeoffs and attach flexible duct.
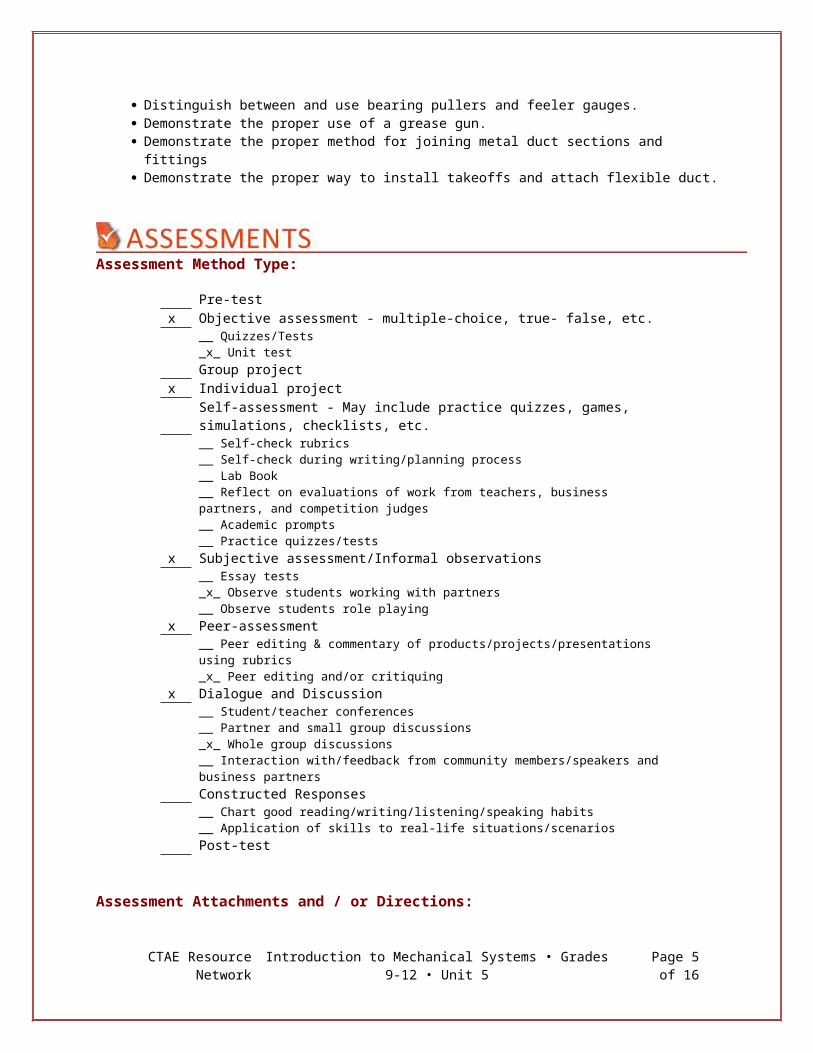
Assessment Method Type:
Pre-testx Objective assessment - multiple-choice, true- false, etc.
__ Quizzes/Tests_x_ Unit testGroup project
x Individual projectSelf-assessment - May include practice quizzes, games, simulations, checklists, etc.__ Self-check rubrics __ Self-check during writing/planning process__ Lab Book__ Reflect on evaluations of work from teachers, business partners, and competition judges__ Academic prompts__ Practice quizzes/tests
x Subjective assessment/Informal observations__ Essay tests_x_ Observe students working with partners__ Observe students role playing
x Peer-assessment __ Peer editing & commentary of products/projects/presentations using rubrics_x_ Peer editing and/or critiquing
x Dialogue and Discussion
CTAE Resource Network Introduction to Mechanical Systems • Grades 9-12 • Unit 5 Page 3 of 12
__ Student/teacher conferences__ Partner and small group discussions_x_ Whole group discussions__ Interaction with/feedback from community members/speakers and business partnersConstructed Responses__ Chart good reading/writing/listening/speaking habits__ Application of skills to real-life situations/scenariosPost-test
Assessment Attachments and / or Directions: NONE
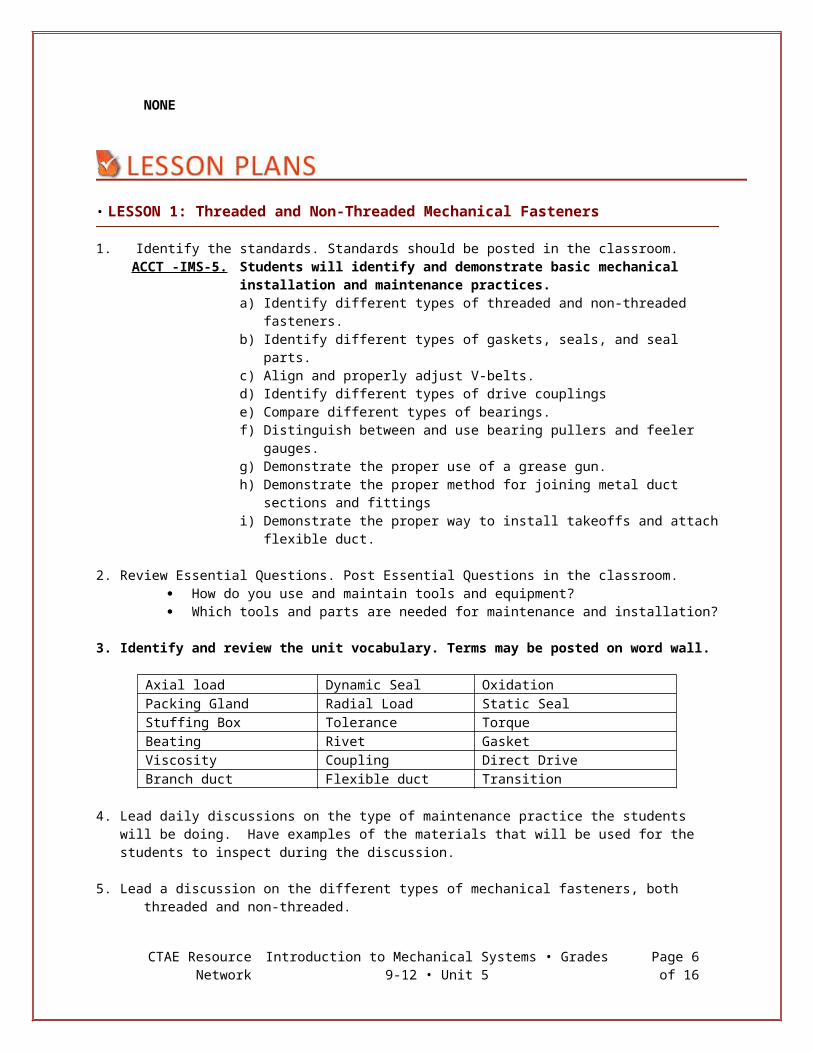
• LESSON 1: Threaded and Non-Threaded Mechanical Fasteners
1. Identify the standards. Standards should be posted in the classroom.ACCT -IMS-5. Students will identify and demonstrate basic mechanical installation and maintenance
practices.a) Identify different types of threaded and non-threaded fasteners.b) Identify different types of gaskets, seals, and seal parts.c) Align and properly adjust V-belts.d) Identify different types of drive couplingse) Compare different types of bearings.f) Distinguish between and use bearing pullers and feeler gauges.g) Demonstrate the proper use of a grease gun.h) Demonstrate the proper method for joining metal duct sections and fittingsi) Demonstrate the proper way to install takeoffs and attach flexible duct.
2. Review Essential Questions. Post Essential Questions in the classroom. How do you use and maintain tools and equipment? Which tools and parts are needed for maintenance and installation?
3. Identify and review the unit vocabulary. Terms may be posted on word wall.
Axial load Dynamic Seal OxidationPacking Gland Radial Load Static SealStuffing Box Tolerance TorqueBeating Rivet GasketViscosity Coupling Direct DriveBranch duct Flexible duct Transition
4. Lead daily discussions on the type of maintenance practice the students will be doing. Have examples of the materials that will be used for the students to inspect during the discussion.
5. Lead a discussion on the different types of mechanical fasteners, both threaded and non-threaded. Where different types of mechanical fasteners are used How different types of mechanical fasteners are installed The importance of mechanical fasteners
CTAE Resource Network Introduction to Mechanical Systems • Grades 9-12 • Unit 5 Page 4 of 12
6. Lead a discussion on bolt thread and grade designation. Standard thread designations National Coarse National Fine National Ultra-fine Metric M and MJ profile Fastener grade designation markings Maximum torque per grade
7. Lead a discussion on different types of threaded fasteners including how and where they are used. Machine bolts, machine screws, stud bolts, cap screws, set screws
Types of screw head and different fastening methods for the screws (slotted, hex, torx, etc)Types of set screws and fastening methods
Flat washers, Lock washers, nutsSplit ring, flat, internal and external washers
Types of nutsSquare, Hex, Machine, Jam, 12pt, Self locking, Wing, Cap, etc.
Thread cutting screws Sheet metal screws including self drilling, thread cutting screws
Screw anchors and anchor boltsToggle bolts, plastic anchors, expanding metal anchor bolts
Threading, tapping, and threaded inserts
8. Lead a discussion on different types of non-threaded fasteners including how and where they are used. Rivets, retainer rings, pins, and key fasteners
9. Lab activities From an assortment of bolts have students find ten different sizes and grade. Have students identify each (including size, thread type, and length) and have the instructor check
your work. Have students acquire name and install different types of setscrews, bolts. Have students acquire name and install different types flat and lock washers, nuts, and bolts. Have students acquire name and install different types of thread cutting, thread forming, and drilling
screws. Have students acquire name and install different types of toggle and anchor bolts. Have students drill, thread, and tap a hole in a piece of flat stock. (aluminum works best and saves
taps) Have students acquire name and install different types of retainer rings. Have students acquire name and install different types of pin fasteners. Have students acquire name and install different types of key fasteners Have students acquire name and install at least two types of rivet.
• LESSON 2: Gaskets
1. Review Essential Questions. Post Essential Questions in the classroom. How do tools allow you to perform better?
2. Lead a discussion on gaskets, what they are made of, what they are used for, and how they are installed. Flat, full face, jacketed, ring, and envelope gaskets, Adhesives and sealers
CTAE Resource Network Introduction to Mechanical Systems • Grades 9-12 • Unit 5 Page 5 of 12
Methods of removing gasket material Installing gaskets (include tightening sequence and torque)
3. Lab activities Have students remove a gasket. Have students select and install a gasket.
4. Summary-Exit slip Have students turn in a slip of paper that explains a particularly useful skill or trick that they learned
today. They should include an explanation of why and how that will be useful.
• LESSON 3: Packing
1. Review Essential Questions. Post Essential Questions in the classroom. Which parts are needed for maintenance and installation?
2. Lead a discussion on packing, what they are made of, what they are used for, and how they are installed. Interlocking braid and twisted braid packing, packing glands and stuffing boxes Metal, graphite ribbon, wrapped and laminated packing Tools and procedures for removing and installing packing.
3. Lab activity Have the students remove, cut, and install packing in a stuffing box
4. Summary Have students turn in a piece of paper that lists the packing method and material that they feel is
most useful. They must also justify in two or three sentences why they feel it is more useful than the others (Ex: cheaper, most versatile, most efficient, most durable, etc.)
• LESSON 4: Seals
1. Review Essential Questions. Post Essential Questions in the classroom. Why is having certain protocol for safety violations vital in the mechanical installation and
maintenance field?
2. Lead a discussion on seals (mechanical and non-mechanical), what they are made of, what they are used for, and how they are installed.
Non-mechanical seals, static and dynamic O-rings, Lip, and radial lip (oil seal) Mechanical seal components and how they provide the seal
3. Lab activities Have students select and install the proper o-ring for a static seal situation Have students select and install the proper o-ring for a dynamic seal situation
4. Summary-Pair and Share Have students pair up with a partner. Ask them to share a scenario (real or hypothetical) with their
partner in which a seal does not function properly and the consequences thereof. The listener then gives an idea for how the incident could have been prevented.
CTAE Resource Network Introduction to Mechanical Systems • Grades 9-12 • Unit 5 Page 6 of 12

• LESSON 5: Bearings
1. Review Essential Questions. Post Essential Questions in the classroom. Why is a thorough understanding of all tools involved in the mechanical installation and maintenance
field so important?
2. Lead a discussion on bearings, what they are made of, what they are used for, and how they are removed and installed.
Where bearings are used How load force is exerted on bearings Sleeve and thrust washers(bearings) Anti friction bearings(ball and roller) Identification of bearing failures (heat, noise, vibration, excessive play) How to use bearing pullers ( selection, placement, alignment, torque) How to install various types of bearings (press, heat, locknut)
3. Lab activities Have students use a puller to remove a bearing. Have students install a bearing
4. Summary-Exit Slip Have students turn in a piece of paper that lists the packing method and material that they feel is
most useful. They must also justify in two or three sentences why they feel it is more useful than the others (Example: cheaper, most versatile, most efficient, most durable, etc.)
LESSON 6: Lubrication
1. Review Essential Questions. Post Essential Questions in the classroom. What results can occur if safety protocol and tool caretaking are neglected?
2. Lead a discussion on lubrication, what it is, what it is used for, viscosity and how to properly lubricate equipment.
Lubrication and friction What lubricants are made of(have samples of lubricants, oils and greases) Focus on oils (wax free and waxy) Viscosity and the viscosity index Flash point, fire point, pour point, and oxidation resistance Focus on greases How greases are made and how they are rated Where different greases are used and why (dropping point) Lubricating equipment Types of grease guns and fittings (Zerk)
3. Lab activity Have students drill and tap apiece of scrap pipe for a Zerk fitting. Use a grease gun with a hydraulic
coupler to install grease in the pipe. (do this in a way that the students can see the grease come out of the fitting.
4. Summary-Pair and share
CTAE Resource Network Introduction to Mechanical Systems • Grades 9-12 • Unit 5 Page 7 of 12

Have students pair up with a partner. Give them a simple scenario in which lubrication should have been used but was not. Have them take turns giving possible and probable consequences of this error.
LESSON 7: Belts
1. Review Essential Questions. Post Essential Questions in the classroom. Is there one tool that is most important? Explain your answer.
2. Lead a discussion on drive belts, what they are made of, what they are used for, and how they are removed and installed.
Discuss different types of pulley ( Size, diameter, single, adjustable, step, multi-groove) V-Belts, their composition, how they ride in the sheave, and classifications Light duty fractional horsepower belts Standard multiple belts Wedge belts Belt drive systems (Pulley alignment, tension, proper placement of the belt on the pulley)
2. Lab activity Have students install pulleys, check alignment, install the proper belt, and adjust to the proper
tension.
3. Summary-Exit Slip Have students turn in a slip of paper with two materials that belts can be made of. Have them
include a situation in which each material should not be used or a general caution that should be taken when working with this material.
LESSON 8: Couplings and Direct Drives
1. Review Essential Questions. Post Essential Questions in the classroom. How can a blunt, small part or tool affect safety and/or the outcome of an installation or
maintenance project?
2. Lead a discussion on direct drives, what they are used for, and how they are removed and installed. Where direct drives are used Types of couplings Rigid couplings – flanged, sleeve, and ribbed Flexible couplings – Mechanical and flexible Soft-Start couplings – where they are used Manual coupling pullers Installing couplings (press fit and interface fit) Coupling alignment (outer diameter alignment, face alignment)
3. Lab activity Have students align a direct drive coupling arrangement.
4. Summary-Pair and Share Have students pair up with a partner. Ask them to share a scenario (real or hypothetical) with their
partner in which a coupling does not function properly and the consequences thereof. The listener then gives an idea for how the incident could have been prevented or the damage repaired.
CTAE Resource Network Introduction to Mechanical Systems • Grades 9-12 • Unit 5 Page 8 of 12

LESSON 9: Ducts, Fittings, and Take-Offs
1. Review Essential Questions. Post Essential Questions in the classroom. How can both sufficiency and efficiency be achieved through proper safety precautions and
proper use and care of tools/parts? Be specific.
2. Lead a discussion on ducts, what they are made of, what they are used for, and how they are prepared and installed.
Duct system componentsMain trunk, branch ducts, diffusers, dampers, grills, fittings, and transitions
Duct materials (galvanized, fiber, flexible) How square and round duct are assembled and joined How to cut in a take-off How and where transitions are needed
3. Lab activities Have students assemble a stick of round duct Have students assemble a section of square duct Have students prepare, install, and seal a square to round transition Install a 90 degree elbow to the transition Have students install and seal a section of flexible duct from the elbow to a boot
4. Summary-Comparison On a slip of paper, have students choose one tool, part, or material that they found very easy to work
with, and one that they found particularly difficult to work with. Have them defend their choices.
• ATTACHMENTS FOR LESSON PLANS:
www.boltdepot.com Go to charts and tables and free printable fastener tool
• NOTES & REFLECTION:
CTAE Resource Network Introduction to Mechanical Systems • Grades 9-12 • Unit 5 Page 9 of 12

INCH SIZES - NATIONAL COARSE ---------------------------- TAP DRILL SIZE SIZE ---------------------------- #1-64 #53 #2-56 #51 #3-48 5/64" #4-40 #43 #5-40 #39 #6-32 #36 #8-32 #29 #10-24 #25 #12-24 #17 1/4-20 #7 5/16-18 F 3/8-16 5/16 7/16-14 U 1/2-13 27/64 9/16-12 31/64 5/8-11 17/32 3/4-10 21/32 7/8-9 49/64 1"-8 7/8 1-1/8-7 63/64 1-1/4-7 1-7/64 1-1/2-6 1-11/32 1-3/4-5 1-35/64 2"-4-1/2 1-25/32 ----------------------------
INCH SIZES - NATIONAL FINE ---------------------------- TAP DRILL SIZE SIZE ---------------------------- #0-80 3/64" #1-72 #53 #2-64 #50 #3-56 #46 #4-48 #42 #5-44 #37 #6-40 #33 #8-36 #29 #10-32 #21 #12-28 #15 1/4-28 #3 5/16-24 I 3/8-24 Q 7/16-20 W 1/2-20 29/64 9/16-18 33/64 5/8-18 37/64 3/4-16 11/16 7/8-14 13/16 1"-14 15/16 1-1/8-12 1-3/64 1-1/4-12 1-11/64 1-1/2-12 1-27/64 1-3/4-12 1-43/64 2"-12 1-59/64 ----------------------------
TAPER PIPE SIZES - NPT ---------------------------- TAP DRILL SIZE SIZE ---------------------------- 1/8-27 R 1/4-18 7/16 3/8-18 37/64 1/2-14 23/32 3/4-14 59/64 1"-11-1/2 1-5/32 1-1/4-11-1/2 1-1/2 1-1/2-11-1/2 1-47/64 2"-11-1/2 2-7/32 2-1/2-8 2-5/8 3"-8 3-1/4 3-1/2-8 3-3/4 4"-8 4-1/4 ----------------------------
STRAIGHT PIPE SIZES - NPS ---------------------------- TAP DRILL SIZE SIZE ---------------------------- 1/8-27 S 1/4-18 29/64 3/8-18 19/32 1/2-14 47/64 3/4-14 15/16 1"-11-1/2 1-3/16 1-1/4-11-1/2 1-33/64 1-1/2-11-1/2 1-3/4 2"-11-1/2 2-7/32 2-1/2-8 2-21/32 3"-8 3-9/32 3-1/2-8 3-25/32 4"-8 4-9/32 ----------------------------
CTAE Resource Network Introduction to Mechanical Systems • Grades 9-12 • Unit 5 Page 10 of 12

Culminating Unit Performance Task Title: Unit Performance Tasks
Culminating Unit Performance Task Description/Directions/Differentiated Instruction: All tasks that have been performed during this unit should be printed and cut apart. Have students draw "out of the hat" performance tasks and have them demonstrate and give
instruction to other students on how to perform the task. Have the students grade each other on their performance and instruction.
Attachments for Culminating Performance Task: Task Performance Rubric
Web Resources: REVIEW VIDEOS TO BE SURE THEY ARE APPROPRIATE FOR YOUR CLASS!
Materials & Equipment: Thread pitch gauge Feeler gauges Calipers Nut, bolt, screw,
washer, rivet assortments
Various bearings and seals
Torque wrenches Aluminum plate to
practice tapping a hole Tab and Die set Rivet tool Gaskets and gasket
materials
Bearing puller Stuffing box and
various packing materials
O-rings Bearings and shafts Zerk fittings and grease
gun Belts, pulleys, tension
gauge Aviation snips Sheet metal notchers Round duct Square duct Flexible duct
21st Century Technology Used:
Slide Show Software Graphing Software Audio File(s)Interactive Whiteboard Calculator Graphic OrganizerStudent Response System Desktop Publishing Image File(s)Web Design Software Blog VideoAnimation Software Wiki Electronic Game or Puzzle MakerEmail x Website
CTAE Resource Network Introduction to Mechanical Systems • Grades 9-12 • Unit 5 Page 11 of 12

CTAE Resource Network Introduction to Mechanical Systems • Grades 9-12 • Unit 5 Page 12 of 12