Embed Size (px)
Citation preview

Pencils down!
• Instead of scribbling down everything I say, just visit http://netsquirrel.com/ when you get home.
• This is my personal Web site and it contains free, zipped copies of every one of my PowerPoint presentations – including this one.
• In return, though, I have one small favor to ask of you … PLEASE SILENCE YOUR CELL PHONE!
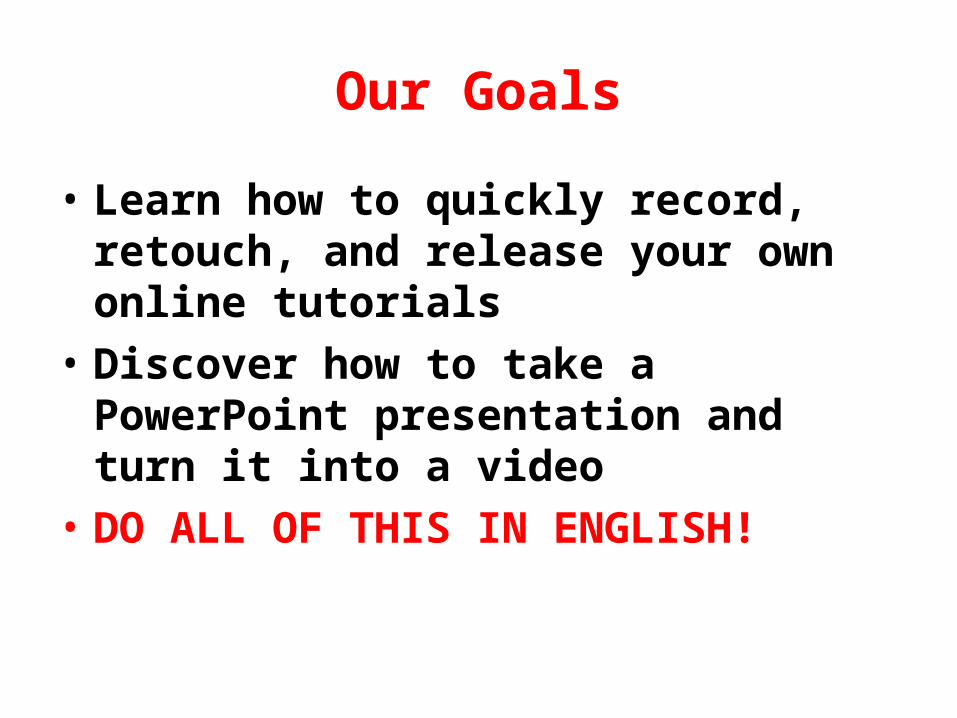
Our Goals
• Learn how to quickly record, retouch, and release your own online tutorials
• Discover how to take a PowerPoint presentation and turn it into a video
• DO ALL OF THIS IN ENGLISH!
Part One: The Basics
What the heck is this “Camtasia” thingy?
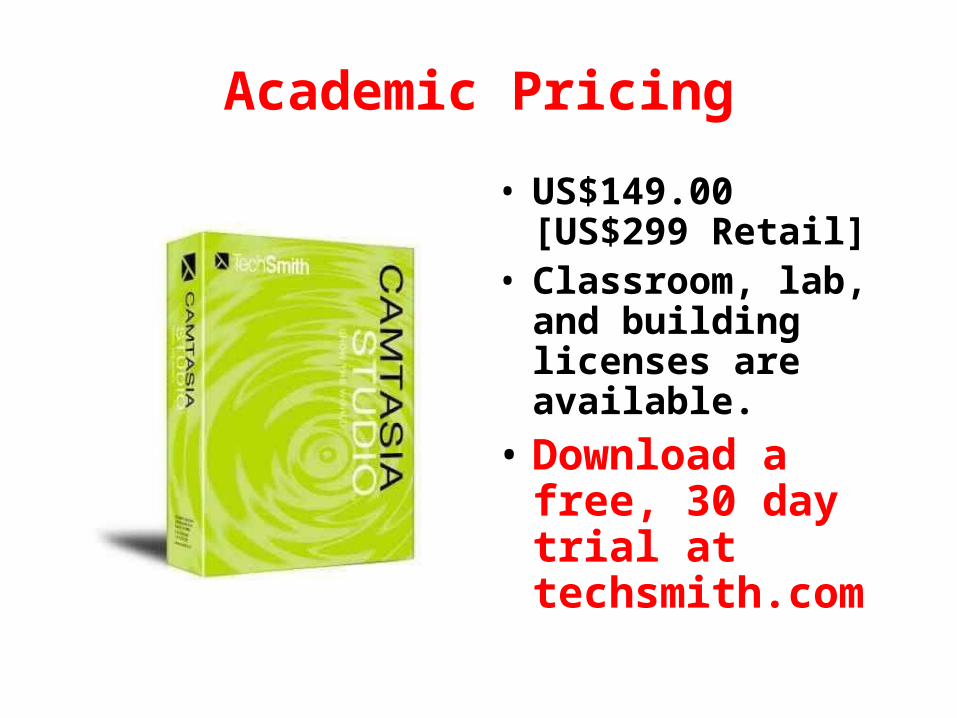
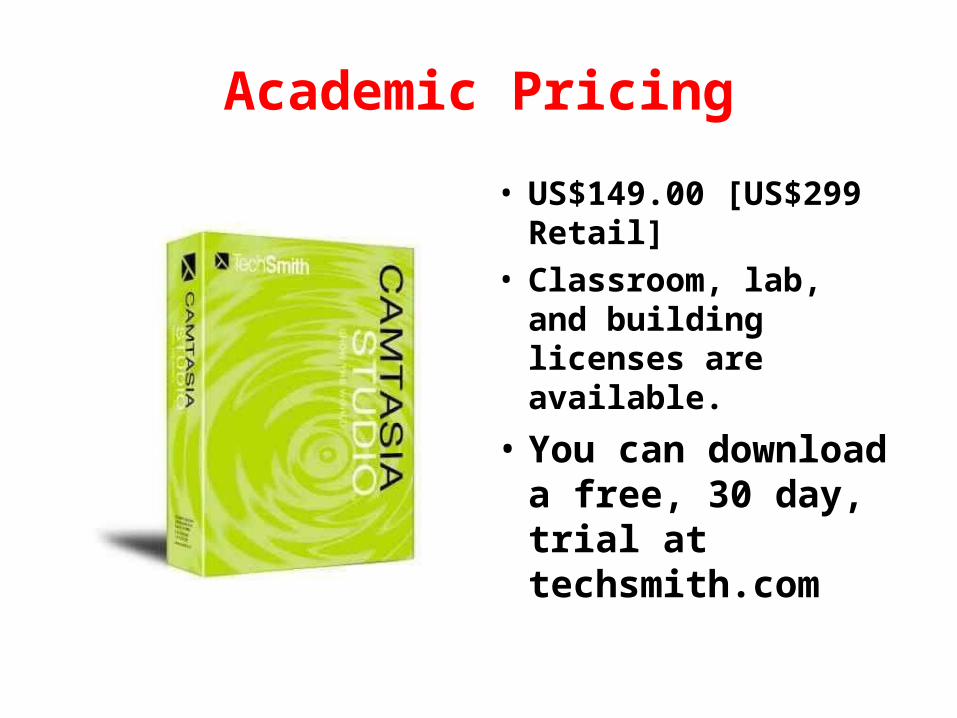
Academic Pricing
• US$149.00 [US$299 Retail]
• Classroom, lab, and building licenses are available.
• Download a free, 30 day trial attechsmith.com
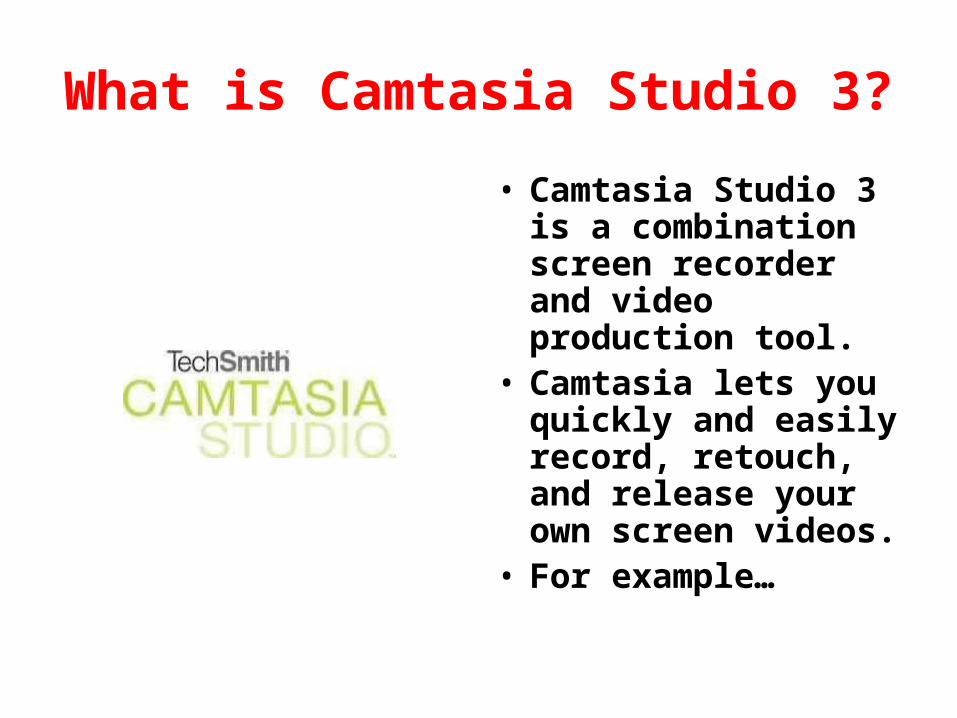
What is Camtasia Studio 3?
• Camtasia Studio 3 is a combination screen recorder and video production tool.
• Camtasia lets you quickly and easily record, retouch, and release your own screen videos.
• For example…
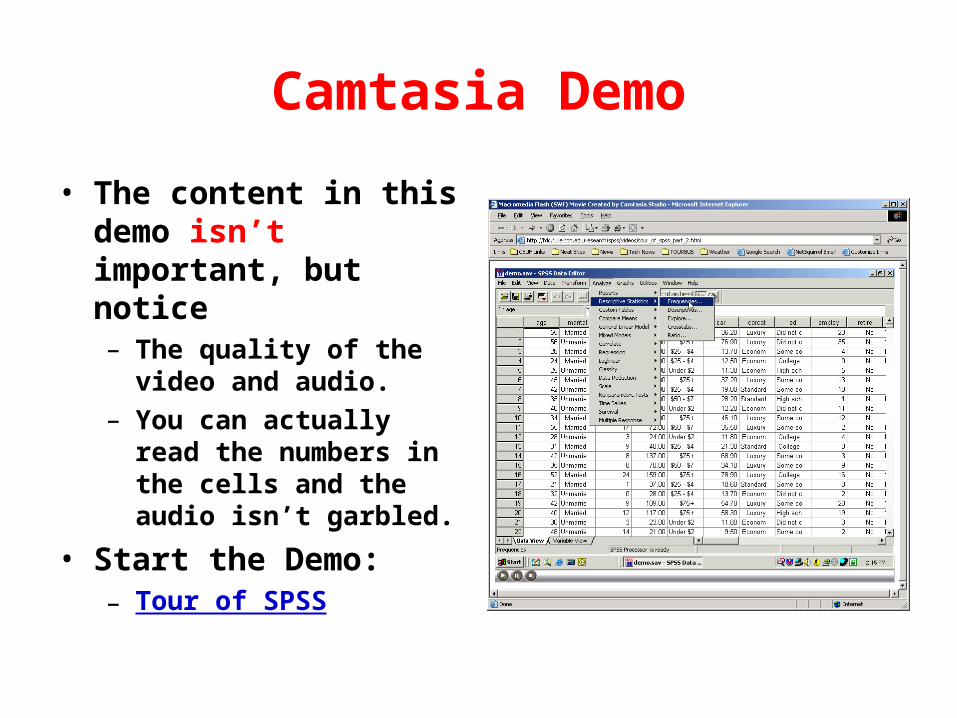
Camtasia Demo
• The content in this demo isn’t important, but notice– The quality of the video
and audio.– You can actually read the
numbers in the cells and the audio isn’t garbled.
• Start the Demo:– Tour of SPSS
Now for the Cool Part
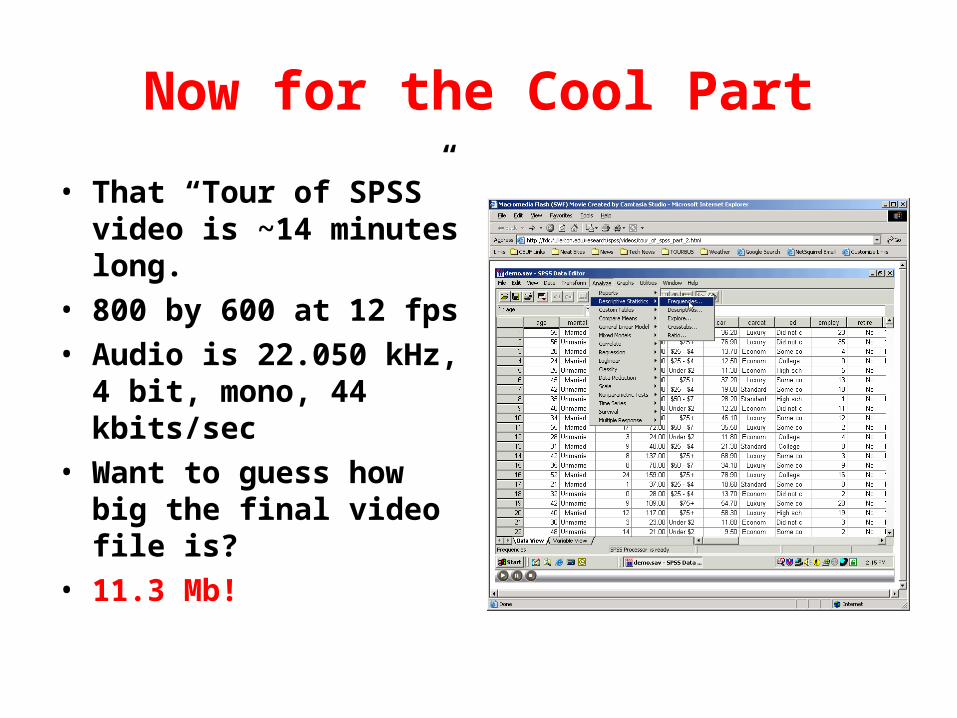
• That “Tour of SPSS” video is ~14 minutes long.
• 800 by 600 at 12 fps• Audio is 22.050 kHz, 4
bit, mono, 44 kbits/sec• Want to guess how big
the final video file is?• 11.3 Mb!
What This Means in English
• That 11.3 Mb video file is a little too big for the Internet – it would take almost 28 minutes to download over the fastest dial-up connection – but it is just right for your intranet or a CD-ROM.
• In English, this means that with Camtasia Studio 2 you can put over 12 HOURS of 800 x 600 screen capture video on a single CD-ROM (ceteris paribus.)
• Cool, isn’t it?
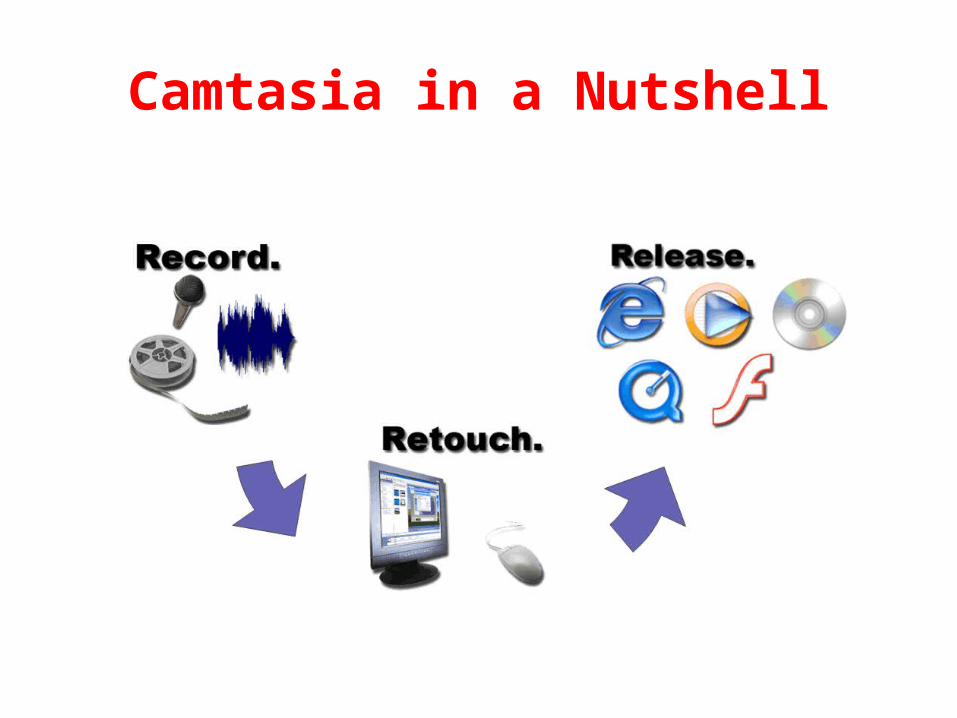
Camtasia in a Nutshell

Camtasia Recorder
• Camtasia Recorder records, in real time, audio narration, mouse movements, scrolling windows, typing, drop down menus.
• Anything you can do on your PC you can record with Camtasia Recorder … including PowerPoint presentations.
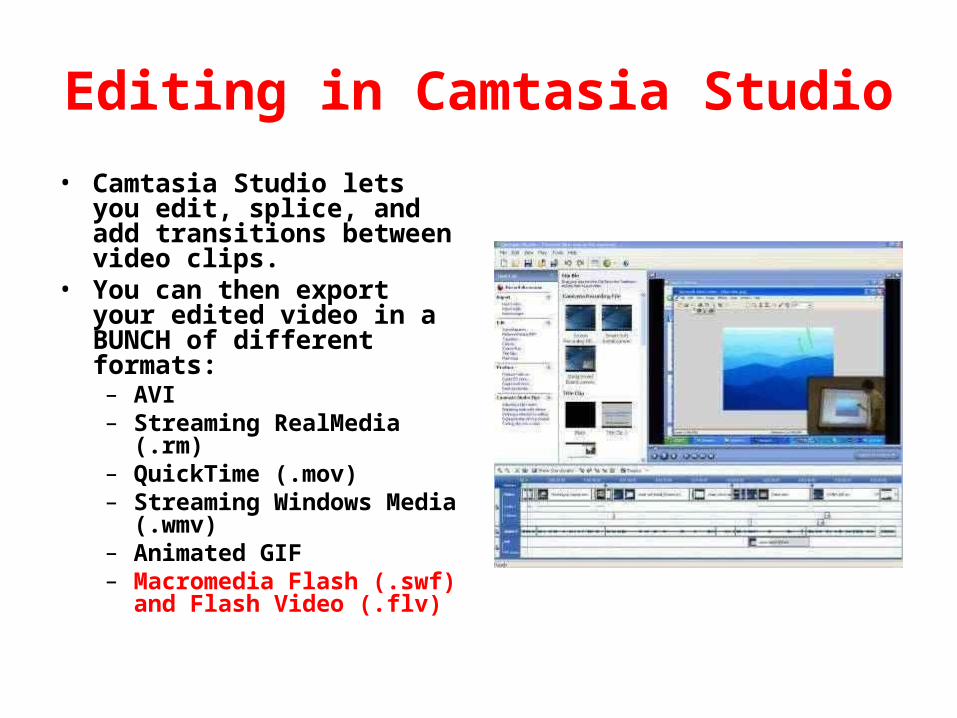
Editing in Camtasia Studio
• Camtasia Studio lets you edit, splice, and add transitions between video clips.
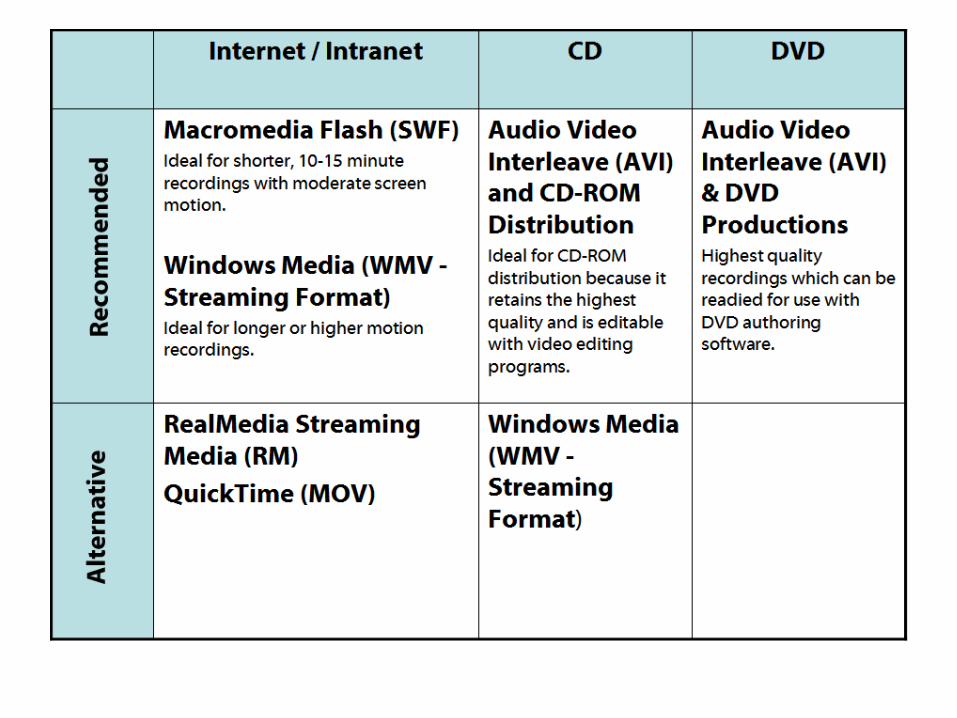
• You can then export your edited video in a BUNCH of different formats:– AVI– Streaming RealMedia (.rm)– QuickTime (.mov)– Streaming Windows Media
(.wmv)– Animated GIF– Macromedia Flash (.swf)
and Flash Video (.flv)
Flash - Aaah - Savior of the Universe!
• Flash is hands-down the most efficient video compression technique for screen videos.
• And, FLASH IS UNIVERSAL!– 98% of Web users can
view Macromedia Flash content without having to download any additional software.
– The Flash player runs on PCs AND Macs … and Linux … and Symbian …
Creating Camtasia Studio 3 Videos
To create a new screen capture video in Camtasia Studio 3, you’ll need:– A licensed or trial copy of Camtasia Studio 3– Microsoft Windows XP or Windows 2000– 1 GHz processor (2.5 GHz recommended) – 256 MB of RAM (1 GB recommended) – Windows-compatible sound card and microphone
(recommended) – 40 MB of hard-disk space for program installation– Office 2000 or XP if you want to use Camtasia’s
Office plug-in.
Viewing Camtasia 3 Videos
• To view Camtasia 3 videos, you’ll need– A computer.
• That’s about it.
Viewing Camtasia 3 Videos
• Seriously, though, the requirements to view a Camtasia 3 video depend on how you export the video.– For example, to view a QuickTime video, you’ll
need Apple’s free QuickTime player.– To view a RealMedia video you’ll need the free
RealOne player.
• To view a Flash video that’s been posted online, all you need is Internet Explorer or Firefox and an Internet connection.
Part Three: Record Your Video
Everything your need to know to record a simple screen capture video with Camtasia Studio 3
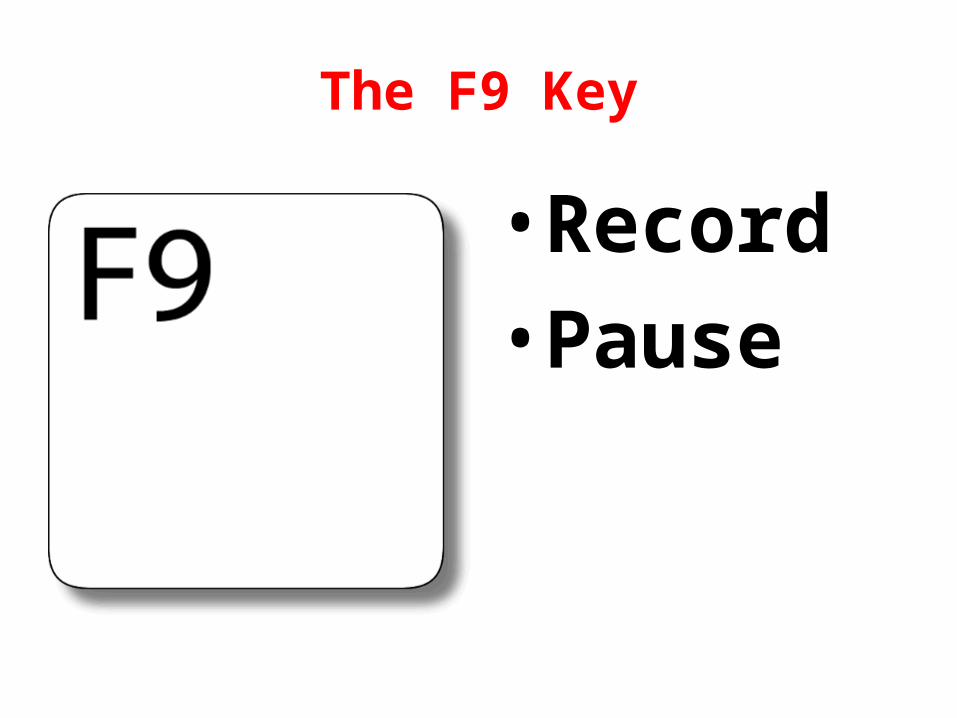
The F9 Key
•Record
•Pause
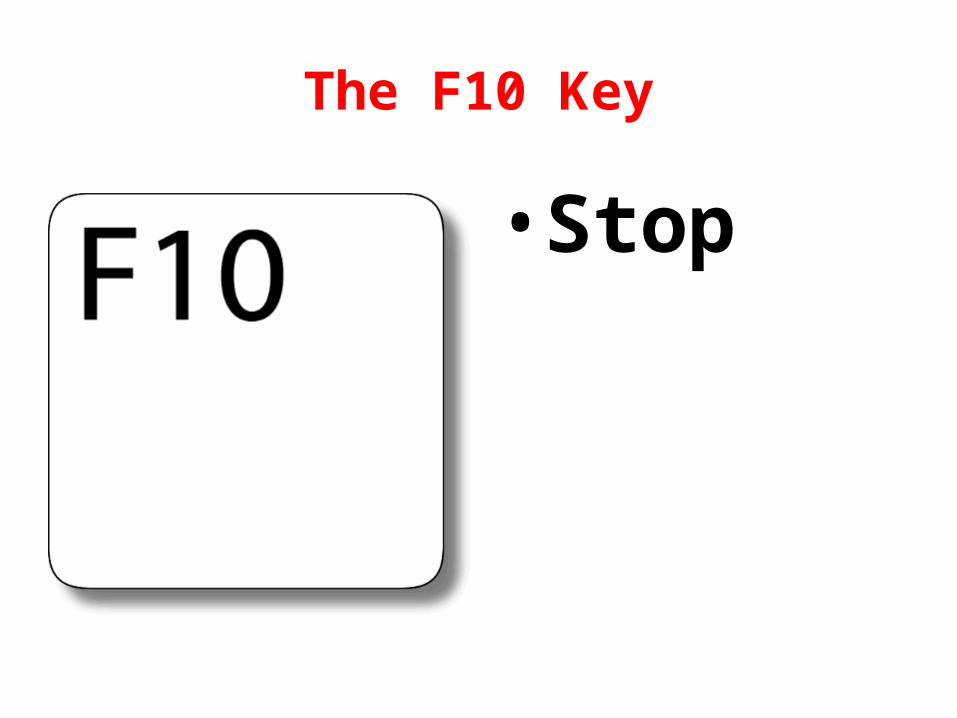
The F10 Key
•Stop

Any Questions?
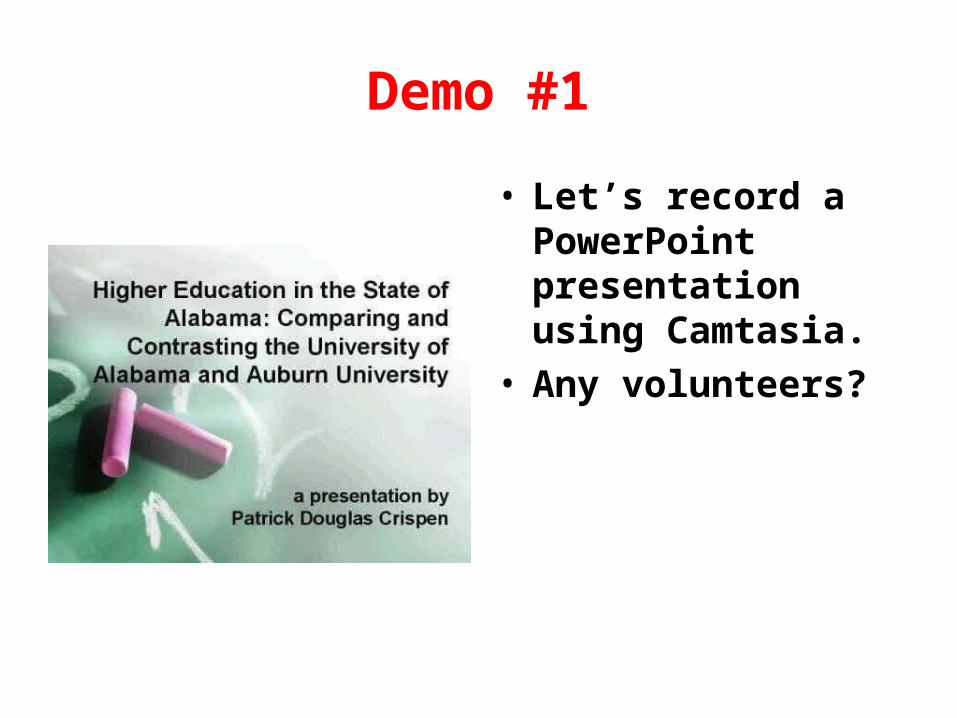
Demo #1
• Let’s record a PowerPoint presentation using Camtasia.
• Any volunteers?
Part Four: Retouch Your Video
Editing a screen capture video with Camtasia Studio 3
The Editing Process
• Assembly cut– Your first pass in which all the clips are there but
the scenes need to be reordered, trimmed, or re-recorded.
• Rough cut– Where you add titles, transitions, music, and
sound effects
• Final cut– The finished product, ready to burn to DVD or
post online for the unsuspecting world
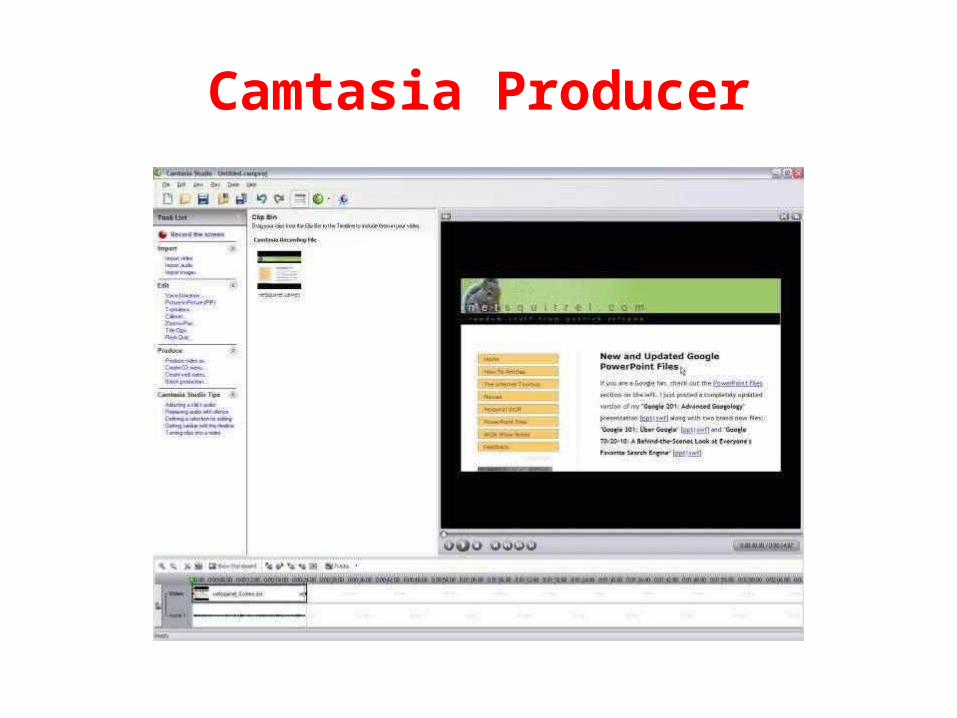
Camtasia Producer
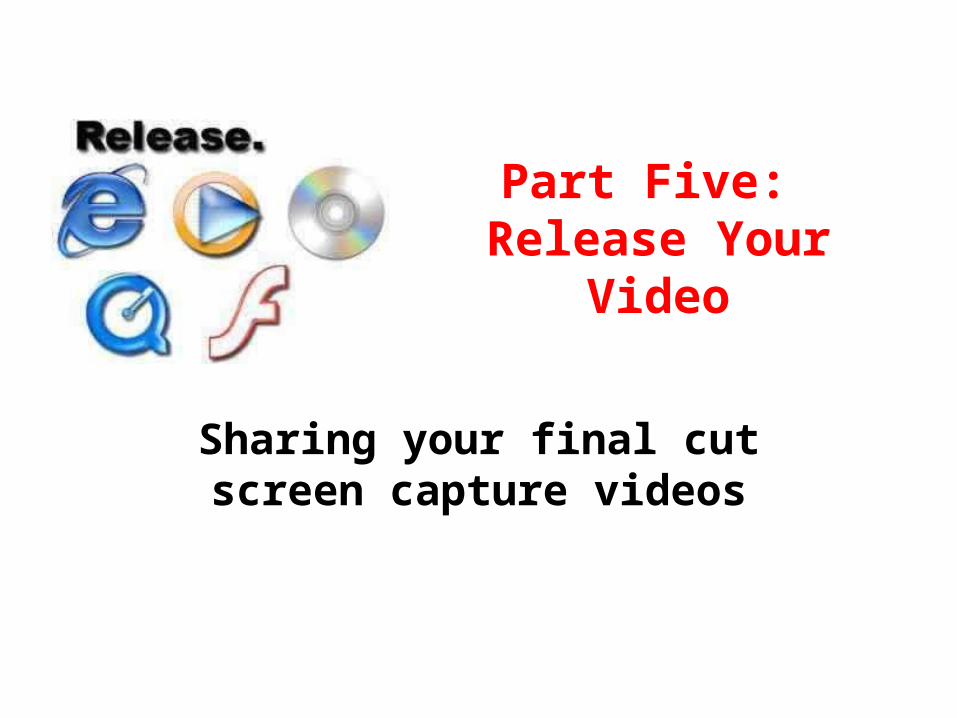
Part Five: Release Your Video
Sharing your final cut screen capture videos
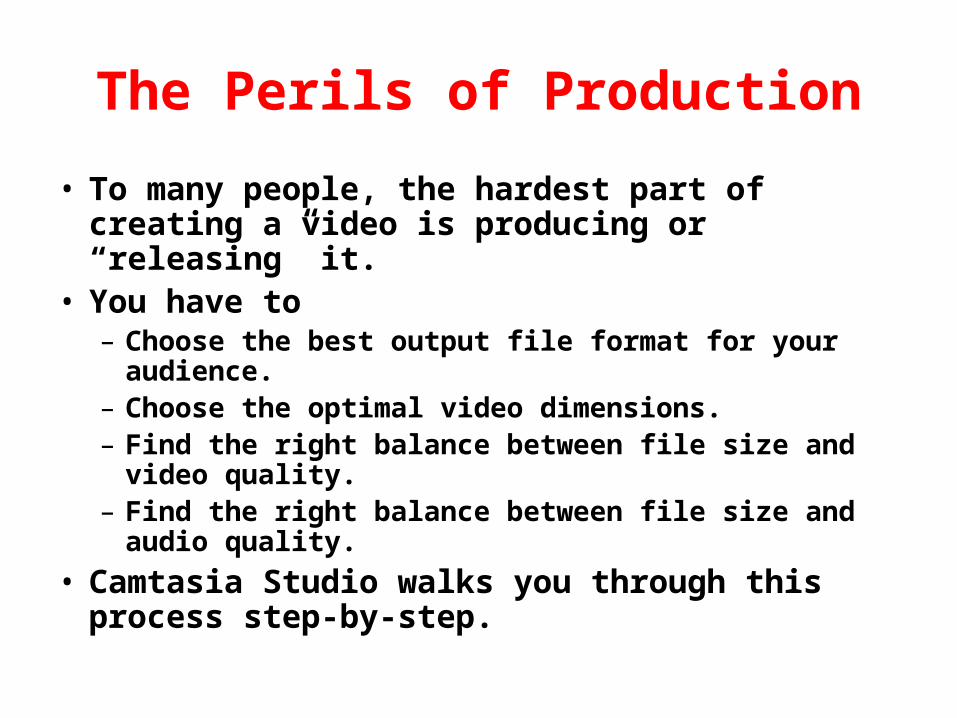
The Perils of Production
• To many people, the hardest part of creating a video is producing or “releasing” it.
• You have to– Choose the best output file format for your
audience.– Choose the optimal video dimensions.– Find the right balance between file size and video
quality.– Find the right balance between file size and audio
quality.
• Camtasia Studio walks you through this process step-by-step.
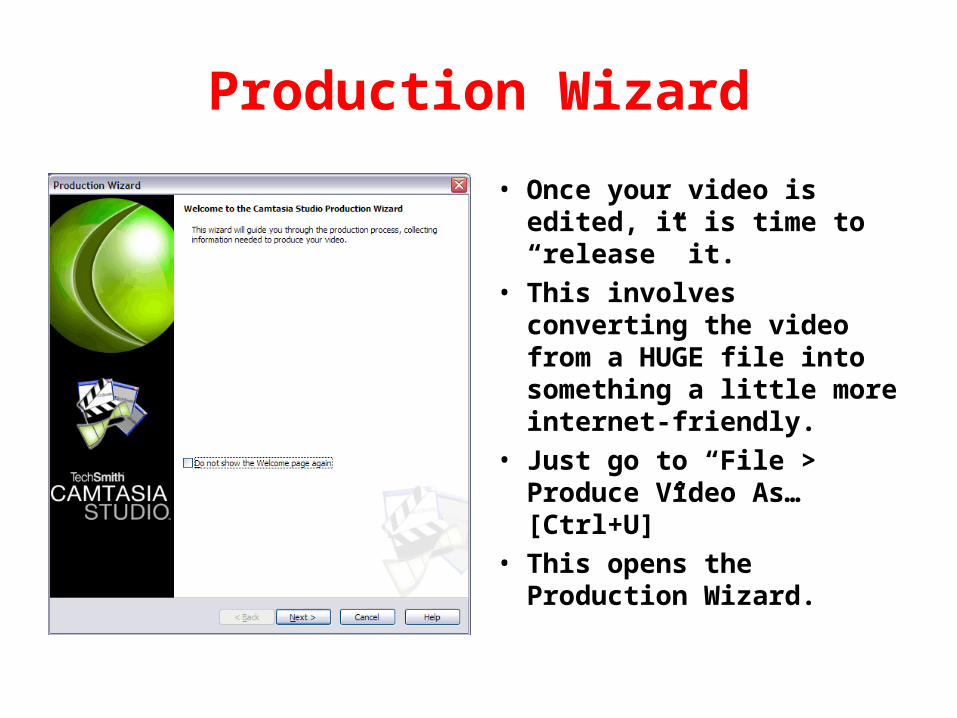
Production Wizard
• Once your video is edited, it is time to “release” it.
• This involves converting the video from a HUGE file into something a little more internet-friendly.
• Just go to “File > Produce Video As… [Ctrl+U]”
• This opens the Production Wizard.
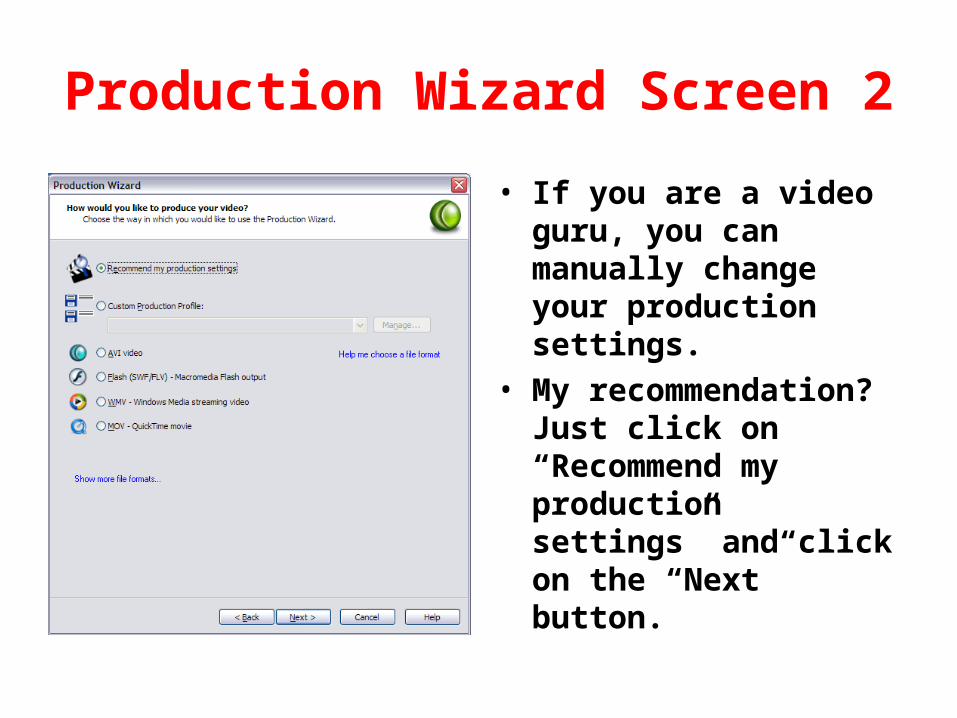
Production Wizard Screen 2
• If you are a video guru, you can manually change your production settings.
• My recommendation? Just click on “Recommend my production settings” and click on the “Next” button.
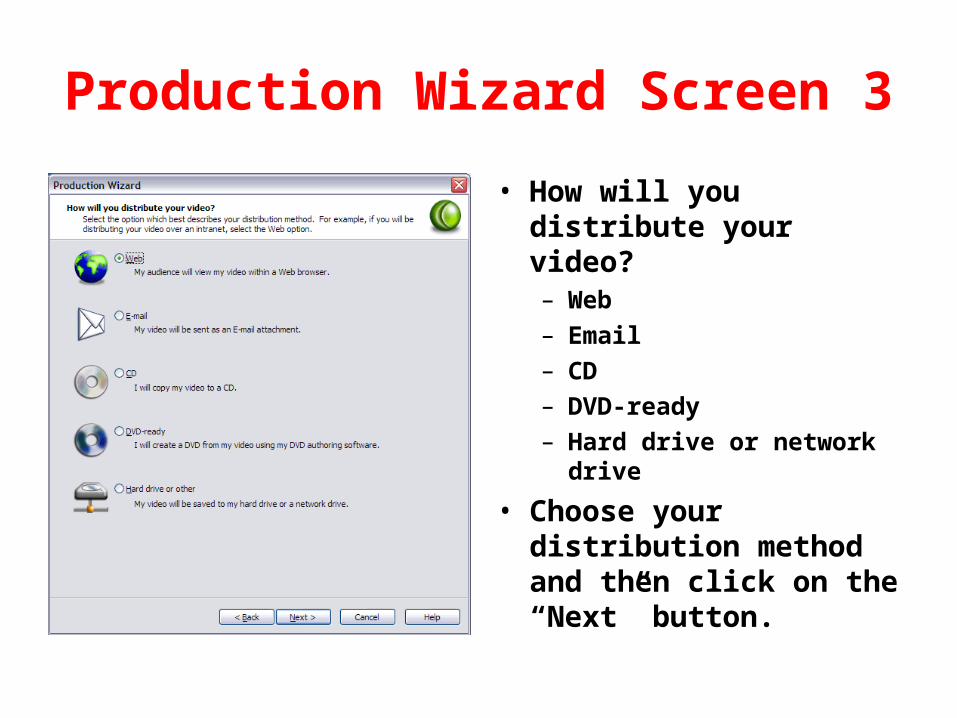
Production Wizard Screen 3
• How will you distribute your video?– Web– Email– CD– DVD-ready– Hard drive or network
drive
• Choose your distribution method and then click on the “Next” button.
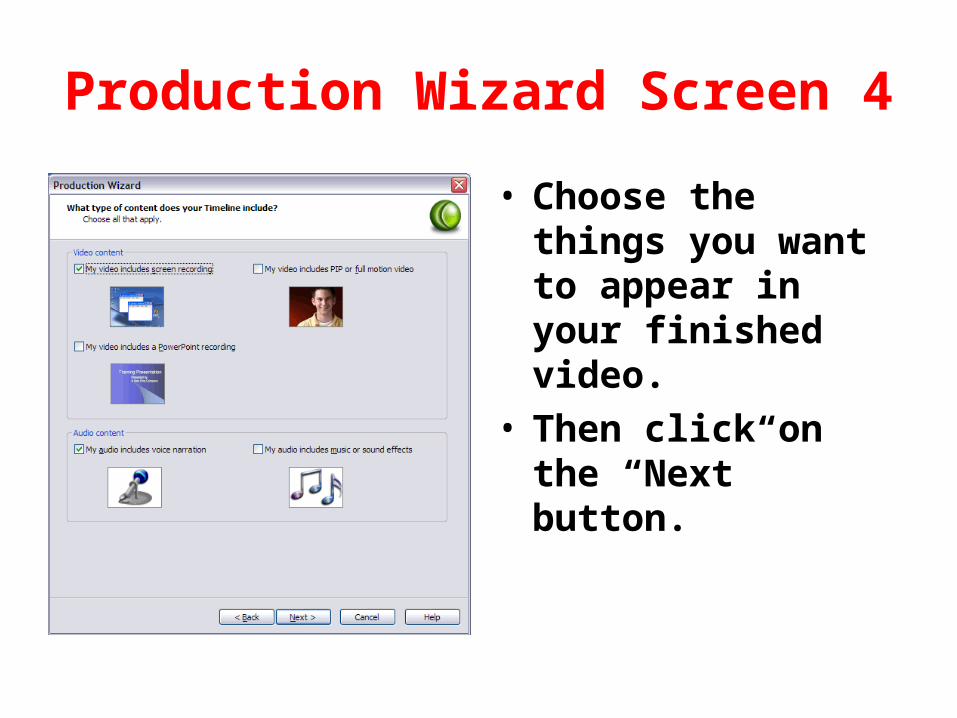
Production Wizard Screen 4
• Choose the things you want to appear in your finished video.
• Then click on the “Next” button.
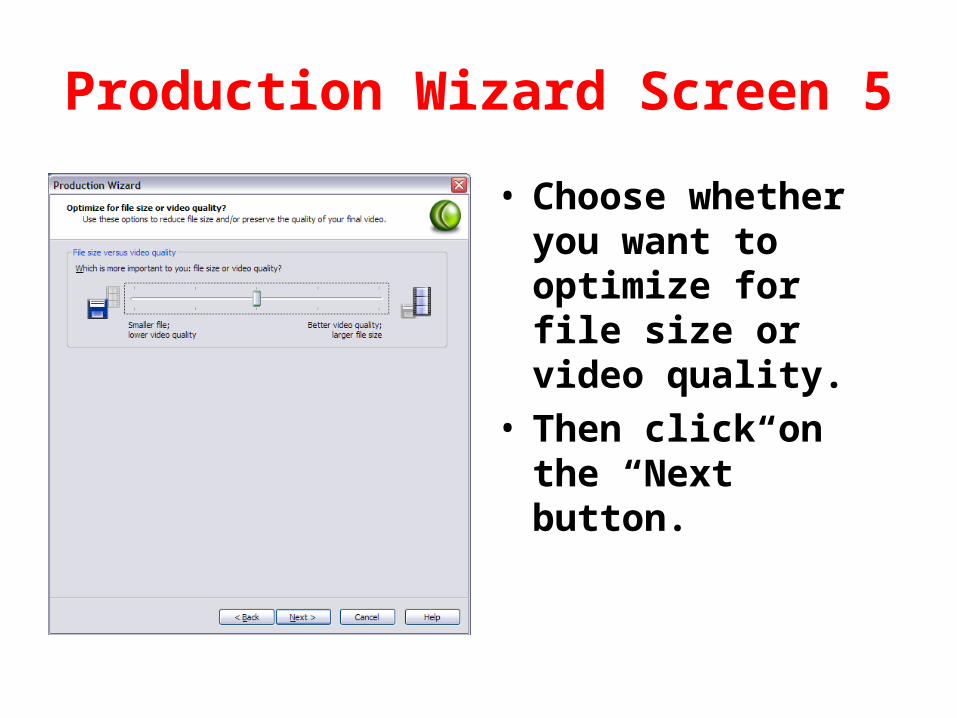
Production Wizard Screen 5
• Choose whether you want to optimize for file size or video quality.
• Then click on the “Next” button.

Production Wizard Screen 6
• Choose whether you want to optimize for file size or audio quality.
• Then click on the “Next” button.
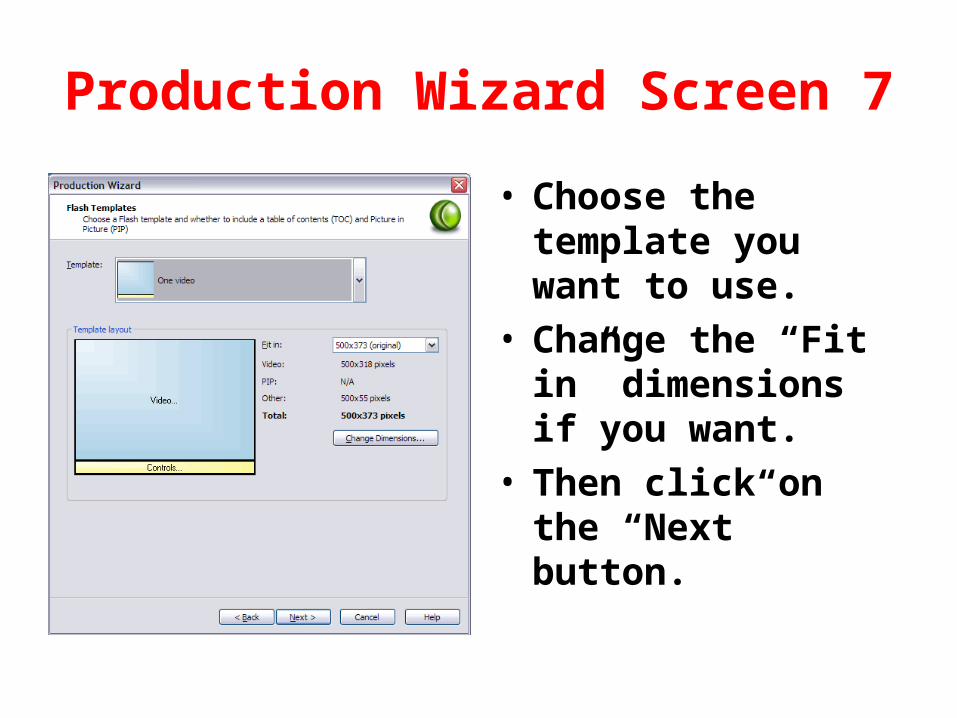
Production Wizard Screen 7
• Choose the template you want to use.
• Change the “Fit in” dimensions if you want.
• Then click on the “Next” button.
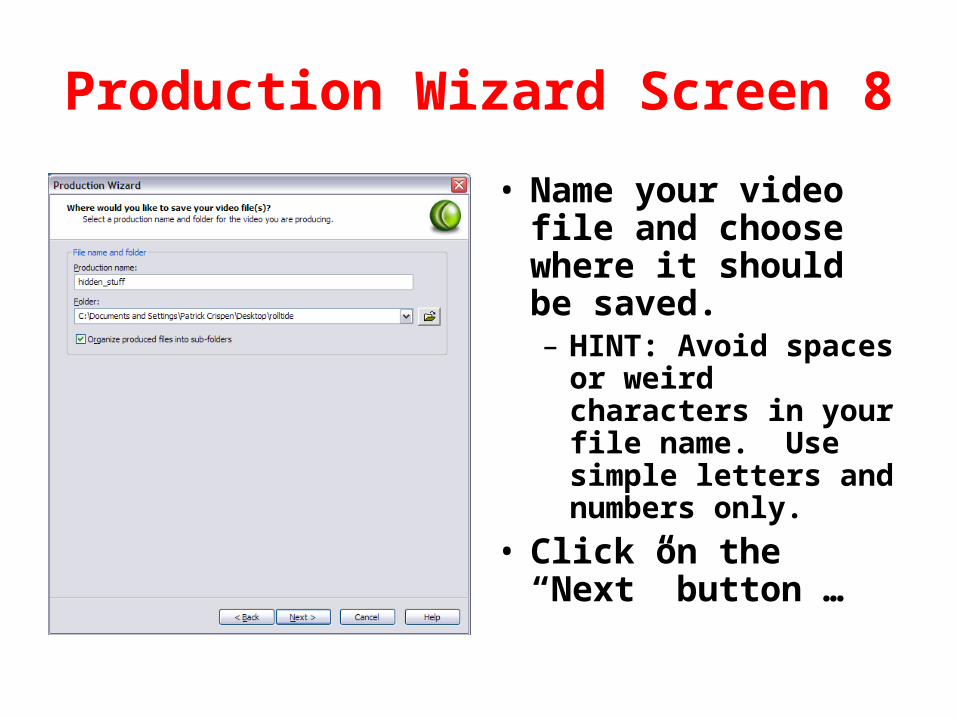
Production Wizard Screen 8
• Name your video file and choose where it should be saved.– HINT: Avoid spaces
or weird characters in your file name. Use simple letters and numbers only.
• Click on the “Next” button …
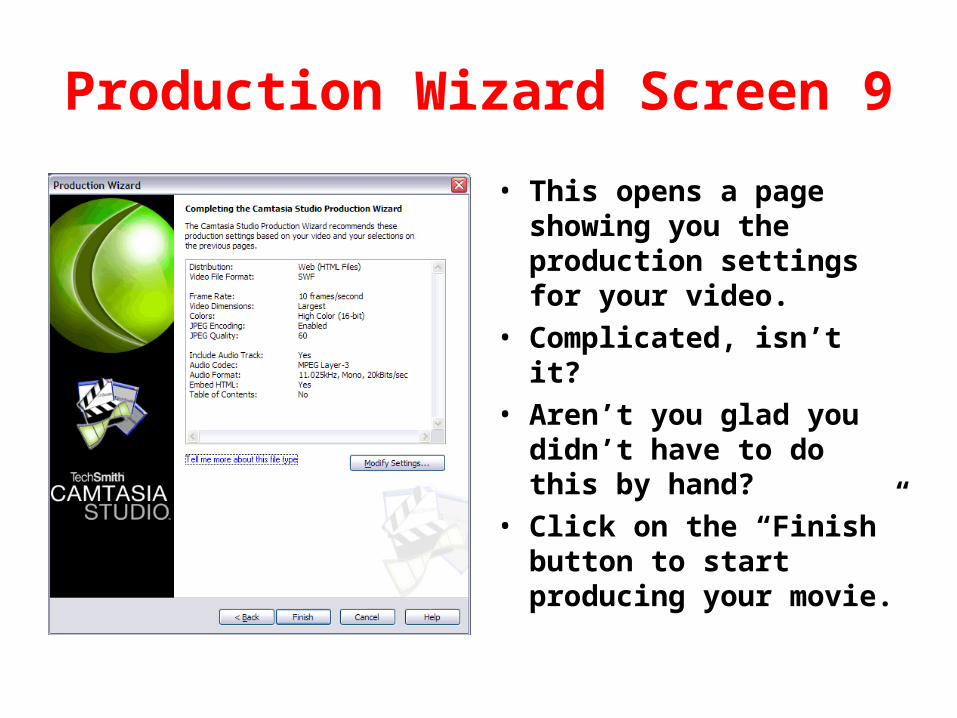
Production Wizard Screen 9
• This opens a page showing you the production settings for your video.
• Complicated, isn’t it?• Aren’t you glad you
didn’t have to do this by hand?
• Click on the “Finish” button to start producing your movie.
Go for a Walk
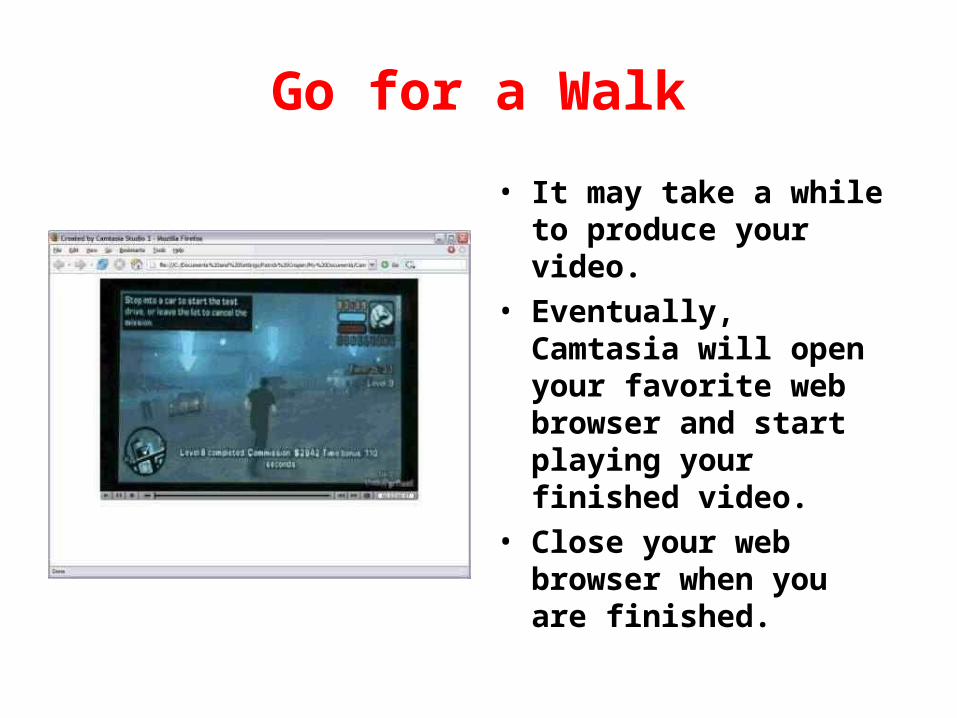
• It may take a while to produce your video.
• Eventually, Camtasia will open your favorite web browser and start playing your finished video.
• Close your web browser when you are finished.
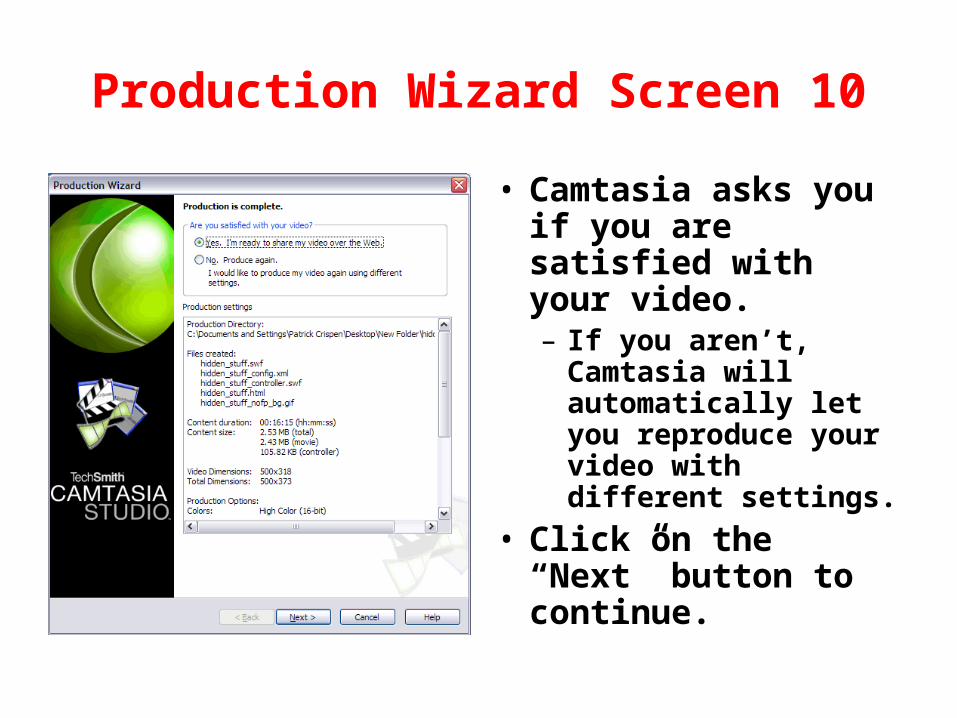
Production Wizard Screen 10
• Camtasia asks you if you are satisfied with your video.– If you aren’t,
Camtasia will automatically let you reproduce your video with different settings.
• Click on the “Next” button to continue.
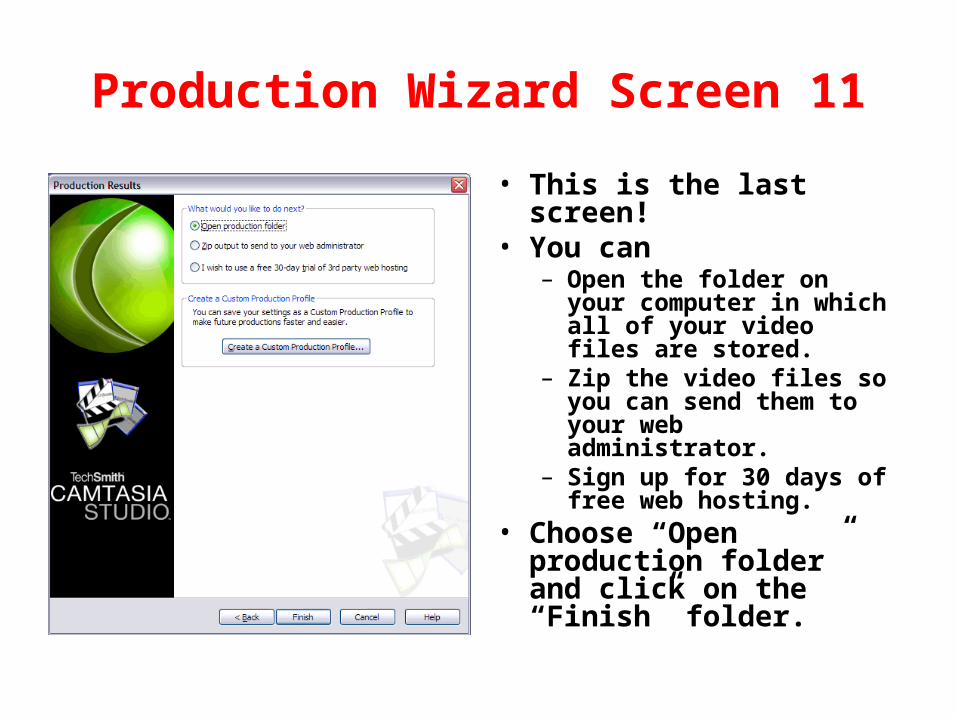
Production Wizard Screen 11
• This is the last screen!• You can
– Open the folder on your computer in which all of your video files are stored.
– Zip the video files so you can send them to your web administrator.
– Sign up for 30 days of free web hosting.
• Choose “Open production folder” and click on the “Finish” folder.
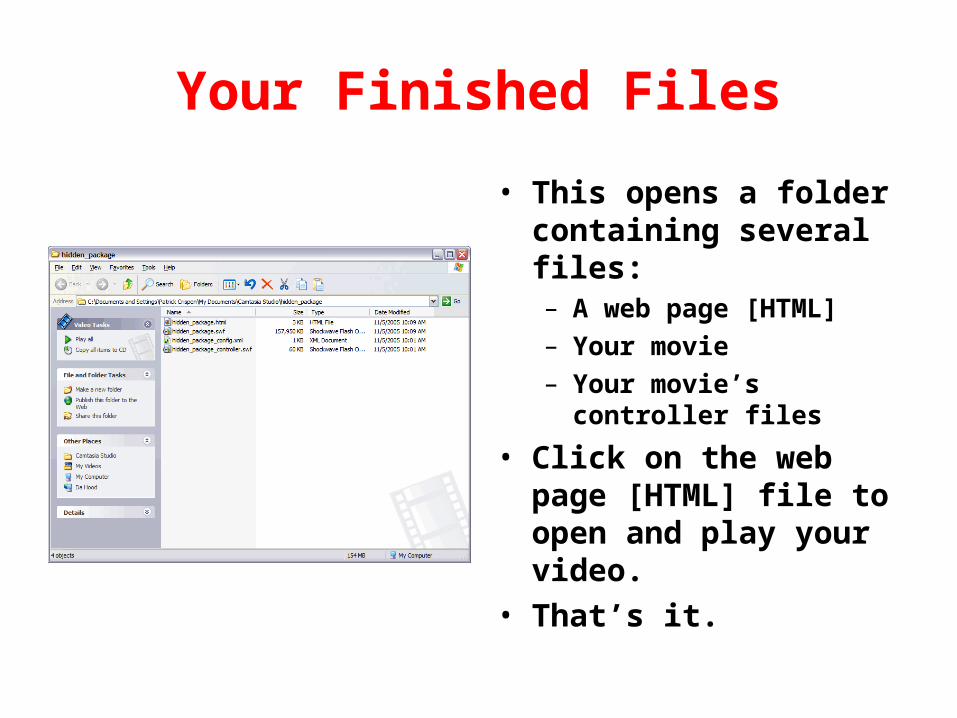
Your Finished Files
• This opens a folder containing several files:– A web page [HTML]– Your movie– Your movie’s controller
files
• Click on the web page [HTML] file to open and play your video.
• That’s it.

Part Six
More stuff you can do
Hands-On Demos
• Precision recording
• Add emphasis
• Pre-production
• Edit and Enhance
• Add, cut, spice, and join clips
• Add, edit audio
• Publish
How Is Camtasia Used?
• Create Web-based tutorials
• Train remotely• Demonstrate a new
feature• Show off a
prototype• Record a class
lecture to CD
• Record an error path
• Embed videos into help files
• Pre-record a presentation
• Highlight QA / usability issues
• Gather digital evidence
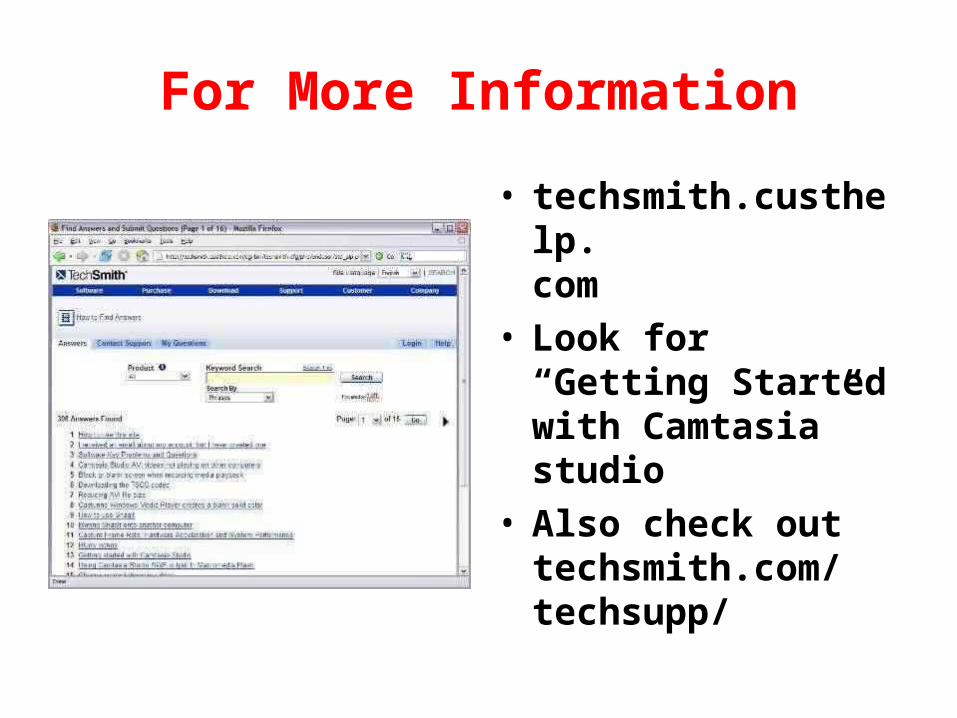
For More Information
• techsmith.custhelp.com
• Look for “Getting Started with Camtasia” studio
• Also check out techsmith.com/techsupp/

Camtasia in a Nutshell
Academic Pricing
• US$149.00 [US$299 Retail]
• Classroom, lab, and building licenses are available.
• You can download a free, 30 day, trial at techsmith.com