Embed Size (px)
Citation preview
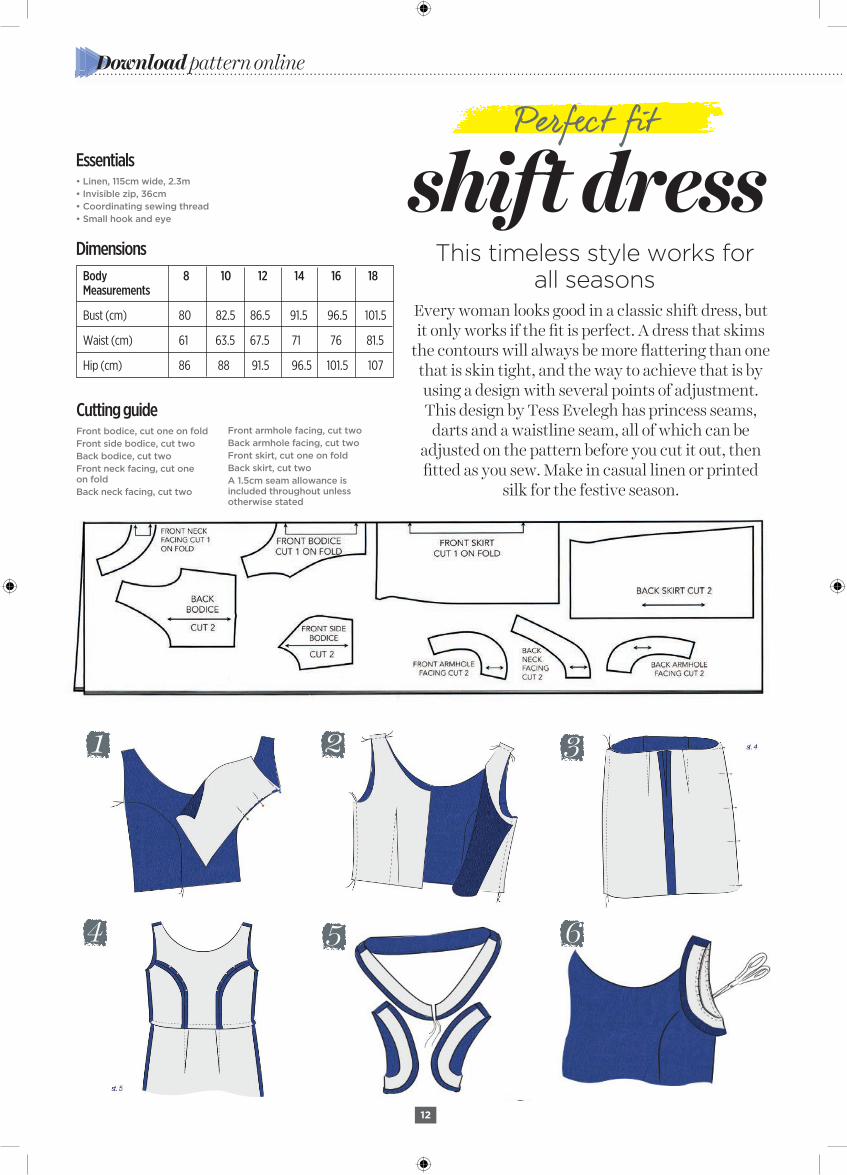
12
shift dressThis timeless style works for
all seasons
P��ct �t
Every woman looks good in a classic shift dress, but it only works if the fit is perfect. A dress that skims
the contours will always be more flattering than one that is skin tight, and the way to achieve that is by using a design with several points of adjustment. This design by Tess Evelegh has princess seams,
darts and a waistline seam, all of which can be adjusted on the pattern before you cut it out, then fitted as you sew. Make in casual linen or printed
silk for the festive season.
Dimensions
Essentials• Linen, 115cm wide, 2.3m• Invisible zip, 36cm• Coordinating sewing thread • Small hook and eye
1 2 3
4 5 6
Body 8 10 12 14 16 18Measurements
Bust (cm) 80 82.5 86.5 91.5 96.5 101.5
Waist (cm) 61 63.5 67.5 71 76 81.5
Hip (cm) 86 88 91.5 96.5 101.5 107
Download pattern online
Cutting guideFront bodice, cut one on foldFront side bodice, cut twoBack bodice, cut twoFront neck facing, cut one on foldBack neck facing, cut two
Front armhole facing, cut twoBack armhole facing, cut twoFront skirt, cut one on foldBack skirt, cut twoA 1.5cm seam allowance is included throughout unless otherwise stated

13
sew CHRISTMAS
MAKE UP IN LINEN, COTTON,
BROCADE, DENIM OR WOOL
WEAVES
sew a shift dress 1 Visit www.sewmag.co.uk to download and
print the pattern. Take your measurements and decide which size to cut. Make any fit adjustments. Using the cutting guide, cut all pieces from fabric, transferring the dart markings from the front and back skirt pieces and the back bodice pieces to all layers. Pin, tack and stitch the darts, then press them towards the centre.
2 With right sides together and matching the notches, pin the left front side bodice
to the left side of the centre front bodice. Repeat with the right front side bodice and stitch [1]. Clip into the seam allowance at the curves, taking care not to cut any stitches. Press the seams open.
3 With right sides together, match the front and back bodice pieces at the shoulder
seams and side seams. Pin and stitch [2]. Try on the bodice and make any adjustments. Press the seams open and finish the raw edges with an overlock or zig zag stitch.
4 Pin the back skirt seam from the hemline up to the position of the bottom end of
the zip, with right sides together. Stitch, then press the seam open. With right sides together, match the side seams of the skirt and pin. Stitch the seams and press them open [3]. Try on the skirt and make any adjustments.
5 With right sides together, pin the bodice to the skirt, matching the side seams and
the darts at the back. At the front, match the line of the princess seams with the skirt darts. Pin, tack and stitch, then press the seam open and finish the raw edges [4]. Insert an invisible zip into the back opening, ensuring that you align the top of the zip tapes with the raw edge at the back neck.

14
Always launder and iron your fabric before cutting to ensure it doesn’t shrink once you’ve made your garment.
Think d�’t �rink!
Brother Innov-is 20LEThe limited edition Innov-is 20LE o�ers excellent versatility when it comes to customisation. This great-value model has 40 built-in stitches including decorative designs and five buttonhole styles. Handy central controls make for ease of use including needle position up or down, speed control and reverse sewing. The back-lit LCD digital display shows the stitch pattern number and settings. Seven point feed ensures smooth fabric feeding and the drop feed option is great for quilting and embroidery. Other features include a quick set bobbin, twin needle key and free arm facility.
Priced £329, visit www.brothersewing.co.uk or call 0333 777 4444 to find your nearest stockist.
stitch it with...
the haberdashery
Essex LinenDragonfly Fabrics has a great selection of Essex linen in a fantastic range of colours, priced £12.90 per metre, www.dragonfly fabrics.co.uk
6 With right sides together, pin one back neck facing to each end of the
front neck facing at the shoulder seams and stitch. Press the seams open. In the same way, pin, then stitch one back and one front armhole facing together at the shoulder and side seams. Press the seams open. Repeat for the other pair of armhole facings. At the outer edges of all the facings, turn and press a 1cm hem to the wrong side and stitch [5].
7 With right sides together, pin the neck facing to the dress. Start by
matching the shoulder seams, then pin around the front neck facing and to one side of the back. Go back and pin the other side of the back facing, then stitch. Clip into the seam allowance at the curves and press it open, then press the facing to the inside of the dress.
8 With right sides together, pin the left armhole facing to the
left armhole. Start by matching the shoulder seams and pin. Next, match the side seams and pin. Then secure between the two and stitch. Clip into the seam allowance at the curves [6]. Press the seam open, then press the facing to the inside of the dress, allowing it to overlap the neck facing. Secure at the seams with a few hand stitches. Repeat for the right armhole facing.
9 Turn in the raw edges of the back neck facing and slipstitch
them discreetly in place down each side of the zip. Sew a small hook and eye firmly and neatly onto the inside of the dress above the zip. Hand stitch the hem.
“� achve � �r�ct �t, ma� adju��n� � � ���n and
� l �ag�”
FACINGS ENSURE A
PROFESSIONAL FINISH
For this and many more great garment patterns, check out
The Great British Sewing Bee: Sew Your Own Wardrobe by
Tess Evelegh (£25, Quadrille) Photos by Tiffany Mumford
and Charlotte Medlicott.
get the book
Shift & Full Skirt Dress patternProject design © Love Productions 2013This design is protected by copyright and must not be made for resale.
1A
1B
81012141618

1A 2A
2B
TEST SQUARE10cm × 10cm
4 inches × 4 inches
2A 3A
3B

81012141618
3A
4B
4A

LENGTHEN OR SHORTEN LINE
4A
5B
5A
SHIFT & FULL
SKIRT DRESSBACK BODICE81012141618
5A
6B
6A
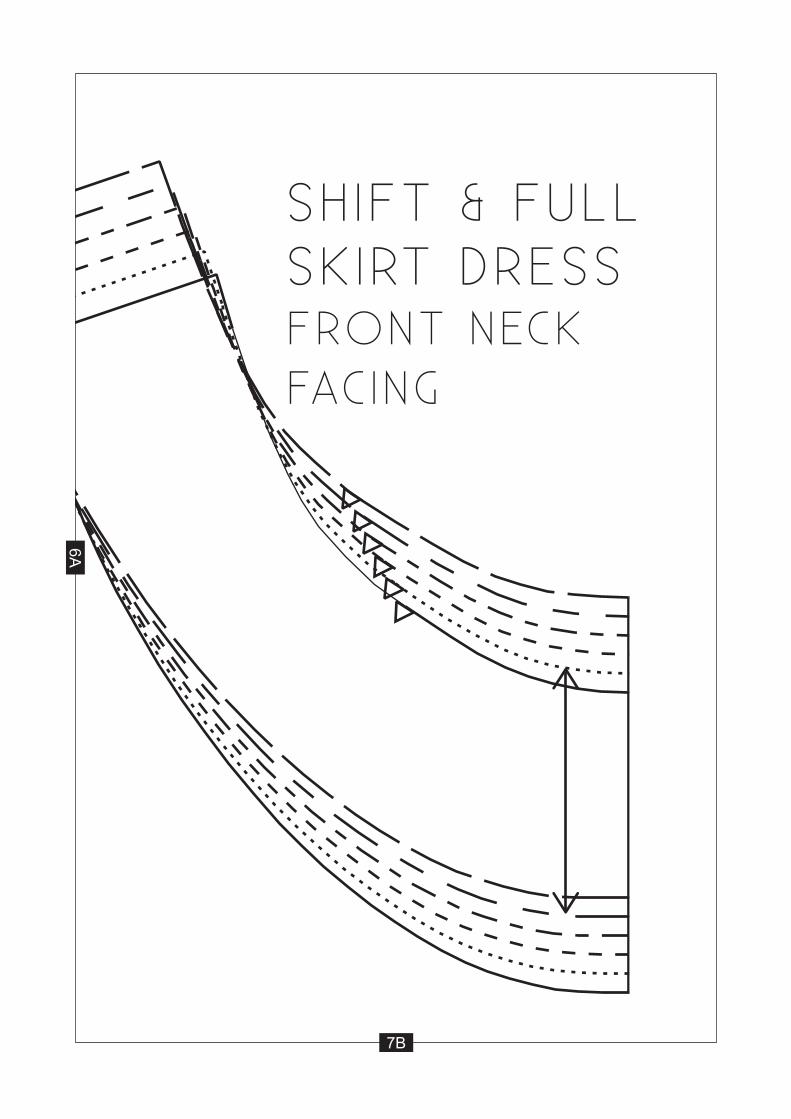
SHIFT & FULL SKIRT DRESSFRONT NECK FACING
7B
6A
LENGTHEN OR SHORTEN FROM HERE
ZIP
POSI
TIO
N
810 12 14 16 18
1B
8B
8A
8A
9B
9A
2B
9A
10B
10A
3B

LENGTHEN OR SHORTEN FROM HERE
PLA
CE
ON
FO
LD
10A
11B
11A
4B
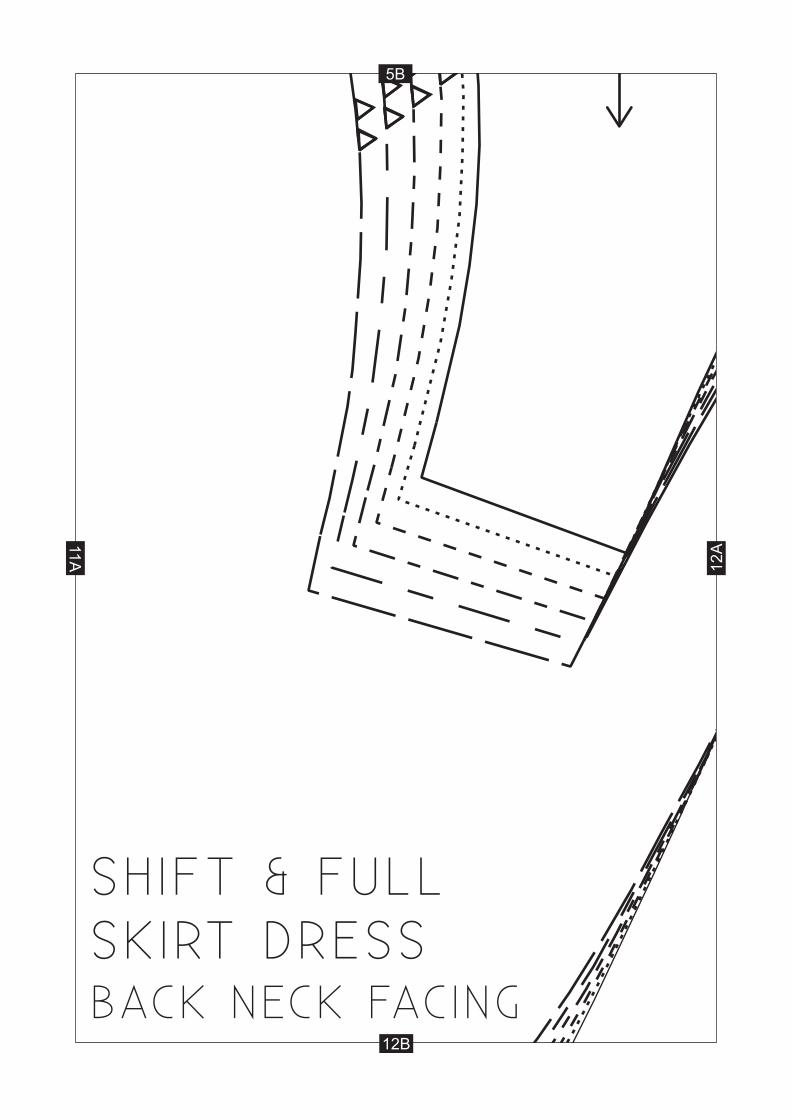
SHIFT & FULL SKIRT DRESSBACK NECK FACING
5B
11A
12B
12A

6B
12A
13B
13A
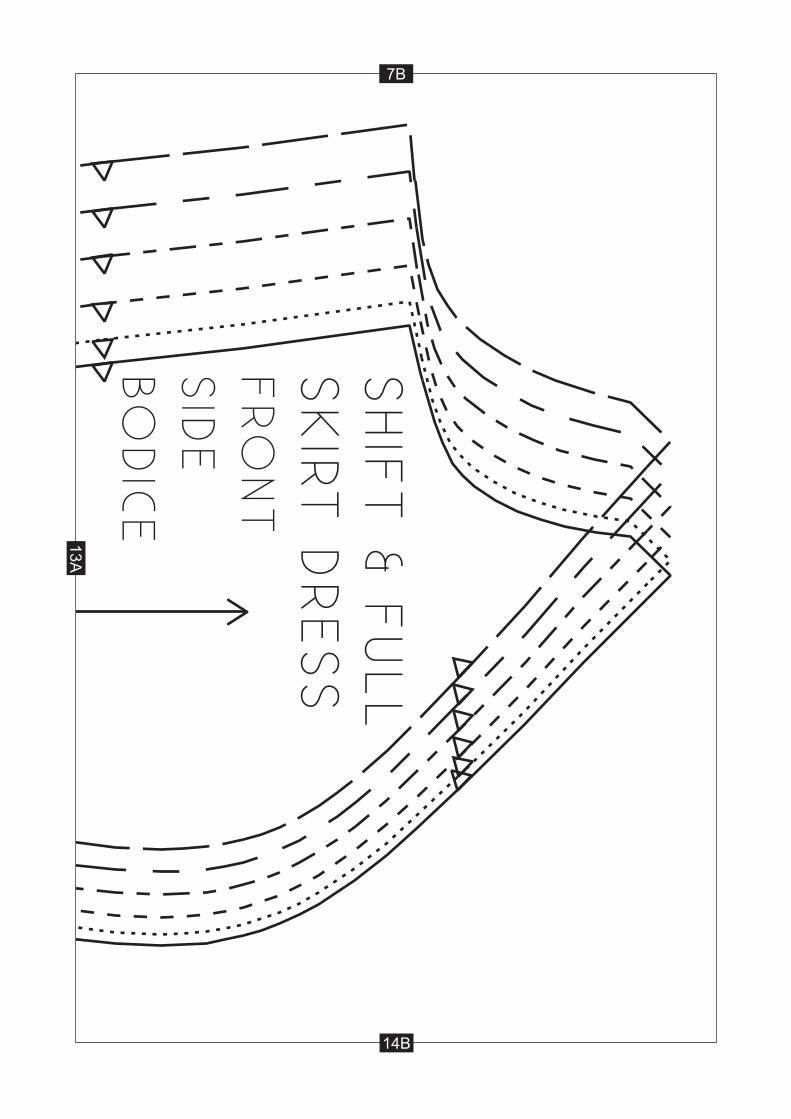
SHIF
T & F
ULL
SK
IRT D
RESS
FRO
NT
SID
EBO
DIC
E
7B
13A
14B
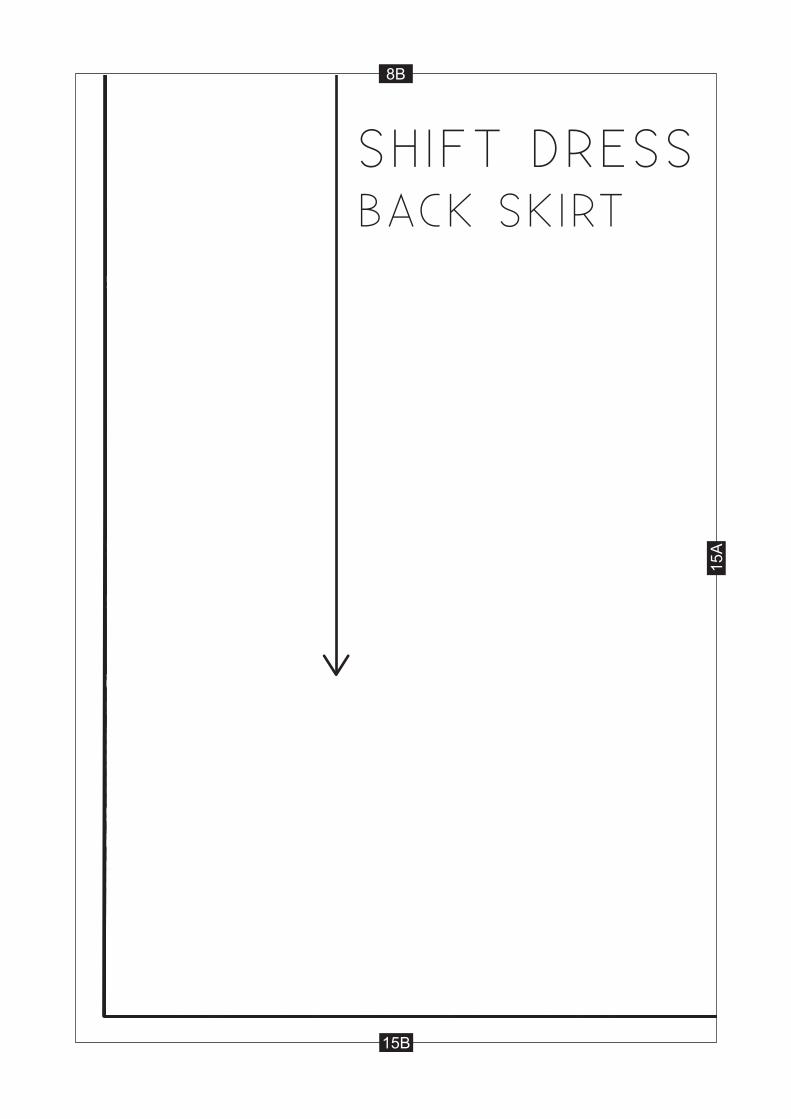
SHIFT DRESSBACK SKIRT
8B
15A
15B

9B
15A 16A
16B

10B
16A 17A
17B
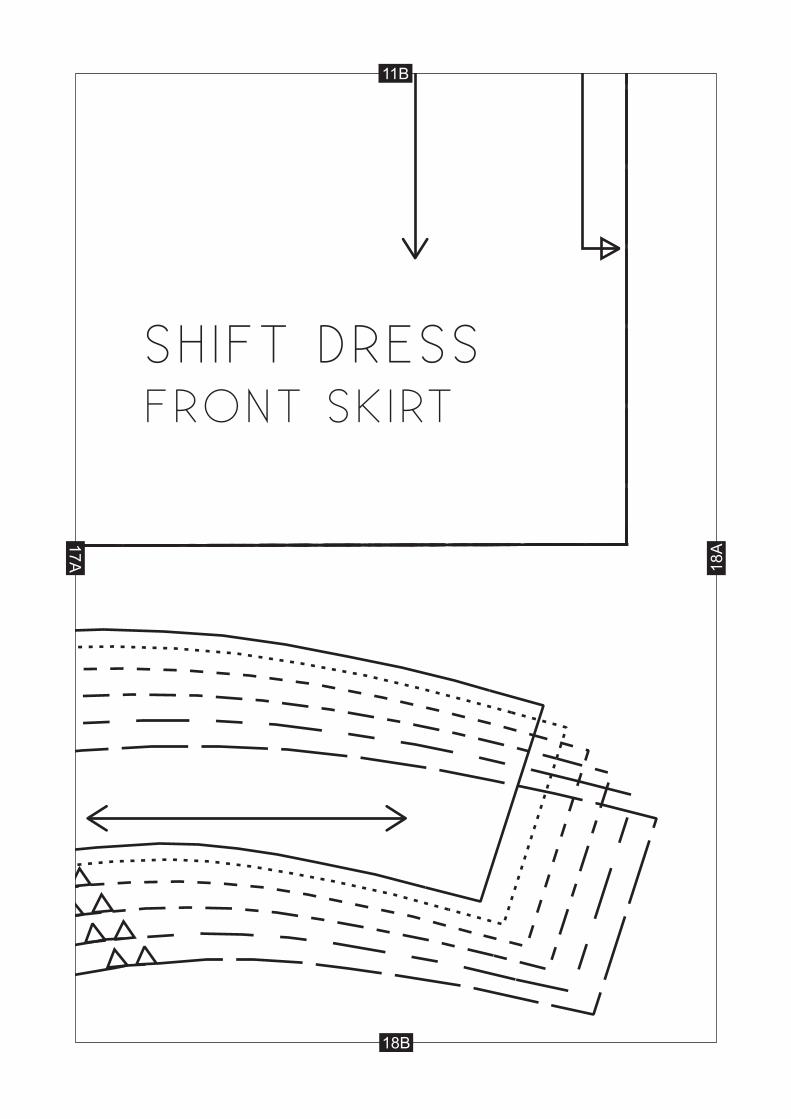
SHIFT DRESSFRONT SKIRT
11B
17A 18A
18B
12B
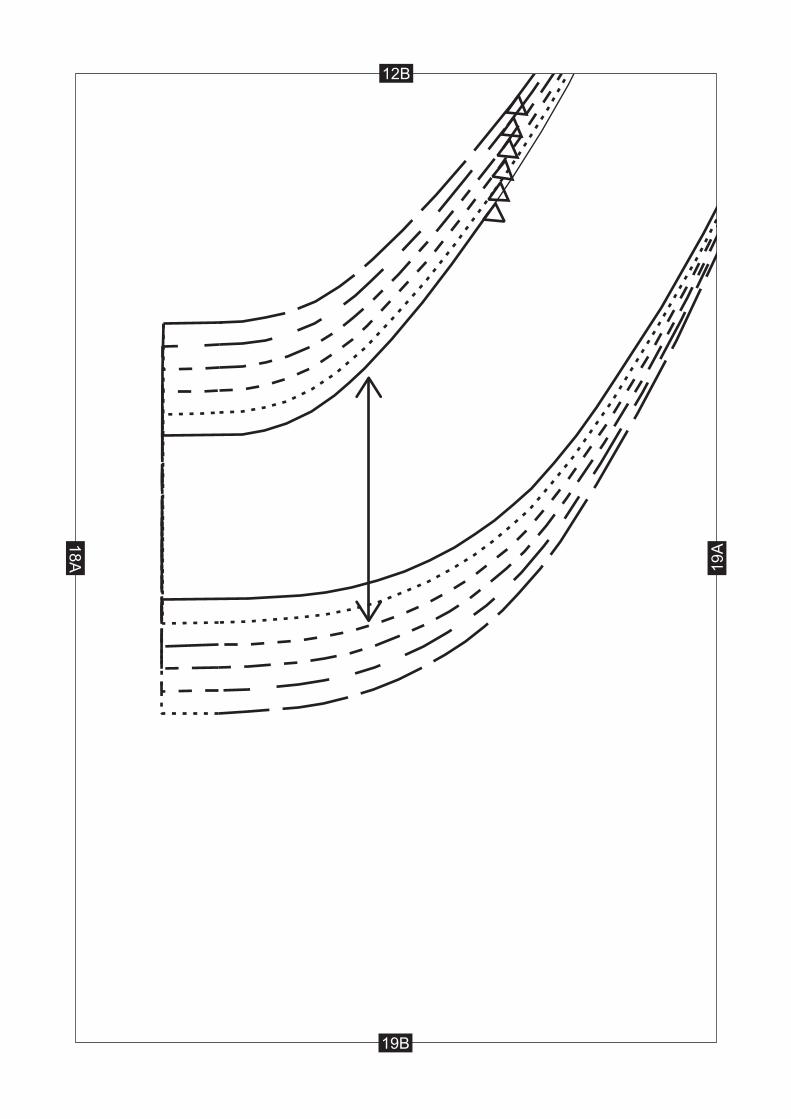
18A 19A
19B
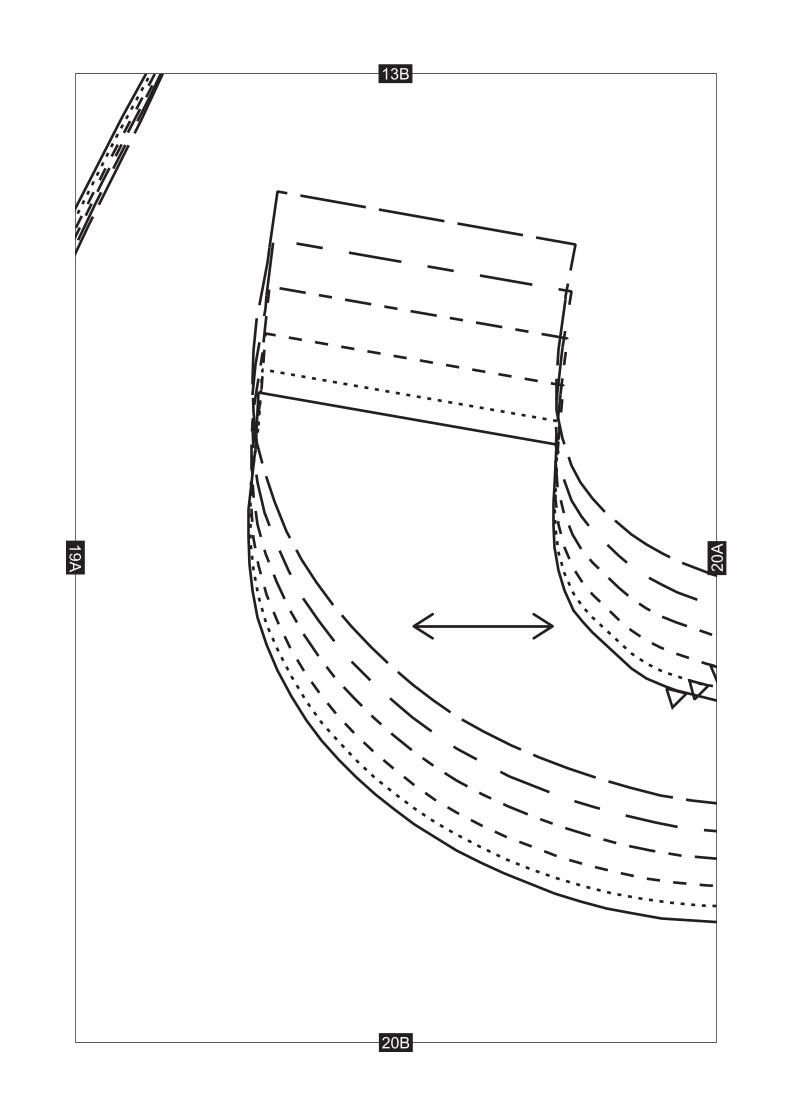
13B
19A 20A
20B

SHIFT & FULL SKIRT DRESSFRONT ARMHOLE FACING
14B
20A
21B
22B
22A
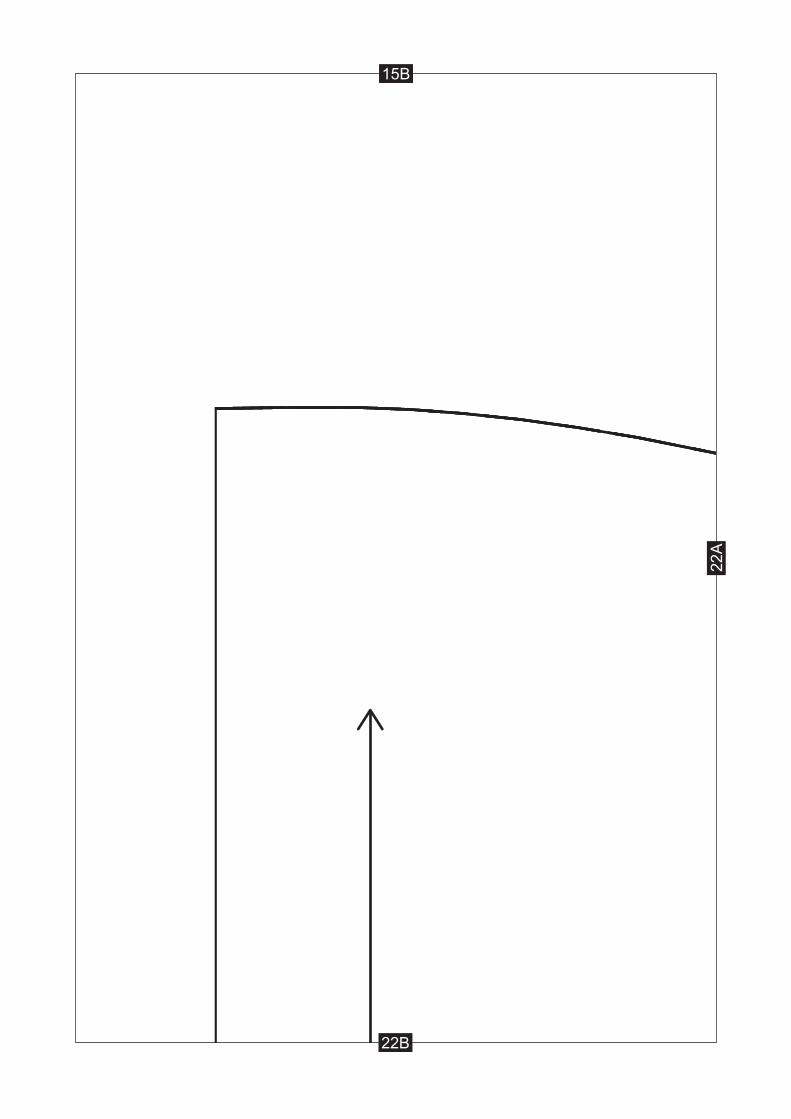
15B

22A
23B
23A
16B

SHIFT & FULL SKIRT DRESSBACK ARMHOLE FACING
23A
24B
24A
17B
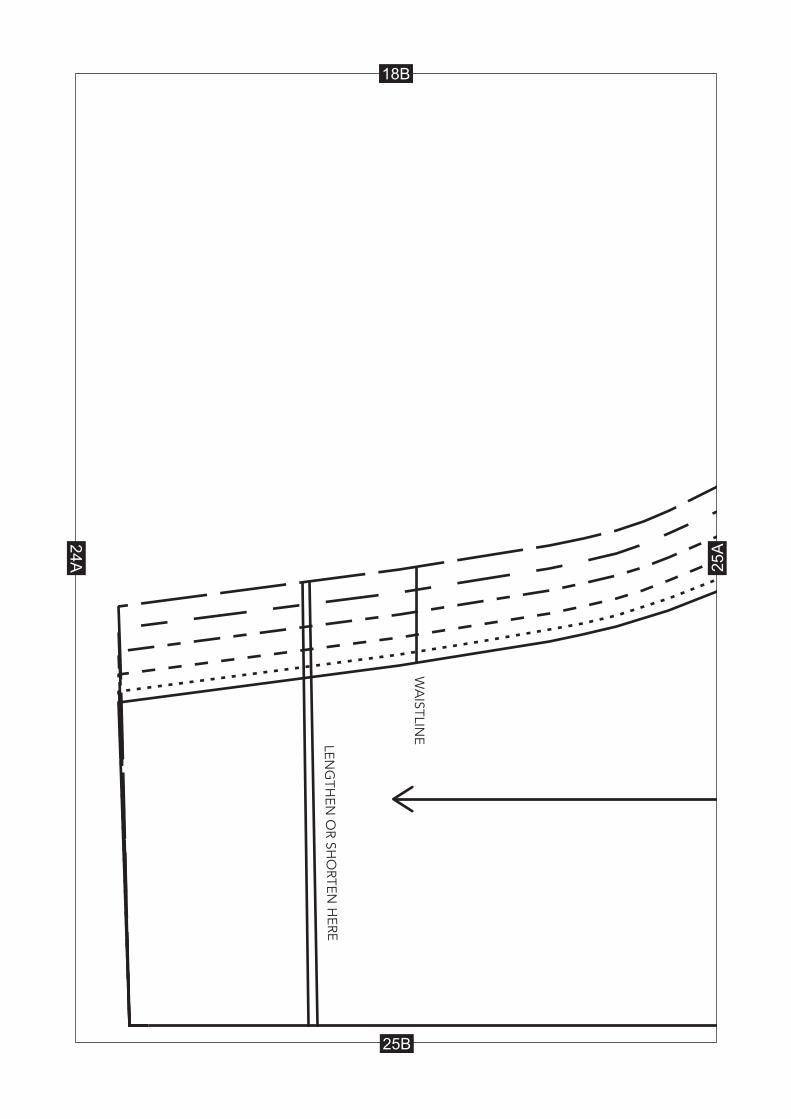
WA
ISTLINE
LENG
THEN
OR SH
ORTEN
HERE
24A
25B
25A
18B

SHIF
T &
FU
LL SK
IRT D
RESS
FRO
NT
BO
DIC
E
25A
26B
26A
19B
26A
27B
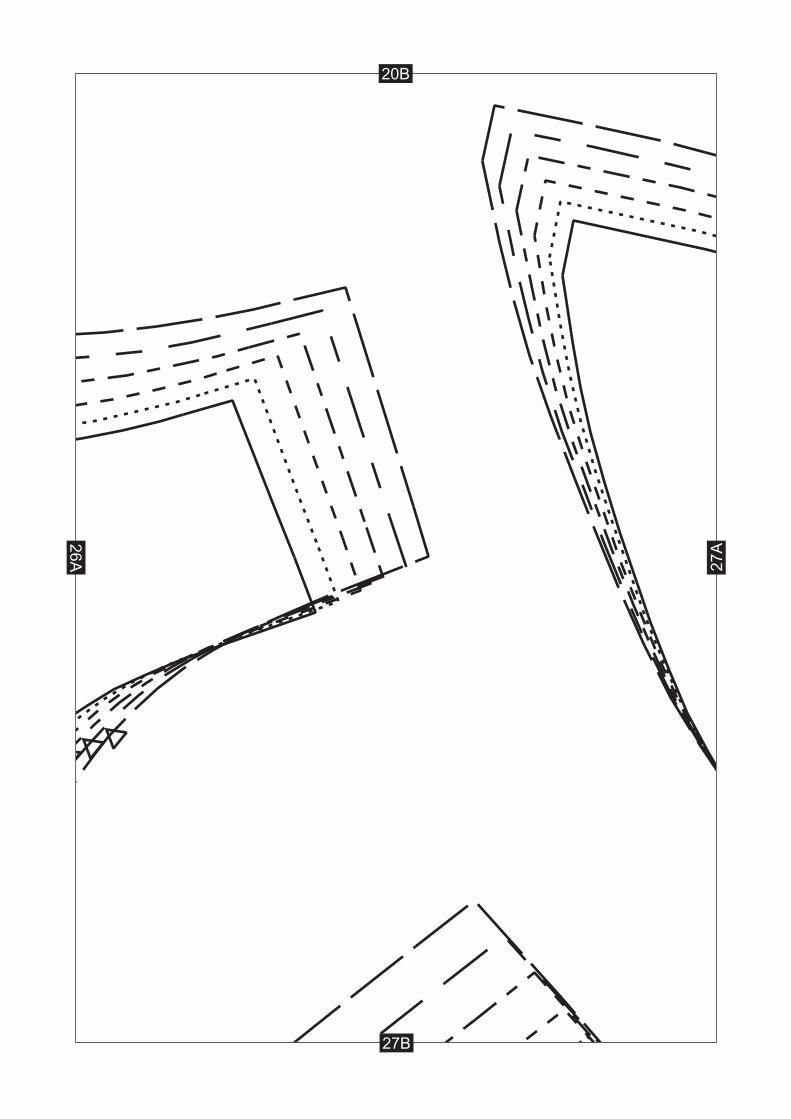
27A
20B
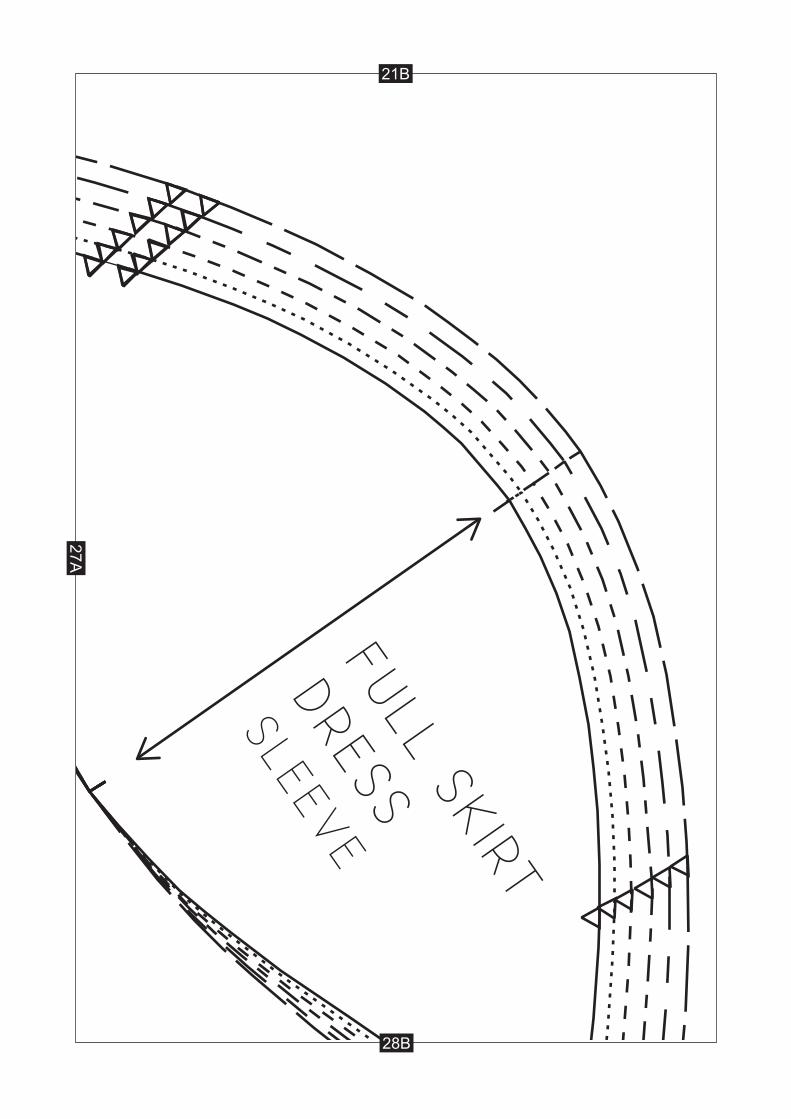
FULL SKIRT
DRESS
SLEEVE
27A
28B
21B

PLAC
E ON
FOLD
STRAIG
HT G
RAIN
29A
22B
29B
FULL SKIRT DRESSFRONT SKIRT
29A 30A
23B
30B
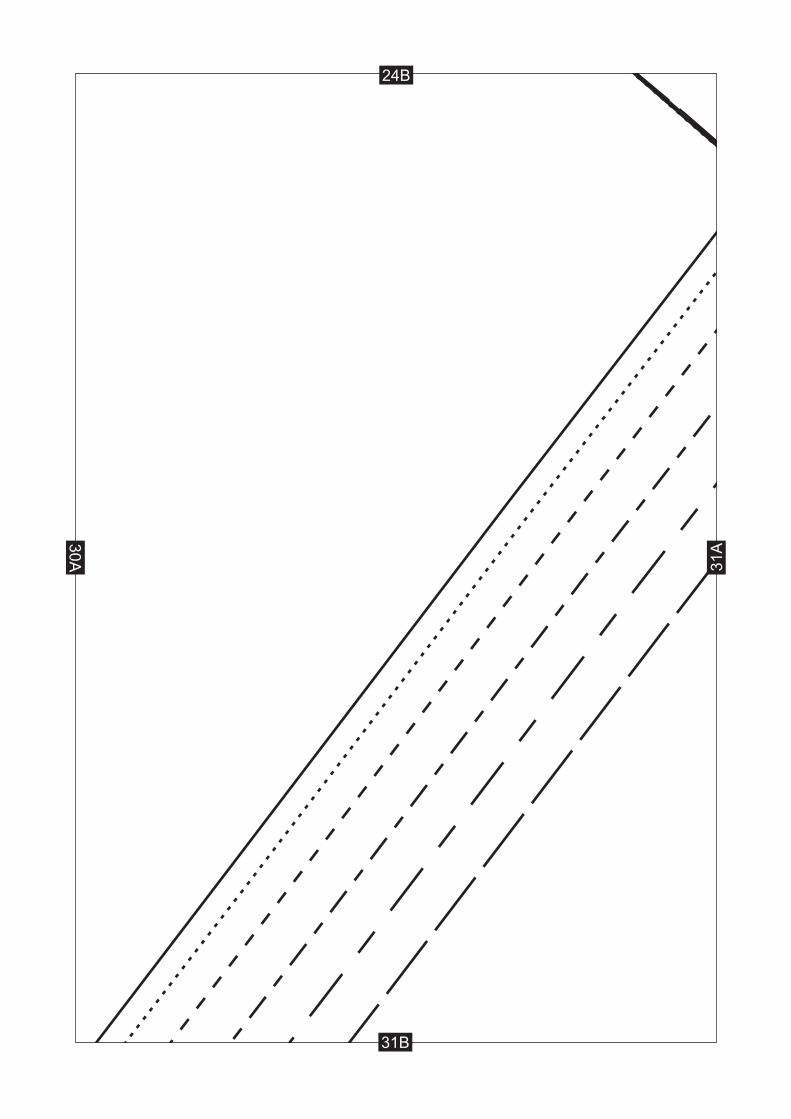
30A 31A
24B
31B
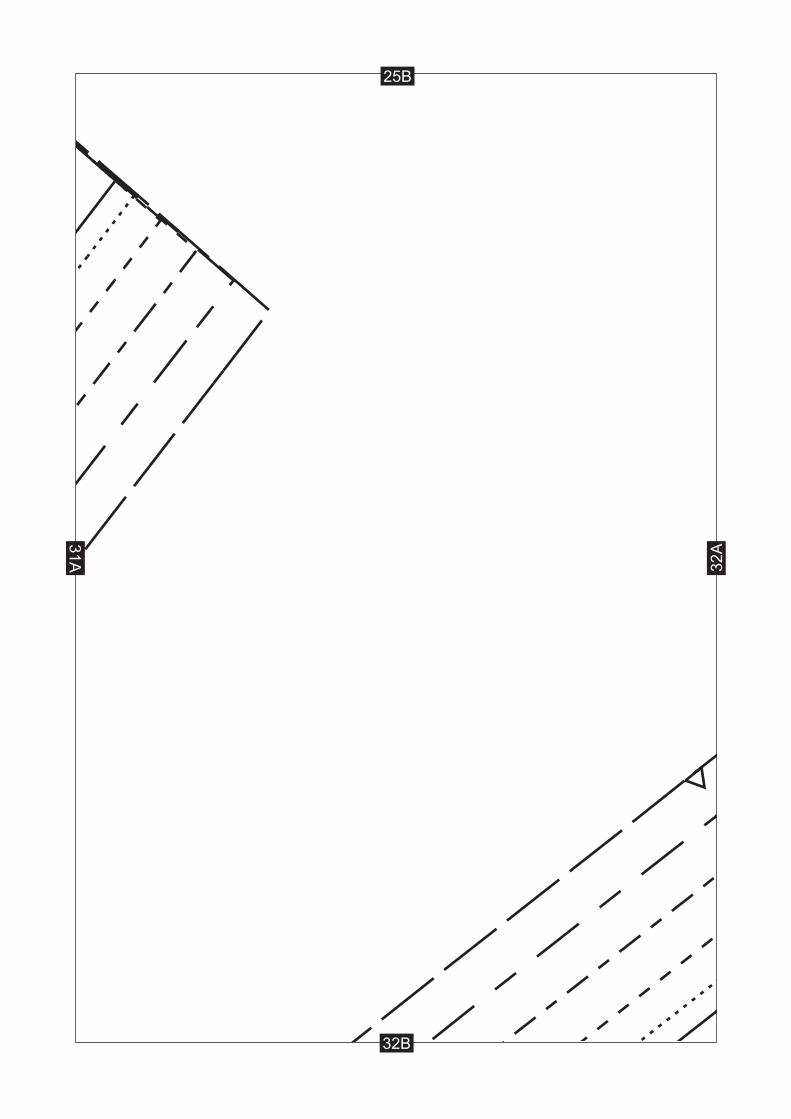
31A 32A
25B
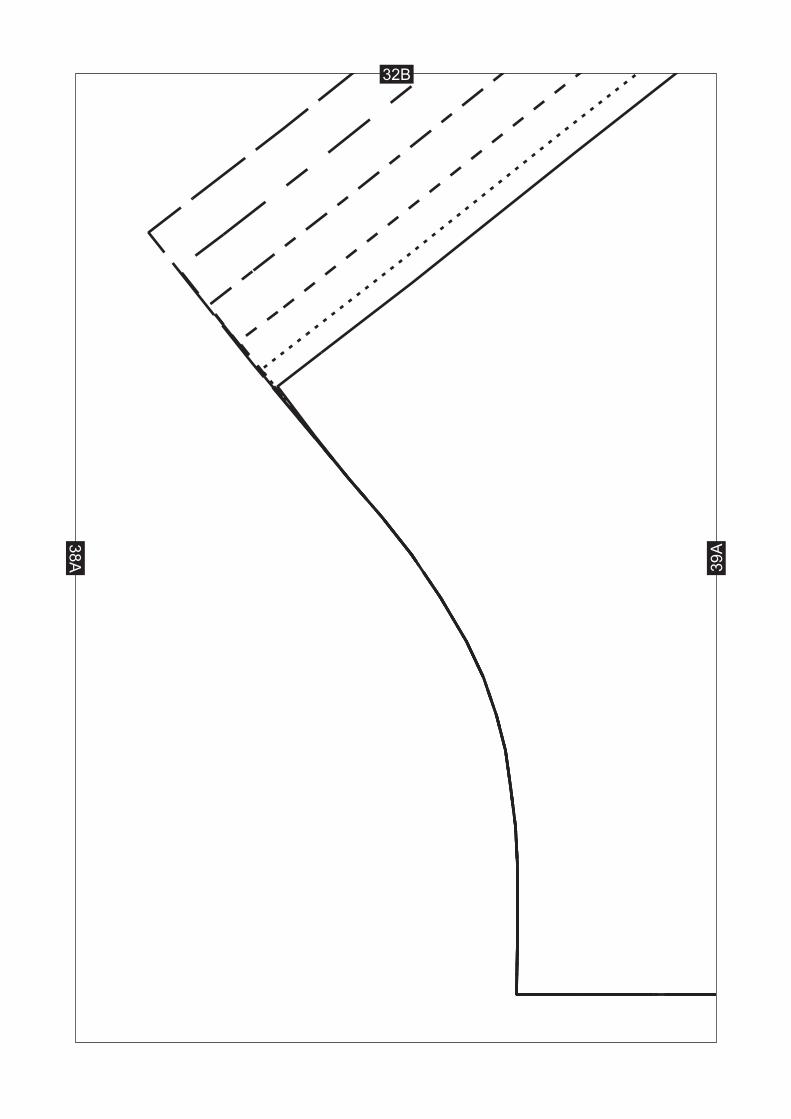
32B

32A 33A
26B
33B

33A 34A
27B
34B
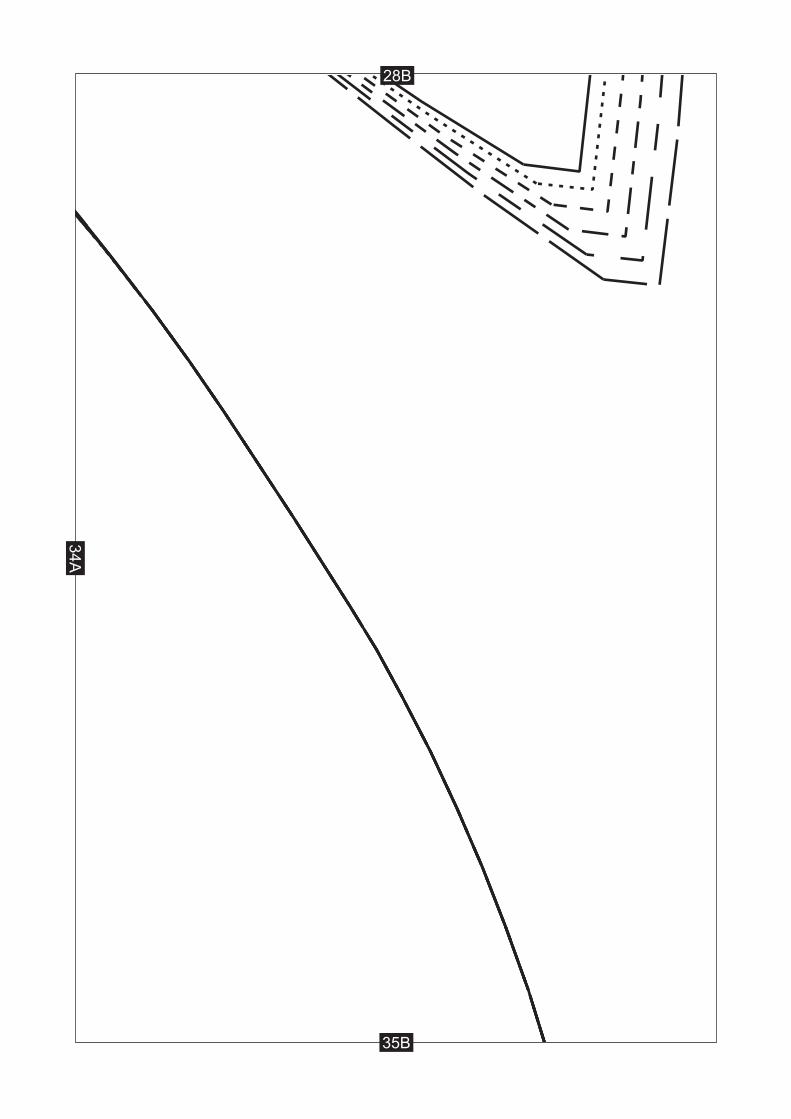
34A
28B
35B
36A
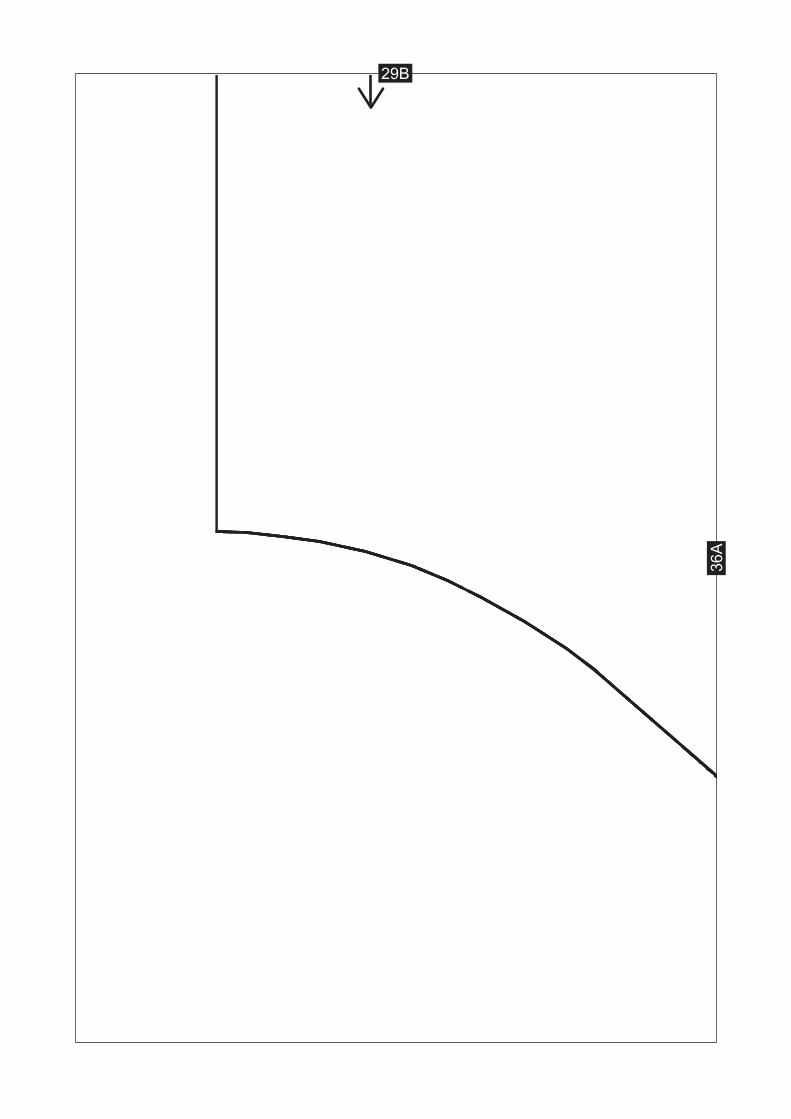
29B
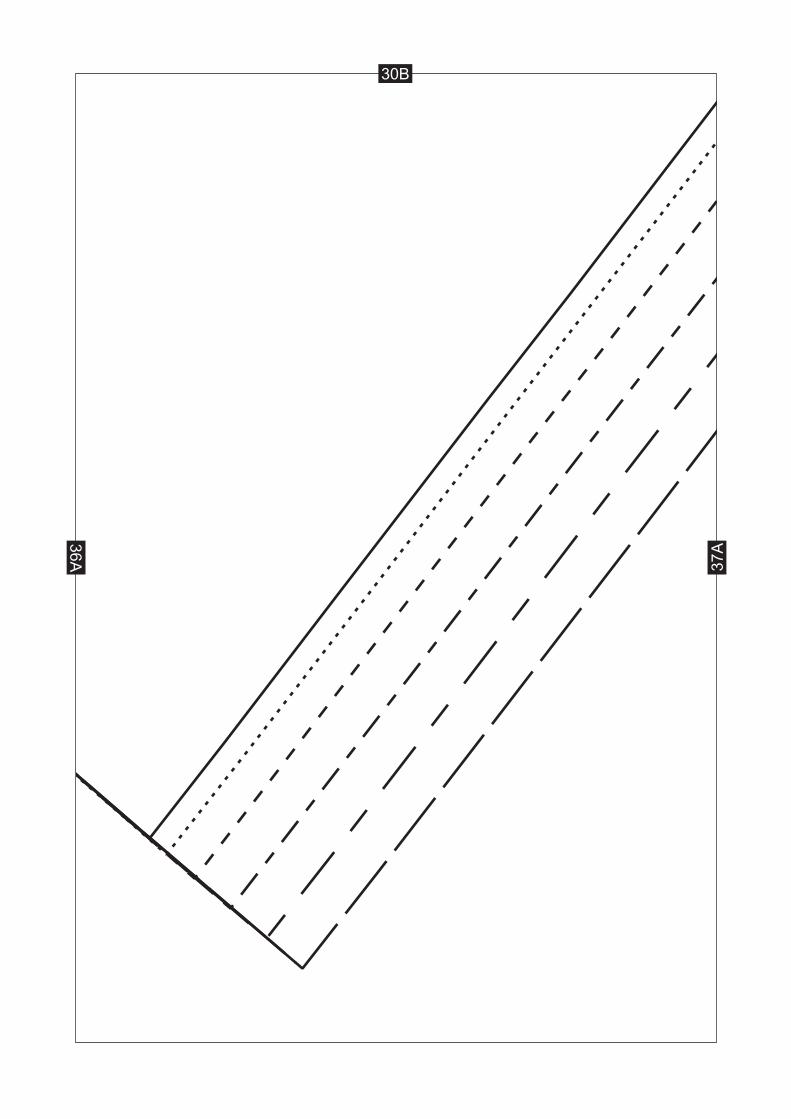
36A 37A
30B

37A 38A
31B
38A 39A
32B
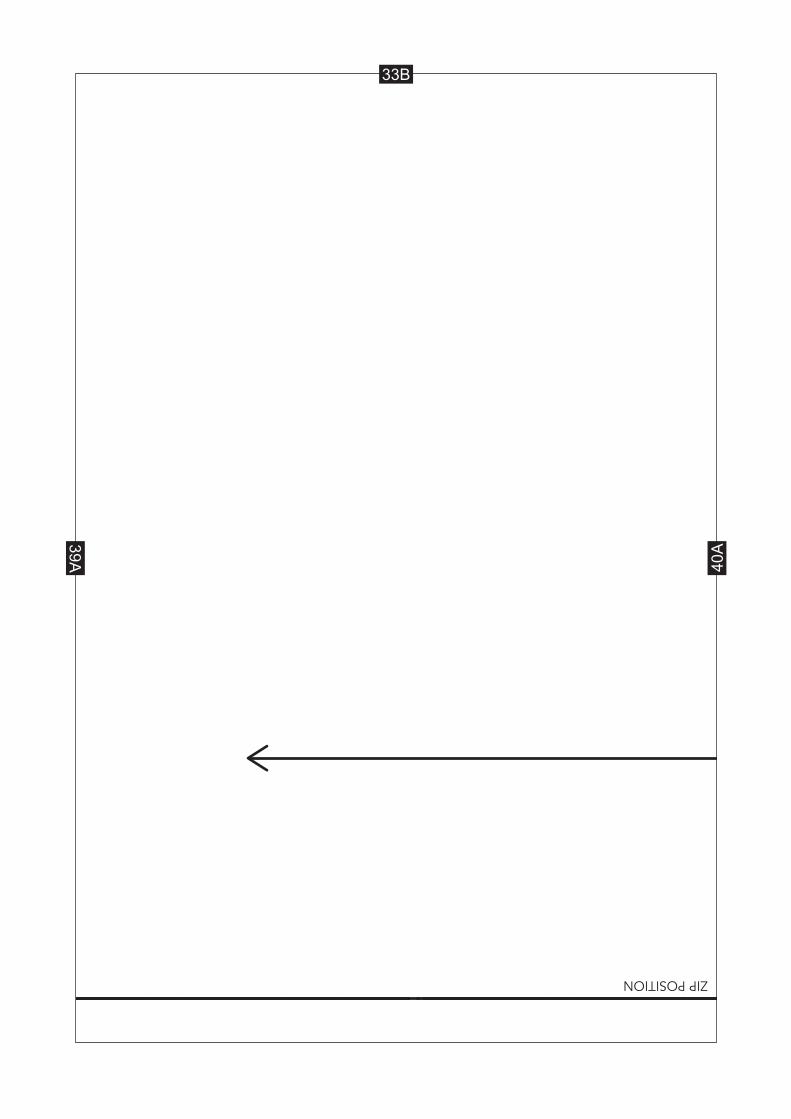
ZIP POSITION
39A 40A
33B
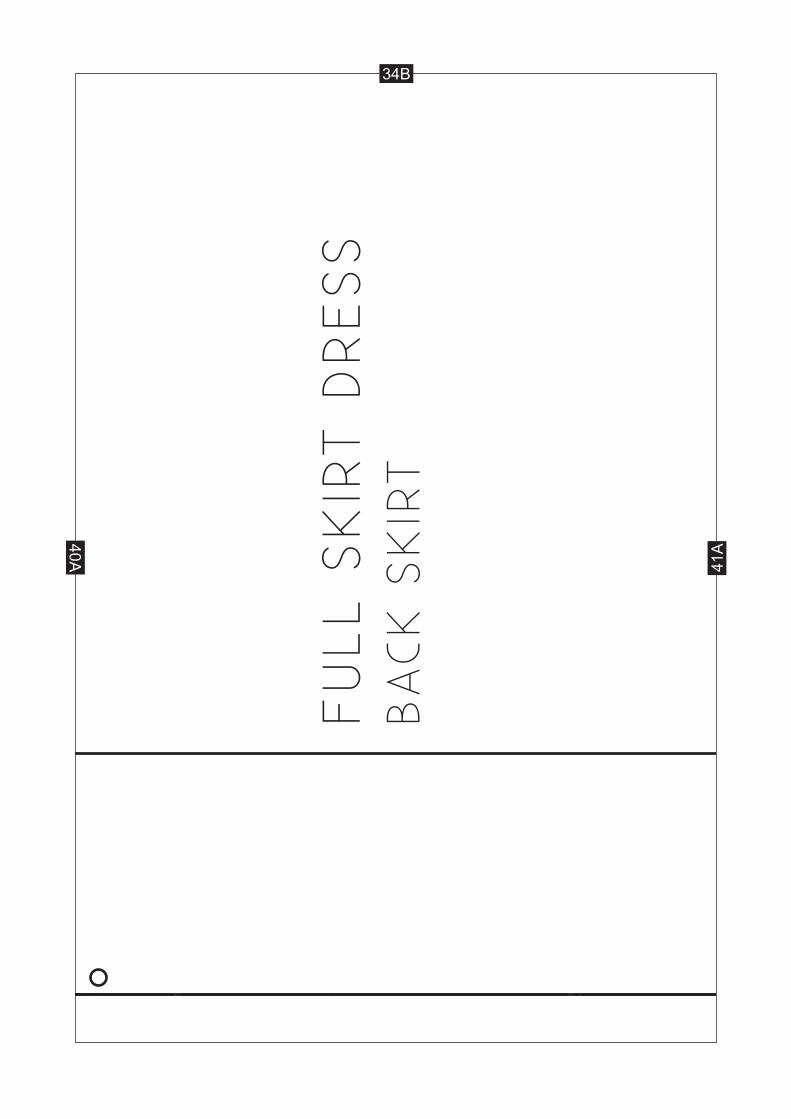
FU
LL S
KIR
T D
RESS
BA
CK
SK
IRT
40A 41A
34B
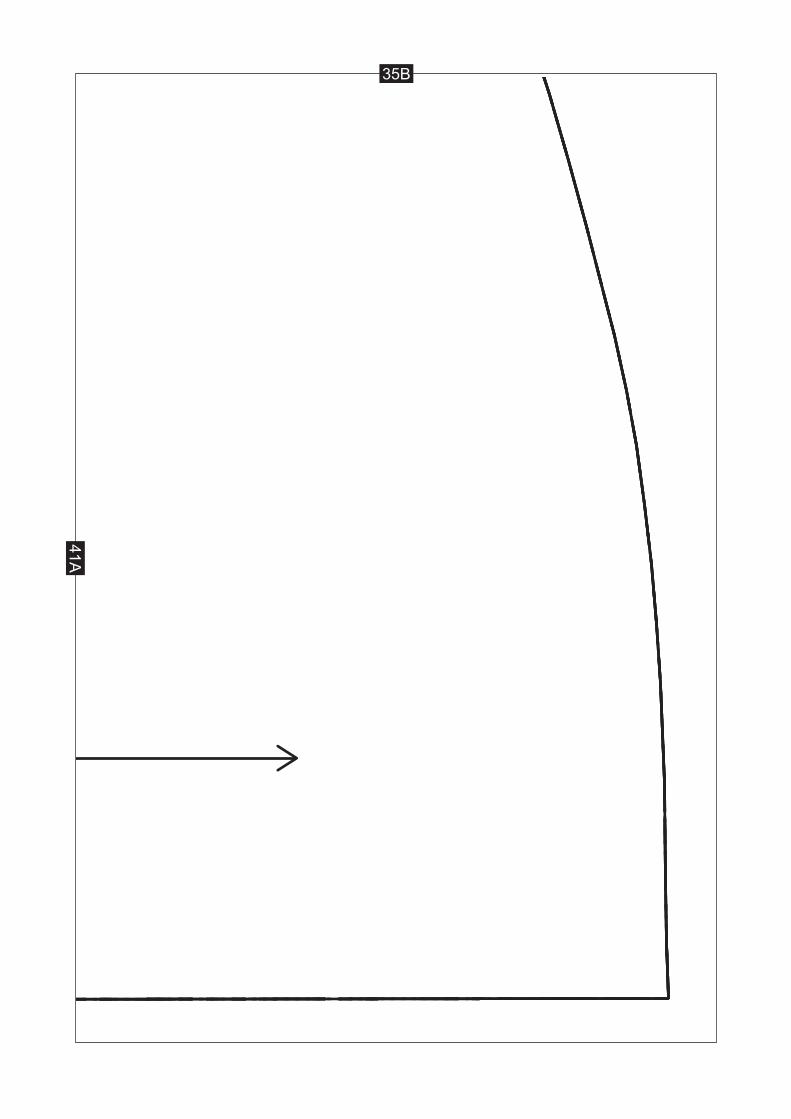
41A
35B


![MySewingMall.com [Sewing Machine Parts & Sewing Jargons]](https://img.pdfslide.us/doc/110x75/587a415b1a28ab00148b4837/mysewingmallcom-sewing-machine-parts-sewing-jargons.jpg)