Embed Size (px)
Citation preview
8/6/2019 PC Mail Merge Documentation
http://slidepdf.com/reader/full/pc-mail-merge-documentation 1/4
Mail Merge Step by Step Instructions for the PC
Page 1 of 4
1. Open Microsoft Word 2003.2. Go to Tools > Letters and Mailings > Mail Merge... If the task pane was closed, it will open the
Mail Merge task pane.
Step 1: Select Document Type
1. Under Select document type, choose Letters.
2. Click on Next: Starting document at the bottom of the task pane
Step 2: Starting document
1. Selecting Use the current document will allow you to start from the current document shownon the screen.
2. Click Next: Select recipients. Note that you can always go between steps by clicking on the
Next and Previous links at the bottom of the task pane.
Step 3: Select Recipients
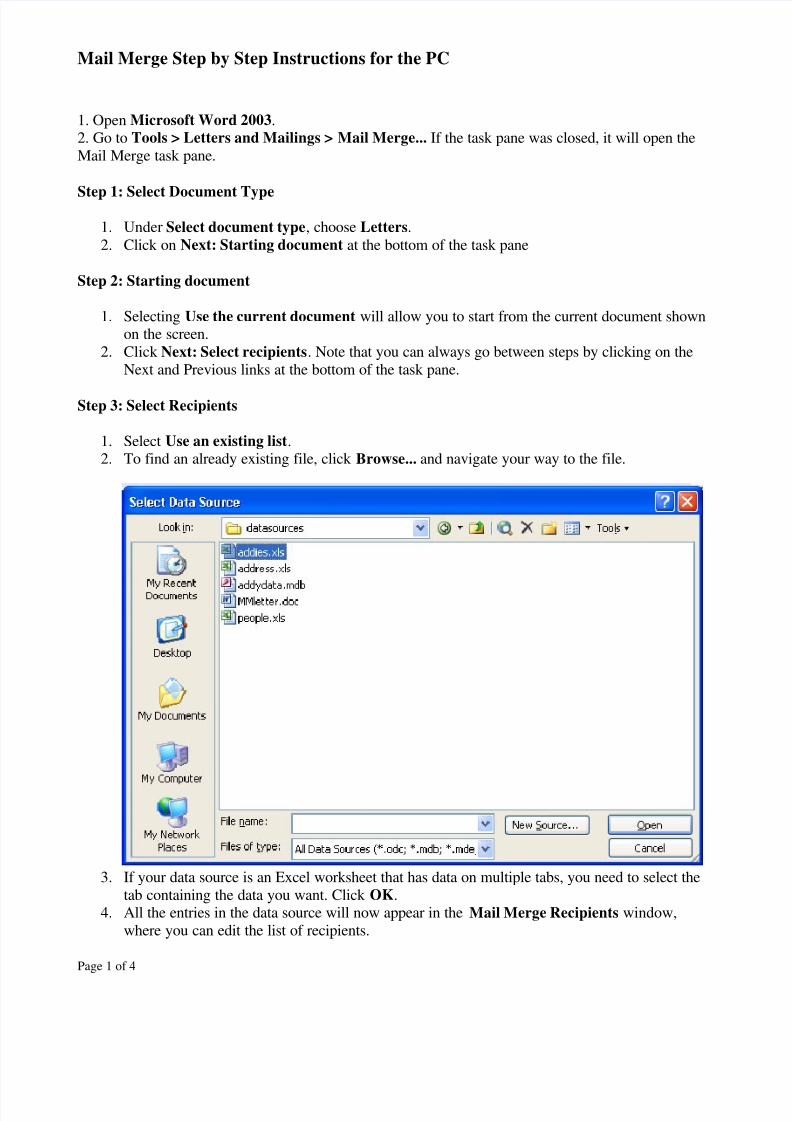
1. Select Use an existing list.2. To find an already existing file, click Browse... and navigate your way to the file.
3. If your data source is an Excel worksheet that has data on multiple tabs, you need to select the
tab containing the data you want. Click OK.4. All the entries in the data source will now appear in the Mail Merge Recipients window,
where you can edit the list of recipients.

8/6/2019 PC Mail Merge Documentation
http://slidepdf.com/reader/full/pc-mail-merge-documentation 2/4
Mail Merge Step by Step Instructions for the PC
Page 2 of 4
5. In the Mail Merge Recipients window, select the recipients you want by checking the boxes
next to the recipients. To sort the list, click the column heading of the item you want to sort by.
To filter items in the list click the arrow next to the column heading of the item you want to
filter by and select any of the following:1. Blanks display all the records in which the corresponding field is blank.
2. Nonblanks display all the records in which the corresponding field contains
information. If your data source contains records that share the same information, andthere are ten or fewer unique values in the column, you can filter by specific
information.
6. If the arrow next to any column heading is blue, that category is screening out names. To
display all the recipients again, click and blue arrows and select All. 7. To check all names in your recipients list, click Select All. To uncheck all names, click Clear
All.
8. Click OK to return to the Mail Merge Wizard.
9. To change the file click Select a different list... 10. To edit the list click on Edit recipient list... (data source)
11. Click on Next:Write your letter.
Step 4: Write Your Letter
1. If you are creating a form letter, type the text that you want to appear in every form letter.
Insert merge fields where you want to merge names, addresses, and other data from the data
source (i.e. recipient list) by clicking anywhere you want in the main document to insert the
field. Then click on More Items and insert individual field
Click More items...
8/6/2019 PC Mail Merge Documentation
http://slidepdf.com/reader/full/pc-mail-merge-documentation 3/4
Mail Merge Step by Step Instructions for the PC
Page 3 of 4
1. Select one of the following:
(a) Address Fields will allow you to select from address fields that will automatically map to
corresponding fields in your data source, even if the data source's fields don't have the same
name as your fields.(b) Database Fields will allow you to select from fields that always take data directly from a
column in a database.
2.
In the Fields window, click the field you want.3. Click Insert, and then click Close.
4. If the Match Fields window appears, Microsoft Word may have been unable to find some of
the information it needs to insert the field. Click the arrow next to not matched, and then select
the field from your data source that corresponds to the field required for the mail merge.
If you are creating a form letter, click Next: Preview your letters.
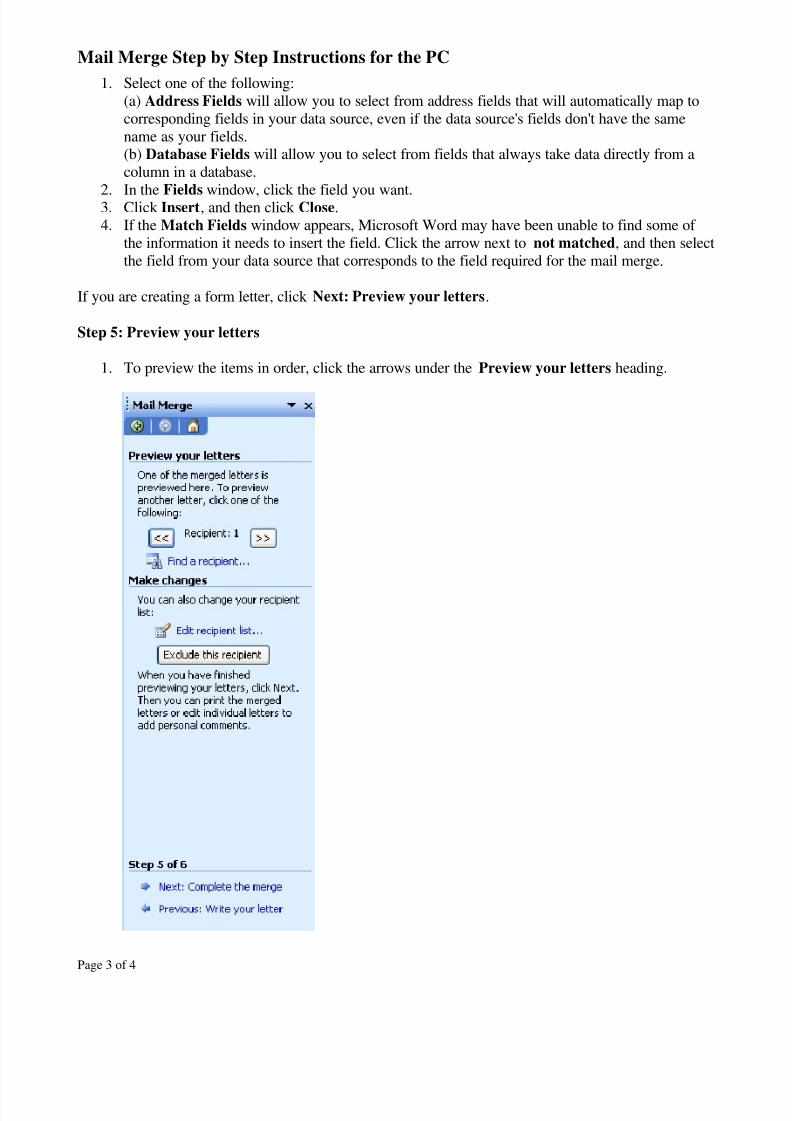
Step 5: Preview your letters
1. To preview the items in order, click the arrows under the Preview your letters heading.
8/6/2019 PC Mail Merge Documentation
http://slidepdf.com/reader/full/pc-mail-merge-documentation 4/4