Embed Size (px)
Citation preview
Demo ScriptParallel Computing on Azure - Travelling Salesman Demo
Demo version: 1.0.0
Last updated: 5/8/2023

CONTENTS
OVERVIEW................................................................................................................................................. 3Key Messages......................................................................................................................................... 4
Key Technologies.................................................................................................................................... 4
Prerequisites............................................................................................................................................ 4
Time Estimates........................................................................................................................................ 5
SETUP AND CONFIGURATION................................................................................................................. 6
DEMO FLOW.............................................................................................................................................. 7
OPENING STATEMENT............................................................................................................................. 9
STEP-BY-STEP WALKTHROUGH...........................................................................................................10Segment #1: Scaling-Up Windows Azure Applications using a Single Instance....................................10
Segment #2: Scaling-Out Windows Azure Applications using Multiple instances..................................17
SUMMARY................................................................................................................................................ 24
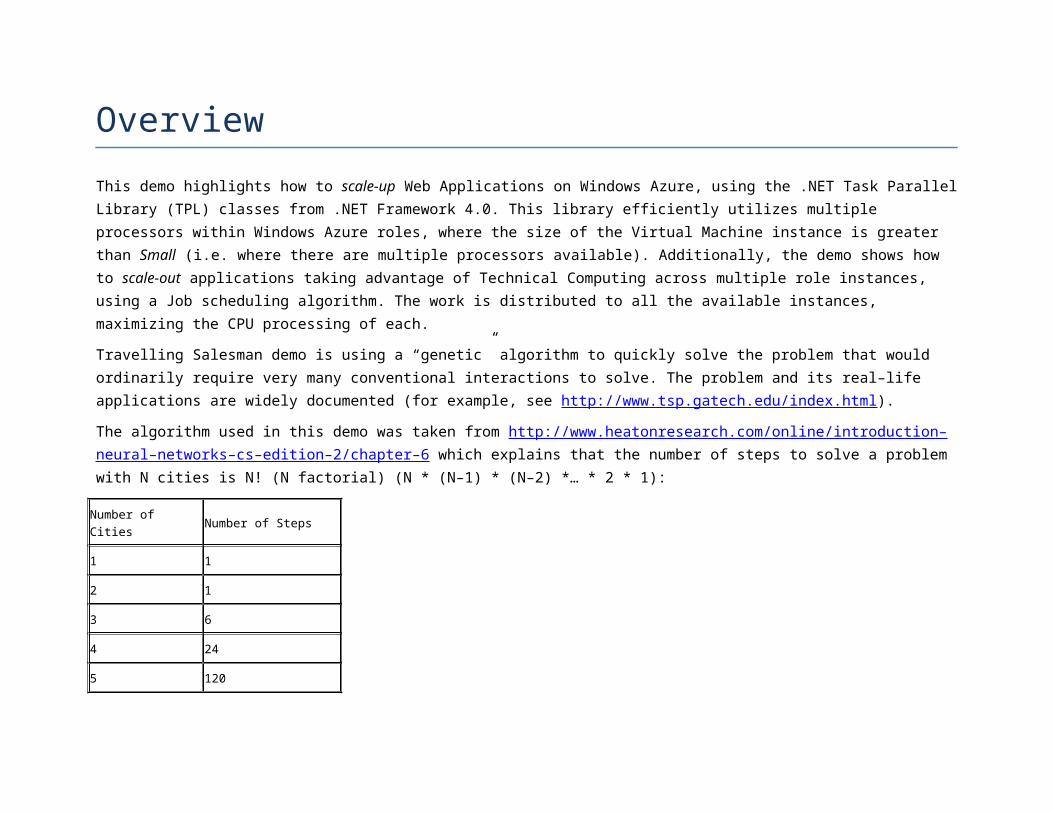
Overview
This demo highlights how to scale-up Web Applications on Windows Azure, using the .NET Task Parallel Library (TPL) classes from .NET Framework 4.0. This library efficiently utilizes multiple processors within Windows Azure roles, where the size of the Virtual Machine instance is greater than Small (i.e. where there are multiple processors available). Additionally, the demo shows how to scale-out applications taking advantage of Technical Computing across multiple role instances, using a Job scheduling algorithm. The work is distributed to all the available instances, maximizing the CPU processing of each.
Travelling Salesman demo is using a “genetic” algorithm to quickly solve the problem that would ordinarily require very many conventional interactions to solve. The problem and its real–life applications are widely documented (for example, see http://www.tsp.gatech.edu/index.html).
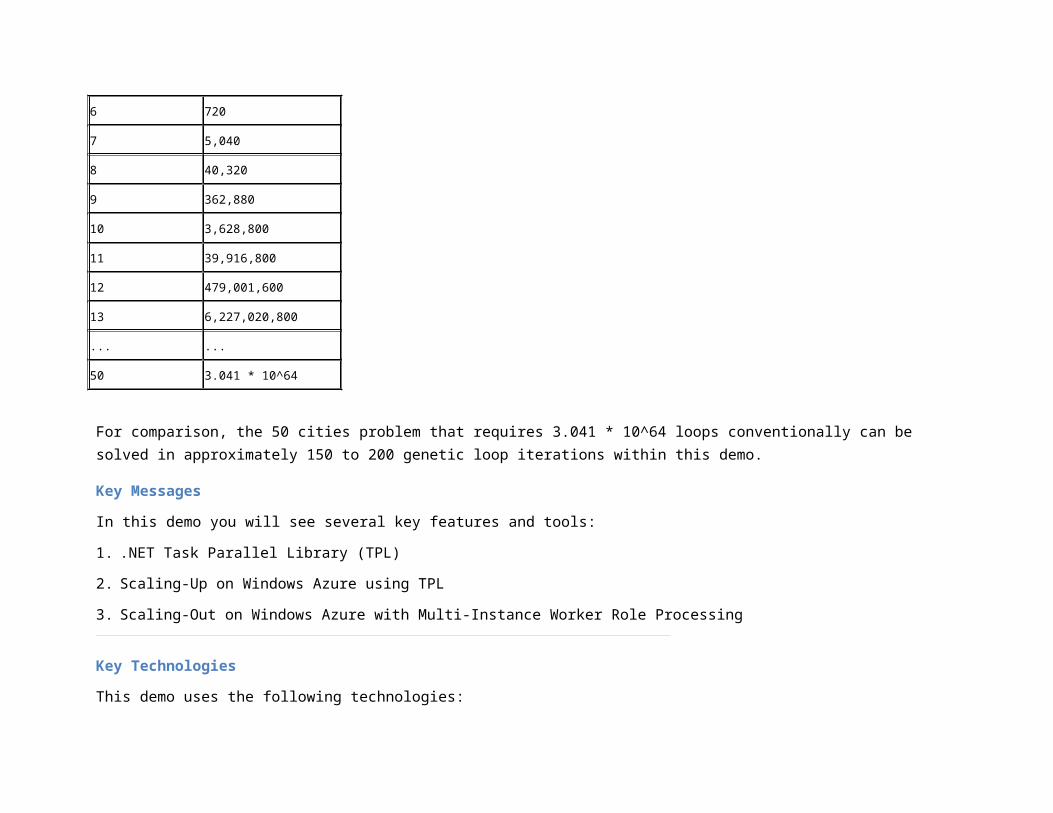
The algorithm used in this demo was taken from http://www.heatonresearch.com/online/introduction–neural–networks–cs–edition–2/chapter–6 which explains that the number of steps to solve a problem with N cities is N! (N factorial) (N * (N–1) * (N–2) *… * 2 * 1):
Number of Cities Number of Steps
1 1
2 1
3 6
4 24
5 120
6 720
7 5,040
8 40,320
9 362,880
10 3,628,800
11 39,916,800
12 479,001,600
13 6,227,020,800
... ...
50 3.041 * 10^64
For comparison, the 50 cities problem that requires 3.041 * 10^64 loops conventionally can be solved in approximately 150 to 200 genetic loop iterations within this demo.
Key Messages
In this demo you will see several key features and tools:
1. .NET Task Parallel Library (TPL)
2. Scaling-Up on Windows Azure using TPL
3. Scaling-Out on Windows Azure with Multi-Instance Worker Role Processing
Key Technologies
This demo uses the following technologies:
1. ASP.NET
2. Windows Azure SDK and Windows Azure Tools for Microsoft Visual Studio 2010
3. Task Parallel Library (TPL)
Prerequisites
Windows Azure subscription
Time Estimates
Estimated time for setting up and configuring the demo: 20 minutes
Estimated time to complete the demo: 30 minutes
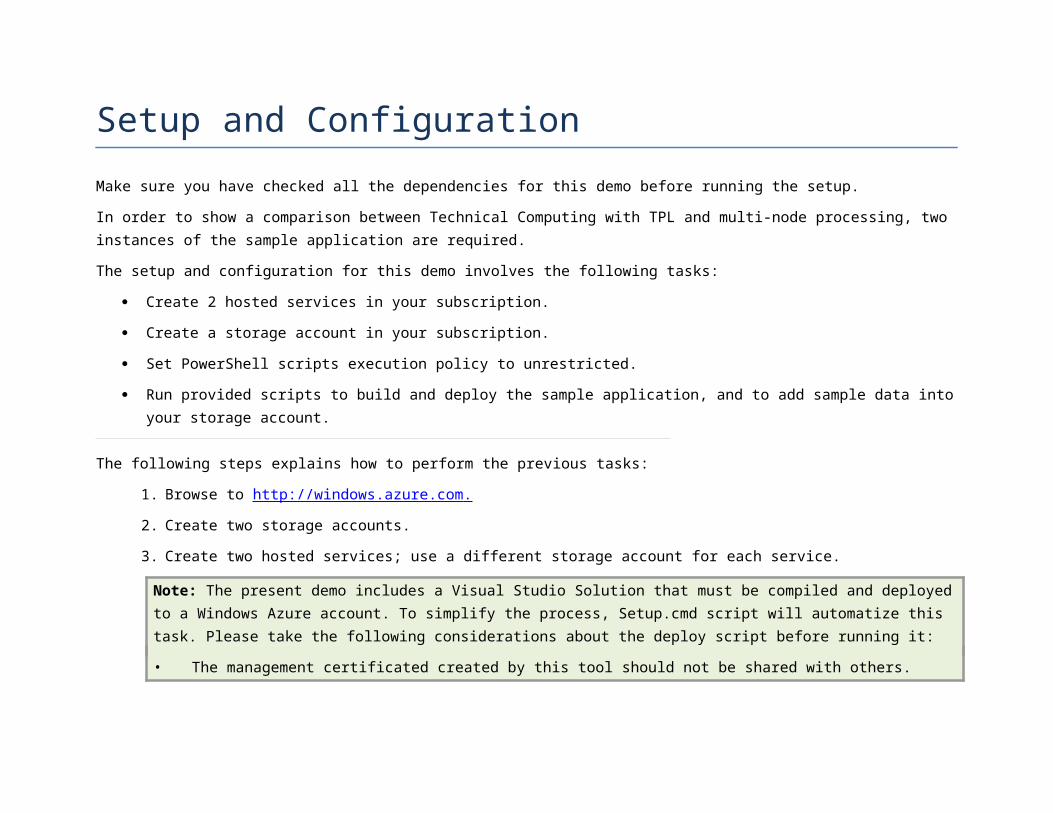
Setup and Configuration
Make sure you have checked all the dependencies for this demo before running the setup.
In order to show a comparison between Technical Computing with TPL and multi-node processing, two instances of the sample application are required.
The setup and configuration for this demo involves the following tasks:
Create 2 hosted services in your subscription.
Create a storage account in your subscription.
Set PowerShell scripts execution policy to unrestricted.
Run provided scripts to build and deploy the sample application, and to add sample data into your storage account.
The following steps explains how to perform the previous tasks:
1. Browse to http://windows.azure.com .
2. Create two storage accounts.
3. Create two hosted services; use a different storage account for each service.
Note: The present demo includes a Visual Studio Solution that must be compiled and deployed to a Windows Azure account. To simplify the process, Setup.cmd script will automatize this task. Please take the following considerations about the deploy script before running it:
• The management certificated created by this tool should not be shared with others.
• The hosted service provided must not contain any Production deployment, because this slot will be used to upload the compiled solution.
• The storage account provided will not be cleaned. Any existing blob, table or queue will remain intact.
4. Browse to the root folder of this demo and click the Setup.cmd script. The script will build the solution and generate the package to deploy.
5. When prompted to create a certificate press Y to generate a new certificate or N if you have a certificate installed in your local machine and have it uploaded as a management certificate in the management portal.
6. If you choose to generate a new certificate, the script will pause to let you upload the generated certificate to the management portal. Upload the certificate to the management portal in the management certificates section and take note of its thumbprint.
7. Open the configuration.xml file located in the scripts folder of this demo. Update all the entries in the file:
a. Your Azure subscription id.
b. Your certificate thumbprint (the one you uploaded to the Azure Portal).
c. The hosted service name, storage account name and key for the Small and Large instances.
8. Continue with the script. Wait until the package is deployed to your hosted service and started up.
Demo Flow
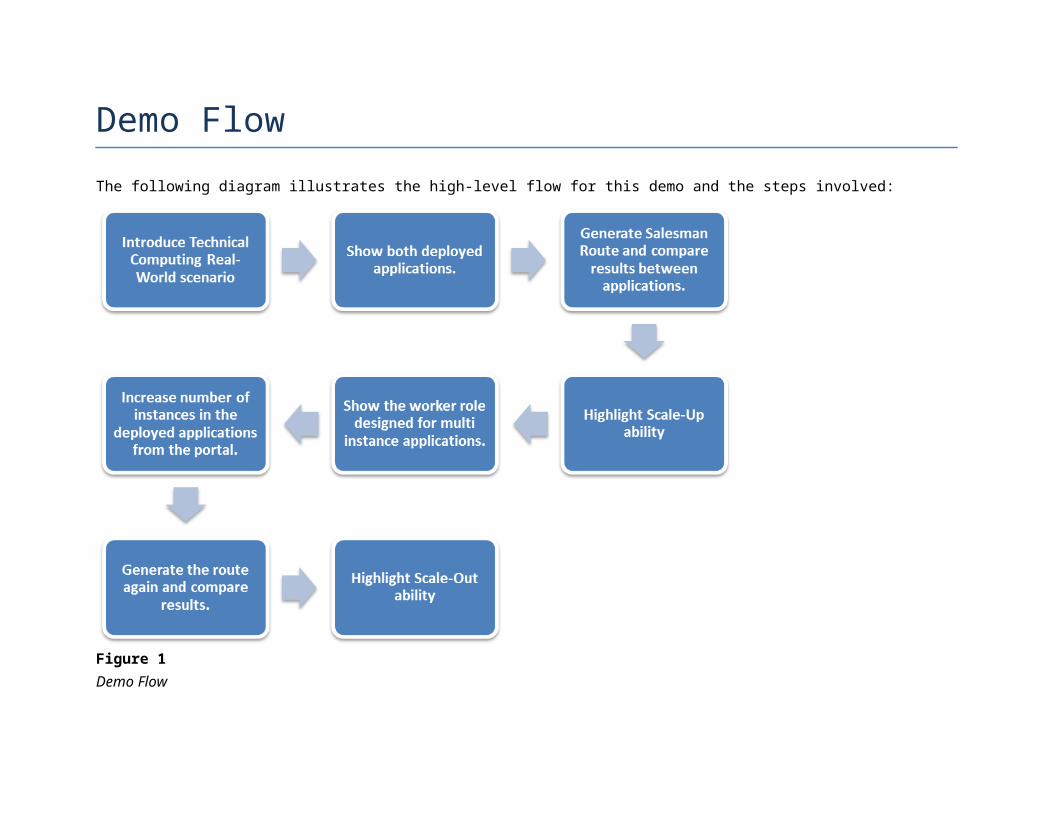
The following diagram illustrates the high-level flow for this demo and the steps involved:
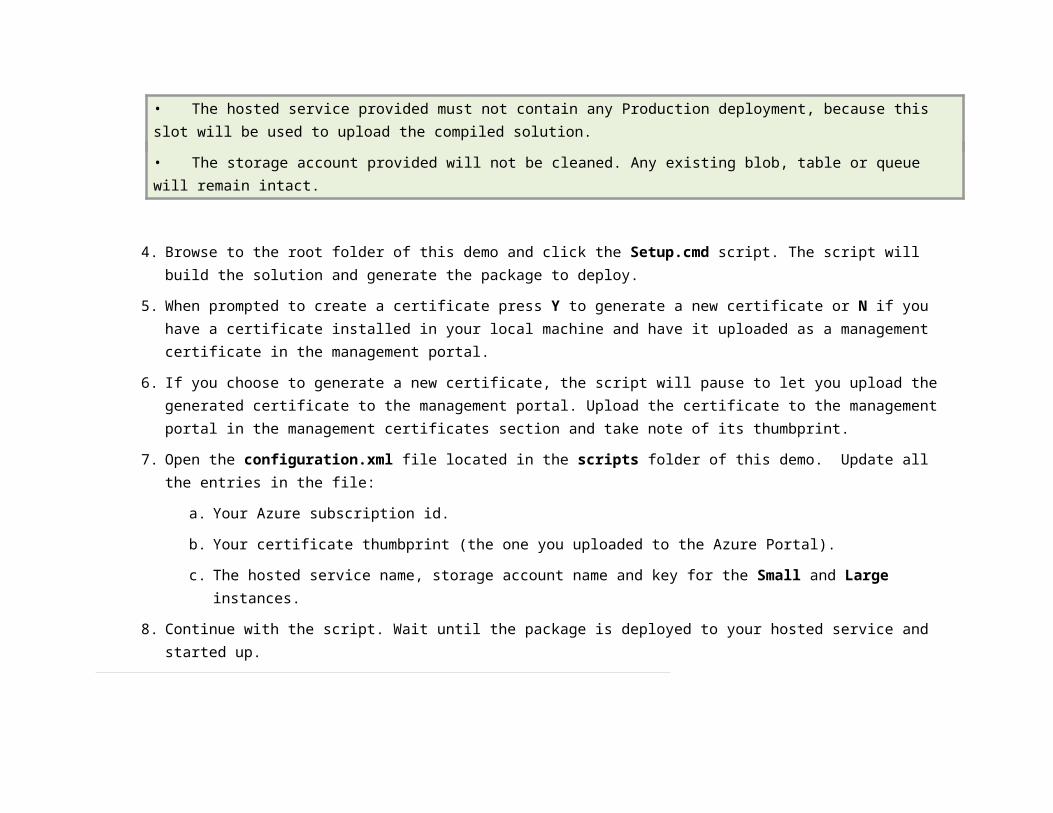
Figure 1Demo Flow
Opening Statement
In this session, we are going to learn how to take advantage of Technical Computing on Windows Azure, using the Task Parallel Library (TPL), which was included in the .NET Framework 4 and also how to take advantage of multi-node processing to maximize our processing usage. This demo covers:
1. How to scale-up your application using TPL and compare the processing results between a single core instance (small) against a multi-core one (Large).
2. How to scale-out your application using a Job Scheduling algorithm to split work between all the nodes (Instance count greater than 1).

Step-by-Step Walkthrough
This demo is composed of the following segments:
Scaling-Up Windows Azure Applications using a Single Instance.
Scaling-Out Windows Azure Applications using Multiple instances.
Segment #1: Scaling-Up Windows Azure Applications using a Single Instance
Action Script Screenshot
1. Open the Small and Large VM Size Applications in different browser tabs.
In this demo I will show you how to use Parallel Computing on Windows Azure. For this, I have already deployed two instances of the same application. One using a Small VM Size and the other using Large VM Size.
2. Show the Small VM Size Application and explain how it works.
We’ll start with the Small VM Size Application.
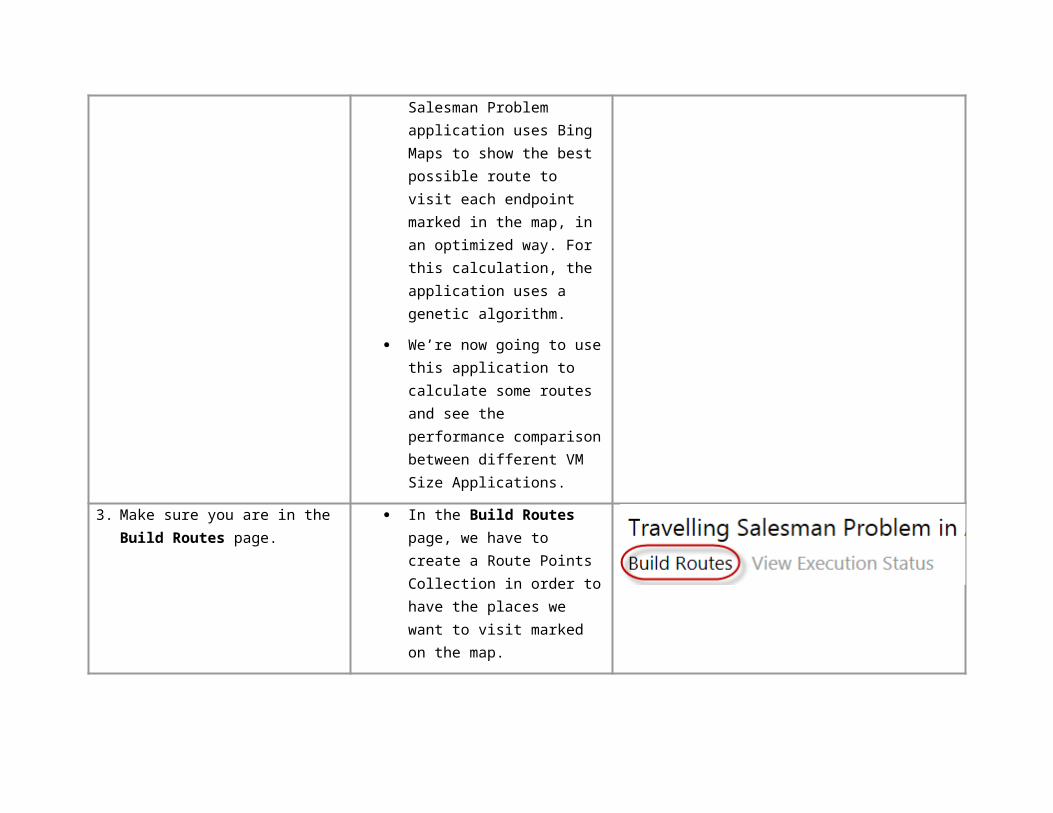
The Travelling Salesman Problem application uses Bing Maps to show the best possible route to visit each endpoint marked in the map, in an optimized way. For this calculation, the application uses a genetic algorithm.
We’re now going to use this application to calculate some routes and see the performance comparison between different VM Size Applications.
3. Make sure you are in the Build Routes page.
In the Build Routes page, we have to create a Route Points Collection in order to have the places we want to visit marked on the map.
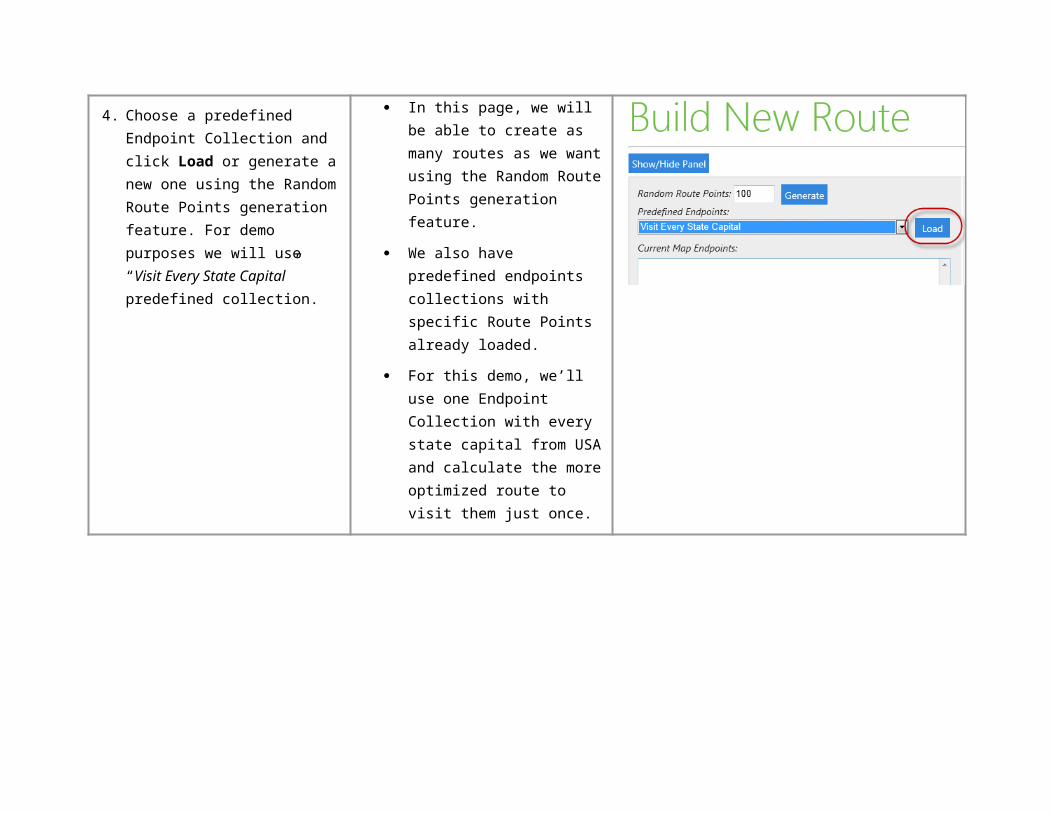
4. Choose a predefined Endpoint Collection and click Load or generate a new one using the Random Route Points generation feature. For demo purposes we will use “Visit Every State Capital” predefined collection.
In this page, we will be able to create as many routes as we want using the Random Route Points generation feature.
We also have predefined endpoints collections with specific Route Points already loaded.
For this demo, we’ll use one Endpoint Collection with every state capital from USA and calculate the more optimized route to visit them just once.
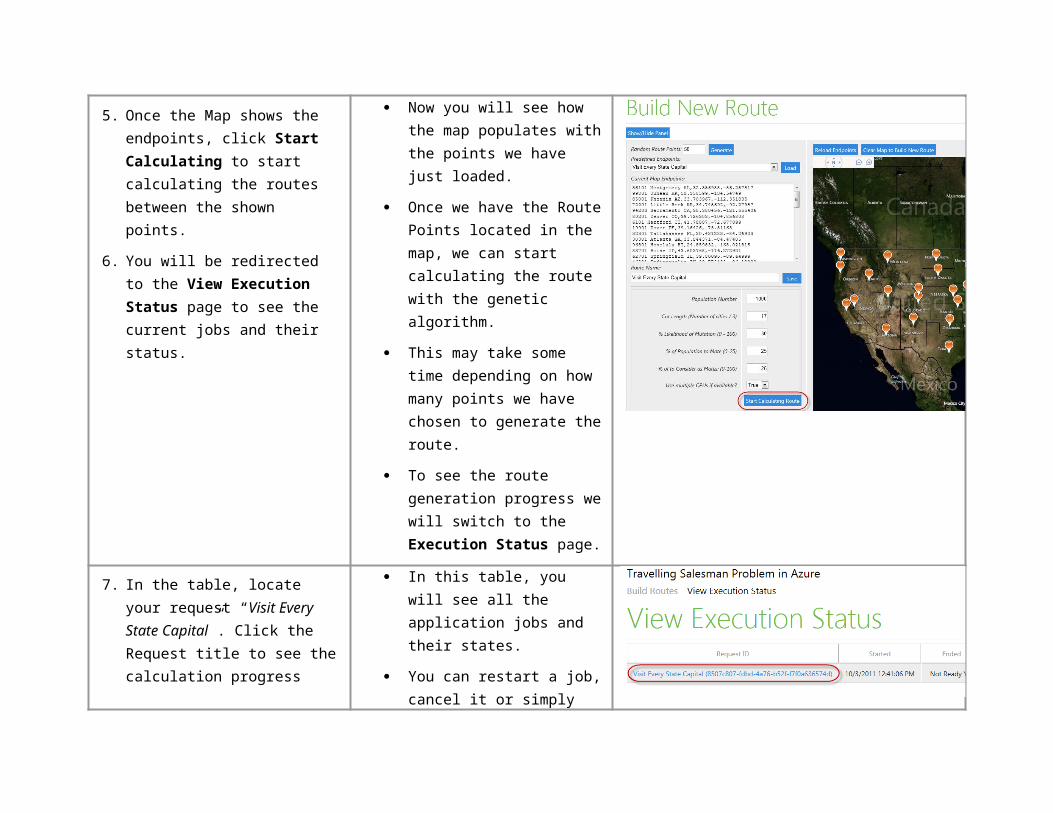
5. Once the Map shows the endpoints, click Start Calculating to start calculating the routes between the shown points.
6. You will be redirected to the View Execution Status page to see the current jobs and their status.
Now you will see how the map populates with the points we have just loaded.
Once we have the Route Points located in the map, we can start calculating the route with the genetic algorithm.
This may take some time depending on how many points we have chosen to generate the route.
To see the route generation progress we will switch to the Execution Status page.
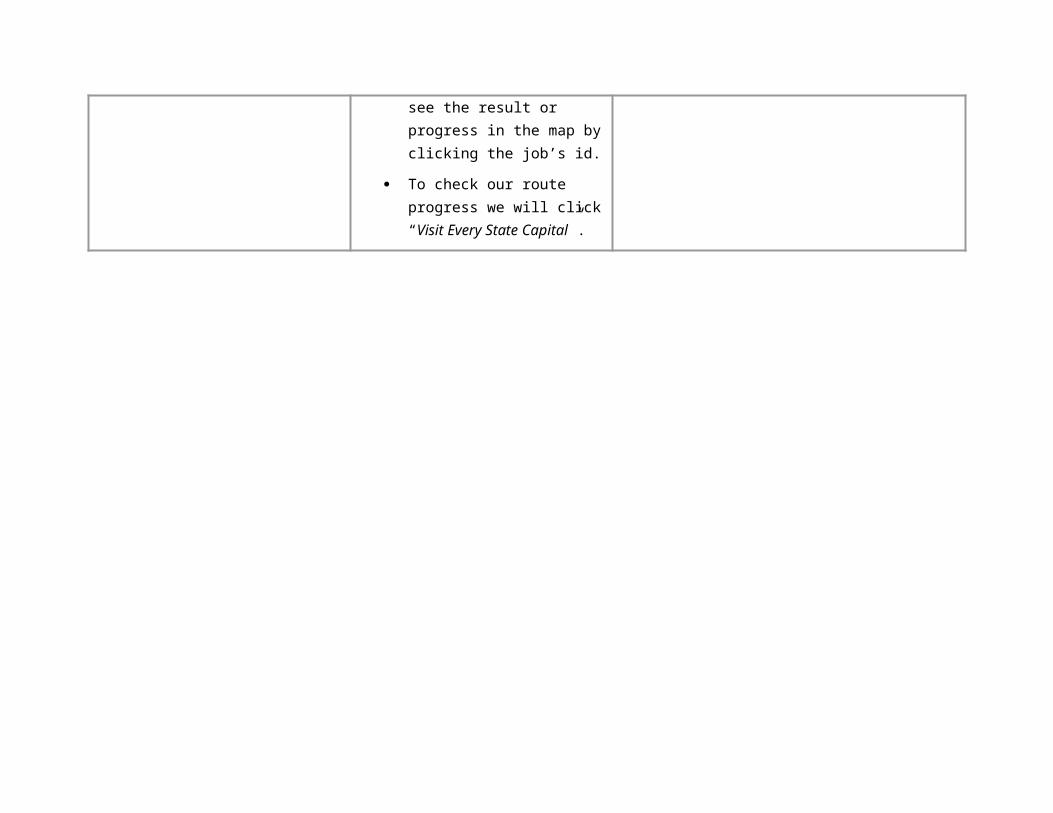
7. In the table, locate your request “Visit Every State Capital”. Click the Request title to see the calculation progress
In this table, you will see all the application jobs and their states.
You can restart a job, cancel it or simply see the result or progress in the map by clicking the job’s id.
To check our route progress we will click “Visit Every State Capital”.
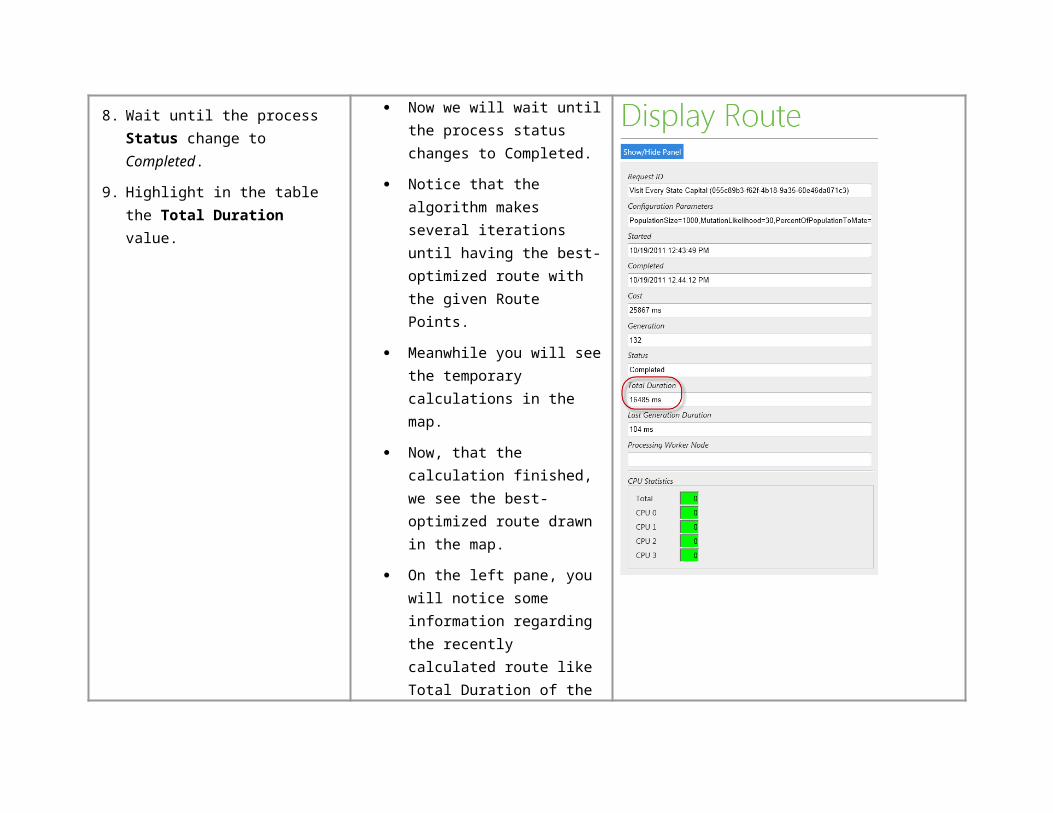
8. Wait until the process Status change to Completed.
9. Highlight in the table the Total Duration value.
Now we will wait until the process status changes to Completed.
Notice that the algorithm makes several iterations until having the best-optimized route with the given Route Points.
Meanwhile you will see the temporary calculations in the map.
Now, that the calculation finished, we see the best-optimized route drawn in the map.
On the left pane, you will notice some information regarding the recently calculated route like Total Duration of the process, CPU Statistics, Start time, etc.
Take note of the Total Duration it took with one Small VM Size instance.
10. Switch to the Large VM Size Application opened in the second tab.
11. Repeat steps 3 to 9 and notice the differences between the Total
Now, we’ll switch back to the Large VM Size Application.
This application is the same than the one we have been using
Duration values.
12. Take note of both Total Duration Values to compare with the results you will obtain during next segment.
13. Close the browser.
before.
The only difference between them is that this one has a larger VM Size that contains four processor cores while the Small only contains a single core.
Now, we will repeat the steps we did before to calculate the same route and compare the Total Duration for both applications.
The Application with the Larger VM Size completed the process in a shorter time than the other one.
This is not simply due to the size difference between VMs; it is also due to the way the application was coded.
Now, I will show you the piece of code that makes the difference.
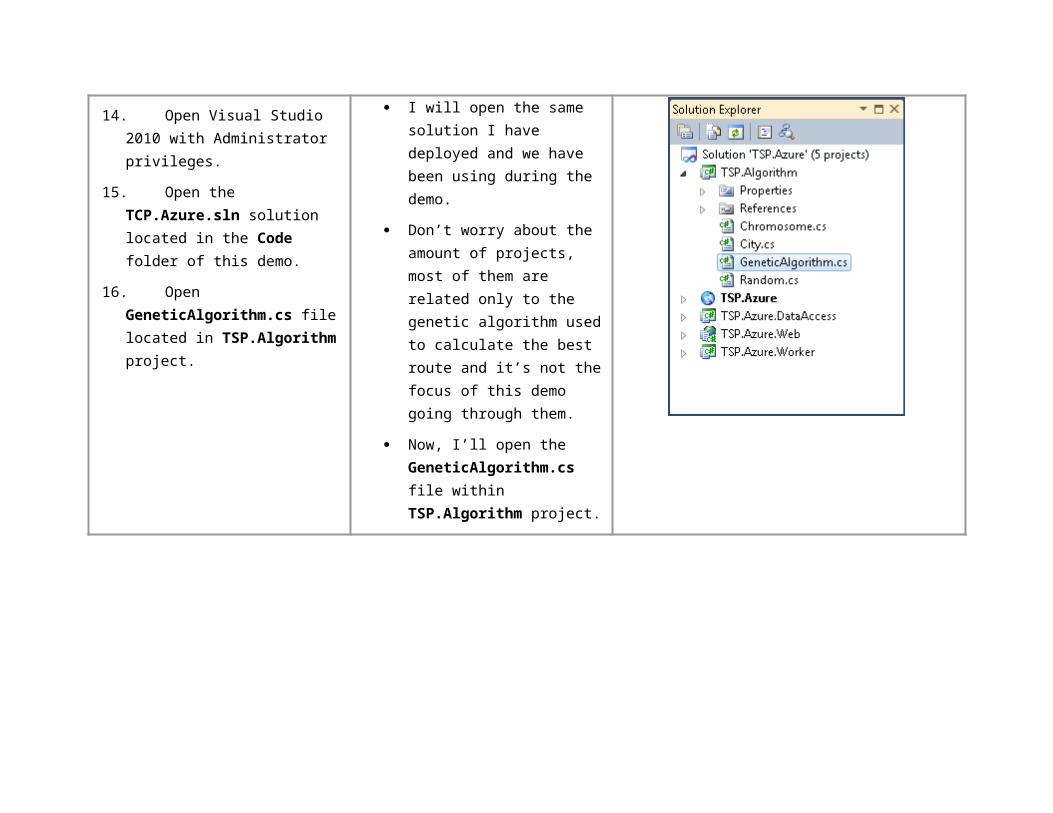
14. Open Visual Studio 2010 with Administrator privileges.
15. Open the TCP.Azure.sln solution located in the Code folder of this demo.
16. Open GeneticAlgorithm.cs file located in TSP.Algorithm project.
I will open the same solution I have deployed and we have been using during the demo.
Don’t worry about the amount of projects, most of them are related only to the genetic algorithm used to calculate the best route and it’s not the focus of this demo going through them.
Now, I’ll open the GeneticAlgorithm.cs file within TSP.Algorithm project.
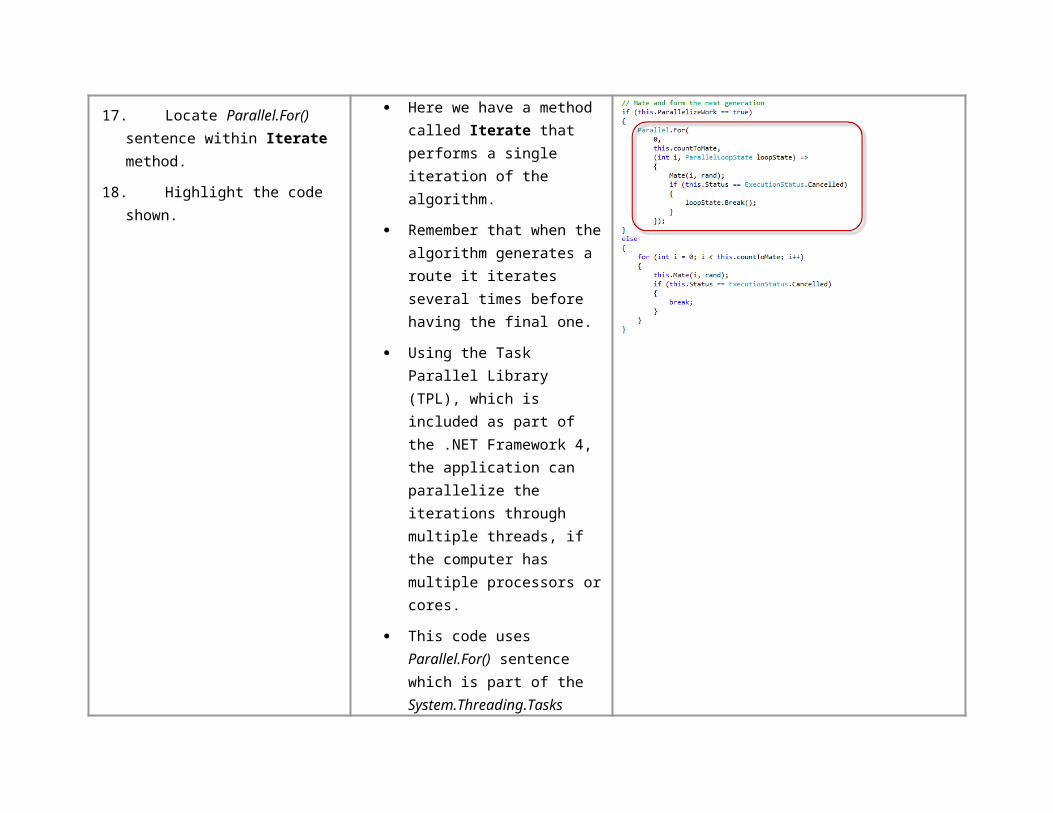
17. Locate Parallel.For() sentence within Iterate method.
18. Highlight the code shown.
Here we have a method called Iterate that performs a single iteration of the algorithm.
Remember that when the algorithm generates a route it iterates several times before having the final one.
Using the Task Parallel Library (TPL), which is included as part of the .NET Framework 4, the application can parallelize the iterations through multiple threads, if the computer has
multiple processors or cores.
This code uses Parallel.For() sentence which is part of the System.Threading.Tasks namespace.
With this sentence, you can parallelize tasks in threads as many cores you have, taking advantage of multiprocessing.
For that reason, we saw a big improvement in the same application, running the same process but in different VM Sizes.
This is because the VM Size and the amount of cores it has. As the VM Size increases, the amount of available cores you have increases too. This lets you parallelize more tasks.
19. Highlight the following features you showed during the demo.
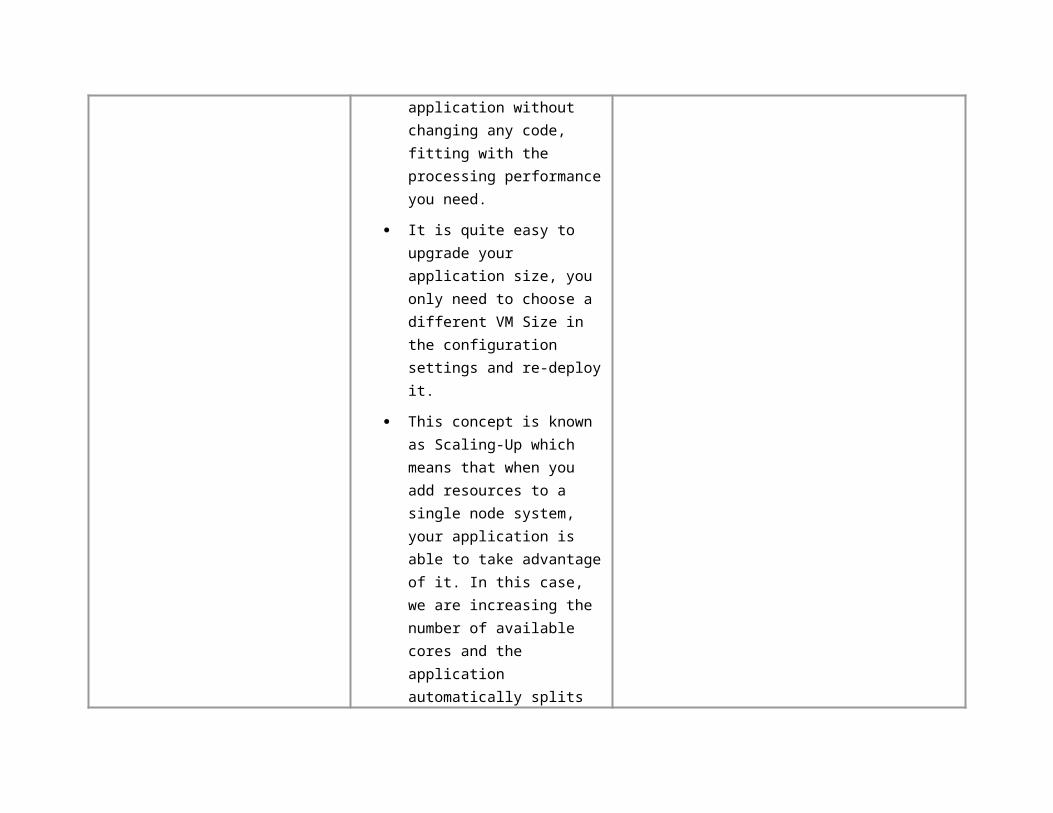
Using the VM sizes that Azure offer, we can escalate our application without changing any code, fitting with the processing performance you need.
It is quite easy to upgrade your application size, you only need
to choose a different VM Size in the configuration settings and re-deploy it.
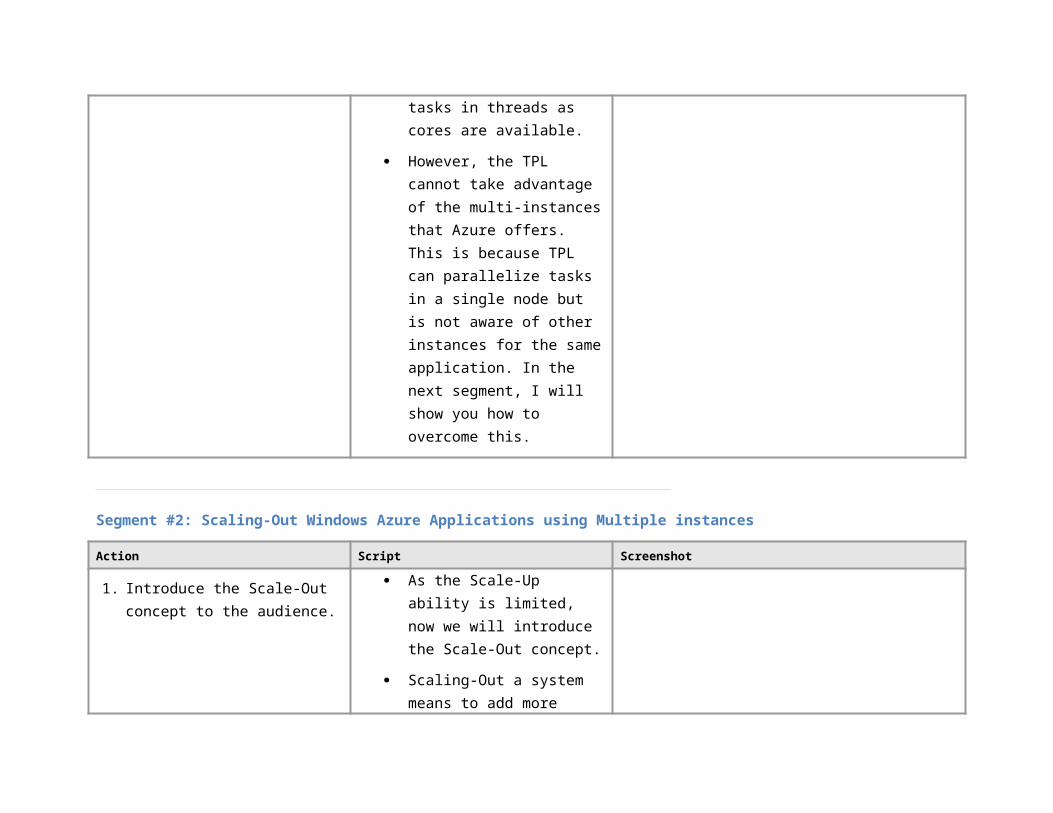
This concept is known as Scaling-Up which means that when you add resources to a single node system, your application is able to take advantage of it. In this case, we are increasing the number of available cores and the application automatically splits tasks in threads as cores are available.
However, the TPL cannot take advantage of the multi-instances that Azure offers. This is because TPL can parallelize tasks in a single node but is not aware of other instances for the same application. In the next segment, I will show you how to overcome this.
Segment #2: Scaling-Out Windows Azure Applications using Multiple instances
Action Script Screenshot
1. Introduce the Scale-Out concept to As the Scale-Up ability is limited,
the audience. now we will introduce the Scale-Out concept.
Scaling-Out a system means to add more nodes to it and use all the resources as a common pool. For this to work, you will need a system prepared for distributable work.
Now, I will show you how this application can distribute jobs in order to Scale-Out using Azure Worker Roles.
2. If not already open, open Visual Studio 2010 with Administrator privileges.
3. Open the TCP.Azure.sln solution located in the Code folder of this demo.
4. Open WorkerRole.cs file located in TSP.Azure.Worker project
I will switch back to the Visual Studio Solution to show you how to create a Job Scheduling algorithm to distribute work among Worker Roles.
Now, I will open the WorkerRole.cs file within TSP.Azure.Worker project.
Inside the Worker Role class you will find the necessary code to manage multiple jobs running simultaneously.
5. Locate ProcessRequests method.
6. Highlight code shown.
We will focus on this ProcessRequests method. This method iterates through all the available jobs, assigning a time window of 60 seconds to process each chunk of a job.
When the Worker Role starts processing the jobs it selects those that are not Completed or Locked by another Worker Role instance.
7. Highlight code shown. Once it has all the available jobs it takes the first one and Locks it to avoid other Worker Role instance taking it.
8. Highlight code shown. With the job in hands, we will start processing it depending on its current state.
If the job’s state is Not Started, the Worker Role initializes it and unlocks it so another Worker Role can take it later.
If the state is Initialized or Executing, the Worker Role sends it to the RunAlgorithm method.
Now, I will show you this method
in order to understand how to manage each job.
9. Locate the RunAlgorithm method within WorkerRole.cs class.
10. Highlight code shown.
Here we have the RunAlgorithm method within WorkerRole.cs file.
Notice that the Worker Role works with each job only for 60 seconds (or less if it is completed). After that time, it frees the job so another Worker Role can take it.
Doing this, you make sure that all Worker Roles are being used and working at the same time, maximizing their CPU usage.
This is very helpful in those cases where you have more requests than available Worker Roles, so you can tackle all of them almost simultaneously avoiding a sequential processing (queue).
11. Open a browser and browse to http://windows.azure.com/ .
12. If prompted, login with your Windows Live ID credentials.
To show how the scheduling functionality works we will need to increase the number of Worker Roles instances.
To do this, we will navigate to the Azure Portal and update the number of Worker Role instances in the deployment configuration settings.
13. Click Hosted Services, Storage Accounts & CDN.
14. Click Hosted Services link in the left pane.
15. Locate the Hosted Services you created for the Small and Large Applications.
Now we will navigate to the Hosted Services section and locate the deployed applications.
Windows Azure lets you update the Hosted Service’s Configuration Settings without re-deploying the application.
Using Windows Azure, you can easily update the number of instances of any Web Role or Worker Role by changing a setting value without regenerating the package or re-deploying the solution.
16. Right-click in the Parallel TSP - Large deployment.
17. Select Configure.
18. Select Edit current configuration option.
19. Locate the Instances node within TSP.Azure.Worker node and set the count value to 3.
20. Click OK.
We will start updating the Parallel TSP – Large deployment.
Once we are in the Configure Deployment section, we need to select Edit current configuration and update the Instances count value of the TSP.Azure.Worker role.
For this demo, we will use three instances but you can add as many instances as you need.
Now, after pressing OK, the update process will start.
21. Locate the Parallel TSP - Small deployment and repeat the steps 16 to 20 to increase the number of instances.
22. Wait until both updates finish.
Now, we will update the number of instances in the Parallel TSP – Small deployment.
We have to repeat the same steps we did in the Parallel TSP – Large deployment in order to increase the number of Worker Role instances.
Now that we have both deployments upgraded, we can start testing their performance.
23. Open the two re-deployed applications in different browser tabs.
24. Calculate again the “Visit Every State Capital” in both Large and Small Applications.
25. Highlight the performance differences between both Small and Large Applications and compare each Total Duration with the obtained from Single-Instance Applications in Segment #1.
26. Optionally you can repeat the previous calculation steps, but adding more than one job, to show how multi-processing works.
I will now repeat the same steps I did to calculate the Visit Every State Capital route before increasing the Worker Role instances.
I will calculate this route in both Large and Small instances in order to compare performance results.
The results now shows that the calculation was even faster than the previous comparison, as we are maximizing the CPU processing of each Worker Role instance and distributing uniformly the process among them.
We can repeat these steps to calculate multiple routes at the same time.
This is a practical example of how to Scale-Out applications by adding more nodes and Scale-Up maximizing the CPU usage.
Summary
In this demo, you have learned how to use the Task Parallel Library to take advantage of multi-core instances. In Addition, you learned how to maximize the CPU usage of your multi-node instances applying a Job Scheduling algorithm in a Worker Role.


![Travelling Salesman Problem - ULisboaweb.tecnico.ulisboa.pt/~mcasquilho/CD_Casquilho/TSP... · 2012-06-16 · Travelling Salesman Problem [:6] 3 This is, however, not a solution to](https://img.pdfslide.us/doc/110x75/5f9d9ff6860ec118e74658a4/travelling-salesman-problem-mcasquilhocdcasquilhotsp-2012-06-16-travelling.jpg)


![Travelling Salesman Problemweb.tecnico.ulisboa.pt/.../legacy/PRINT/NotebookSC_5TSP_06pp.pdf · Travelling Salesman Problem [:6] 3 This is, however, not a solution to the TSP, because](https://img.pdfslide.us/doc/110x75/5fab2a9ca11f0c17d66c3999/travelling-salesman-travelling-salesman-problem-6-3-this-is-however-not-a-solution.jpg)