Embed Size (px)
Citation preview
Page 1
Attaching Scanned Documentation to an Expense or
Travel Reimbursement Report
Last updateJune 11, 2007
Page 2
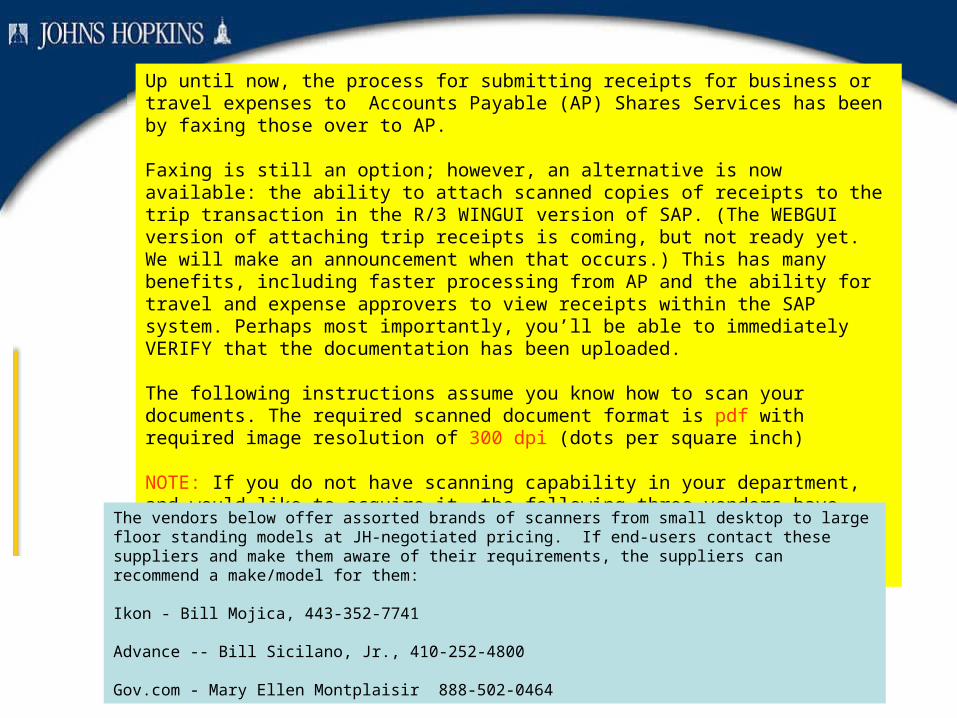
Up until now, the process for submitting receipts for business or travel expenses to Accounts Payable (AP) Shares Services has been by faxing those over to AP.
Faxing is still an option; however, an alternative is now available: the ability to attach scanned copies of receipts to the trip transaction in the R/3 WINGUI version of SAP. (The WEBGUI version of attaching trip receipts is coming, but not ready yet. We will make an announcement when that occurs.) This has many benefits, including faster processing from AP and the ability for travel and expense approvers to view receipts within the SAP system. Perhaps most importantly, you’ll be able to immediately VERIFY that the documentation has been uploaded.
The following instructions assume you know how to scan your documents. The required scanned document format is pdf with required image resolution of 300 dpi (dots per square inch)
NOTE: If you do not have scanning capability in your department, and would like to acquire it, the following three vendors have been certified by Supply Chain Shared Services. There are many factors in scanning. These vendors can help you get the right solution for your situation.
The vendors below offer assorted brands of scanners from small desktop to large floor standing models at JH-negotiated pricing. If end-users contact these suppliers and make them aware of their requirements, the suppliers can recommend a make/model for them:
Ikon - Bill Mojica, 443-352-7741
Advance -- Bill Sicilano, Jr., 410-252-4800
Gov.com - Mary Ellen Montplaisir 888-502-0464
Page 3
Attaching a Scanned Image
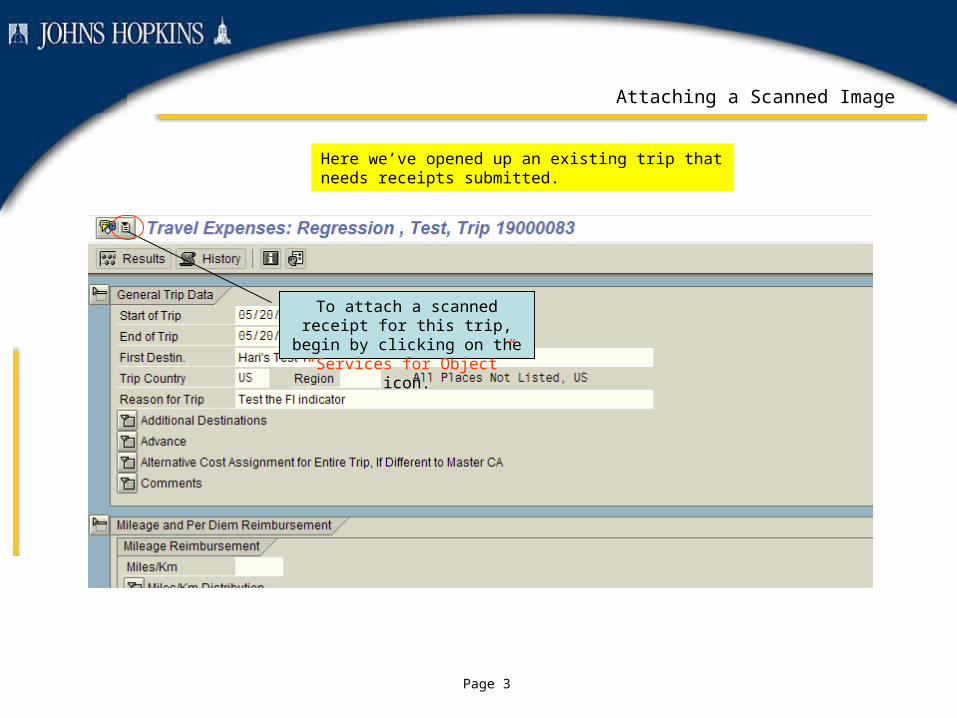
Here we’ve opened up an existing trip that needs receipts submitted.
To attach a scanned receipt for this trip, begin by clicking on the
“Services for Object” icon.
Page 4
Attaching a Scanned Image
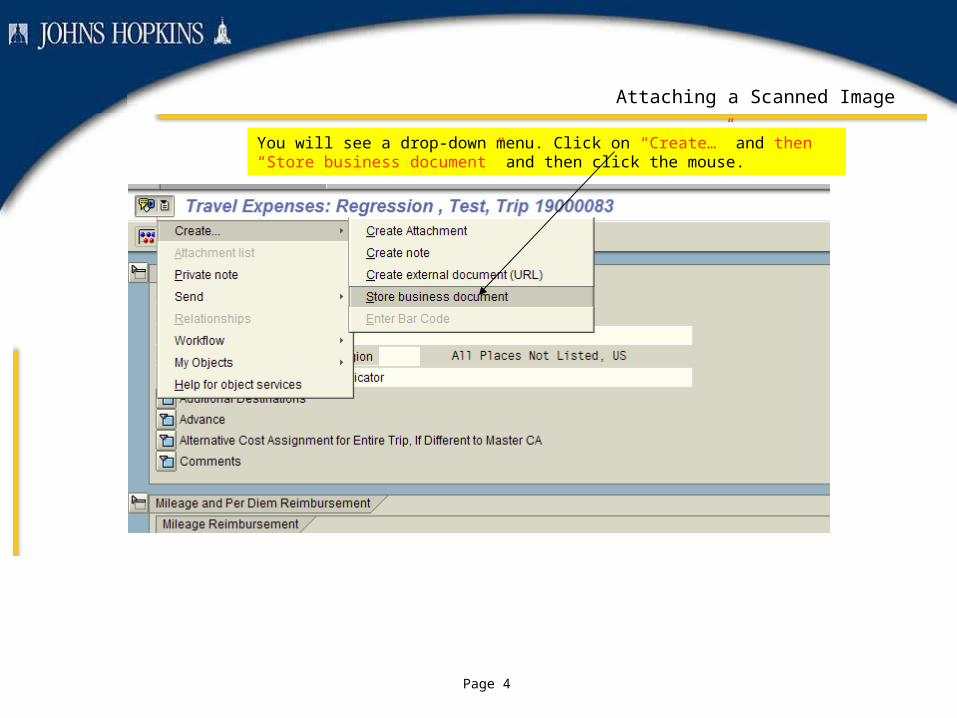
You will see a drop-down menu. Click on “Create…” and then “Store business document” and then click the mouse.
Page 5
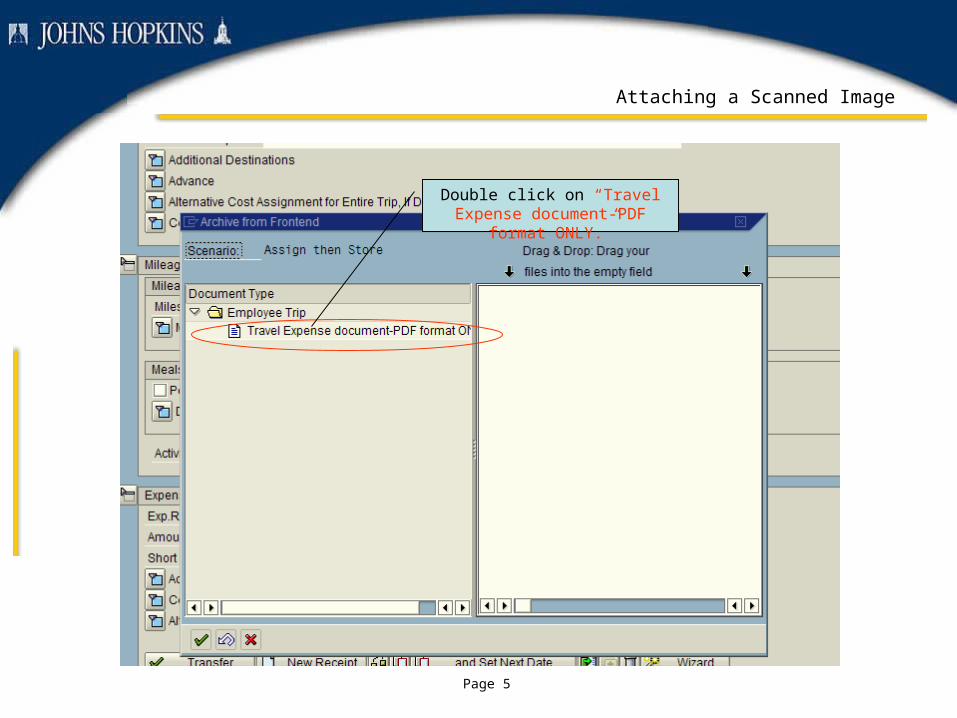
Attaching a Scanned Image
Double click on “Travel Expense document-PDF format ONLY.”
Page 6
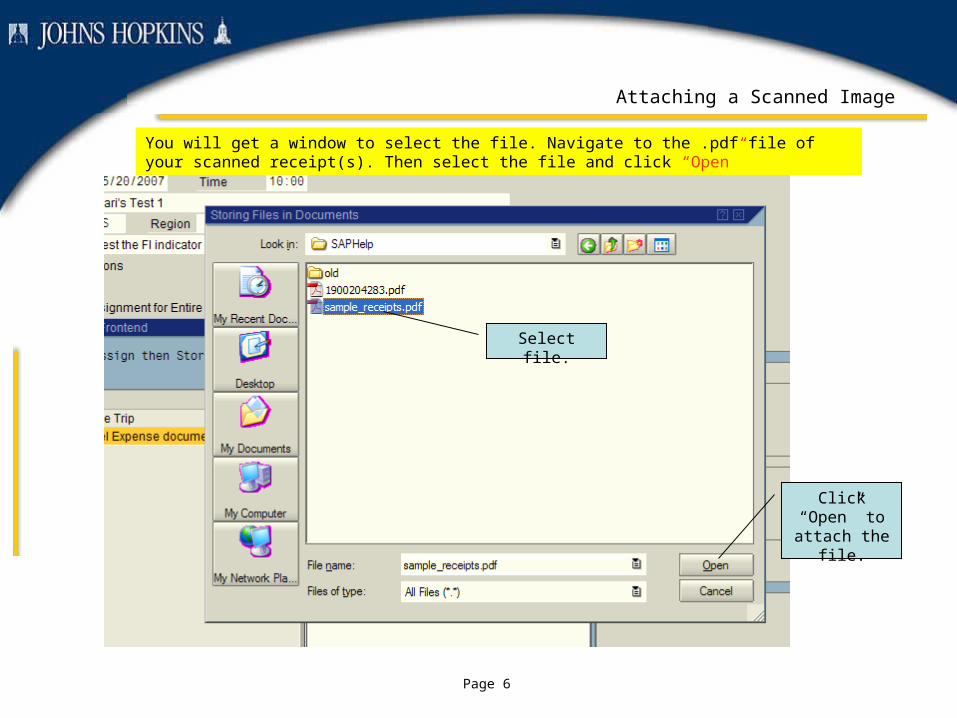
Attaching a Scanned Image
You will get a window to select the file. Navigate to the .pdf file of your scanned receipt(s). Then select the file and click “Open”
Select file.
Click “Open” to attach the
file.
Page 7
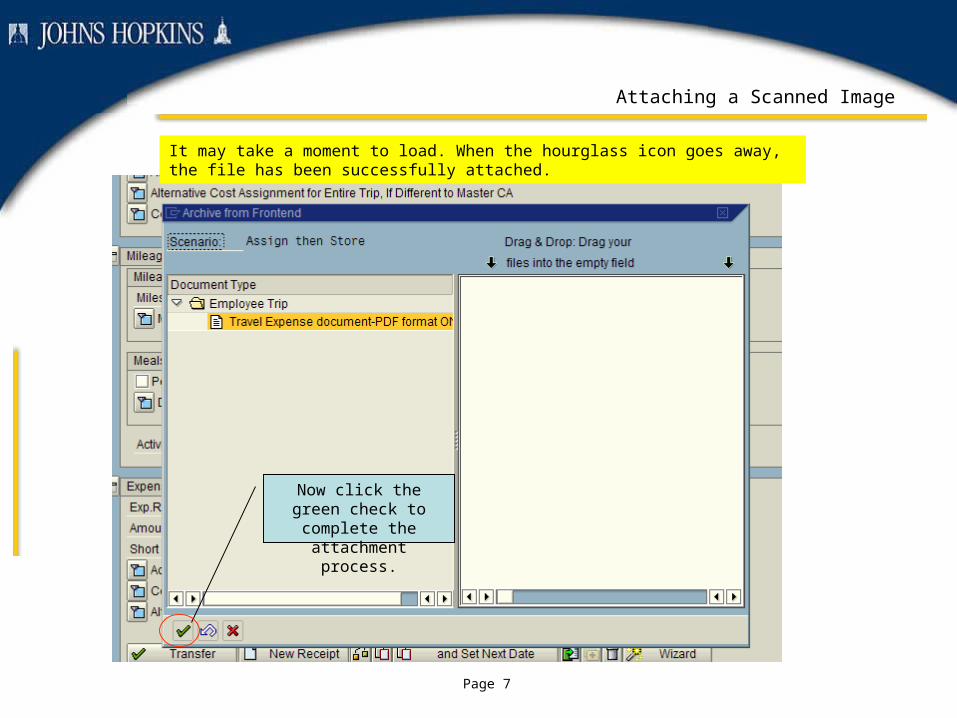
Attaching a Scanned Image
It may take a moment to load. When the hourglass icon goes away, the file has been successfully attached.
Now click the green check to complete the attachment process.
Page 8
Attaching a Scanned Image
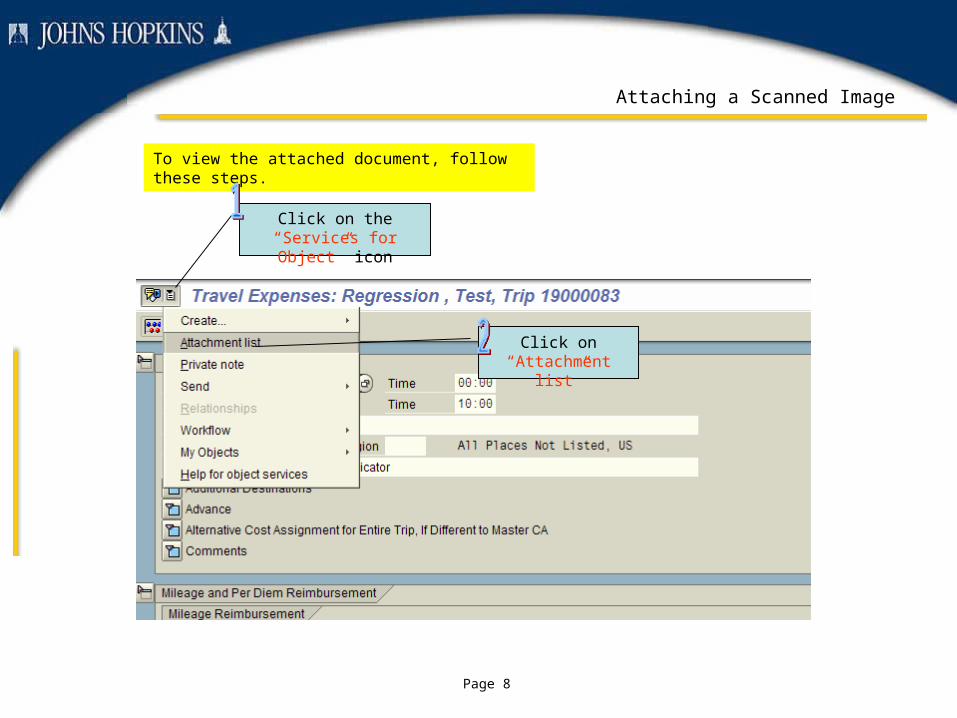
To view the attached document, follow these steps.
Click on the “Services for Object” icon
Click on “Attachment list”
Page 9
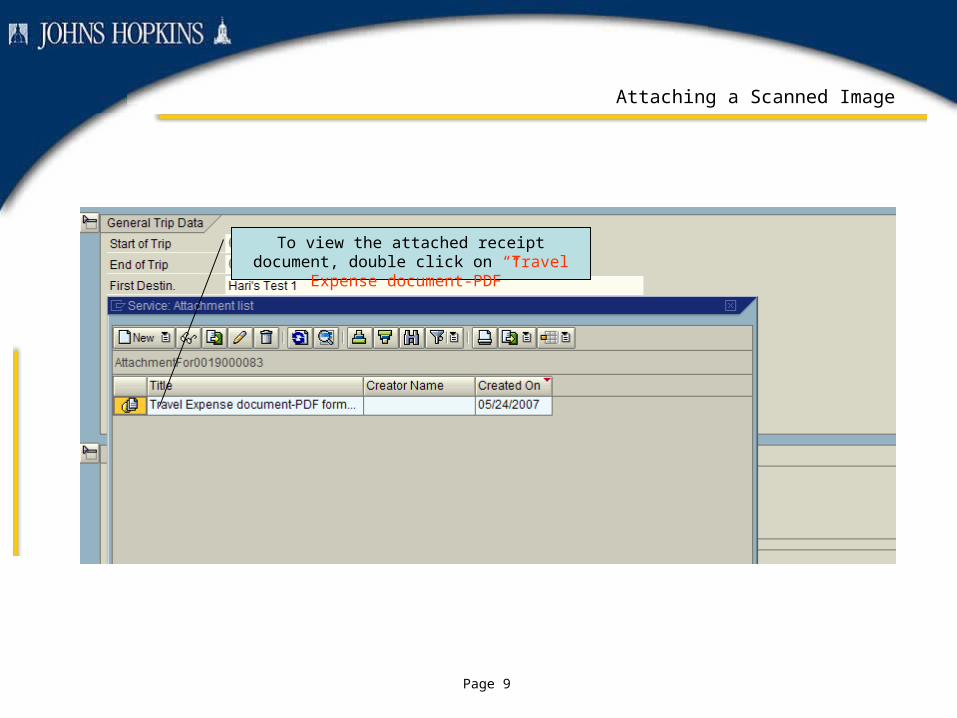
Attaching a Scanned Image
To view the attached receipt document, double click on “Travel Expense document-PDF”
Page 10
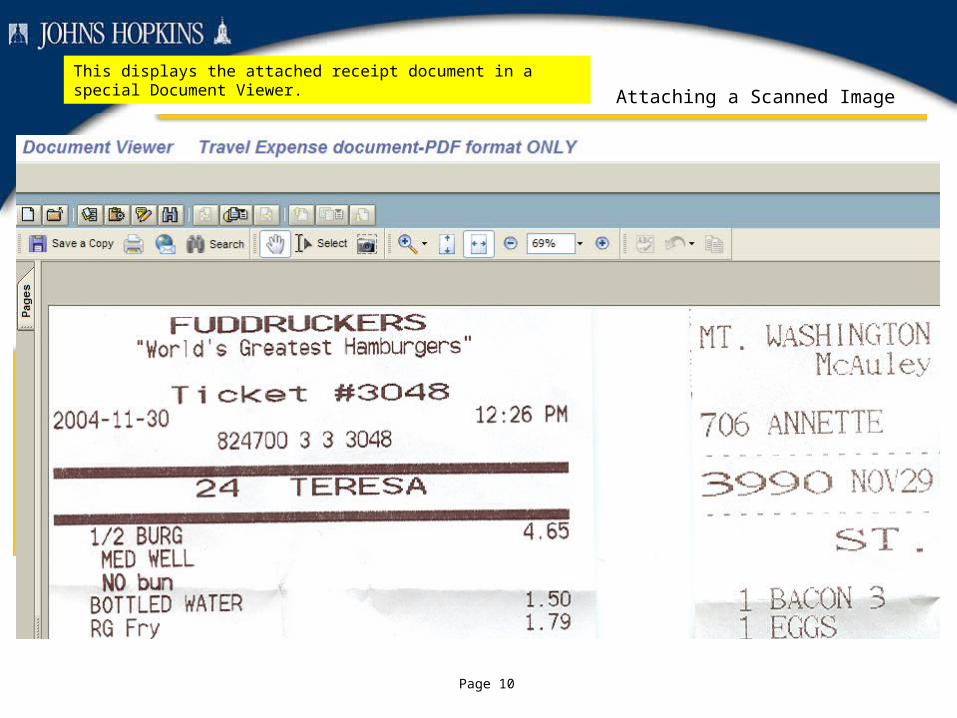
Attaching a Scanned Image
This displays the attached receipt document in a special Document Viewer.
Page 11
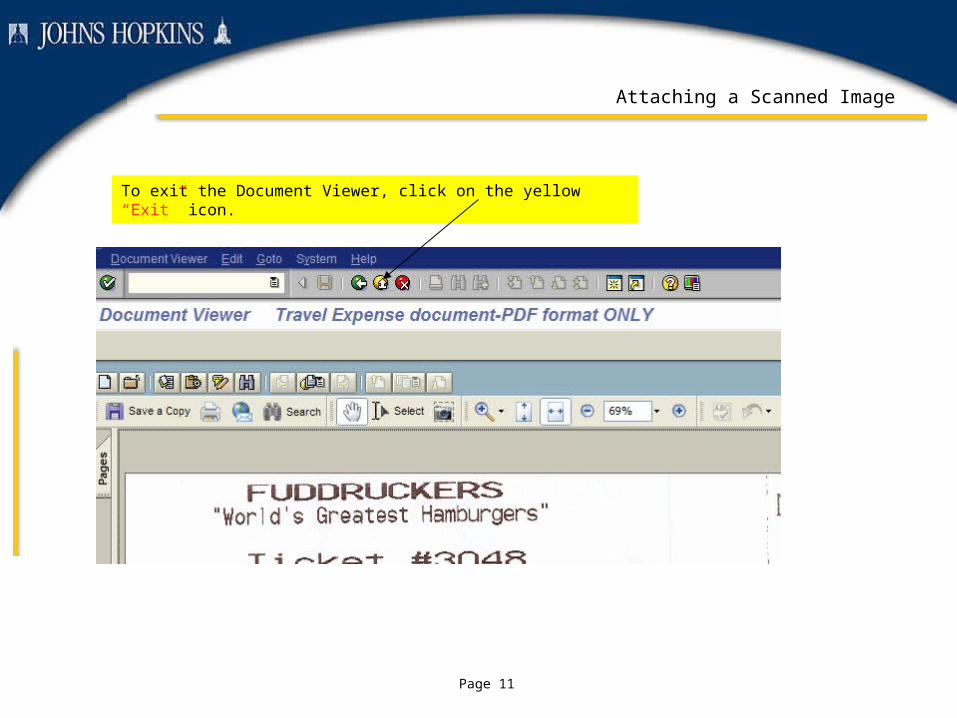
Attaching a Scanned Image
To exit the Document Viewer, click on the yellow “Exit” icon.
Page 12
Attaching a Scanned Image
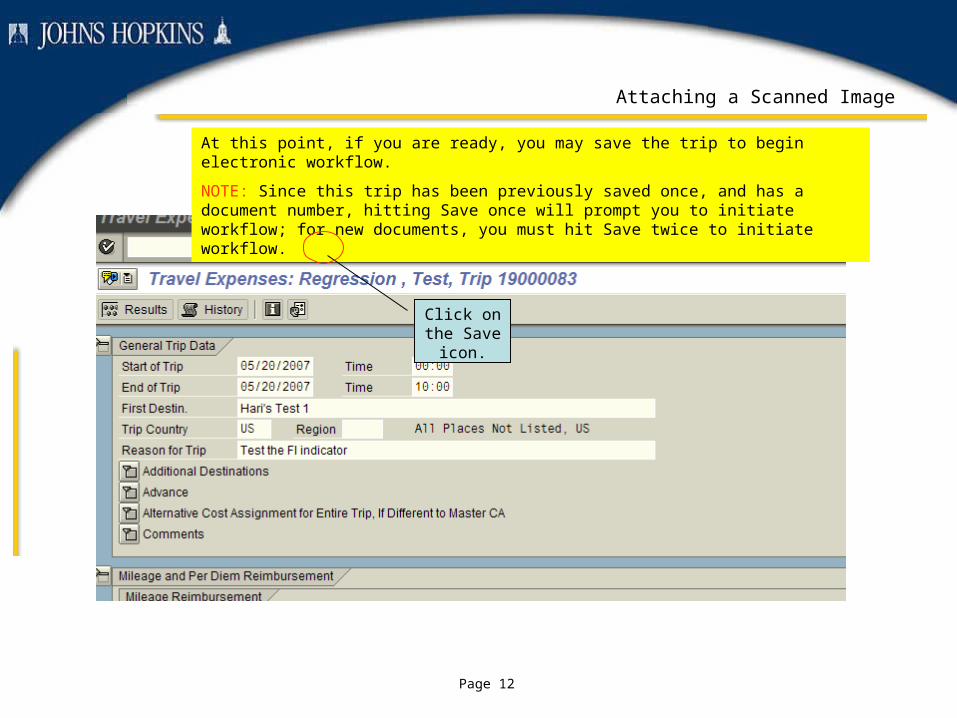
At this point, if you are ready, you may save the trip to begin electronic workflow.
NOTE: Since this trip has been previously saved once, and has a document number, hitting Save once will prompt you to initiate workflow; for new documents, you must hit Save twice to initiate workflow.
Click on the Save
icon.
Page 13
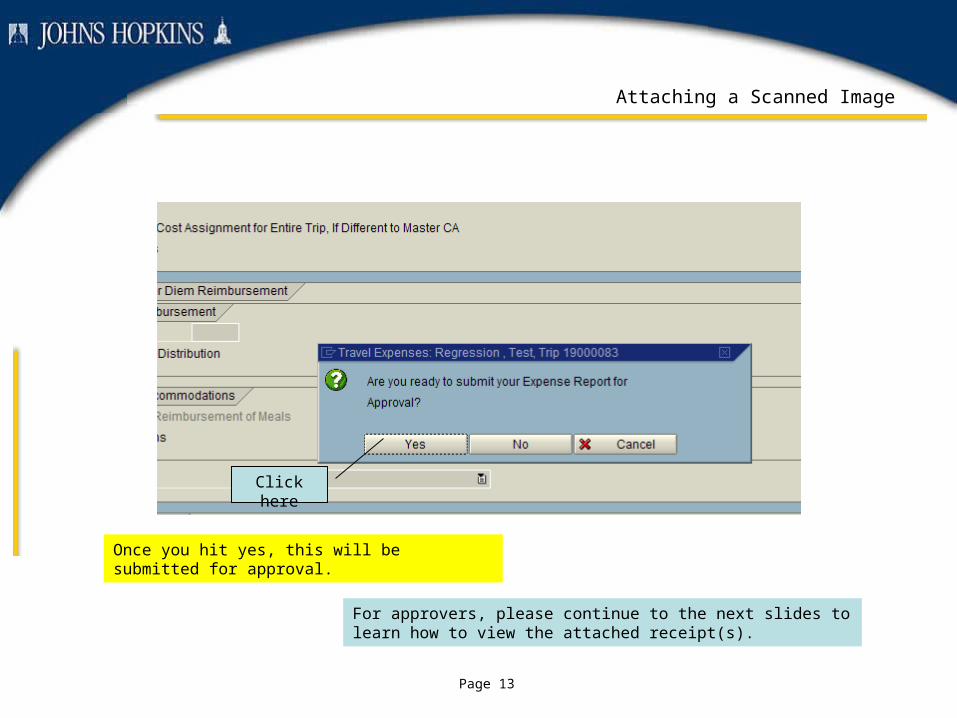
Attaching a Scanned Image
Click here
Once you hit yes, this will be submitted for approval.
For approvers, please continue to the next slides to learn how to view the attached receipt(s).
Page 14
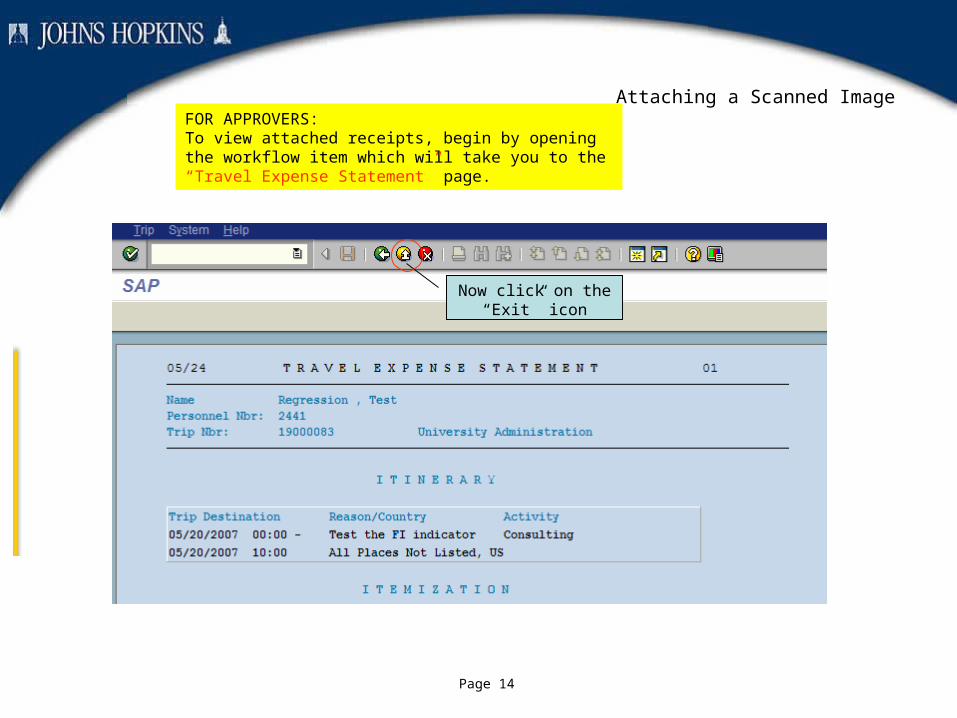
Attaching a Scanned ImageFOR APPROVERS:To view attached receipts, begin by opening the workflow item which will take you to the “Travel Expense Statement” page.
Now click on the “Exit” icon
Page 15
Attaching a Scanned Image
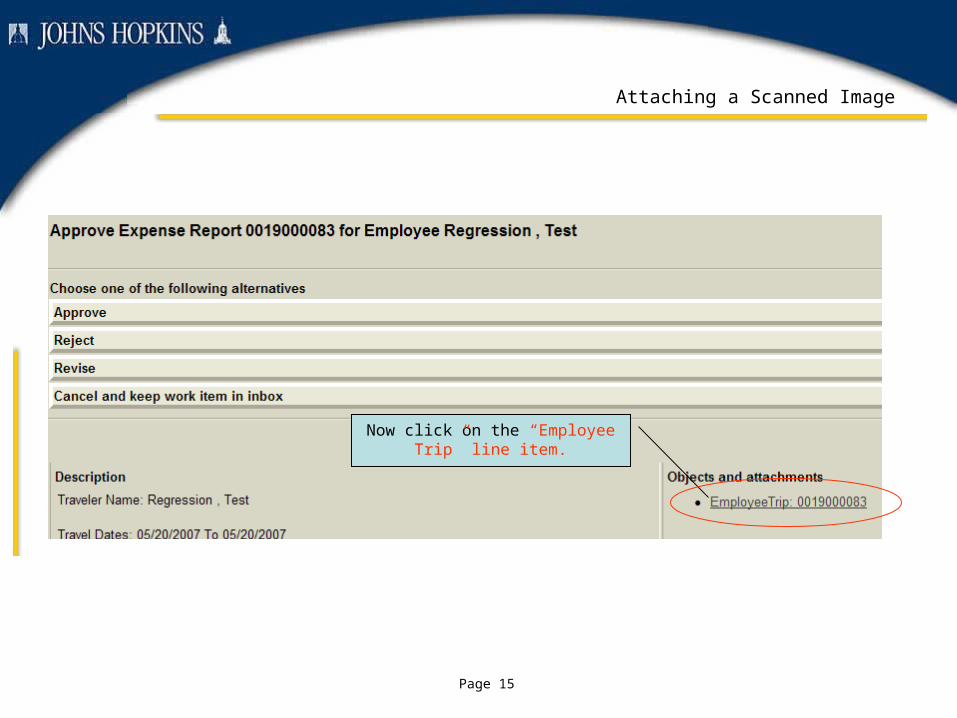
Now click on the “Employee Trip” line item.
Page 16
Attaching a Scanned Image
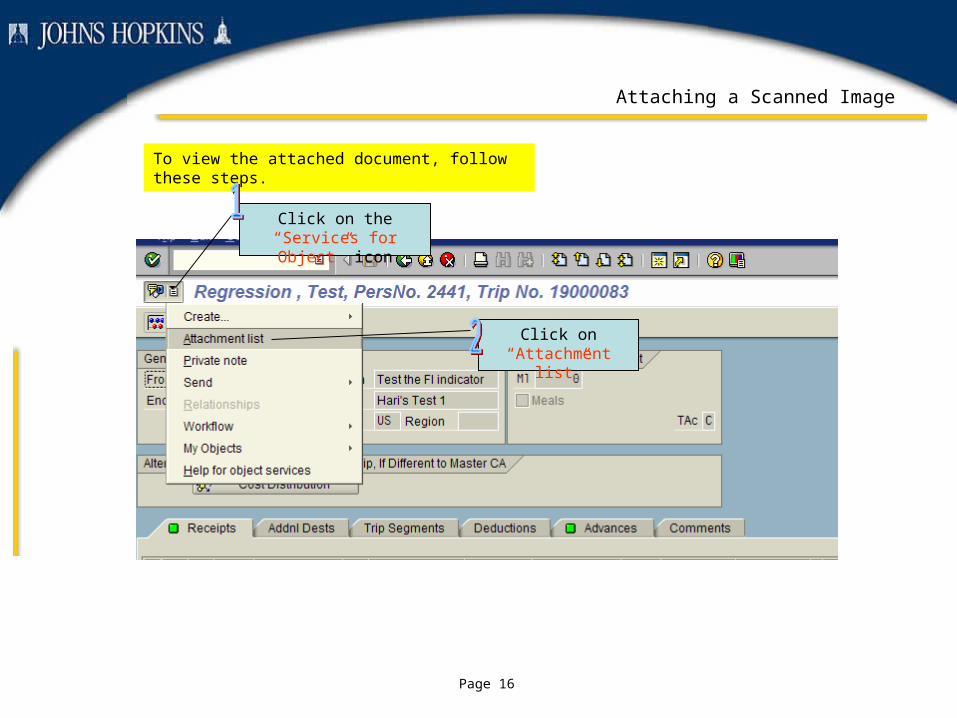
Click on the “Services for Object” icon
To view the attached document, follow these steps.
Click on “Attachment list”
Page 17
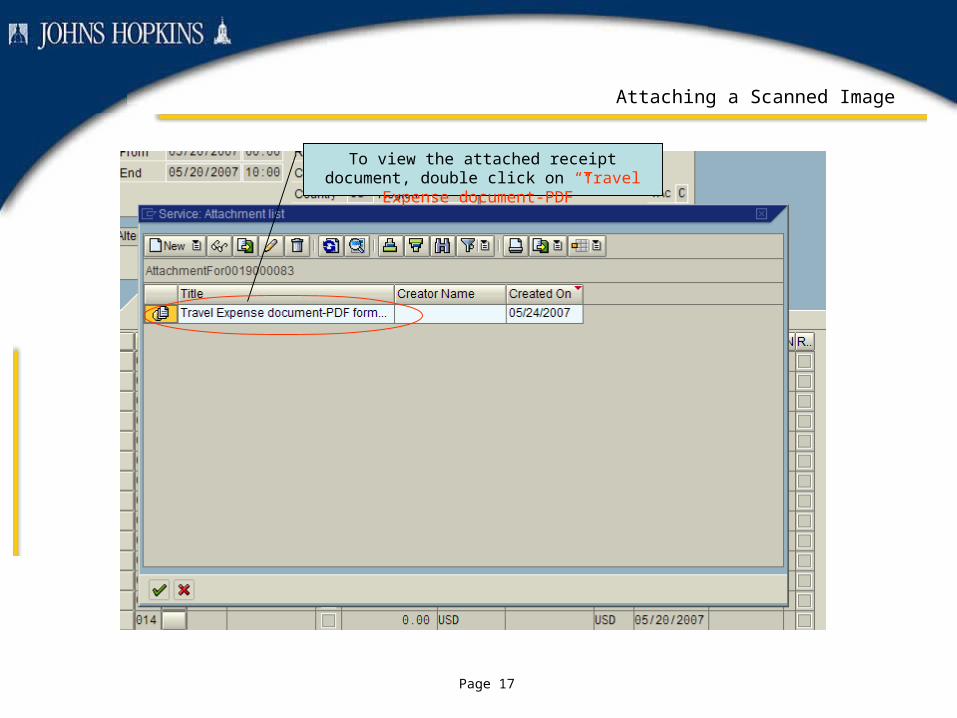
Attaching a Scanned Image
To view the attached receipt document, double click on “Travel Expense document-PDF”

Page 18
Attaching a Scanned Image
This displays the attached receipt document in a special Document Viewer.

Page 19
Attaching a Scanned Image
To exit the Document Viewer, click on the yellow “Exit” icon.
Page 20
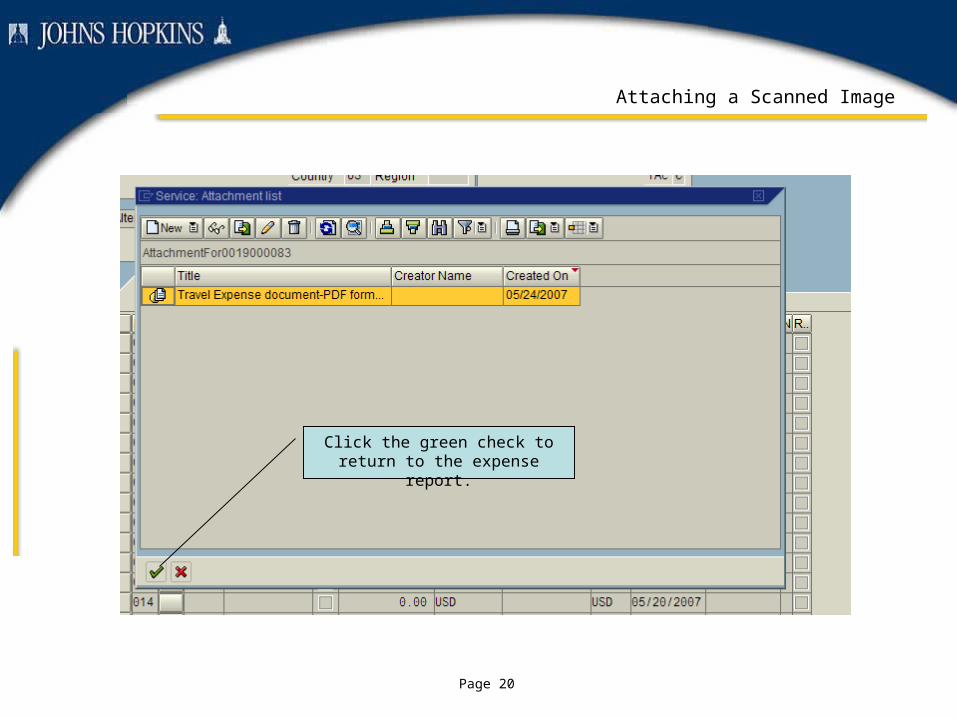
Attaching a Scanned Image
Click the green check to return to the expense report.
Page 21
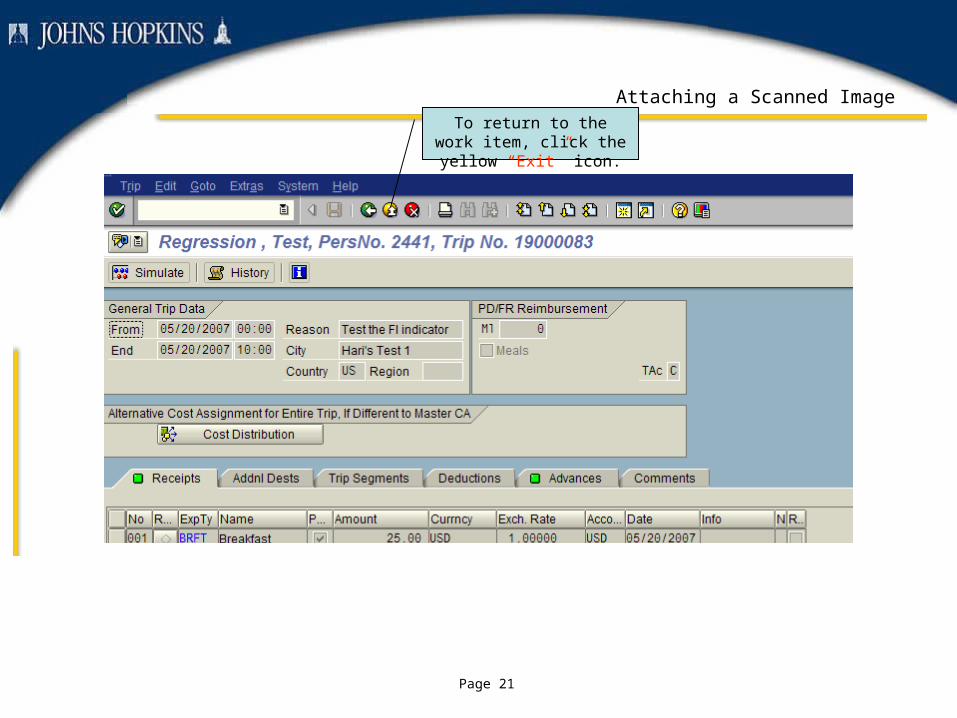
Attaching a Scanned ImageTo return to the work item, click the yellow “Exit” icon.
Page 22
Attaching a Scanned Image
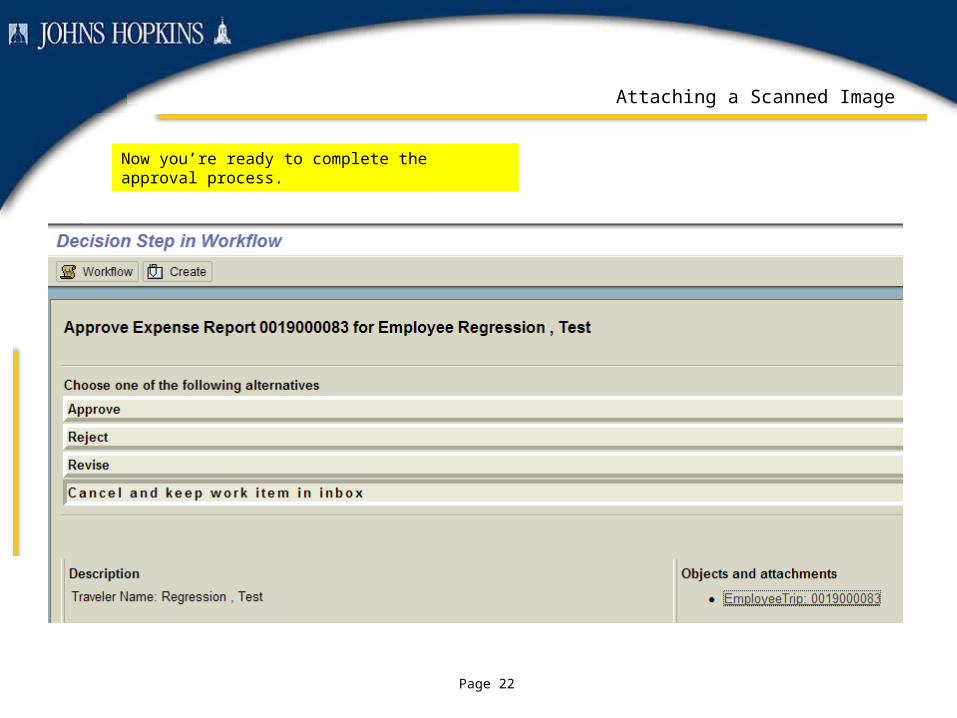
Now you’re ready to complete the approval process.

Page 23
Attaching a Scanned ImageNow we want to locate and view the document we just attached and uploaded.
Click on “Services for Object” icon
Then click on “Attachment list”
Page 24
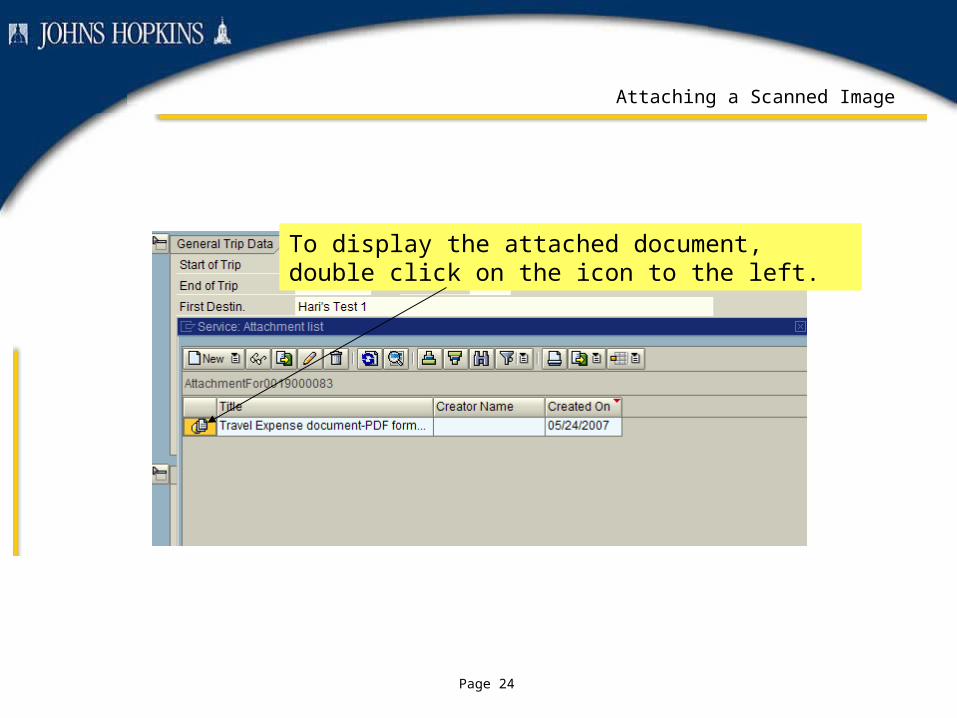
Attaching a Scanned Image
To display the attached document, double click on the icon to the left.
Page 25
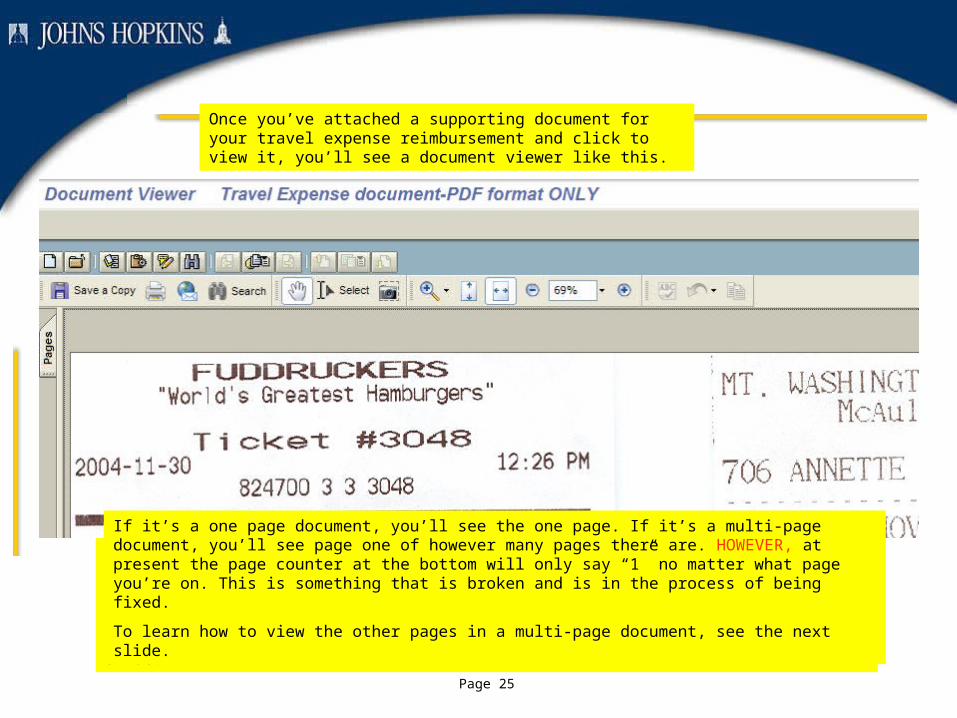
Once you’ve attached a supporting document for your travel expense reimbursement and click to view it, you’ll see a document viewer like this.
If it’s a one page document, you’ll see the one page. If it’s a multi-page document, you’ll see page one of however many pages there are. HOWEVER, at present the page counter at the bottom will only say “1” no matter what page you’re on. This is something that is broken and is in the process of being fixed.
To learn how to view the other pages in a multi-page document, see the next slide.
Page 26
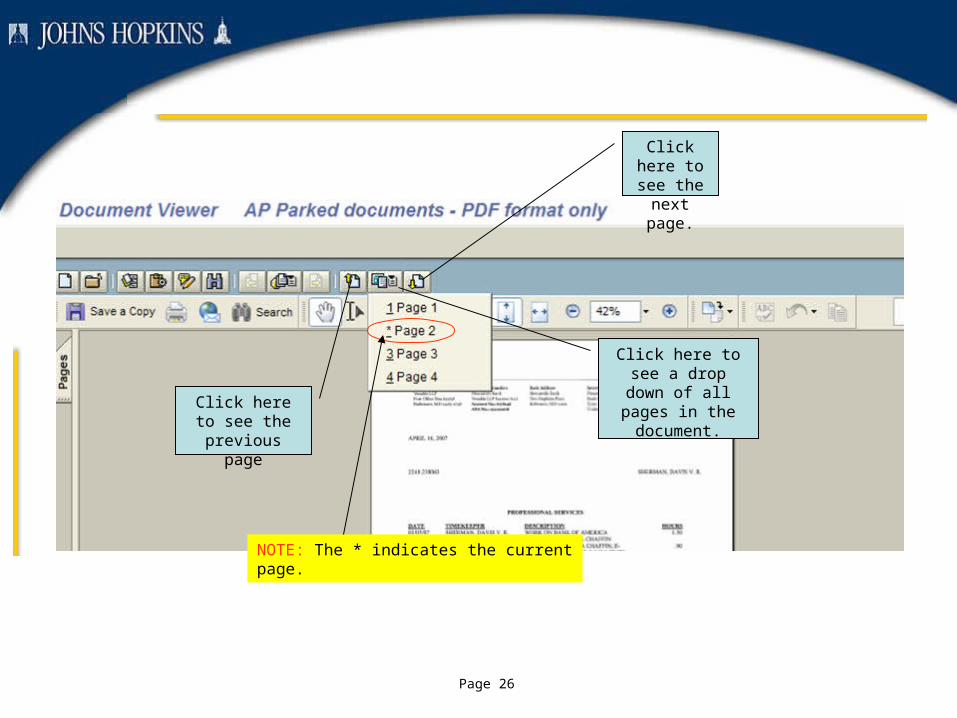
Click here to see the next page.
Click here to see the
previous page
Click here to see a drop down of all
pages in the document.
NOTE: The * indicates the current page.