Embed Size (px)
Citation preview

OpManager
Best Practices, Tips, Tricks
Agenda
• Installation• Discovery & Monitoring• Maps & Topology• Alarms• Reports• Admin Configuration• Secure OpManager Web Access
Agenda ..
• Plugins & Add-ons• Upgrade OpManager Installation• Support Contact
Installation
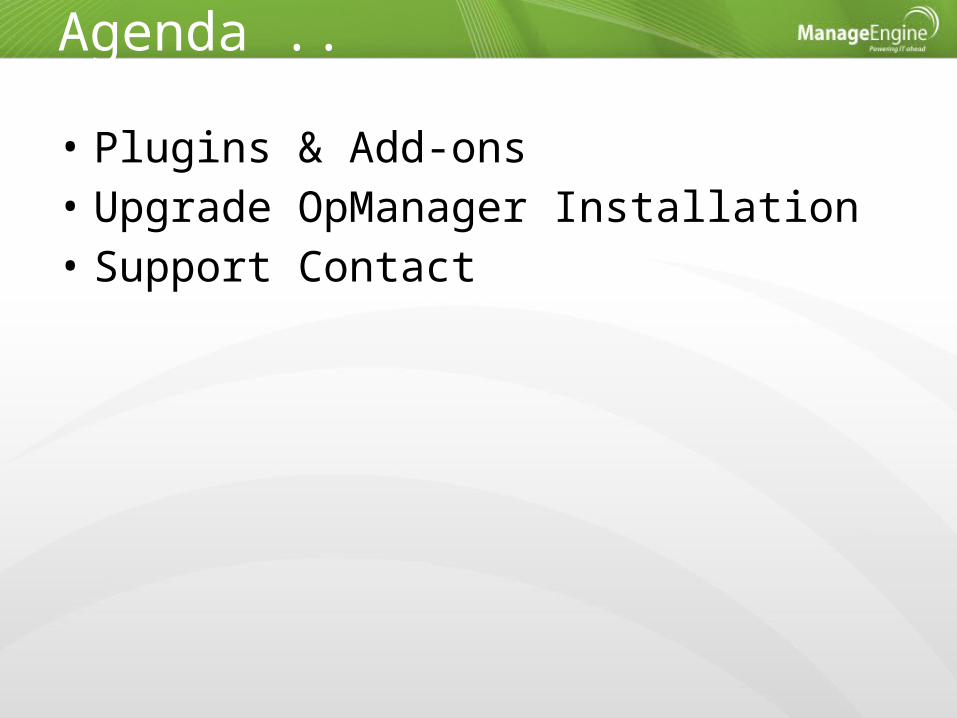
# no of devices/ Interfaces
Processor RAM HDD Operating System
# of devices/interfaces Processor RAM Free HDD Size Supported
Operating System
Up to 50 devices or 300 Interfaces 1.7 GHz 1 GB
40 GBWindows: 2008,
2003 Server, Vista, 2000 professional
+SP4, XP Professional
Linux: RedHat 7.x and above, Debian 3.0, Suse, Fedora &
Mandrake
Up to 300 devices or 2000 Interfaces 3.4 GHz 2 GB
Up to 1000 devices or 5000 interfaces 2 * 3.4 GHz 4 GB
80 GBMore than 1000 device or 5000 interfaces
4 * 3.4 GHz 8 GB
Supported databases
• MySQL– Bundled in the product
• Microsoft SQL Server– During installation, you can specify the database
you want to use
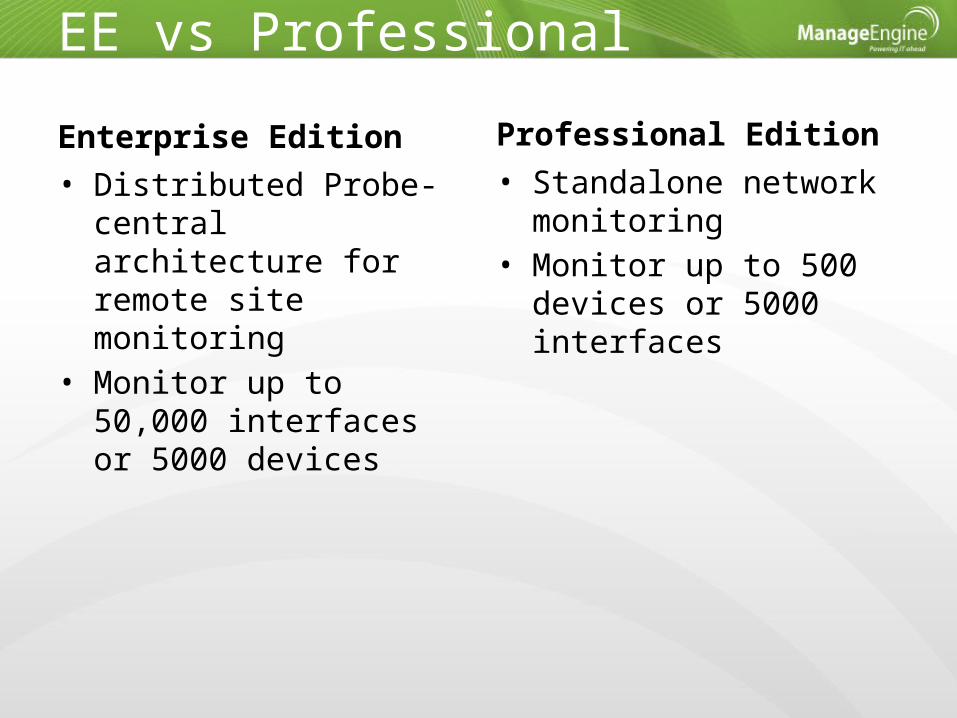
EE vs Professional
Enterprise Edition• Distributed Probe-central
architecture for remote site monitoring
• Monitor up to 50,000 interfaces or 5000 devices
Professional Edition• Standalone network
monitoring• Monitor up to 500 devices
or 5000 interfaces

Windows vs Linux
• WMI monitors not supported in Linux installation
• Exchange Server, Active Directory, SQL Server monitor are supported in Windows (as it uses WMI).
• Plug-in modules like NFA, NCM are supported only in windows installation.
Windows Installation
• The user, which is used to install OpManager, should be an Administrator or should belong to the Administrator group.
• Install as a Windows Service– You can choose to install as Windows Service
during installation or run OpManagerService.bat under <OpManager-Home>/bin folder
• Disable Windows Firewall– To avoid connection problem to remote device
• Disable Anti Virus– Corrupts database.
Windows Installation
• Disable SNMP Trap Service• Disable User Access Control in Windows 7• Install Putty to troubleshoot SSH monitors• Install net-snmp to troubleshoot data
collection problems in SNMP• Date/Time should be set to the current date
and time.
Linux Installation
• On a Debian OS, iputils-ping package should be installed.
• It is preferred to use the default installation folder, as the necessary file access privileges are automatically set to this folder. The default installation folder is /opt/ManageEngine/OpManager. Else, you have to use the following command to provide the privilege
• # chmod –R 755 [full-path-to-installation-directory]
Linux ..
• Stop ipchains and iptables daemons • Stop snmptrapd service.• MySQL is the preferred database. If you
choose to use your MySQL instance for this, ensure that the version is supported by OpManager. OpManager uses Version 5.0.18 as its default MySQL version. You can also choose to have MSSQL as the preferred database though the installation is on a Linux box.

High Availability
• Install Standby Engine
Discovery & Monitoring
• Ensure that the SNMP is enabled and configured on the Network Devices like routers, switches, firewalls, load balancers
• Ensure the devices accept SNMP Packets from OpManager host
• Configure Trap Destination as OpManager host and port.
SNMP Config Example
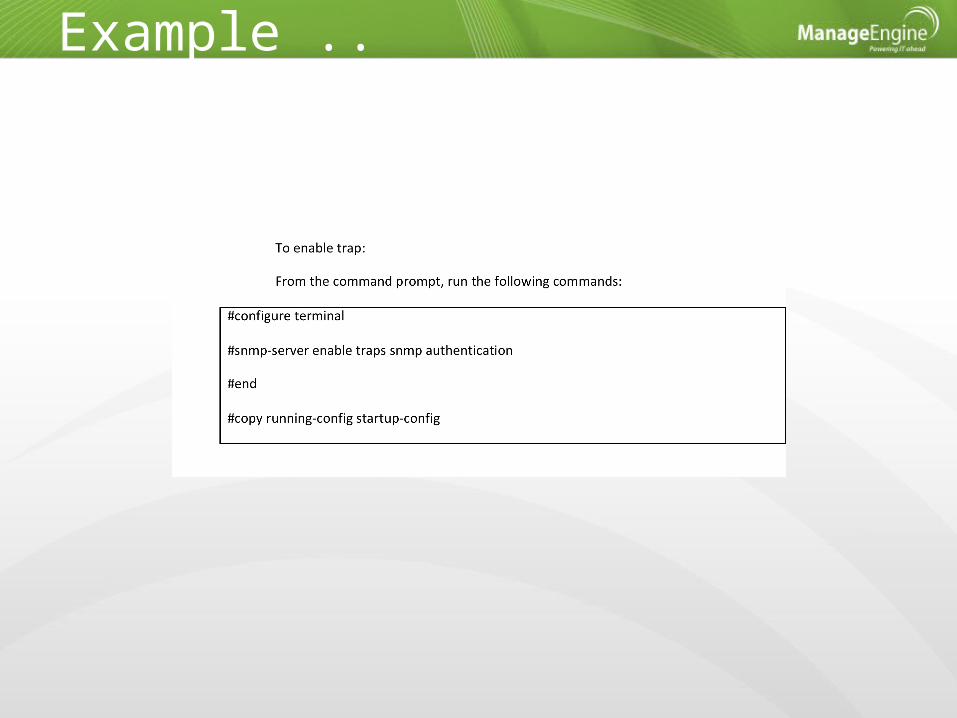
Example ..
Example ..
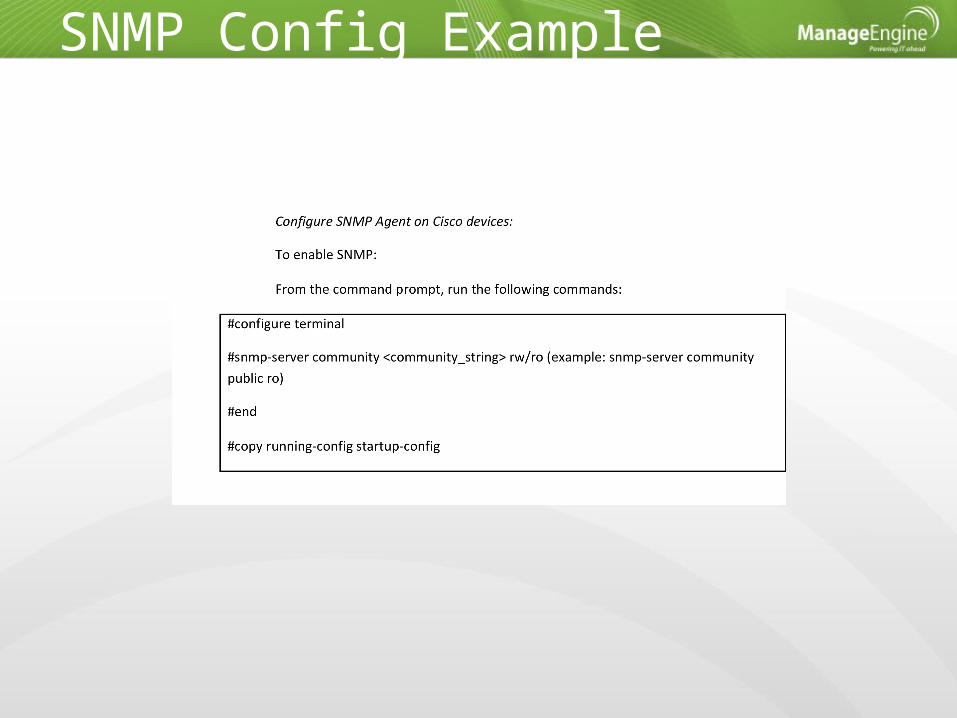
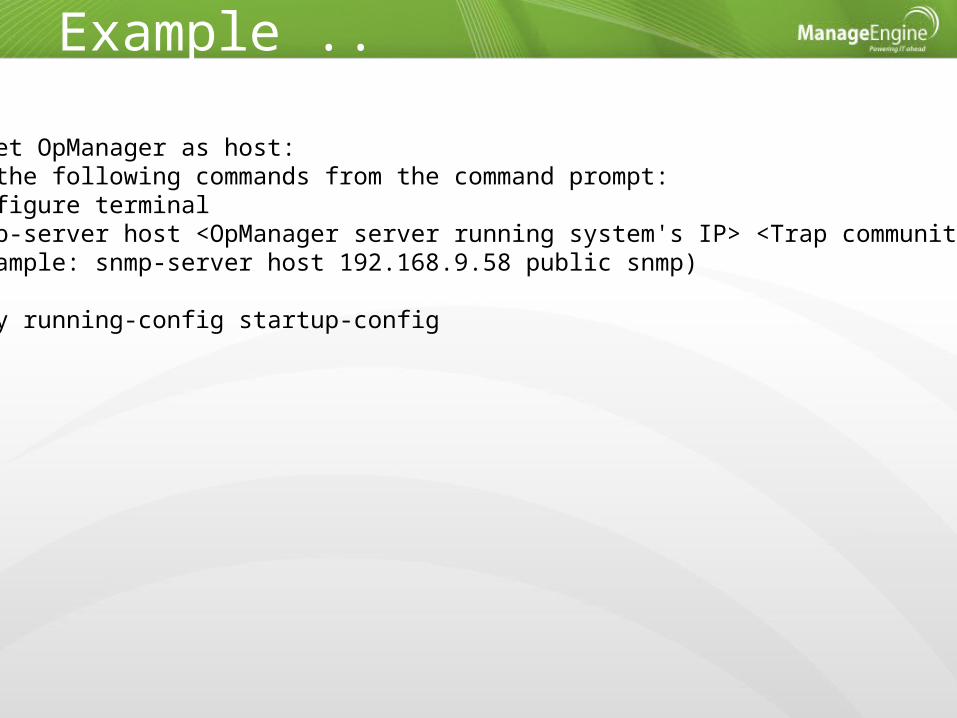
To set OpManager as host:Run the following commands from the command prompt:#configure terminal#snmp-server host <OpManager server running system's IP> <Trap community string> snmp (example: snmp-server host 192.168.9.58 public snmp)#end#copy running-config startup-config
Device Templates
• The templates carry the information required to classify the devices and to associate relevant monitors
• OpManager comes with over 600 device templates
• Add your own device templates– Admin Device Templates lists all the out-of-the-
box templates– Click “Add New” to add your own template
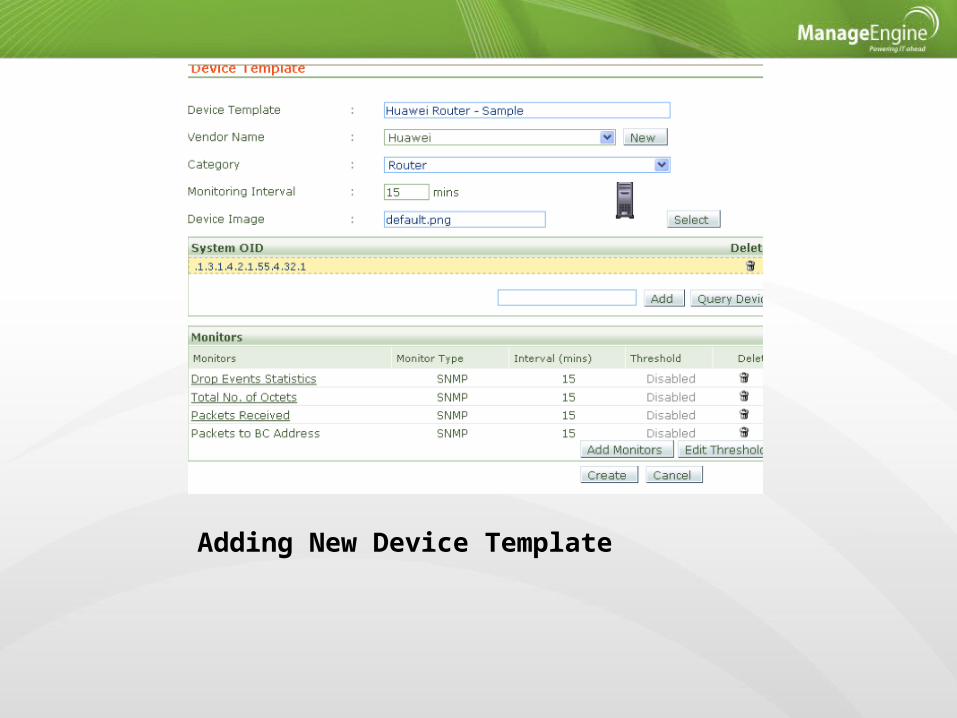
Adding New Device Template
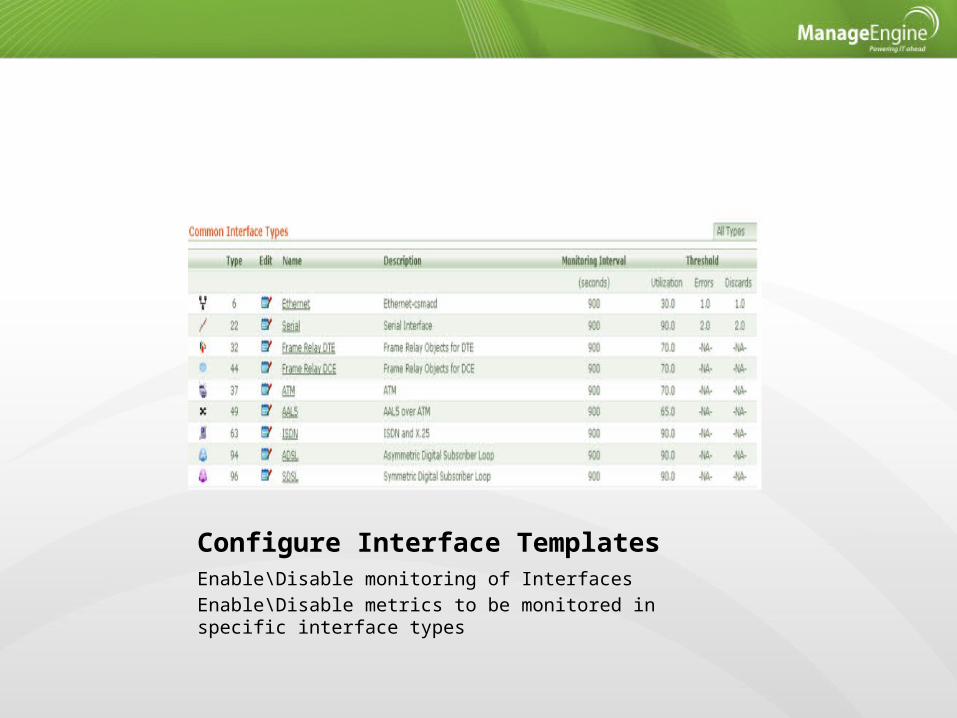
Configure Interface TemplatesEnable\Disable monitoring of InterfacesEnable\Disable metrics to be monitored in specific interface types
Credential Manager
• Helps to manage credentials used for monitoring the devices
• SNMPv1/v2c, v3, Telnet, SSH, WMI protocols • As a best practice have a separate account for
monitoring the device
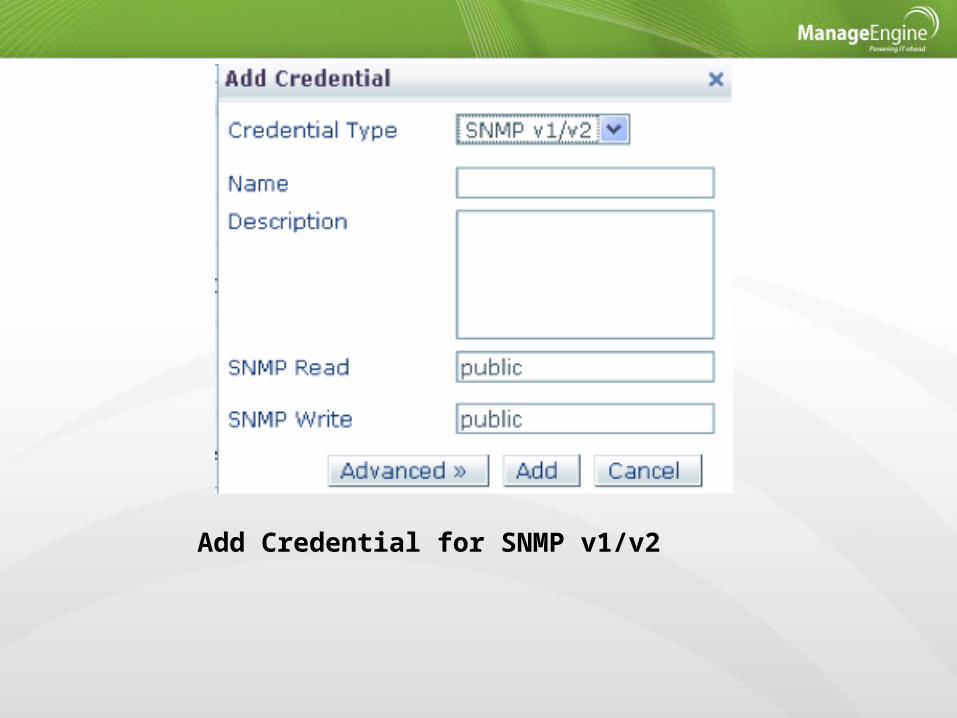
Add Credential for SNMP v1/v2
Rule Engine
• Helps to automate the process of adding monitors to the devices– Say for example you want to add “httpd” process
monitor whenever a Linux device is discovered – Go to Admin Rule Engine– Add a New Rule, Select Device Type and criteria as
“linux”– Select add process monitor and select “httpd”
process monitor

Initiate Discovery
• Admin Discover Devices– Specify the network range to discover– Discover the devices in that network, classify
devices based on Device Template and associate the matched credentials to the device
• Import the devices from a csv file
Discovery …
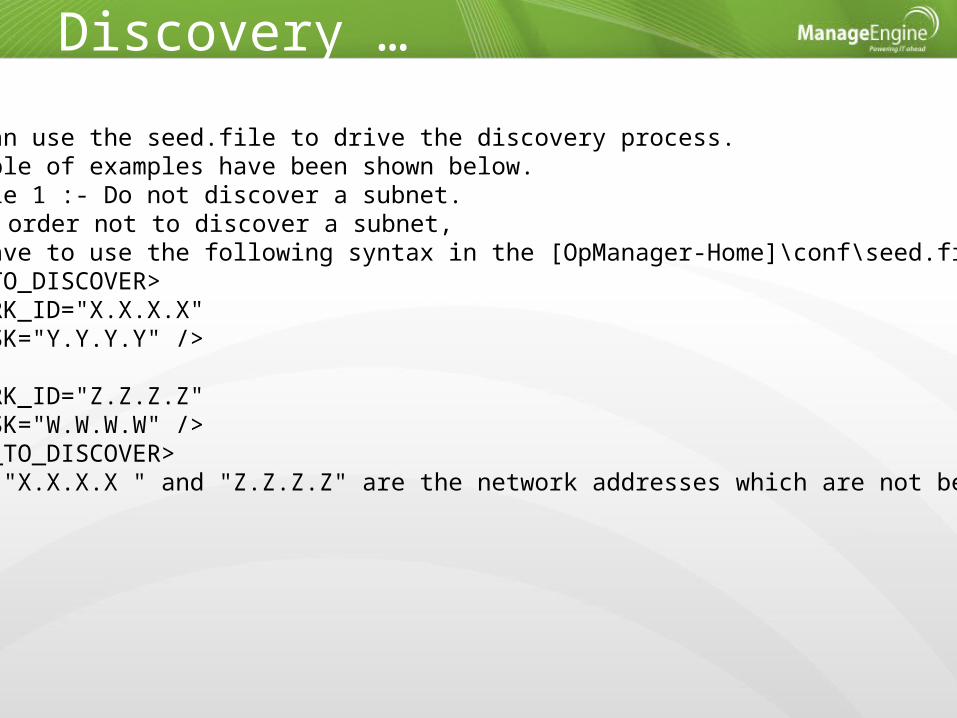
You can use the seed.file to drive the discovery process. A couple of examples have been shown below.Example 1 :- Do not discover a subnet.
In order not to discover a subnet, you have to use the following syntax in the [OpManager-Home]\conf\seed.file<NOT_TO_DISCOVER>NETWORK_ID="X.X.X.X"NETMASK="Y.Y.Y.Y" />
NETWORK_ID="Z.Z.Z.Z"NETMASK="W.W.W.W" /></NOT_TO_DISCOVER>Where "X.X.X.X " and "Z.Z.Z.Z" are the network addresses which are not be discovered.

Maps & Topology
• Create as many business views as you need, so as to export them to visio for immediate reference.
• Create Business view based logins, so as to provide role based logins and views.
• Keep the list view a tabular one, so that the page loads faster and also gives a quick view on the performance of the device.
Alarms
• Configure Threshold profile for different monitors and different categories
• Identify the various Alert profiles you want to configure
• Configure Modem SMS Alert Profiles where you need the immediate attention of your Network or Server Administrators.
• Use Quick Configuration Wizard to associate the notification profiles to devices
Alarms
• Step 1: Choose the option “Assign notification profile…. “ in Quick Configuration Wizard
• Step 2: Choose the Notification Profile• Step 3: Choose the criteria for such a profile• Step 4: Choose the time window at which this
profile should be active• Step 5: Choose the category or business view
to which this profile has to be associated with.
Alarms
• Use Rooster based alert profiles so that you don’t get spammed with informational or warning alarms on Weekends
• You can configure Alarm Escalation to receive notification on critical alarms, which have not been acknowledged or resolved until the next polling time.
• Configure Device Dependencies in order to suppress related alarms from devices, dependent on router or switch or firewall.
Alarms
• Add Notes to alarms so that this serves as a knowledge base item for other technicians.
• Use Log-a-ticket profile to integrate with ServiceDesk Plus, that offers ITIL workflow
• Forward Traps to other EMS’s if you have a single console to collect traps. You can include the ipaddress of the trap receiver and trap port in [OpManager-Home]\conf\trap.forwarder file
Reports
• Configure Reports to be scheduled on a periodic basis.
• Use HTML Email for such configured report emails and choose to publish such reports, than to receive them as attachments.
• It is easier to manage the reports on a business view criteria.
• You can rebrand OpManager in order to use your own logo in the Reports
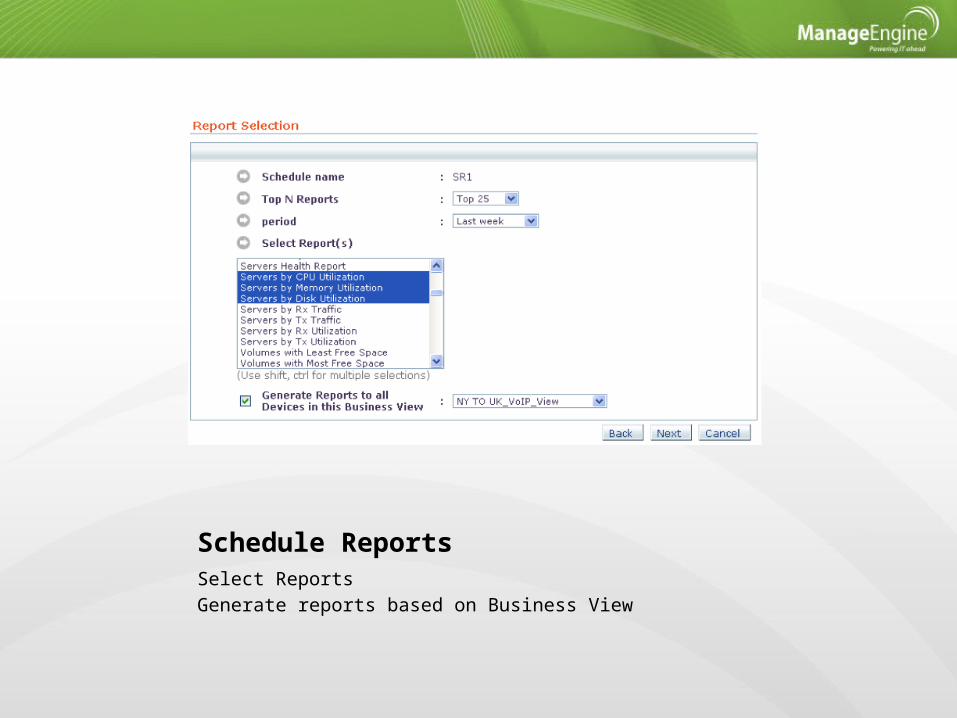
Schedule ReportsSelect ReportsGenerate reports based on Business View
Performance Tuning
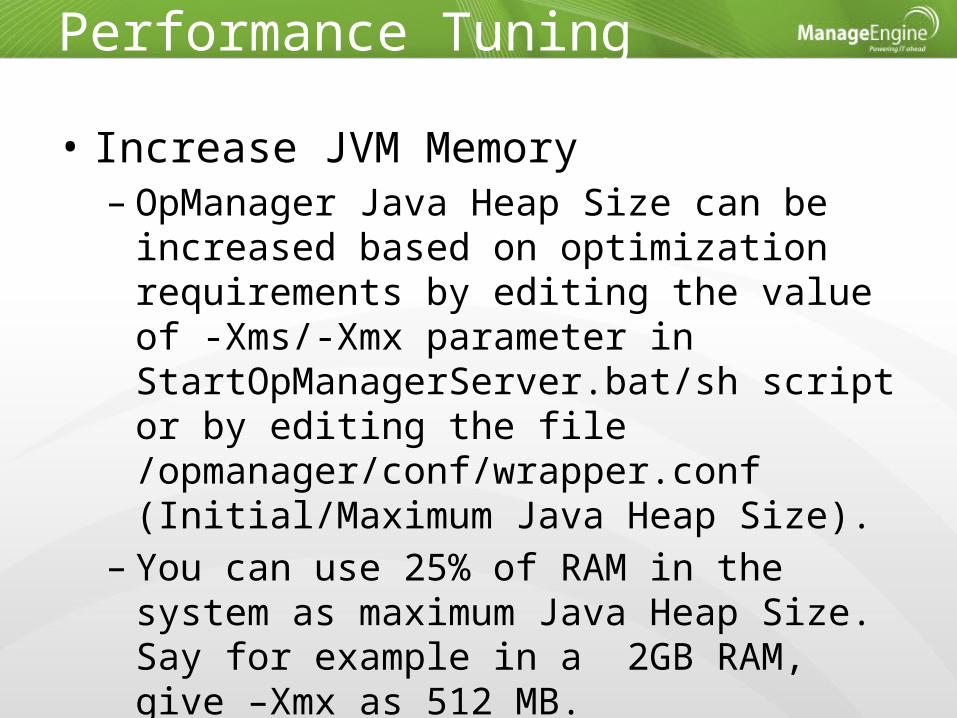
• Increase JVM Memory– OpManager Java Heap Size can be increased based
on optimization requirements by editing the value of -Xms/-Xmx parameter in StartOpManagerServer.bat/sh script or by editing the file /opmanager/conf/wrapper.conf (Initial/Maximum Java Heap Size).
– You can use 25% of RAM in the system as maximum Java Heap Size. Say for example in a 2GB RAM, give –Xmx as 512 MB.
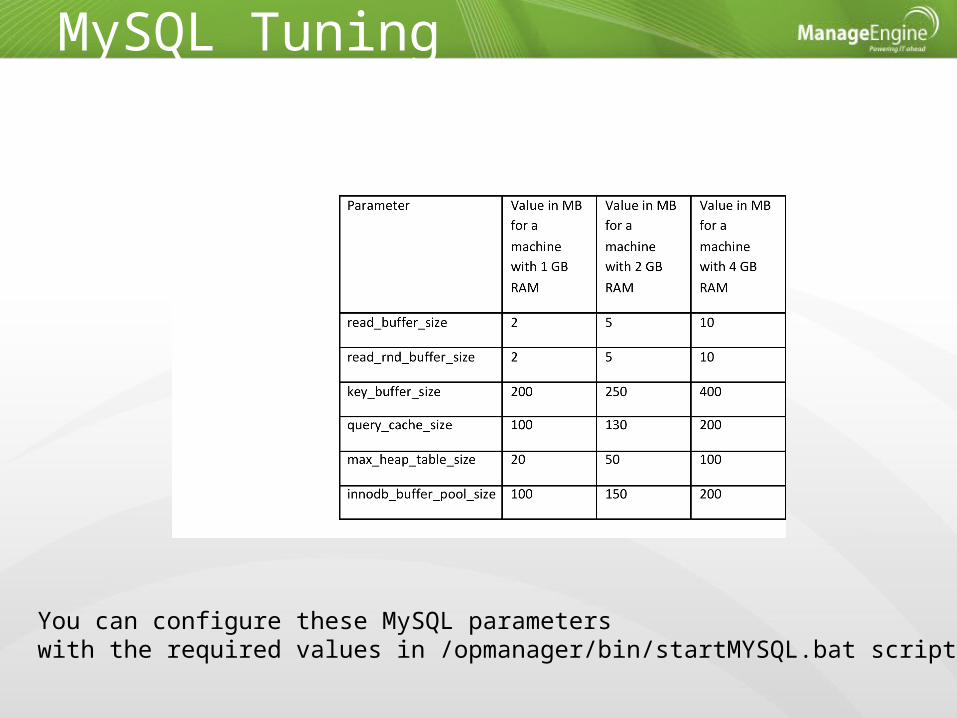
MySQL Tuning
You can configure these MySQL parameters with the required values in /opmanager/bin/startMYSQL.bat script.
Performance Tuning
• Configure polling interval depending upon the type of the device
• Configure Downtime Scheduler in order to unmanage devices during scheduled downtimes.
• Change the WMI threads for data collection, change the WMI_EXEC value in [OpManager_Home]\conf\threads.conf file.
Secure Web AccessFollow the steps below to enable https login for OpManager Web interface.1) Open a CMD prompt and go under /OpManager/bin2) Execute ssl_gen.bat -f EnableThis will enable the self-signed SSL certificate for OpManager. OpManager web client can be accessed in the same port number with https://
You can also generate the Certificate and import in to OpManager

Plug-ins & Add-ons
• Netflow Plugin – for bandwidth utilization monitoring
• NCM Plugin – for Network Configuration Management
• WAN Monitoring• VOIP Monitoring• IPAM Plugin
Upgrading OpManager
• Different types of OpManager upgrades are periodically released. These include Service Packs, Upgrade Packs, Hot Fixes, and Migration Packs.
• Following is the URL where the latest upgrades are hosted for download:
• http://www.manageengine.com/network-monitoring/service-packs.html

Upgrade
• Take a Backup of OpManager database and configurations before doing a upgrade.
• Execute the script <OpManager-Home>⁄bin⁄UpdateManager.sh/bat to install Service Packs or uninstall Service Packs

Support Contact
Phone:USA/ Canada: +1 888 720 9500 / +1 800 443 6694UK: 0800 028 6590Australia: +1 800 631 268 International: +1 925 924 9500
Email: Pre-sales support: [email protected] support: [email protected] Manager: [email protected]

Thank You