Embed Size (px)
Citation preview
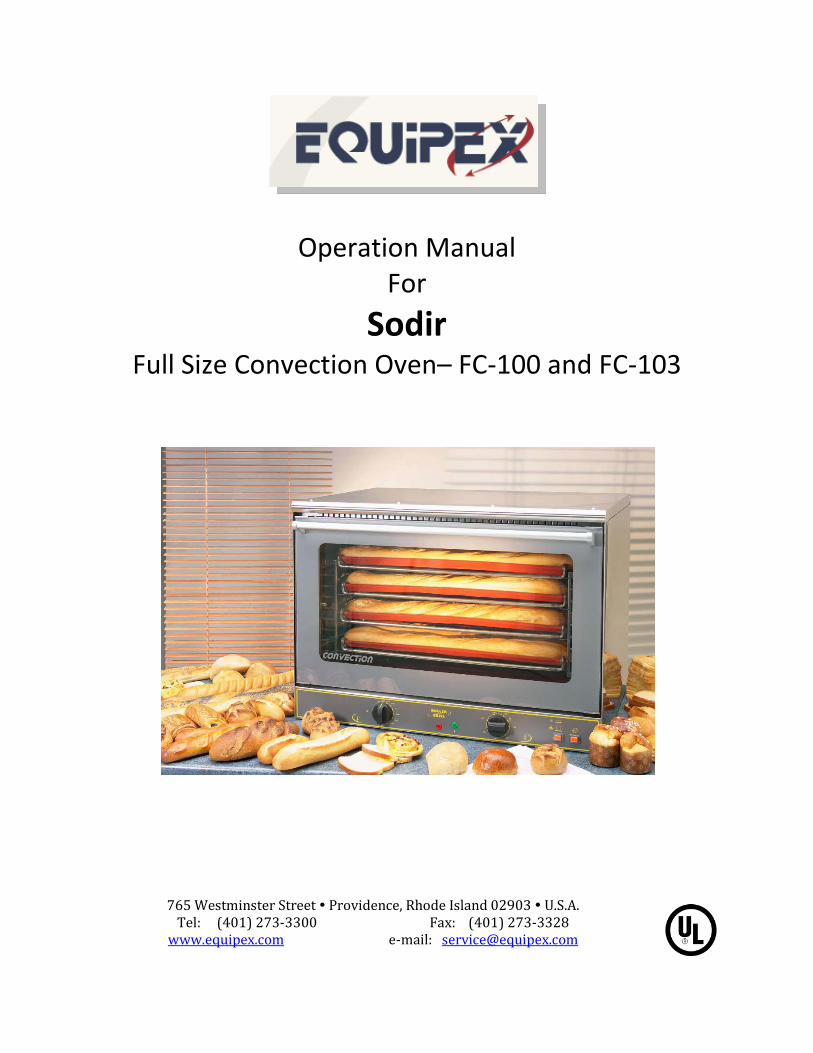
Operation Manual For
Sodir Full Size Convection Oven– FC-100 and FC-103
765 Westminster Street Providence, Rhode Island 02903 U.S.A. Tel: (401) 273-3300 Fax: (401) 273-3328
www.equipex.com e-mail: [email protected]
IMPORTANT SAFEGUARDS
When using electrical appliances, basic safety precautions should always be followed, including the following:
1. Read all the instructions before use.
2. Do not touch hot surfaces; use handles or knobs.
3. To avoid electric shock, do not immerse the power cord, or any part of the unit, in any liquid.
4. Close supervision is necessary when any appliance is used, especially around children.
5. Unplug appliance from the electrical outlet when not in use, and before cleaning. Allow appliance
to cool before installing or removing any parts or accessories, and before cleaning.
6. Do not operate any appliance with a damaged cord or plug, or if appliance should sustain
damage, or malfunction in any way. In this event, return appliance to the nearest authorized
service facility for examination, repair or adjustment.
7. The use of accessories and/or attachments not recommended by the appliance manufacturer
may cause injury or damage to the appliance, and may void your warranty.
8. Do not use outdoors.
9. Do not allow the power cord to hang over the edge of a table or counter, or to be exposed to hot
surfaces, as damage may occur.
10. Do not place appliance on or near a burner, or in a heated oven.
11. To disconnect an appliance, first turn all controls to the ‘off’ position; then unplug the power cord
from the wall outlet.
12. Do not use appliance other than for its intended use.
13. SAVE THESE INSTRUCTIONS FOR LATER USE!
INTRODUC110N
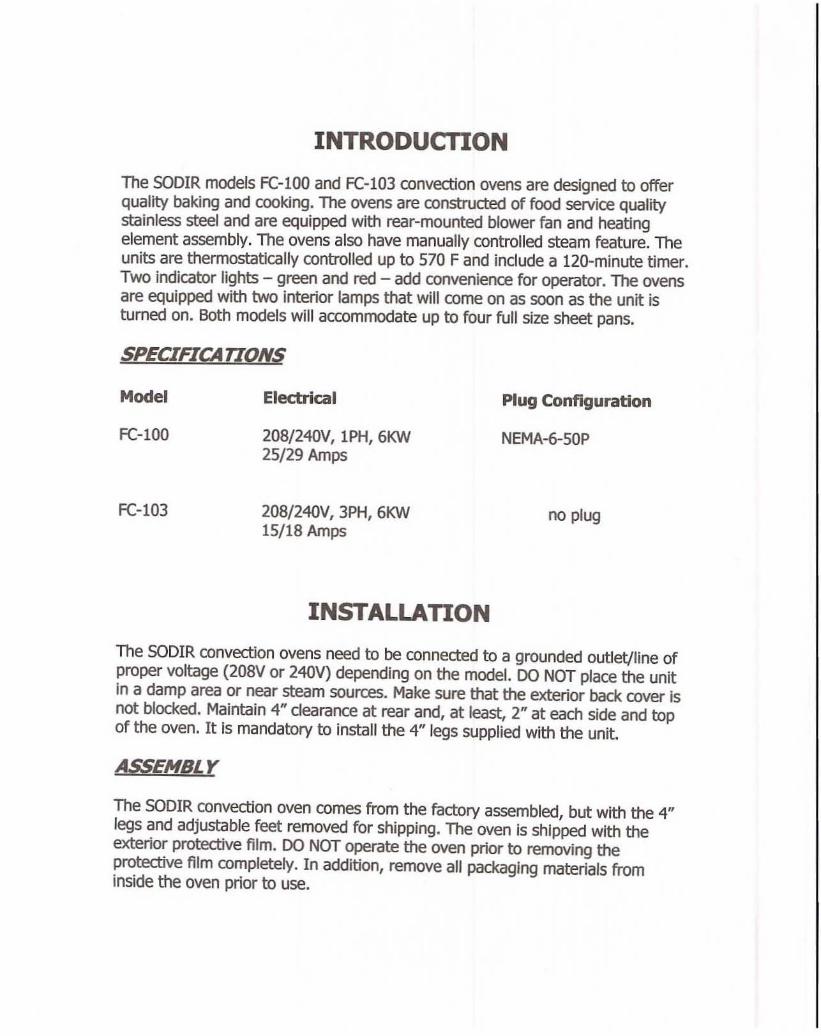
The SODIR models FC-lOO and FC-l03 convection ovens are designed to offer quality baking and cooking. The ovens are constructed of food service quality stainless steel and are equipped with rear-mounted blower fan and heating element assembly. The ovens also have manually controlled steam feature. The units are thermostatically controlled up to 570 F and include a 120-minute timer. Two indicator lights - green and red - add convenience for operator. The ovens are equipped with two interior lamps that will come on as soon as the unit is tumed on. Both models will accommodate up to four full size sheet pans.
SPECIFICA TrONS
Model
FC-l00
FC-103
Electrical
208/240V, lPH, 6KVV 25/29 Amps
208/240V,3PH,6KVV 15/18 Amps
INSTALLATION
Plug Configuration
NEMA-6-50P
no plug
The SODIR convection ovens need to be connected to a grounded outlet/line of proper voltage (208V or 240V) depending on the model. DO NOT place the unit in a damp area or near steam sources. Make sure that the exterior back cover Is not blocked. Maintain 4" clearance at rear and, at least, 2" at each side and top of the oven. It is mandatory to install the 4" legs supplied with the unit.
ASSEMBLY
The SODIR convection oven comes from the factory assembled, but with the 4" legs and adjustable feet removed for shipping. The oven is shipped with the exterior protective film. DO NOT operate the oven prior to removing the protective film completely. In addition, remove all packaging materials from inSide the oven prior to use.
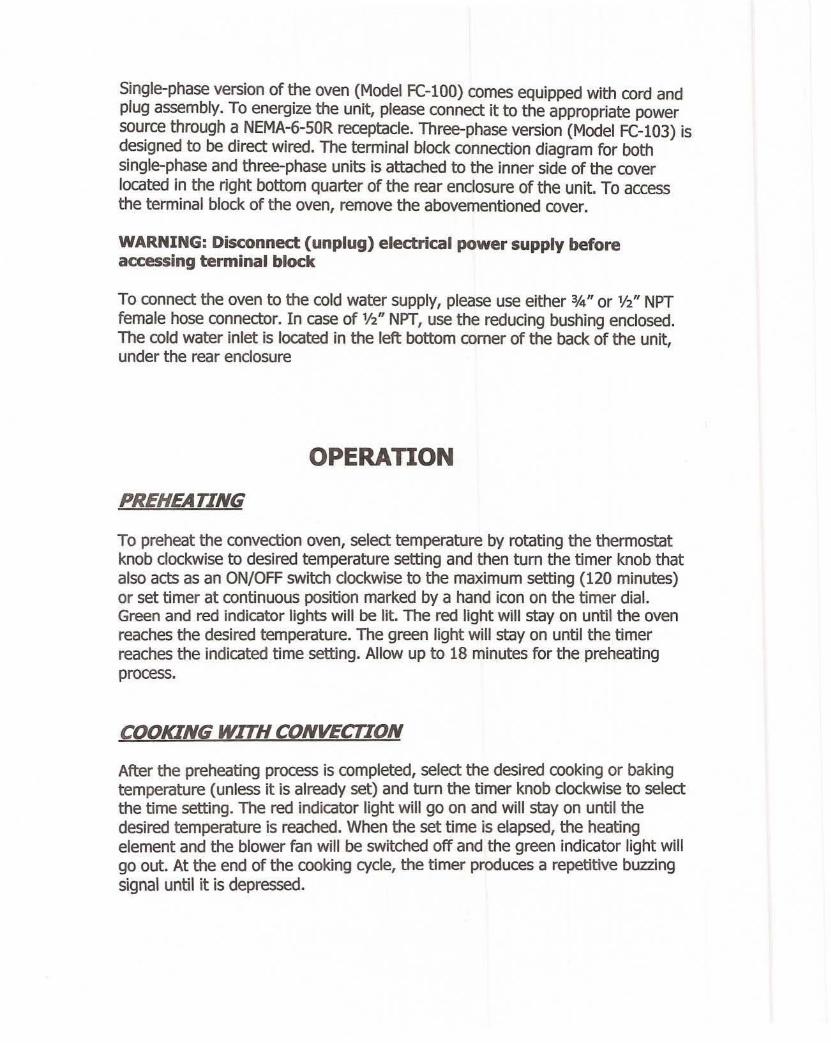
Single-phase version of the oven (Model fe-lOa) comes equipped with cord and plug assembly. To energize the unit, please connect it to the appropriate power source through a NEMA-6-50R receptacle. Three-phase version (Model Fe-103) is designed to be direct wired. The terminal block connection diagram for both single-phase and three-phase units is attached to the inner side of the cover located in the right bottom quarter of the rear enclosure of the unit. To access the terminal block of the oven, remove the abovementioned cover.
WARNING: Disconnect (unplug) electrical power supply before accessing terminal block
To connect the oven to the cold water supply, please use either 0/4" or Y2" NPT female hose connector. In case of Y2" NPT, use the reducing bushing enclosed. The cold water inlet is located in the left bottom comer of the back of the unit, under the rear enclosure
OPERATION
PREHEATING
To preheat the convection oven, select temperature by rotating the thermostat knob clockwise to desired temperature setting and then tum the timer knob that also acts as an ON/OFF switch clockwise to the maximum setting (120 minutes) or set timer at continuous position marked by a hand icon on the timer dial. Green and red indicator lights will be lit. The red light will stay on until the oven reaches the desired temperature. The green light will stay on until the timer reaches the indicated time setting. Allow up to 18 minutes for the preheating process.
COOKING WITH CONVECTION
After the preheating process is completed, select the desired cooking or baking temperature (unless it is already set) and tum the timer knob clockwise to select the time setting. The red indicator light will go on and will stay on until the desired temperature is reached. When the set time is elapsed, the heating element and the blower fan will be switched off and the green indicator light will go out. At the end of the cooking cycle, the timer produces a repetitive buzzing signal until it is depressed.
The timer can be used in continuous mode. To do so, turn the timer counterclockwise from the 0 position (continuous mode position is depicted by a special hand-like marking on the timer dial).
The oven is equipped with a turbine reversing blower fan. Per factory settings, the fan cycle consist of 2-minute spin in clockwise direction followed by 30-second slow down to full stop part and then 2-minute spin in counterclockwise direction.
NOTE: The settings can be changed by an authorized service technician only
The oven is equipped with a 2-speed motor. To switch between two speeds, press the speed button.
Opening the door of the oven will result in stopping of the fan motor operation, which will be resumed automatically after the door is closed.
The SODlR convection ovens can be used for a wide variety of foods. Cooking times will vary depending on food products, temperature settings and desired results.
STEAM FEA TURE: For Crusting Pul710ses
This feature is generally used at the beginning of the baking cycle. It works only when the oven is operating at the temperatures over 200F and the fan is on. To add steam to the baking chamber, press ONCE the push button located on the control panel (far right). Pressing the steam button will result in spritzing water on to the fan for approximately 5-second time period. Use steam feature to create perfect crust on the products you are baking off. Moisture not absorbed by bread products will evaporate through the steam outlet in the back of the oven.
The steam button has a "memory" feature. If the button is pushed when the oven is on, but either not at a temperature over 200 F or with the fan motor stopped, the "smart" steam button will remember. When the proper conditions occur, the steam feature will automatically be activated without the need to depress the button again.
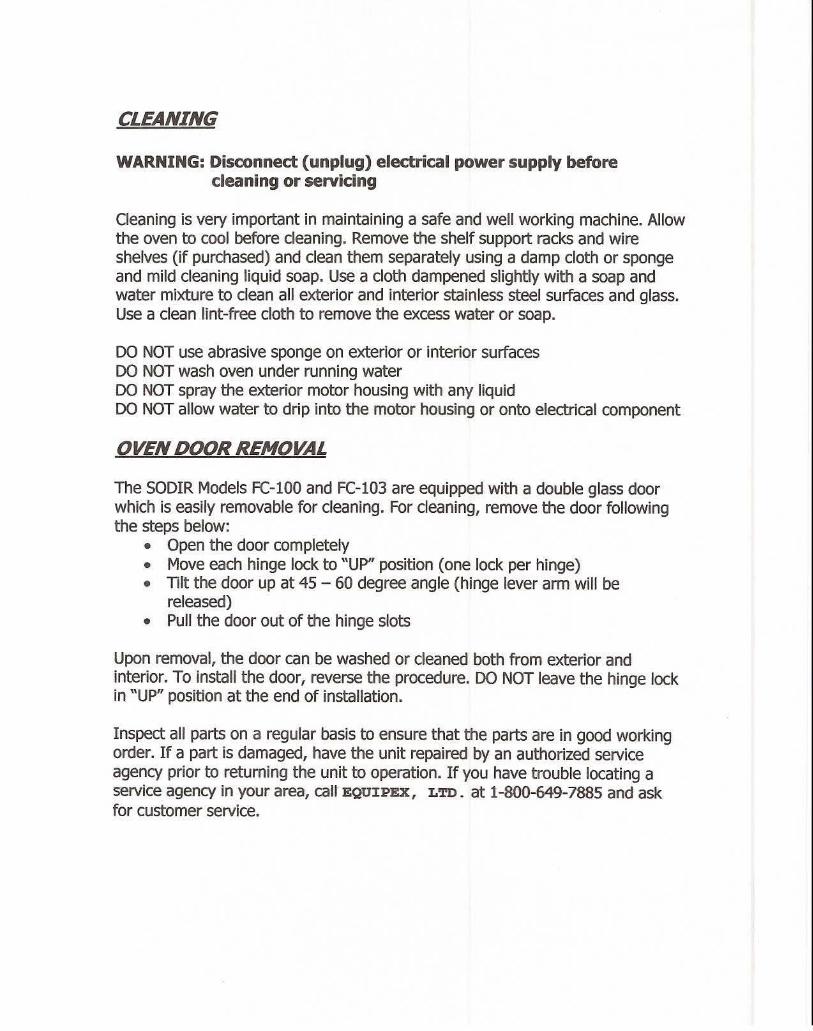
CLEANING
WARNING: Disconnect (unplug) electrical power supply before cleaning or servicing
Cleaning is very important in maintaining a safe and well working machine. Allow the oven to cool before cleaning. Remove the shelf support racks and wire shelves (if purchased) and clean them separately using a damp cloth or sponge and mild cleaning liquid soap. Use a cloth dampened slightly with a soap and water mixture to clean all exterior and interior stainless steel surfaces and glass. Use a clean lint-free cloth to remove the excess water or soap.
DO NOT use abrasive sponge on exterior or interior surfaces DO NOT wash oven under running water DO NOT spray the exterior motor housing with any liquid DO NOT allow water to drip into the motor housing or onto electrical component
OVEN DOOR REMOVAL
The SODIR Models FC-l00 and FC-l03 are equipped with a double glass door which is easily removable for cleaning. For cleaning, remove the door following the steps below:
• Open the door completely • Move each hinge lock to "UP" position (one lock per hinge) • Tilt the door up at 45 - 60 degree angle (hinge lever arm will be
released) • Pull the door out of the hinge slots
Upon removal, the door can be washed or cleaned both from exterior and interior. To install the door, reverse the procedure. DO NOT leave the hinge lock in "UP" position at the end of installation.
Inspect all parts on a regular basis to ensure that the parts are in good working order. If a part is damaged, have the unit repaired by an authorized service agency prior to returning the unit to operation. If you have trouble locating a service agency in your area, call EQOIPEX, LTD. at 1-800-649-7885 and ask for customer service.
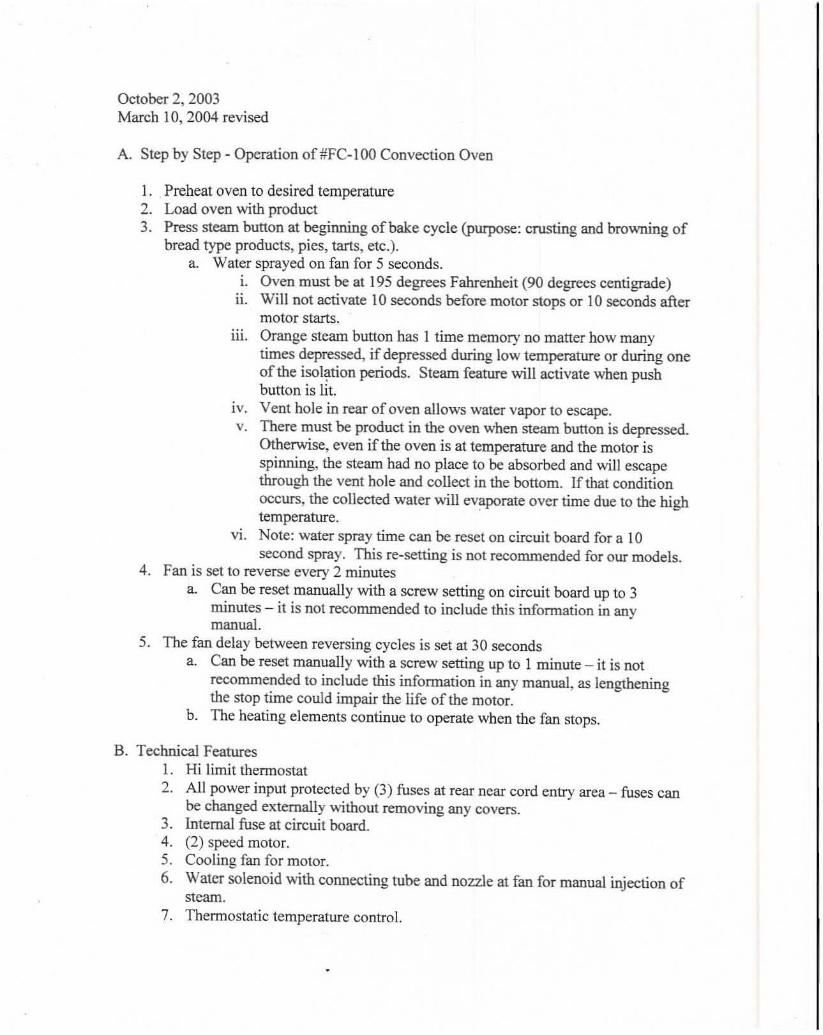
October 2, 2003 March 10, 2004 revised
A. Step by Step - Operation of#FC-IOO Convection Oven
l. Preheat oven to desired temperanue 2. Load oven with product 3. Press steam bunon at beginning of bake cycle (purpose: crusting and browning of
bread type products, p ies, tarts, etc.). a. Water sprayed on fan for 5 seconds.
1. Oven must be at 195 degrees Fahrenheit (90 degrees centigrade) 11. Wi ll not activate 10 seconds before motor stops or 10 seconds after
motor starts. UJ. Orange stearn bunon has 1 time memory no matter how many
times depressed, if depressed during low temperature or during one of the isolation periods. Steam feature will activate when push button is lit.
IV. Vent hole in rear of oven allows water vapor to escape. v. There must be product in the oven when steam button is depressed.
Otherwise. even if the oven is at temperature and the motor is spinning, the steam had no place to be absorbed and will escape through the vent hole and collect in the bottom. lfthat condition occurs, the collected water will ev~porate over time due to the high temperature.
VI. Note: water spray time can be reset on circuit board for a 10 second spray. This re-setting is not recommended for our models.
4. Fan is set to reverse every 2 minutes a. Can be reset manually with a screw setting on circuit board up to 3
minutes - it is not recommended to include this information in any manual.
5. The fan delay between reversing cycles is set at 30 seconds a. Can be reset manually with a screw setting up to 1 minute - it is not
recommended to include this information in any manual, as lengthening the stop time could impair the life of the motor.
b. The beating elements continue to operate when the fan stops.
B. Technical Features 1. Hi limit thermostat 2. Al l power input protected by (3 ) fuses at rear near cord entry area - fuses can
be changed externally without removing any covers. 3. Interna1 fuse at circuit board. 4. (2) speed motor. 5. Cooling fan for motor.
6. Water solenoid with connecting tube and nozzle at fan for manual injection of stearn.
7. Thermostatic temperature control.
8. Timer with manual position. 9. Temperature and pilot indicator lights. 10. (2) interior lights. 11 . Rack guides for full size sheet pans. 12. Rear access panel for electrical connection.
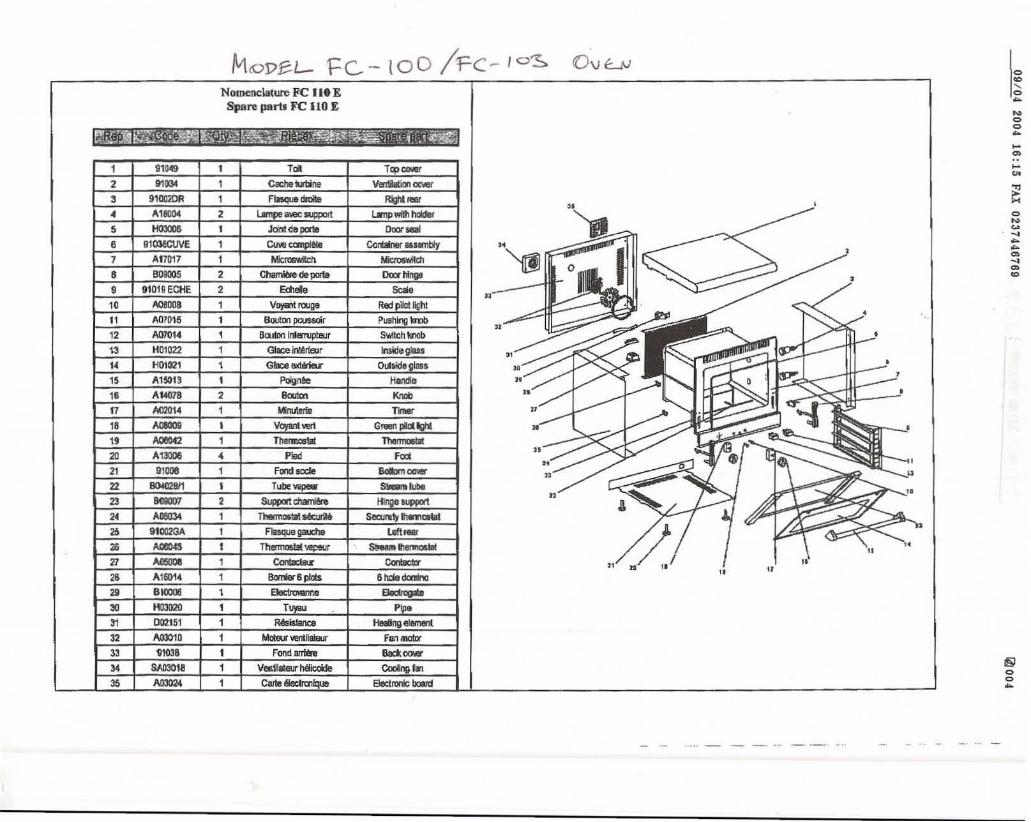
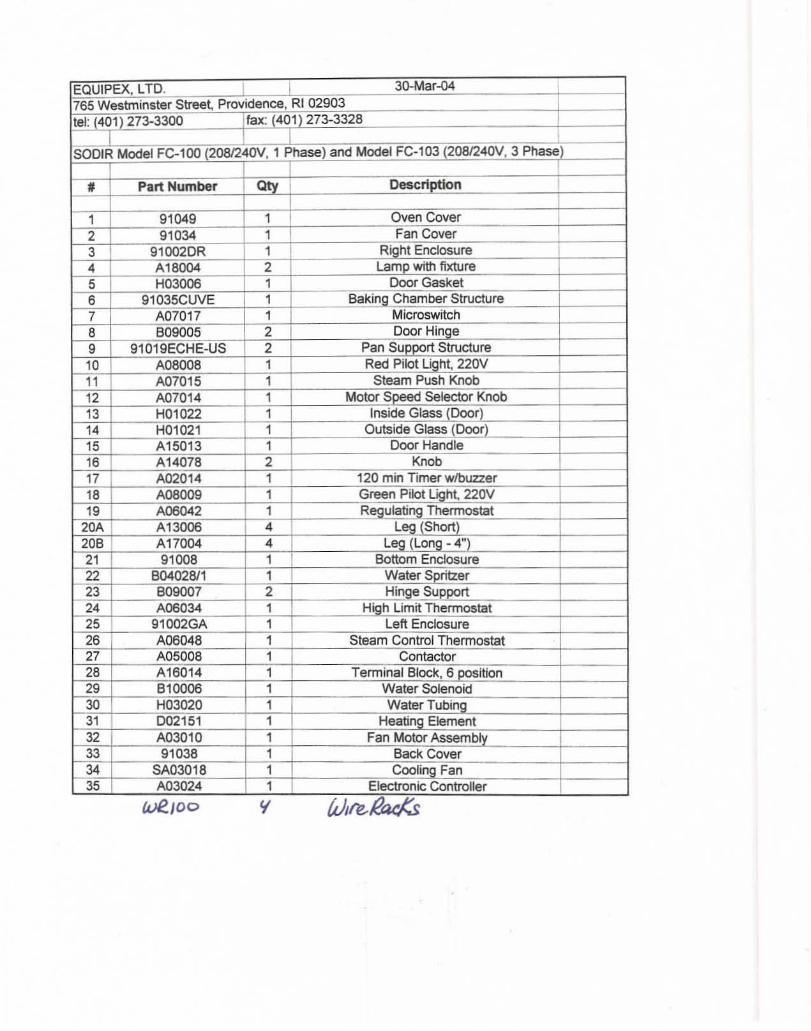
Nomenclature Fe lit E Spare parts Fe 110 E
D .
~ . R~
1~: (40107~33~28 ---------------+-----1
•
I t Model ~'ZJ}~~I an~d!~ Mode~II ~I~ ((:200V, 3~=I-_-I
Qty
~ Oven Cover ~-4-+~ ____ ~~cover
9 DR ~
91
, fixture 1006 DOor
WE 17
1005 1 u~~~-------t-----I
pa~r 1 C Red Wgh~ 220V 11 ~ Steam Push Knot
~~12 ---~~~-+~+-__ M~oror~~ ~~~oo __ +-__ ~ ~: ~~==t=t=~====~ln~SI~id~e~oo~r
~
f--
Knob
High Lim~
:+--~.!'..! Stearr L.~
D
91
we/DO
I Block. 6 Water Water Tubing
Fan Motor Back Cover
( p-an II
cQUi?g}t em.
LIMITED WARRANTY
Your new fO(JiPl~ product is warranted to the original purchaser for a period of one year from the date of purchase.
This limited warranty is against defects from original factory imperfections in material and/or workmansh.ip and includes labor for replacement of defective parts, provided repa irs arc performed by an authorized service agency. Our obligation under this warranty is limited to repairing or replacing any part or parts thereof. The CUSTOMER must inform the Service Agency of warranty coverage and provide a copy of the dated sales or delivery receipt BEFORE WARRANTY REPAIRS BEGIN. Replacement parts and accessories are warranted for ninety (90) days from the date of purchase when purchased separately and will be verified by dated sales receipt or packing slip for that item. All parts or accessories replaced under warranty must be retumed to the Service Agency.
This warranty applies only to equipment under nonnal use and service in the U.S.A. and Canada. It does not apply to any item which has been repaired or altered in any way so as, in the judgement of fO(JiPU., to affect its reliability.
THE FOLLOWING ARE NOT COVERED UNDER WARRANTY:
1. Damage caused by abuse, misuse, dropping or other similar incidental damage caused by or as a result of customer failure to follow assembly, operating, cleaning, user maintenance or storage instructions .
2. Labor to replace inoperative parts sllch as bulbs, plugs or racks due to normal use or abuse.
3. Materials or labor to repair scratched, sta ined, chipped, pitted, dented or discolored surfaces, attachments or accessories.
4. Transportation charges to or from a service agency for repair of your machine. Lf you should have questions relating to this issue, please call the factory at 1-800-649-7885.
5. Labor charges to install or test attachments or accessories, which are replaced for any reason.
6. SHIPPrNG DAMAGES. Visible and hidden damages are the responsibility of the freight carrier. The consignee must file the claim promptly against the carrier. KEEP ALL ORlGINAL CONTAINERS AND PACKING MATERIALS FOR CARRIER INSPECTION.
7. Products placed or stored in the equipment are not subject to this warranty and no responsibility is assumed thereof.
THIS WARRANTY IS GIVEN EXPRESSLY AND IN LIEU OF ALL OTHER WARRANTIES, EXPRESSED OR IMPLIED, FOR M.ERCHANTABILITY AND FOR fiTNESS TOWARD A PARTICULAR PURPOSE AND CONSTITUTES THE ONLY WARRANTY MADE BY EQUIPEX, LTD. IT NEITHER ASSUMES, NOR AUTHORIZES ANY PERSON TO ASSUME FOR US, ANY OTHER LIABILITY IN CONNECTION WITH THE SALE OF THE SUBJECT EQUIPMENT.
Pleas •• aU [OUIP(~ for servIce at 1-800-649-7885
765 Westminster Street· Providence, Rhode Island 02903 ' U.S.A.
Tel : (401) 273 -3 300 Fax : (401) 273 -3328
www.equipex.com e-mail: sales@equlpex .co m


![2015 / 16...Southampton FC Stoke City FC Sunderland AFC Swansea City AFC Tottenham Hotspur FC [London ] Watford FC West Bromwich Albion FC West Ham United FC [London ] …](https://img.pdfslide.us/doc/110x75/6147d88ca830d0442101b33e/2015-16-southampton-fc-stoke-city-fc-sunderland-afc-swansea-city-afc-tottenham.jpg)