Embed Size (px)
Citation preview
OpenCV
Chentai Kao
2/7/2014
Outline
• Why OpenCV?
• Installation
• C++ API
• Python API
• Demo (using Python API)
Why OpenCV?
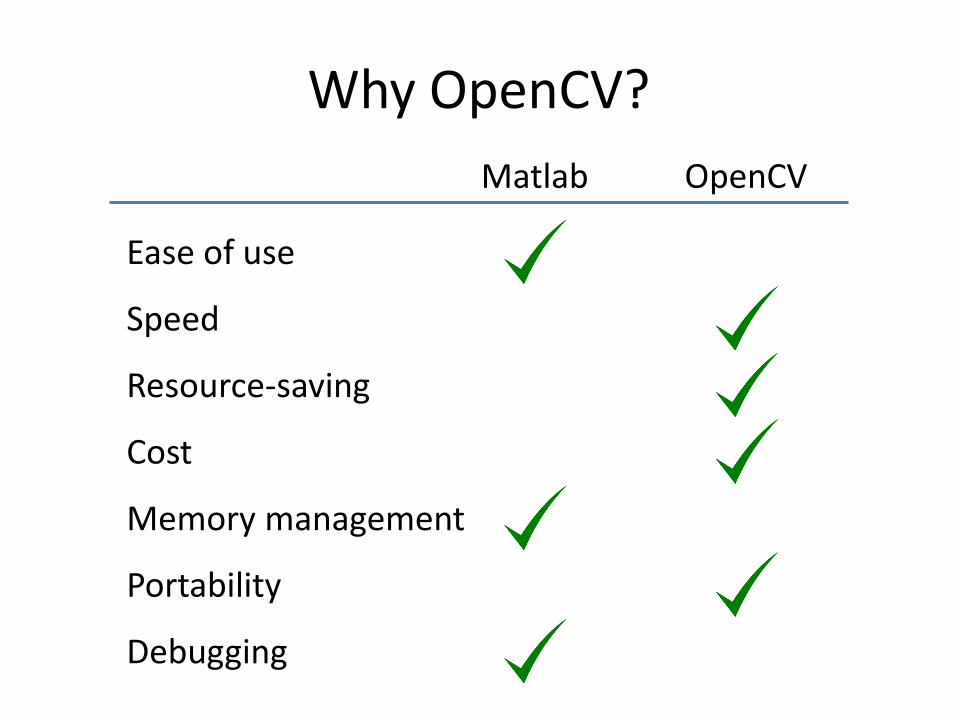
Why OpenCV?
Matlab OpenCV
Ease of use
Speed
Resource-saving
Cost
Memory management
Portability
Debugging
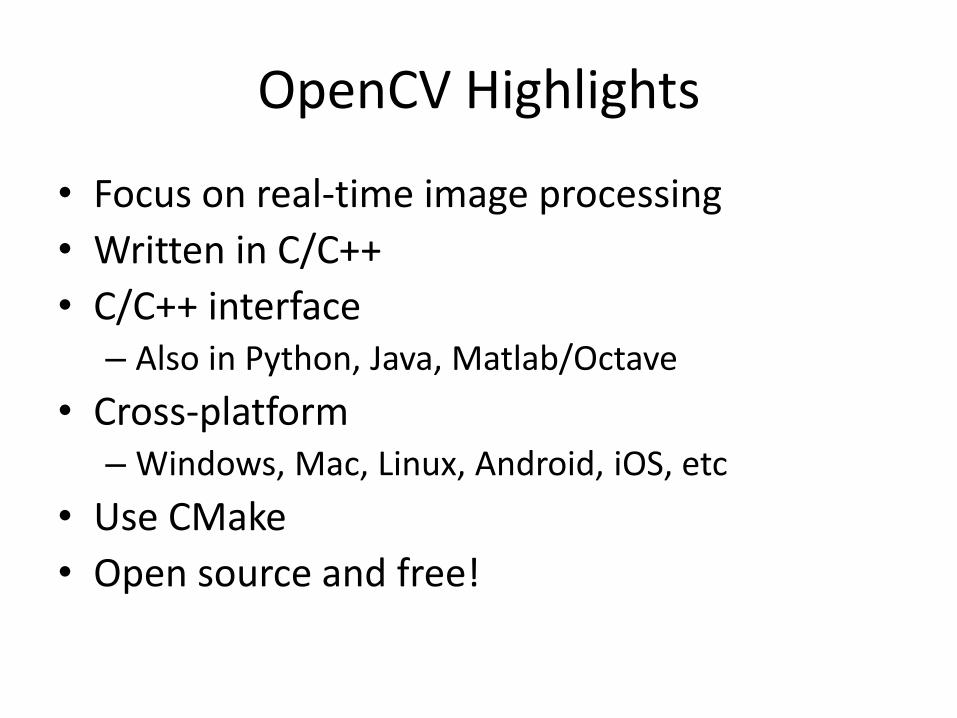
OpenCV Highlights
• Focus on real-time image processing
• Written in C/C++
• C/C++ interface – Also in Python, Java, Matlab/Octave
• Cross-platform – Windows, Mac, Linux, Android, iOS, etc
• Use CMake
• Open source and free!
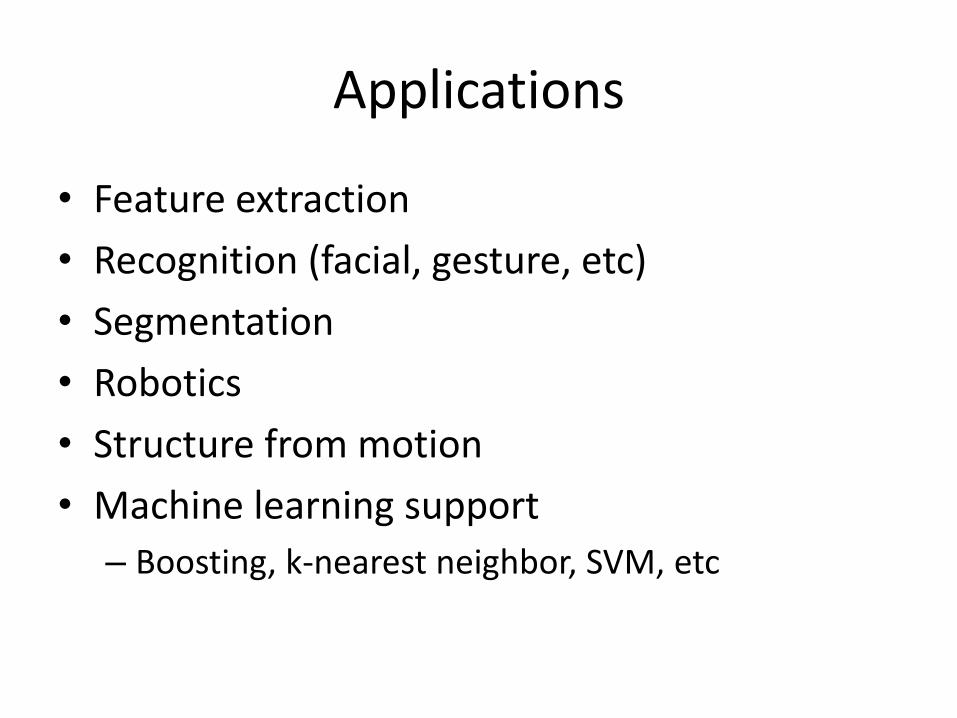
Applications
• Feature extraction
• Recognition (facial, gesture, etc)
• Segmentation
• Robotics
• Structure from motion
• Machine learning support
– Boosting, k-nearest neighbor, SVM, etc
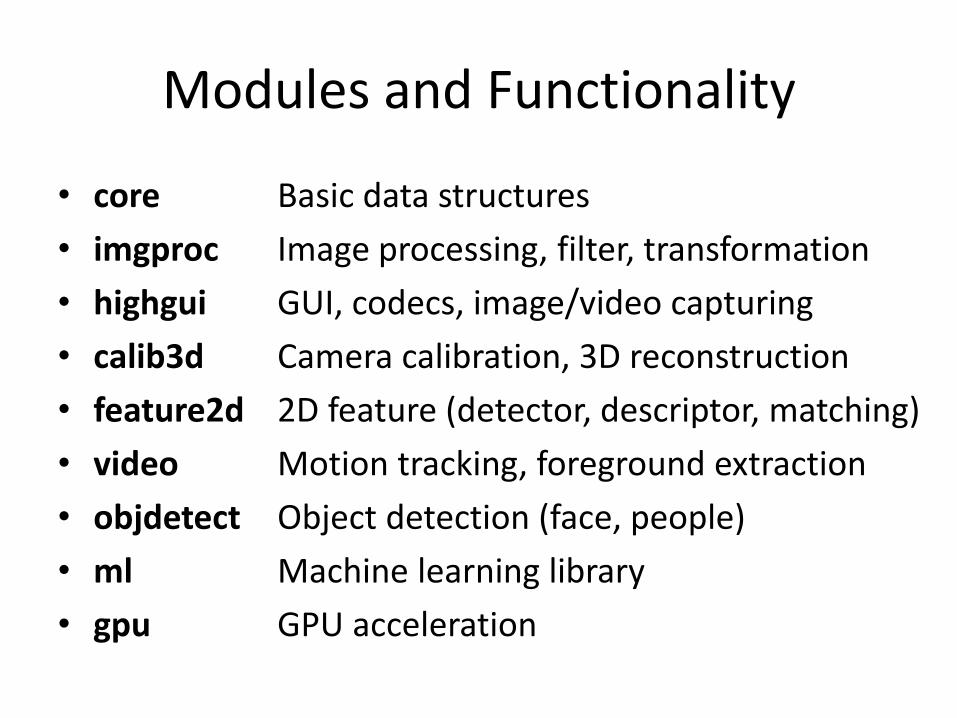
Modules and Functionality
• core
• imgproc
• highgui
• calib3d
• feature2d
• video
• objdetect
• ml
• gpu
Basic data structures
Image processing, filter, transformation
GUI, codecs, image/video capturing
Camera calibration, 3D reconstruction
2D feature (detector, descriptor, matching)
Motion tracking, foreground extraction
Object detection (face, people)
Machine learning library
GPU acceleration

Installation
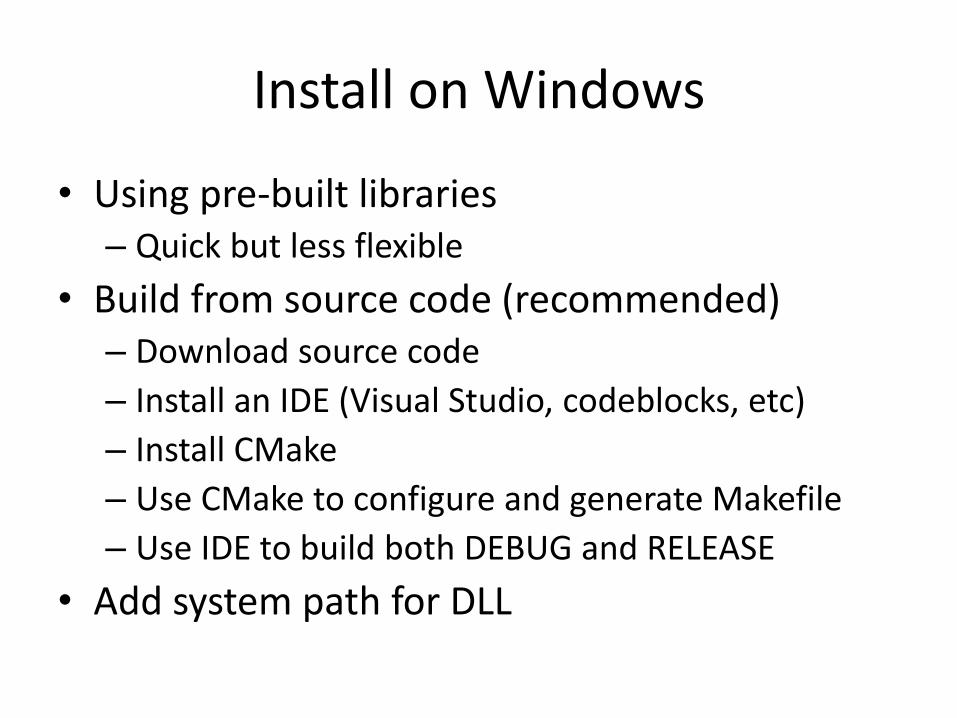
Install on Windows
• Using pre-built libraries – Quick but less flexible
• Build from source code (recommended) – Download source code
– Install an IDE (Visual Studio, codeblocks, etc)
– Install CMake
– Use CMake to configure and generate Makefile
– Use IDE to build both DEBUG and RELEASE
• Add system path for DLL
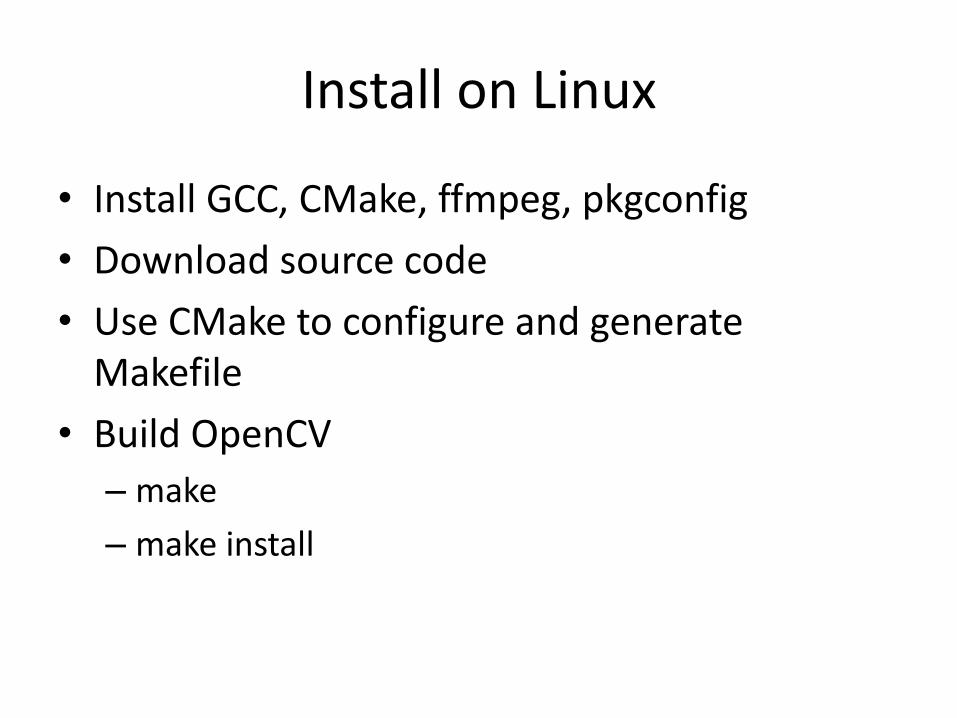
Install on Linux
• Install GCC, CMake, ffmpeg, pkgconfig
• Download source code
• Use CMake to configure and generate Makefile
• Build OpenCV
– make
– make install
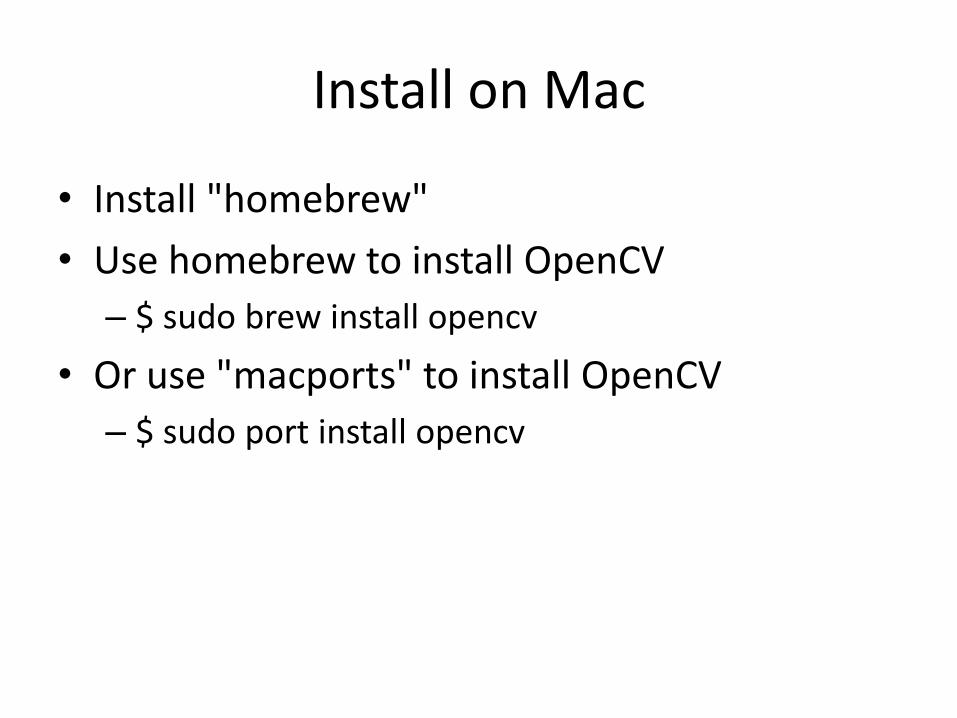
Install on Mac
• Install "homebrew"
• Use homebrew to install OpenCV
– $ sudo brew install opencv
• Or use "macports" to install OpenCV
– $ sudo port install opencv
C++ API
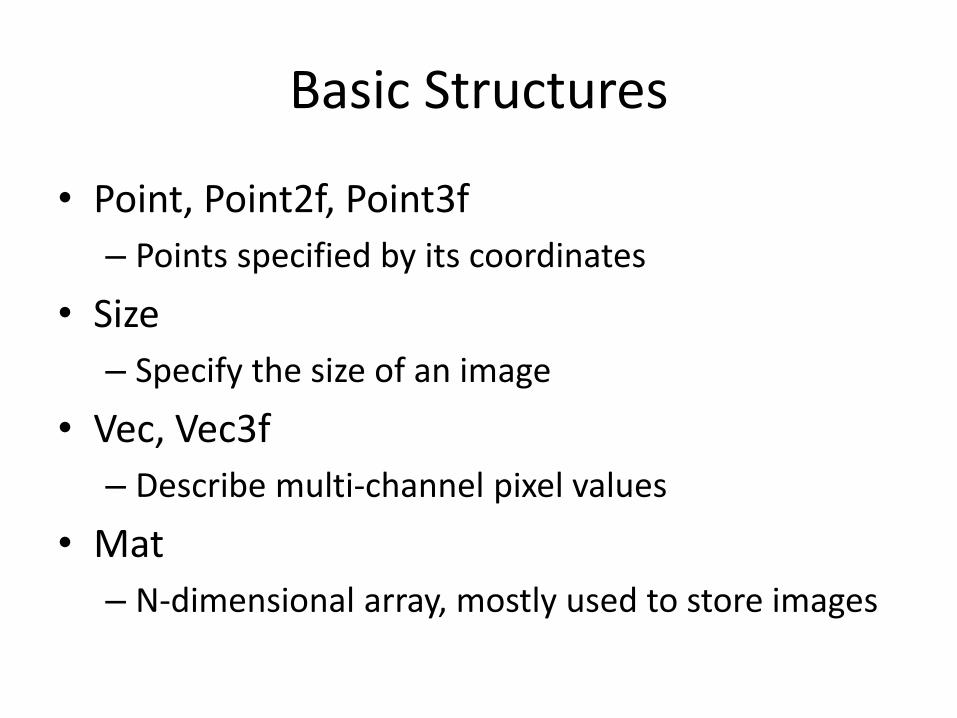
Basic Structures
• Point, Point2f, Point3f
– Points specified by its coordinates
• Size
– Specify the size of an image
• Vec, Vec3f
– Describe multi-channel pixel values
• Mat
– N-dimensional array, mostly used to store images
Point
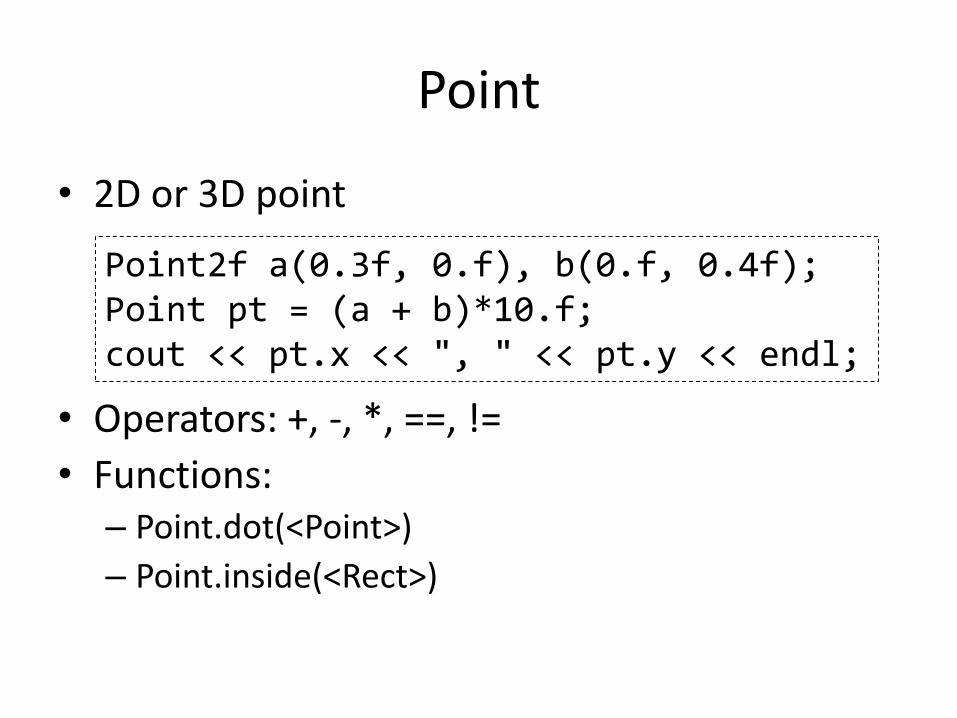
• 2D or 3D point
• Operators: +, -, *, ==, !=
• Functions: – Point.dot(<Point>)
– Point.inside(<Rect>)
Point2f a(0.3f, 0.f), b(0.f, 0.4f); Point pt = (a + b)*10.f; cout << pt.x << ", " << pt.y << endl;
Size
• Store matrix size (cols, rows)
– Mat.size()
– Mat.Mat(<Size>, <type>)
Vec
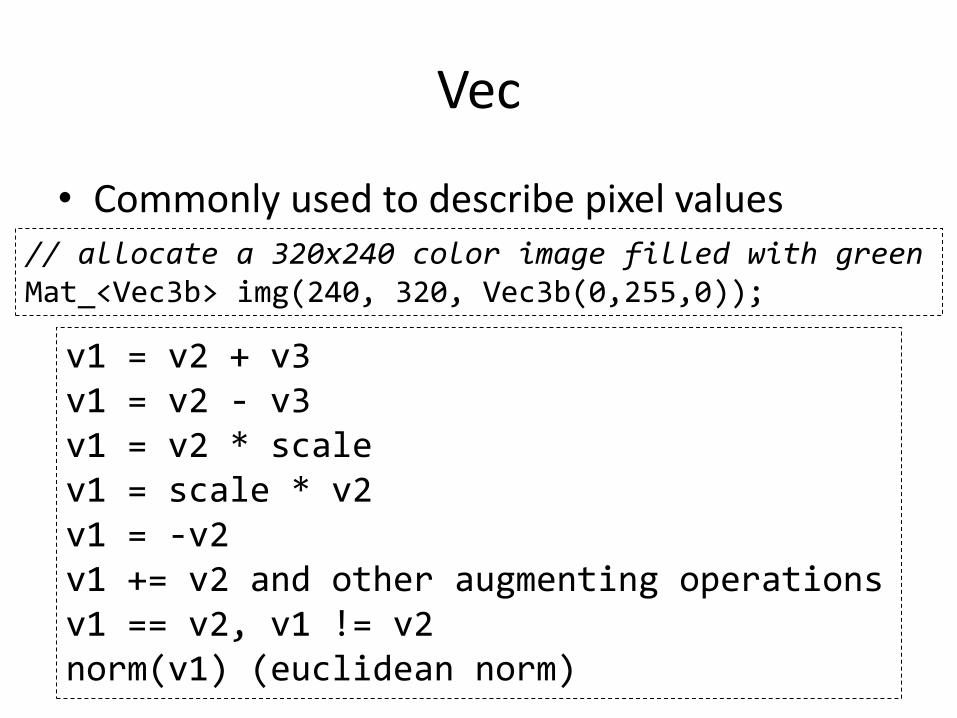
• Commonly used to describe pixel values
v1 = v2 + v3 v1 = v2 - v3 v1 = v2 * scale v1 = scale * v2 v1 = -v2 v1 += v2 and other augmenting operations v1 == v2, v1 != v2 norm(v1) (euclidean norm)
// allocate a 320x240 color image filled with green Mat_<Vec3b> img(240, 320, Vec3b(0,255,0));
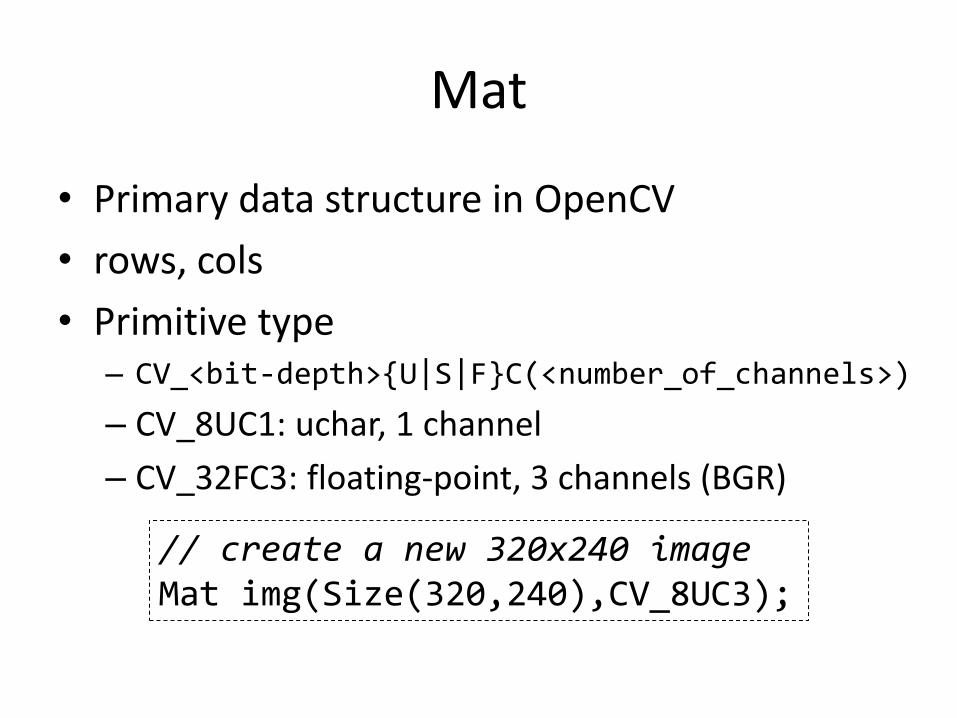
Mat
• Primary data structure in OpenCV
• rows, cols
• Primitive type – CV_<bit-depth>{U|S|F}C(<number_of_channels>)
– CV_8UC1: uchar, 1 channel
– CV_32FC3: floating-point, 3 channels (BGR)
// create a new 320x240 image Mat img(Size(320,240),CV_8UC3);
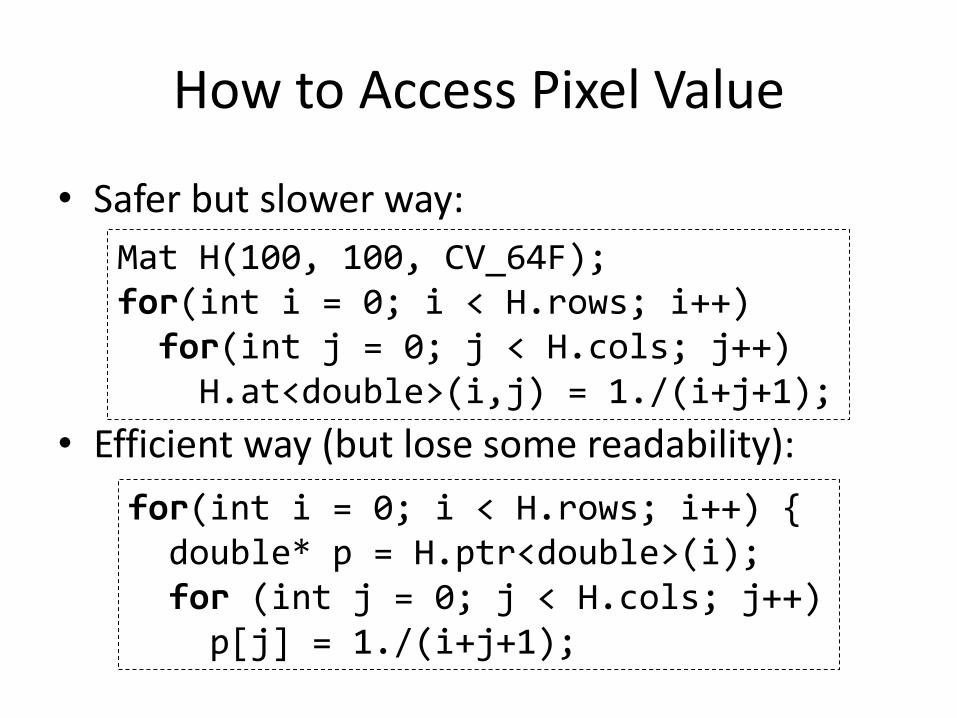
How to Access Pixel Value
• Safer but slower way:
• Efficient way (but lose some readability):
Mat H(100, 100, CV_64F); for(int i = 0; i < H.rows; i++) for(int j = 0; j < H.cols; j++) H.at<double>(i,j) = 1./(i+j+1);
for(int i = 0; i < H.rows; i++) { double* p = H.ptr<double>(i); for (int j = 0; j < H.cols; j++) p[j] = 1./(i+j+1);
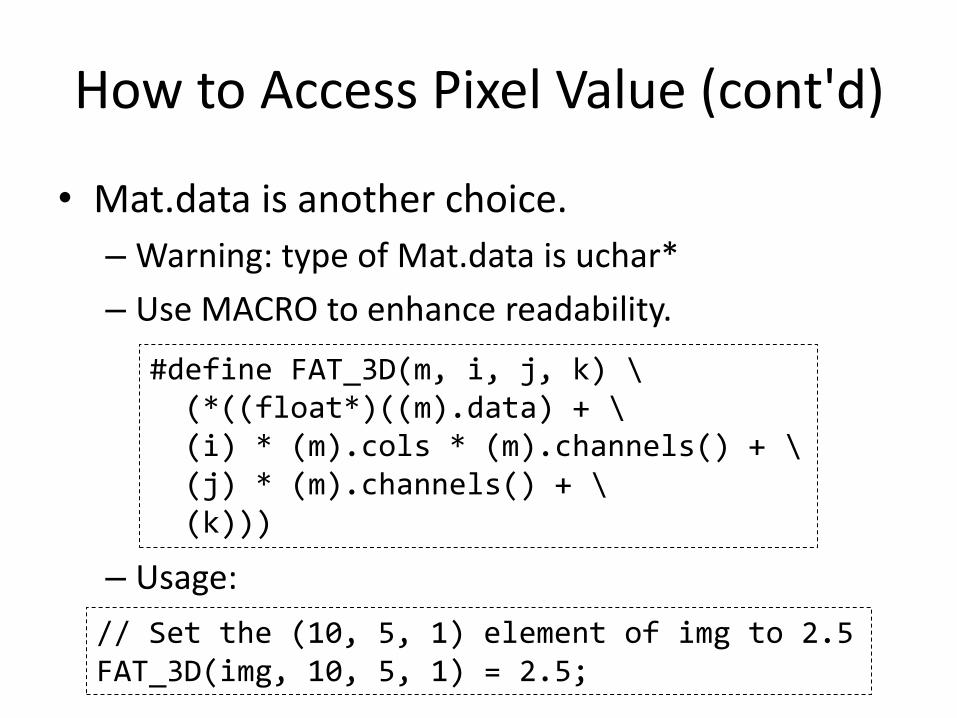
How to Access Pixel Value (cont'd)
• Mat.data is another choice.
– Warning: type of Mat.data is uchar*
– Use MACRO to enhance readability.
– Usage:
#define FAT_3D(m, i, j, k) \ (*((float*)((m).data) + \ (i) * (m).cols * (m).channels() + \ (j) * (m).channels() + \ (k)))
// Set the (10, 5, 1) element of img to 2.5 FAT_3D(img, 10, 5, 1) = 2.5;

Python API
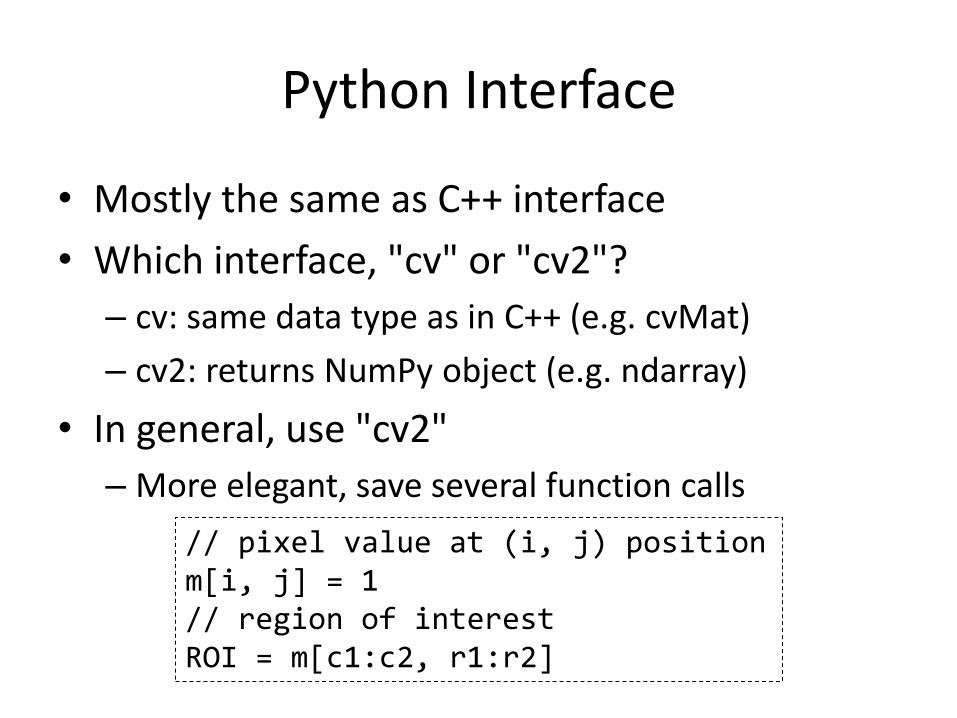
Python Interface
• Mostly the same as C++ interface
• Which interface, "cv" or "cv2"?
– cv: same data type as in C++ (e.g. cvMat)
– cv2: returns NumPy object (e.g. ndarray)
• In general, use "cv2"
– More elegant, save several function calls
// pixel value at (i, j) position m[i, j] = 1 // region of interest ROI = m[c1:c2, r1:r2]

DEMO (using Python API)
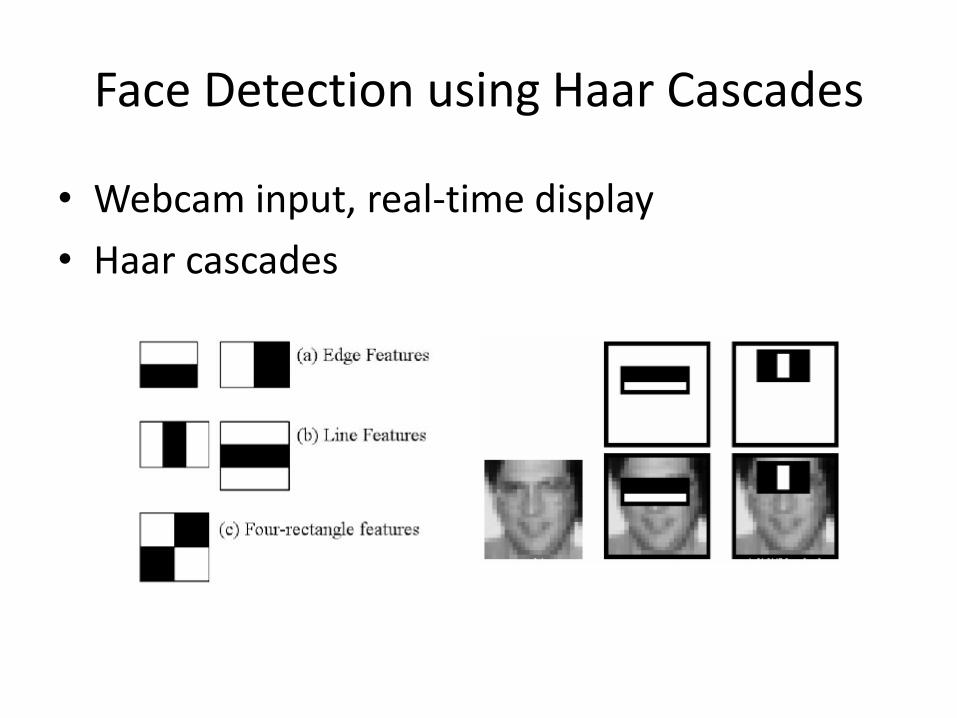
Face Detection using Haar Cascades
• Webcam input, real-time display
• Haar cascades
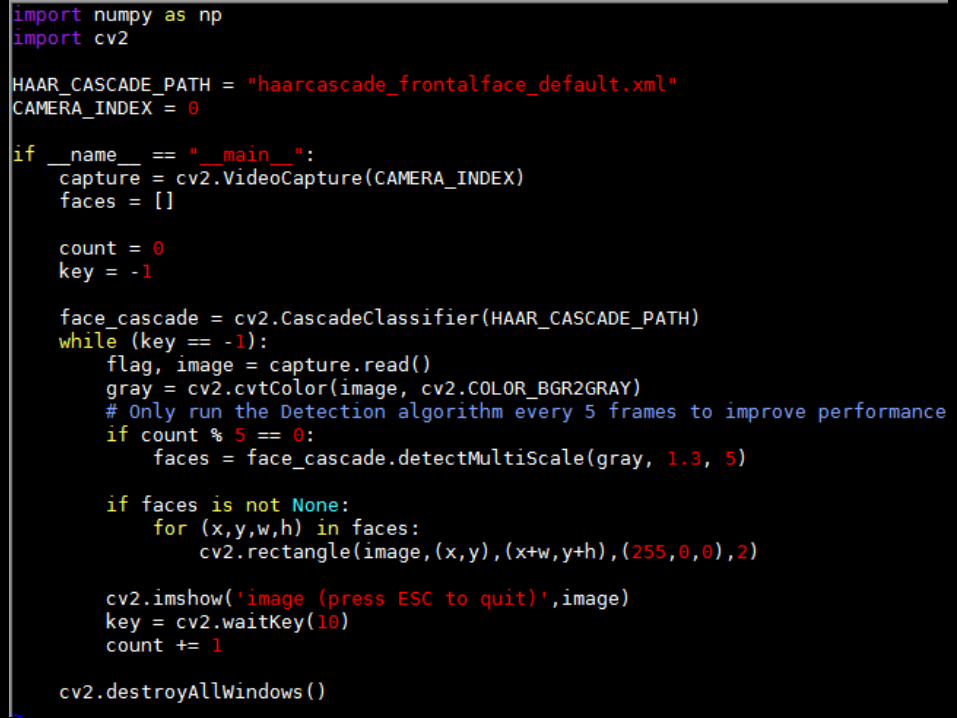
Import modules
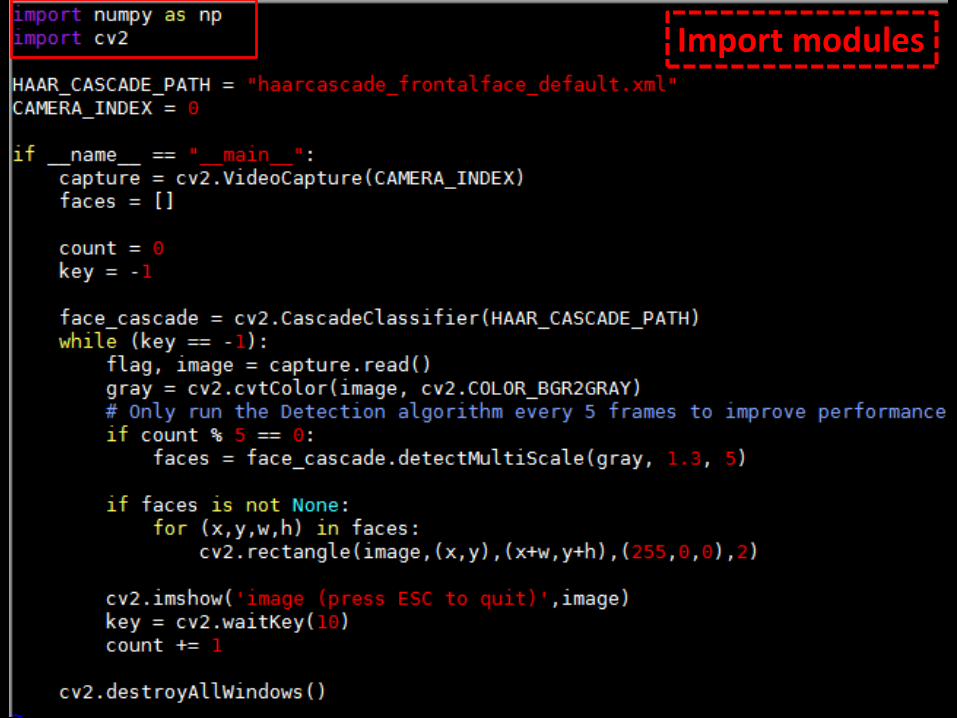
Webcam input
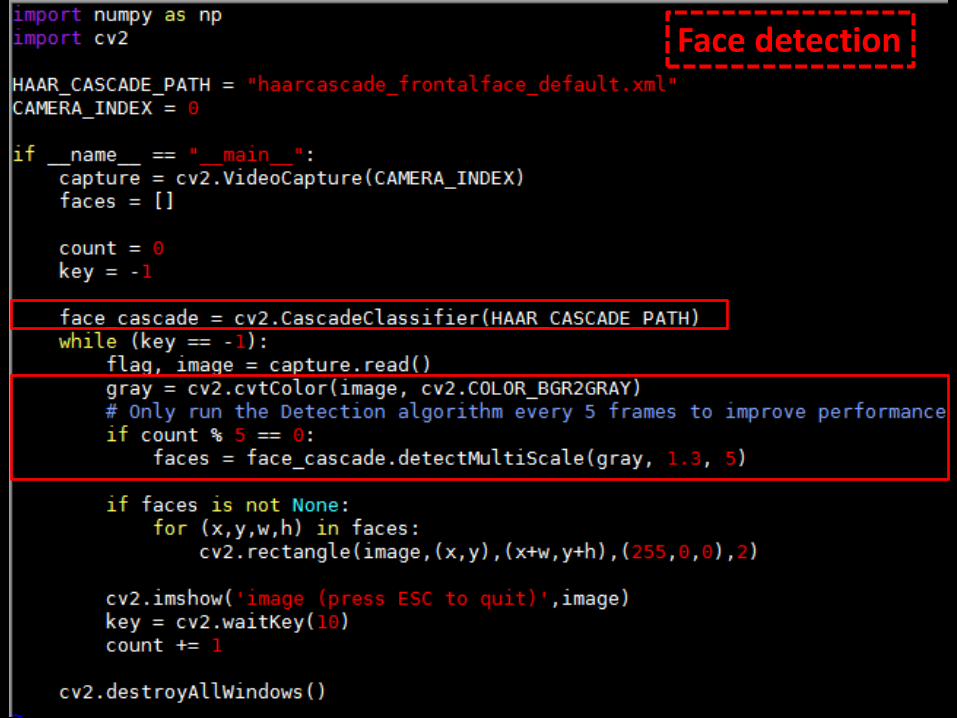
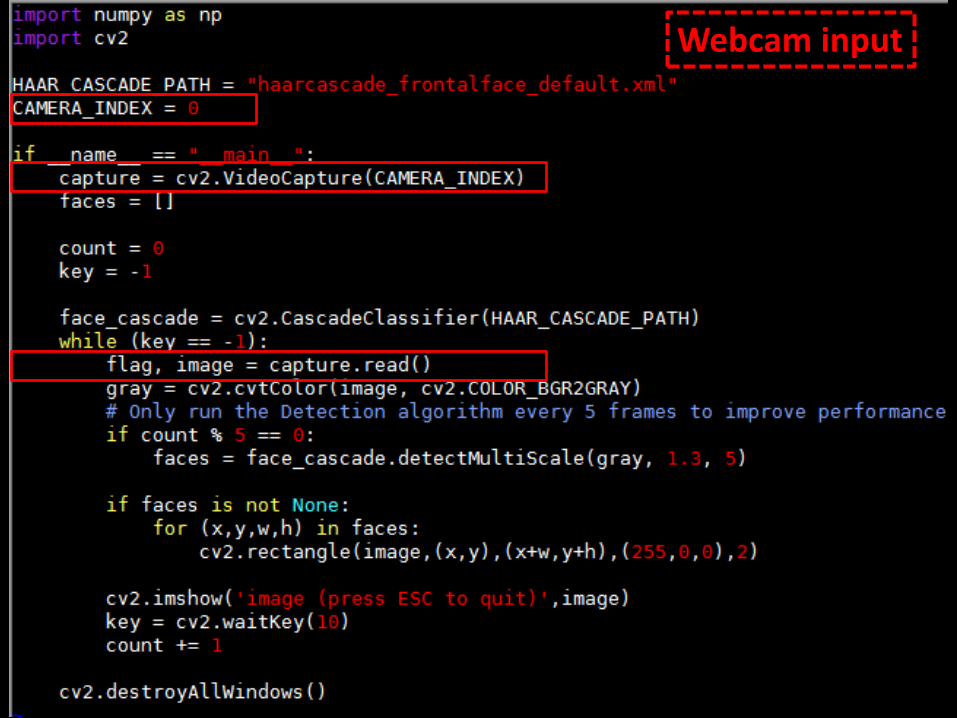
Face detection
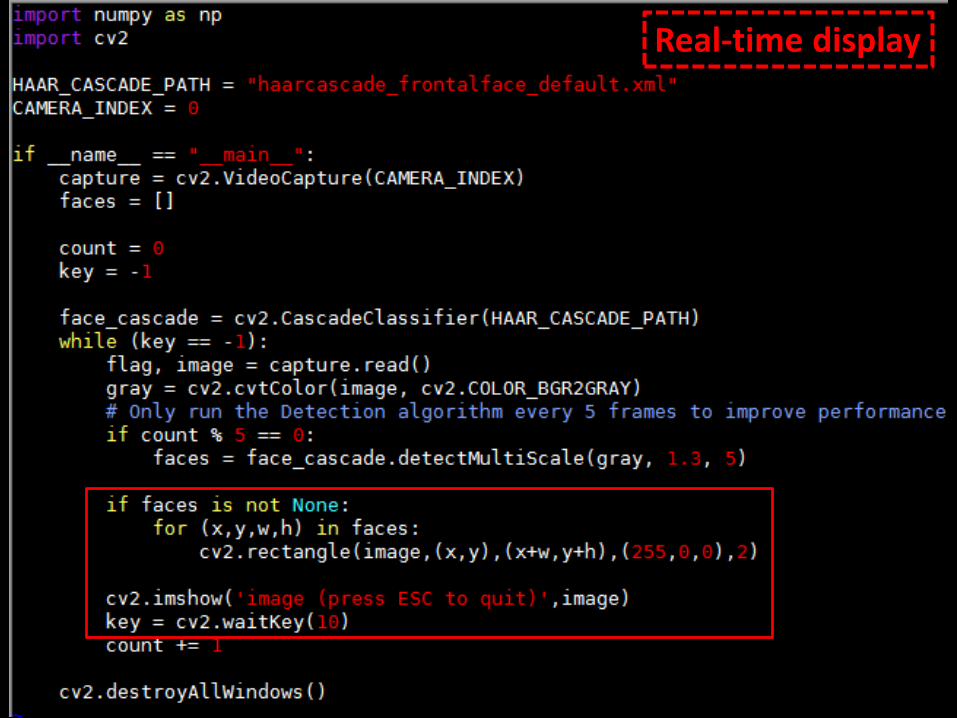
Real-time display
Feature Matching
• Features detection by ORB descriptors
• Use brute-force matching
• Show the best 10 matches
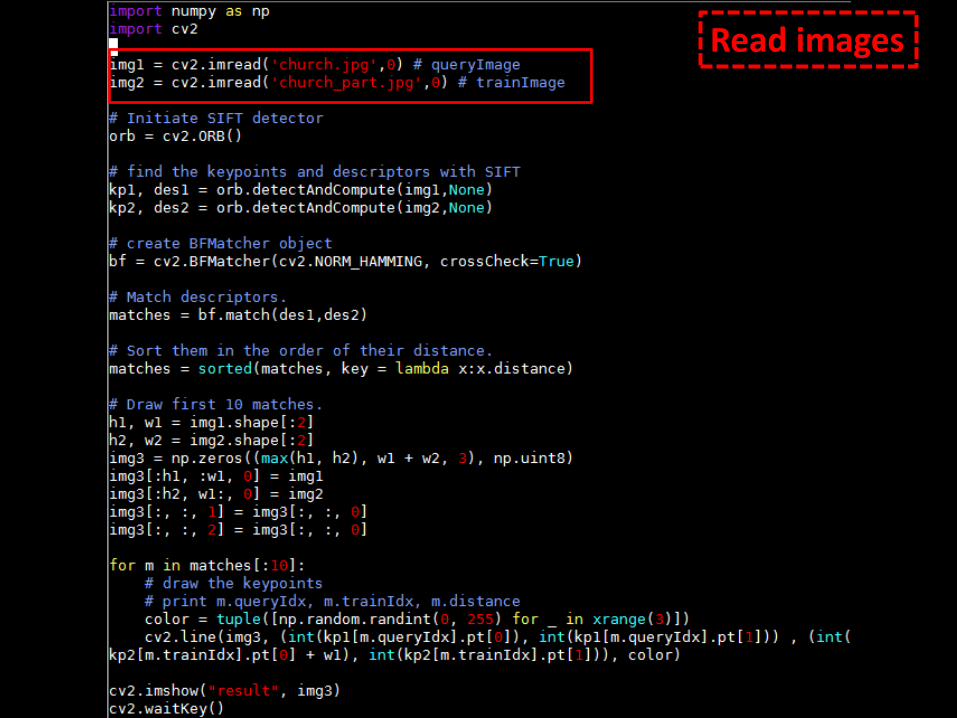
Read images

Feature detection
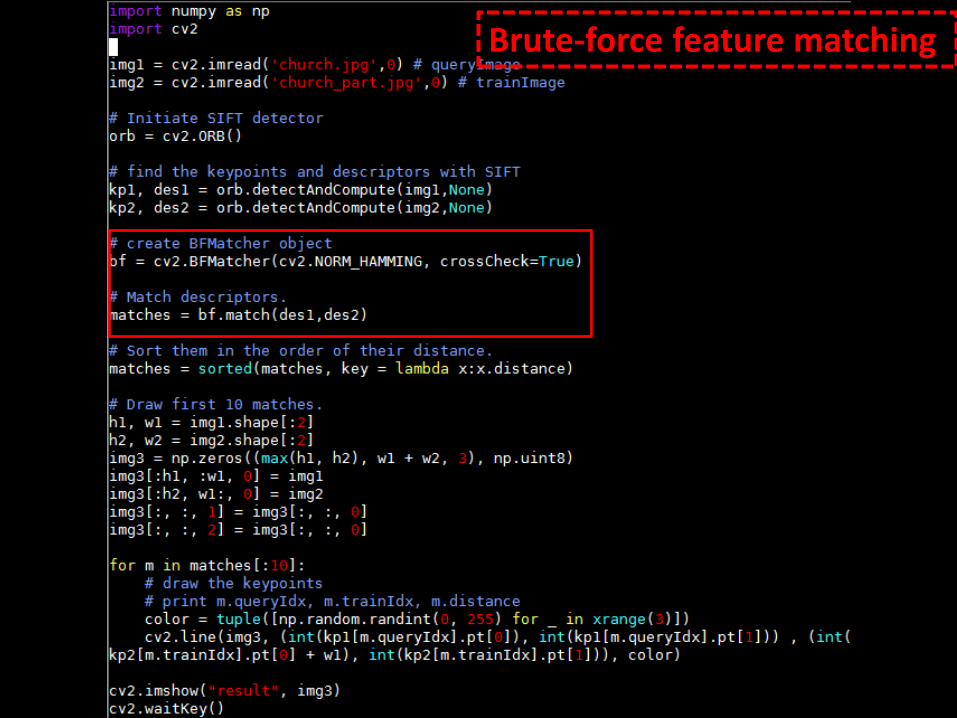
Brute-force feature matching
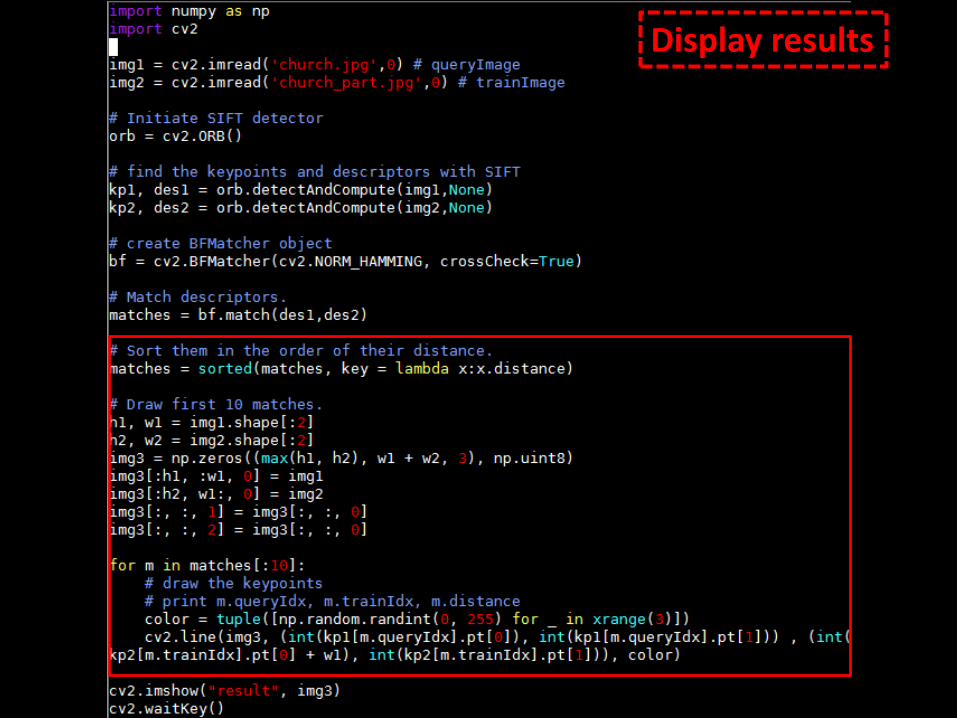
Display results