Embed Size (px)
Citation preview
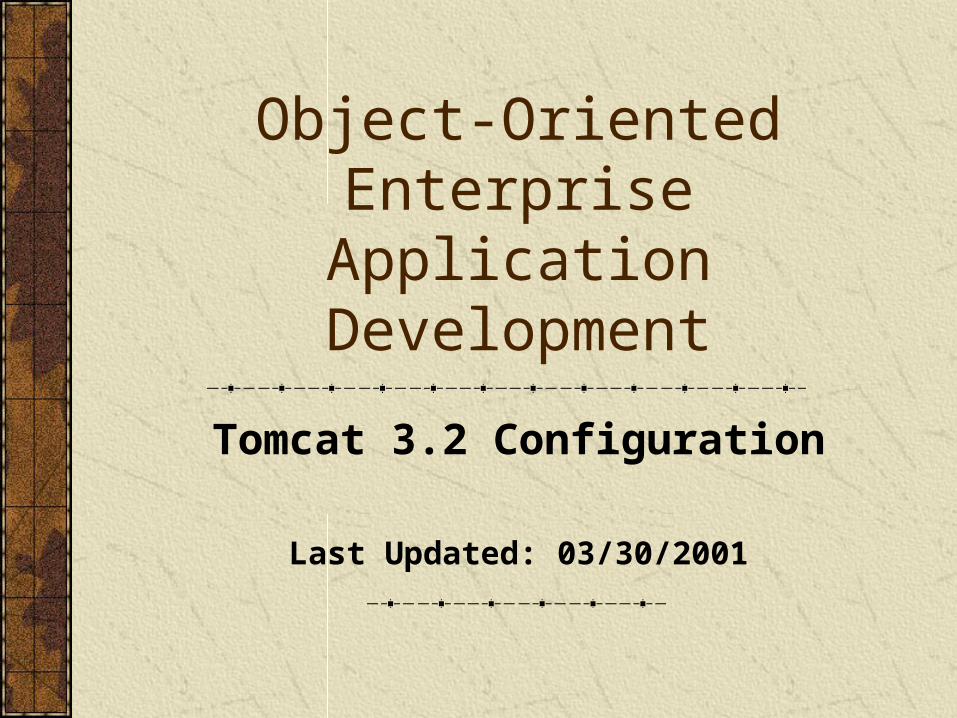
Object-Oriented Enterprise Application Development
Tomcat 3.2 Configuration
Last Updated: 03/30/2001
Topics
This Tomcat overview examines:Creating a new server
Starting and stopping the server
The web.xml file
Installing web components
Running servlets and JavaServer Pages

Application Servers

Functions
A web server is software that provides the ability to reference both static and dynamic web resources.
It is really designed to be a repository for all web-based business logic.
This software abstracts the routine mechanics of executing this components so that we don't have to do it.
Servlet Engines
To execute a servlet or JavaServer Page, you must have an appropriate engine.
The engine is the software that handles requests for a particular type of resource.
A servlet engine handles servlet requests.
A JSP engine handles requests for JavaServer Pages.
Web Connectors
When a web server receives a request for static content such as an HTML document, it handles the request itself.
When a request for dynamic content, such as a servlet, is received, the web server must hand that request off to the web container for processing.
This is the job of the web connector.

Jakarta - Tomcat
Jakarta-Tomcat is the servlet and JavaServer Pages engine available from the Apache Group.http://jakarta.apache.org/tomcat
Tomcat is small, installs quickly, and is free. The current version is Tomcat 3.2.
For this class, Tomcat will be acting as both a web and application server.

Server Configuration

Tomcat Root
The directory where you installed Tomcat is called the <tomcat-root>. For instance:c:\apache\jakarta-tomcat
We'll use the <tomcat-root> as our point of reference for all Tomcat configuration and installation issues.

Document Root
Change to the webapps directory under the <tomcat-root>.
Create a new directory for this class called se452.
This new directory is the <document-root> for the new application.

Directory Structure
Within your <document-root>, create the following directory structure:/WEB-INF
/WEB-INF/classes
/WEB-INF/lib
All directory and file names are case-sensitive.
Server Configuration(1 of 2)
Once you've chosen a <document-root> for your application, you need to make Tomcat aware of it.
If any part of your configuration is incorrect, Tomcat will fail to start.
Tomcat records the problem in the <tomcat root>/logs directory.

Server Configuration(2 of 2)
All tomcat configuration information is stored in <tomcat-root>/conf.
Edit the server.xml file.
Add a new Context entry to the file:<Context path="/se452" docBase="webapps/se452" debug="9" reloadable="true" trusted="false"</Context>

Servlet Installation
Purpose
Before we can execute a servlet, it must be installed under control of the application server. This involves two (2) steps:
Installing the servlet's class files
Modifying the application's web.xml file.

Deploying Servlets(1 of 2)
Servlets are just Java classes.
The servlet .class file is copied to the WEB-INF/classes directory.
If you're using packages, make sure to install them in the WEB-INF/classes directory.

Deploying Servlets(2 of 2)
We need to make Tomcat aware of the fact that a new servlet has been deployed to the server.
This is done through the web.xml file.
The web.xml file contains important configuration information relevant to the application.
Modifying the web.xml File
Once the servlet class files have been installed on the server we need to update the web.xml file.
This file allows us to map "pretty" names that are seen by the application's clients to "ugly" names used internally.
This file uses an XML format to specify the servlet properties.

Modifying web.xml(1 of 2)
We create a new servlet entry in the web.xml file for each servlet:
<servlet><servlet-name> howdy</servlet-name><servlet-class> HelloWorld</servlet-class>
</servlet>

Modifying web.xml(2 of 2)
We next provide a translation from URLs to the servlet name slide:
<servlet-mapping><servlet-name> howdy</servlet-name><url-pattern> /greetings</url-pattern>
</servlet-mapping>

JSP Installation

Purpose
Before we can execute a JSP, it must be installed under control of the application server.
In contrast to servlets, this really only involves a single step:
Install the JSP files anywhere you would install a static HTML document.
Any embedded Java classes referenced by the JSP must exist in the server's CLASSPATH.
Custom Tags(1 of 2)
To deploy a custom tag, you need to install the two components:
Tag library descriptor
Tag class
Each of these elements goes in a separate location.

Custom Tags(2 of 2)
The tag library descriptor can go in the same directory as the HTML and JSP files. This is typically the <document-root>.
The tag class package is installed within the <document-root>/WEB-INF/classes directory.

Changing JavaServer Pages(1 of 3)
Tomcat can generally tell if a JSP has changed and will recompile the class.
However, this process is not guaranteed to be accurate.
You may find yourself making changes to a JSP and those changes not appearing in your output.
Changing JavaServer Pages(2 of 3)
There is a directory called work within your <tomcat-root>. This directory contains all of the translated and compiled JSPs.
Within this directory there is a directory for each <document-root> defined to the Tomcat server.

Changing JavaServer Pages(3 of 3)
Make sure that Tomcat has been stopped.
Change to the directory that holds your compiled JSPs.
Delete any of the .java or .class files as needed.
Restart Tomcat.

Tomcat Administration
Bouncing the Server
Whenever you make configuration changes to Tomcat you should "bounce" the server.
"Bouncing" is a term we use to describe the process of stopping and then immediately restarting a server.
For tomcat this means issuing the shutdown and startup commands located in the <tomcat root>/bin directory.

Executing Servlets
Executing a Servlet(1 of 2)
To execute a servlet, you need to issue a request to Tomcat via a client.
The most obvious client to use is a web browser.
By default Tomcat listens for requests on port 8080. This value can be changed, but for this class 8080 should be fine.

Executing a Servlet(2 of 2)
To execute the HelloWorld servlet we just entered into the web.xml file, use the following URI:http://localhost:8080/se452/greetings
http://localhost:8080/se452/servlet/howdy
http://localhost:8080/se452/servlet/HelloWorld
This works because of the translations established in the web.xml file.

Initialization Parameters

Purpose
Sometimes we want a servlet to initialize itself when it's first loaded by the servlet engine.
For instance we might want to load some configuration data before allowing the servlet to handle client requests.
This approach can be useful for testing your code without writing HTML pages or complex URLs.
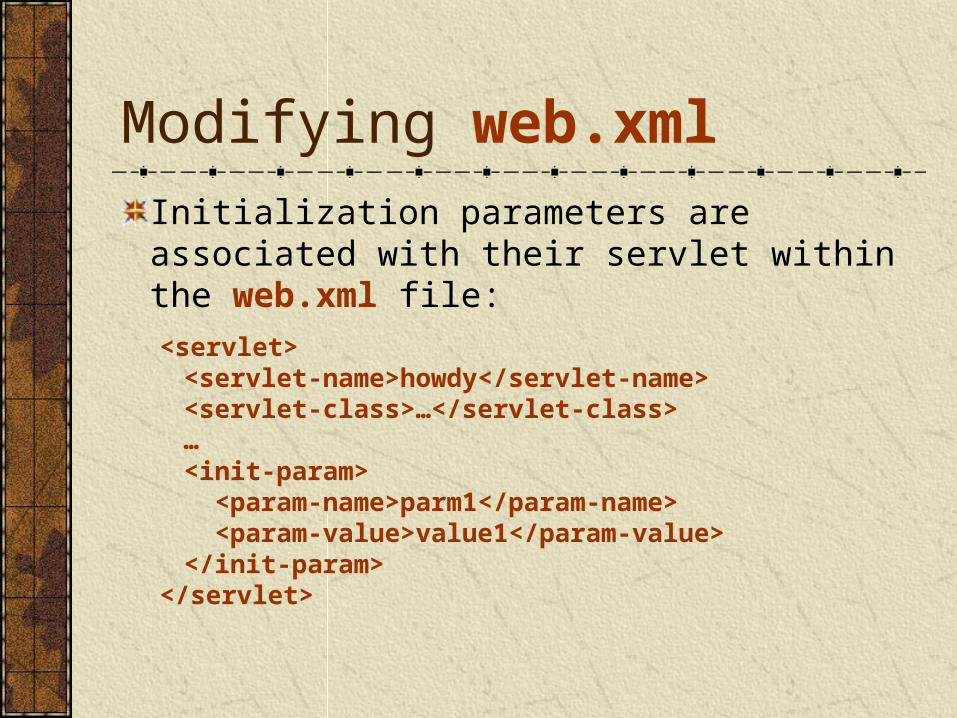
Modifying web.xml
Initialization parameters are associated with their servlet within the web.xml file:
<servlet><servlet-name>howdy</servlet-name><servlet-class>…</servlet-class>…<init-param> <param-name>parm1</param-name> <param-value>value1</param-value></init-param>
</servlet>

Changing Initialization Parameters
If you change the name and/or value of an initialization parameter you'll need to bounce the server.
Bouncing the server forces it to re-load the server.xml and web.xml files.

Executing JSPs

Executing a JSP(1 of 2)
To execute a JSP, you need to issue a request to Tomcat via a client.
The most obvious client to use is a web browser.
By default Tomcat listens for requests on port 8080. This value can be changed, but for this class 8080 should be fine.

Executing a JSP(2 of 2)
To execute the HelloWorld JSP, use the following URI:http://localhost:8080/se452/HelloWorld.jsp
Unlike servlets, there are no intermediate translations from logical names to physical JSP files.

Resources
Tomcat DocumentationYou should plan on spending some time reading the configuration and user's guides. Most of the problems that you'll experience can have their solutions traced directly back to one of these two guides.


![cert.razi.ac.ir · AJP Connector 13 IAJP . Ghostcat TomcatA]P Connector .UEÀ2JUiO.O.O.O:8009 2020/01/03 i, ,Chaitln Tech _ Apache Tomcat b Ghostcat Tomcat 9 x 3 Tomcat 8 .x , Tomcat](https://img.pdfslide.us/doc/110x75/6038df2da57b260b760ad9b8/certraziacir-ajp-connector-13-iajp-ghostcat-tomcatap-connector-ue2juioooo8009.jpg)