Embed Size (px)
Citation preview

NODE.JS WEB DEV HANDS-ON LAB – TRAINING BY TEKRS
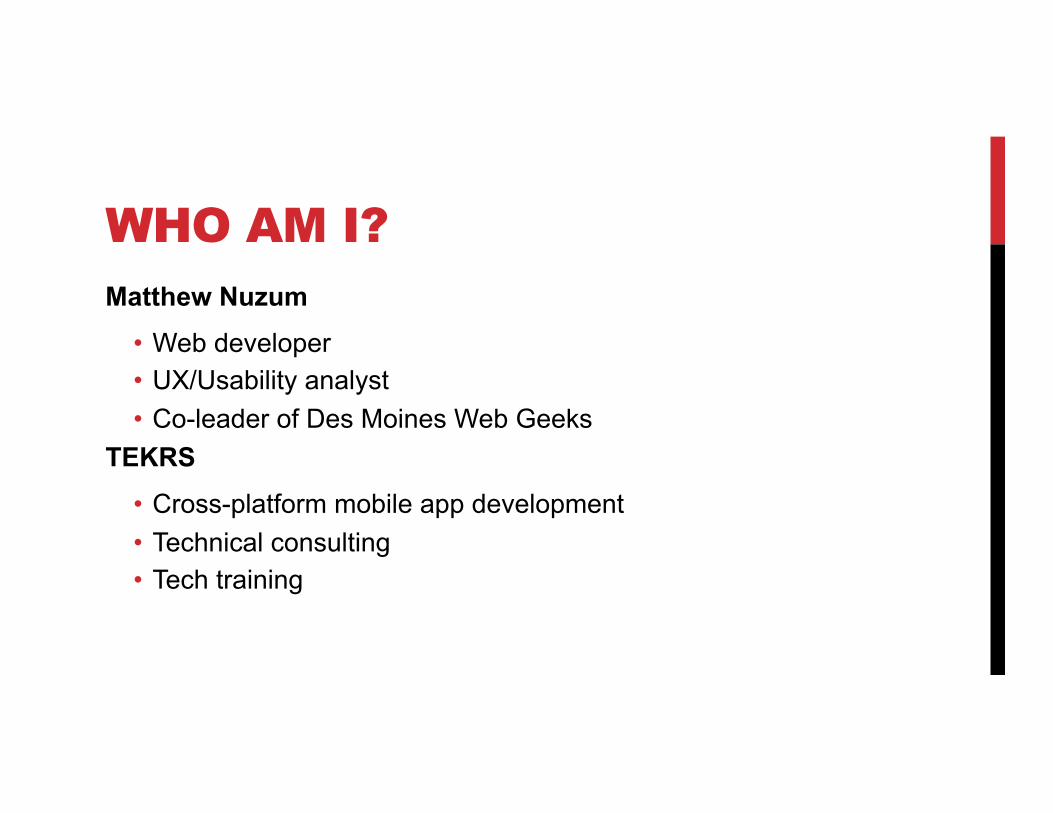
WHO AM I? Matthew Nuzum
• Web developer • UX/Usability analyst • Co-leader of Des Moines Web Geeks
TEKRS
• Cross-platform mobile app development • Technical consulting • Tech training
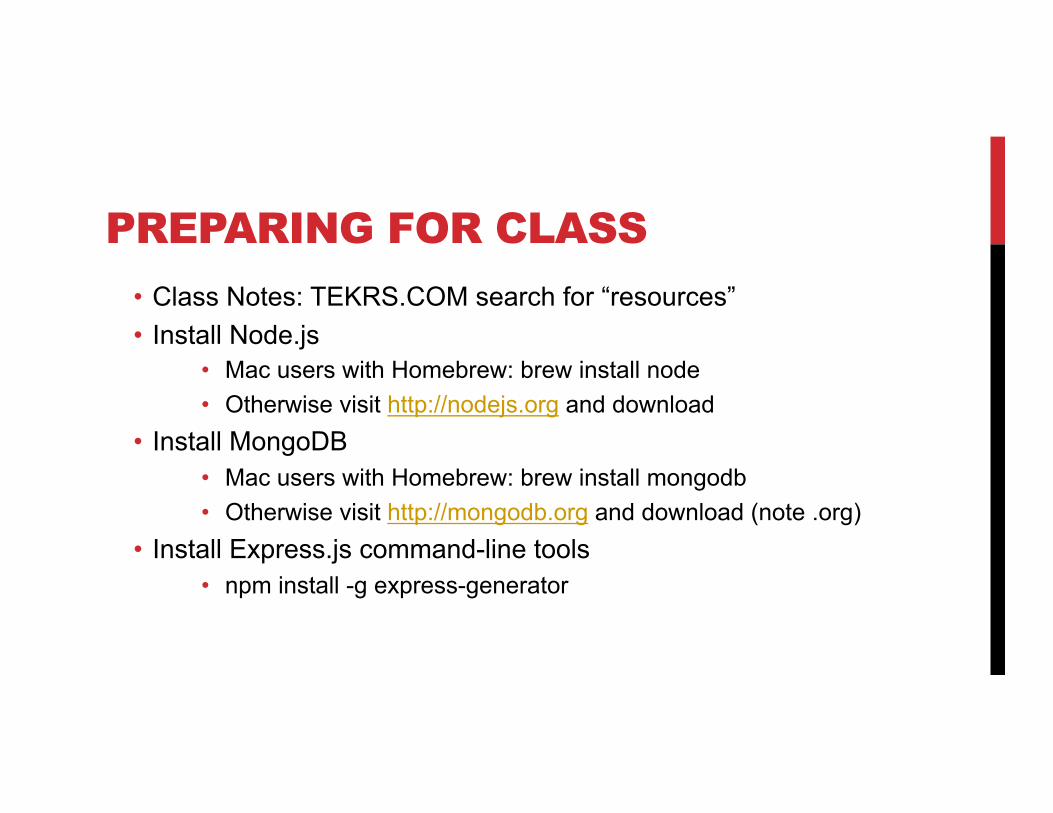
PREPARING FOR CLASS
• Class Notes: TEKRS.COM search for “resources” • Install Node.js
• Mac users with Homebrew: brew install node • Otherwise visit http://nodejs.org and download
• Install MongoDB • Mac users with Homebrew: brew install mongodb • Otherwise visit http://mongodb.org and download (note .org)
• Install Express.js command-line tools • npm install -g express-generator
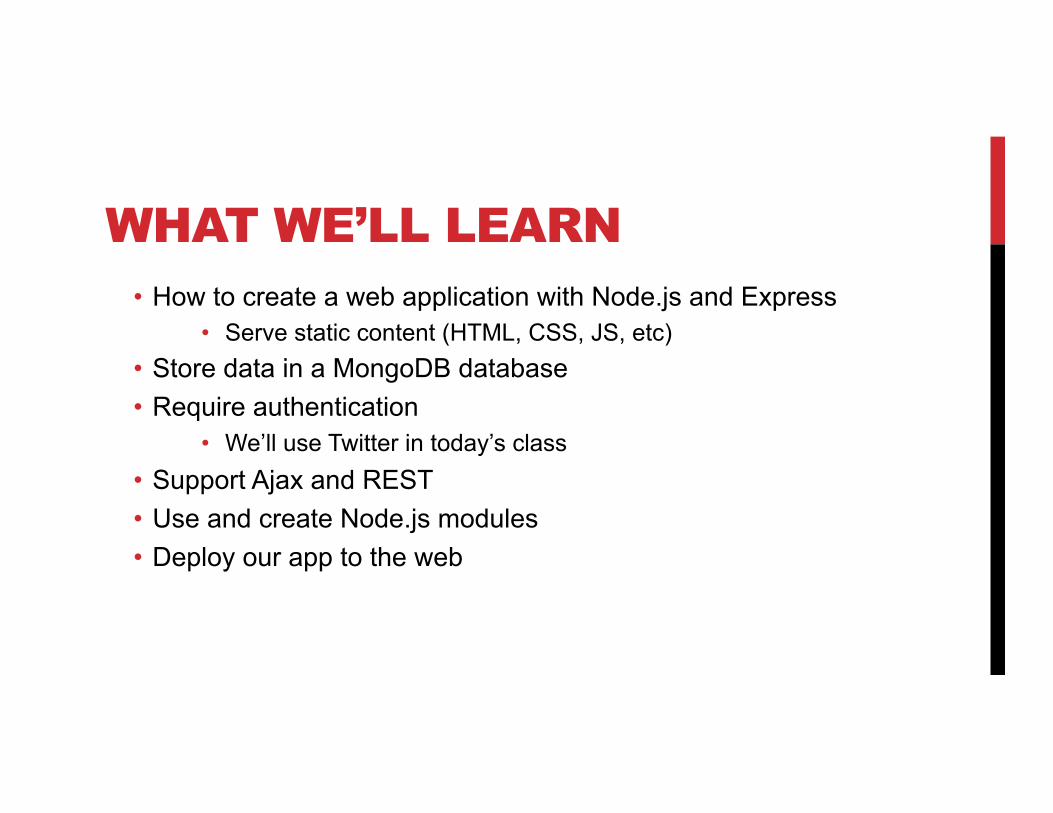
WHAT WE’LL LEARN • How to create a web application with Node.js and Express
• Serve static content (HTML, CSS, JS, etc) • Store data in a MongoDB database • Require authentication
• We’ll use Twitter in today’s class • Support Ajax and REST • Use and create Node.js modules • Deploy our app to the web
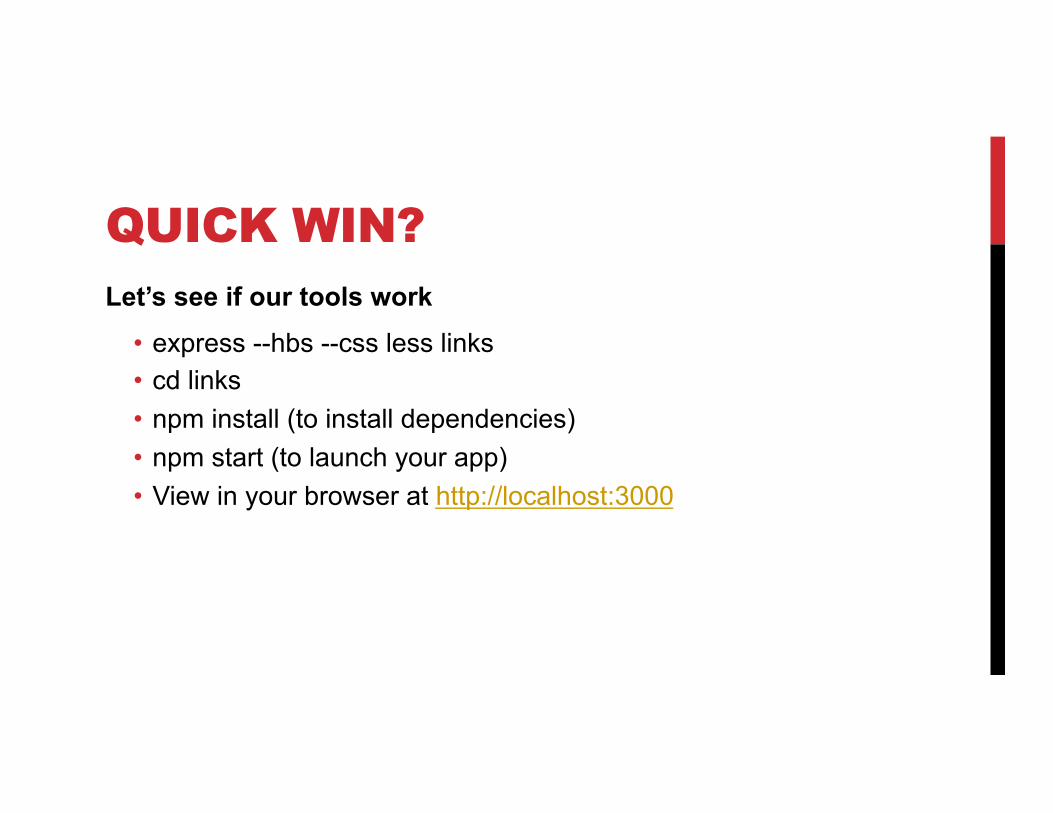
QUICK WIN? Let’s see if our tools work
• express --hbs --css less links • cd links • npm install (to install dependencies) • npm start (to launch your app) • View in your browser at http://localhost:3000
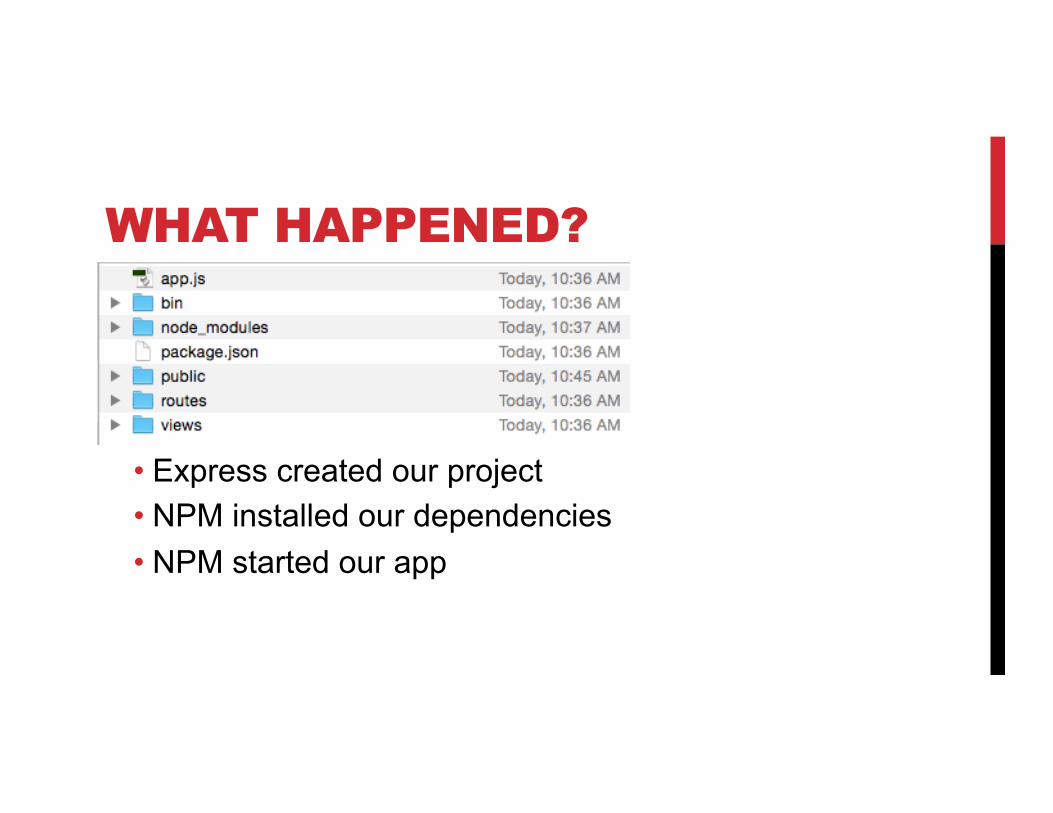
WHAT HAPPENED?
• Express created our project • NPM installed our dependencies • NPM started our app
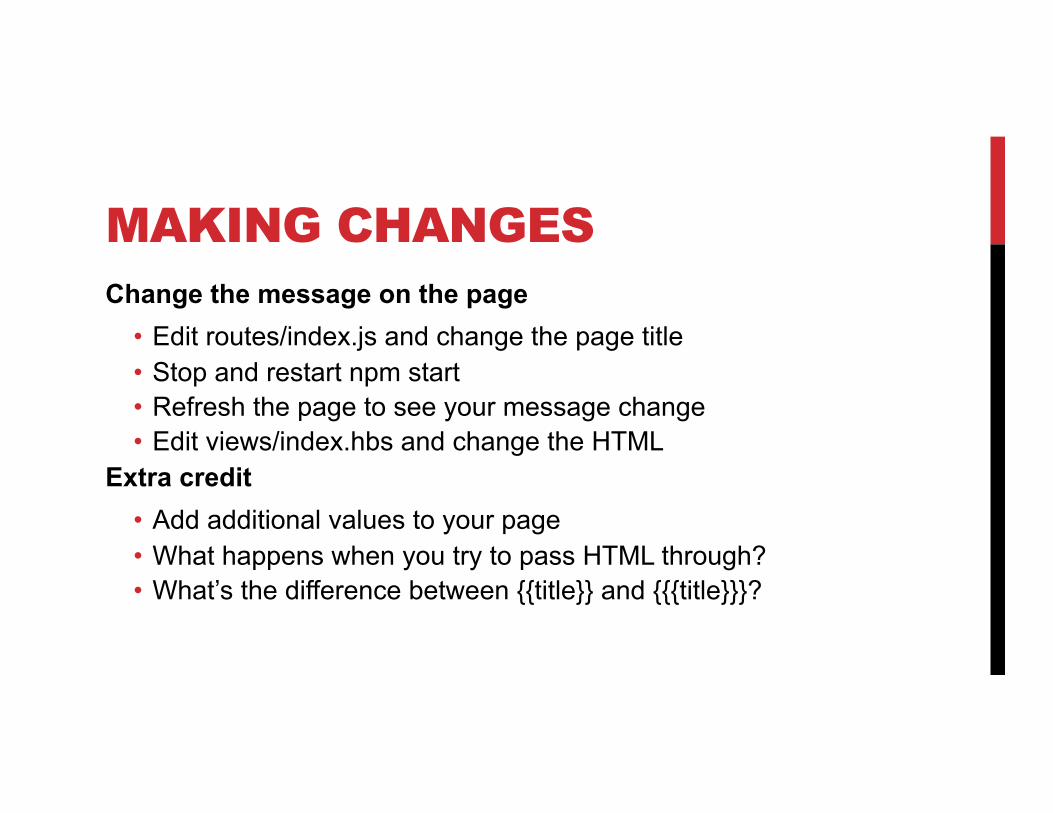
MAKING CHANGES Change the message on the page
• Edit routes/index.js and change the page title • Stop and restart npm start • Refresh the page to see your message change • Edit views/index.hbs and change the HTML
Extra credit • Add additional values to your page • What happens when you try to pass HTML through? • What’s the difference between {{title}} and {{{title}}}?
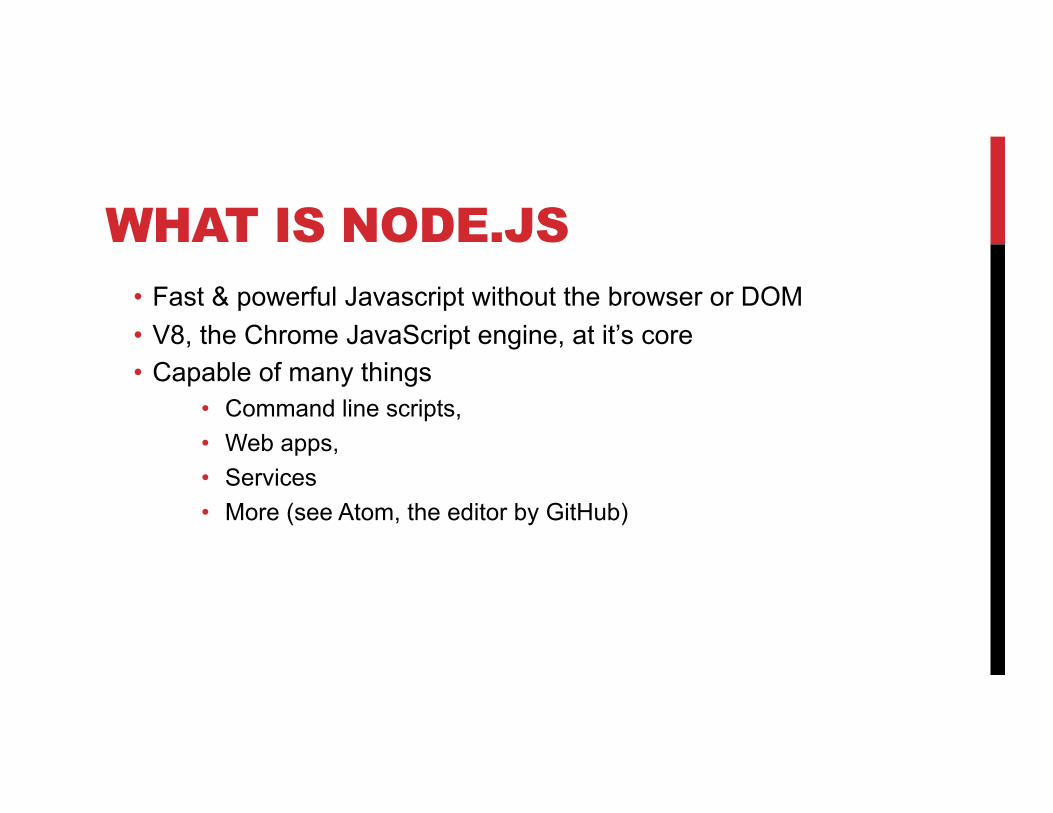
WHAT IS NODE.JS • Fast & powerful Javascript without the browser or DOM • V8, the Chrome JavaScript engine, at it’s core • Capable of many things
• Command line scripts, • Web apps, • Services • More (see Atom, the editor by GitHub)
WHAT MAKES NODE.JS SPECIAL?
• It’s JavaScript – you can use the same language for client and server
• A lot of code can be used in the browser or with Node • Event driven and non-blocking allows it to handle many
requests efficiently • Includes a massive ecosystem of useful add-on modules
WHAT IS NPM • A major contributor to Node.js’s success • The package manager for Node.js • A little weird at first
• Packages install into the node_modules folder inside the current folder
• Unless installed globally, • But then you can’t require() them
• A tool to help you work with your node.js apps
NPM WON’T DO THIS • There is no global location for require()able modules • This is a good thing
SERVING STATIC FILES
• We have a web server • Everything in public gets served exactly as-is
• Except for .less files which are compiled automatically • Kick start our app with static files
• Delete your public folder • Download the project zip file • Unzip to recreate a new public folder
• Visit http://localhost:3000/example.html
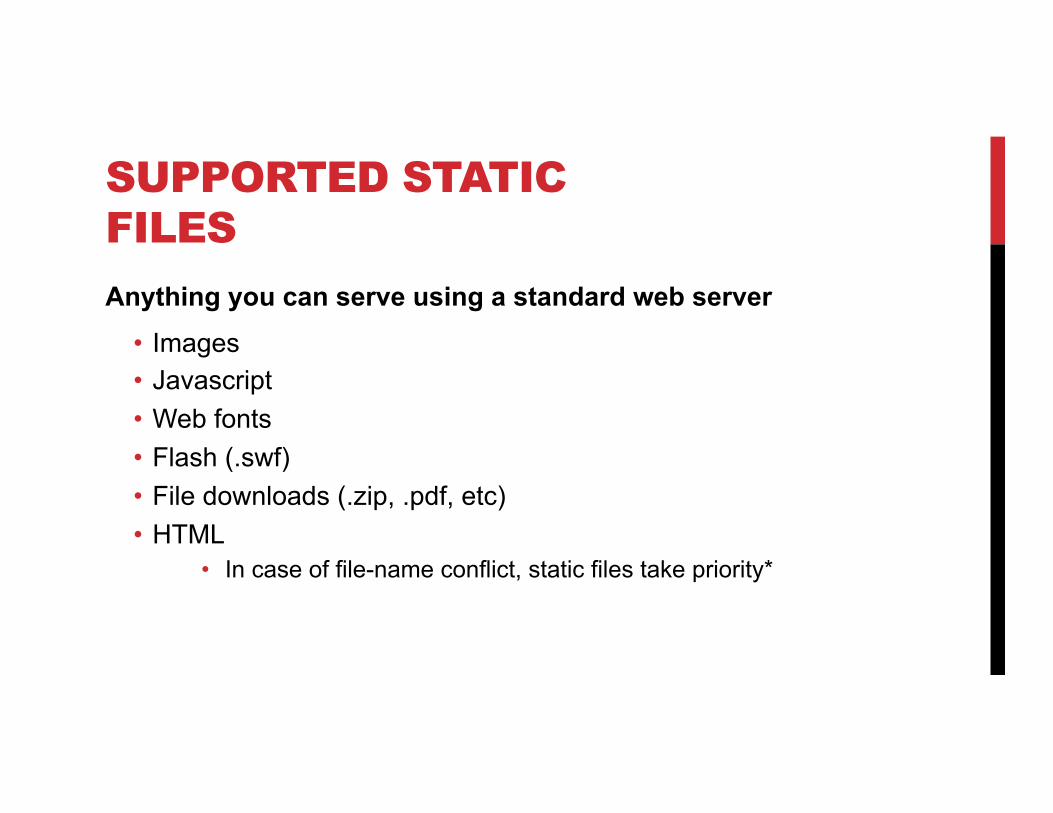
SUPPORTED STATIC FILES
Anything you can serve using a standard web server • Images • Javascript • Web fonts • Flash (.swf) • File downloads (.zip, .pdf, etc) • HTML
• In case of file-name conflict, static files take priority*
STATIC FILES IN PRODUCTION
Normally you’ll serve static files in production with a traditional web server
• This may cause slightly different behavior between production and development
Many apps serve static HTML with client-side tools (Angular.js/Backbone.js)
• Node.js is used to serve RESTful data to the client

OUR APP • View details about a link • Log-in via Twitter • View all links you’ve added • View one link • Add a link • Delete a link • Deployed to Heroku – cloud hosting, free for light-duty apps
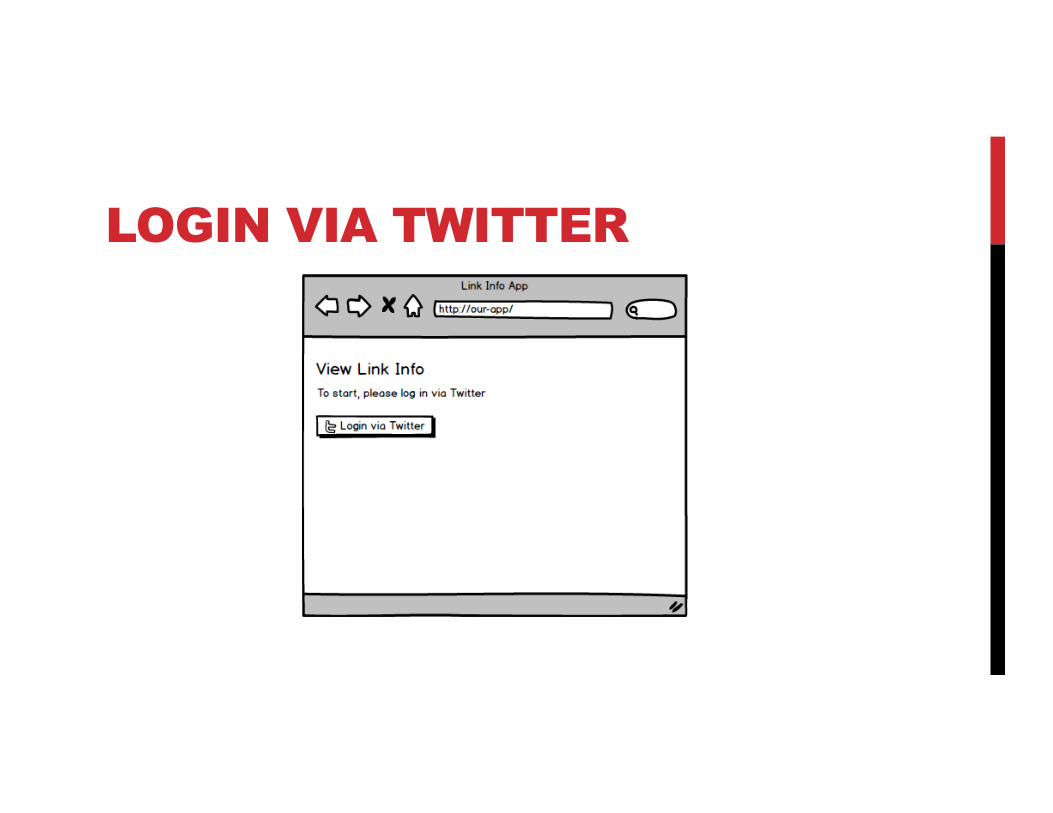
LOGIN VIA TWITTER
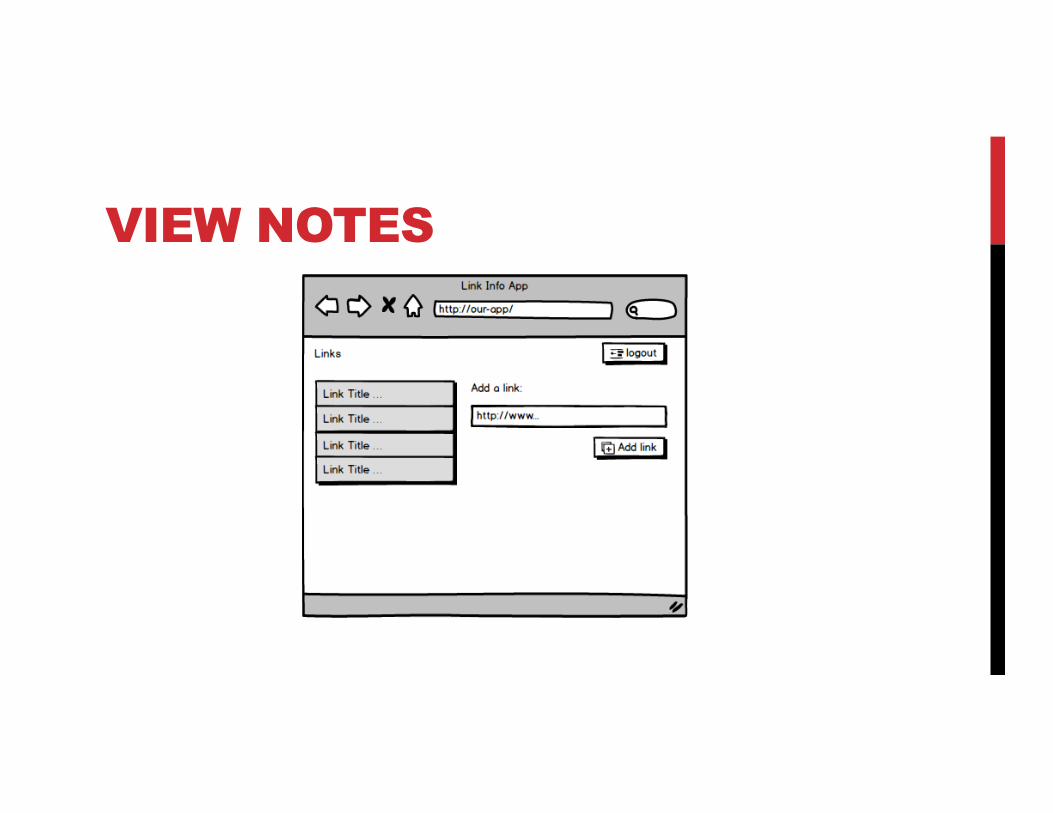
VIEW NOTES
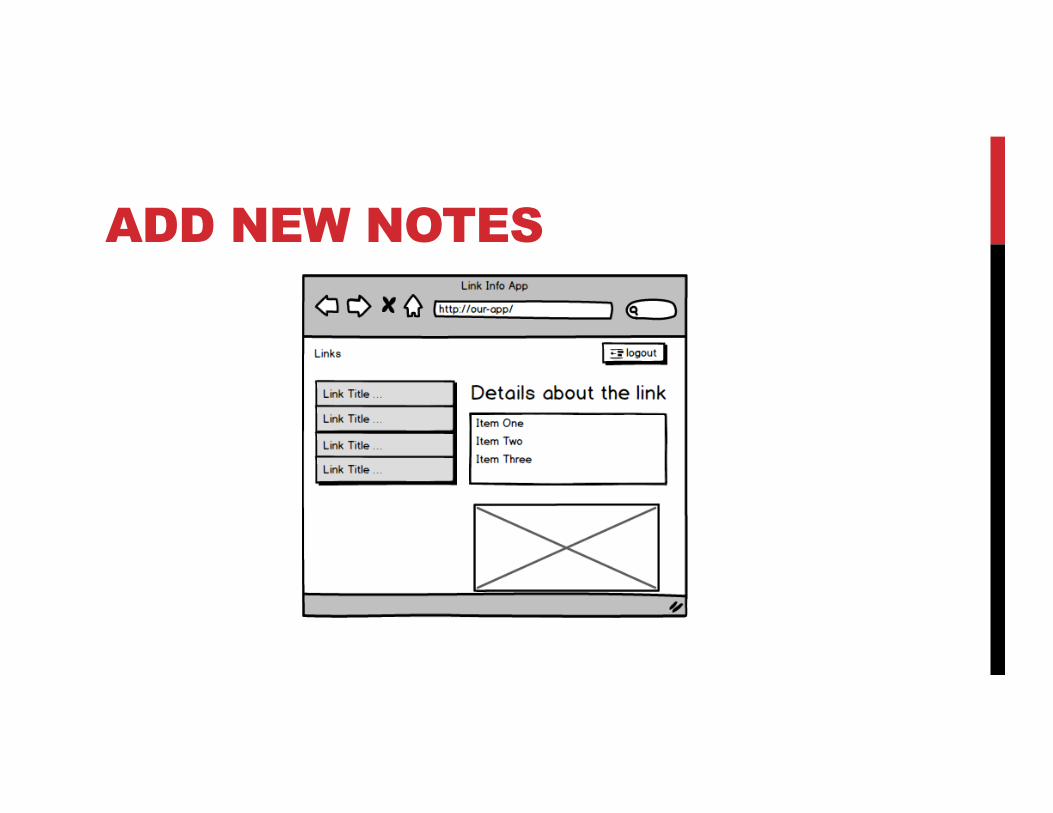
ADD NEW NOTES
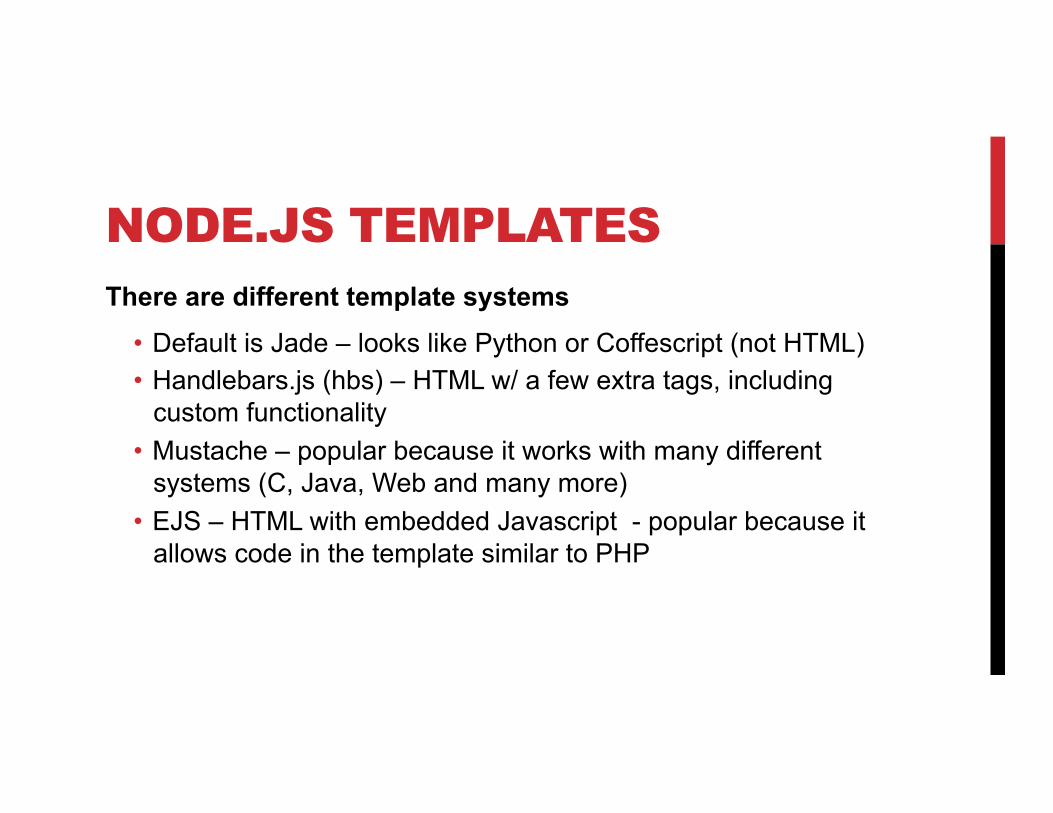
NODE.JS TEMPLATES There are different template systems
• Default is Jade – looks like Python or Coffescript (not HTML) • Handlebars.js (hbs) – HTML w/ a few extra tags, including
custom functionality • Mustache – popular because it works with many different
systems (C, Java, Web and many more) • EJS – HTML with embedded Javascript - popular because it
allows code in the template similar to PHP
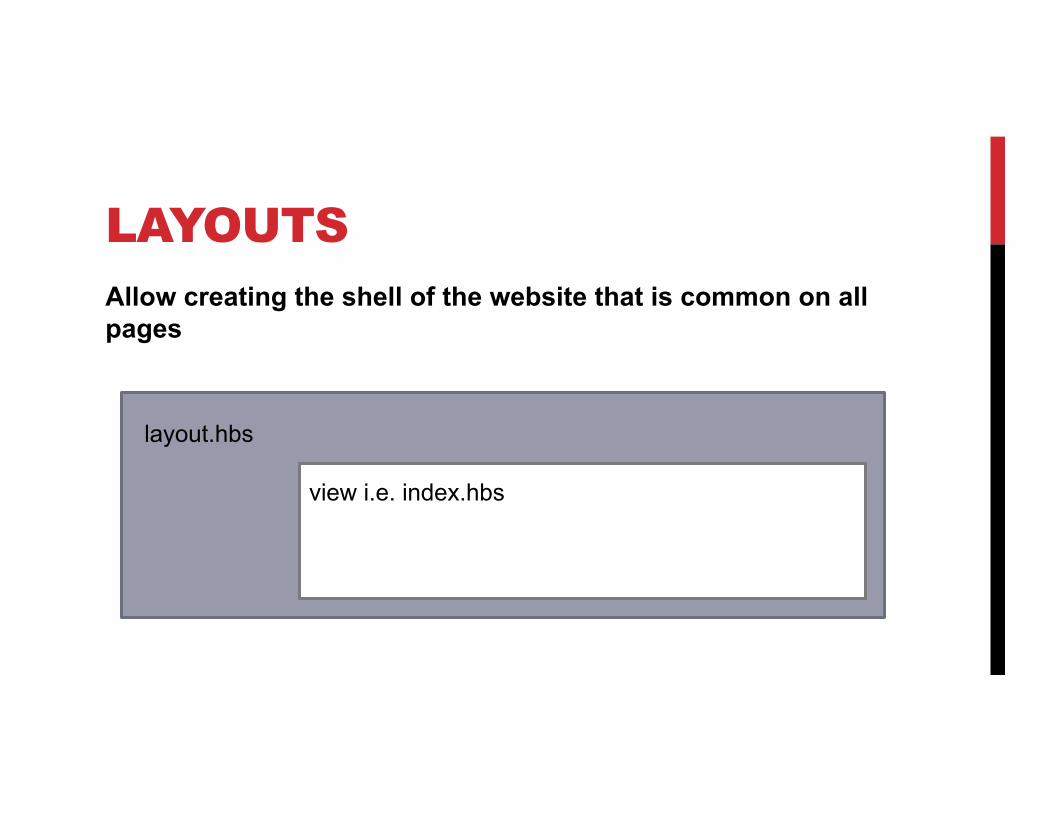
LAYOUTS Allow creating the shell of the website that is common on all pages
layout.hbs
view i.e. index.hbs
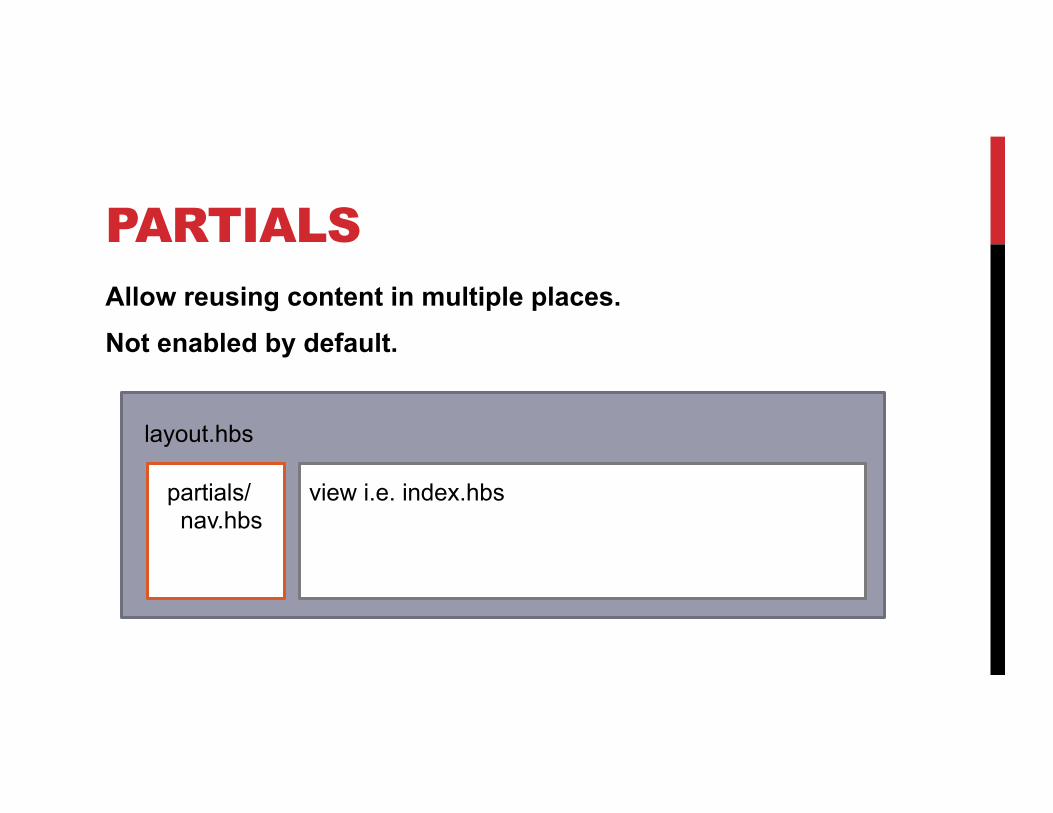
PARTIALS Allow reusing content in multiple places. Not enabled by default.
layout.hbs
view i.e. index.hbs partials/ nav.hbs

CUSTOMIZING HANDLEBARS
Enable partials support • Edit app.js
New blank line after “bodyParser” (line 6)
var hbs = require('hbs');
New blank line after line 16 hbs.registerPartials(__dirname + '/views/partials');
Restart npm start
4
5

TEST PARTIALS Create new folder
• views/partials Create new file partials/headline.hbs
• <h2>Hello World</h2> Edit index.hbs and add
• {{>headline}} Extra credit
• Do {{variables}} work differently in partials?
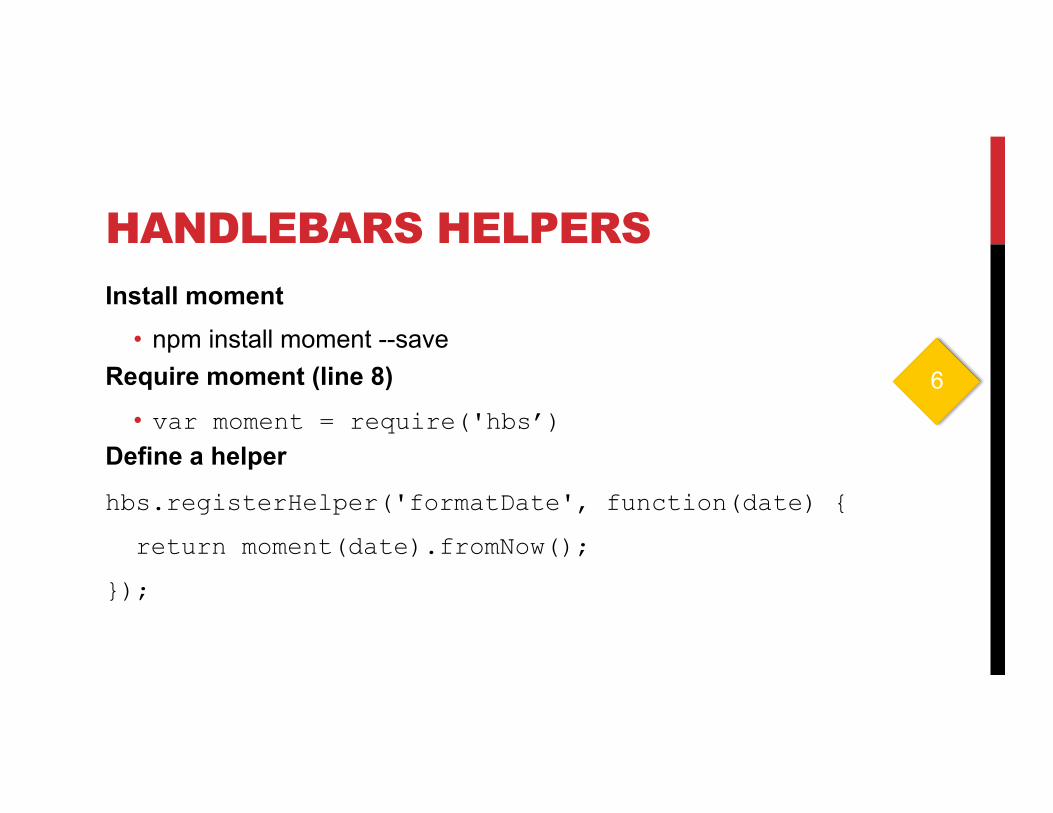
HANDLEBARS HELPERS
Install moment • npm install moment --save
Require moment (line 8) • var moment = require('hbs’)
Define a helper
hbs.registerHelper('formatDate', function(date) {
return moment(date).fromNow();
});
6
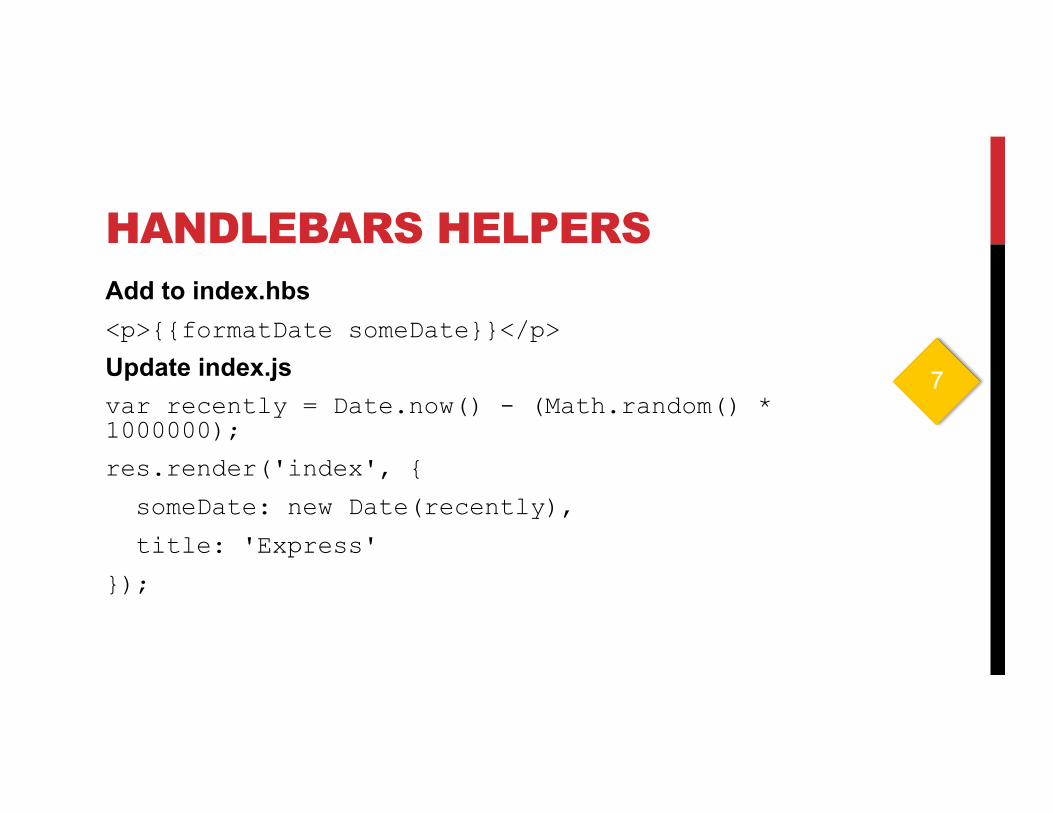
HANDLEBARS HELPERS Add to index.hbs <p>{{formatDate someDate}}</p>
Update index.js var recently = Date.now() - (Math.random() * 1000000);
res.render('index', {
someDate: new Date(recently),
title: 'Express'
});
7
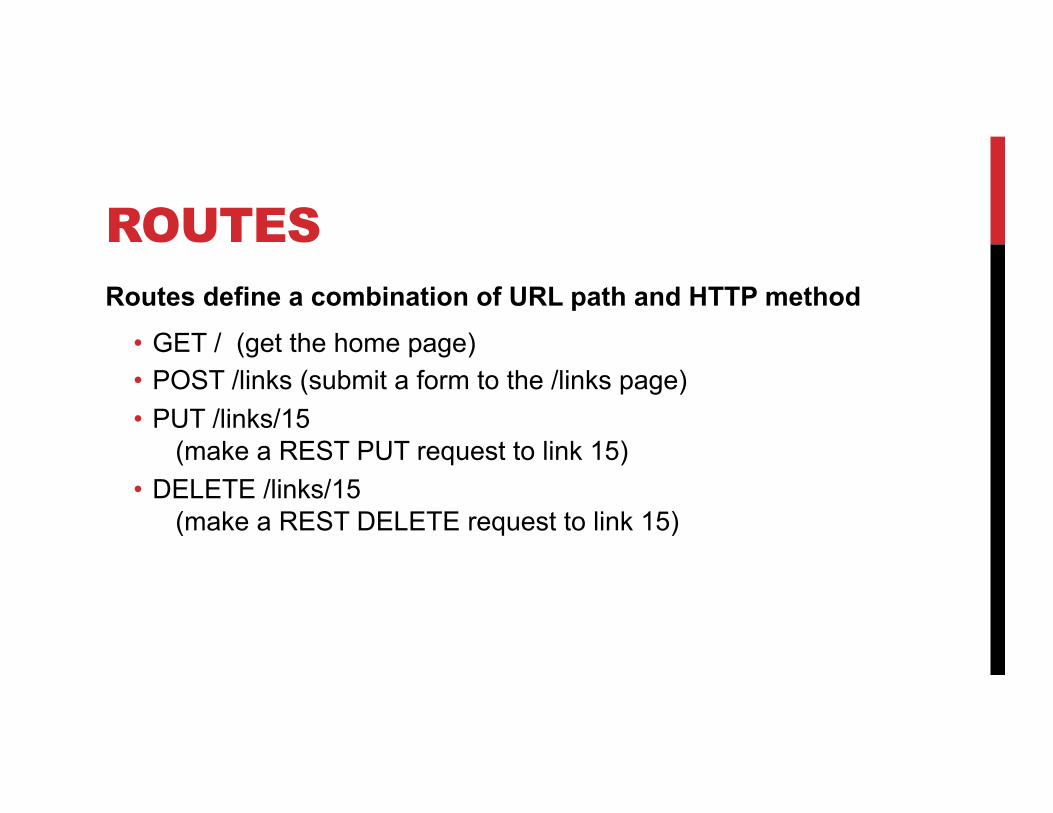
ROUTES Routes define a combination of URL path and HTTP method
• GET / (get the home page) • POST /links (submit a form to the /links page) • PUT /links/15
(make a REST PUT request to link 15) • DELETE /links/15
(make a REST DELETE request to link 15)
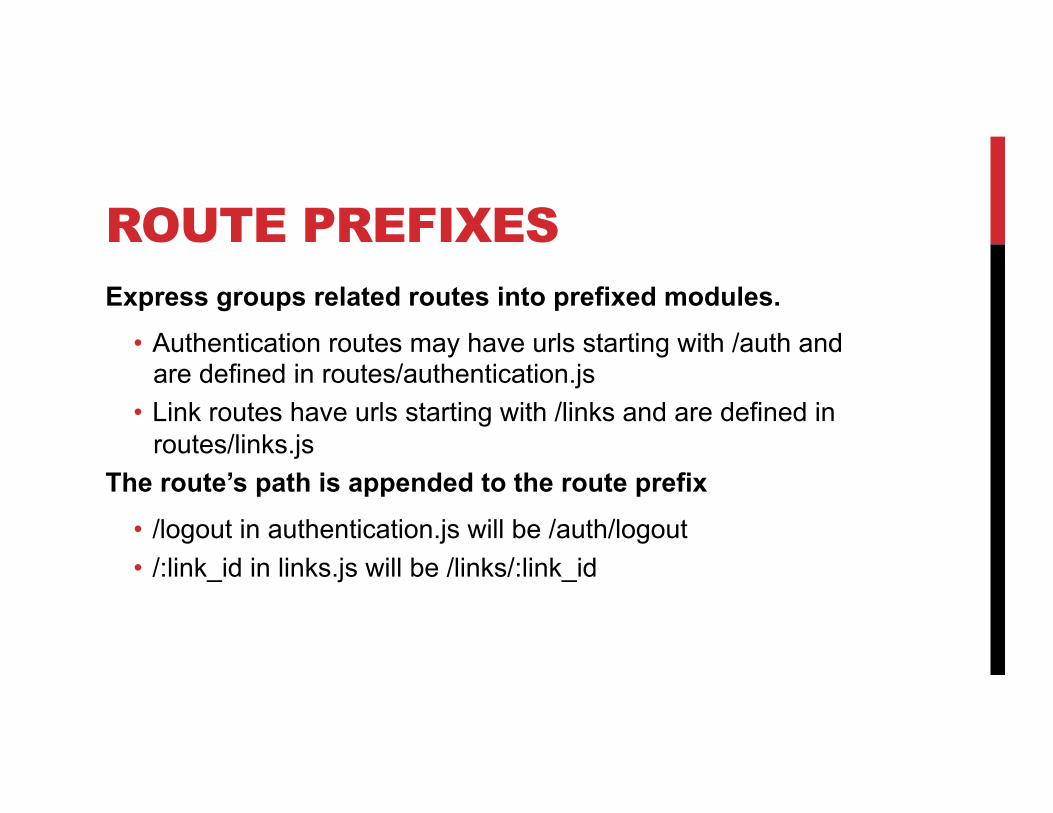
ROUTE PREFIXES Express groups related routes into prefixed modules.
• Authentication routes may have urls starting with /auth and are defined in routes/authentication.js
• Link routes have urls starting with /links and are defined in routes/links.js
The route’s path is appended to the route prefix
• /logout in authentication.js will be /auth/logout • /:link_id in links.js will be /links/:link_id
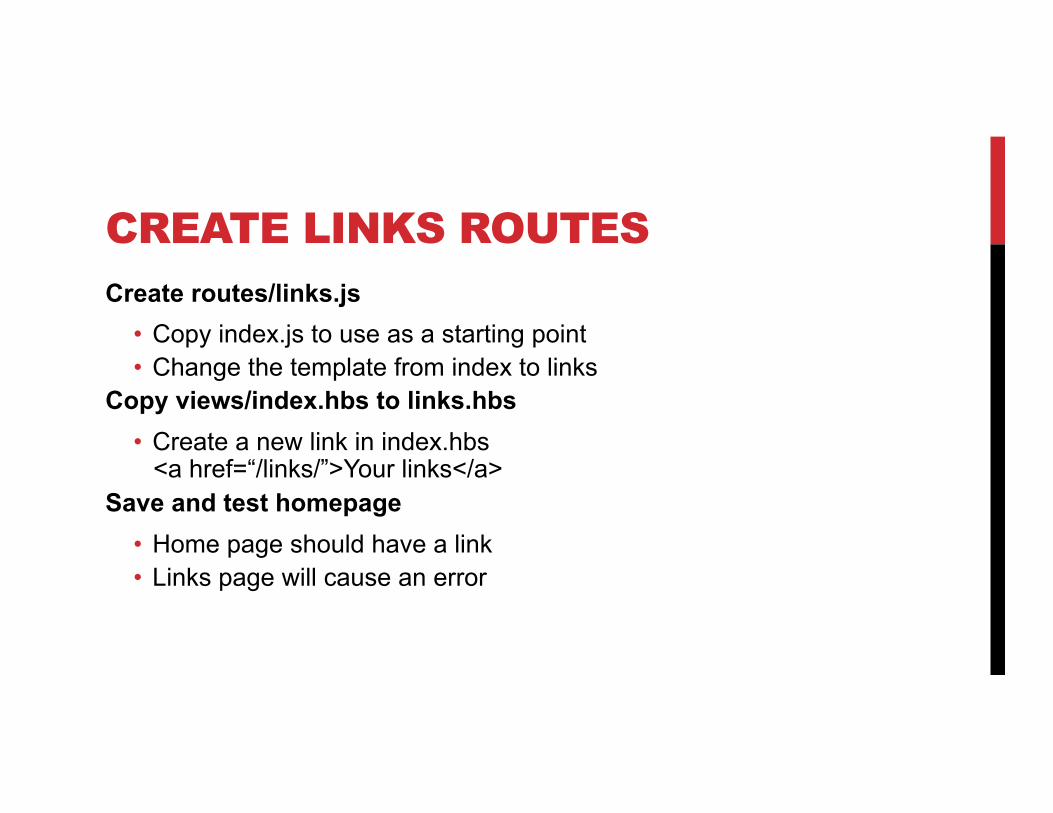
CREATE LINKS ROUTES Create routes/links.js
• Copy index.js to use as a starting point • Change the template from index to links
Copy views/index.hbs to links.hbs • Create a new link in index.hbs
<a href=“/links/”>Your links</a> Save and test homepage
• Home page should have a link • Links page will cause an error
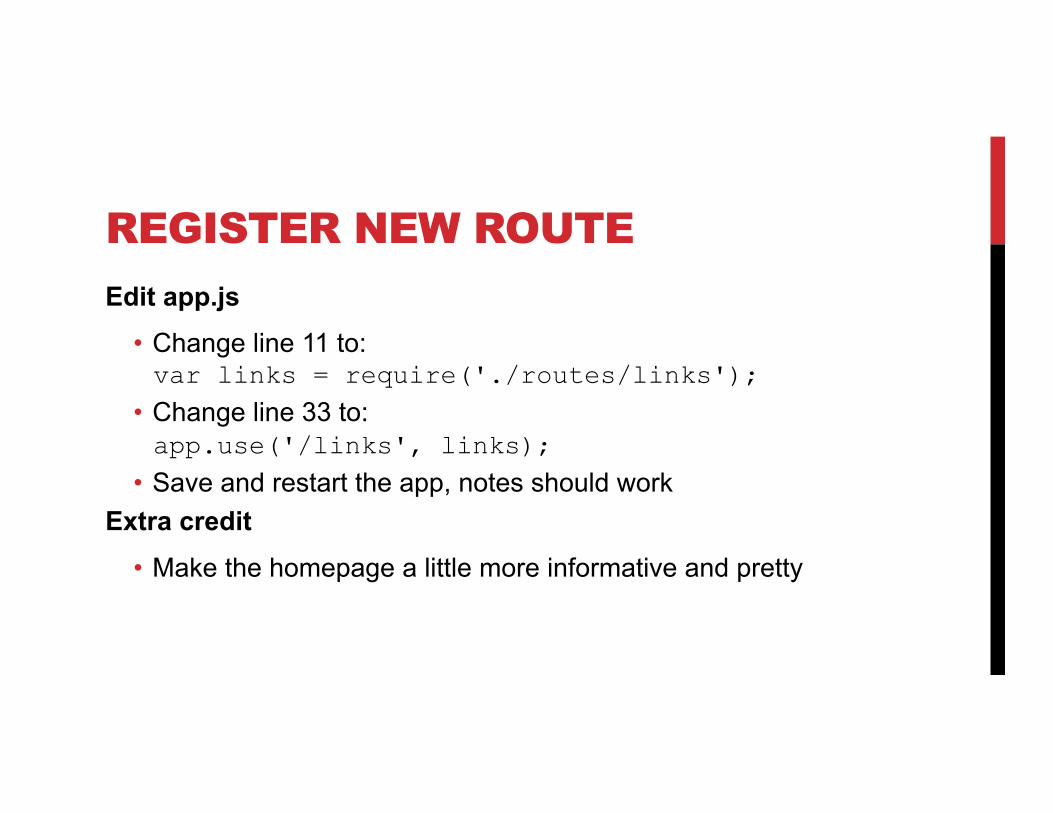
REGISTER NEW ROUTE
Edit app.js • Change line 11 to: var links = require('./routes/links');
• Change line 33 to: app.use('/links', links);
• Save and restart the app, notes should work Extra credit
• Make the homepage a little more informative and pretty
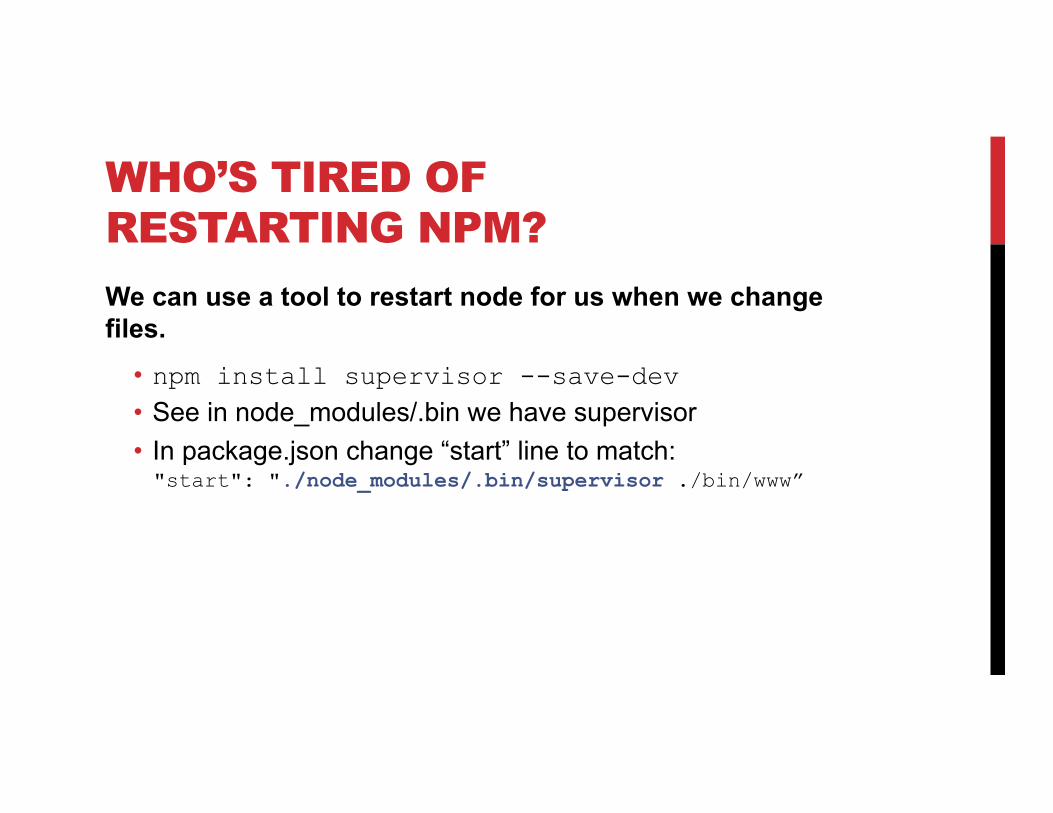
WHO’S TIRED OF RESTARTING NPM?
We can use a tool to restart node for us when we change files.
• npm install supervisor --save-dev • See in node_modules/.bin we have supervisor • In package.json change “start” line to match: "start": "./node_modules/.bin/supervisor ./bin/www”
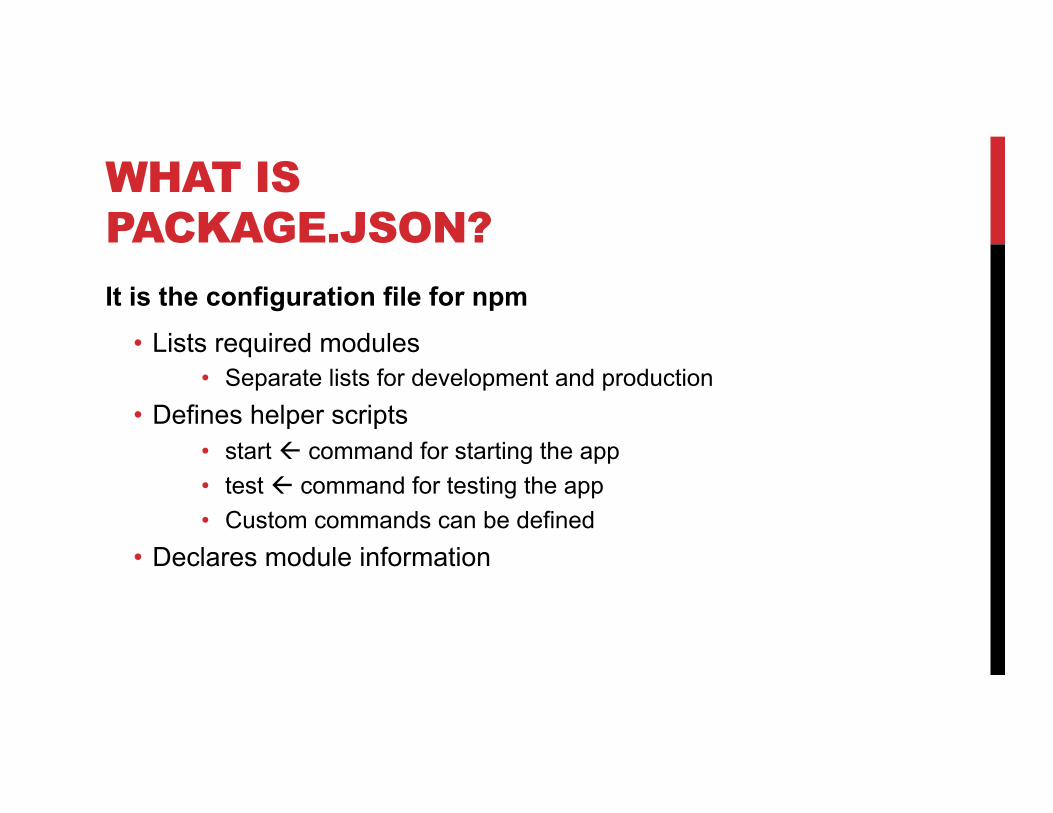
WHAT IS PACKAGE.JSON?
It is the configuration file for npm • Lists required modules
• Separate lists for development and production • Defines helper scripts
• start ß command for starting the app • test ß command for testing the app • Custom commands can be defined
• Declares module information
MODULE VERSIONS Required modules have a version number
• Can be an exact version number, i.e. "supervisor": “0.6.0”
• Can declare a range of versions, i.e. "less-middleware": "1.0.x” or “~1.0.0” "less-middleware": "1.x” or “^1.0.0”
• Can use wild cards "supervisor": ”*”
• More complex rules are possible, see docs for npm semver
WHAT MODULES ARE AVAILABLE
www.npmjs.com is the central source for Node.js modules • Search for anything, there’s probably a module to help with
that • See lists of
• Most installed modules • Recently updated modules • Most depended on modules
• Review the module details page for mongoose Also check out github for modules
MONGODB MongoDB is a document based database, not a relational database
• No SQL • No joins (though you can fake it) • Structure is not strictly enforced • Top priority is dealing with large datasets quickly
USING MONGO & NODE
Two options available • MongoDB native driver – gives you a minimal interface over
MongoDB • Mongoose.js object mapper – simplifies the way you access
data We’ll use Mongoose in this class. Mongoose uses the native MongoDB driver internally.
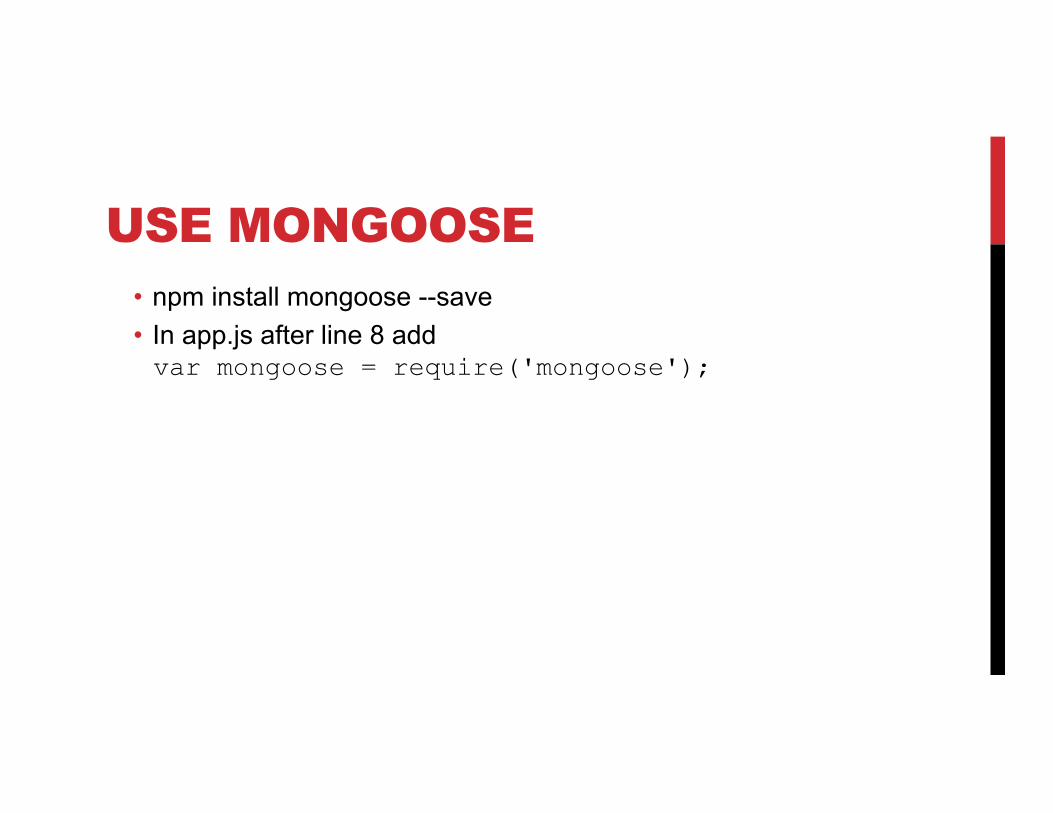
USE MONGOOSE • npm install mongoose --save • In app.js after line 8 add var mongoose = require('mongoose');

CONNECT TO MONGODB
In app.js before line 13 add var MongoURI = process.env.MONGO_URI || 'mongodb://localhost/testdb'; mongoose.connect(MongoURI, function(err, res) { if(err) { console.log('ERROR connecting to: ' + MongoURI + '. ' + err); } else { console.log('MongoDB connected successfully to ' + MongoURI); } });
8
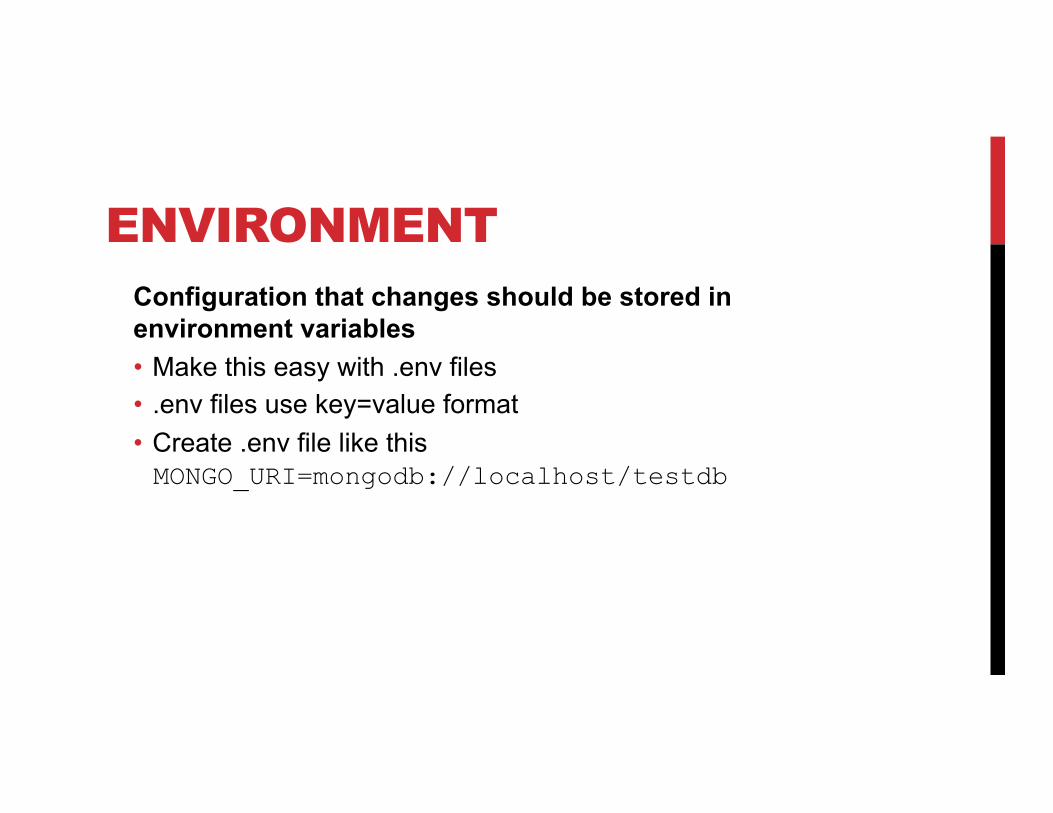
ENVIRONMENT Configuration that changes should be stored in environment variables • Make this easy with .env files • .env files use key=value format • Create .env file like this MONGO_URI=mongodb://localhost/testdb

ENVIRONMENT Activate your environment variables • Several helper modules available, I like ‘with-env’ npm install with-env --save
• In app.js after the last require() add this require('with-env')()
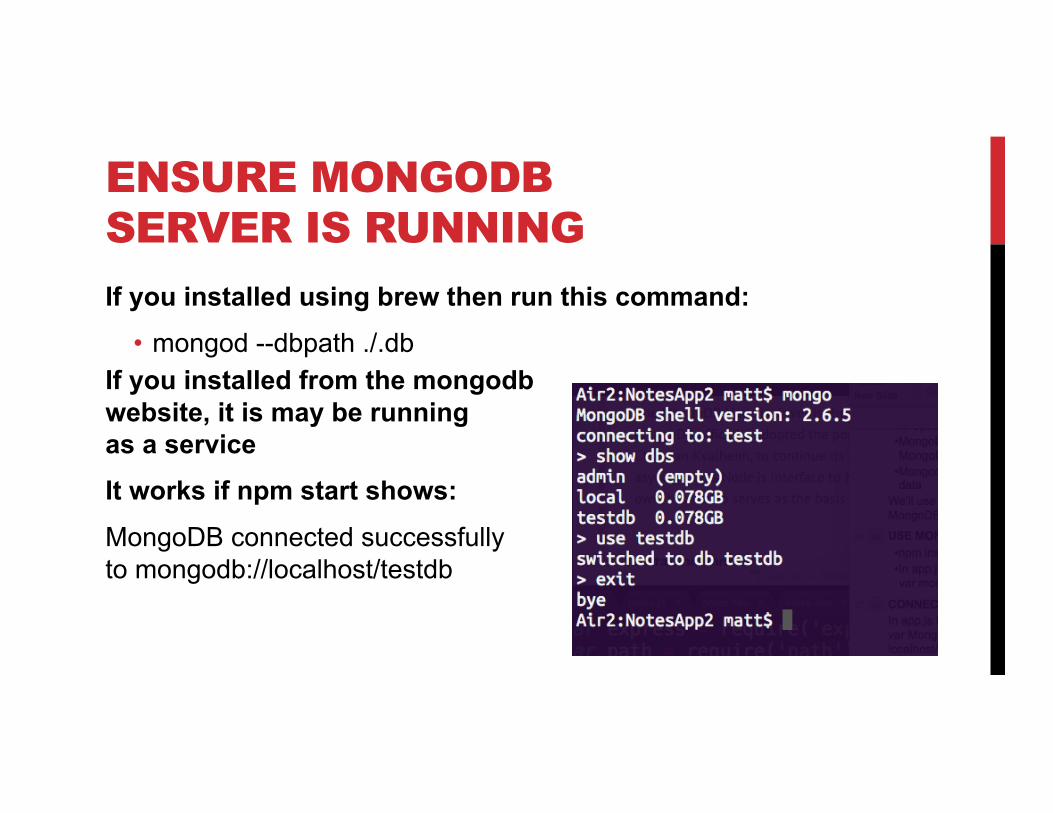
ENSURE MONGODB SERVER IS RUNNING
If you installed using brew then run this command: • mongod --dbpath ./.db
If you installed from the mongodb website, it is may be running as a service It works if npm start shows:
MongoDB connected successfully to mongodb://localhost/testdb

ENABLE SESSION SUPPORT
Sessions save data about a particular user as they travel through the website
• MongoDB is one of many ways to store session data • Session support used to be built into Express but was
recently separated into a separate module npm install express-session connect-mongo --save
ENABLE SESSION SUPPORT
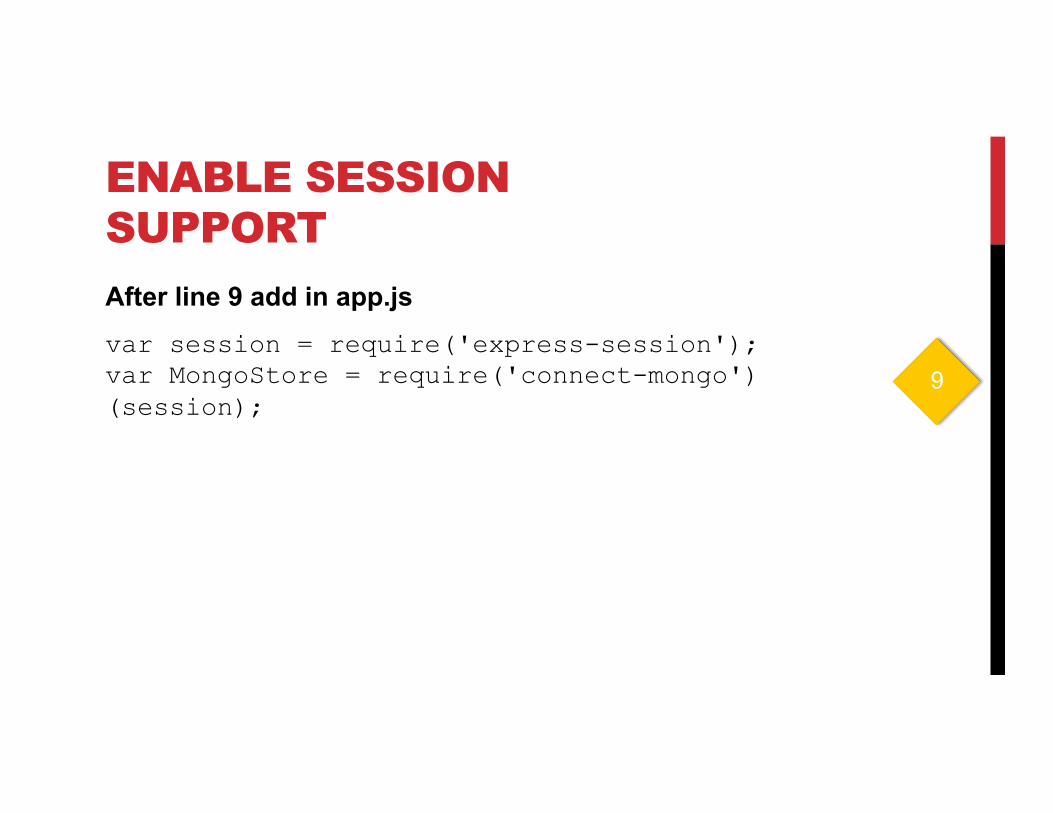
After line 9 add in app.js var session = require('express-session'); var MongoStore = require('connect-mongo')(session);
9
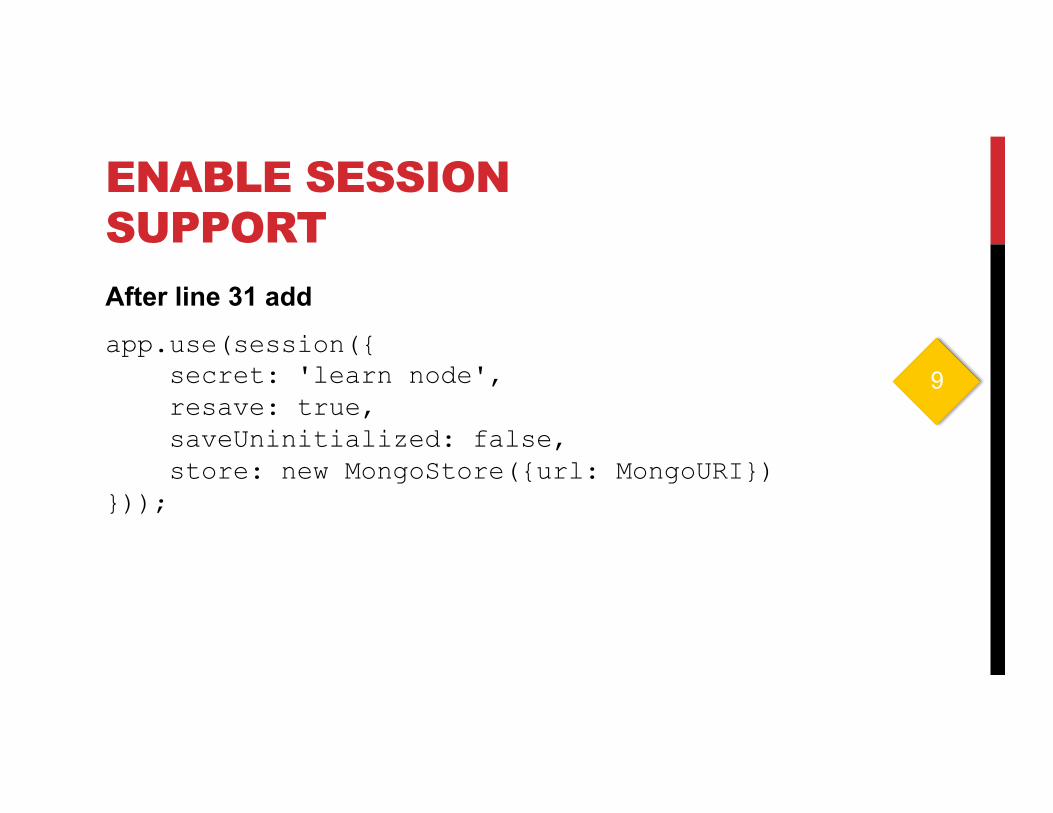
ENABLE SESSION SUPPORT
After line 31 add app.use(session({ secret: 'learn node', resave: true, saveUninitialized: false, store: new MongoStore({url: MongoURI}) }));
9
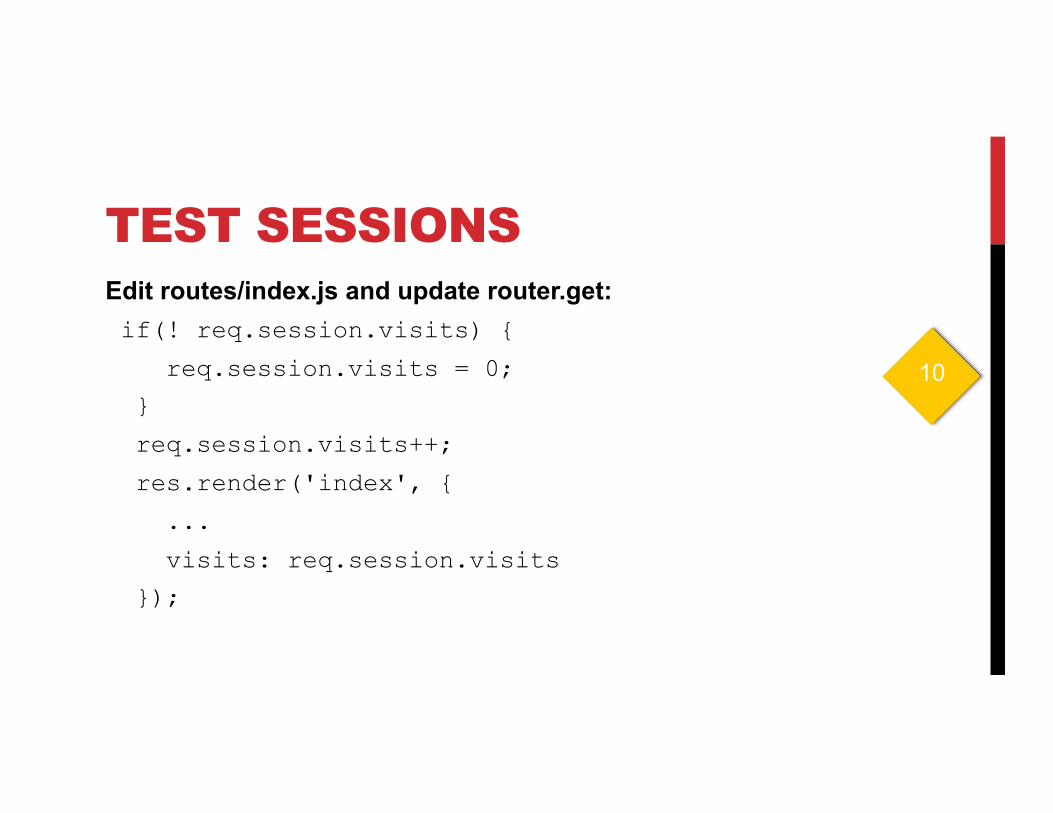
TEST SESSIONS Edit routes/index.js and update router.get: if(! req.session.visits) {
req.session.visits = 0;
}
req.session.visits++;
res.render('index', {
...
visits: req.session.visits
});
10
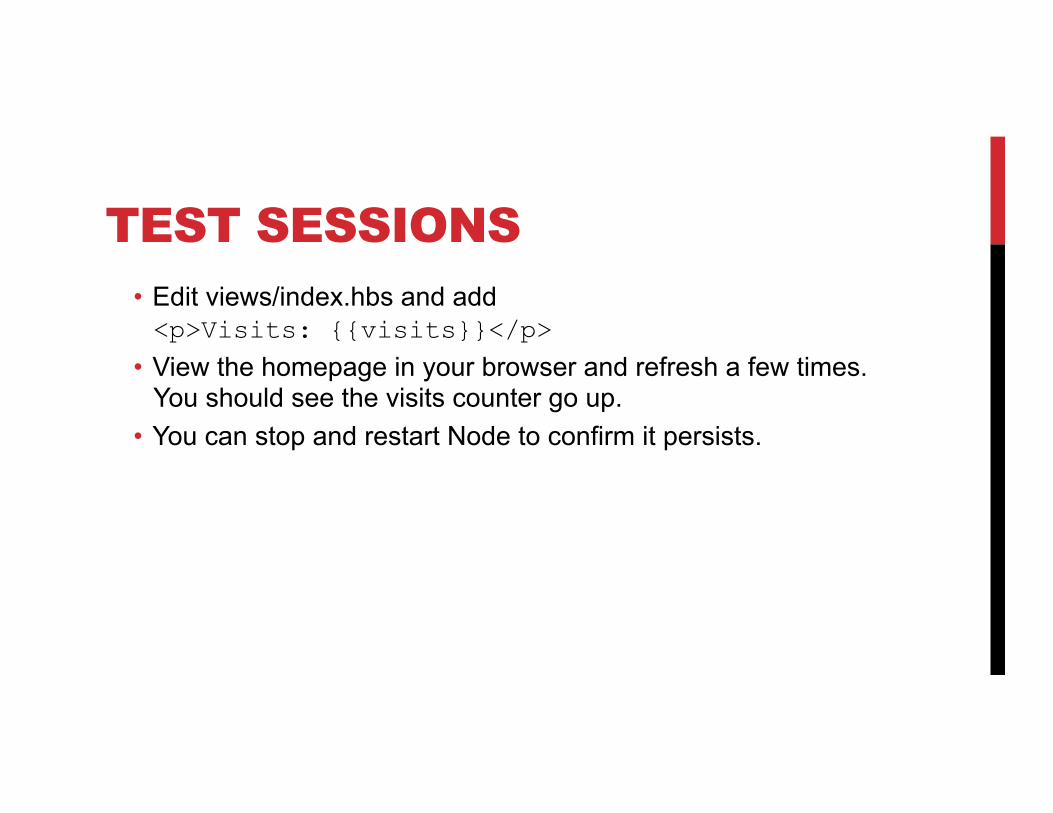
TEST SESSIONS • Edit views/index.hbs and add <p>Visits: {{visits}}</p>
• View the homepage in your browser and refresh a few times. You should see the visits counter go up.
• You can stop and restart Node to confirm it persists.
WHAT HAPPENED? • A unique identifier is stored as a cookie • The cookie links to an entry in the database • Store anything in the session that can be serialized to JSON • Sessions are secure when you use a random key to create
the session id • We used “learn node”. Change that in your own apps
Extra Credit
• What other clever things can you put in a session?
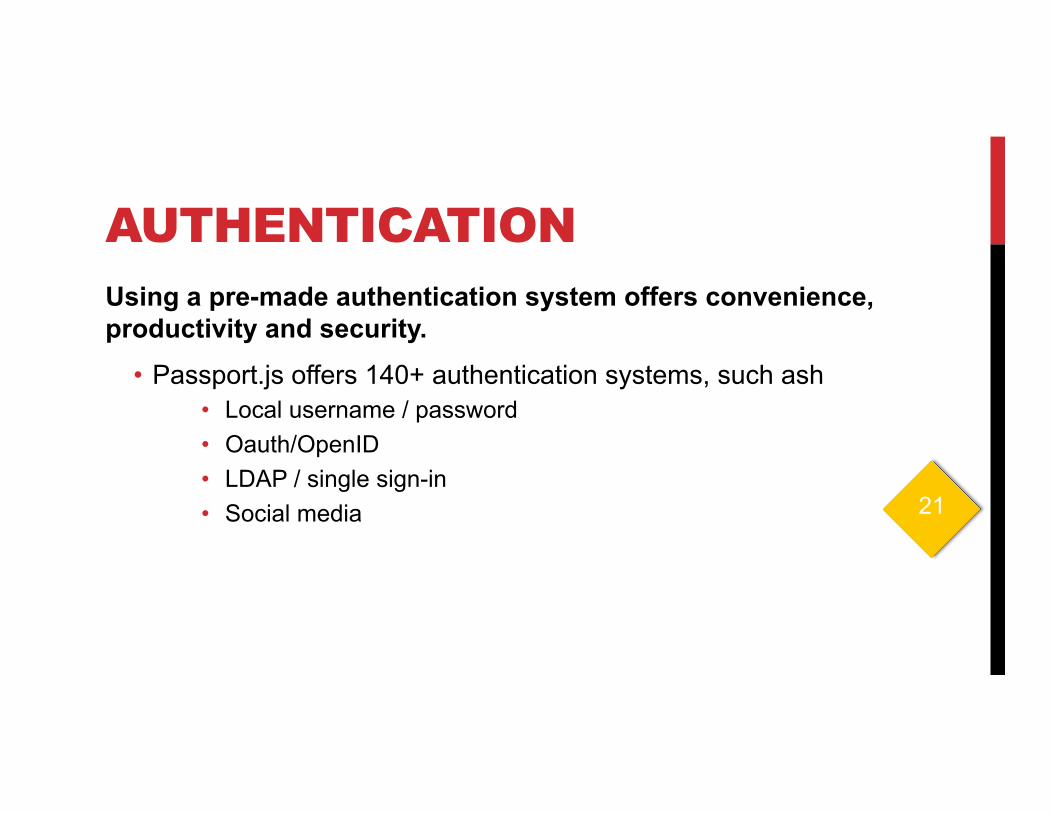
AUTHENTICATION Using a pre-made authentication system offers convenience, productivity and security.
• Passport.js offers 140+ authentication systems, such ash • Local username / password • Oauth/OpenID • LDAP / single sign-in • Social media 21
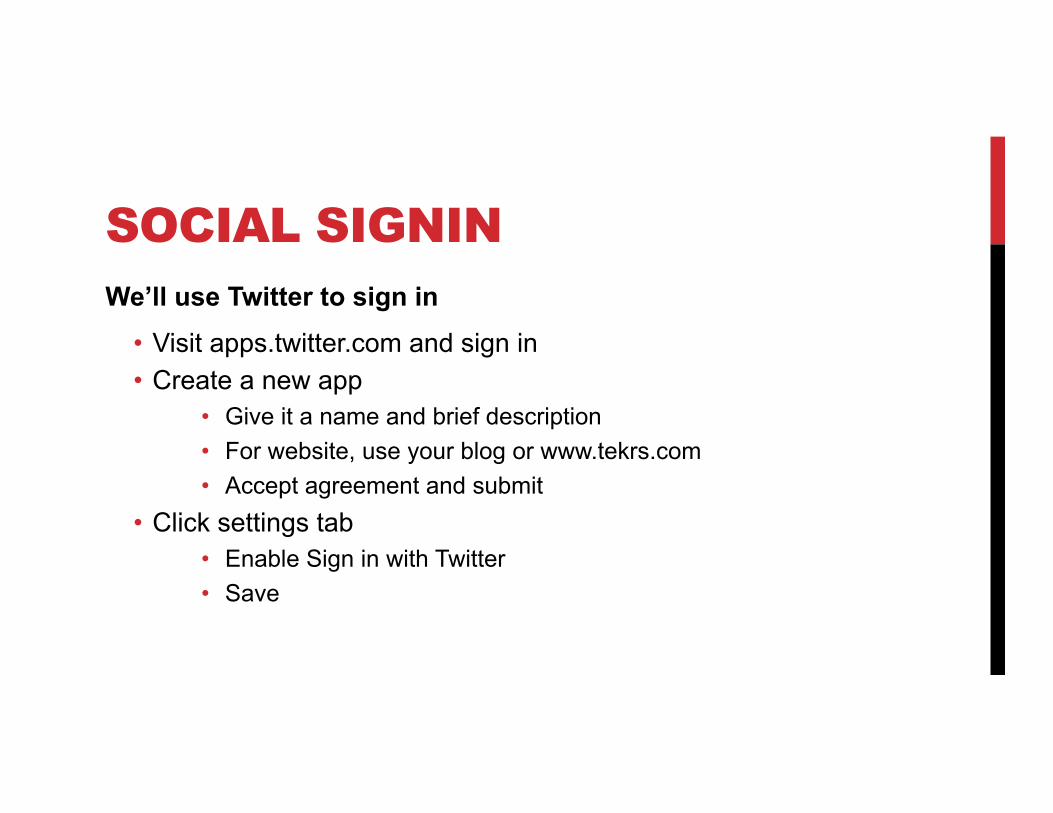
SOCIAL SIGNIN We’ll use Twitter to sign in
• Visit apps.twitter.com and sign in • Create a new app
• Give it a name and brief description • For website, use your blog or www.tekrs.com • Accept agreement and submit
• Click settings tab • Enable Sign in with Twitter • Save
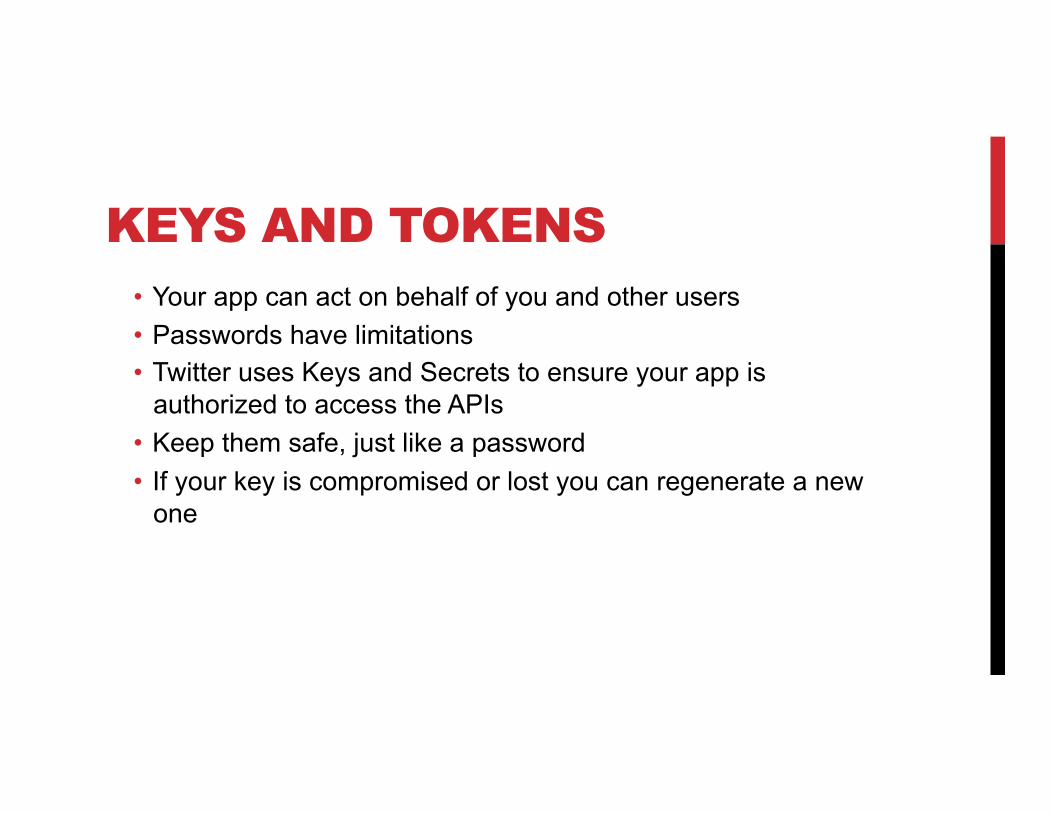
KEYS AND TOKENS • Your app can act on behalf of you and other users • Passwords have limitations • Twitter uses Keys and Secrets to ensure your app is
authorized to access the APIs • Keep them safe, just like a password • If your key is compromised or lost you can regenerate a new
one
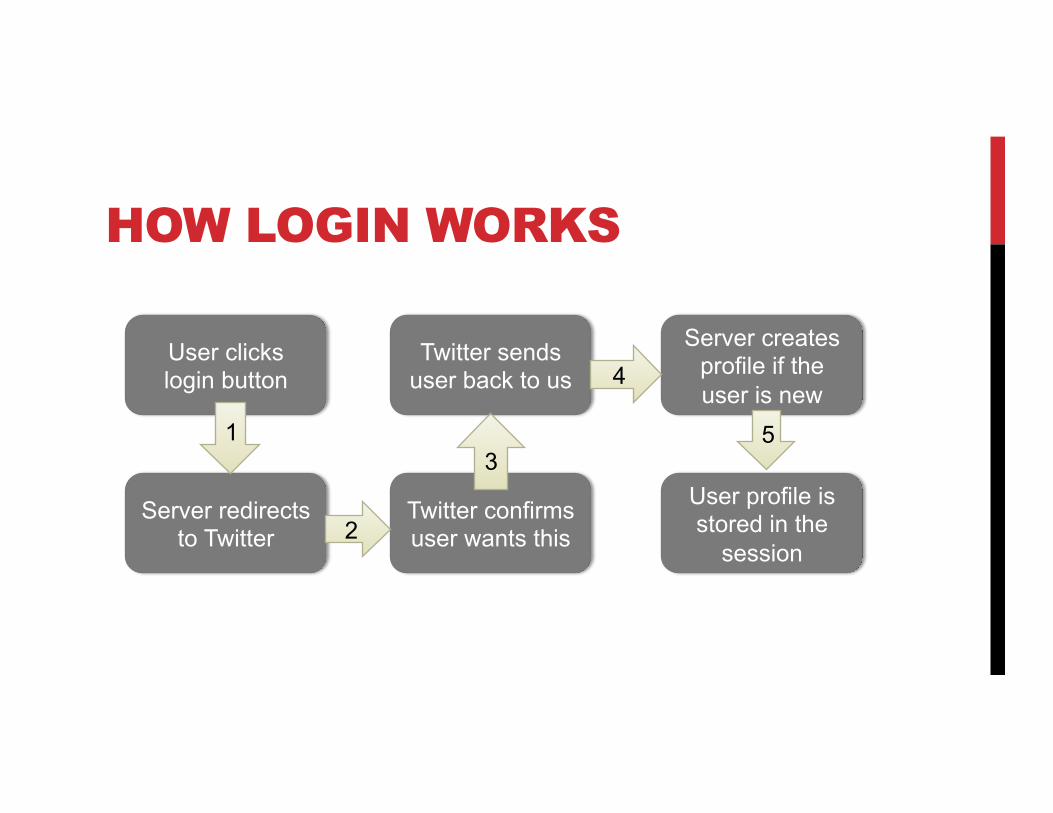
HOW LOGIN WORKS
User clicks login button
Server redirects to Twitter
Twitter confirms user wants this
Twitter sends user back to us
Server creates profile if the user is new
User profile is stored in the
session
1
2
3
4
5
WHAT DO WE NEED? A database to store profile information
• We’ll create a Mongoose Schema for this Session support
2 URLs
• Login url • Callback url for people to return to after logging in
Code to check if profile exists Ability to serialize profile information
11
CREATE OUR MONGOOSE SCHEMA
By defining our schema, we get to decide what information we remember about users
• This various from app to app, for example: • Birth date • E-mail newsletter preferences • Preferred language
SCHEMAS A schema is a mapping between our code and MongoDB’s document storage
• Saved in the models folder • One schema per file • Filename is lower case of schema name • Schema names are usually singular with first letter capitalized
These are conventions, not rules

MONGOOSE LOCAL HELPER
• The passport-local-mongoose module provides local username/password login capabilities
• It also provides a helper function for serializing and deserializing profiles.
• This is needed since profiles are stored in sessions
CREATING PROFILES Here’s a module for helping create profiles.
• It supports logging in with multiple social providers • We’re only using Twitter today
Extra credit
• Set up an additional social provider • If user logs in with one provider, then on another visit logs in
with a different provider, merge the profiles (try using e-mail address as the common key)
11
CREATING OUR SCHEMA
• Create a folder called models • Create a file named account.js • Use example code 12
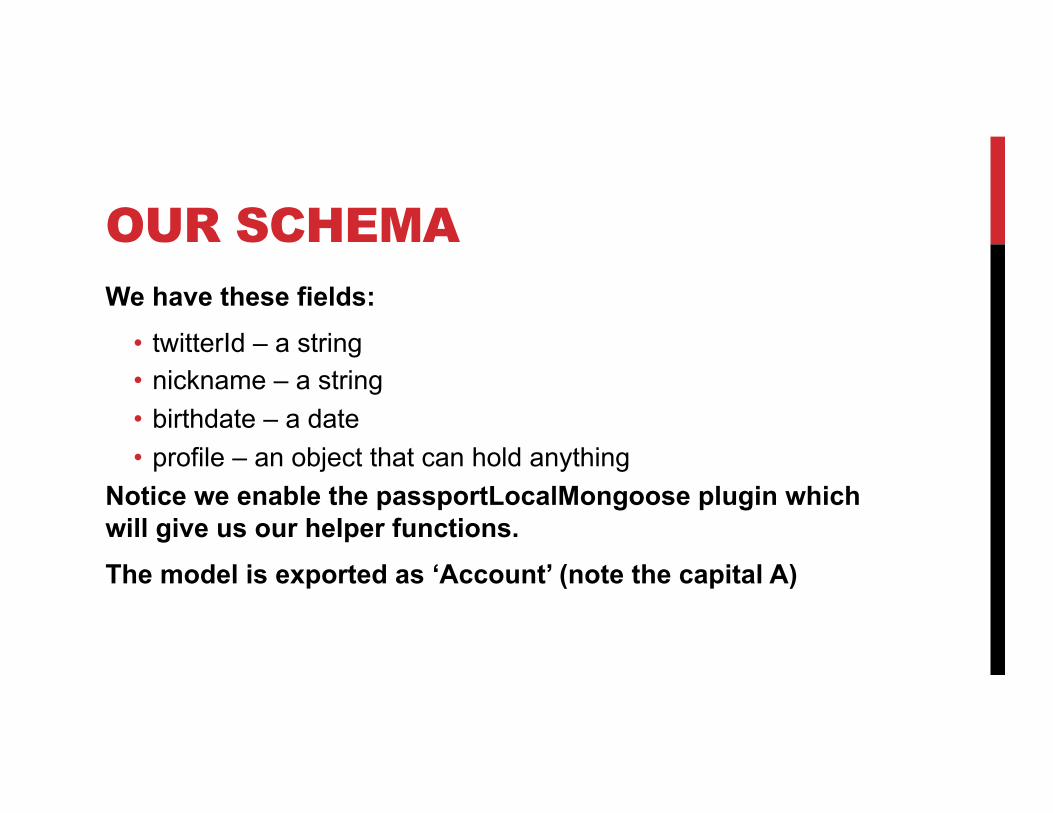
OUR SCHEMA We have these fields:
• twitterId – a string • nickname – a string • birthdate – a date • profile – an object that can hold anything
Notice we enable the passportLocalMongoose plugin which will give us our helper functions. The model is exported as ‘Account’ (note the capital A)
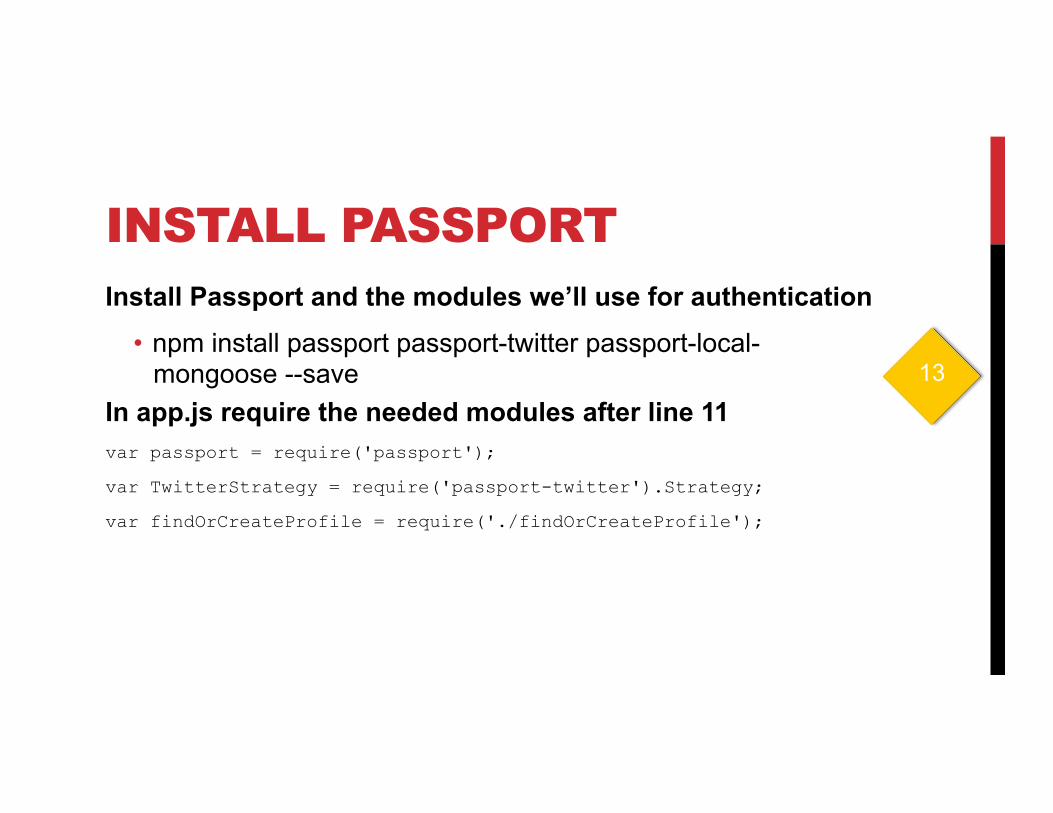
INSTALL PASSPORT Install Passport and the modules we’ll use for authentication
• npm install passport passport-twitter passport-local-mongoose --save
In app.js require the needed modules after line 11 var passport = require('passport');
var TwitterStrategy = require('passport-twitter').Strategy;
var findOrCreateProfile = require('./findOrCreateProfile');
13
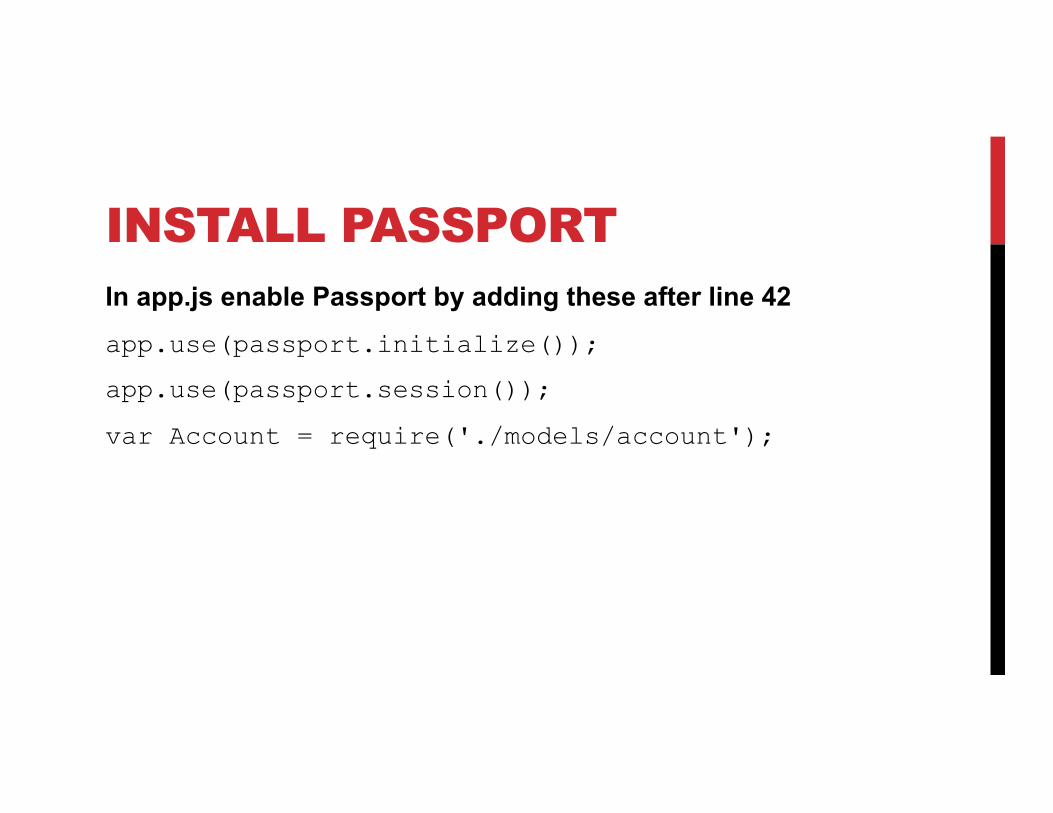
INSTALL PASSPORT In app.js enable Passport by adding these after line 42 app.use(passport.initialize());
app.use(passport.session());
var Account = require('./models/account');
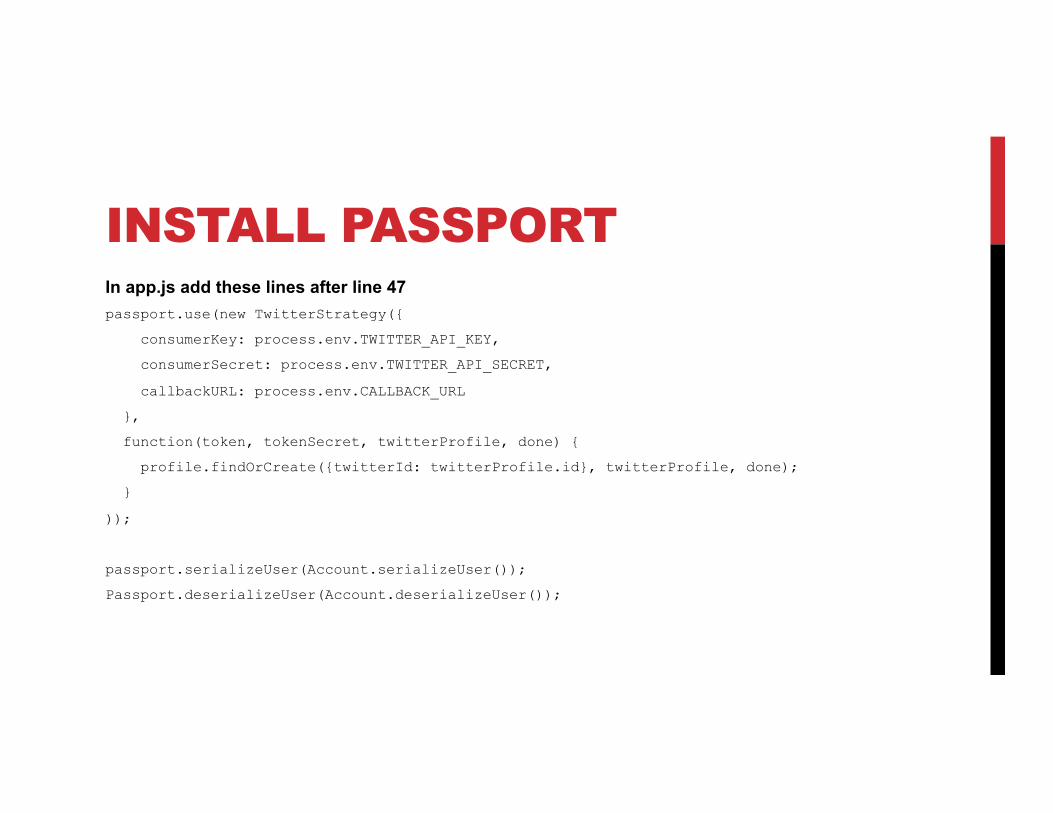
INSTALL PASSPORT In app.js add these lines after line 47 passport.use(new TwitterStrategy({
consumerKey: process.env.TWITTER_API_KEY,
consumerSecret: process.env.TWITTER_API_SECRET,
callbackURL: process.env.CALLBACK_URL
},
function(token, tokenSecret, twitterProfile, done) {
profile.findOrCreate({twitterId: twitterProfile.id}, twitterProfile, done);
}
));
passport.serializeUser(Account.serializeUser());
Passport.deserializeUser(Account.deserializeUser());
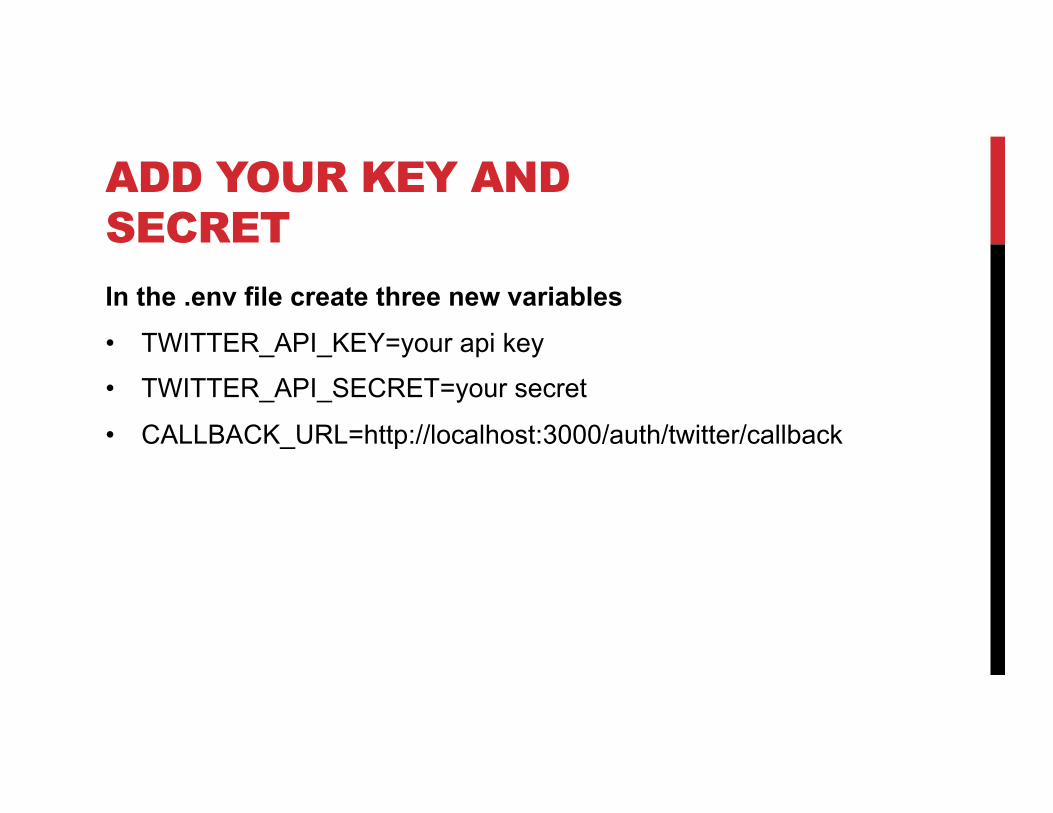
ADD YOUR KEY AND SECRET
In the .env file create three new variables • TWITTER_API_KEY=your api key
• TWITTER_API_SECRET=your secret
• CALLBACK_URL=http://localhost:3000/auth/twitter/callback
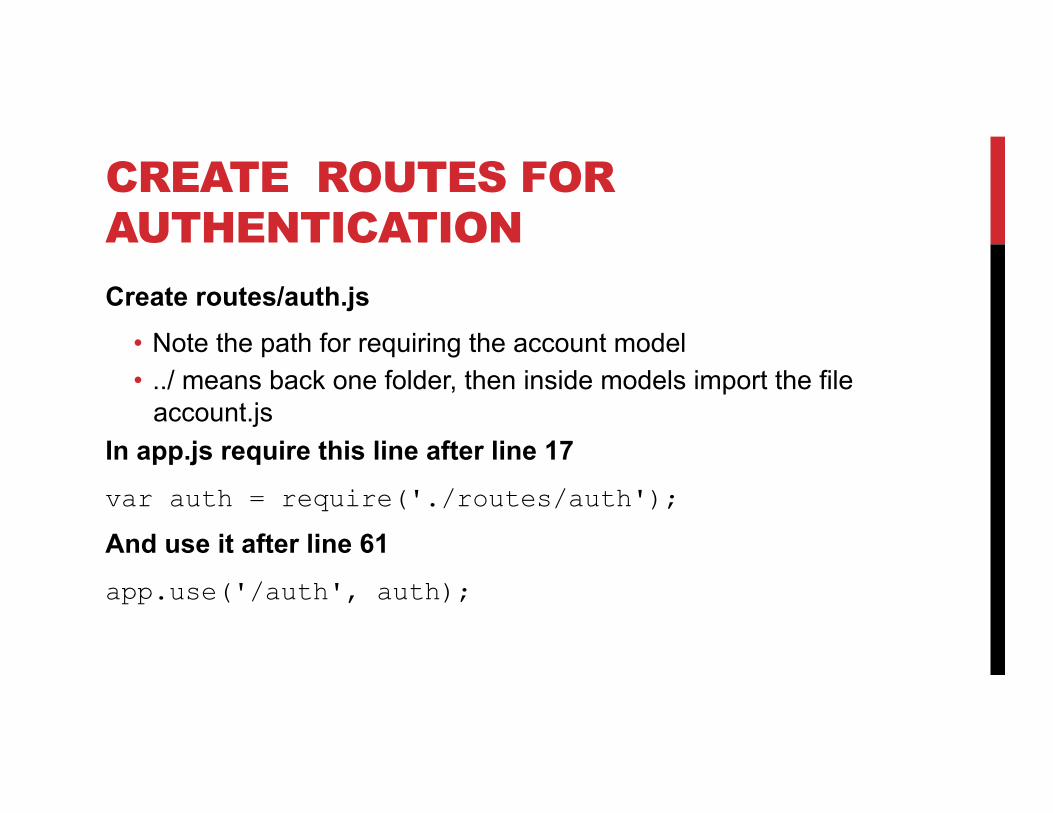
CREATE ROUTES FOR AUTHENTICATION
Create routes/auth.js • Note the path for requiring the account model • ../ means back one folder, then inside models import the file
account.js In app.js require this line after line 17
var auth = require('./routes/auth');
And use it after line 61
app.use('/auth', auth);
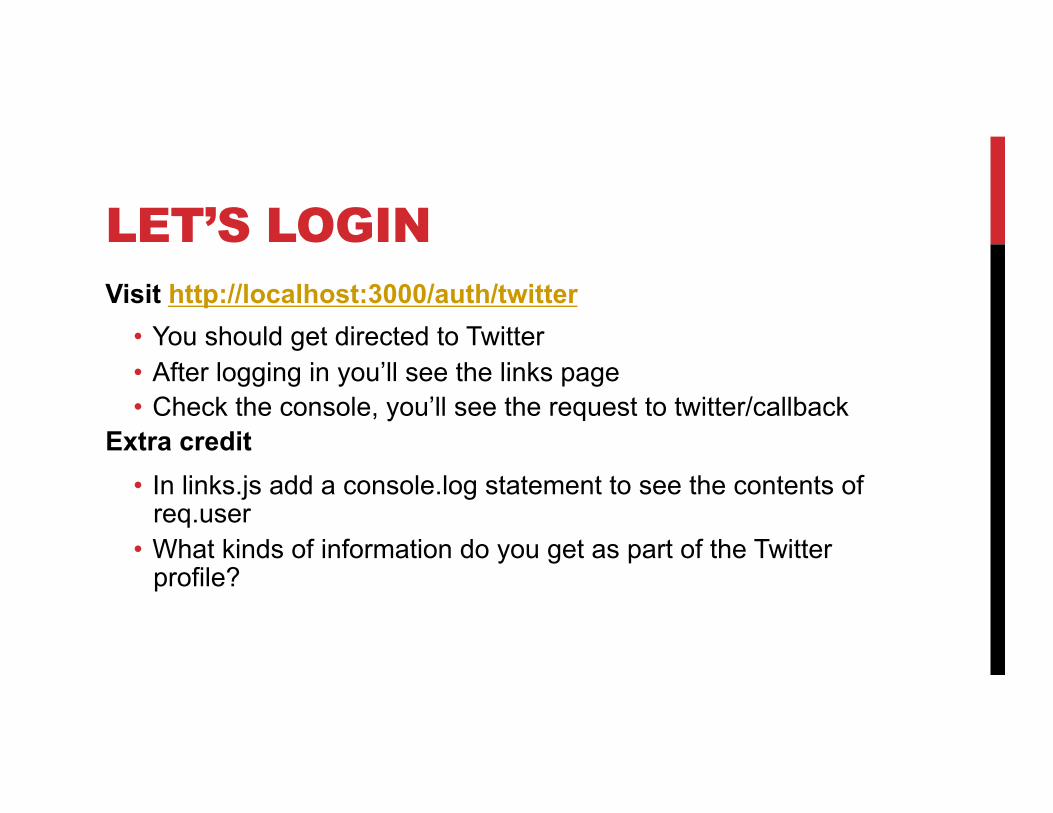
LET’S LOGIN Visit http://localhost:3000/auth/twitter
• You should get directed to Twitter • After logging in you’ll see the links page • Check the console, you’ll see the request to twitter/callback
Extra credit • In links.js add a console.log statement to see the contents of
req.user • What kinds of information do you get as part of the Twitter
profile?
WHAT HAPPENED? • You visited /auth/twitter and were redirected to the Twitter
login page • After you gave permission to login Twitter returned you to the
callback where an Oauth verification was performed • The findOrCreateProfile module checked to see if you’d
logged in before • Because you hadn’t, it created a new profile for you • Then it redirected you to the links page.

REQUIRE LOGIN We can easily create middleware that will require login to view a page.
• In routes/links, after the requires, add this code This creates a custom middleware that applies to all routes defined in this module.
• Note that it calls next() – this is required in order for the middleware to pass control onto the next function
• If next() is not called the page would never load • If the user is not logged in, the login process is initiated
15
TEST LOGOUT • Visit http://localhost:3000/auth/logout to logout of the site • Click the Notes link on your homepage to visit the notes page • You should get redirected to Twitter to login

LET’S CHEAT Download the zip file for public and views.
• Delete everything from public and replace it with the contents of the public folder
• Delete everything from views and replace it with the contents of the views folder

LINK MODEL We’ll store information about links
• Create a file called models/link.js 16
PSEUDO RELATIONSHIPS
We’re not using a relational database • Relations make sense sometimes • Use a “ref” property to create a relationship • Relationships are just one-way
• In this example, you can look up the user that created a link
GET A LIST OF LINKS To reduce duplication add our query to the links middleware • Stash the result in res
• If there is an error, send a 400 status code and load the error page
• Call next() in our callback
• Make sure to pass links through in the context
17
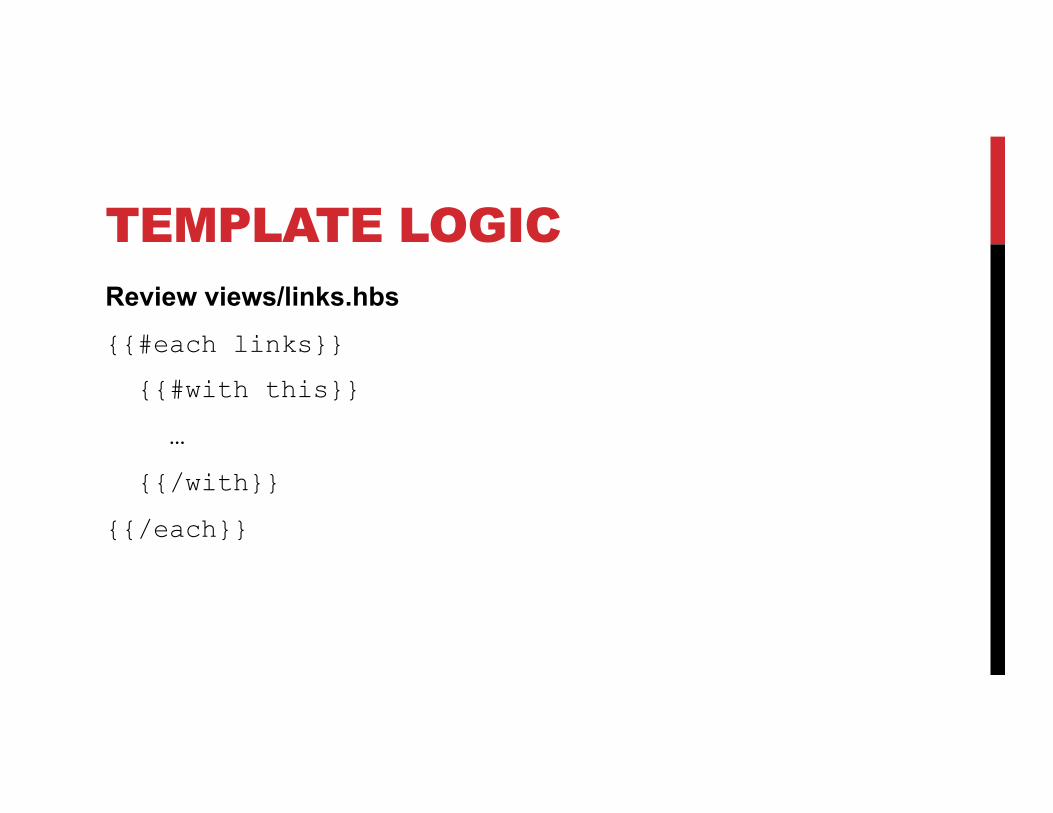
TEMPLATE LOGIC Review views/links.hbs {{#each links}}
{{#with this}}
…
{{/with}}
{{/each}}
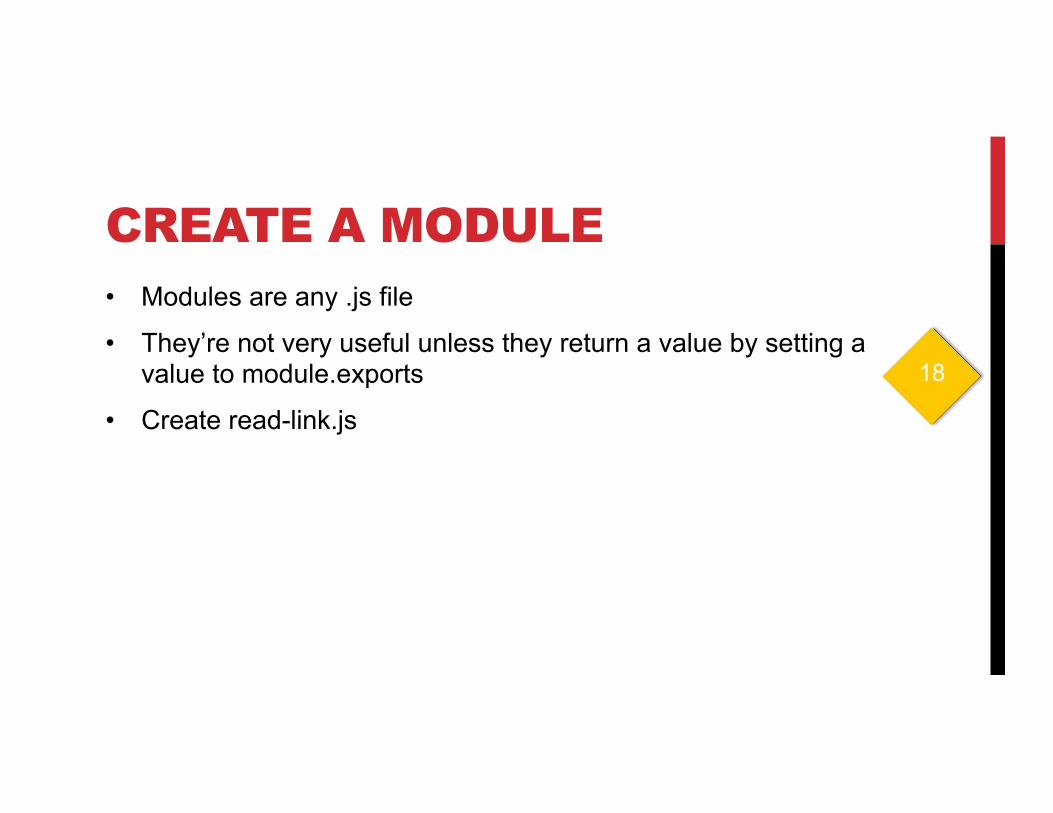
CREATE A MODULE • Modules are any .js file
• They’re not very useful unless they return a value by setting a value to module.exports
• Create read-link.js
18
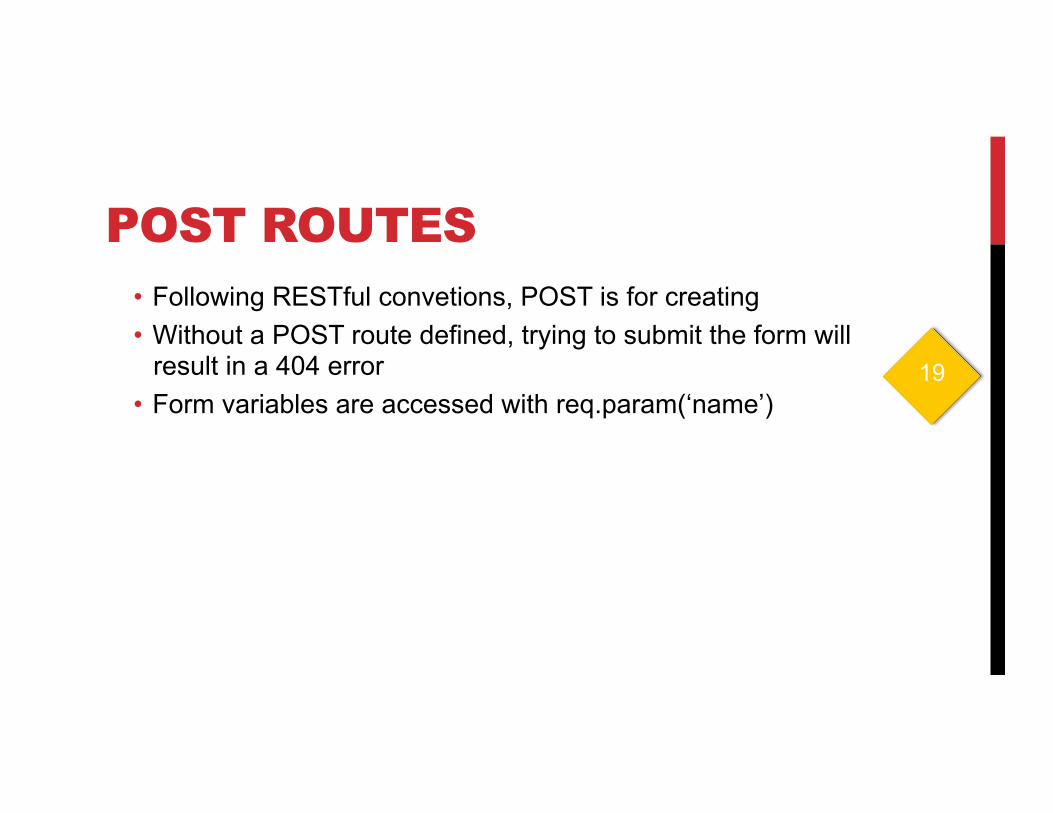
POST ROUTES • Following RESTful convetions, POST is for creating • Without a POST route defined, trying to submit the form will
result in a 404 error • Form variables are accessed with req.param(‘name’)
19
CALLBACKS • Fetching details about a URL is asynchronous • When it finishes, it will call our function • Express will wait to finish loading the page until we call
res.render or res.send • Don’t call these outside of the callback

NESTED CALLBACKS • It is common to put a callback inside of a callback • In this case, the save() method needs a callback • This can lead to callback hell • Actively look for ways to keep things simple • If you can’t, then maybe promises are a good choice
SAVING WITH MONGO • Create a new Link • Constructor takes an object of properties • Call save, passing in a callback • On success, we’ll redirect to the page for the newly created
link
ROUTER.ROUTE When y ou have one route with multiple methods and common code
• .all() is like middleware for just one URL route • Make sure you call next()!
• Capture url parameters with a colon • Confusingly, url parameters are accessed as
req.params.name • Compared to form variables: req.param(‘name’)
20
CHAIN METHODS • Chain .get() – nice and simple in this case • .put() is used by REST clients, such as Ajax, for editing • .delete() is used by REST clients for deleting • These are conventions, you are welcome to use get, post, put
and delete in whatever way you like • Use ‘method-override’ middleware to simulate .put and .delete
using a standard html form
UPDATING MONGO To update a record, simply
• Lookup the record • Update the property or properties you want to change • Call the .save() method, passing in a callback

DELETING IN MONGO To delete a record
• Lookup the record • Call .remove() on it, passing in a callback

REVIEWING OUR VIEWS
• Partials for add form and linkDetails • Note the ajax for refresh and delete
WE ARE NOW FEATURE COMPLETE!
Yay! • Created an app from scratch • Served static content • Enabled sessions • Enabled MongoDB • Enabled Login • Supported Ajax
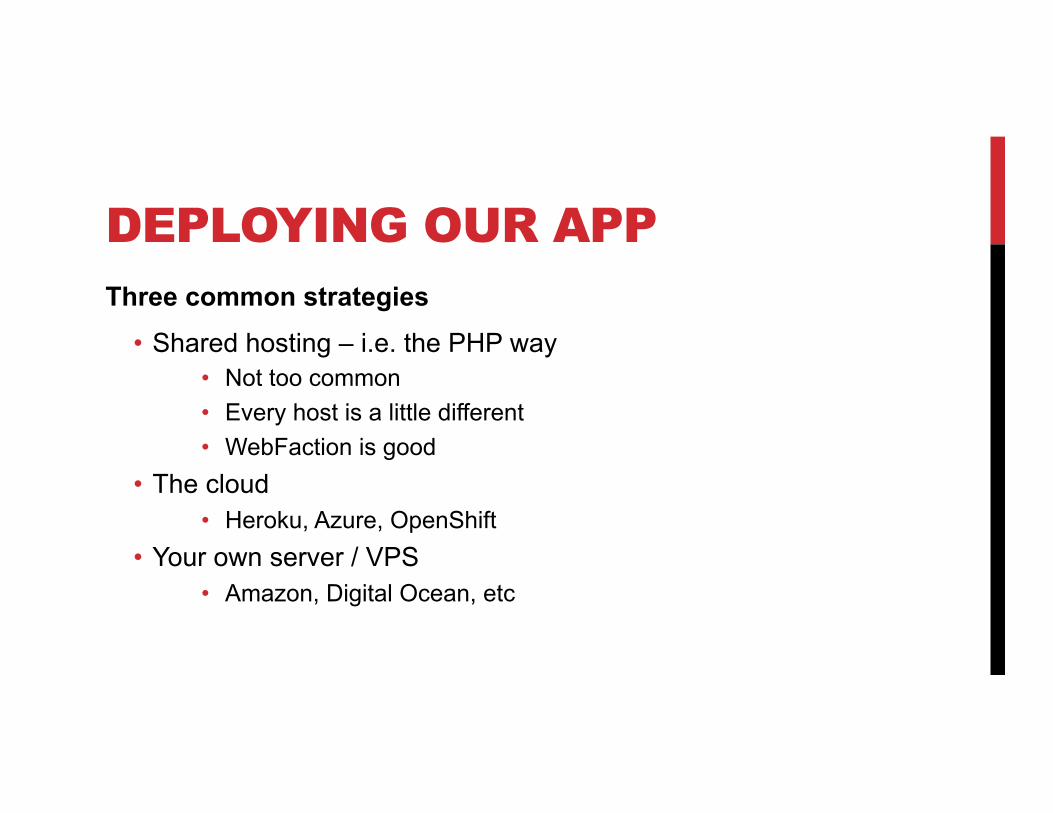
DEPLOYING OUR APP Three common strategies
• Shared hosting – i.e. the PHP way • Not too common • Every host is a little different • WebFaction is good
• The cloud • Heroku, Azure, OpenShift
• Your own server / VPS • Amazon, Digital Ocean, etc
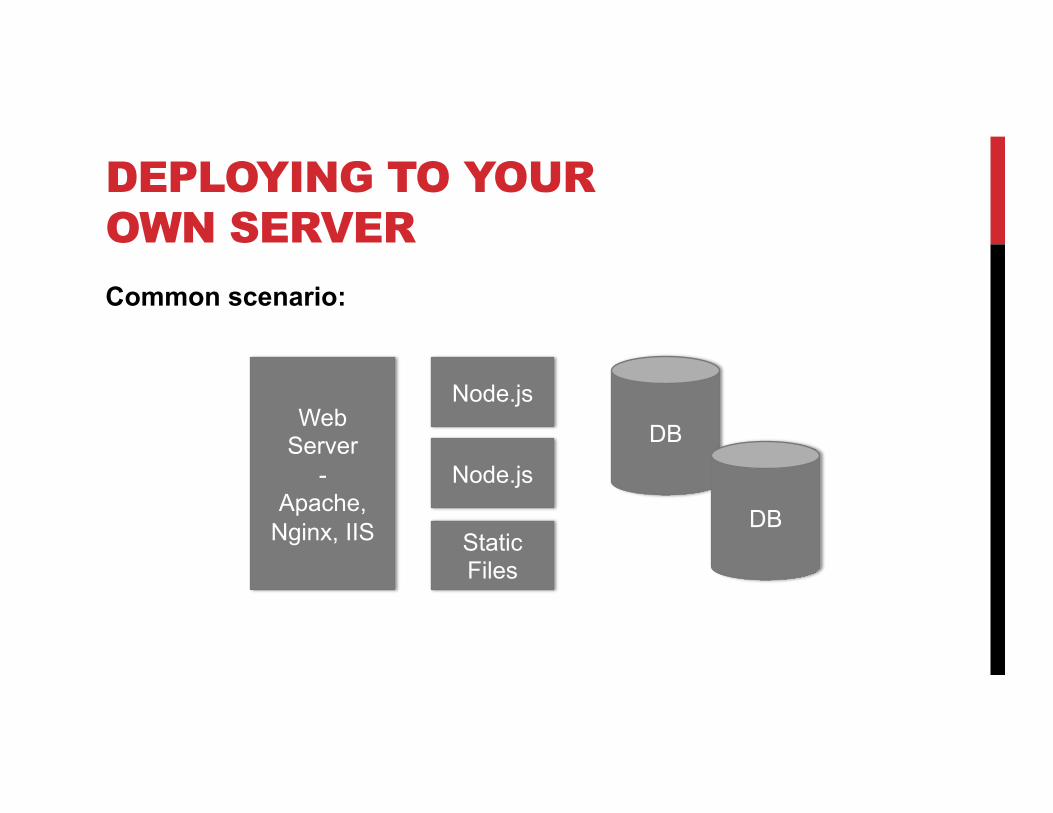
DEPLOYING TO YOUR OWN SERVER
Common scenario:
Web Server
- Apache,
Nginx, IIS
Node.js
DB
DB
Node.js
Static Files
DEPLOYING TO THE CLOUD
Benefits: • Easy – You’ll see in just a minute • Quickly scale up or down to meet load
Cons:
• Can get expensive quickly • The usual scary cloud stuff
WE’LL DEPLOY TO HEROKU
• Heroku is free for small apps • Go to www.heroku.com and sign up • Two ways to create an app:
• Control panel – so easy, you can figure it out on your own • Command line – almost as easy
• Visit the dev center • Click on Node.js • Getting started à I’m ready • Install Toolbelt
PREPARING OUR PROJECT
MongoDB will not be running locally • In app.js change process.env.MONGO_URI to
process.env.MONGOLAB_URI Twitter will break because our server isn’t localhost:3000
• We’ll set an environment variable for that
PREPARING OUR PROJECT
Add engines to package.json • "engines": "0.10.x",
Create Procfile
• Capital P no extension • A single line:
web: node bin/www
ENABLE HEROKU To begin using Heroku we need to activate it
• Heroku login We’ll deploy our apps using git. Therefore we need to initialize git for this project.
• git init • echo “node_modules” > .gitignore • git add . • git commit -m “initial commit”
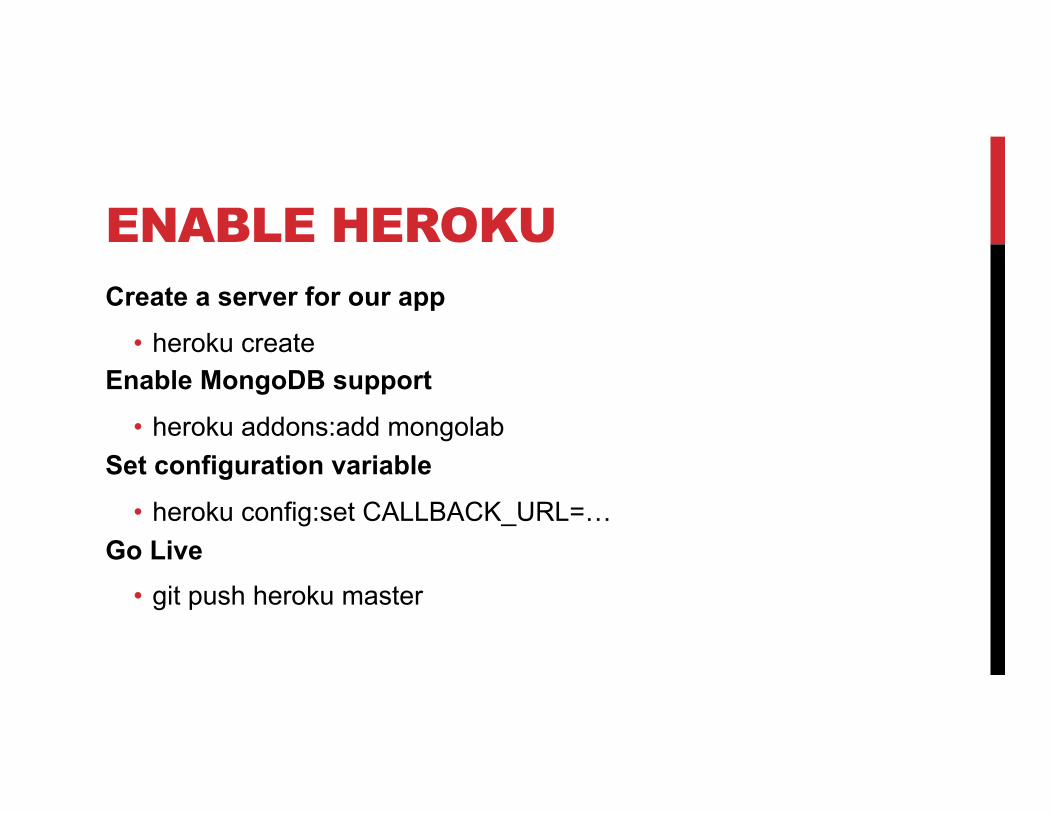
ENABLE HEROKU Create a server for our app
• heroku create Enable MongoDB support
• heroku addons:add mongolab Set configuration variable
• heroku config:set CALLBACK_URL=… Go Live
• git push heroku master
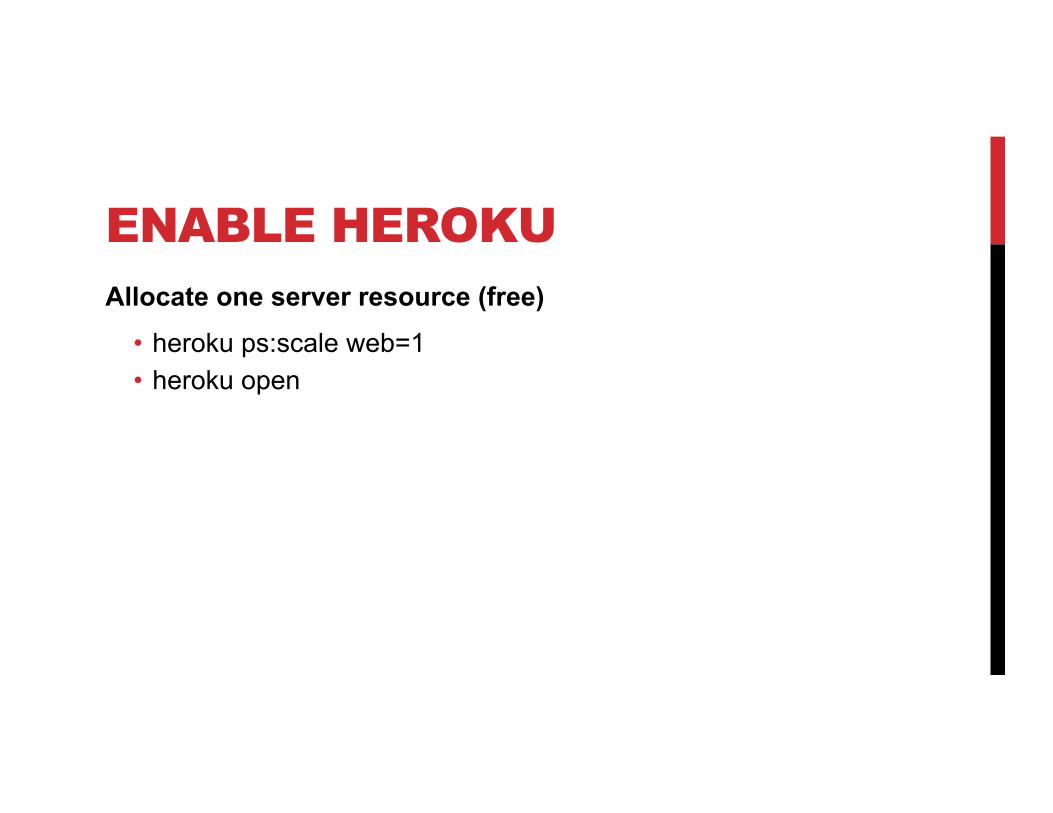
ENABLE HEROKU Allocate one server resource (free)
• heroku ps:scale web=1 • heroku open


![Static Analysis of Event-Driven Node.js JavaScript ... · to buggy Node.js programs from the StackOverflow website and to programs from the Node.js documentation [5] and the Node.js](https://img.pdfslide.us/doc/110x75/5c1178a109d3f267308c0ee6/static-analysis-of-event-driven-nodejs-javascript-to-buggy-nodejs-programs.jpg)