Embed Size (px)
Citation preview
Network Simulator Tutorial
The Network Simulator - ns-2
http://www.isi.edu/nsnam/ns/ NS2 is a discrete event simulator targeted at
networking research NS2 is an object oriented simulator, written in C++,
with an OTcl interpreter C++: fast to run ,slower to change, => detailed
protocol implementation. Otcl: slower to run, fast to change(interactive), =>
simulation configuration. Ns provides substantial support for simulation of
TCP, routing, and multicast protocols over wired and wireless (local and satellite) networks
Installation
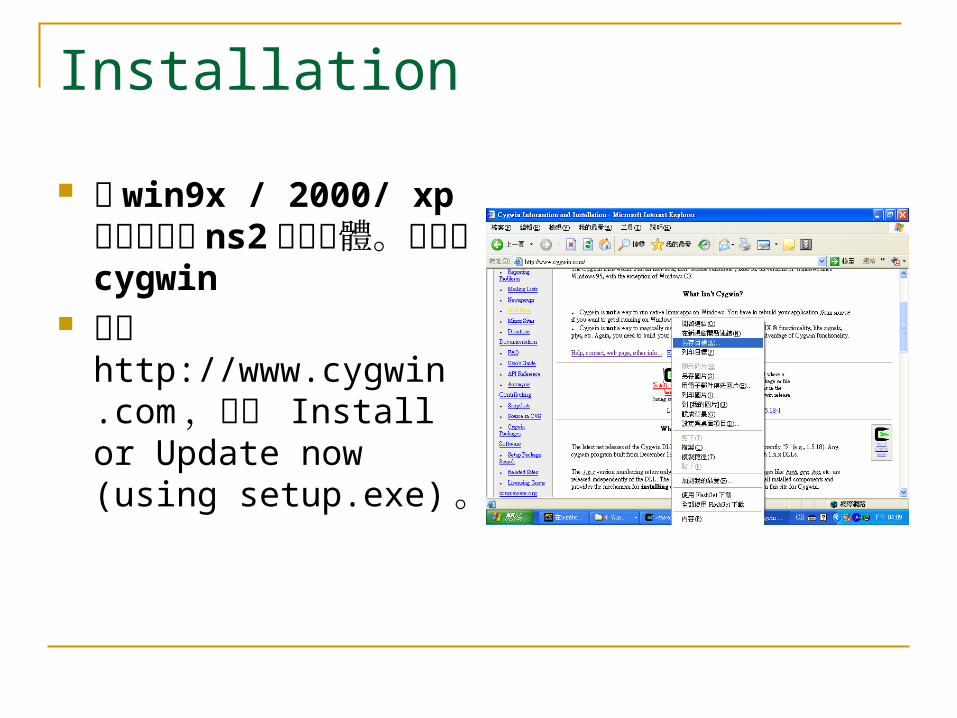
在 win9x / 2000/ xp 環境下安裝 ns2模擬軟體。先安裝 cygwin
連到 http://www.cygwin.com ,點選 Install or Update now (using setup.exe) 。
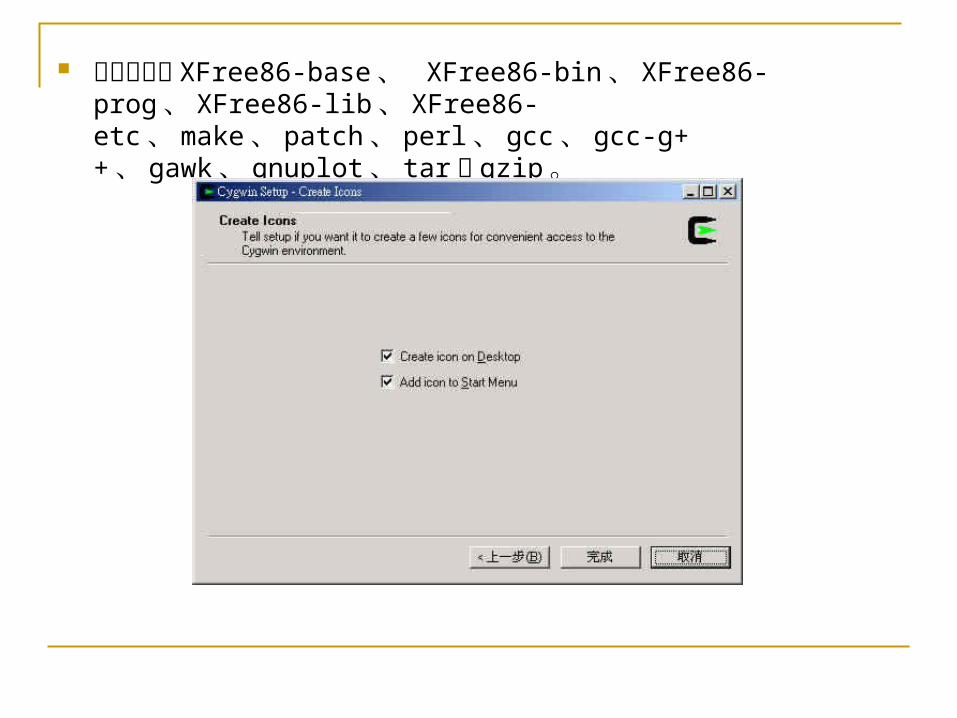
要選擇的有 XFree86-base 、 XFree86-bin 、 XFree86-prog 、 XFree86-lib 、 XFree86-etc 、 make 、 patch 、 perl 、 gcc 、gcc-g++ 、 gawk 、 gnuplot 、 tar 和 gzip 。
安裝 ns2
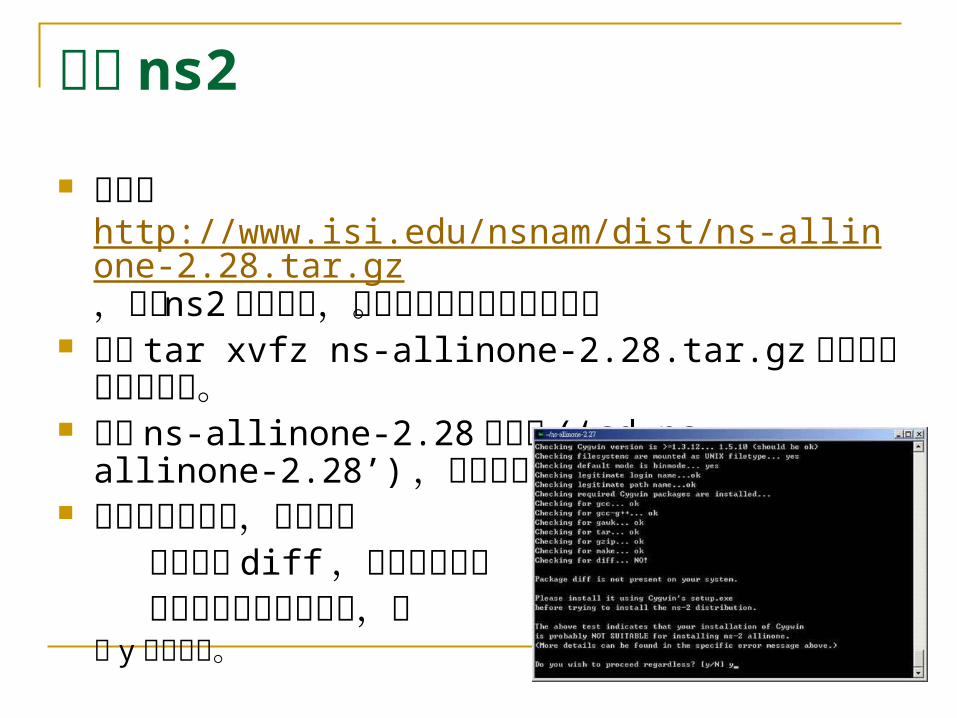
下來到http://www.isi.edu/nsnam/dist/ns-allinone-2.28.tar.gz,下載 ns2 的程式碼,並存放到自己的家目錄內。
使用 tar xvfz ns-allinone-2.28.tar.gz 解開所下載的壓縮檔。
進入 ns-allinone-2.28 的目錄 (‘cd ns-allinone-2.28’) ,並開始安裝 ns2(‘./install’ ) 。
在安裝的過程中,由於我們 沒有安裝 diff ,所以安裝程式 會問使用者要不要繼續,選
擇 y 繼續安裝。
設定環境變數
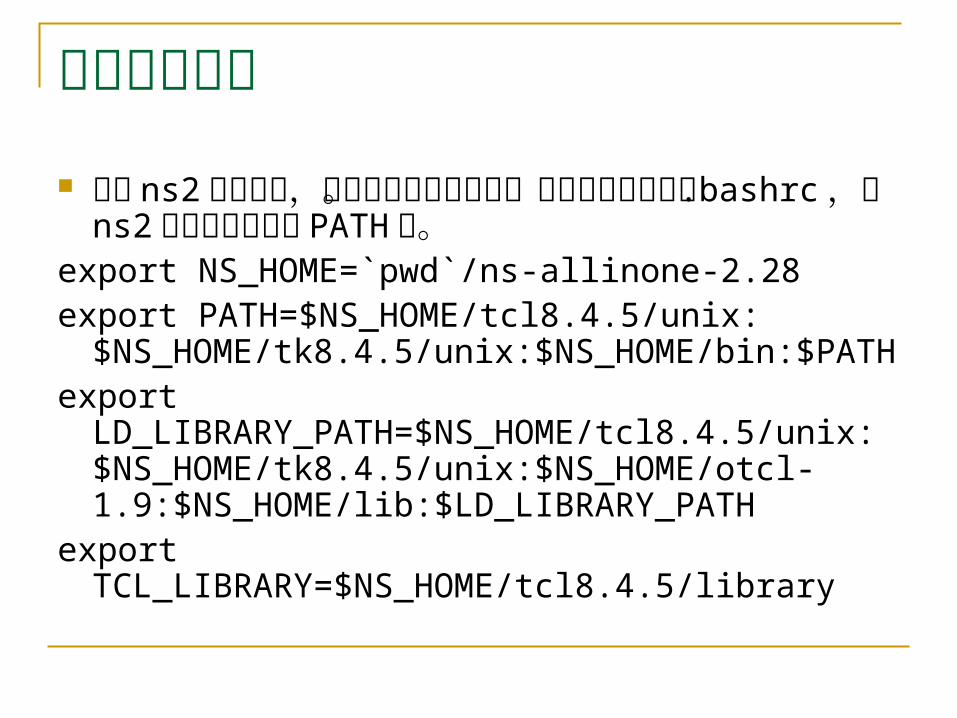
完成 ns2 的編譯後,要開始設定環境變數。請編輯家目錄下的 .bashrc ,把 ns2 相關的路徑加入 PATH 中。
export NS_HOME=`pwd`/ns-allinone-2.28export
PATH=$NS_HOME/tcl8.4.5/unix:$NS_HOME/tk8.4.5/unix:$NS_HOME/bin:$PATH
export LD_LIBRARY_PATH=$NS_HOME/tcl8.4.5/unix:$NS_HOME/tk8.4.5/unix:$NS_HOME/otcl-1.9:$NS_HOME/lib:$LD_LIBRARY_PATH
export TCL_LIBRARY=$NS_HOME/tcl8.4.5/library
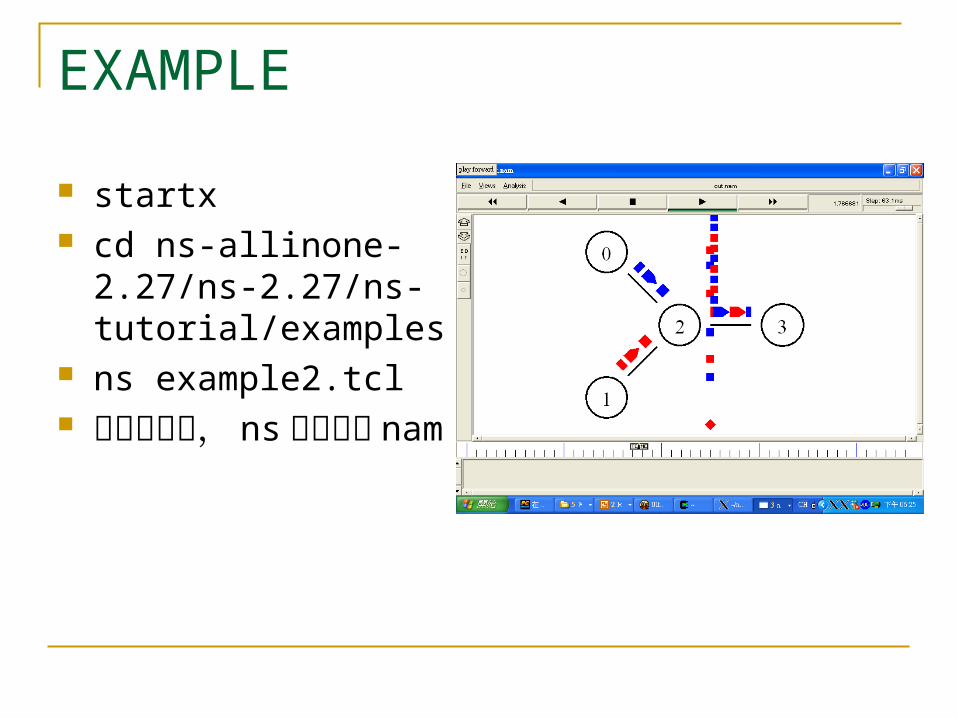
EXAMPLE
startx cd ns-allinone-2.27/ns-
2.27/ns-tutorial/examples
ns example2.tcl 模擬結束後, ns 會去執
行 nam
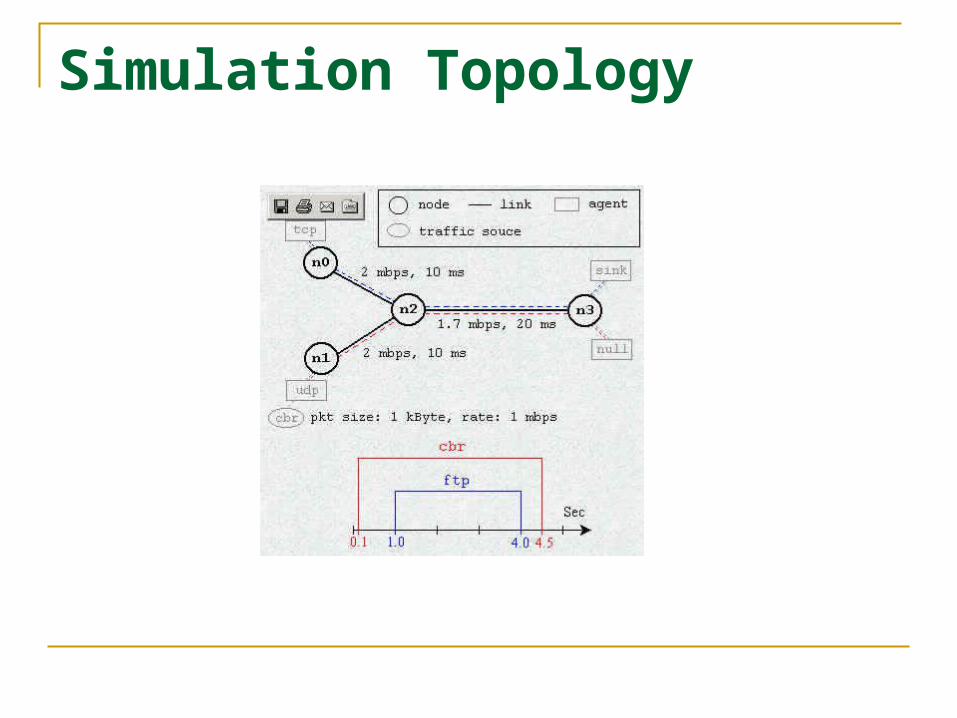
Simulation Topology

Example2.tcl
# 產生一個模擬的物件 set ns [new Simulator] # 針對不同的資料流定義不同的顏色,這是要給 NAM 用的 $ns color 1 Blue $ns color 2 Red # 開啟一個 NAM trace file set nf [open out.nam w] $ns namtrace-all $nf # 開啟一個 trace file ,用來記錄封包傳送的過程 set nd [open out.tr w] $ns trace-all $nd # 定義一個結束的程序 proc finish {} { global ns nf nd $ns flush-trace close $nf close $nd # 以背景執行的方式去執行 NAM exec nam out.nam & exit 0 }
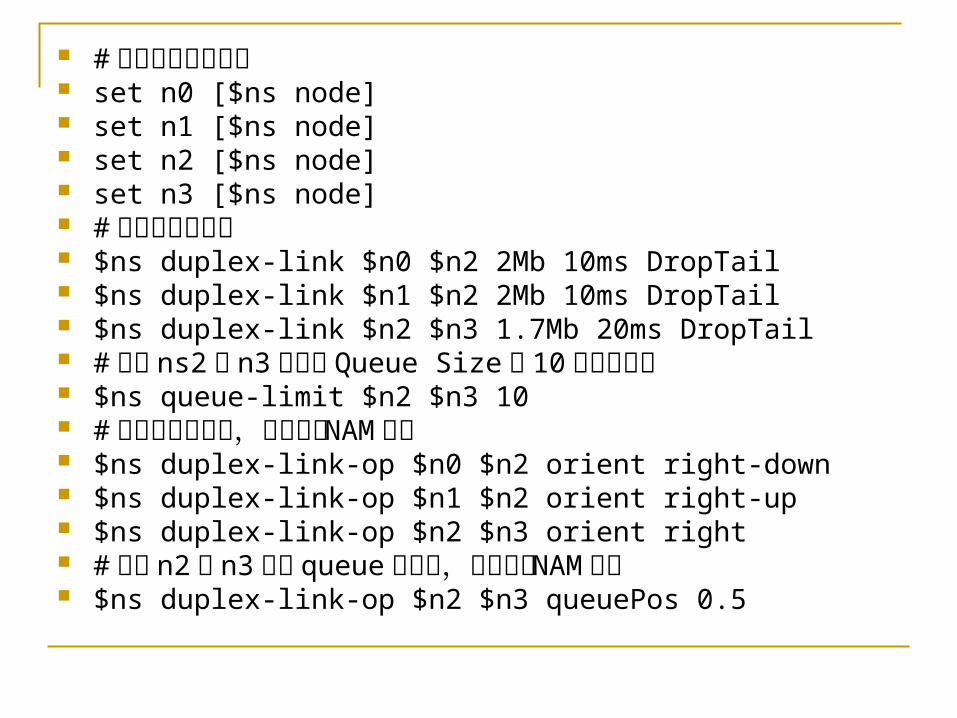
# 產生四個網路節點 set n0 [$ns node] set n1 [$ns node] set n2 [$ns node] set n3 [$ns node] # 把節點連接起來 $ns duplex-link $n0 $n2 2Mb 10ms DropTail $ns duplex-link $n1 $n2 2Mb 10ms DropTail $ns duplex-link $n2 $n3 1.7Mb 20ms DropTail # 設定 ns2 到 n3 之間的 Queue Size 為 10 個封包大小 $ns queue-limit $n2 $n3 10 # 設定節點的位置,這是要給 NAM 用的 $ns duplex-link-op $n0 $n2 orient right-down $ns duplex-link-op $n1 $n2 orient right-up $ns duplex-link-op $n2 $n3 orient right # 觀測 n2 到 n3 之間 queue 的變化,這是要給 NAM 用的 $ns duplex-link-op $n2 $n3 queuePos 0.5
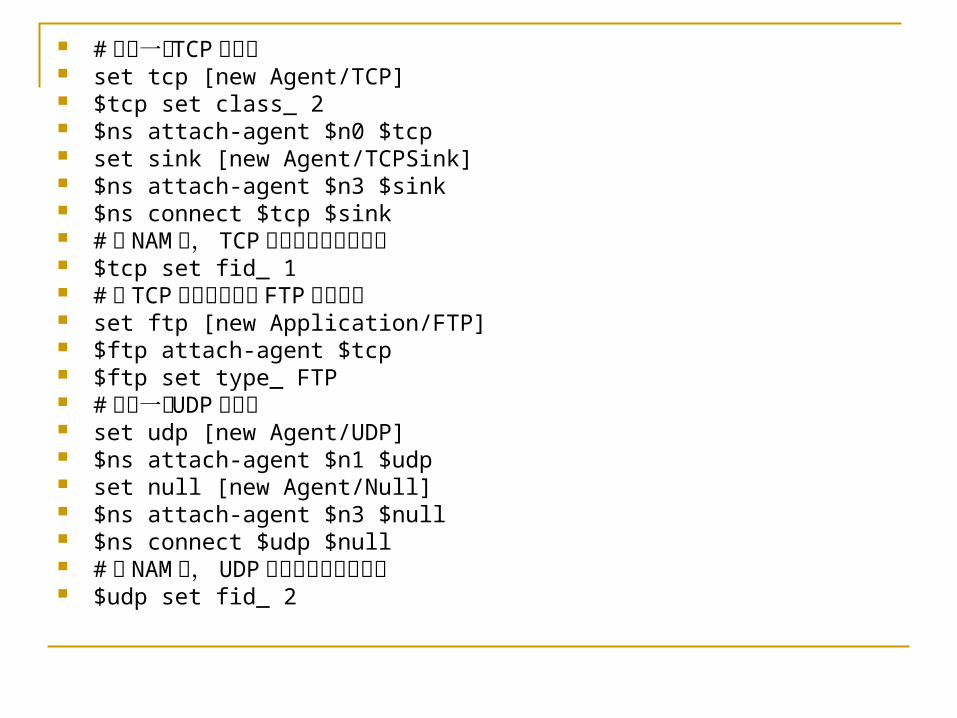
# 建立一條 TCP 的連線 set tcp [new Agent/TCP] $tcp set class_ 2 $ns attach-agent $n0 $tcp set sink [new Agent/TCPSink] $ns attach-agent $n3 $sink $ns connect $tcp $sink # 在 NAM 中, TCP 的連線會以藍色表示 $tcp set fid_ 1 # 在 TCP 連線之上建立 FTP 應用程式 set ftp [new Application/FTP] $ftp attach-agent $tcp $ftp set type_ FTP # 建立一條 UDP 的連線 set udp [new Agent/UDP] $ns attach-agent $n1 $udp set null [new Agent/Null] $ns attach-agent $n3 $null $ns connect $udp $null # 在 NAM 中, UDP 的連線會以紅色表示 $udp set fid_ 2

# 在 UDP 連線之上建立 CBR 應用程式 set cbr [new Application/Traffic/CBR] $cbr attach-agent $udp $cbr set type_ CBR $cbr set packet_size_ 1000 $cbr set rate_ 1mb $cbr set random_ false # 設定 FTP 和 CBR 資料傳送開始和結束時間 $ns at 0.1 "$cbr start" $ns at 1.0 "$ftp start" $ns at 4.0 "$ftp stop" $ns at 4.5 "$cbr stop" # 結束 TCP 的連線 ( 不一定需要寫下面的程式碼來實際結束連線 ) $ns at 4.5 "$ns detach-agent $n0 $tcp ; $ns detach-agent $n3 $sink" # 在模擬環境中, 5 秒後去呼叫 finish 來結束模擬 ( 這樣要注意模擬環境
中 # 的 5 秒並不一定等於實際模擬的時間 $ns at 5.0 "finish" # 執行模擬 $ns run
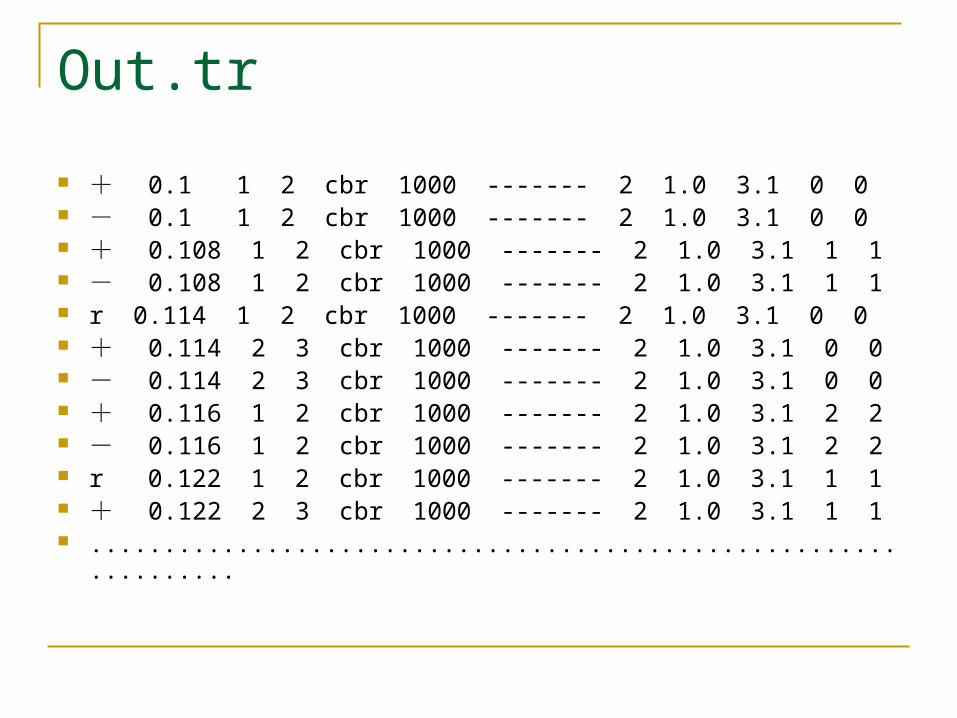
Out.tr
+ 0.1 1 2 cbr 1000 ------- 2 1.0 3.1 0 0 - 0.1 1 2 cbr 1000 ------- 2 1.0 3.1 0 0 + 0.108 1 2 cbr 1000 ------- 2 1.0 3.1 1 1 - 0.108 1 2 cbr 1000 ------- 2 1.0 3.1 1 1 r 0.114 1 2 cbr 1000 ------- 2 1.0 3.1 0 0 + 0.114 2 3 cbr 1000 ------- 2 1.0 3.1 0 0 - 0.114 2 3 cbr 1000 ------- 2 1.0 3.1 0 0 + 0.116 1 2 cbr 1000 ------- 2 1.0 3.1 2 2 - 0.116 1 2 cbr 1000 ------- 2 1.0 3.1 2 2 r 0.122 1 2 cbr 1000 ------- 2 1.0 3.1 1 1 + 0.122 2 3 cbr 1000 ------- 2 1.0 3.1 1 1 .................................................................
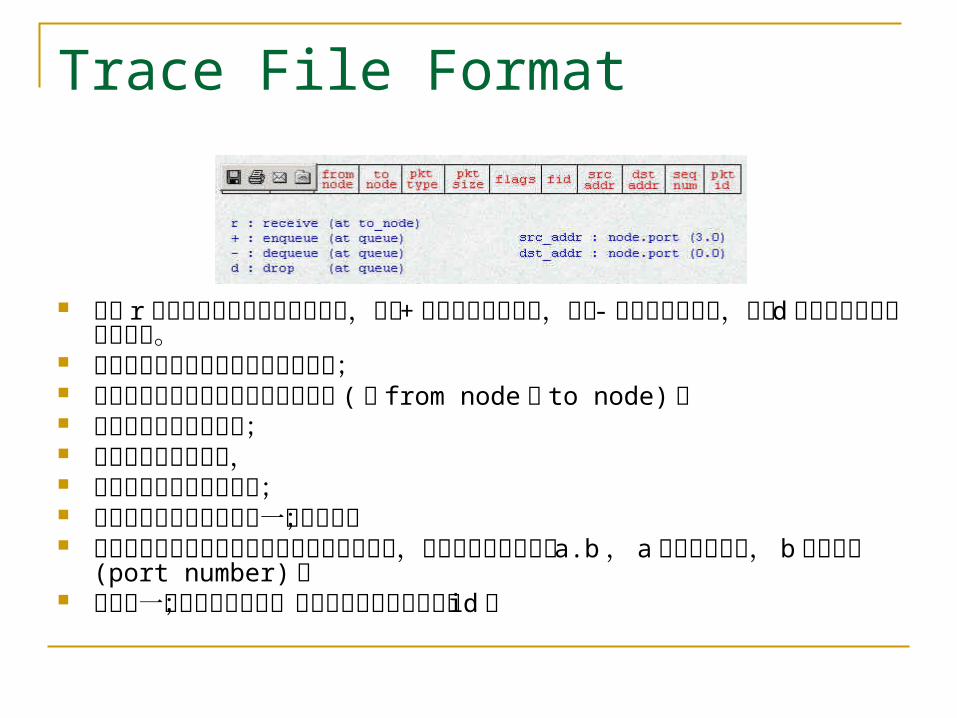
Trace File Format
若是 r 則表示封包被某個節點所接收,若是 + 則表示進入了佇列,若是 -則表示離開佇列,若是 d 則表示封包被佇列所丟棄。
第二個欄位表示的是事件發生的時間; 欄位三和欄位四表示事件發生的地點 ( 從 from node 到 to node) ; 欄位五表示封包的型態; 欄位六是封包的大小, 欄位七是封包的旗標標註; 欄位八表示封包是屬於那一個資料流; 欄位九和欄位十是表示封包的來源端和目的端,這兩個欄位的格式是 a.b ,
a 代表節點編號, b 表示埠號 (port number) ; 欄位十一表示封包的序號;最後欄位十二表示封包的 id 。