Embed Size (px)
Citation preview
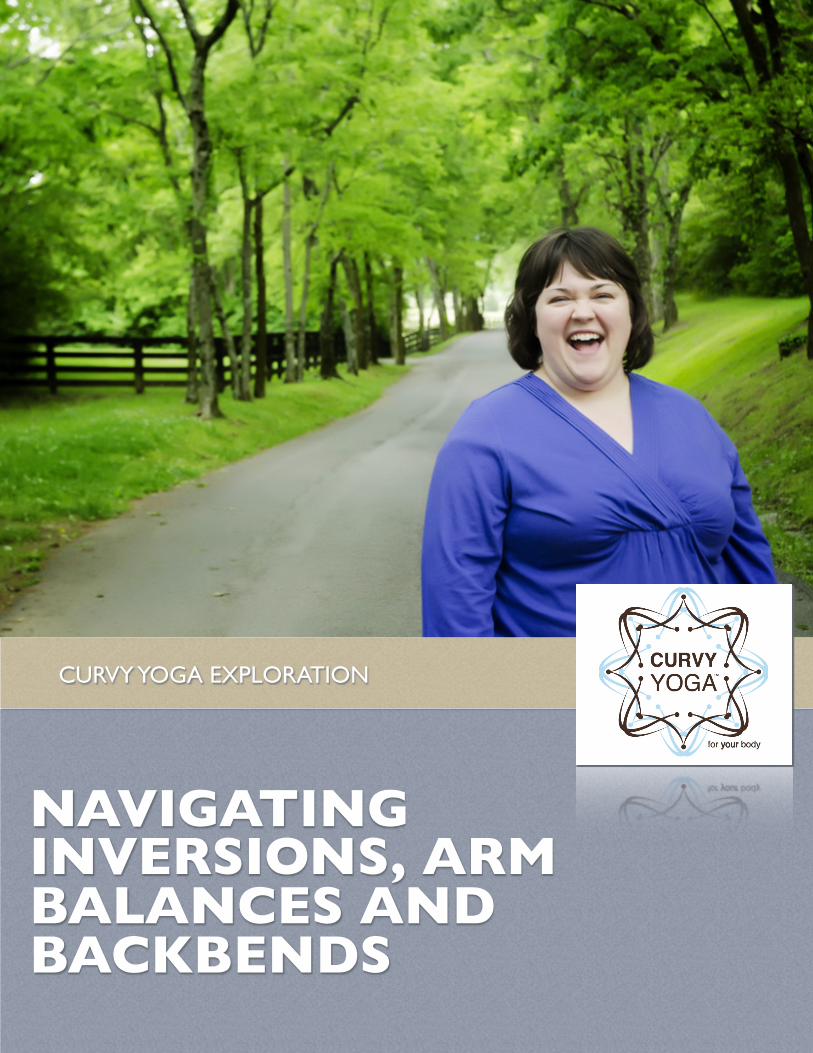
NAVIGATING INVERSIONS, ARM BALANCES AND BACKBENDS
CURVY YOGA EXPLORATION
!!
© Curvy Yoga www.CurvyYoga.com 1
Navigating Inversions, Navigating Inversions,
Arm Balances and BackbendsArm Balances and Backbends
What I hear from curvy students is that there’s nothing they dread more than the inversions and/or arm balances portion of a yoga class. I know this isn’t curvy-specific, but curvy students do face a number of unique challenges that are important to consider.
When thinking about what options to offer your students, remember that one of curvy students’ top concerns is feeling like they don’t fit in. So while you might be tempted to ask them to sit one out, see if you can find ways for them to participate that are safe, feel good and let them feel like part of the class community.
Let your curvy student be the guide. Many curvy students will not want or choose to practice these poses, but that doesn’t mean they’re completely beyond their ability no matter what. Just like with your non-curvy students, each individual’s ability varies widely, so offer some choices and then let them decide (within reason, of course – if they’re about to hurt themselves, please do intervene!).
Let’s go through a few common poses. My intention here is to walk you through some potential pitfalls and fixes so that if you’re teaching poses that aren’t featured here, you’ll be able to gather enough info to determine what options to offer. The modifications offered here are curvy specific. There are many more modifications for these and other poses in these categories that are not curvy specific; I trust that you know those or can find out more info.
!!
© Curvy Yoga www.CurvyYoga.com 2
Invers ions
Adho Mukha Vrksasana (Handstand)
• Work with the wall: Some curvy students will be willing/able to work with Handstand just like your other students. For those who are not, Dolphin and/or Handstand at the wall (the L-shape version where feet are pressing into the wall) is great.
Sa lamba Sarvangasana (Shoulderstand)
• Props, props, props: We start to get into dicey territory if curvy students aren’t well propped in this pose – potentially way too much pressure on the cervical spine. I personally don’t teach it – I don’t believe the benefits outweigh the risks. However, if curvy students want to participate, I recommend props, props & more props. I’d go with Half-Shoulderstand at the wall: blankets under shoulders, feet pressing into wall.
• Move from Bridge into Shoulderstand: One option is to have students come into Bridge with a block (or two) under their sacrum. If they feel okay there, they can play with lifting leg at a time up in the air, in an approximation of Shoulderstand. If that feels good, they can lift both legs and hold them there before slowly and gently lowering down.
• Offer another pose: Before beginning to teach Shoulderstand, you might teach a more accessible inversion – Bridge, Legs up the wall with a bolster under the hips, etc. Then, when you do Shoulderstand, you can offer students to work with that or repeat what they just did.
Halasana (P low Pose)
• Take the feet to a chair or a wall: I don’t think I’ve ever met a curvy student who likes this pose – talk about holy boob/belly claustrophobia, Batman! On the rare occasion that I’m in a class where I feel I should participate in this pose, I only do it with – surprise, surprise – lots of props: blankets under shoulders, mat on chair, small bolster on chair. It looks something like this on a chair. And like this with feet to wall (although these folks aren’t using another props, which I don’t love).
• Offer another pose: In addition to the reality of being nearly suffocated in this pose, there are a couple other reasons why curvy students may not like it: (a) emotional component of being highly confronted with one’s own flesh – boobs and belly – these are areas of the body that many of us are taught to hide, so when they’re right in your face, it can be overwhelming; (b) belief – real or perceived – that they won’t be able to get their legs up and over. For some people based on their center of gravity, this may be quite literally true. For others, they might be physically able to but not think they can – this is when things can get quite risky if they start doing a lot of exuberant rocking to get the legs over. All of these reasons combined suggest to me that using another pose is often the best course of action.
!!
© Curvy Yoga www.CurvyYoga.com 3
Sa lamba S irsasana (Headstand)
• Headless Headstand: I haven’t seen any evidence to convince me that it’s safe for curvy students to go into Headstand. The weight on the head and neck makes me nervous. The only way I would teach Headstand to students is the Headless (AKA 2 chair) version. This is quite time consuming to set up, though, and I definitely don’t recommend teaching it unless you’ve tried it multiple times yourself. Here’s a video of my teacher, Cora Wen, demonstrating it.
• Offer Dolphin: This allows students to be in a similar shape to other students without risking any injury.
• Return to the question of “What’s the benefit?” If you’re considering teaching Headstand, ask yourself what the benefit of the pose is and if students can get it in another, more accessible pose. I believe that the answer is yes – offer students another pose and you can both breathe easy that no one will be injured.
Arm Balances
Bakasana (Crane or Crow Pose)
• Step the feet wide: they’re not going anywhere if their belly doesn’t have room
• Turn the feet out slightly: this can, again, give the student more space – just make sure her knees are tracking with her feet
• Work with butt at wall: If they’re working with balance, ask them to work with their butt on the wall – it lets them get the feel with less risk of toppling over
• Bind the breasts with a strap: Even with the feet wide, boobs/belly are still compressed here. They might like a strap if boob strangulation/suffocation is becoming an issue.
• Bring the hands to blocks: If the student’s arms won’t come to the ground because belly/boobs are still inhibiting their movement a bit, bring the floor to them by placing a block under each hand.
P incha Mayurasana (Peacock Pose)
• Offer Dolphin: this is a great pose for curvy students to play with. It allows them to work on the foundational steps of the pose (so likely be in the same physical position as other students) without going all the way in if that’s not appropriate for them.
!!
© Curvy Yoga www.CurvyYoga.com 4
Vas isthasana (S ide P lank Pose)
• Begin with the knee down option: This is probably good for all of your students, honestly. It allows them to experience the freedom of the pose before adding in the arm balance option.
Backbends
Dhanurasana (Bow Pose)
• Strap around feet: If a student is unable to reach her feet in this pose, offer her the option to loop a strap around her feet to extend her arms. Sometimes this is difficult to maneuver on one’s own, so you might also just set the strap up for them.
• Work one foot at a time: To include everyone, you might start with everyone trying one foot at a time before trying both. You can then offer that those who would like to can stay working with one foot at a time.
Setu Bandha Sarvangasana (Br idge Pose)
• Boob strap: If students experience any death-by-boob-smush feeling here, the strap cinched above the breasts can be a great option.
• Support with a block: If students experience difficulty staying up, offer them a block on the lowest height under their sacrum. If they’re okay there, they can turn the block up a notch. Sometimes it’s nice for curvy students to have 2 blocks next to each other under their back to widen the base of the support; otherwise, it can sometimes feel like you’re about to fall off.
Urdvha Dhanurasana (Wheel Pose)
• Start higher: As with many students, the biggest challenge for curvy students in this pose is often pushing up. One of my favorite ways to help students work with this is to start them off higher – if you have yoga chairs and students can comfortably fit in them, that can be a great option. If not, stack 2-3 bolsters (the rectangular ones are probably better than the round ones just because they’re more stable when stacked) on top of each other. Ask the student to lay with their back on the stack: feet are on the floor and hands are behind them, in position. They can stay here, getting the feel of the pose, or they can experiment with pushing up as appropriate.