Embed Size (px)
Citation preview

Murano Administrator's Guide

Murano Administrator's Guidev0.2
Publication date 2013-09-09Copyright ©
Abstract
This document is intended for individuals who wish to install and use our product or intend to contribute.

iii
Table of Contents1. General Deployment Steps ............................................................................................... 1
Prepare A Lab For Murano .......................................................................................... 1Lab Requirements ............................................................................................... 1Test Your Lab Host Performance .......................................................................... 1Baseline Data .................................................................................................... 2Host Optimizations ............................................................................................. 3
Install OpenStack ....................................................................................................... 3Configure OpenStack .................................................................................................. 4
2. Install Murano Components .............................................................................................. 5Automatic Installation ................................................................................................. 5Manual Installation ..................................................................................................... 6
Pre-Requisites .................................................................................................... 6Murano API Service ........................................................................................... 7Conductor Service ............................................................................................. 10Murano Dashboard ............................................................................................ 13SSL configuration ............................................................................................. 14
3. Image Builder ............................................................................................................... 17Install Required Packages ........................................................................................... 17Configure Shared Resource ........................................................................................ 18Prerequisites ............................................................................................................. 18Additional Software .................................................................................................. 20Build Windows Image (Automatic Way) ....................................................................... 21Build Windows Image (Manual Way) .......................................................................... 22Upload Image Into Glance .......................................................................................... 24
4. Troubleshooting ............................................................................................................ 265. Appendix ..................................................................................................................... 28

iv
List of Tables1.1. Hardware requirements .................................................................................................. 11.2. OS Requirements ......................................................................................................... 1
1
Chapter 1. General Deployment StepsPrepare A Lab For Murano
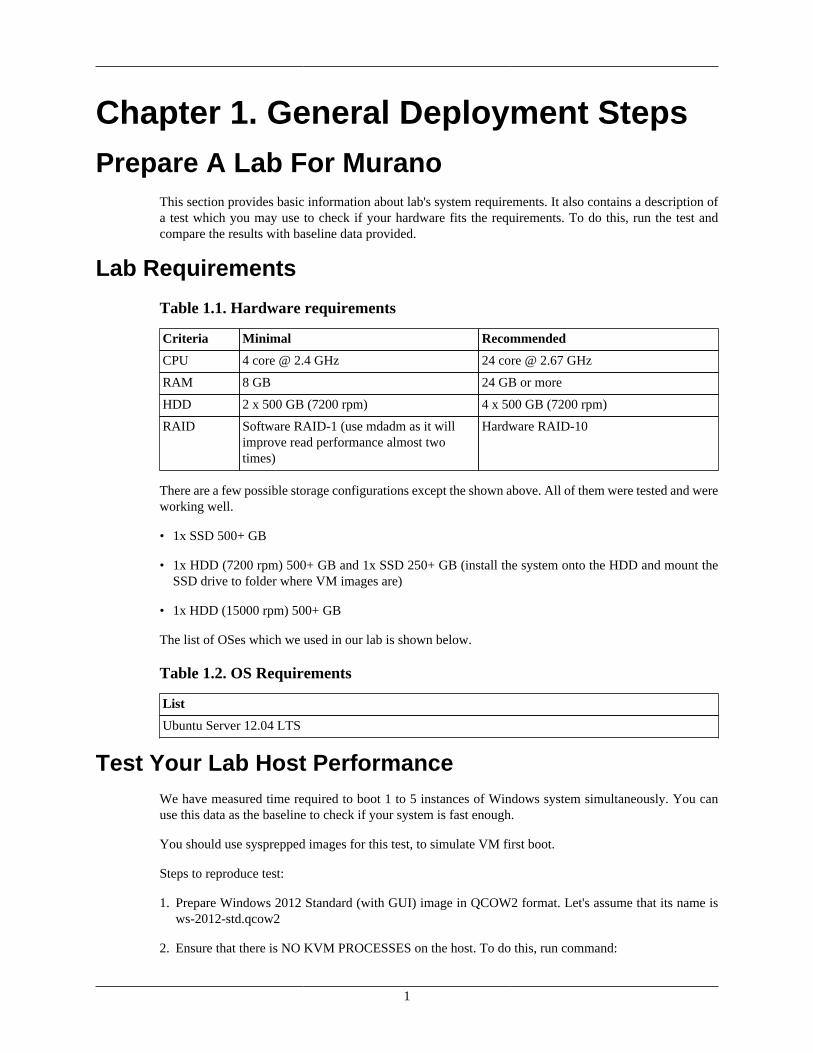
This section provides basic information about lab's system requirements. It also contains a description ofa test which you may use to check if your hardware fits the requirements. To do this, run the test andcompare the results with baseline data provided.
Lab Requirements
Table 1.1. Hardware requirements
Criteria Minimal Recommended
CPU 4 core @ 2.4 GHz 24 core @ 2.67 GHz
RAM 8 GB 24 GB or more
HDD 2 x 500 GB (7200 rpm) 4 x 500 GB (7200 rpm)
RAID Software RAID-1 (use mdadm as it willimprove read performance almost twotimes)
Hardware RAID-10
There are a few possible storage configurations except the shown above. All of them were tested and wereworking well.
• 1x SSD 500+ GB
• 1x HDD (7200 rpm) 500+ GB and 1x SSD 250+ GB (install the system onto the HDD and mount theSSD drive to folder where VM images are)
• 1x HDD (15000 rpm) 500+ GB
The list of OSes which we used in our lab is shown below.
Table 1.2. OS Requirements
List
Ubuntu Server 12.04 LTS
Test Your Lab Host PerformanceWe have measured time required to boot 1 to 5 instances of Windows system simultaneously. You canuse this data as the baseline to check if your system is fast enough.
You should use sysprepped images for this test, to simulate VM first boot.
Steps to reproduce test:
1. Prepare Windows 2012 Standard (with GUI) image in QCOW2 format. Let's assume that its name isws-2012-std.qcow2
2. Ensure that there is NO KVM PROCESSES on the host. To do this, run command:
General Deployment Steps
2
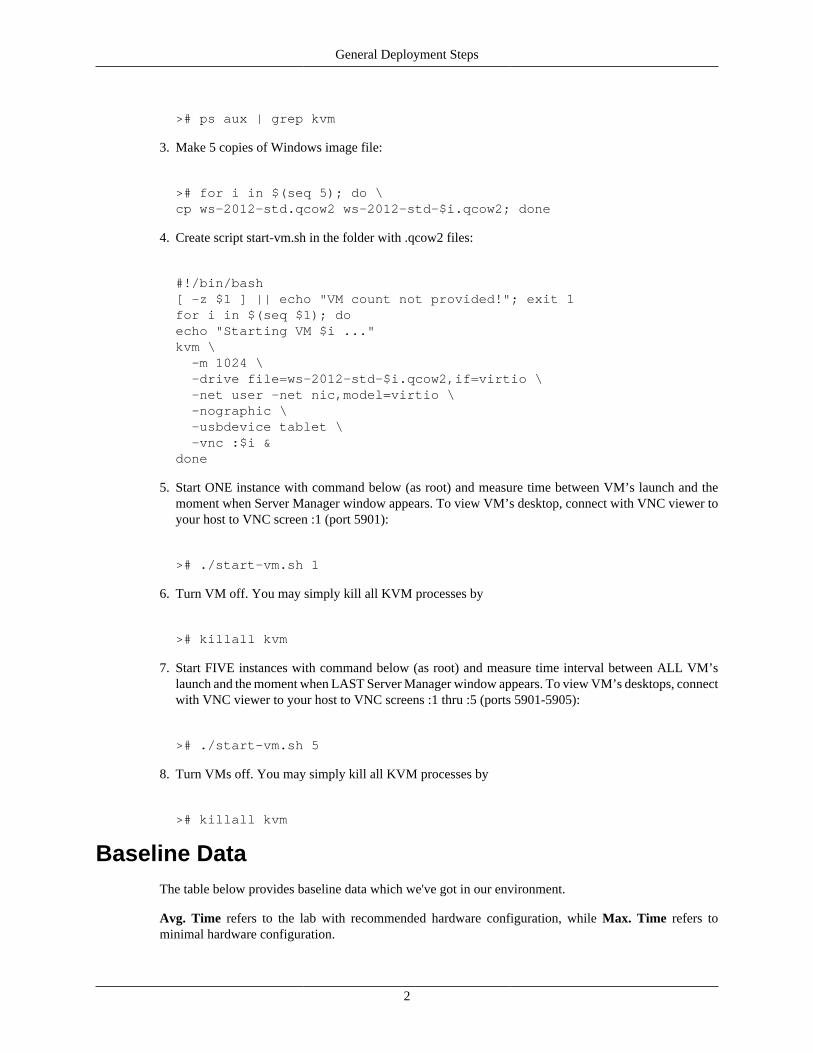
># ps aux | grep kvm
3. Make 5 copies of Windows image file:
># for i in $(seq 5); do \cp ws-2012-std.qcow2 ws-2012-std-$i.qcow2; done
4. Create script start-vm.sh in the folder with .qcow2 files:
#!/bin/bash[ -z $1 ] || echo "VM count not provided!"; exit 1for i in $(seq $1); doecho "Starting VM $i ..."kvm \ -m 1024 \ -drive file=ws-2012-std-$i.qcow2,if=virtio \ -net user -net nic,model=virtio \ -nographic \ -usbdevice tablet \ -vnc :$i &done
5. Start ONE instance with command below (as root) and measure time between VM’s launch and themoment when Server Manager window appears. To view VM’s desktop, connect with VNC viewer toyour host to VNC screen :1 (port 5901):
># ./start-vm.sh 1
6. Turn VM off. You may simply kill all KVM processes by
># killall kvm
7. Start FIVE instances with command below (as root) and measure time interval between ALL VM’slaunch and the moment when LAST Server Manager window appears. To view VM’s desktops, connectwith VNC viewer to your host to VNC screens :1 thru :5 (ports 5901-5905):
># ./start-vm.sh 5
8. Turn VMs off. You may simply kill all KVM processes by
># killall kvm
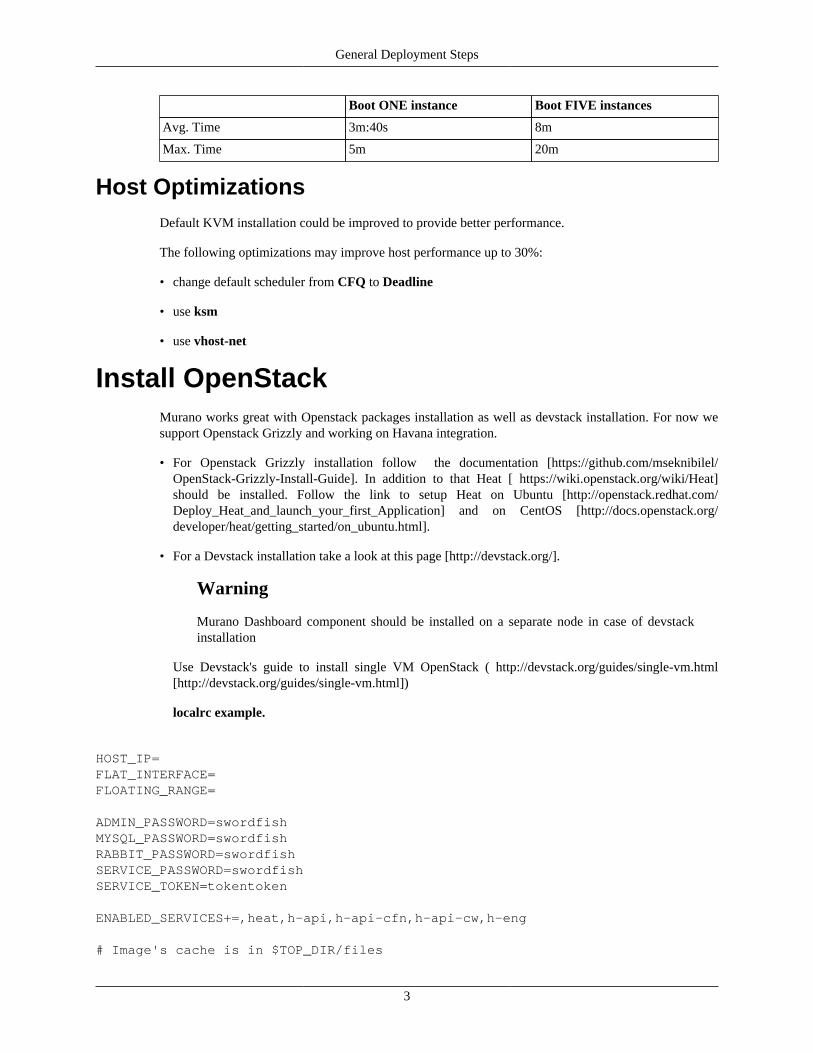
Baseline DataThe table below provides baseline data which we've got in our environment.
Avg. Time refers to the lab with recommended hardware configuration, while Max. Time refers tominimal hardware configuration.
General Deployment Steps
3
Boot ONE instance Boot FIVE instances
Avg. Time 3m:40s 8m
Max. Time 5m 20m
Host OptimizationsDefault KVM installation could be improved to provide better performance.
The following optimizations may improve host performance up to 30%:
• change default scheduler from CFQ to Deadline
• use ksm
• use vhost-net
Install OpenStackMurano works great with Openstack packages installation as well as devstack installation. For now wesupport Openstack Grizzly and working on Havana integration.
• For Openstack Grizzly installation follow the documentation [https://github.com/mseknibilel/OpenStack-Grizzly-Install-Guide]. In addition to that Heat [ https://wiki.openstack.org/wiki/Heat]should be installed. Follow the link to setup Heat on Ubuntu [http://openstack.redhat.com/Deploy_Heat_and_launch_your_first_Application] and on CentOS [http://docs.openstack.org/developer/heat/getting_started/on_ubuntu.html].
• For a Devstack installation take a look at this page [http://devstack.org/].
Warning
Murano Dashboard component should be installed on a separate node in case of devstackinstallation
Use Devstack's guide to install single VM OpenStack ( http://devstack.org/guides/single-vm.html[http://devstack.org/guides/single-vm.html])
localrc example.
HOST_IP=FLAT_INTERFACE=FLOATING_RANGE=
ADMIN_PASSWORD=swordfishMYSQL_PASSWORD=swordfishRABBIT_PASSWORD=swordfishSERVICE_PASSWORD=swordfishSERVICE_TOKEN=tokentoken
ENABLED_SERVICES+=,heat,h-api,h-api-cfn,h-api-cw,h-eng
# Image's cache is in $TOP_DIR/files
General Deployment Steps
4
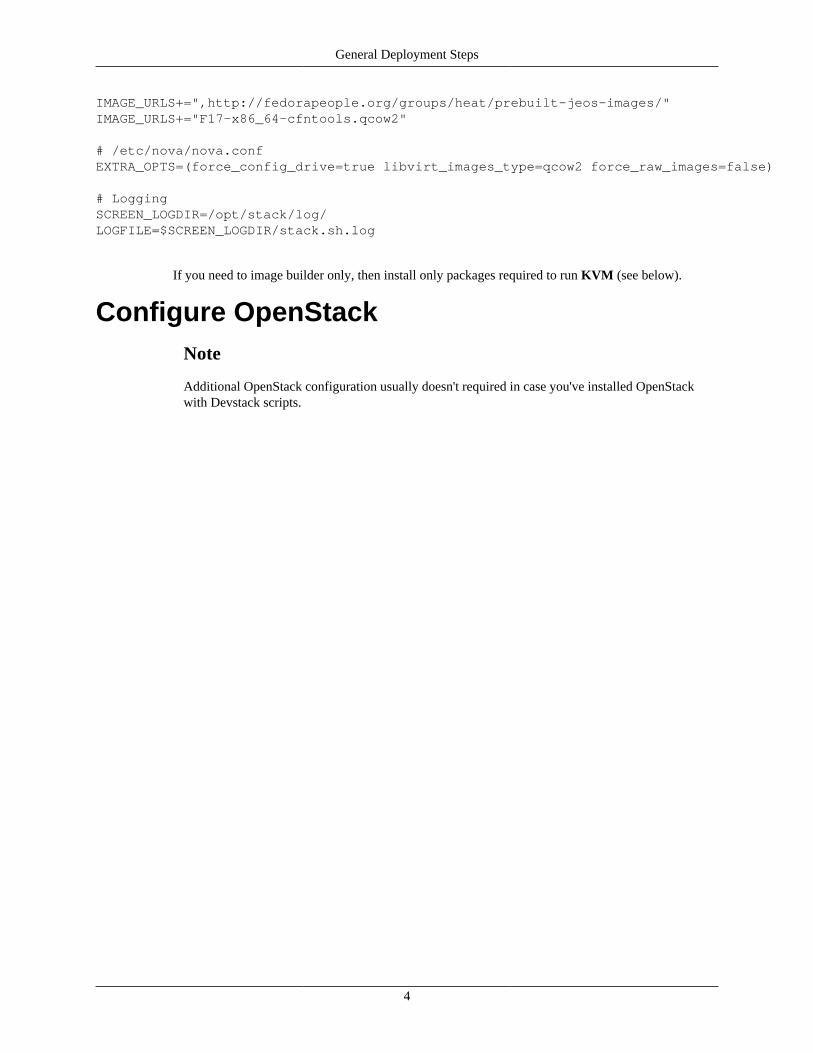
IMAGE_URLS+=",http://fedorapeople.org/groups/heat/prebuilt-jeos-images/"IMAGE_URLS+="F17-x86_64-cfntools.qcow2"
# /etc/nova/nova.confEXTRA_OPTS=(force_config_drive=true libvirt_images_type=qcow2 force_raw_images=false)
# LoggingSCREEN_LOGDIR=/opt/stack/log/LOGFILE=$SCREEN_LOGDIR/stack.sh.log
If you need to image builder only, then install only packages required to run KVM (see below).
Configure OpenStackNote
Additional OpenStack configuration usually doesn't required in case you've installed OpenStackwith Devstack scripts.

5
Chapter 2. Install Murano ComponentsThis chapter describes how to install Murano components on a separate devbox. We strongly recommendto use a separate host (virtual machine or real host) for Murano devbox as it prevents you from variousdependency conflicts.
Automatic InstallationThere is a script to automate Murano installation onto devbox.
• Create a folder to hold cloned repositories
># mkdir -p /opt/git
• Clone murano-deployment repository
># cd /opt/git># git clone git://github.com/stackforge/murano-deployment.git
• Change directory to murano-deployment and switch to required branch (e.g.master)
># cd /opt/git/murano-deployment># git checkout -b master origin/master
• Install prerequisites
># cd /opt/git/murano-deployment/devbox-scripts># ./murano-git-install.sh prerequisites
• Configure the following parameters in lab binding configuration file /etc/murano-deployment/lab-binding.rc
• LAB_HOST - IP or nostname of the lab. Actually, this address/name should point to the host whereKeystone is installed.
• ADMIN_USER - OpenStack admin user
• ADMIN_PASSWORD - A password for OpenStack admin user
• RABBITMQ_USER - User to connect to RabbitMQ host
• RABBITMQ_PASSWORD - Password for that user
• RABBITMQ_VHOST - vHost which will be used by Murano components. Provides additionallayer of isolation from other devboxes.
• RABBITMQ_HOST - (optional) IP address or hostname of the host where RabbitMQ is installedIF it is not the same host as LAB_HOST points to
Install Murano Components
6
• RABBITMQ_HOST_ALT - (optional) IP address or hostname of the RabbitMQ host toconnect from inside the Windows instance. In some cases the addresses like LAB_HOST orRABBITMQ_HOST are inaccessible from instances, and they must use different address.
• FILE_SHARE_HOST - (optional) IP address or hostname of the host where file share withprerequisites is located IF it is not the same host as LAB_HOST points to.
• BRANCH_NAME - branch name from which all Murano components will be fetched for installation
• SSL_ENABLED - Set 'true' if OpenStack is configured with SSL support and 'false' otherwise.
• SSL_CA_FILE - Path to CA certificate for certificate validation on client side.
• Install Murano components
># ./murano-git-install.sh install
• Login to the Dashboard using URL http://<your VM IP>/dashboard or http://<your VM IP>/horizon
Manual InstallationThis chapter describes manual installation and configuration of Murano services.
Note that all Murano modules can be downloaded from our page [https://launchpad.net/murano/] onlaunchpad.
Automatic installationMurano can be installed in automatic way. Script will install all necessary packages to yoursystem. Find out more about this in Getting Started Guide [http://murano-docs.github.io/0.2/getting-started/content/ch04s02.html]
Pre-RequisitesMurano supports the following operating systems:
1. Ubuntu 12.04
2. RHEL/CentOS 6.4
These system packages are required for Murano:
Ubuntu
1. gcc
2. python-pip
3. python-dev
4. libxml2-dev
5. libxslt-dev
Install Murano Components
7
6. libffi-dev
CentOS
1. gcc
2. python-pip
3. python-devel
4. libxml2-devel
5. libxslt-devel
6. libffi-devel
All these packages will be installed in murano-installation scripts. In addition to these packages somerepositories are required. Please follow the instructions in the appendix to prepare your environment formurano installation.
Murano API ServiceMurano API provides access to the Murano orchestration engine via API.
This chapter describes the procedure of installation and condiguration of Murano API.
Install
• Superuser privileges is required to install and configure system packages. Let's switch to root account:
sudo su -
• Make sure that additional linux repositories are installed. See the appendix for information aboutpreparing a virtual machine for murano installation.
• Clone Murano API git repository:
git clone https://github.com/stackforge/murano-api
Stable version one of our releases [http://murano-docs.github.io/latest/developers-guide/content/ch03s02.html] can be checked by tag:
git checkout 0.2
• Switch to just created directory and then perform installation
Ubuntu
Install Murano Components
8
sh murano-api/setup.sh install
CentOS
sh murano-api/setup-centos.sh install
• Successful installation ends with message like this:
Successfully installed muranoapiCleaning up...LOG:> Making sample configuration files at "/etc/murano-api"LOG:> Reloading initctlLOG:> Please, make proper configuration,located at "/etc/murano-api", before starting the "murano-api" daemon!
Configure
• Copy and edit configuration files:
cd /etc/murano-apicp murano-api.conf.sample murano-api.confcp murano-api-paste.ini.sample murano-api-paste.ini
vi murano-api.conf
• Configure it according to your environment:
• [DEFAULT] section sets up logging.
• [reports] section allows you to set up names for new rabbitMQ queues.
• In [rabbitmq] section you can set up host configuration where rabbitMQ with just created user andvhost is running. If you consider to use Murano in production it;sbetter to use seperate vhosts inRabbitMQ. To add new vhost and user with administrator rights preform:
rabbitmqctl add_user muranouser muranorabbitmqctl set_user_tags muranouser administratorrabbitmqctl add_vhost muranovhostrabbitmqctl set_permissions -p muranovhost muranouser ".*" ".*" ".*"
Install Murano Components
9
• In [filter:authtoken] configure keystone auth_token. For more information see Auth-Token Middleware with Username and Password [http://docs.openstack.org/developer/keystone/configuringservices.html]
• Another murano-api configuration file located at /etc/murano-api/murano-api-paste.ini not requires any changes.
For more information how to configure SSL take a look at SSL configuration chapter•
Register murano-api service in Openstack.
Note: you need to be authorized in Openstack to run this commands. To do this, you can run somethinglike (having changed variables to appropriate values)
source $(YOUR_OPENSTACK_DIR)/openrc $(LOGIN) $(PASSWORD)
keystone service-create --name muranoapi --type murano --description "Murano-Api Service"
keystone endpoint-create
--region RegionOne --service-id The ID field returned by the keystone service-create --publicurl http://x.x.x.x:8082 (where x.x.x.x - host ip where murano-api installed) --internalurl the same as publicurl --adminurl the same as publicurl
Run
• Run Murano API service:
Ubuntu
service murano-api start
CentOS
initctl start murano-api
Install Murano Components
10
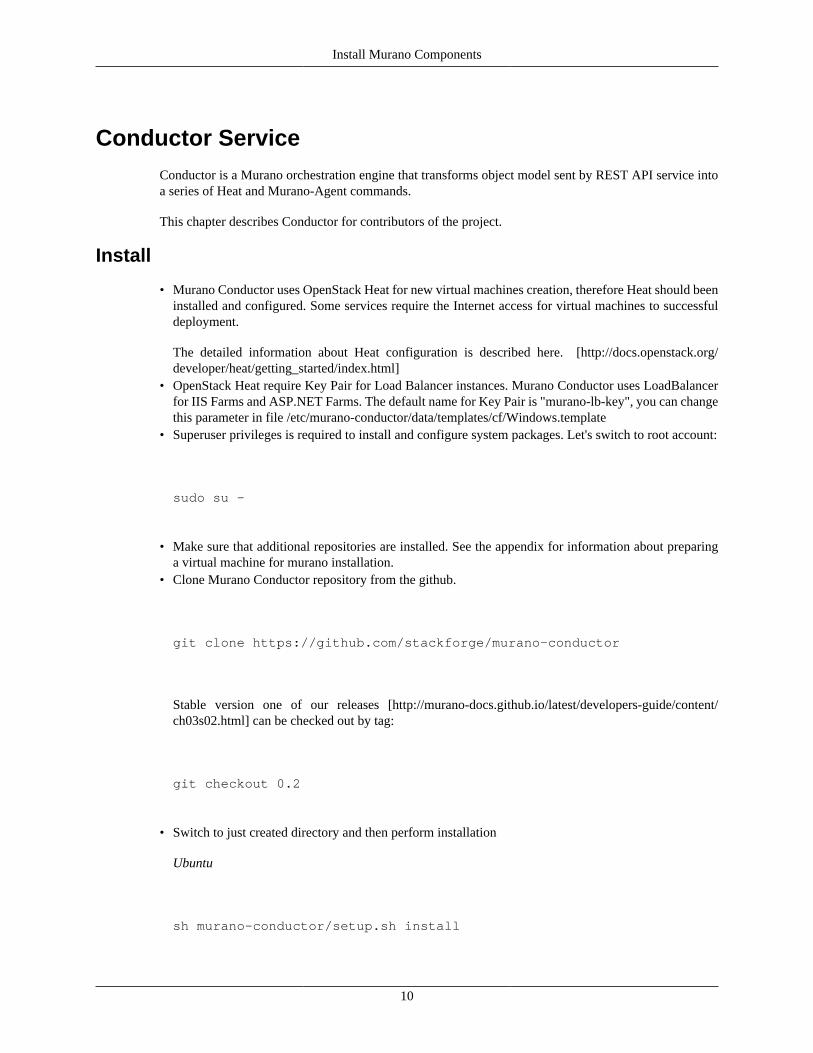
Conductor ServiceConductor is a Murano orchestration engine that transforms object model sent by REST API service intoa series of Heat and Murano-Agent commands.
This chapter describes Conductor for contributors of the project.
Install
• Murano Conductor uses OpenStack Heat for new virtual machines creation, therefore Heat should beeninstalled and configured. Some services require the Internet access for virtual machines to successfuldeployment.
The detailed information about Heat configuration is described here. [http://docs.openstack.org/developer/heat/getting_started/index.html]
• OpenStack Heat require Key Pair for Load Balancer instances. Murano Conductor uses LoadBalancerfor IIS Farms and ASP.NET Farms. The default name for Key Pair is "murano-lb-key", you can changethis parameter in file /etc/murano-conductor/data/templates/cf/Windows.template
• Superuser privileges is required to install and configure system packages. Let's switch to root account:
sudo su -
• Make sure that additional repositories are installed. See the appendix for information about preparinga virtual machine for murano installation.
• Clone Murano Conductor repository from the github.
git clone https://github.com/stackforge/murano-conductor
Stable version one of our releases [http://murano-docs.github.io/latest/developers-guide/content/ch03s02.html] can be checked out by tag:
git checkout 0.2
• Switch to just created directory and then perform installation
Ubuntu
sh murano-conductor/setup.sh install

Install Murano Components
11
CentOS
sh murano-conductor/setup-centos.sh install
Configure
• Edit configuration file and take a look at inline comments:
cd /etc/murano-conductorcp conductor.conf.sample conductor.conf
• Change configuration file according to your environment.
vi conductor.conf
• [DEFAULT]section is responsible for logging.
• [heat]points where heat is running.
• [rabbitmq]section points where your rabbitMQ installed and configured.
[DEFAULT]
# Path where log will be writtenlog_file = /var/log/murano-conductor.log# Log verbositydebug=Trueverbose=Truedata_dir = /etc/murano-conductor# Maximum number of environments that can be processed simultaneouslymax_environments = 20
[keystone]auth_url = http://localhost:5000/v2.0ca_file =cert_file =key_file =insecure = False
[heat]# Heat SSL parameters
Install Murano Components
12
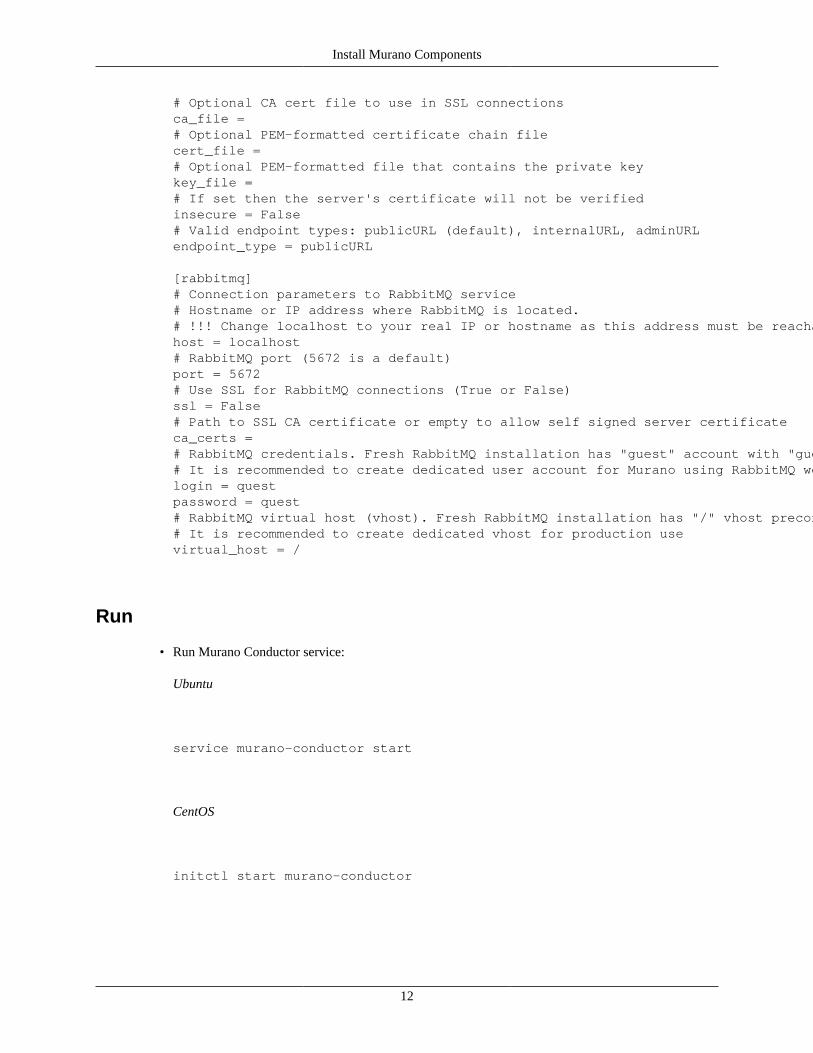
# Optional CA cert file to use in SSL connectionsca_file =# Optional PEM-formatted certificate chain filecert_file =# Optional PEM-formatted file that contains the private keykey_file =# If set then the server's certificate will not be verifiedinsecure = False# Valid endpoint types: publicURL (default), internalURL, adminURLendpoint_type = publicURL
[rabbitmq]# Connection parameters to RabbitMQ service# Hostname or IP address where RabbitMQ is located.# !!! Change localhost to your real IP or hostname as this address must be reachable from VMs !!!host = localhost# RabbitMQ port (5672 is a default)port = 5672# Use SSL for RabbitMQ connections (True or False)ssl = False# Path to SSL CA certificate or empty to allow self signed server certificateca_certs =# RabbitMQ credentials. Fresh RabbitMQ installation has "guest" account with "guest" password.# It is recommended to create dedicated user account for Murano using RabbitMQ web console or command line utilitylogin = questpassword = quest# RabbitMQ virtual host (vhost). Fresh RabbitMQ installation has "/" vhost preconfigured.# It is recommended to create dedicated vhost for production usevirtual_host = /
Run
• Run Murano Conductor service:
Ubuntu
service murano-conductor start
CentOS
initctl start murano-conductor
Install Murano Components
13
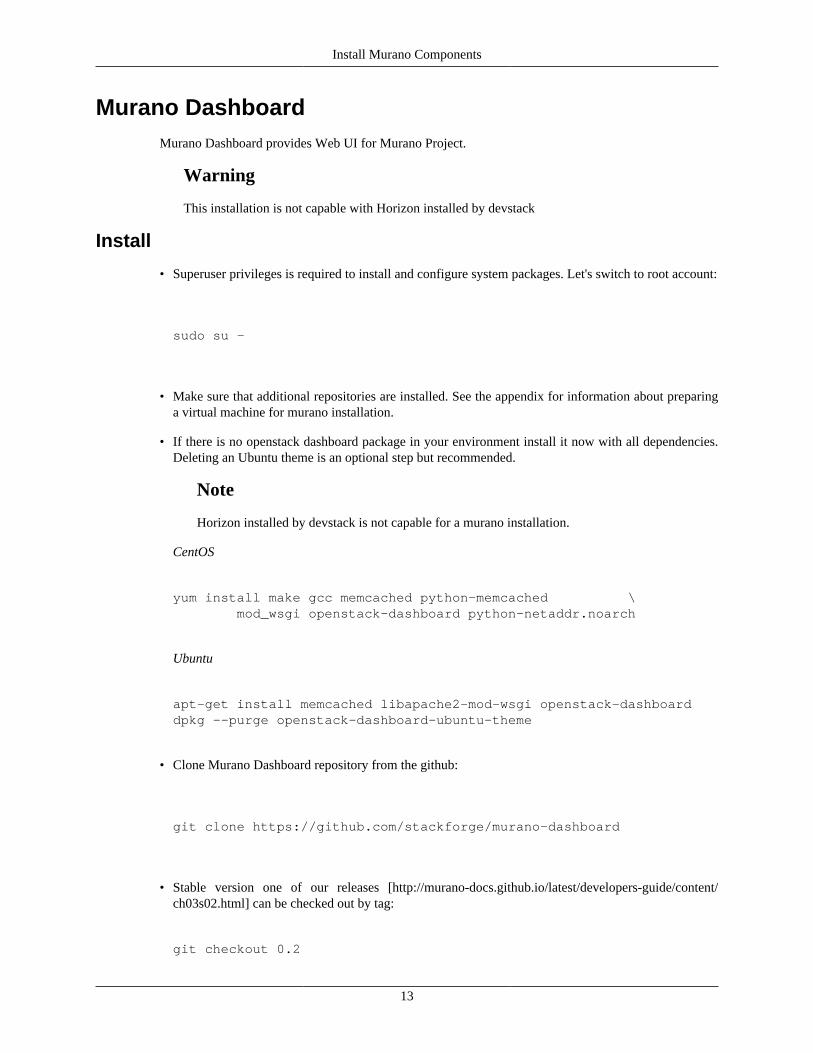
Murano DashboardMurano Dashboard provides Web UI for Murano Project.
Warning
This installation is not capable with Horizon installed by devstack
Install
• Superuser privileges is required to install and configure system packages. Let's switch to root account:
sudo su -
• Make sure that additional repositories are installed. See the appendix for information about preparinga virtual machine for murano installation.
• If there is no openstack dashboard package in your environment install it now with all dependencies.Deleting an Ubuntu theme is an optional step but recommended.
Note
Horizon installed by devstack is not capable for a murano installation.
CentOS
yum install make gcc memcached python-memcached \ mod_wsgi openstack-dashboard python-netaddr.noarch
Ubuntu
apt-get install memcached libapache2-mod-wsgi openstack-dashboarddpkg --purge openstack-dashboard-ubuntu-theme
• Clone Murano Dashboard repository from the github:
git clone https://github.com/stackforge/murano-dashboard
• Stable version one of our releases [http://murano-docs.github.io/latest/developers-guide/content/ch03s02.html] can be checked out by tag:
git checkout 0.2

Install Murano Components
14
• Switch to just created directory and run installation script
Ubuntu
sh murano-dashboard/setup.sh install
CentOS
sh murano-dashboard/setup-centos.sh install
Configure
• Murano installation script makes all needed changes in horizon (openstack dashboard) configs. All youhave to do is to configure horizon in appropriate way. Set OPENSTACK_HOST in your horizon localsettings which located in /etc/openstack-dashboard/local_settings.py.. For moreinformation visit official horizon documentation. [http://docs.openstack.org/developer/horizon/]
Run
Since all required settings are made Apache service need to be restarted to apply all changes.
• CentOS
# service httpd restart
• Ubuntu
# service apache2 restart
• Check that "Environments" panel appears at the horizon "Project" tab. To see how to operate withMurano dashboard plugin check out Murano User Guide. [http://murano-docs.github.io/latest/user-guide/content/ch01.html]
SSL configurationMurano components are able to work with SSL. This chapter will help your to make proper settings withSSL configuration.
HTTPS for Murano API
SSL for Murano API service can be configured in ssl section in /etc/murano-api/murano-api.conf. Justpoint to a valid SSL certificate. See the example below:

Install Murano Components
15
[ssl]cert_file = PATHkey_file = PATHca_file = PATH
• cert_file=PATH: Path to the certificate file the server should use when binding to an SSL-wrappedsocket.
• key_file=PATH: Path to the private key file the server should use when binding to an SSL-wrappedsocket.
• ca_file=PATH: Path to the CA certificate file the server should use to validate client certificatesprovided during an SSL handshake. This is ignored if cert_file and "key_file" are not set.
The use of SSL is automatically started after point to HTTPS protocol instead of HTTP during registrationMurano API service in endpoints (Change publicurl argument to start with https://). See here how toregister Murano API in Openstack Keystone.
SSL for Murano API is implemented like in any other Openstack component. This realization is basedon ssl python module so more information about it can be found here. [http://docs.python.org/2/library/ssl.html]
SSL for RabbitMQ
All Murano components communicate with each other by RabbitMQ. This interaction can be encryptedwith SSL. By default all messages in Rabbit MQ are not encrypted. Each RabbitMQ Exchange should beconfigured separately.
Murano API -> Rabbit MQ exchange
Edit rabbitmq section in /etc/murano-api/murano-api.conf and set ssl option to True to enable SSL. Specifythe path to the SSL CA certificate in regular format: /path/to/file without quotes or leave it empty to allowself-signed certificates.
[rabbitmq]
# Use SSL for RabbitMQ connections (True or False)ssl = True
# Path to SSL CA certificate or empty to allow self signed server certificateca_certs =
Rabbit MQ -> Murano Conductor exchange
Open /etc/murano-conductor/conductor.conf and configure rabbitmq section in the same way: enable ssloption to True and set CA certificate path or leave it empty to allow self-signed certificates.
Install Murano Components
16
[rabbitmq]
# Use SSL for RabbitMQ connections (True or False)ssl = True
# Path to SSL CA certificate or empty to allow self signed server certificateca_certs = /home/user/certificates/example.crt
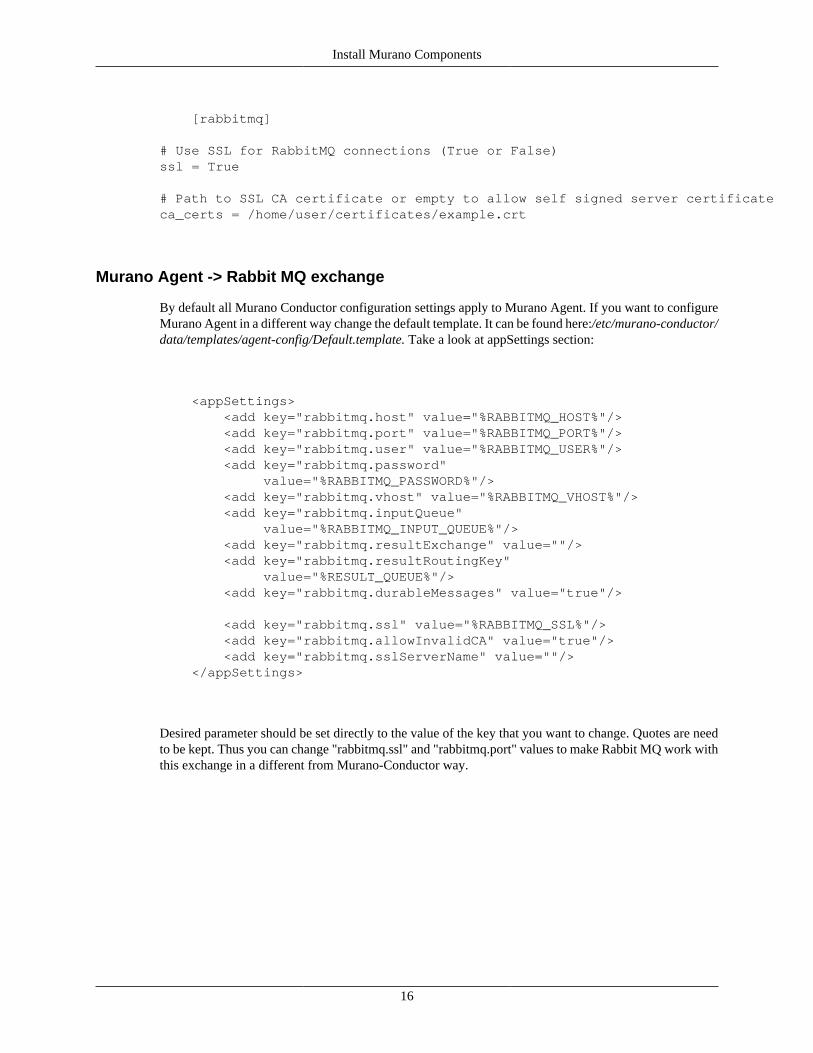
Murano Agent -> Rabbit MQ exchange
By default all Murano Conductor configuration settings apply to Murano Agent. If you want to configureMurano Agent in a different way change the default template. It can be found here:/etc/murano-conductor/data/templates/agent-config/Default.template. Take a look at appSettings section:
<appSettings> <add key="rabbitmq.host" value="%RABBITMQ_HOST%"/> <add key="rabbitmq.port" value="%RABBITMQ_PORT%"/> <add key="rabbitmq.user" value="%RABBITMQ_USER%"/> <add key="rabbitmq.password" value="%RABBITMQ_PASSWORD%"/> <add key="rabbitmq.vhost" value="%RABBITMQ_VHOST%"/> <add key="rabbitmq.inputQueue" value="%RABBITMQ_INPUT_QUEUE%"/> <add key="rabbitmq.resultExchange" value=""/> <add key="rabbitmq.resultRoutingKey" value="%RESULT_QUEUE%"/> <add key="rabbitmq.durableMessages" value="true"/>
<add key="rabbitmq.ssl" value="%RABBITMQ_SSL%"/> <add key="rabbitmq.allowInvalidCA" value="true"/> <add key="rabbitmq.sslServerName" value=""/> </appSettings>
Desired parameter should be set directly to the value of the key that you want to change. Quotes are needto be kept. Thus you can change "rabbitmq.ssl" and "rabbitmq.port" values to make Rabbit MQ work withthis exchange in a different from Murano-Conductor way.
17
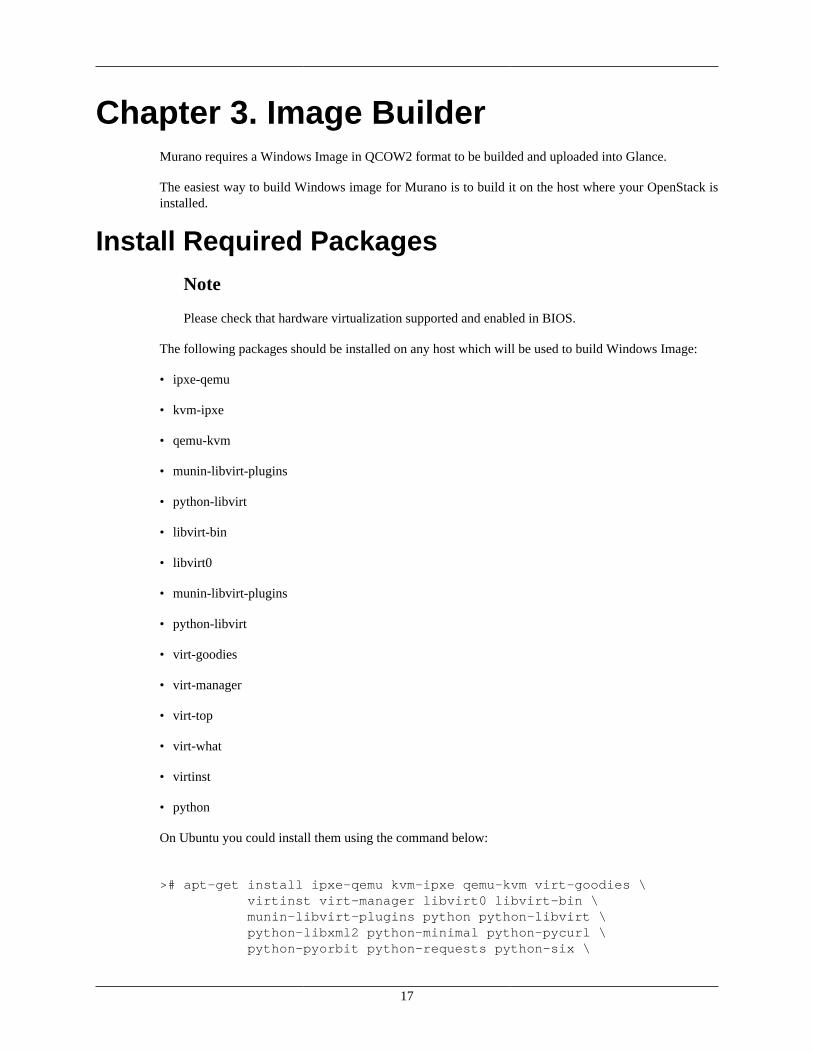
Chapter 3. Image BuilderMurano requires a Windows Image in QCOW2 format to be builded and uploaded into Glance.
The easiest way to build Windows image for Murano is to build it on the host where your OpenStack isinstalled.
Install Required PackagesNote
Please check that hardware virtualization supported and enabled in BIOS.
The following packages should be installed on any host which will be used to build Windows Image:
• ipxe-qemu
• kvm-ipxe
• qemu-kvm
• munin-libvirt-plugins
• python-libvirt
• libvirt-bin
• libvirt0
• munin-libvirt-plugins
• python-libvirt
• virt-goodies
• virt-manager
• virt-top
• virt-what
• virtinst
• python
On Ubuntu you could install them using the command below:
># apt-get install ipxe-qemu kvm-ipxe qemu-kvm virt-goodies \ virtinst virt-manager libvirt0 libvirt-bin \ munin-libvirt-plugins python python-libvirt \ python-libxml2 python-minimal python-pycurl \ python-pyorbit python-requests python-six \
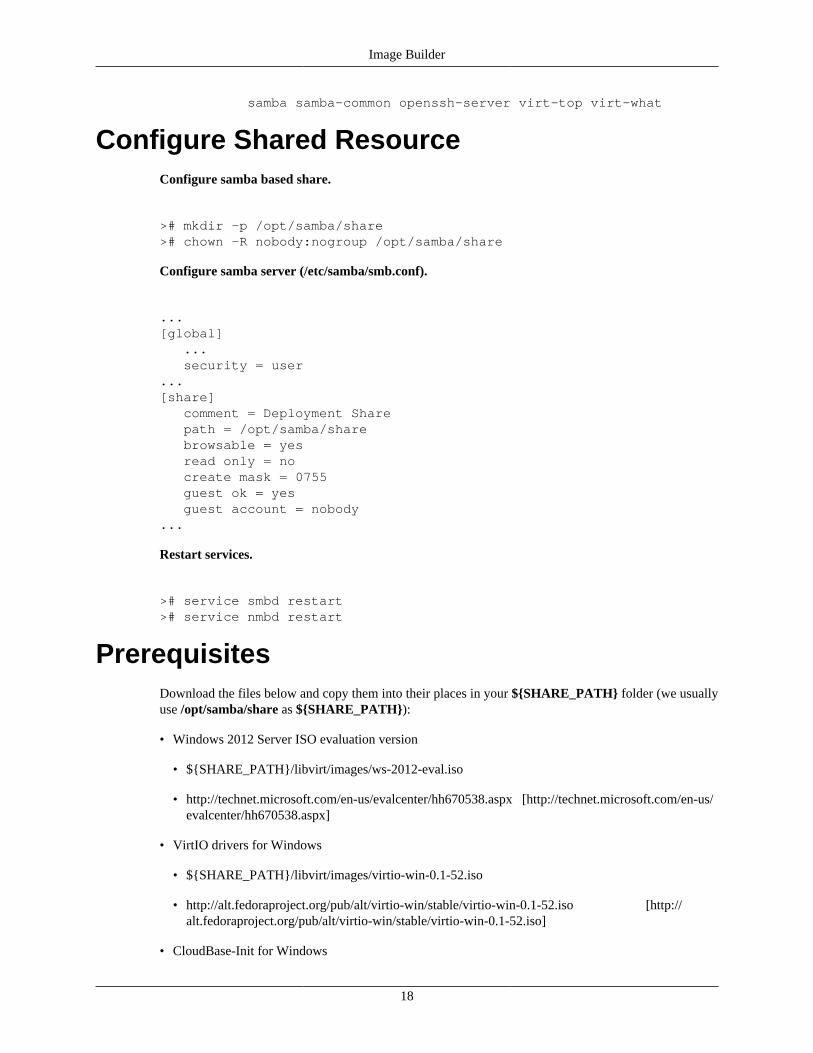
Image Builder
18
samba samba-common openssh-server virt-top virt-what
Configure Shared ResourceConfigure samba based share.
># mkdir -p /opt/samba/share># chown -R nobody:nogroup /opt/samba/share
Configure samba server (/etc/samba/smb.conf).
...[global] ... security = user...[share] comment = Deployment Share path = /opt/samba/share browsable = yes read only = no create mask = 0755 guest ok = yes guest account = nobody...
Restart services.
># service smbd restart># service nmbd restart
PrerequisitesDownload the files below and copy them into their places in your ${SHARE_PATH} folder (we usuallyuse /opt/samba/share as ${SHARE_PATH}):
• Windows 2012 Server ISO evaluation version
• ${SHARE_PATH}/libvirt/images/ws-2012-eval.iso
• http://technet.microsoft.com/en-us/evalcenter/hh670538.aspx [http://technet.microsoft.com/en-us/evalcenter/hh670538.aspx]
• VirtIO drivers for Windows
• ${SHARE_PATH}/libvirt/images/virtio-win-0.1-52.iso
• http://alt.fedoraproject.org/pub/alt/virtio-win/stable/virtio-win-0.1-52.iso [http://alt.fedoraproject.org/pub/alt/virtio-win/stable/virtio-win-0.1-52.iso]
• CloudBase-Init for Windows
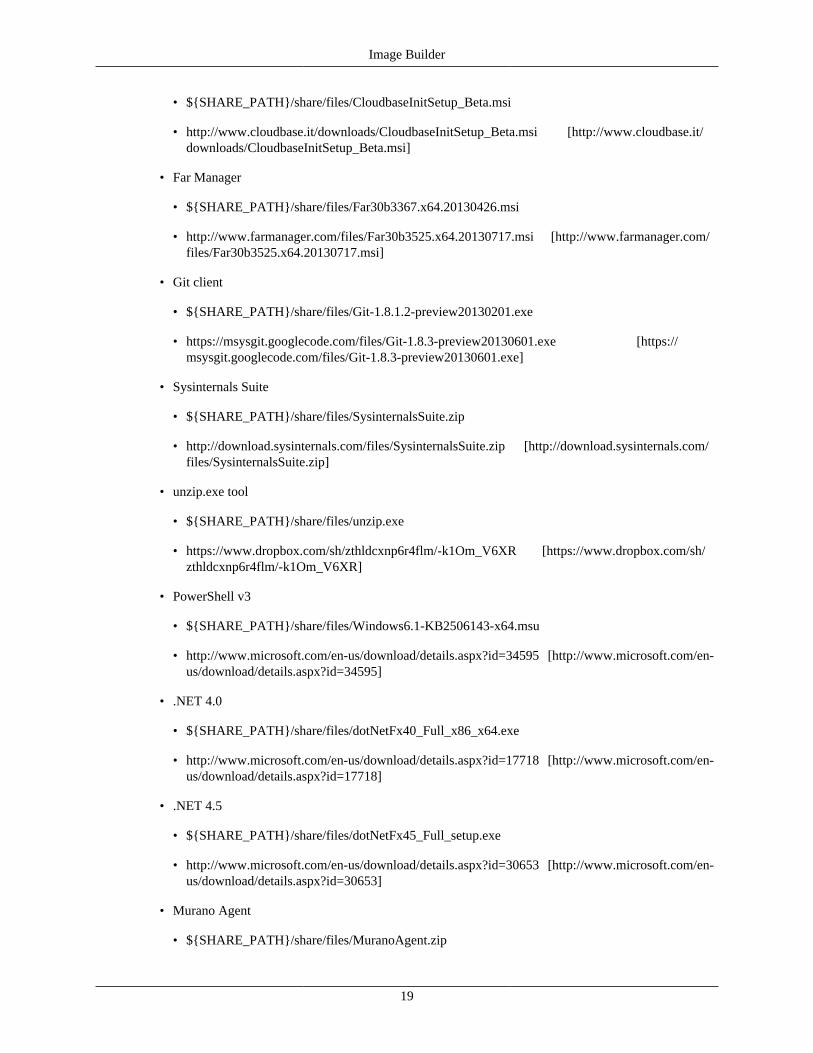
Image Builder
19
• ${SHARE_PATH}/share/files/CloudbaseInitSetup_Beta.msi
• http://www.cloudbase.it/downloads/CloudbaseInitSetup_Beta.msi [http://www.cloudbase.it/downloads/CloudbaseInitSetup_Beta.msi]
• Far Manager
• ${SHARE_PATH}/share/files/Far30b3367.x64.20130426.msi
• http://www.farmanager.com/files/Far30b3525.x64.20130717.msi [http://www.farmanager.com/files/Far30b3525.x64.20130717.msi]
• Git client
• ${SHARE_PATH}/share/files/Git-1.8.1.2-preview20130201.exe
• https://msysgit.googlecode.com/files/Git-1.8.3-preview20130601.exe [https://msysgit.googlecode.com/files/Git-1.8.3-preview20130601.exe]
• Sysinternals Suite
• ${SHARE_PATH}/share/files/SysinternalsSuite.zip
• http://download.sysinternals.com/files/SysinternalsSuite.zip [http://download.sysinternals.com/files/SysinternalsSuite.zip]
• unzip.exe tool
• ${SHARE_PATH}/share/files/unzip.exe
• https://www.dropbox.com/sh/zthldcxnp6r4flm/-k1Om_V6XR [https://www.dropbox.com/sh/zthldcxnp6r4flm/-k1Om_V6XR]
• PowerShell v3
• ${SHARE_PATH}/share/files/Windows6.1-KB2506143-x64.msu
• http://www.microsoft.com/en-us/download/details.aspx?id=34595 [http://www.microsoft.com/en-us/download/details.aspx?id=34595]
• .NET 4.0
• ${SHARE_PATH}/share/files/dotNetFx40_Full_x86_x64.exe
• http://www.microsoft.com/en-us/download/details.aspx?id=17718 [http://www.microsoft.com/en-us/download/details.aspx?id=17718]
• .NET 4.5
• ${SHARE_PATH}/share/files/dotNetFx45_Full_setup.exe
• http://www.microsoft.com/en-us/download/details.aspx?id=30653 [http://www.microsoft.com/en-us/download/details.aspx?id=30653]
• Murano Agent
• ${SHARE_PATH}/share/files/MuranoAgent.zip
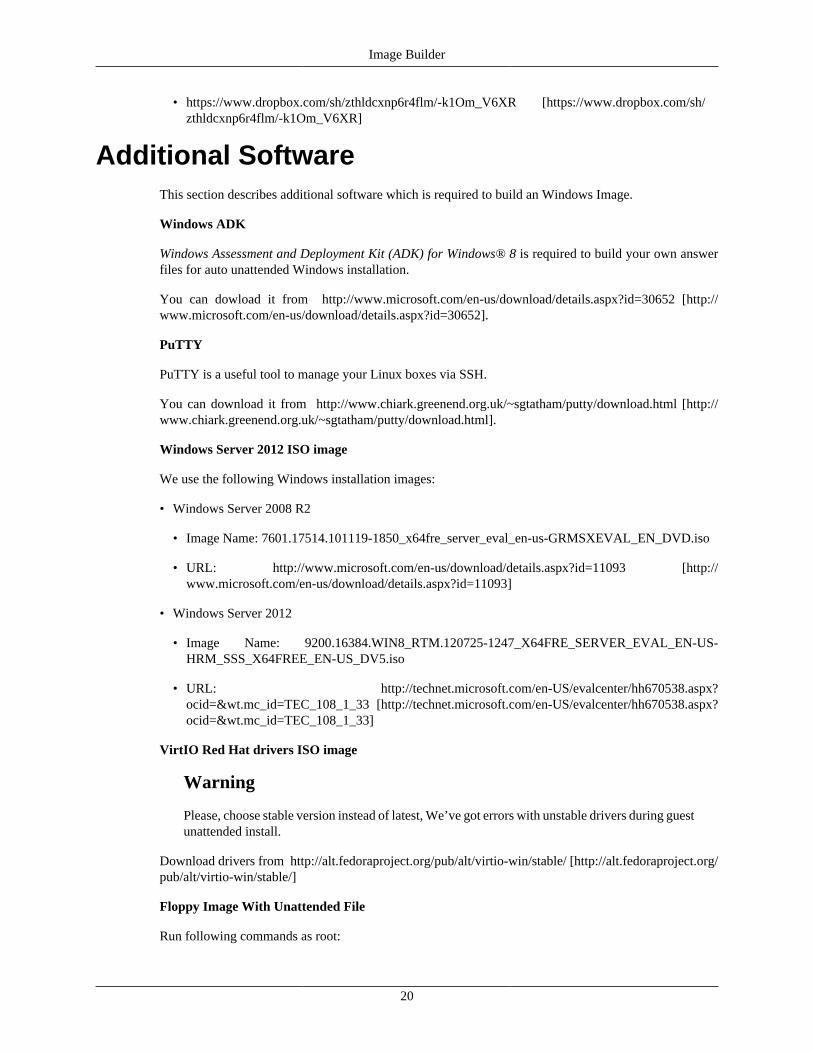
Image Builder
20
• https://www.dropbox.com/sh/zthldcxnp6r4flm/-k1Om_V6XR [https://www.dropbox.com/sh/zthldcxnp6r4flm/-k1Om_V6XR]
Additional SoftwareThis section describes additional software which is required to build an Windows Image.
Windows ADK
Windows Assessment and Deployment Kit (ADK) for Windows® 8 is required to build your own answerfiles for auto unattended Windows installation.
You can dowload it from http://www.microsoft.com/en-us/download/details.aspx?id=30652 [http://www.microsoft.com/en-us/download/details.aspx?id=30652].
PuTTY
PuTTY is a useful tool to manage your Linux boxes via SSH.
You can download it from http://www.chiark.greenend.org.uk/~sgtatham/putty/download.html [http://www.chiark.greenend.org.uk/~sgtatham/putty/download.html].
Windows Server 2012 ISO image
We use the following Windows installation images:
• Windows Server 2008 R2
• Image Name: 7601.17514.101119-1850_x64fre_server_eval_en-us-GRMSXEVAL_EN_DVD.iso
• URL: http://www.microsoft.com/en-us/download/details.aspx?id=11093 [http://www.microsoft.com/en-us/download/details.aspx?id=11093]
• Windows Server 2012
• Image Name: 9200.16384.WIN8_RTM.120725-1247_X64FRE_SERVER_EVAL_EN-US-HRM_SSS_X64FREE_EN-US_DV5.iso
• URL: http://technet.microsoft.com/en-US/evalcenter/hh670538.aspx?ocid=&wt.mc_id=TEC_108_1_33 [http://technet.microsoft.com/en-US/evalcenter/hh670538.aspx?ocid=&wt.mc_id=TEC_108_1_33]
VirtIO Red Hat drivers ISO image
Warning
Please, choose stable version instead of latest, We’ve got errors with unstable drivers during guestunattended install.
Download drivers from http://alt.fedoraproject.org/pub/alt/virtio-win/stable/ [http://alt.fedoraproject.org/pub/alt/virtio-win/stable/]
Floppy Image With Unattended File
Run following commands as root:
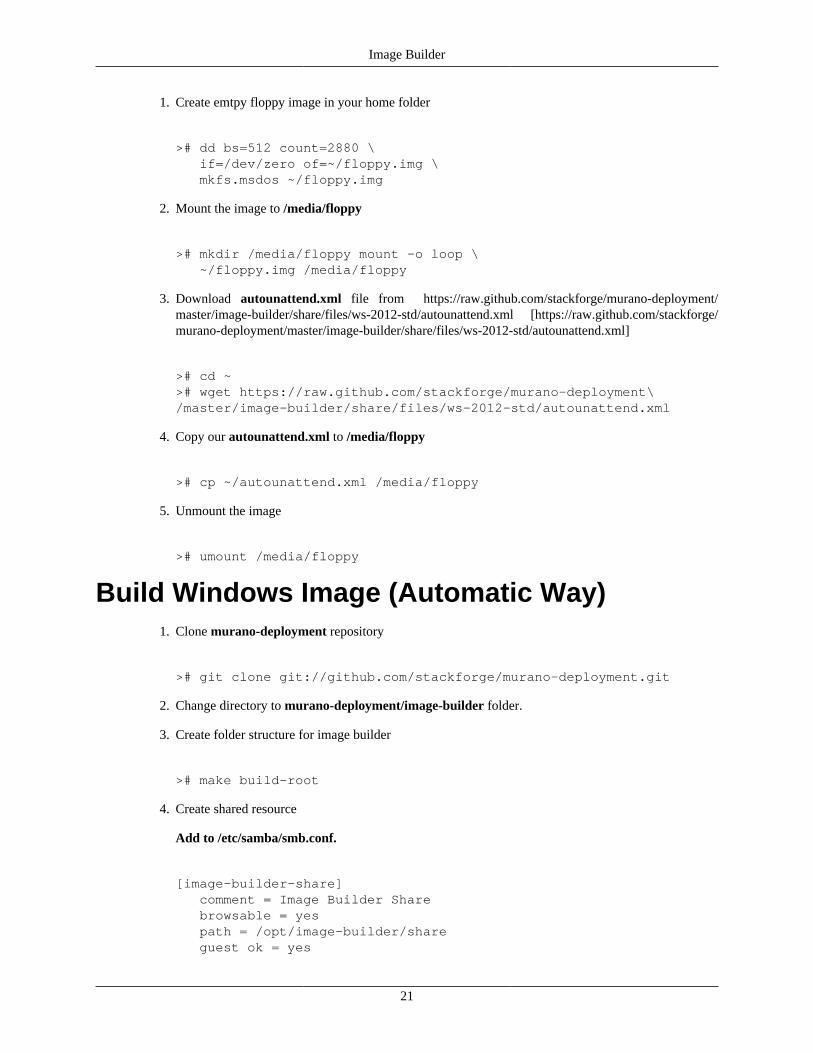
Image Builder
21
1. Create emtpy floppy image in your home folder
># dd bs=512 count=2880 \ if=/dev/zero of=~/floppy.img \ mkfs.msdos ~/floppy.img
2. Mount the image to /media/floppy
># mkdir /media/floppy mount -o loop \ ~/floppy.img /media/floppy
3. Download autounattend.xml file from https://raw.github.com/stackforge/murano-deployment/master/image-builder/share/files/ws-2012-std/autounattend.xml [https://raw.github.com/stackforge/murano-deployment/master/image-builder/share/files/ws-2012-std/autounattend.xml]
># cd ~># wget https://raw.github.com/stackforge/murano-deployment\/master/image-builder/share/files/ws-2012-std/autounattend.xml
4. Copy our autounattend.xml to /media/floppy
># cp ~/autounattend.xml /media/floppy
5. Unmount the image
># umount /media/floppy
Build Windows Image (Automatic Way)1. Clone murano-deployment repository
># git clone git://github.com/stackforge/murano-deployment.git
2. Change directory to murano-deployment/image-builder folder.
3. Create folder structure for image builder
># make build-root
4. Create shared resource
Add to /etc/samba/smb.conf.
[image-builder-share] comment = Image Builder Share browsable = yes path = /opt/image-builder/share guest ok = yes
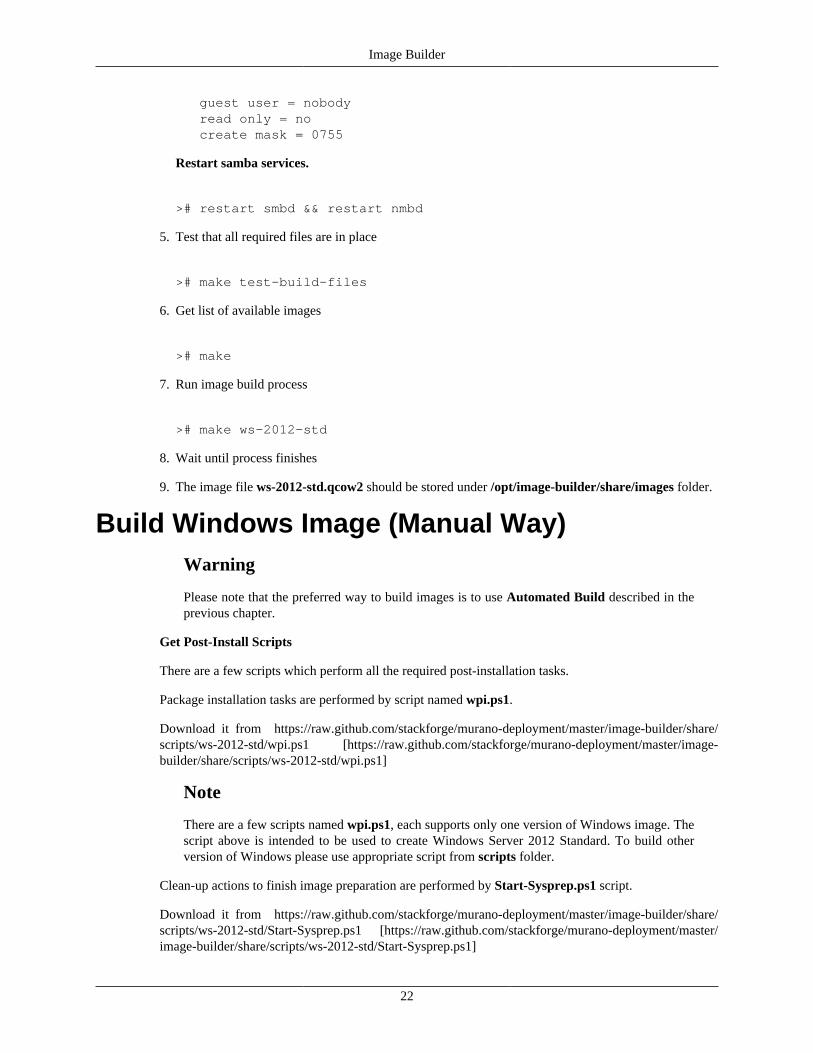
Image Builder
22
guest user = nobody read only = no create mask = 0755
Restart samba services.
># restart smbd && restart nmbd
5. Test that all required files are in place
># make test-build-files
6. Get list of available images
># make
7. Run image build process
># make ws-2012-std
8. Wait until process finishes
9. The image file ws-2012-std.qcow2 should be stored under /opt/image-builder/share/images folder.
Build Windows Image (Manual Way)Warning
Please note that the preferred way to build images is to use Automated Build described in theprevious chapter.
Get Post-Install Scripts
There are a few scripts which perform all the required post-installation tasks.
Package installation tasks are performed by script named wpi.ps1.
Download it from https://raw.github.com/stackforge/murano-deployment/master/image-builder/share/scripts/ws-2012-std/wpi.ps1 [https://raw.github.com/stackforge/murano-deployment/master/image-builder/share/scripts/ws-2012-std/wpi.ps1]
Note
There are a few scripts named wpi.ps1, each supports only one version of Windows image. Thescript above is intended to be used to create Windows Server 2012 Standard. To build otherversion of Windows please use appropriate script from scripts folder.
Clean-up actions to finish image preparation are performed by Start-Sysprep.ps1 script.
Download it from https://raw.github.com/stackforge/murano-deployment/master/image-builder/share/scripts/ws-2012-std/Start-Sysprep.ps1 [https://raw.github.com/stackforge/murano-deployment/master/image-builder/share/scripts/ws-2012-std/Start-Sysprep.ps1]
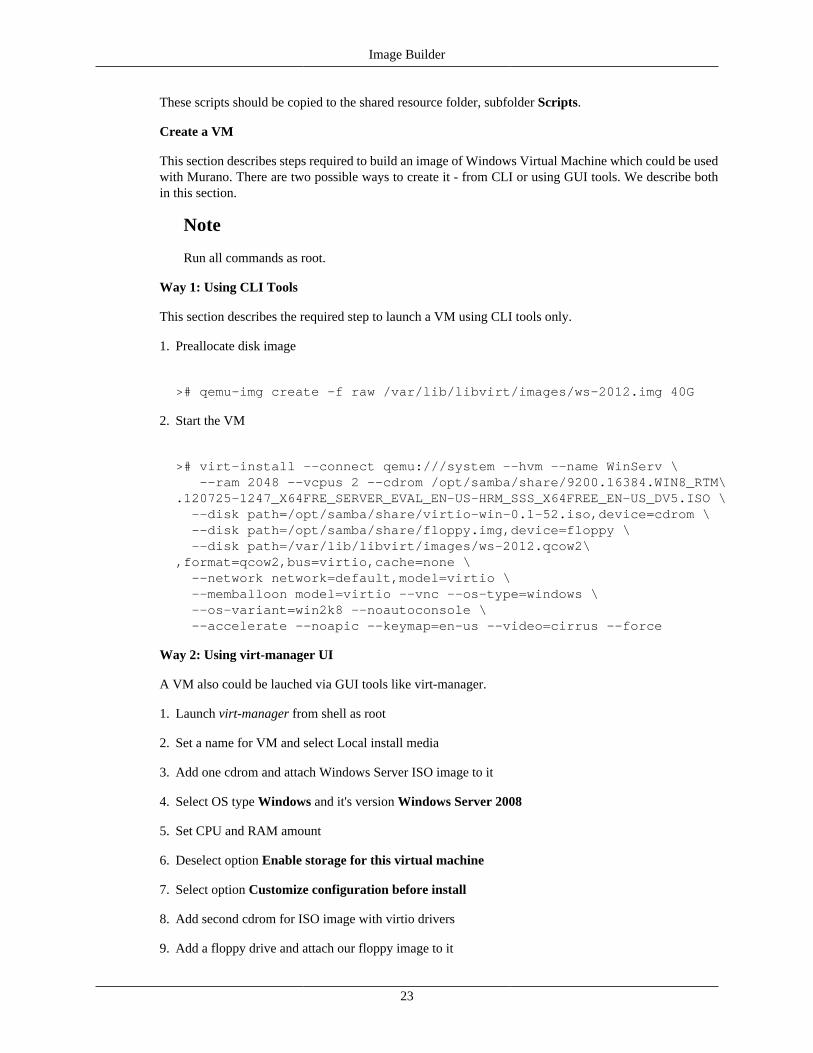
Image Builder
23
These scripts should be copied to the shared resource folder, subfolder Scripts.
Create a VM
This section describes steps required to build an image of Windows Virtual Machine which could be usedwith Murano. There are two possible ways to create it - from CLI or using GUI tools. We describe bothin this section.
Note
Run all commands as root.
Way 1: Using CLI Tools
This section describes the required step to launch a VM using CLI tools only.
1. Preallocate disk image
># qemu-img create -f raw /var/lib/libvirt/images/ws-2012.img 40G
2. Start the VM
># virt-install --connect qemu:///system --hvm --name WinServ \ --ram 2048 --vcpus 2 --cdrom /opt/samba/share/9200.16384.WIN8_RTM\.120725-1247_X64FRE_SERVER_EVAL_EN-US-HRM_SSS_X64FREE_EN-US_DV5.ISO \ --disk path=/opt/samba/share/virtio-win-0.1-52.iso,device=cdrom \ --disk path=/opt/samba/share/floppy.img,device=floppy \ --disk path=/var/lib/libvirt/images/ws-2012.qcow2\,format=qcow2,bus=virtio,cache=none \ --network network=default,model=virtio \ --memballoon model=virtio --vnc --os-type=windows \ --os-variant=win2k8 --noautoconsole \ --accelerate --noapic --keymap=en-us --video=cirrus --force
Way 2: Using virt-manager UI
A VM also could be lauched via GUI tools like virt-manager.
1. Launch virt-manager from shell as root
2. Set a name for VM and select Local install media
3. Add one cdrom and attach Windows Server ISO image to it
4. Select OS type Windows and it's version Windows Server 2008
5. Set CPU and RAM amount
6. Deselect option Enable storage for this virtual machine
7. Select option Customize configuration before install
8. Add second cdrom for ISO image with virtio drivers
9. Add a floppy drive and attach our floppy image to it
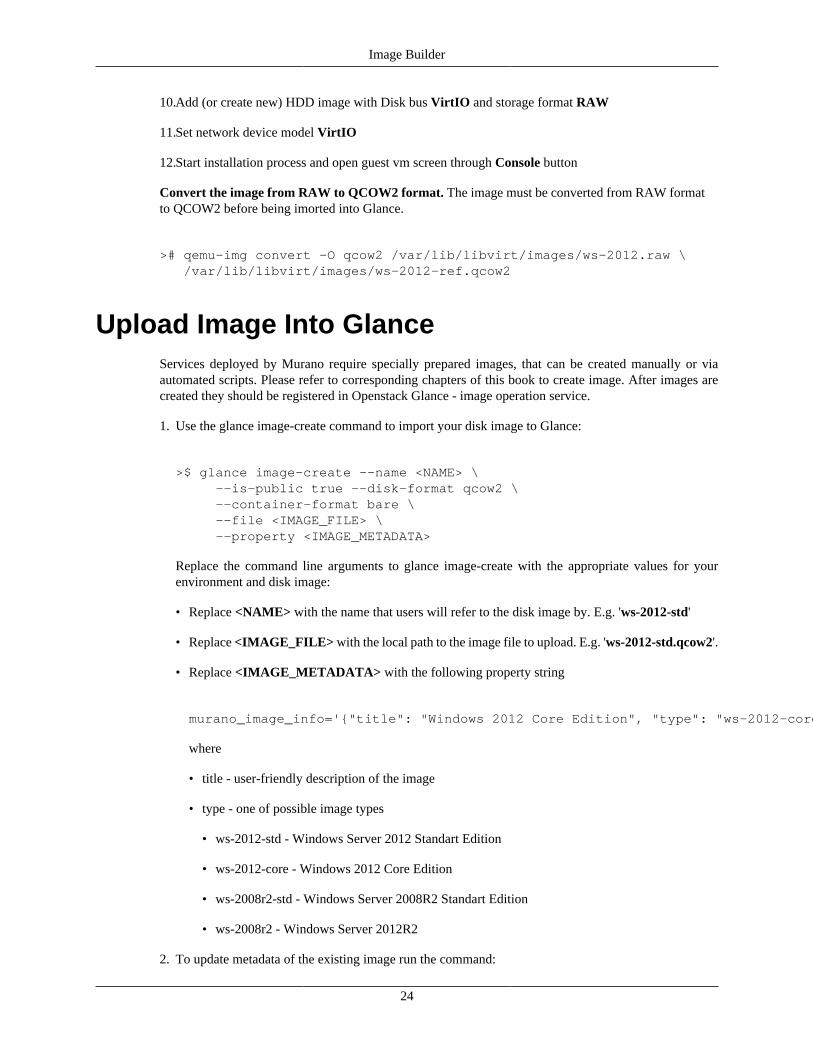
Image Builder
24
10.Add (or create new) HDD image with Disk bus VirtIO and storage format RAW
11.Set network device model VirtIO
12.Start installation process and open guest vm screen through Console button
Convert the image from RAW to QCOW2 format. The image must be converted from RAW formatto QCOW2 before being imorted into Glance.
># qemu-img convert -O qcow2 /var/lib/libvirt/images/ws-2012.raw \ /var/lib/libvirt/images/ws-2012-ref.qcow2
Upload Image Into GlanceServices deployed by Murano require specially prepared images, that can be created manually or viaautomated scripts. Please refer to corresponding chapters of this book to create image. After images arecreated they should be registered in Openstack Glance - image operation service.
1. Use the glance image-create command to import your disk image to Glance:
>$ glance image-create --name <NAME> \ --is-public true --disk-format qcow2 \ --container-format bare \ --file <IMAGE_FILE> \ --property <IMAGE_METADATA>
Replace the command line arguments to glance image-create with the appropriate values for yourenvironment and disk image:
• Replace <NAME> with the name that users will refer to the disk image by. E.g. 'ws-2012-std'
• Replace <IMAGE_FILE> with the local path to the image file to upload. E.g. 'ws-2012-std.qcow2'.
• Replace <IMAGE_METADATA> with the following property string
murano_image_info='{"title": "Windows 2012 Core Edition", "type": "ws-2012-core"}'
where
• title - user-friendly description of the image
• type - one of possible image types
• ws-2012-std - Windows Server 2012 Standart Edition
• ws-2012-core - Windows 2012 Core Edition
• ws-2008r2-std - Windows Server 2008R2 Standart Edition
• ws-2008r2 - Windows Server 2012R2
2. To update metadata of the existing image run the command:
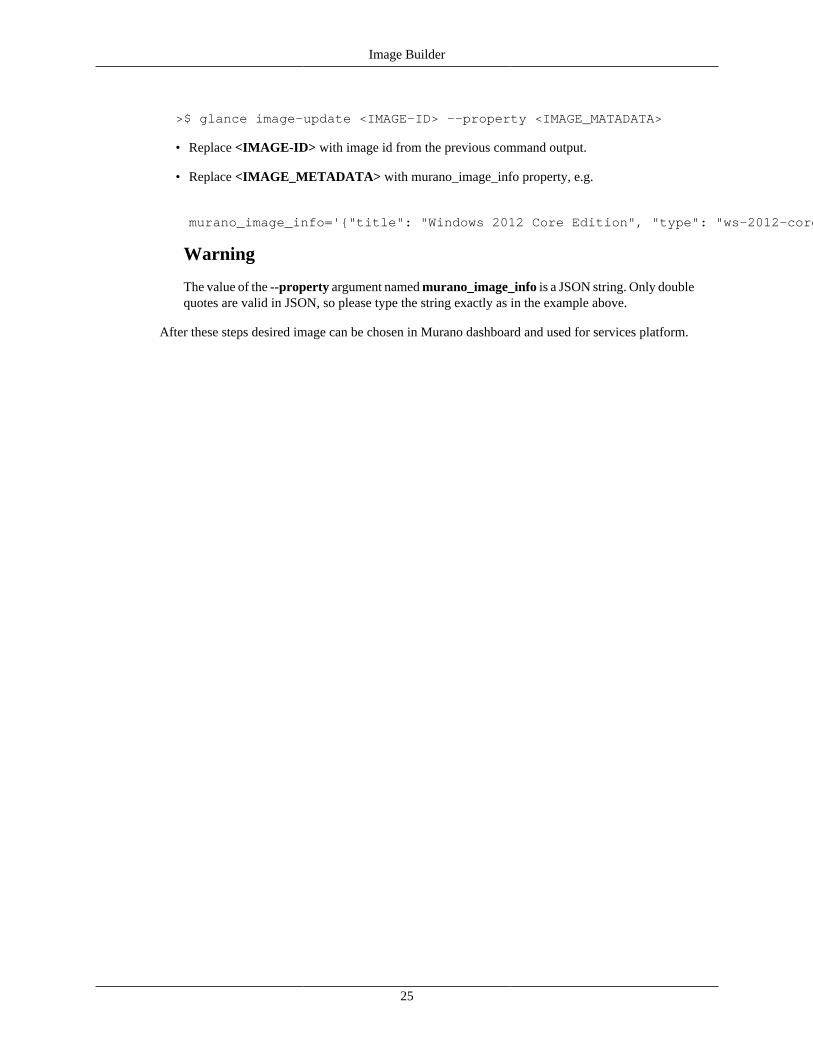
Image Builder
25
>$ glance image-update <IMAGE-ID> --property <IMAGE_MATADATA>
• Replace <IMAGE-ID> with image id from the previous command output.
• Replace <IMAGE_METADATA> with murano_image_info property, e.g.
murano_image_info='{"title": "Windows 2012 Core Edition", "type": "ws-2012-core"}'
Warning
The value of the --property argument named murano_image_info is a JSON string. Only doublequotes are valid in JSON, so please type the string exactly as in the example above.
After these steps desired image can be chosen in Murano dashboard and used for services platform.
26
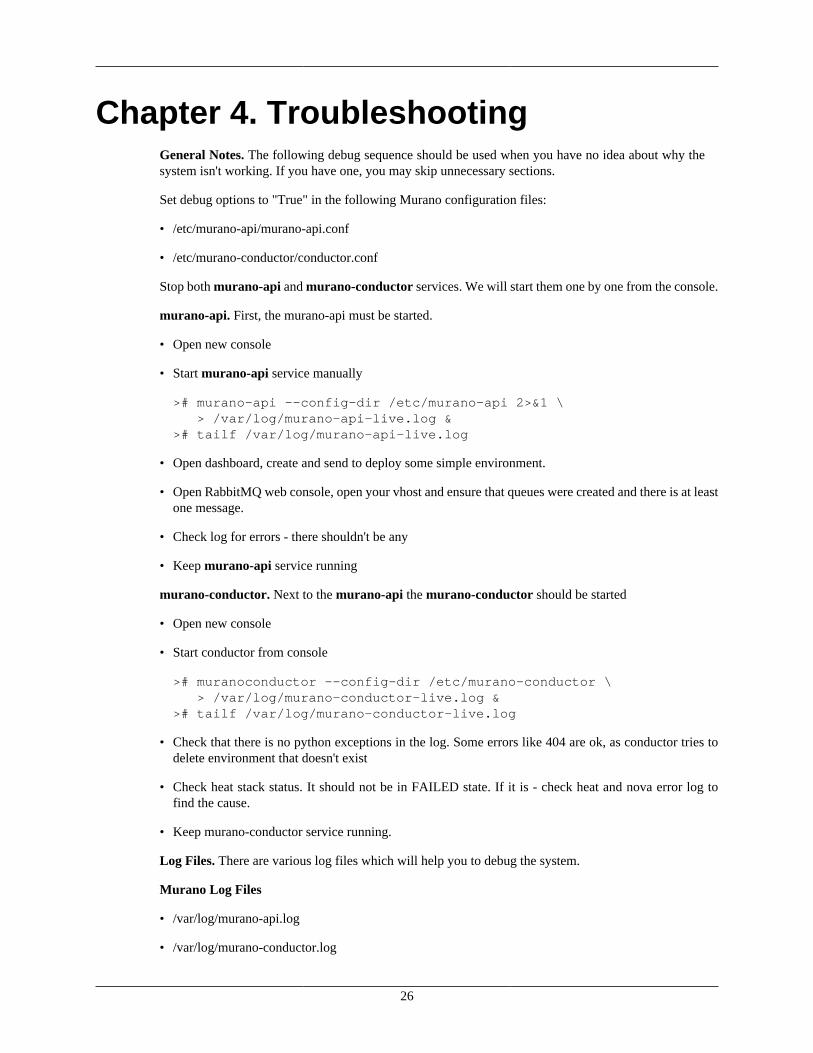
Chapter 4. TroubleshootingGeneral Notes. The following debug sequence should be used when you have no idea about why thesystem isn't working. If you have one, you may skip unnecessary sections.
Set debug options to "True" in the following Murano configuration files:
• /etc/murano-api/murano-api.conf
• /etc/murano-conductor/conductor.conf
Stop both murano-api and murano-conductor services. We will start them one by one from the console.
murano-api. First, the murano-api must be started.
• Open new console
• Start murano-api service manually
># murano-api --config-dir /etc/murano-api 2>&1 \ > /var/log/murano-api-live.log &># tailf /var/log/murano-api-live.log
• Open dashboard, create and send to deploy some simple environment.
• Open RabbitMQ web console, open your vhost and ensure that queues were created and there is at leastone message.
• Check log for errors - there shouldn't be any
• Keep murano-api service running
murano-conductor. Next to the murano-api the murano-conductor should be started
• Open new console
• Start conductor from console
># muranoconductor --config-dir /etc/murano-conductor \ > /var/log/murano-conductor-live.log &># tailf /var/log/murano-conductor-live.log
• Check that there is no python exceptions in the log. Some errors like 404 are ok, as conductor tries todelete environment that doesn't exist
• Check heat stack status. It should not be in FAILED state. If it is - check heat and nova error log tofind the cause.
• Keep murano-conductor service running.
Log Files. There are various log files which will help you to debug the system.
Murano Log Files
• /var/log/murano-api.log
• /var/log/murano-conductor.log
Troubleshooting
27
• /var/log/apache2/errors.log
• /var/log/httpd/errors.log
Windows Log Files
• C:\Program Files (x86)\CloudBase Solutions\logs\log.txt
• C:\Murano\Agent\log.txt
• C:\Murano\PowerShell.log
28
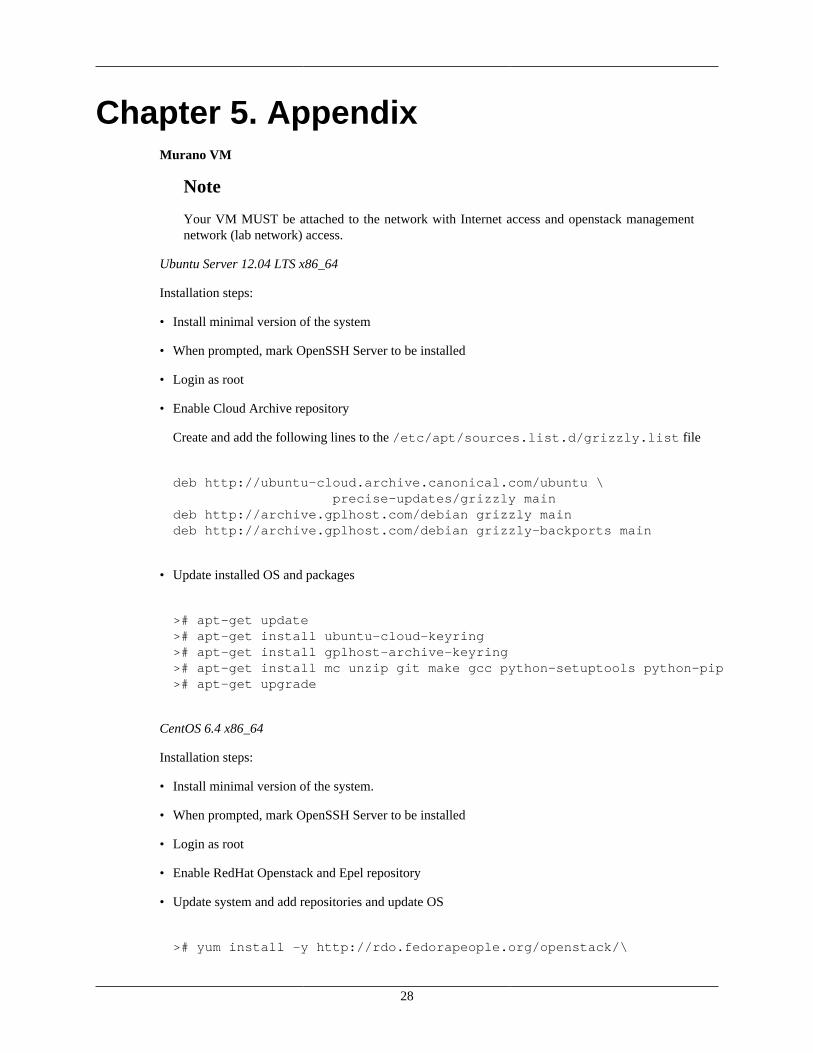
Chapter 5. AppendixMurano VM
Note
Your VM MUST be attached to the network with Internet access and openstack managementnetwork (lab network) access.
Ubuntu Server 12.04 LTS x86_64
Installation steps:
• Install minimal version of the system
• When prompted, mark OpenSSH Server to be installed
• Login as root
• Enable Cloud Archive repository
Create and add the following lines to the /etc/apt/sources.list.d/grizzly.list file
deb http://ubuntu-cloud.archive.canonical.com/ubuntu \ precise-updates/grizzly maindeb http://archive.gplhost.com/debian grizzly maindeb http://archive.gplhost.com/debian grizzly-backports main
• Update installed OS and packages
># apt-get update># apt-get install ubuntu-cloud-keyring># apt-get install gplhost-archive-keyring># apt-get install mc unzip git make gcc python-setuptools python-pip># apt-get upgrade
CentOS 6.4 x86_64
Installation steps:
• Install minimal version of the system.
• When prompted, mark OpenSSH Server to be installed
• Login as root
• Enable RedHat Openstack and Epel repository
• Update system and add repositories and update OS
># yum install -y http://rdo.fedorapeople.org/openstack/\
Appendix
29
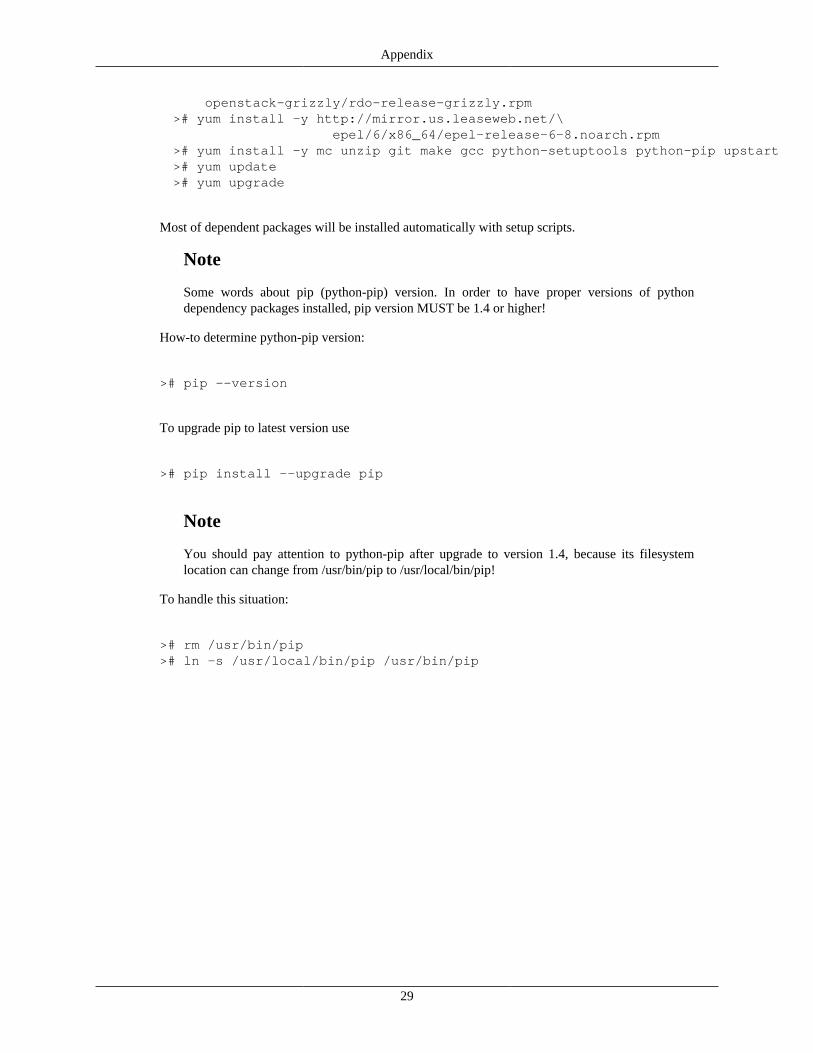
openstack-grizzly/rdo-release-grizzly.rpm># yum install -y http://mirror.us.leaseweb.net/\ epel/6/x86_64/epel-release-6-8.noarch.rpm># yum install -y mc unzip git make gcc python-setuptools python-pip upstart># yum update># yum upgrade
Most of dependent packages will be installed automatically with setup scripts.
Note
Some words about pip (python-pip) version. In order to have proper versions of pythondependency packages installed, pip version MUST be 1.4 or higher!
How-to determine python-pip version:
># pip --version
To upgrade pip to latest version use
># pip install --upgrade pip
Note
You should pay attention to python-pip after upgrade to version 1.4, because its filesystemlocation can change from /usr/bin/pip to /usr/local/bin/pip!
To handle this situation:
># rm /usr/bin/pip># ln -s /usr/local/bin/pip /usr/bin/pip