Embed Size (px)
Citation preview

1
MULTI-USER Setup guidelines
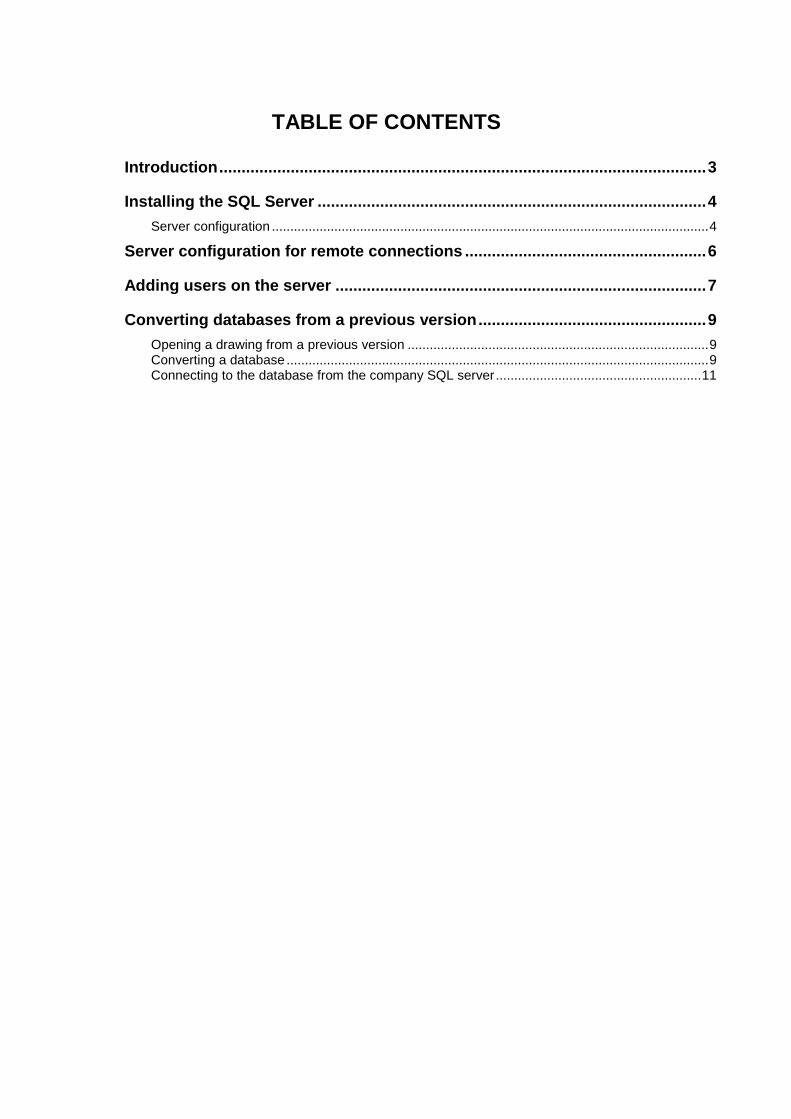
TABLE OF CONTENTS
Introduction ............................................................................................................. 3
Installing the SQL Server ....................................................................................... 4
Server configuration ....................................................................................................................... 4
Server configuration for remote connections ...................................................... 6
Adding users on the server ................................................................................... 7
Converting databases from a previous version ................................................... 9
Opening a drawing from a previous version .................................................................................. 9 Converting a database ................................................................................................................... 9 Connecting to the database from the company SQL server ........................................................ 11

Introduction
Advance Concrete provides a work-sharing alternative for pro-jects, using a database for storing the model. All data are central-ized in a single database, which guarantees a high level of secu-rity.
To work in a multi-user environment, the project database must be created by the administrator, who chooses the name and loca-tion in a network. The other users log on to the database.
For the database and user management, SQL Server is used.
This document describes the necessary SQL Server configura-tion for project sharing.
Starting with Advance Concrete 2010 SP2, SQLite databases (.sq3) previously used to store the model data, are no longer supported. The conversion process is described in this document.
Recommended SQL version: SQL Server 2005 Express Edition SP3
MULTI-USER SETUP GUIDELINES
4
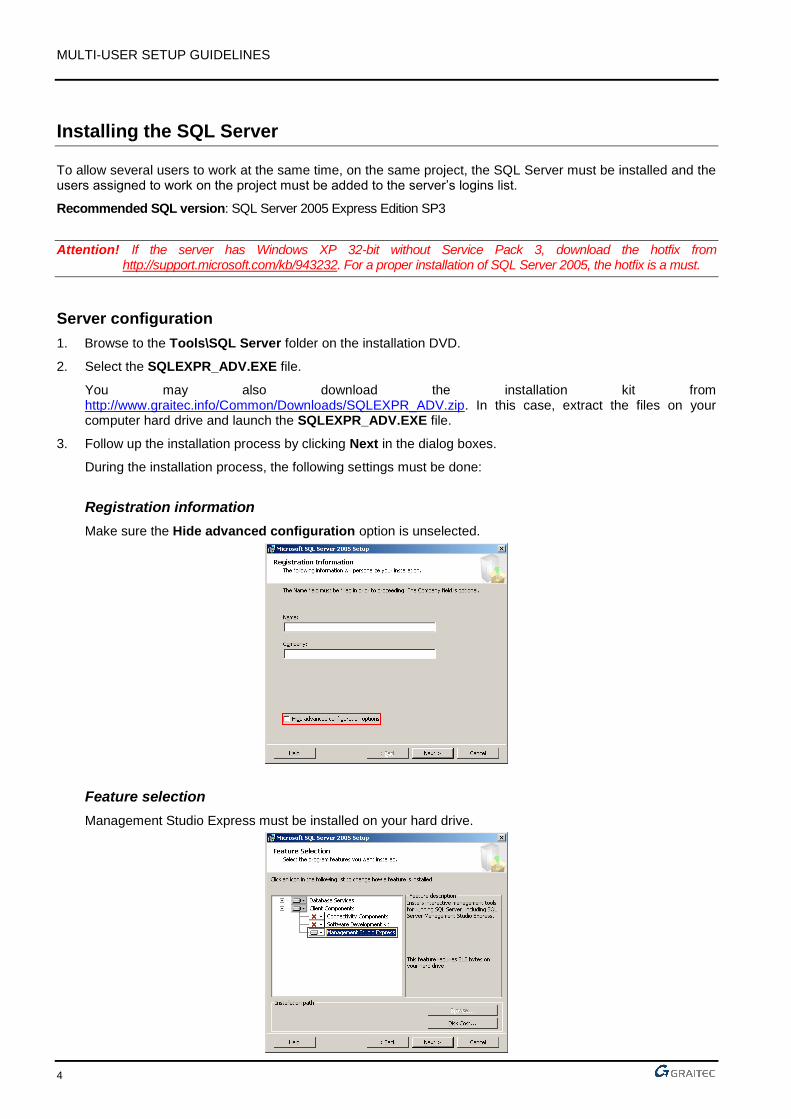
Installing the SQL Server
To allow several users to work at the same time, on the same project, the SQL Server must be installed and the users assigned to work on the project must be added to the server’s logins list.
Recommended SQL version: SQL Server 2005 Express Edition SP3
Attention! If the server has Windows XP 32-bit without Service Pack 3, download the hotfix from http://support.microsoft.com/kb/943232. For a proper installation of SQL Server 2005, the hotfix is a must.
Server configuration
1. Browse to the Tools\SQL Server folder on the installation DVD.
2. Select the SQLEXPR_ADV.EXE file.
You may also download the installation kit from http://www.graitec.info/Common/Downloads/SQLEXPR_ADV.zip. In this case, extract the files on your computer hard drive and launch the SQLEXPR_ADV.EXE file.
3. Follow up the installation process by clicking Next in the dialog boxes.
During the installation process, the following settings must be done:
Registration information
Make sure the Hide advanced configuration option is unselected.
Feature selection
Management Studio Express must be installed on your hard drive.
MULTI-USER SETUP GUIDELINES
5
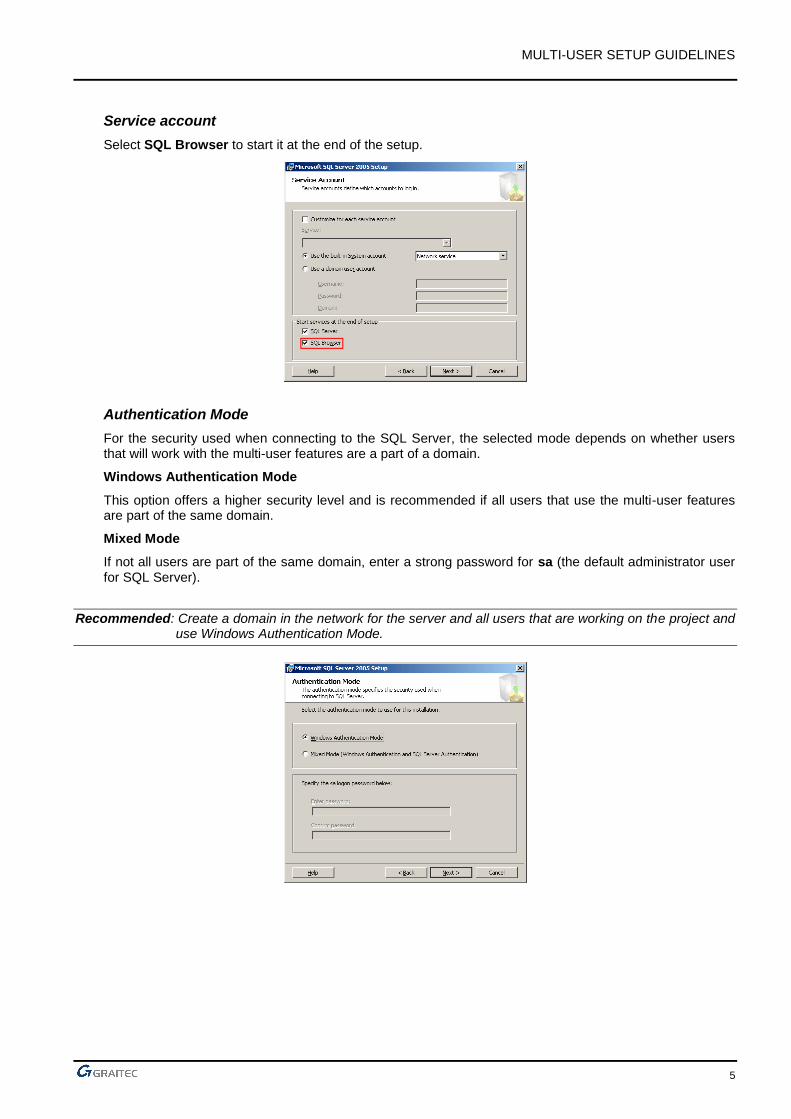
Service account
Select SQL Browser to start it at the end of the setup.
Authentication Mode
For the security used when connecting to the SQL Server, the selected mode depends on whether users that will work with the multi-user features are a part of a domain.
Windows Authentication Mode
This option offers a higher security level and is recommended if all users that use the multi-user features are part of the same domain.
Mixed Mode
If not all users are part of the same domain, enter a strong password for sa (the default administrator user for SQL Server).
Recommended: Create a domain in the network for the server and all users that are working on the project and use Windows Authentication Mode.
MULTI-USER SETUP GUIDELINES
6
Server configuration for remote connections
To allow remote connections, make the following settings:
1. From the Windows Start menu, select:
Programs > Microsoft SQL Server 2005 > Configuration Tools > SQL Server Surface Area Configuration
2. In the next dialog box, select Surface Area Configuration for Service and Connections.
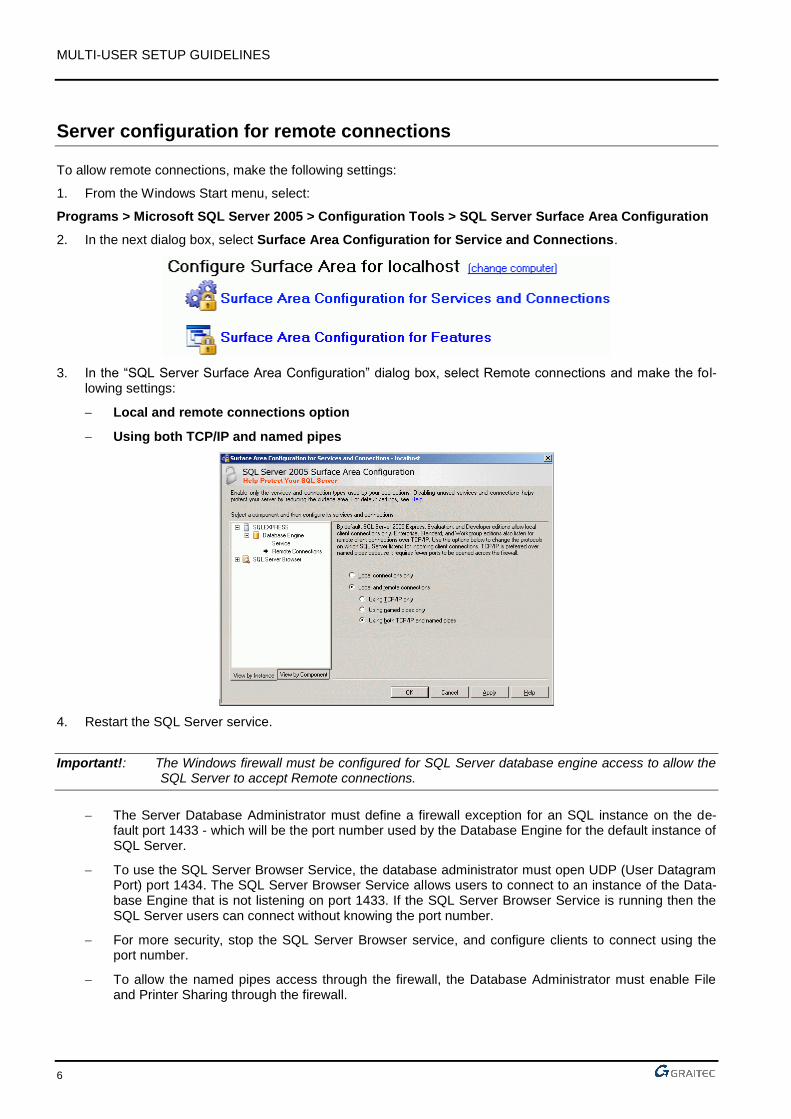
3. In the “SQL Server Surface Area Configuration” dialog box, select Remote connections and make the fol-lowing settings:
Local and remote connections option
Using both TCP/IP and named pipes
4. Restart the SQL Server service.
Important!: The Windows firewall must be configured for SQL Server database engine access to allow the SQL Server to accept Remote connections.
The Server Database Administrator must define a firewall exception for an SQL instance on the de-fault port 1433 - which will be the port number used by the Database Engine for the default instance of SQL Server.
To use the SQL Server Browser Service, the database administrator must open UDP (User Datagram Port) port 1434. The SQL Server Browser Service allows users to connect to an instance of the Data-base Engine that is not listening on port 1433. If the SQL Server Browser Service is running then the SQL Server users can connect without knowing the port number.
For more security, stop the SQL Server Browser service, and configure clients to connect using the port number.
To allow the named pipes access through the firewall, the Database Administrator must enable File and Printer Sharing through the firewall.
MULTI-USER SETUP GUIDELINES
7
Adding users on the server
1. From the Windows Start menu, select:
Programs > Microsoft SQL Server 2005 > SQL Server Management Studio Express.
2. In the “Connect to Server” dialog box enter the connection details according to the Authentication Mode selected in the SQL Server installation wizard.
3. Click Connect.
SQL Server Management Express starts.
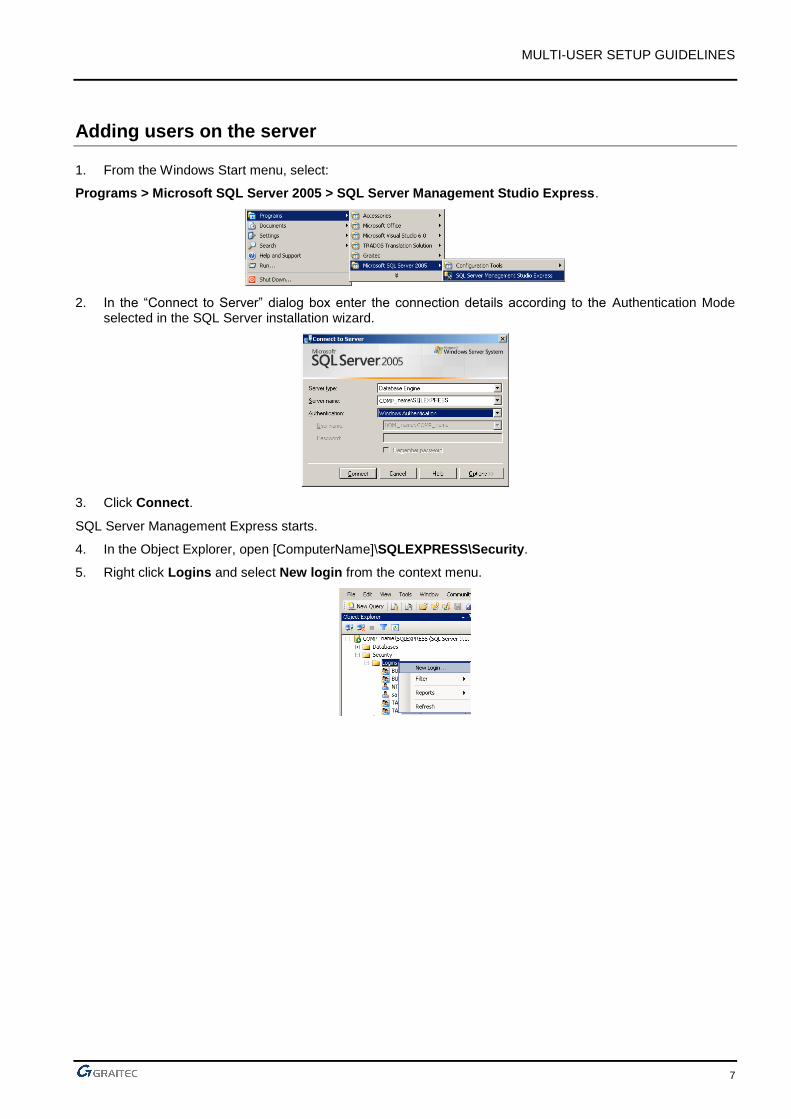
4. In the Object Explorer, open [ComputerName]\SQLEXPRESS\Security.
5. Right click Logins and select New login from the context menu.
MULTI-USER SETUP GUIDELINES
8
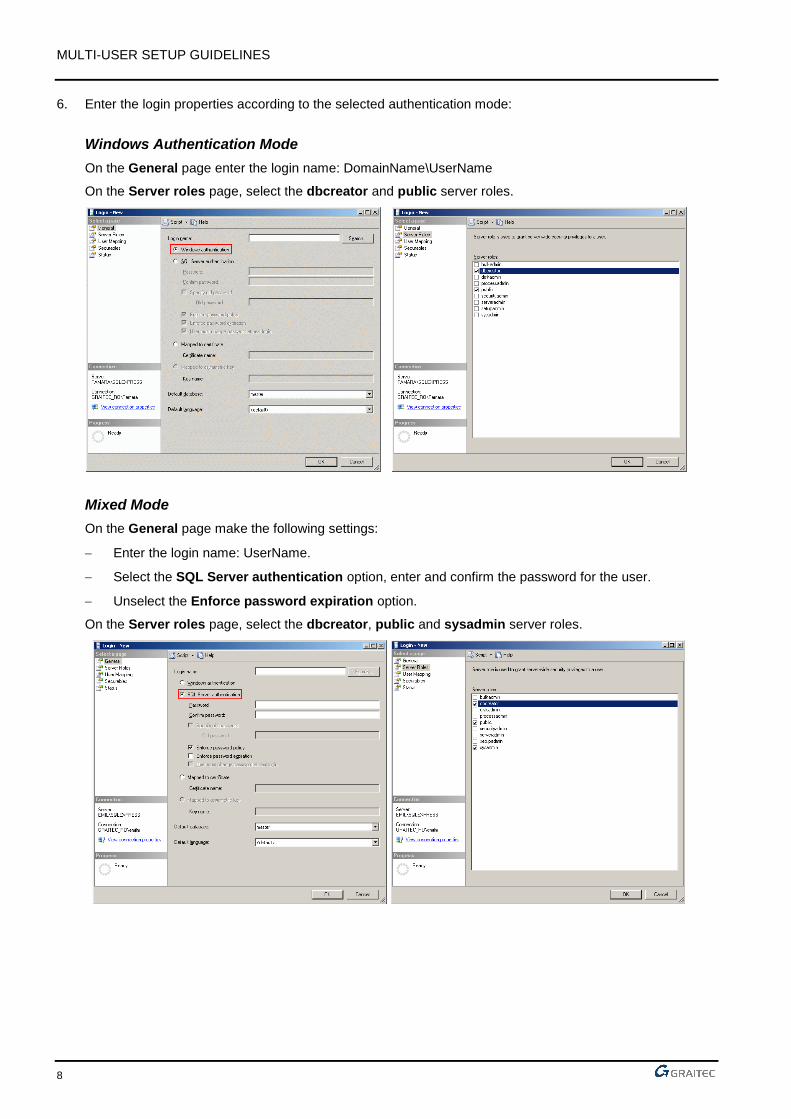
6. Enter the login properties according to the selected authentication mode:
Windows Authentication Mode
On the General page enter the login name: DomainName\UserName
On the Server roles page, select the dbcreator and public server roles.
Mixed Mode
On the General page make the following settings:
Enter the login name: UserName.
Select the SQL Server authentication option, enter and confirm the password for the user.
Unselect the Enforce password expiration option.
On the Server roles page, select the dbcreator, public and sysadmin server roles.
MULTI-USER SETUP GUIDELINES
9
Converting databases from a previous version
Starting with Advance Concrete 2010 SP2, SQLite databases (.sq3) used to store the model when working in multi-user environment, are no longer supported. The existing multi-user databases must be converted into the Microsoft SQL Server format to be used further. This ensures an increased simultaneous access to the multi-user database while using multi-user features.
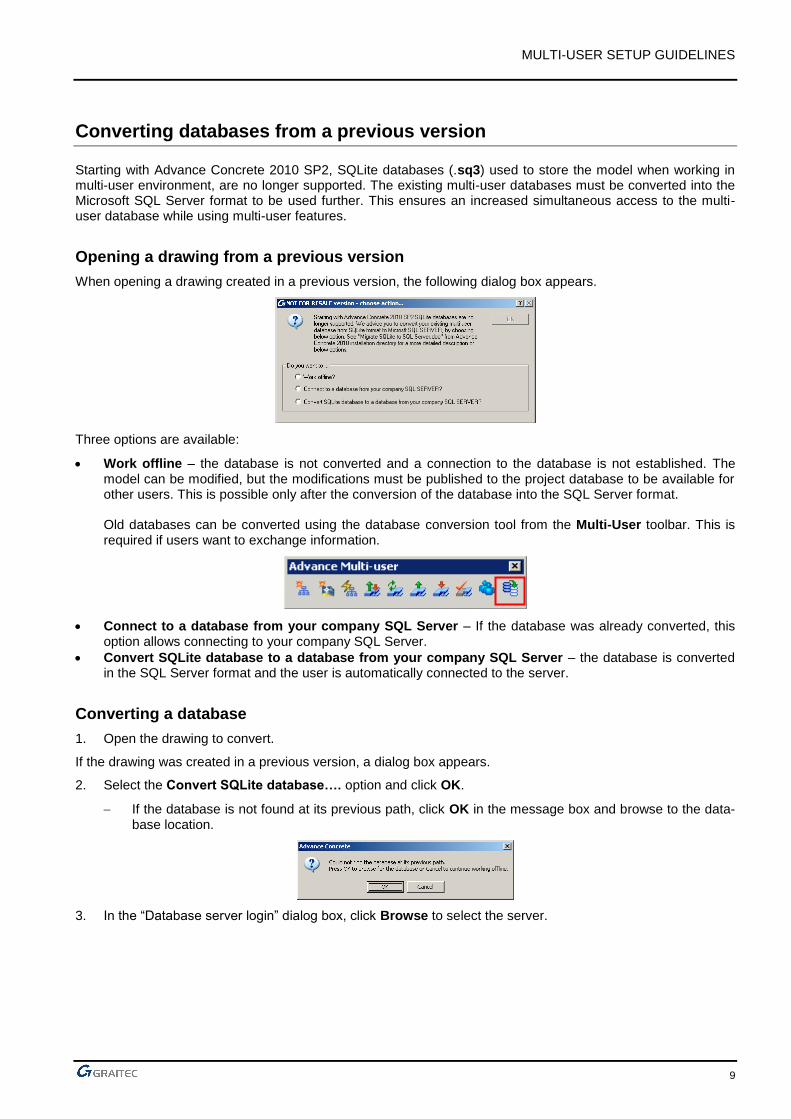
Opening a drawing from a previous version
When opening a drawing created in a previous version, the following dialog box appears.
Three options are available:
Work offline – the database is not converted and a connection to the database is not established. The model can be modified, but the modifications must be published to the project database to be available for other users. This is possible only after the conversion of the database into the SQL Server format.
Old databases can be converted using the database conversion tool from the Multi-User toolbar. This is required if users want to exchange information.
Connect to a database from your company SQL Server – If the database was already converted, this option allows connecting to your company SQL Server.
Convert SQLite database to a database from your company SQL Server – the database is converted in the SQL Server format and the user is automatically connected to the server.
Converting a database
1. Open the drawing to convert.
If the drawing was created in a previous version, a dialog box appears.
2. Select the Convert SQLite database…. option and click OK.
If the database is not found at its previous path, click OK in the message box and browse to the data-base location.
3. In the “Database server login” dialog box, click Browse to select the server.
MULTI-USER SETUP GUIDELINES
10
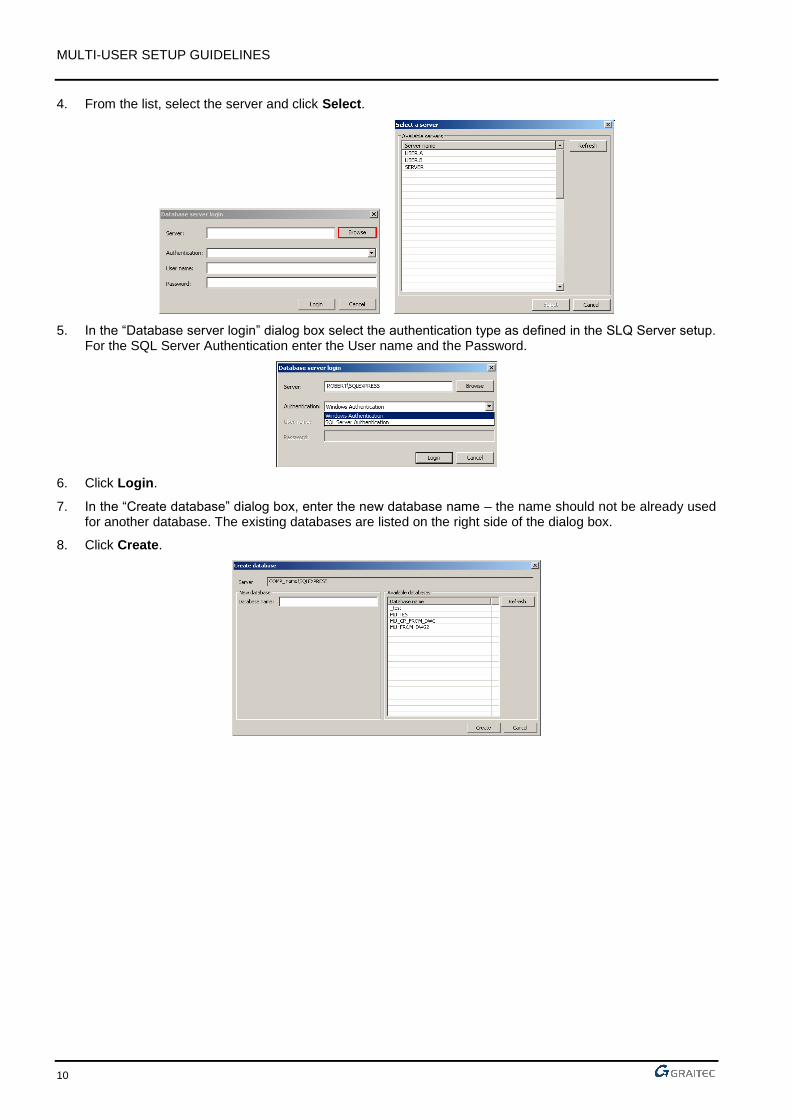
4. From the list, select the server and click Select.
5. In the “Database server login” dialog box select the authentication type as defined in the SLQ Server setup. For the SQL Server Authentication enter the User name and the Password.
6. Click Login.
7. In the “Create database” dialog box, enter the new database name – the name should not be already used for another database. The existing databases are listed on the right side of the dialog box.
8. Click Create.
MULTI-USER SETUP GUIDELINES
11
Connecting to the database from the company SQL server
1. Open the drawing.
2. In the dialog box, select the Connect to a database from your company SQL server option and click OK.
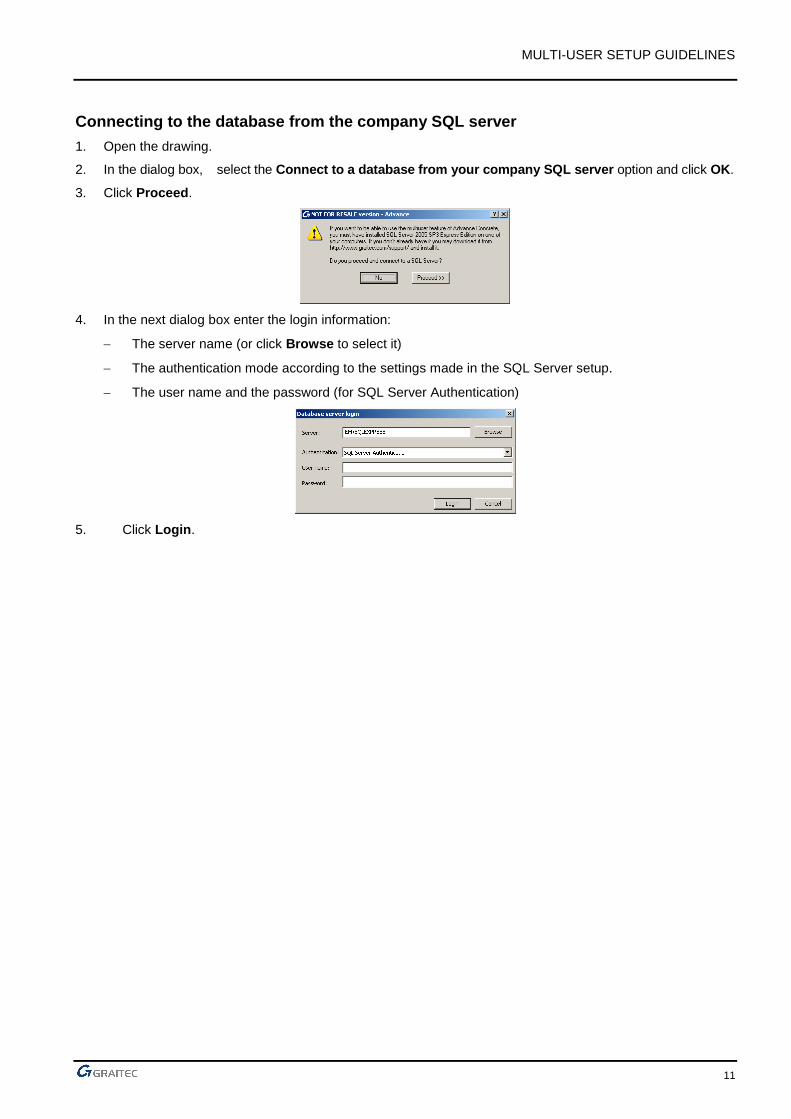
3. Click Proceed.
4. In the next dialog box enter the login information:
The server name (or click Browse to select it)
The authentication mode according to the settings made in the SQL Server setup.
The user name and the password (for SQL Server Authentication)
5. Click Login.

001413-0409-1125
Advance Steel, Advance Concrete, Autodesk, AutoCAD, DWF and Revit are registered trademarks or trade-marks of Autodesk, Inc. and/or its subsidiaries and/or affiliates in the USA and/or other countries. Graitec and Graitec Advance are registered trademarks of the Graitec group. All other brand names, product names or trademarks belong to their respective holders. Autodesk, Inc. and its subsidiaries Graitec SA and Graitec GmbH, reserve the right to alter product and services offerings, and specifications and pricing at any time with-out notice, and are not responsible for typographical or graphical errors that may appear in this document. © 2013 Autodesk, Inc., Graitec SA, and Graitec GmbH. All rights reserved.