Embed Size (px)
Citation preview
MONTANA TEEN DRIVER EDUCATION & TRAINING
Module 5.3 – Protecting Occupants - Lesson Plan
Student Objectives (from Essential Knowledge and Skills Topics):
The student is expected to:
describe the three collisions of a crash and the effect on the restrained and unrestrained human body;
identify and describe locations and purpose of airbags, belt adjusters, and head restraints and demonstrate proper adjustments and operation to provide crash survival protection for adults;
identify how child restraint systems operate (infants, forward-facing, booster seats and lap shoulder devices), proper positioning within a vehicle and how they provide crash survival protection; and
demonstrate proper steering wheel adjustments to accommodate for airbags.
Materials Needed: 1. Module 5.3 PowerPoint Presentation 2. Module 5.3 Fact and Work Sheets (printed for each student) 3. Module 5.3 Lesson Plan/Teacher Commentary (printed out)
TEACHER COMMENTARY The following are questions you can ask and comments to make during the presentation to engage students in learning the key concepts related to Protecting Occupants.
Representation of the module slides are provided to allow you to connect the
materials, data, and questions with the
presentation.
Slide 2 – Protecting Occupants - Objectives
MONTANA DRIVER EDUCATION AND TRAINING CURRICULUM GUIDE | page 2
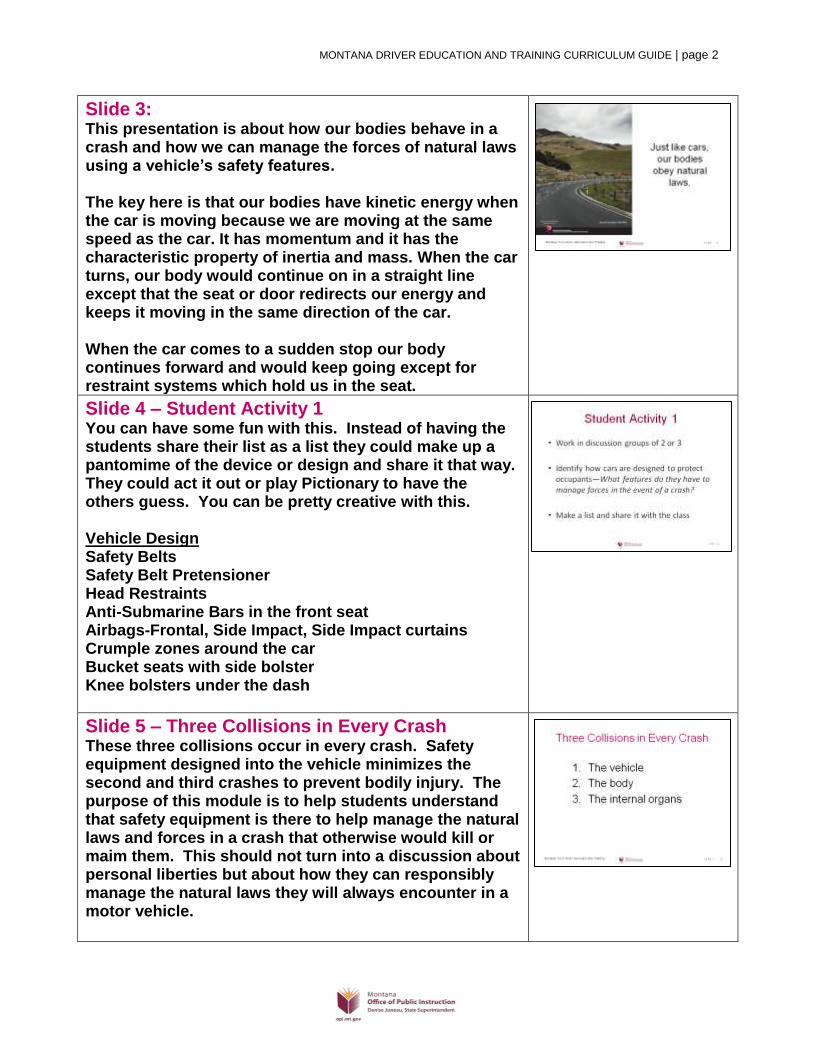
Slide 3: This presentation is about how our bodies behave in a crash and how we can manage the forces of natural laws using a vehicle’s safety features. The key here is that our bodies have kinetic energy when the car is moving because we are moving at the same speed as the car. It has momentum and it has the characteristic property of inertia and mass. When the car turns, our body would continue on in a straight line except that the seat or door redirects our energy and keeps it moving in the same direction of the car. When the car comes to a sudden stop our body continues forward and would keep going except for restraint systems which hold us in the seat.
Slide 4 – Student Activity 1
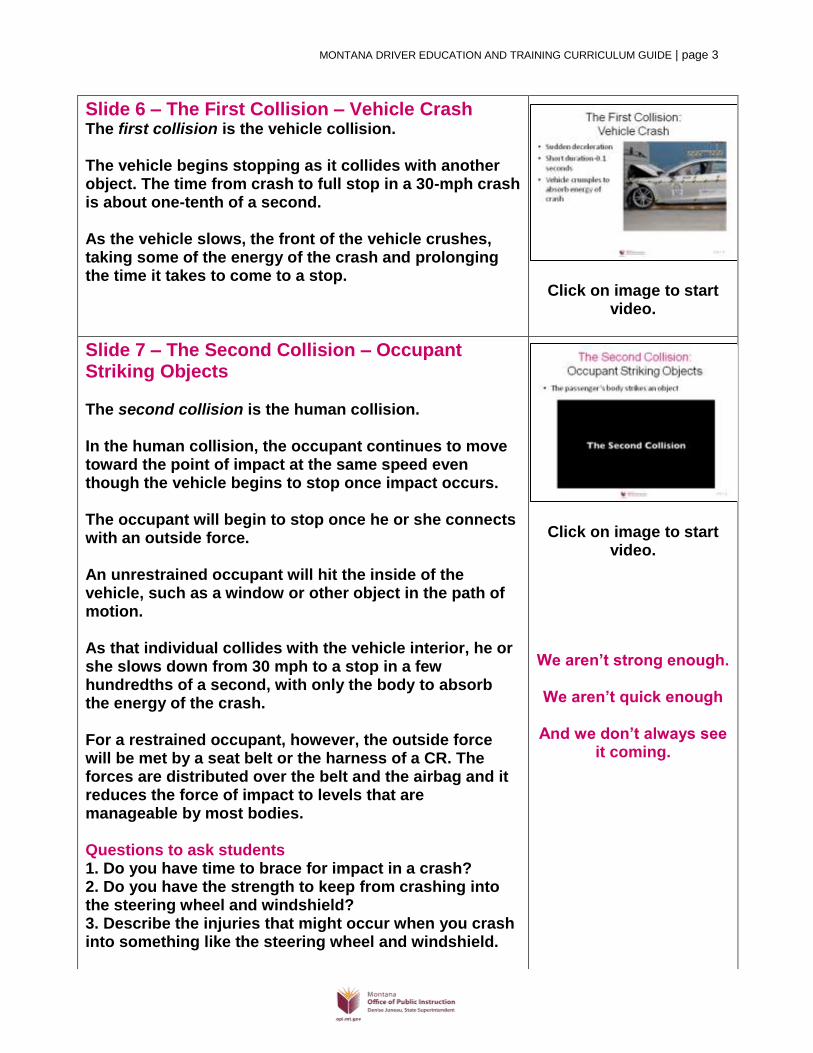
You can have some fun with this. Instead of having the students share their list as a list they could make up a pantomime of the device or design and share it that way. They could act it out or play Pictionary to have the others guess. You can be pretty creative with this. Vehicle Design Safety Belts Safety Belt Pretensioner Head Restraints Anti-Submarine Bars in the front seat Airbags-Frontal, Side Impact, Side Impact curtains Crumple zones around the car Bucket seats with side bolster Knee bolsters under the dash
Slide 5 – Three Collisions in Every Crash
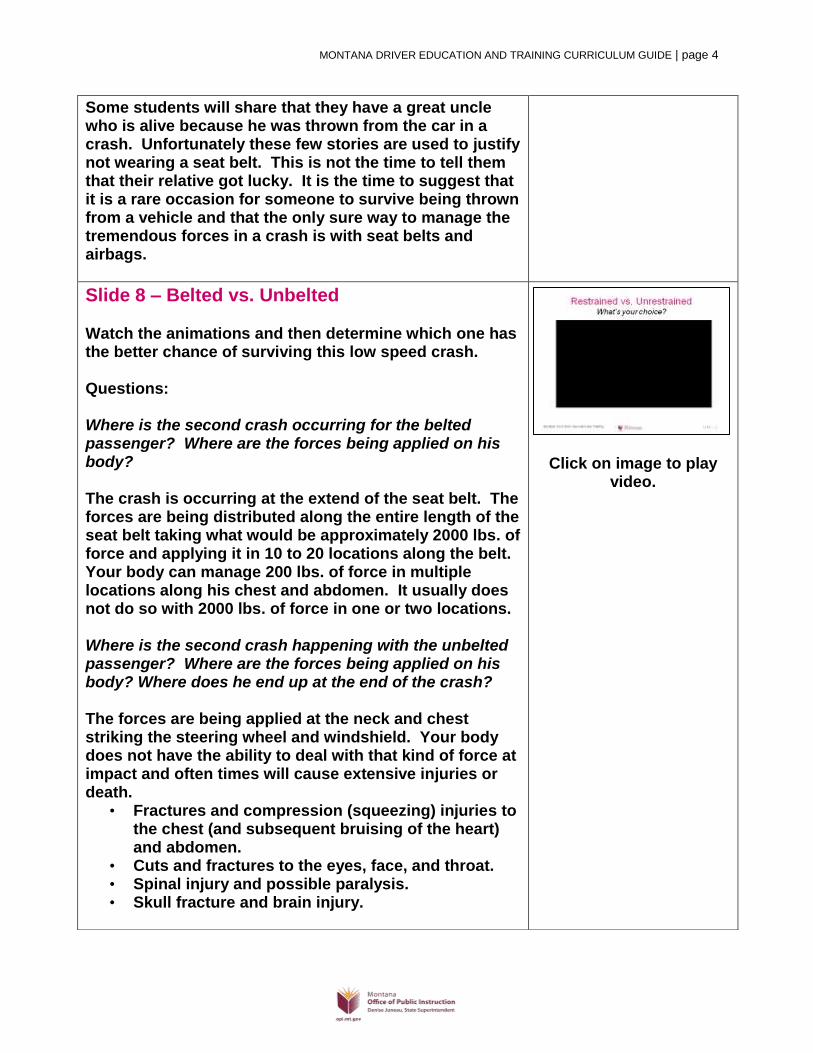
These three collisions occur in every crash. Safety equipment designed into the vehicle minimizes the second and third crashes to prevent bodily injury. The purpose of this module is to help students understand that safety equipment is there to help manage the natural laws and forces in a crash that otherwise would kill or maim them. This should not turn into a discussion about personal liberties but about how they can responsibly manage the natural laws they will always encounter in a motor vehicle.
MONTANA DRIVER EDUCATION AND TRAINING CURRICULUM GUIDE | page 3
Slide 6 – The First Collision – Vehicle Crash The first collision is the vehicle collision. The vehicle begins stopping as it collides with another object. The time from crash to full stop in a 30-mph crash is about one-tenth of a second. As the vehicle slows, the front of the vehicle crushes, taking some of the energy of the crash and prolonging the time it takes to come to a stop.
Click on image to start
video.
Slide 7 – The Second Collision – Occupant Striking Objects
The second collision is the human collision. In the human collision, the occupant continues to move toward the point of impact at the same speed even though the vehicle begins to stop once impact occurs. The occupant will begin to stop once he or she connects with an outside force. An unrestrained occupant will hit the inside of the vehicle, such as a window or other object in the path of motion. As that individual collides with the vehicle interior, he or she slows down from 30 mph to a stop in a few hundredths of a second, with only the body to absorb the energy of the crash. For a restrained occupant, however, the outside force will be met by a seat belt or the harness of a CR. The forces are distributed over the belt and the airbag and it reduces the force of impact to levels that are manageable by most bodies. Questions to ask students 1. Do you have time to brace for impact in a crash? 2. Do you have the strength to keep from crashing into the steering wheel and windshield? 3. Describe the injuries that might occur when you crash into something like the steering wheel and windshield.
Click on image to start
video. We aren’t strong enough.
We aren’t quick enough
And we don’t always see
it coming.
MONTANA DRIVER EDUCATION AND TRAINING CURRICULUM GUIDE | page 4
Some students will share that they have a great uncle who is alive because he was thrown from the car in a crash. Unfortunately these few stories are used to justify not wearing a seat belt. This is not the time to tell them that their relative got lucky. It is the time to suggest that it is a rare occasion for someone to survive being thrown from a vehicle and that the only sure way to manage the tremendous forces in a crash is with seat belts and airbags.
Slide 8 – Belted vs. Unbelted
Watch the animations and then determine which one has the better chance of surviving this low speed crash. Questions: Where is the second crash occurring for the belted passenger? Where are the forces being applied on his body? The crash is occurring at the extend of the seat belt. The forces are being distributed along the entire length of the seat belt taking what would be approximately 2000 lbs. of force and applying it in 10 to 20 locations along the belt. Your body can manage 200 lbs. of force in multiple locations along his chest and abdomen. It usually does not do so with 2000 lbs. of force in one or two locations. Where is the second crash happening with the unbelted passenger? Where are the forces being applied on his body? Where does he end up at the end of the crash? The forces are being applied at the neck and chest striking the steering wheel and windshield. Your body does not have the ability to deal with that kind of force at impact and often times will cause extensive injuries or death.
• Fractures and compression (squeezing) injuries to the chest (and subsequent bruising of the heart) and abdomen.
• Cuts and fractures to the eyes, face, and throat. • Spinal injury and possible paralysis. • Skull fracture and brain injury.
Click on image to play
video.
MONTANA DRIVER EDUCATION AND TRAINING CURRICULUM GUIDE | page 5
Slide 9 – Did you know? There is a lot of discussion among teens that they know of a distant relative who is alive today because they weren’t wearing their seatbelt in a crash. The risk of injury is substantially higher for unbelted passengers and data bears that out. Students and parents sometimes choose to use anecdotal evidence to justify not wearing a safety belt.
Slide 10 – What about Airbags? You may wish to follow this link to learn more about airbags: http://www.iihs.org/research/qanda/airbags.aspx The key to experience the maximum benefit of the vehicle airbag system is to be held in place by your safety belt. While airbags by themselves can stop you, they inflate quickly and deflate quickly. They also deploy in only one direction. If you strike an object at an angle you will find that you may miss the airbag and strike a solid surface that can cause injury.
Slide 11 – What about Airbags and No Belt? Notice as the head strikes the airbag the neck and head hyperextend which would cause injury to the head and neck even though the airbag activated. The airbag is an ADDITIONAL safety restraint that is most effective when used in combination with the seat belt.
Click on image to start
video.
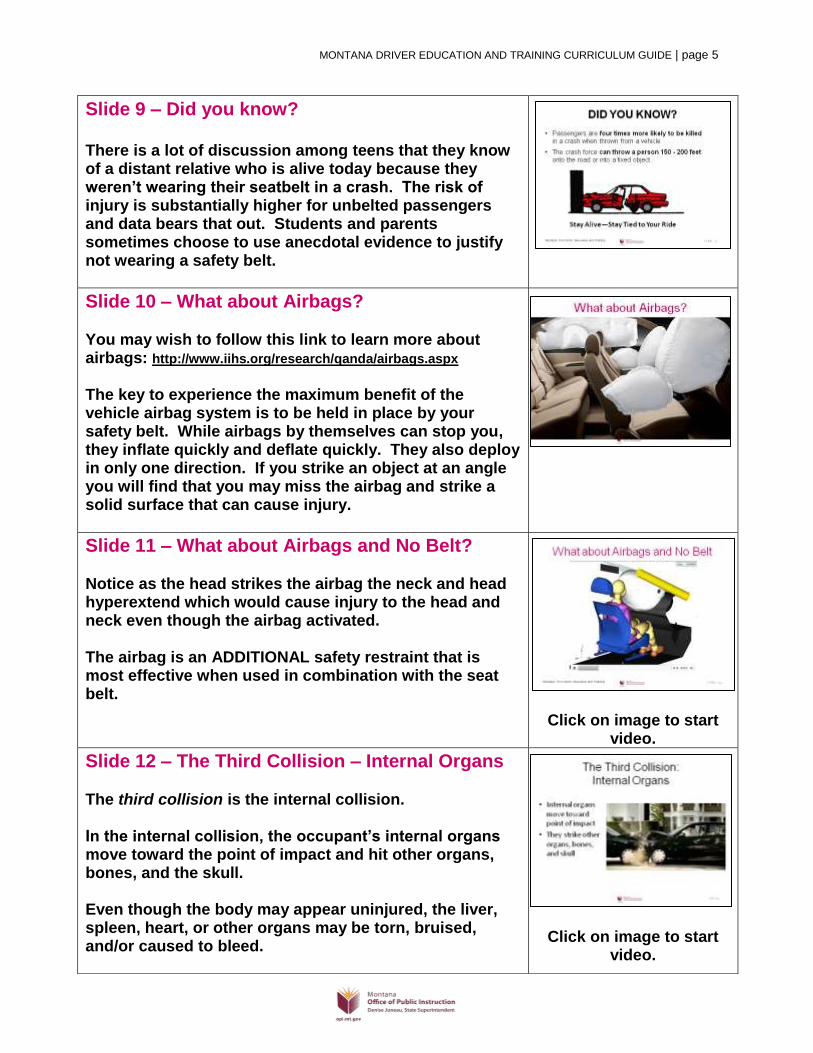
Slide 12 – The Third Collision – Internal Organs The third collision is the internal collision. In the internal collision, the occupant’s internal organs move toward the point of impact and hit other organs, bones, and the skull. Even though the body may appear uninjured, the liver, spleen, heart, or other organs may be torn, bruised, and/or caused to bleed.
Click on image to start
video.
MONTANA DRIVER EDUCATION AND TRAINING CURRICULUM GUIDE | page 6
Impacts to the head may cause ‘‘closed head injuries’’ resulting from the soft tissue of the brain hitting the skull or being torn as the skull fractures. For a better discussion on the three collisions you may want to check out When Physics Meets Biology with Dr. Griff Jones produced by the IIHS. It has some great points and talks in depth on the issues of natural laws and the body’s response to them.http://education.ufl.edu/gjones/
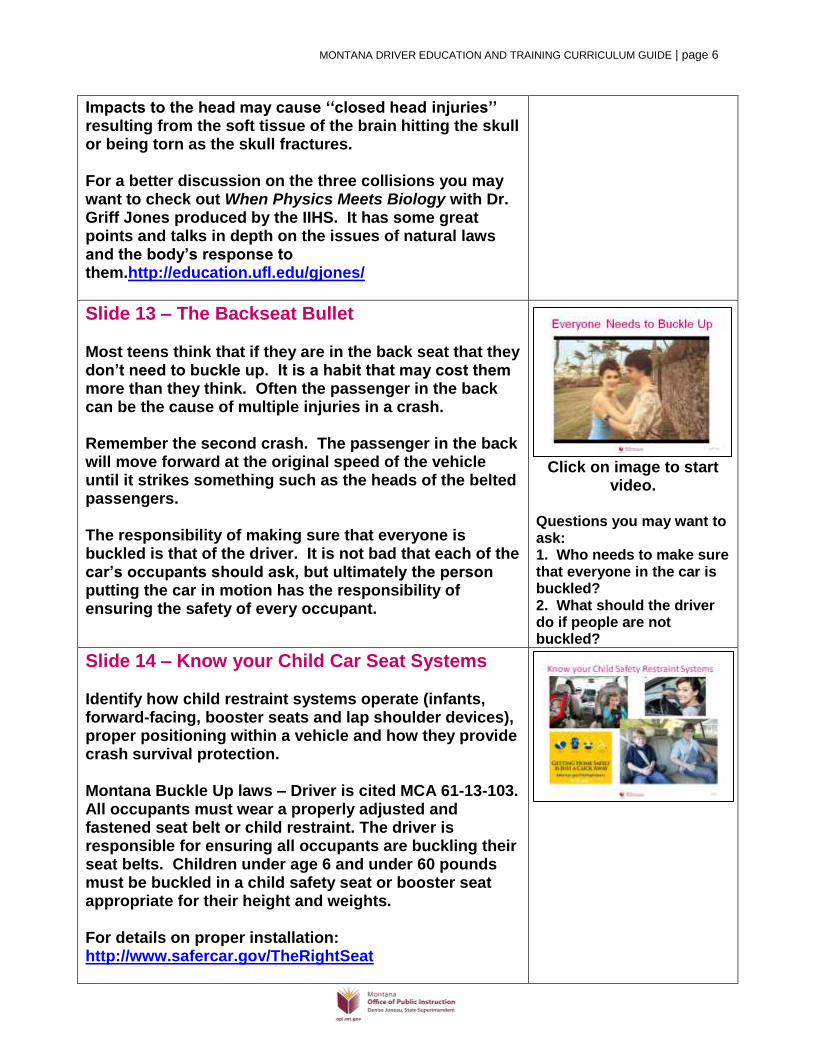
Slide 13 – The Backseat Bullet Most teens think that if they are in the back seat that they don’t need to buckle up. It is a habit that may cost them more than they think. Often the passenger in the back can be the cause of multiple injuries in a crash. Remember the second crash. The passenger in the back will move forward at the original speed of the vehicle until it strikes something such as the heads of the belted passengers. The responsibility of making sure that everyone is buckled is that of the driver. It is not bad that each of the car’s occupants should ask, but ultimately the person putting the car in motion has the responsibility of ensuring the safety of every occupant.
Click on image to start video.
Questions you may want to ask: 1. Who needs to make sure that everyone in the car is buckled? 2. What should the driver do if people are not buckled?
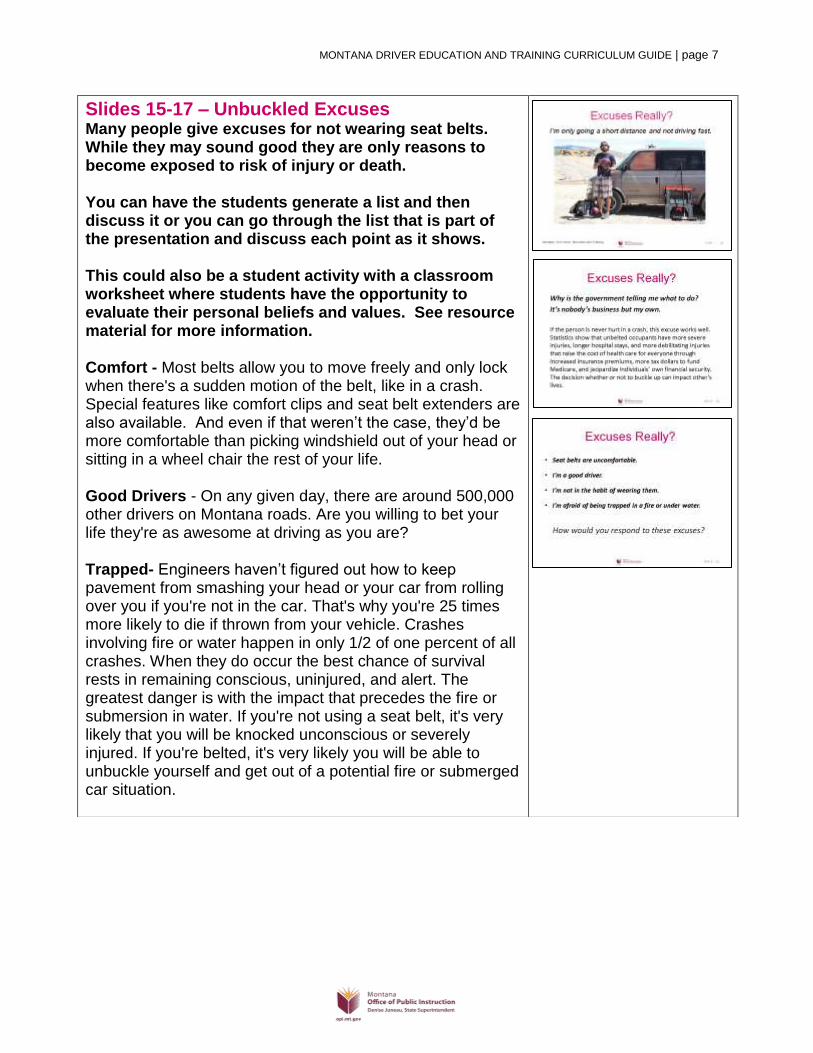
Slide 14 – Know your Child Car Seat Systems Identify how child restraint systems operate (infants, forward-facing, booster seats and lap shoulder devices), proper positioning within a vehicle and how they provide crash survival protection. Montana Buckle Up laws – Driver is cited MCA 61-13-103. All occupants must wear a properly adjusted and fastened seat belt or child restraint. The driver is responsible for ensuring all occupants are buckling their seat belts. Children under age 6 and under 60 pounds must be buckled in a child safety seat or booster seat appropriate for their height and weights. For details on proper installation: http://www.safercar.gov/TheRightSeat
MONTANA DRIVER EDUCATION AND TRAINING CURRICULUM GUIDE | page 7
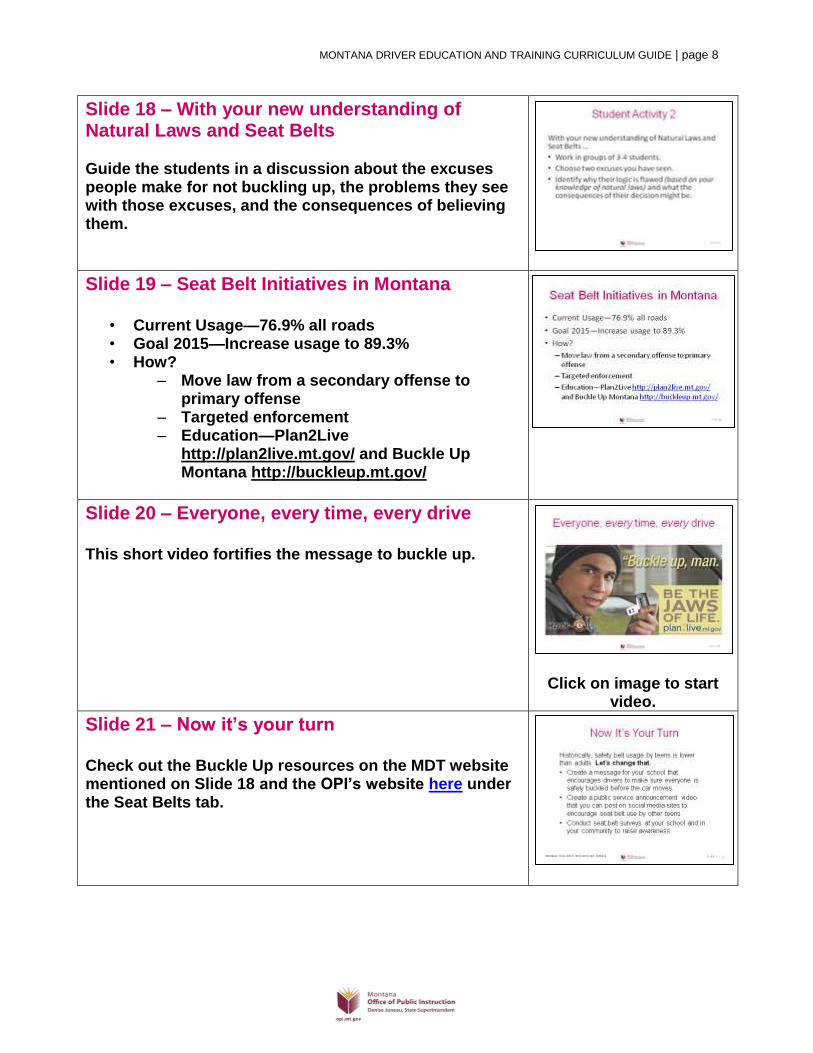
Slides 15-17 – Unbuckled Excuses Many people give excuses for not wearing seat belts. While they may sound good they are only reasons to become exposed to risk of injury or death. You can have the students generate a list and then discuss it or you can go through the list that is part of the presentation and discuss each point as it shows. This could also be a student activity with a classroom worksheet where students have the opportunity to evaluate their personal beliefs and values. See resource material for more information. Comfort - Most belts allow you to move freely and only lock when there's a sudden motion of the belt, like in a crash. Special features like comfort clips and seat belt extenders are also available. And even if that weren’t the case, they’d be more comfortable than picking windshield out of your head or sitting in a wheel chair the rest of your life. Good Drivers - On any given day, there are around 500,000 other drivers on Montana roads. Are you willing to bet your life they're as awesome at driving as you are? Trapped- Engineers haven’t figured out how to keep pavement from smashing your head or your car from rolling over you if you're not in the car. That's why you're 25 times more likely to die if thrown from your vehicle. Crashes involving fire or water happen in only 1/2 of one percent of all crashes. When they do occur the best chance of survival rests in remaining conscious, uninjured, and alert. The greatest danger is with the impact that precedes the fire or submersion in water. If you're not using a seat belt, it's very likely that you will be knocked unconscious or severely injured. If you're belted, it's very likely you will be able to unbuckle yourself and get out of a potential fire or submerged car situation.
MONTANA DRIVER EDUCATION AND TRAINING CURRICULUM GUIDE | page 8
Slide 18 – With your new understanding of Natural Laws and Seat Belts Guide the students in a discussion about the excuses people make for not buckling up, the problems they see with those excuses, and the consequences of believing them.
Slide 19 – Seat Belt Initiatives in Montana
• Current Usage—76.9% all roads • Goal 2015—Increase usage to 89.3% • How?
– Move law from a secondary offense to primary offense
– Targeted enforcement – Education—Plan2Live
http://plan2live.mt.gov/ and Buckle Up Montana http://buckleup.mt.gov/
Slide 20 – Everyone, every time, every drive This short video fortifies the message to buckle up.
Click on image to start
video.
Slide 21 – Now it’s your turn Check out the Buckle Up resources on the MDT website mentioned on Slide 18 and the OPI’s website here under the Seat Belts tab.
MONTANA DRIVER EDUCATION AND TRAINING CURRICULUM GUIDE | page 9
Updated 4/17/2014
Slide 22 – The car shouldn’t start, ‘til you cross your heart.
Slides 23-24 – Standards and Benchmarks Standards and Benchmarks 1-8: This is for your reference and not to be read to the class verbatim. Please review prior to the lesson so you are aware of what the student will be required to know at the end of the module.