Embed Size (px)
Citation preview

www.tech4learning.com1
Meeting Common CoreStandards with Wixie®
Grade 2Grade 2
877.834.54532
ContentsGrade 2 Language Arts
Reading: Literature Key Ideas and Details .................................................. 3Craft and Structure ..................................................... 4Integration of Knowledge and Ideas ............................ 5
Reading: Informational TextKey Ideas and Details .................................................. 6Craft and Structure ..................................................... 7Integration of Knowledge and Ideas ............................ 8
Reading: Foundational SkillsPhonics & Word Recognition ...................................... 8
Writing Text Types and Purposes .............................................9Production and Distribution of Writing .......................11Research to Build and Present Knowledge ................ 12
Speaking & ListeningPresentation of Knowledge and Ideas ........................ 13
Language Arts Lesson - Amazing Animal Alliterations ... 14
Grade 2 Mathematics Number & Operations in Base Ten
Understand place value. .............................................16Use place value understanding to add and subtract. ..............................................................16
Measurement & DataRelate addition and subtraction to length ................. 17Work with time and money ......................................... 17Represent and interpret data. ....................................18
GeometryReason with shapes and their attributes. .................20
Math Lesson - Now Thats a Problem ..............................21
Appendix A Assign Activities by Common Core Standard ................. 23
Appendix B Assign Common Core Standards to Student Work ........26
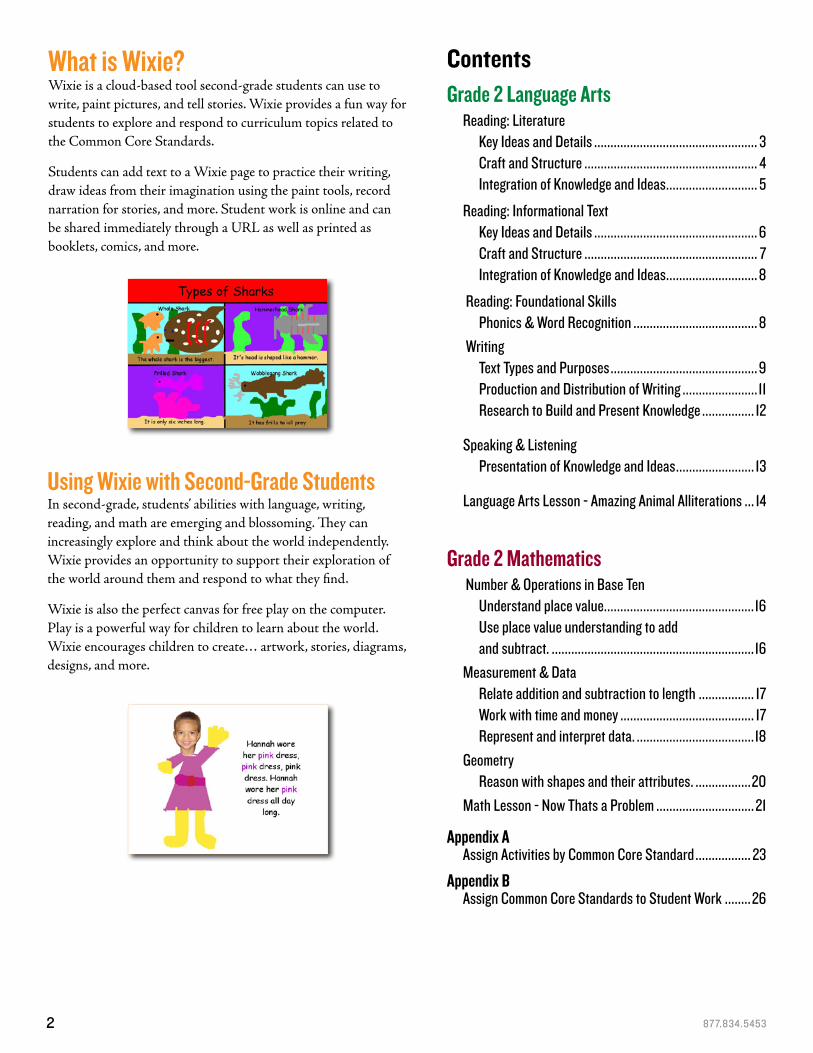
What is Wixie?Wixie is a cloud-based tool second-grade students can use to write, paint pictures, and tell stories. Wixie provides a fun way for students to explore and respond to curriculum topics related to the Common Core Standards.
Students can add text to a Wixie page to practice their writing, draw ideas from their imagination using the paint tools, record narration for stories, and more. Student work is online and can be shared immediately through a URL as well as printed as booklets, comics, and more.
Using Wixie with Second-Grade Students In second-grade, students’ abilities with language, writing, reading, and math are emerging and blossoming. They can increasingly explore and think about the world independently. Wixie provides an opportunity to support their exploration of the world around them and respond to what they find.
Wixie is also the perfect canvas for free play on the computer. Play is a powerful way for children to learn about the world. Wixie encourages children to create… artwork, stories, diagrams, designs, and more.
www.tech4learning.com3
Grade 2 Language Arts
Key Ideas and DetailsReading: Literature
1. Ask and answer such questions as who, what, where, when, why, and how to demonstrate understanding of key details in a text.
Five W’s
2. Recount stories, including fables and folktales from diverse cultures, and determine their central message, lesson, or moral.
And the Moral of the Story is…
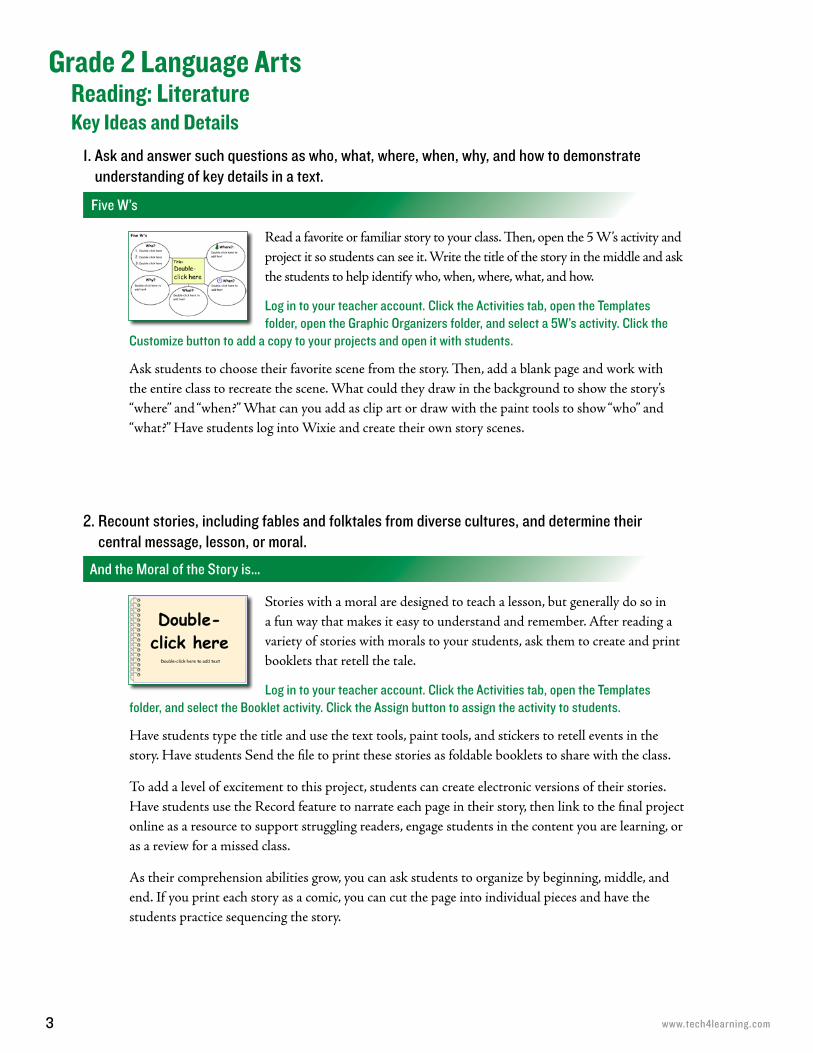
Read a favorite or familiar story to your class. Then, open the 5 W’s activity and project it so students can see it. Write the title of the story in the middle and ask the students to help identify who, when, where, what, and how.
Log in to your teacher account. Click the Activities tab, open the Templates folder, open the Graphic Organizers folder, and select a 5W’s activity. Click the
Customize button to add a copy to your projects and open it with students.
Ask students to choose their favorite scene from the story. Then, add a blank page and work with the entire class to recreate the scene. What could they draw in the background to show the story’s “where” and “when?” What can you add as clip art or draw with the paint tools to show “who” and “what?” Have students log into Wixie and create their own story scenes.
Stories with a moral are designed to teach a lesson, but generally do so in a fun way that makes it easy to understand and remember. After reading a variety of stories with morals to your students, ask them to create and print booklets that retell the tale.
Log in to your teacher account. Click the Activities tab, open the Templates folder, and select the Booklet activity. Click the Assign button to assign the activity to students.
Have students type the title and use the text tools, paint tools, and stickers to retell events in the story. Have students Send the file to print these stories as foldable booklets to share with the class.
To add a level of excitement to this project, students can create electronic versions of their stories. Have students use the Record feature to narrate each page in their story, then link to the final project online as a resource to support struggling readers, engage students in the content you are learning, or as a review for a missed class.
As their comprehension abilities grow, you can ask students to organize by beginning, middle, and end. If you print each story as a comic, you can cut the page into individual pieces and have the students practice sequencing the story.
877.834.54534
3. Describe how characters in a story respond to major events and challenges.
What Would You Do?
5. Describe the overall structure of a story, including describing how the beginning introduces the story and the ending concludes the action.
Plot – Beginning, Key Event, and End
Craft and Structure
Key Ideas and DetailsReading: Literature
Reading: Literature
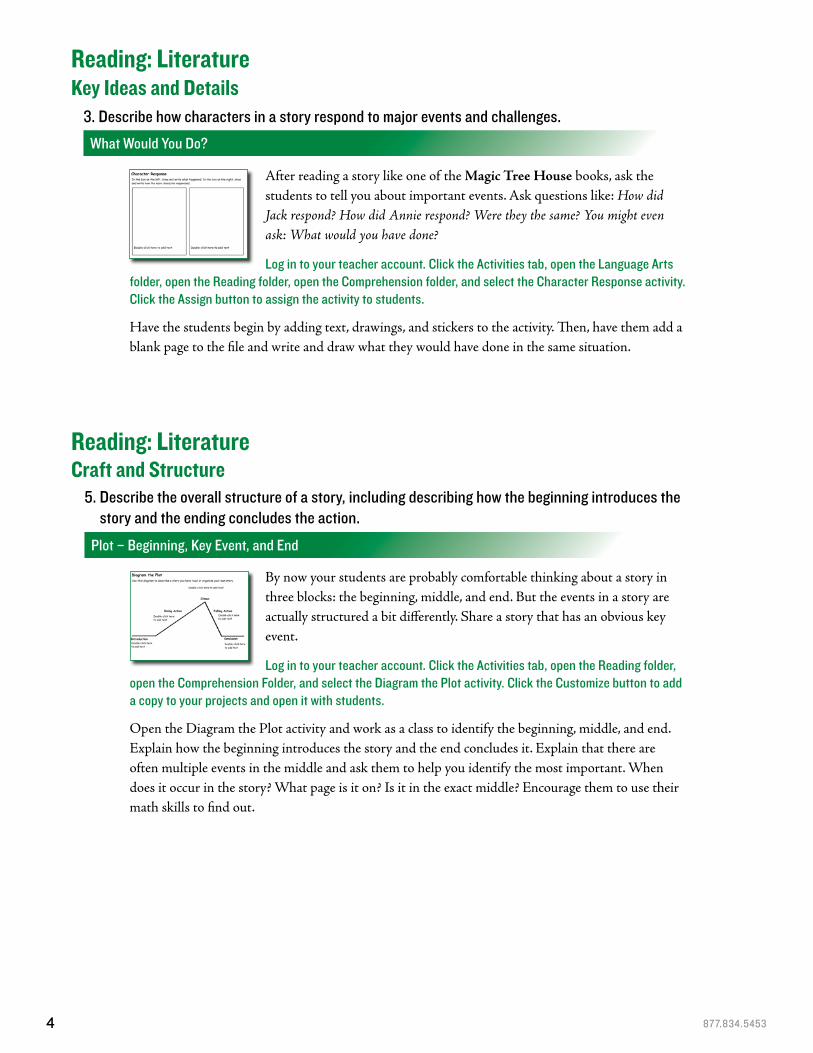
After reading a story like one of the Magic Tree House books, ask the students to tell you about important events. Ask questions like: How did Jack respond? How did Annie respond? Were they the same? You might even ask: What would you have done?
Log in to your teacher account. Click the Activities tab, open the Language Arts folder, open the Reading folder, open the Comprehension folder, and select the Character Response activity. Click the Assign button to assign the activity to students.
Have the students begin by adding text, drawings, and stickers to the activity. Then, have them add a blank page to the file and write and draw what they would have done in the same situation.
By now your students are probably comfortable thinking about a story in three blocks: the beginning, middle, and end. But the events in a story are actually structured a bit differently. Share a story that has an obvious key event.
Log in to your teacher account. Click the Activities tab, open the Reading folder, open the Comprehension Folder, and select the Diagram the Plot activity. Click the Customize button to add a copy to your projects and open it with students.
Open the Diagram the Plot activity and work as a class to identify the beginning, middle, and end. Explain how the beginning introduces the story and the end concludes it. Explain that there are often multiple events in the middle and ask them to help you identify the most important. When does it occur in the story? What page is it on? Is it in the exact middle? Encourage them to use their math skills to find out.
www.tech4learning.com5
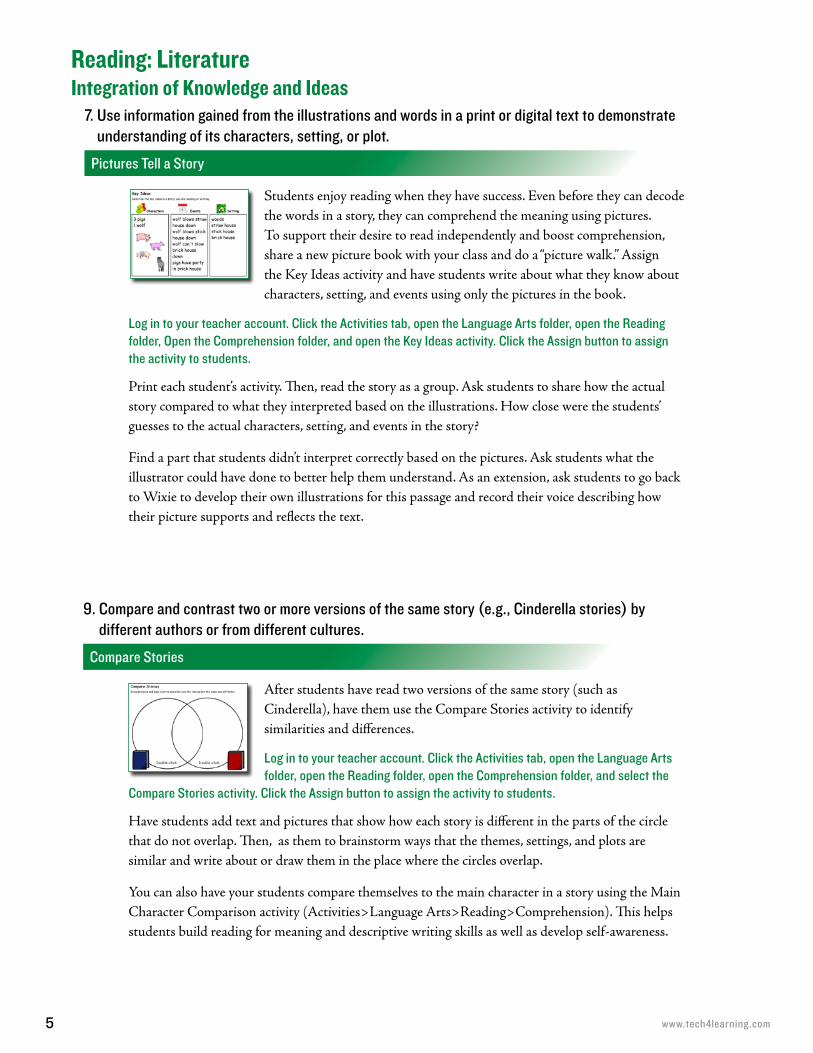
Students enjoy reading when they have success. Even before they can decode the words in a story, they can comprehend the meaning using pictures. To support their desire to read independently and boost comprehension, share a new picture book with your class and do a “picture walk.” Assign the Key Ideas activity and have students write about what they know about characters, setting, and events using only the pictures in the book.
Log in to your teacher account. Click the Activities tab, open the Language Arts folder, open the Reading folder, Open the Comprehension folder, and open the Key Ideas activity. Click the Assign button to assign the activity to students.
Print each student’s activity. Then, read the story as a group. Ask students to share how the actual story compared to what they interpreted based on the illustrations. How close were the students’ guesses to the actual characters, setting, and events in the story?
Find a part that students didn’t interpret correctly based on the pictures. Ask students what the illustrator could have done to better help them understand. As an extension, ask students to go back to Wixie to develop their own illustrations for this passage and record their voice describing how their picture supports and reflects the text.
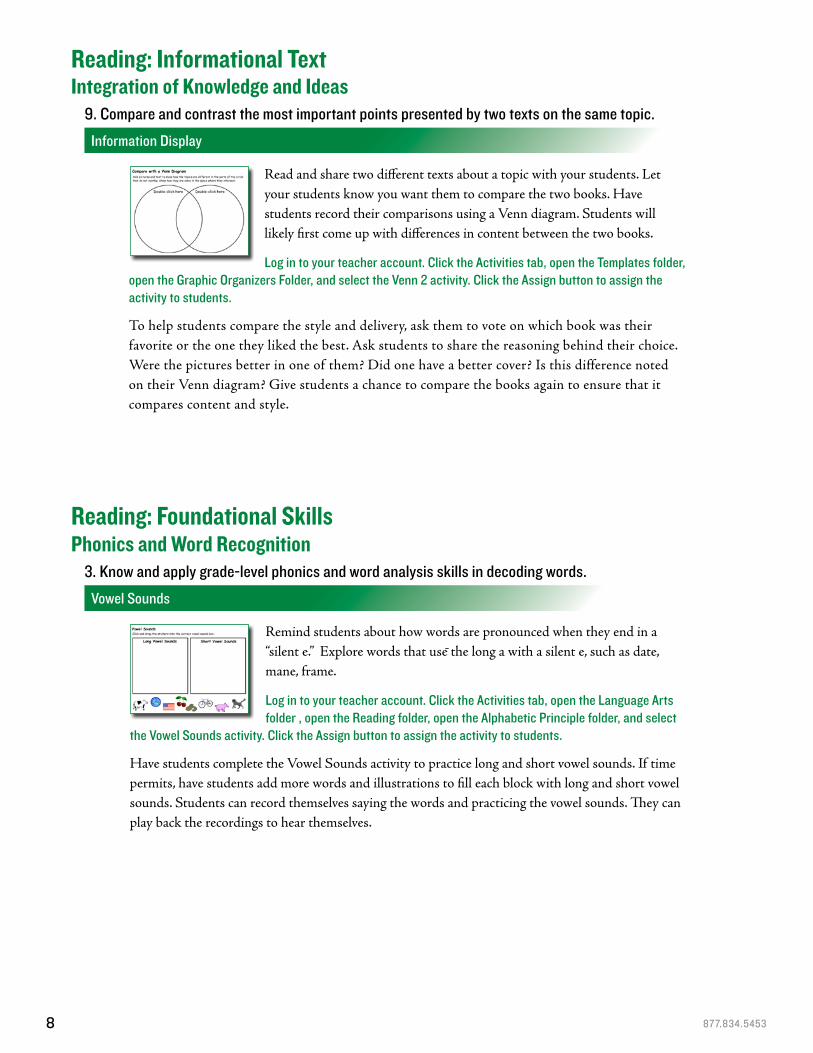
After students have read two versions of the same story (such as Cinderella), have them use the Compare Stories activity to identify similarities and differences.
Log in to your teacher account. Click the Activities tab, open the Language Arts folder, open the Reading folder, open the Comprehension folder, and select the
Compare Stories activity. Click the Assign button to assign the activity to students.
Have students add text and pictures that show how each story is different in the parts of the circle that do not overlap. Then, as them to brainstorm ways that the themes, settings, and plots are similar and write about or draw them in the place where the circles overlap.
You can also have your students compare themselves to the main character in a story using the Main Character Comparison activity (Activities>Language Arts>Reading>Comprehension). This helps students build reading for meaning and descriptive writing skills as well as develop self-awareness.
7. Use information gained from the illustrations and words in a print or digital text to demonstrate understanding of its characters, setting, or plot.
Pictures Tell a Story
Integration of Knowledge and Ideas
9. Compare and contrast two or more versions of the same story (e.g., Cinderella stories) by different authors or from different cultures.
Compare Stories
Reading: Literature

877.834.54536
1. Ask and answer such questions as who, what, where, when, why, and how to demonstrate understanding of key details in a text.
Five W’s
Key Ideas and Details
2. Identify the main topic of a multiparagraph text as well as the focus of specific paragraphs within the text.
Explore Main Idea
Reading: Informational Text
Have your students think about the main idea as an umbrella that covers all of the content and holds it together. Share a couple of different nonfiction books for early readers with your students. Look at the cover picture and title. What is the main idea? Now explore the titles, pictures, and text inside the book. How are they organized? Assign the Main Idea Umbrella activity and ask students to work individually to add text and use the paint tools and
stickers to describe the main idea as well as key details for one of the books you have shared.
Log in to your teacher account. Click the Activities tab, open the Language Arts folder, open the Reading Folder, open the Comprehension folder, and select the Main Idea Umbrella activity. Click the Assign button to assign the activity to students.
You might also assign students the Main Idea Umbrella activity for a nonfiction topic they will be exploring in their writing. This will help them collect information for their writing. You can also have students create a page that illustrates the main idea using clip art, the text tool, and the paint tools.
As you approach a holiday, such as the Fourth of July, Martin Luther King’s birthday, or Presidents Day, ask your students to help you investigate the details of that holiday. Share several books and informational web sites that provide information about this person’s life or events unique to that day in history. Utilize your media specialist or librarian to help you find books and web sites appropriate for your students’ reading level.
Log in to your teacher account. Click the Activities tab, open the Templates folder, open the Graphic Organizers folder, and select a 5 W’s activity. Click the Assign button to assign the activity to students.
Ask students to help you answer the key details of who, what, where, when, and how of different holidays. Students can use the 5 W’s activity to compile their findings and then present them to the class.

www.tech4learning.com7
4. Determine the meaning of words and phrases in a text relevant to a grade 2 topic or subject area.
Vocabulary Supports
Craft and Structure
5. Know and use various text features (e.g., captions, bold print, subheadings, glossaries, indexes, electronic menus, icons) to locate key facts or information in a text efficiently.
Creating Non-Fiction Books
Reading: Informational Text
“When we were doing research projects, I noticed that my students were not making effective use of the features of non-fiction text to find the information they were seeking.
After discussing text features like table of contents, types of print, photographs, captions, close-ups, and labeling, I asked my student to create
non-fiction animal reports that utilized the text features. They began by reading an assortment of non-fiction texts identifying the features. Students then selected an animal and used Wixie to develop their own non-fiction book to show their understanding of the animal’s characteristics, habitat, offspring, and amazing facts.
It was exciting to observe as they explored each tool, increasing their skills as they added to the creativity of the pictures in their project. The result was a collection of unique, colorful, high-quality nonfiction books.”
—Sheila Buscemi Valley Elementary School, Frederick, Md
As you read to the class or as students are reading independently, have them raise their hands to let you know they encounter an unfamiliar word. Have them ask the rest of the class if anyone can help share the meaning of the word. Work together to define the word. You may want to copy the sentence they are reading that includes the word or ask advanced students if they can help you use it in a new sentence. Collect the new words on a wall or bulletin board in your classroom.
Log in to your teacher account. Click the Activities tab, open the Language Arts folder, open the Vocabulary folder, and select the Vocabulary (green) activity. Click the Assign button to assign the activity to students.
At the end of the week or unit, give each student one of the words on the wall. Have student complete the Vocabulary activity, including a definition and original sentence that uses the word and provides a context clue to its meaning. Ask students to draw a picture of the word to help others remember the meaning. Print the pages in Postcard style (4 to a page) and distribute them to the class as vocabulary postcards or trading cards.
877.834.54538
9. Compare and contrast the most important points presented by two texts on the same topic.
Information Display
Integration of Knowledge and Ideas
3. Know and apply grade-level phonics and word analysis skills in decoding words.
Vowel Sounds
Phonics and Word Recognition
Reading: Informational Text
Reading: Foundational Skills
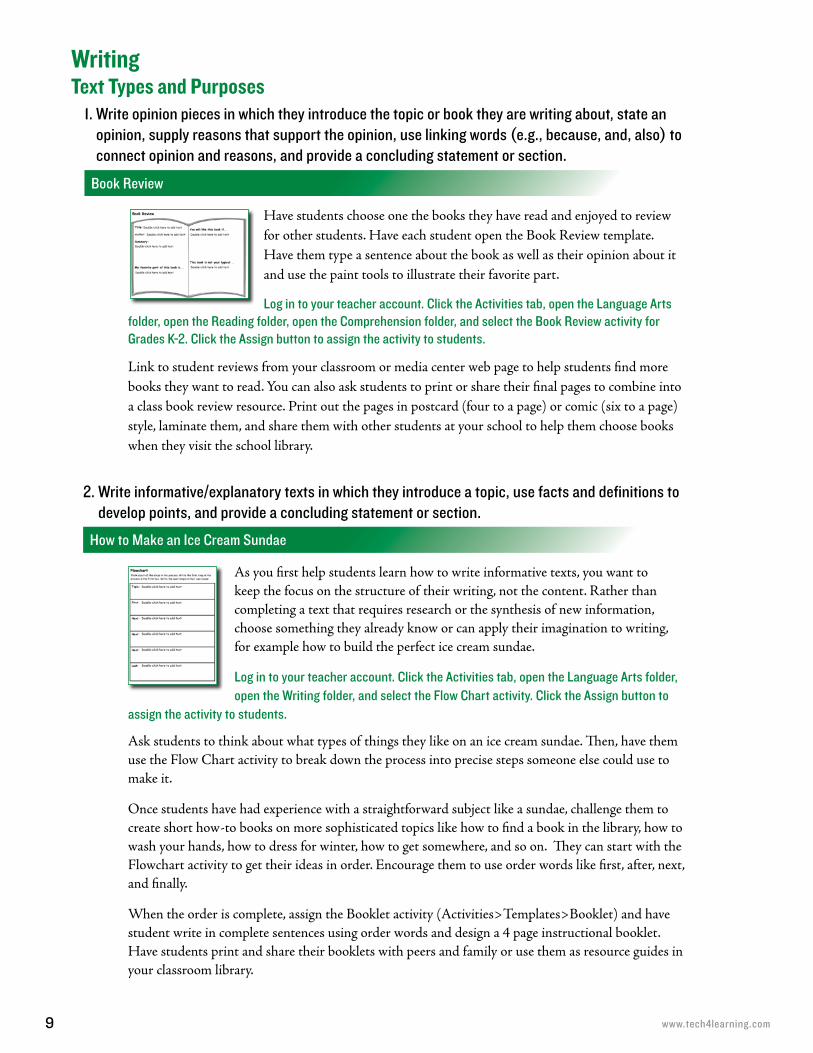
Read and share two different texts about a topic with your students. Let your students know you want them to compare the two books. Have students record their comparisons using a Venn diagram. Students will likely first come up with differences in content between the two books.
Log in to your teacher account. Click the Activities tab, open the Templates folder, open the Graphic Organizers Folder, and select the Venn 2 activity. Click the Assign button to assign the activity to students.
To help students compare the style and delivery, ask them to vote on which book was their favorite or the one they liked the best. Ask students to share the reasoning behind their choice. Were the pictures better in one of them? Did one have a better cover? Is this difference noted on their Venn diagram? Give students a chance to compare the books again to ensure that it compares content and style.
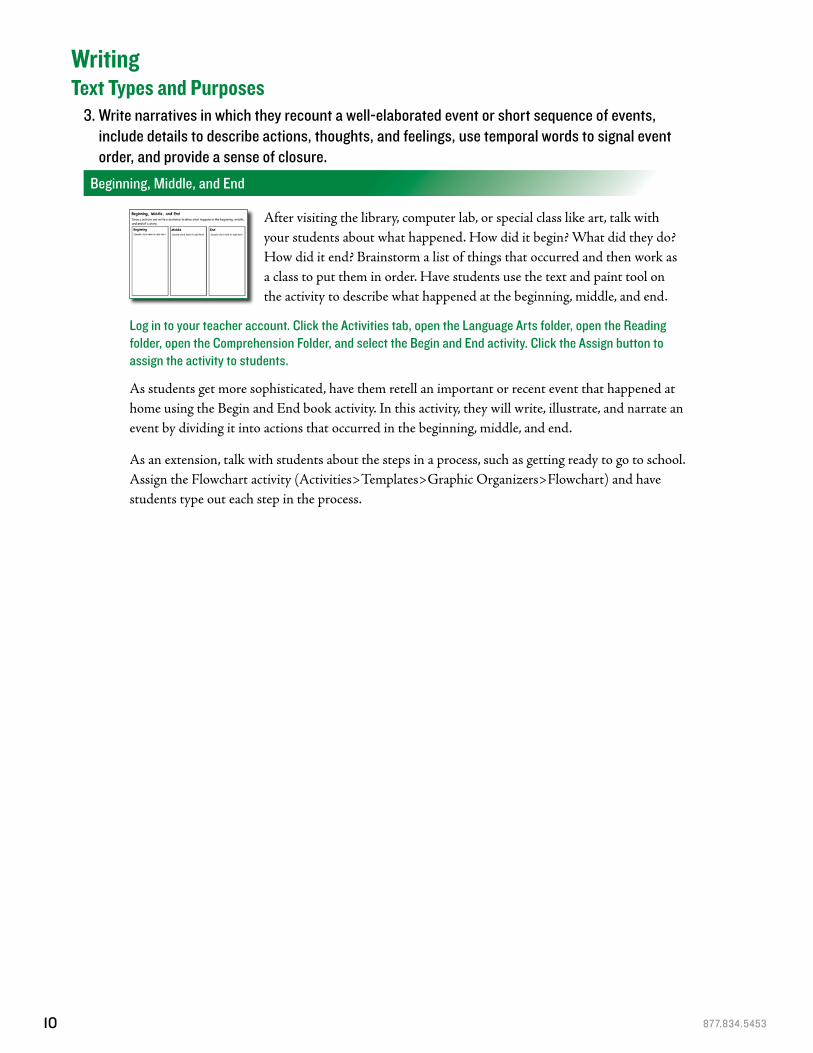
Remind students about how words are pronounced when they end in a “silent e.” Explore words that use the long a with a silent e, such as date, mane, frame.
Log in to your teacher account. Click the Activities tab, open the Language Arts folder , open the Reading folder, open the Alphabetic Principle folder, and select
the Vowel Sounds activity. Click the Assign button to assign the activity to students.
Have students complete the Vowel Sounds activity to practice long and short vowel sounds. If time permits, have students add more words and illustrations to fill each block with long and short vowel sounds. Students can record themselves saying the words and practicing the vowel sounds. They can play back the recordings to hear themselves.
www.tech4learning.com9
1. Write opinion pieces in which they introduce the topic or book they are writing about, state an opinion, supply reasons that support the opinion, use linking words (e.g., because, and, also) to connect opinion and reasons, and provide a concluding statement or section.
Book Review
Text Types and Purposes
2. Write informative/explanatory texts in which they introduce a topic, use facts and definitions to develop points, and provide a concluding statement or section.
How to Make an Ice Cream Sundae
Writing
Have students choose one the books they have read and enjoyed to review for other students. Have each student open the Book Review template. Have them type a sentence about the book as well as their opinion about it and use the paint tools to illustrate their favorite part.
Log in to your teacher account. Click the Activities tab, open the Language Arts folder, open the Reading folder, open the Comprehension folder, and select the Book Review activity for Grades K-2. Click the Assign button to assign the activity to students.
Link to student reviews from your classroom or media center web page to help students find more books they want to read. You can also ask students to print or share their final pages to combine into a class book review resource. Print out the pages in postcard (four to a page) or comic (six to a page) style, laminate them, and share them with other students at your school to help them choose books when they visit the school library.
As you first help students learn how to write informative texts, you want to keep the focus on the structure of their writing, not the content. Rather than completing a text that requires research or the synthesis of new information, choose something they already know or can apply their imagination to writing, for example how to build the perfect ice cream sundae.
Log in to your teacher account. Click the Activities tab, open the Language Arts folder, open the Writing folder, and select the Flow Chart activity. Click the Assign button to
assign the activity to students.
Ask students to think about what types of things they like on an ice cream sundae. Then, have them use the Flow Chart activity to break down the process into precise steps someone else could use to make it.
Once students have had experience with a straightforward subject like a sundae, challenge them to create short how-to books on more sophisticated topics like how to find a book in the library, how to wash your hands, how to dress for winter, how to get somewhere, and so on. They can start with the Flowchart activity to get their ideas in order. Encourage them to use order words like first, after, next, and finally.
When the order is complete, assign the Booklet activity (Activities>Templates>Booklet) and have student write in complete sentences using order words and design a 4 page instructional booklet. Have students print and share their booklets with peers and family or use them as resource guides in your classroom library.
877.834.545310
3. Write narratives in which they recount a well-elaborated event or short sequence of events, include details to describe actions, thoughts, and feelings, use temporal words to signal event order, and provide a sense of closure.
Beginning, Middle, and End
Text Types and Purposes
After visiting the library, computer lab, or special class like art, talk with your students about what happened. How did it begin? What did they do? How did it end? Brainstorm a list of things that occurred and then work as a class to put them in order. Have students use the text and paint tool on the activity to describe what happened at the beginning, middle, and end.
Log in to your teacher account. Click the Activities tab, open the Language Arts folder, open the Reading folder, open the Comprehension Folder, and select the Begin and End activity. Click the Assign button to assign the activity to students.
As students get more sophisticated, have them retell an important or recent event that happened at home using the Begin and End book activity. In this activity, they will write, illustrate, and narrate an event by dividing it into actions that occurred in the beginning, middle, and end.
As an extension, talk with students about the steps in a process, such as getting ready to go to school. Assign the Flowchart activity (Activities>Templates>Graphic Organizers>Flowchart) and have students type out each step in the process.
Writing
www.tech4learning.com11
6. With guidance and support from adults, use a variety of digital tools to produce and publish writing, including in collaboration with peers.
Classroom Projects Go Digital
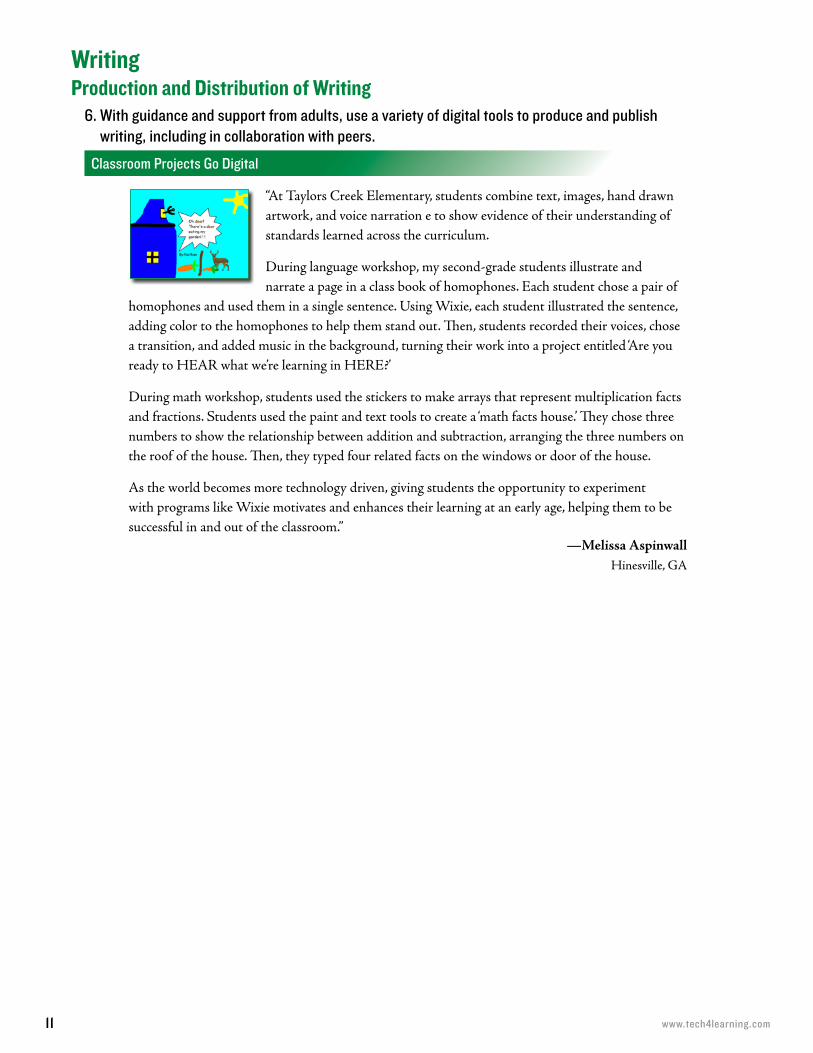
“At Taylors Creek Elementary, students combine text, images, hand drawn artwork, and voice narration e to show evidence of their understanding of standards learned across the curriculum.
During language workshop, my second-grade students illustrate and narrate a page in a class book of homophones. Each student chose a pair of
homophones and used them in a single sentence. Using Wixie, each student illustrated the sentence, adding color to the homophones to help them stand out. Then, students recorded their voices, chose a transition, and added music in the background, turning their work into a project entitled ‘Are you ready to HEAR what we’re learning in HERE?’
During math workshop, students used the stickers to make arrays that represent multiplication facts and fractions. Students used the paint and text tools to create a ‘math facts house.’ They chose three numbers to show the relationship between addition and subtraction, arranging the three numbers on the roof of the house. Then, they typed four related facts on the windows or door of the house.
As the world becomes more technology driven, giving students the opportunity to experiment with programs like Wixie motivates and enhances their learning at an early age, helping them to be successful in and out of the classroom.”
—Melissa Aspinwall Hinesville, GA
Production and Distribution of WritingWriting

877.834.545312
8. Recall information from experiences or gather information from provided sources to answer a question.
Creating Documentaries
“After attending a National Endowment of the Humanities workshop at Ellis Island, I decided a documentary that included my students’ illustrations and narration would be an effective way to challenge and engage students while exploring immigration.
Students researched Ellis Island in their classroom through trade literature and on the Internet, and then focused on a particular topic to explore. After they learned the content, they decided the best way to illustrate it, including details like the chalk marks on clothing indicating a medical concern, steamships, and the steps the new arrivals had to ascend for their ‘six-second medical exam.’
This project encouraged creativity and my students were engaged as they researched and illustrated their topic and practiced recording their narration. As we viewed the documentary, they also had the opportunity to learn from each other.”
—Pat Leslie Flemington, NJ
7. Participate in shared research and writing projects (e.g., read a number of books on a single topic to produce a report; record science observations).
Continent Experts
“In our second grade geography unit, students learn to identify and locate the seven continents on a world map. To add a research and writing component to their work, we asked them to become experts on continent.
First students were asked to complete an interest inventory to determine which continent they would enjoy learning more about. Students were then
divided into research groups and used web sites, books, and atlases to find facts on their continent. Their research was guided by a graphic organizer given to each group.
Students worked in small teams to develop a report on their continent that they shared in a class presentation and we shared from our classroom web page to educate family and community.”
—Kathleen ScarboroughVirginia Beach, Va
Research to Build and Present KnowledgeWriting
www.tech4learning.com13
5. Create audio recordings of stories or poems; add drawings or other visual displays to stories or recounts of experiences when appropriate to clarify ideas, thoughts, and feelings.
Adapting a Favorite Book
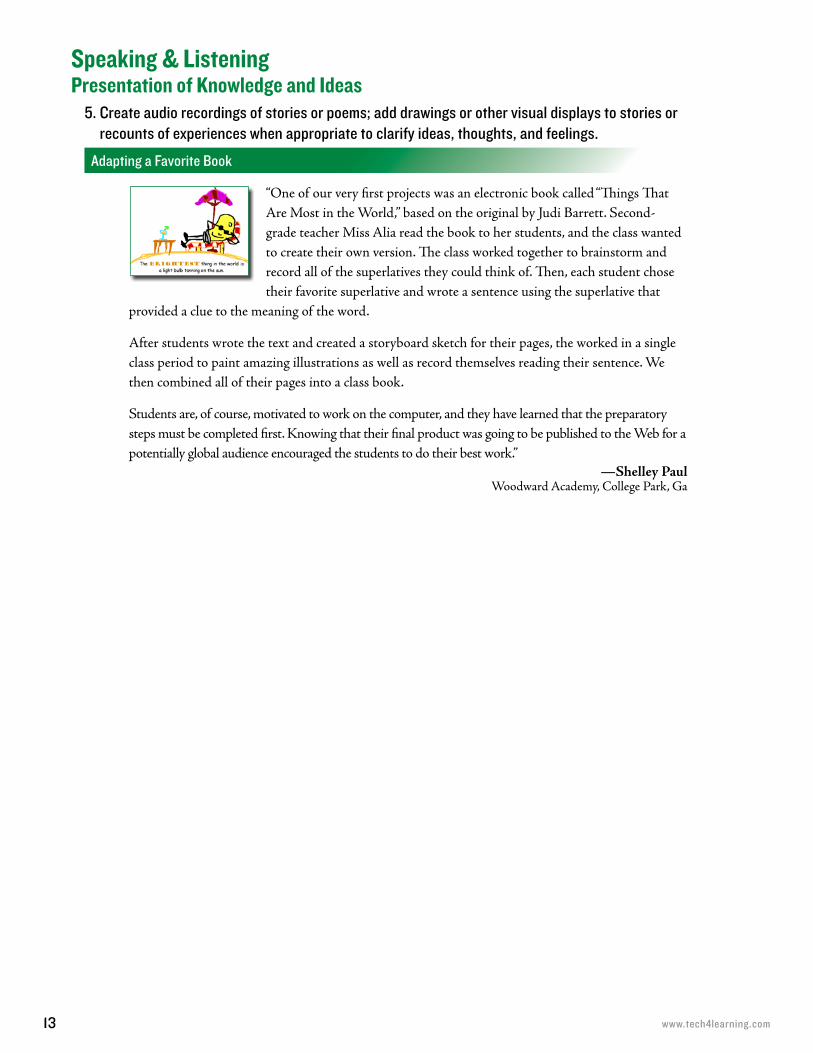
“One of our very first projects was an electronic book called “Things That Are Most in the World,” based on the original by Judi Barrett. Second-grade teacher Miss Alia read the book to her students, and the class wanted to create their own version. The class worked together to brainstorm and record all of the superlatives they could think of. Then, each student chose their favorite superlative and wrote a sentence using the superlative that
provided a clue to the meaning of the word.
After students wrote the text and created a storyboard sketch for their pages, the worked in a single class period to paint amazing illustrations as well as record themselves reading their sentence. We then combined all of their pages into a class book.
Students are, of course, motivated to work on the computer, and they have learned that the preparatory steps must be completed first. Knowing that their final product was going to be published to the Web for a potentially global audience encouraged the students to do their best work.”
—Shelley Paul Woodward Academy, College Park, Ga
Presentation of Knowledge and IdeasSpeaking & Listening
877.834.545314
Amazing Animal Alliterations
Language Arts Lesson
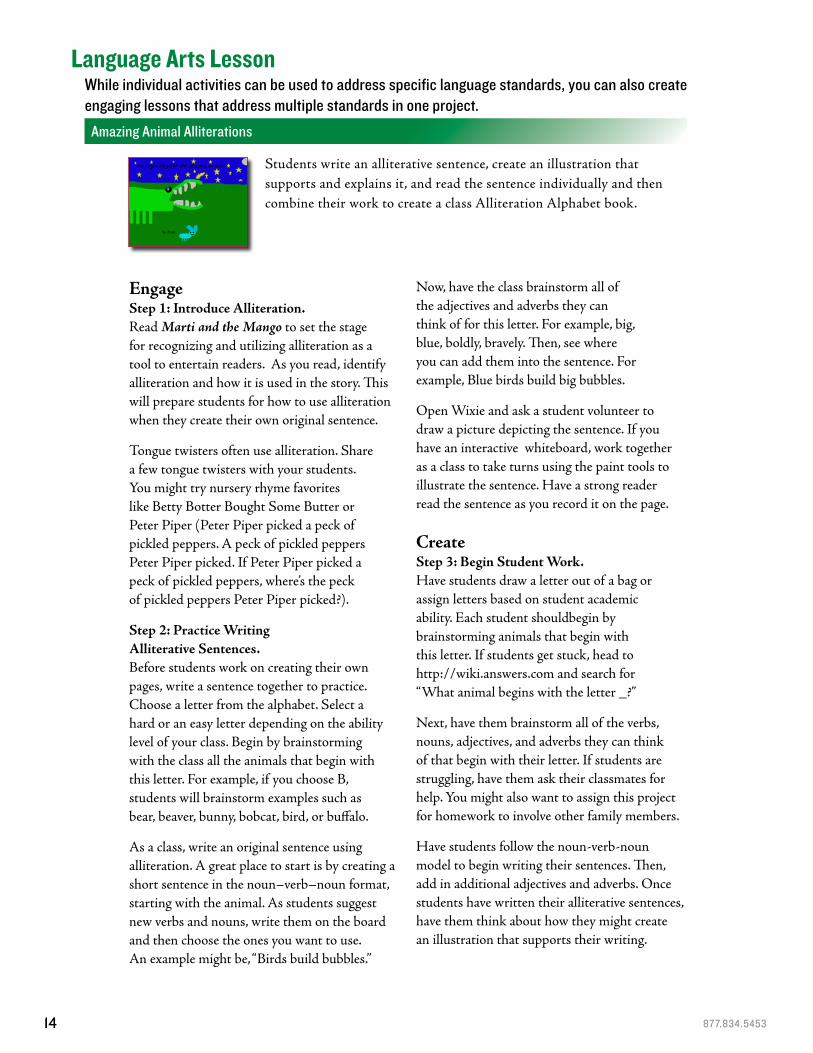
Students write an alliterative sentence, create an illustration that supports and explains it, and read the sentence individually and then combine their work to create a class Alliteration Alphabet book.
EngageStep 1: Introduce Alliteration.Read Marti and the Mango to set the stage for recognizing and utilizing alliteration as a tool to entertain readers. As you read, identify alliteration and how it is used in the story. This will prepare students for how to use alliteration when they create their own original sentence.
Tongue twisters often use alliteration. Share a few tongue twisters with your students. You might try nursery rhyme favorites like Betty Botter Bought Some Butter or Peter Piper (Peter Piper picked a peck of pickled peppers. A peck of pickled peppers Peter Piper picked. If Peter Piper picked a peck of pickled peppers, where’s the peck of pickled peppers Peter Piper picked?).
Step 2: Practice Writing Alliterative Sentences.Before students work on creating their own pages, write a sentence together to practice. Choose a letter from the alphabet. Select a hard or an easy letter depending on the ability level of your class. Begin by brainstorming with the class all the animals that begin with this letter. For example, if you choose B, students will brainstorm examples such as bear, beaver, bunny, bobcat, bird, or buffalo.
As a class, write an original sentence using alliteration. A great place to start is by creating a short sentence in the noun–verb–noun format, starting with the animal. As students suggest new verbs and nouns, write them on the board and then choose the ones you want to use. An example might be, “Birds build bubbles.”
Now, have the class brainstorm all of the adjectives and adverbs they can think of for this letter. For example, big, blue, boldly, bravely. Then, see where you can add them into the sentence. For example, Blue birds build big bubbles.
Open Wixie and ask a student volunteer to draw a picture depicting the sentence. If you have an interactive whiteboard, work together as a class to take turns using the paint tools to illustrate the sentence. Have a strong reader read the sentence as you record it on the page.
CreateStep 3: Begin Student Work. Have students draw a letter out of a bag or assign letters based on student academic ability. Each student shouldbegin by brainstorming animals that begin with this letter. If students get stuck, head to http://wiki.answers.com and search for “What animal begins with the letter _?”
Next, have them brainstorm all of the verbs, nouns, adjectives, and adverbs they can think of that begin with their letter. If students are struggling, have them ask their classmates for help. You might also want to assign this project for homework to involve other family members.
Have students follow the noun-verb-noun model to begin writing their sentences. Then, add in additional adjectives and adverbs. Once students have written their alliterative sentences, have them think about how they might create an illustration that supports their writing.
While individual activities can be used to address specific language standards, you can also create engaging lessons that address multiple standards in one project.
www.tech4learning.com15
Common Core StandardsRF 2.1 Demonstrate understanding of the organization
and basic features of print.
RF 2.2. Demonstrate understanding of spoken words,
syllables, and sounds (phonemes).
W 2.6. With guidance and support from adults, use a
variety of digital tools to produce and publish
writing, including in collaboration with peers.
SL 2.5. Create audio recordings of stories or poems;
add drawings or other visual displays to stories
or recounts of experiences when appropriate to
clarify ideas, thoughts, and feelings.
SL 2.6. Produce complete sentences when appropriate
to task and situation in order to provide
requested detail or clarification.
L 2.1. Demonstrate command of the conventions of
standard English grammar and usage when
writing or speaking.
L 2.2. Demonstrate command of the conventions of
standard English capitalization, punctuation, and
spelling when writing.
L 2.3. Use knowledge of language and its conventions
when writing, speaking, reading, or listening.
Have them look at the adjectives to develop details they will include in their drawings. Next, have students log in to Wixie, type their sentences, illustrate the page using the paint tools, and record themselves reading the sentences.
ShareStep 4: Create a Class Book and Share.When they are finished, have them click the Wixie button and choose Share. Log in to your teacher account, open the Wixie application,
click the Wixie button and choose Import Pages to collect student work into one file.
Print a copy of the book for your classroom and share the URL link to student work from your classroom web page.
Get your school together for a formal presentation of your class’s Amazing Animal Alliterations book! You can also share electronic and print copies in your school’s media center.
Language Arts Lesson (continued)
877.834.545316
Grade 2 Mathematics
1. Understand that the three digits of a three-digit number represent amounts of hundreds, tens, and ones; e.g., 706 equals 7 hundreds, 0 tens, and 6 ones. Understand the following as special cases:
Game - What Number is It?
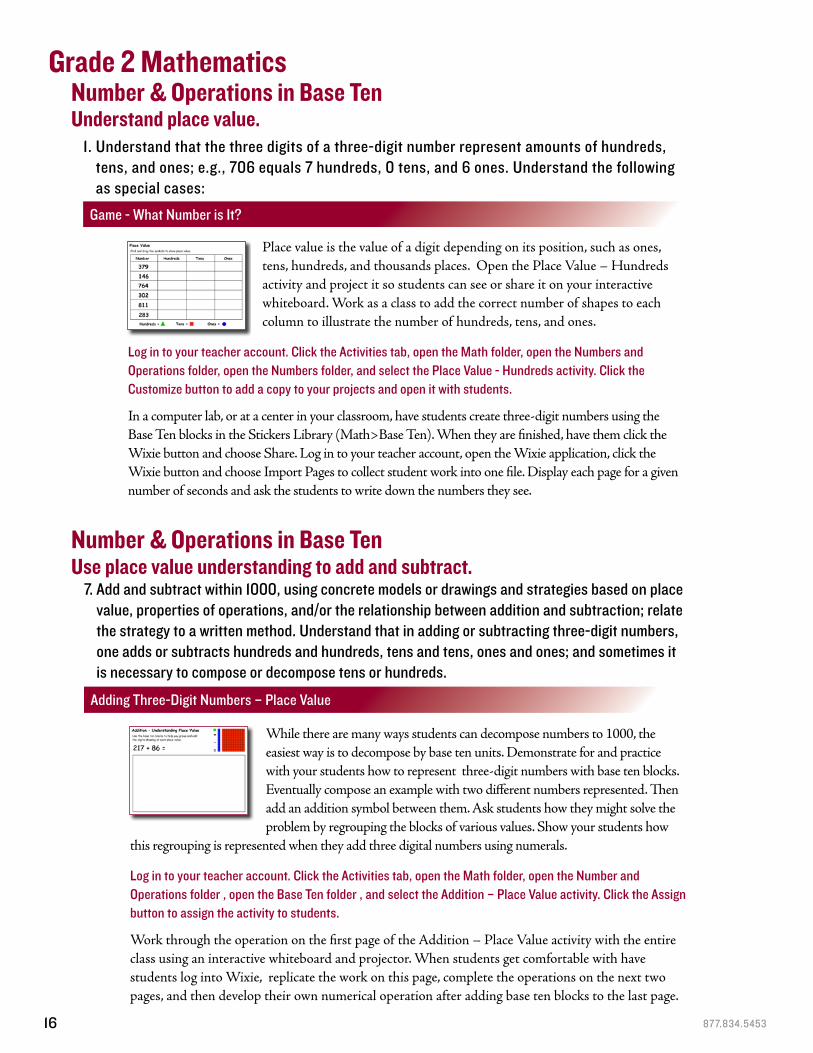
Place value is the value of a digit depending on its position, such as ones, tens, hundreds, and thousands places. Open the Place Value – Hundreds activity and project it so students can see or share it on your interactive whiteboard. Work as a class to add the correct number of shapes to each column to illustrate the number of hundreds, tens, and ones.
Log in to your teacher account. Click the Activities tab, open the Math folder, open the Numbers and Operations folder, open the Numbers folder, and select the Place Value - Hundreds activity. Click the Customize button to add a copy to your projects and open it with students.
In a computer lab, or at a center in your classroom, have students create three-digit numbers using the Base Ten blocks in the Stickers Library (Math>Base Ten). When they are finished, have them click the Wixie button and choose Share. Log in to your teacher account, open the Wixie application, click the Wixie button and choose Import Pages to collect student work into one file. Display each page for a given number of seconds and ask the students to write down the numbers they see.
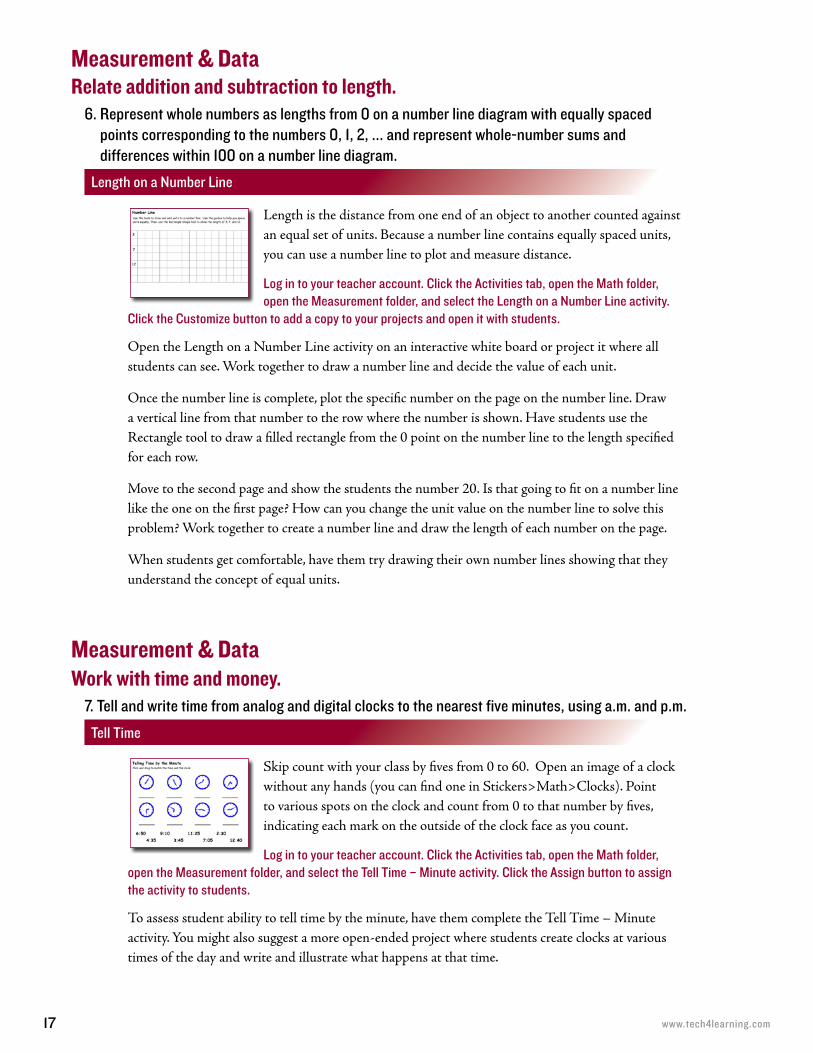
While there are many ways students can decompose numbers to 1000, the easiest way is to decompose by base ten units. Demonstrate for and practice with your students how to represent three-digit numbers with base ten blocks. Eventually compose an example with two different numbers represented. Then add an addition symbol between them. Ask students how they might solve the problem by regrouping the blocks of various values. Show your students how
this regrouping is represented when they add three digital numbers using numerals.
Log in to your teacher account. Click the Activities tab, open the Math folder, open the Number and Operations folder , open the Base Ten folder , and select the Addition – Place Value activity. Click the Assign button to assign the activity to students.
Work through the operation on the first page of the Addition – Place Value activity with the entire class using an interactive whiteboard and projector. When students get comfortable with have students log into Wixie, replicate the work on this page, complete the operations on the next two pages, and then develop their own numerical operation after adding base ten blocks to the last page.
Number & Operations in Base Ten
Number & Operations in Base Ten
Understand place value.
Use place value understanding to add and subtract.7. Add and subtract within 1000, using concrete models or drawings and strategies based on place
value, properties of operations, and/or the relationship between addition and subtraction; relate the strategy to a written method. Understand that in adding or subtracting three-digit numbers, one adds or subtracts hundreds and hundreds, tens and tens, ones and ones; and sometimes it is necessary to compose or decompose tens or hundreds.
Adding Three-Digit Numbers – Place Value
www.tech4learning.com17
6. Represent whole numbers as lengths from 0 on a number line diagram with equally spaced points corresponding to the numbers 0, 1, 2, ... and represent whole-number sums and differences within 100 on a number line diagram.
Length on a Number Line
Relate addition and subtraction to length.
7. Tell and write time from analog and digital clocks to the nearest five minutes, using a.m. and p.m.
Tell Time
Work with time and money.
Measurement & Data
Measurement & Data
Length is the distance from one end of an object to another counted against an equal set of units. Because a number line contains equally spaced units, you can use a number line to plot and measure distance.
Log in to your teacher account. Click the Activities tab, open the Math folder, open the Measurement folder, and select the Length on a Number Line activity.
Click the Customize button to add a copy to your projects and open it with students.
Open the Length on a Number Line activity on an interactive white board or project it where all students can see. Work together to draw a number line and decide the value of each unit.
Once the number line is complete, plot the specific number on the page on the number line. Draw a vertical line from that number to the row where the number is shown. Have students use the Rectangle tool to draw a filled rectangle from the 0 point on the number line to the length specified for each row.
Move to the second page and show the students the number 20. Is that going to fit on a number line like the one on the first page? How can you change the unit value on the number line to solve this problem? Work together to create a number line and draw the length of each number on the page.
When students get comfortable, have them try drawing their own number lines showing that they understand the concept of equal units.
Skip count with your class by fives from 0 to 60. Open an image of a clock without any hands (you can find one in Stickers>Math>Clocks). Point to various spots on the clock and count from 0 to that number by fives, indicating each mark on the outside of the clock face as you count.
Log in to your teacher account. Click the Activities tab, open the Math folder, open the Measurement folder, and select the Tell Time – Minute activity. Click the Assign button to assign the activity to students.
To assess student ability to tell time by the minute, have them complete the Tell Time – Minute activity. You might also suggest a more open-ended project where students create clocks at various times of the day and write and illustrate what happens at that time.
877.834.545318
Work with time and money.8. Solve word problems involving dollar bills, quarters, dimes, nickels, and pennies, using $
and ¢ symbols appropriately. Example: If you have 2 dimes and 3 pennies, how many cents do you have?
Money Problems
9. Generate measurement data by measuring lengths of several objects to the nearest whole unit, or by making repeated measurements of the same object. Show the measurements by making a line plot, where the horizontal scale is marked off in whole-number units.
Length Over Time
Represent and interpret data.
Measurement & Data
Measurement & Data
Students in second grade are generally confident knowing the value of money, but adding coins that have different value adds another layer of complexity. Completing operations involving money that are presented as word problems gets even more complex.
Share loose change with each student and present a few word problems they can try to first solve on their own and then with the help of the rest of the class. After practicing, have each student complete the Money – Least Coins multi-page activity so you can assess each student’s individual comprehension and mastery.
Log in to your teacher account. Click the Activities tab, open the Math folder, open the Measurement folder, open the Money folder, and select the Money – Least Coins activity. Click the Assign button to assign the activity to students.
You can also use the Money Problems activity in the same location for additional practice. To further their skills even more, have them start a new project and write and illustrate their own money problem (see the “Now That’s a Problem” lesson).
Place a small object like a plant on a sunny window sill, or table near a window, in your classroom. Using yard or meter stick, measure and record the length of the object’s shadow at least 6 times over the course of one day.
Log in to your teacher account. Click the Activities tab, open the Math folder, open the Templates folder, and select the portrait-oriented Graph activity. Click the Customize button to add a copy to your projects and open it with students.
Open the Graph activity so all students can see. Work as a class to enter the time and distance units on each axis of the graph.
Go back to your teacher dashboard and click the Assign button to assign this modified graph to students.
Have students take turns measuring the shadow or ask one student to be the official class measurer. To assess students understanding of graphing data, have them plot each measurement point on the graph showing the correct time (x axis) and length of the shadow (y axis). Have them to use the Line tool, to connect each point on the graph to make a line plot.
www.tech4learning.com19
10. Draw a picture graph and a bar graph (with single-unit scale) to represent a data set with up to four categories. Solve simple put-together, take-apart, and compare problems1 using information presented in a bar graph.
Our First Graphs
Favorite Fruit
“One of our biggest challenges with mathematics learning in the early grades is representing data in graphs. Since our students love working with pictures, we created a Wixie activity our Kindergarten and 1st grade classes could use to learn how to make bar graphs.
Working with other students at their table, students count how many of them are boys, how many are girls, which students like football, and which students have a dog. Then they add their own category in the 5th column and do the counting. Students tally their findings and fill each square in the graph to represent on student’s answer.
Because we can change the stickers and table groups, each time is a unique experience. Kids fill in the squares with the Paint bucket tool to create their graphs, or use the stickers to create a pictograph. We also have students customize the graph to include their own objects, print it out, survey family and friends, and complete the graph as homework.”
—Laura Spencer Prospect Avenue Elementary, Santee, CA
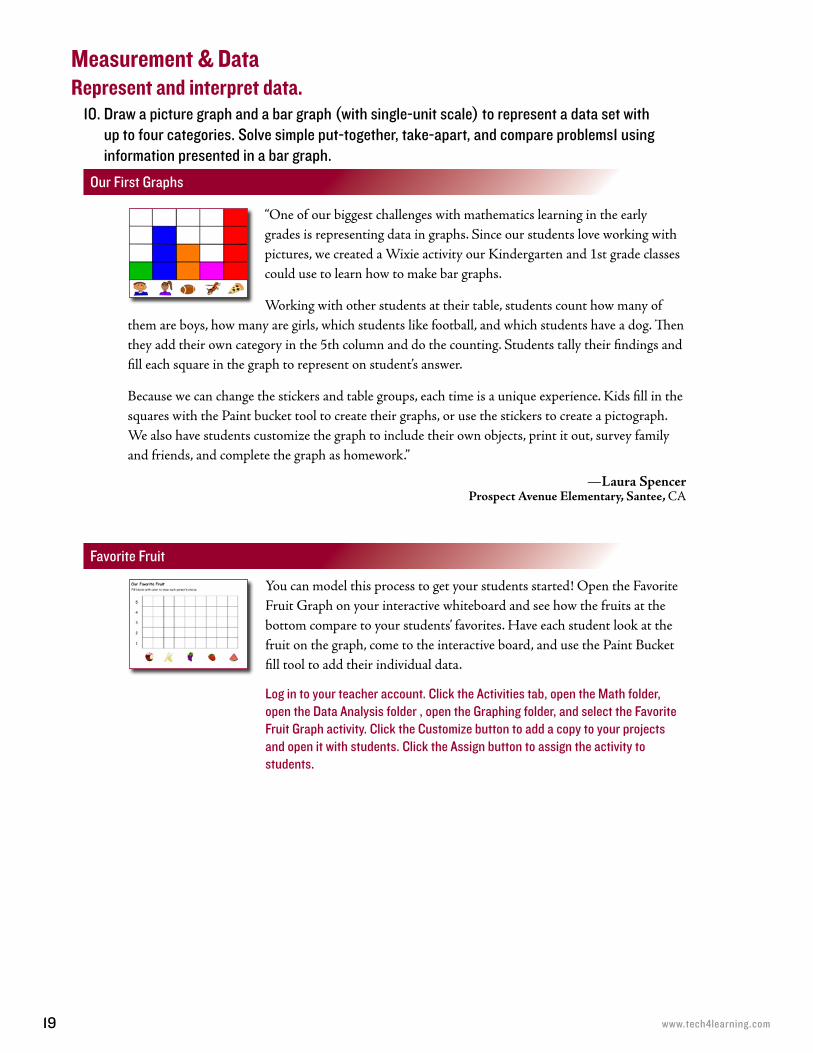
You can model this process to get your students started! Open the Favorite Fruit Graph on your interactive whiteboard and see how the fruits at the bottom compare to your students’ favorites. Have each student look at the fruit on the graph, come to the interactive board, and use the Paint Bucket fill tool to add their individual data.
Log in to your teacher account. Click the Activities tab, open the Math folder, open the Data Analysis folder , open the Graphing folder, and select the Favorite Fruit Graph activity. Click the Customize button to add a copy to your projects and open it with students. Click the Assign button to assign the activity to students.
Represent and interpret data.Measurement & Data

877.834.545320
2. Partition a rectangle into rows and columns of same-size squares and count to find the total number of them.
It’s a Party!
1. Recognize and draw shapes having specified attributes, such as a given number of angles or a given number of equal faces. 1) Identify triangles, quadrilaterals, pentagons, hexagons, and cubes.
Go on a Shape Hunt
Reason with shapes and their attributes.Geometry
Open the Find Shapes activity and project it so that your students can see. Look at each picture and call out the shapes you see in it.
Log in to your teacher account. Click the Activities tab, open the Math folder, open the Geometry folder, and select the Find Shapes activity. Click the Customize button to add a copy to your projects and open it with students.
This activity contains basic shapes and is great for younger students, but your second graders are capable of much more! What other shapes can your students think of? Prompt them if they don’t start sharing the 3-dimensional shapes they know.
Once you have a list of shapes, form small teams of students around each shape. Ask the student teams to work together to find or draw a single page with at least 4 different examples of their shape in the real world. You may want to provide a digital camera students can use to take pictures around school, or go to www.pics4learning.com to find additional photographs.
To combine student work into a team project, have each team member click the Wixie button and choose Share. Then, each of them can also click the Wixie button and choose Import Pages to find and add the pages for their team mates. Have students present their work for the class. Ask for additional examples for each shape as you show each page.
We all know how important it is to get the biggest piece of dessert! What’s the best way to avoid trouble when you are the host? Divide equally! Ask your class to describe the meaning of the word equal. What does equal mean when you talk about shapes in math? To assess your students’ understanding of equal, have them complete the multi-page Divide Equally activity.
Log in to your teacher account. Click the Activities tab, open the Math folder, open the Geometry folder, and select the Divide Equally activity. Click the Assign button to assign the activity to students.
Once they have the hang of dividing equally, ask your students to draw a picture of equal parts and then write a story to support the illustration. You can use the Sentence Strip activity as a template, or have them add a new page to the Divide Equally activity.
www.tech4learning.com21
Now That’s a Problem
Math Lesson
While individual activities can be used to address specific math standards, you can also create engaging lessons that address multiple standards in one project.
EngageIntroduce the concept of skip counting to your students. A fun way to get them excited about skip counting and to practice their skills is to play with a rubber ball. Have the students take turns bouncing the ball and counting off by 2’s, 5’s, 10’s, etc. Be sure to explain to them that skip counting is another way to multiply.
Once the students have an understanding of skip counting, read Bunches and Bunches of Bunnies by Louise Mathews. This book explains the concept of multiplication using pictures. Ask your students to illustrate this word problem:
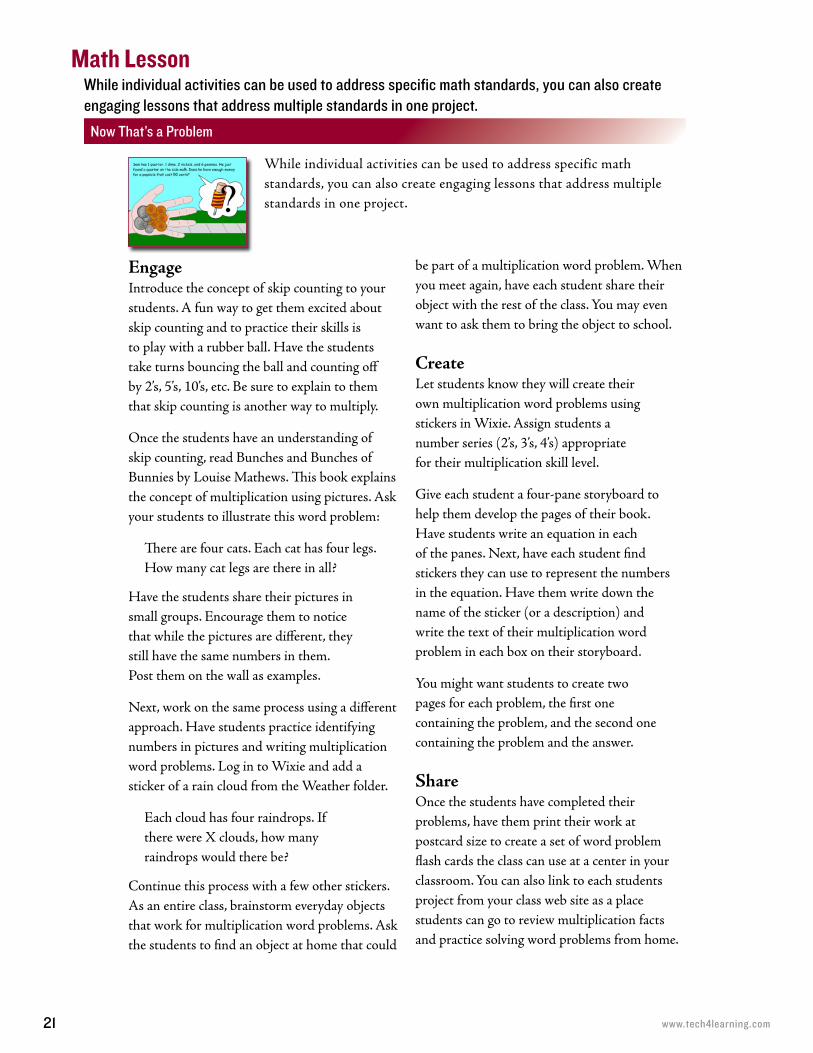
There are four cats. Each cat has four legs. How many cat legs are there in all?
Have the students share their pictures in small groups. Encourage them to notice that while the pictures are different, they still have the same numbers in them. Post them on the wall as examples.
Next, work on the same process using a different approach. Have students practice identifying numbers in pictures and writing multiplication word problems. Log in to Wixie and add a sticker of a rain cloud from the Weather folder.
Each cloud has four raindrops. If there were X clouds, how many raindrops would there be?
Continue this process with a few other stickers. As an entire class, brainstorm everyday objects that work for multiplication word problems. Ask the students to find an object at home that could
be part of a multiplication word problem. When you meet again, have each student share their object with the rest of the class. You may even want to ask them to bring the object to school.
CreateLet students know they will create their own multiplication word problems using stickers in Wixie. Assign students a number series (2’s, 3’s, 4’s) appropriate for their multiplication skill level.
Give each student a four-pane storyboard to help them develop the pages of their book. Have students write an equation in each of the panes. Next, have each student find stickers they can use to represent the numbers in the equation. Have them write down the name of the sticker (or a description) and write the text of their multiplication word problem in each box on their storyboard.
You might want students to create two pages for each problem, the first one containing the problem, and the second one containing the problem and the answer.
ShareOnce the students have completed their problems, have them print their work at postcard size to create a set of word problem flash cards the class can use at a center in your classroom. You can also link to each students project from your class web site as a place students can go to review multiplication facts and practice solving word problems from home.
While individual activities can be used to address specific math standards, you can also create engaging lessons that address multiple standards in one project.
877.834.545322
Common Core StandardsOAT 2. 1. Use addition and subtraction within 100
to solve one- and two-step word problems
involving situations of adding to, taking from,
putting together, taking apart, and comparing,
with unknowns in all positions, e.g., by using
drawings and equations with a symbol for the
unknown number to represent the problem.
MD 2.5. Use addition and subtraction within 100 to
solve word problems involving lengths that are
given in the same units, e.g., by using drawings
(such as drawings of rulers) and equations with
a symbol for the unknown number to represent
the problem.
MD 2.8. Solve word problems involving dollar bills,
quarters, dimes, nickels, and pennies, using $
and ¢ symbols appropriately. Example: If you
have 2 dimes and 3 pennies, how many cents do
you have?
Math Lesson (continued)
www.tech4learning.com23
You can assign activities in Wixie that you find by searching the Common Core Standards. Log in to Wixie with your teacher username and password.
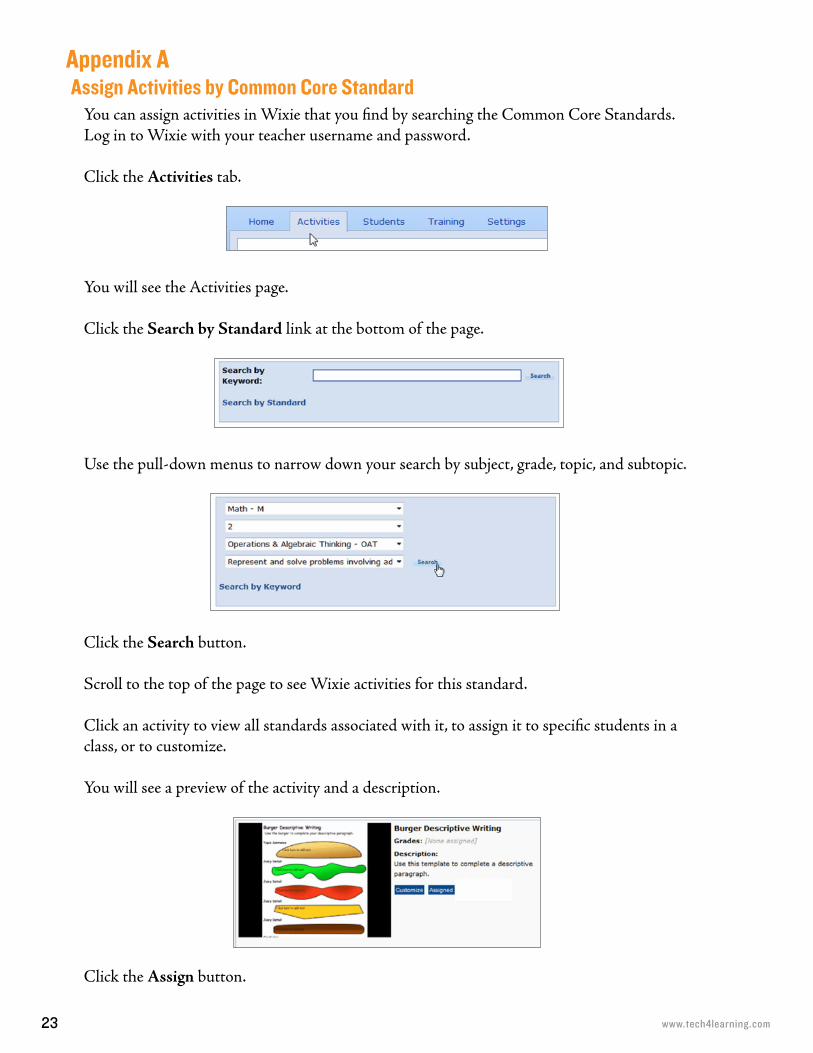
Click the Activities tab.
You will see the Activities page.
Click the Search by Standard link at the bottom of the page.
Use the pull-down menus to narrow down your search by subject, grade, topic, and subtopic.
Click the Search button.
Scroll to the top of the page to see Wixie activities for this standard.
Click an activity to view all standards associated with it, to assign it to specific students in a class, or to customize.
You will see a preview of the activity and a description.
Click the Assign button.
Appendix A Assign Activities by Common Core Standard
877.834.545324
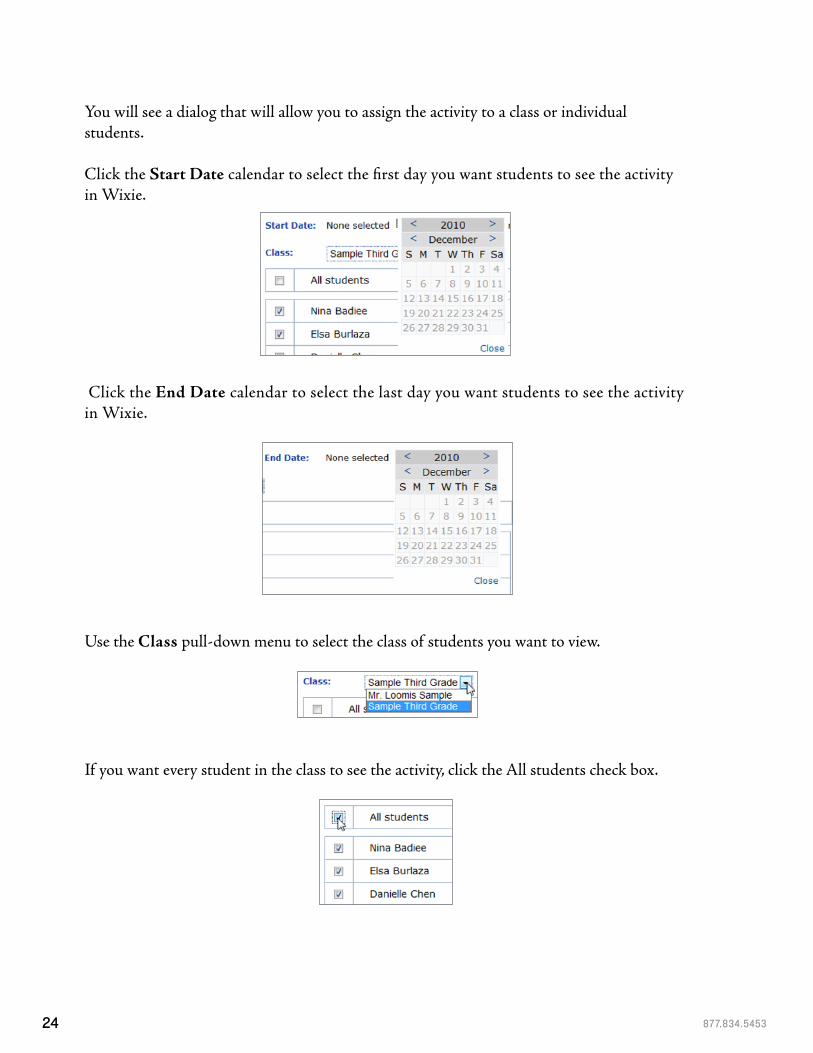
You will see a dialog that will allow you to assign the activity to a class or individual students.
Click the Start Date calendar to select the first day you want students to see the activity in Wixie.
Click the End Date calendar to select the last day you want students to see the activity in Wixie.
Use the Class pull-down menu to select the class of students you want to view.
If you want every student in the class to see the activity, click the All students check box.

www.tech4learning.com25
If you only want individual students to see the activity, click the check box for each student.
To assign the same activity to students in another class, select the class using the Class pull-down menu.
When you are finished choosing students, click the Save button.
You will see the activity in the Assigned Activities section of the Activities page.
The students you selected will see the activity on the dates you specified.
877.834.545326
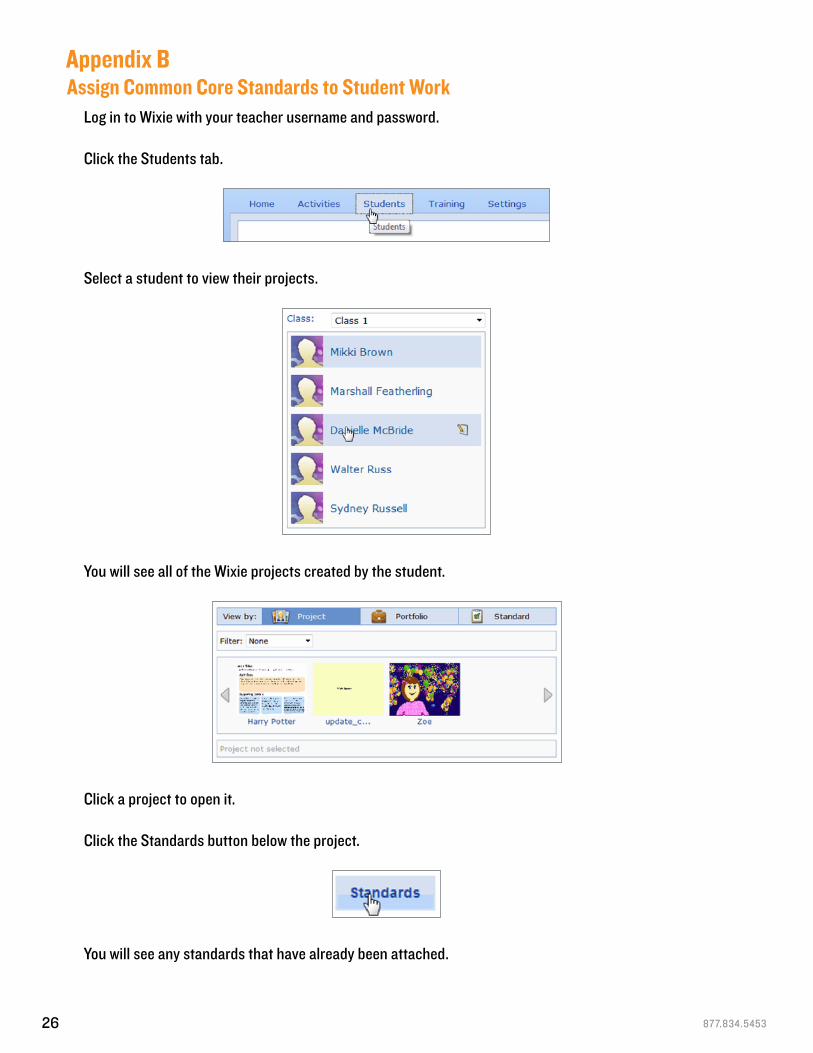
Log in to Wixie with your teacher username and password.
Click the Students tab.
Select a student to view their projects.
You will see all of the Wixie projects created by the student.
Click a project to open it.
Click the Standards button below the project.
You will see any standards that have already been attached.
Appendix B Assign Common Core Standards to Student Work
www.tech4learning.com27
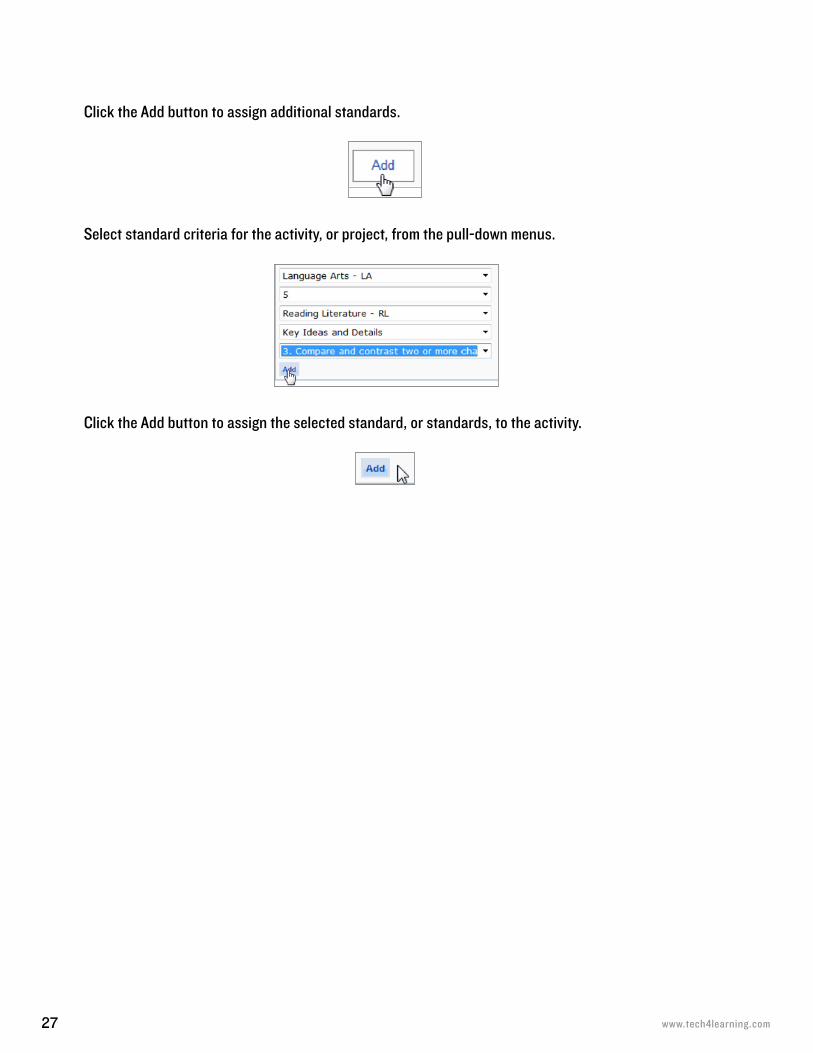
Click the Add button to assign additional standards.
Select standard criteria for the activity, or project, from the pull-down menus.
Click the Add button to assign the selected standard, or standards, to the activity.

T4L_WX_MCCS_G2_01:111512
“Our kindergarten students at Meiklejohn Elementary School didn’t know their log ins forWixie, so I had the fourth-graders design shape activities in Wixie for them with directions like, ‘Fill in the triangle shapes with red,’ ‘Drag the shape word inside the shape,’ or ‘Find how many squares are in the drawing.’
The fourth-graders then helped their kindergarten buddies learn their Wixie log in and worked with them to complete the shape activities they designed.
One student decided that he would teach his buddy about proper nouns and shapes, so he had his buddy drag the proper nouns in a circle and the nouns in a square. When I shared my concerns that it might be too hard, he said, ‘But Mrs. Swenson, I have a really smart buddy!’ He was right, and the buddy did just fine learning the proper nouns and the shapes!”
—Melissa Swenson
Peer collaborative learning in Wixie
© 2012 by Tech4Learning, Inc. All rights reserved. Tech4Learning, the Tech4Learning Logo, Frames, ImageBlender, Imagination Suite, K12Share, Wixie, Recipes4Success, Share, Twist, Wixie, Pics4Learning,
the Tech4Learning Innovative Educator logo, The Creative Educator, and ProjectLearn are either registered trademarks or trademarks of Tech4Learning, Inc.
www.tech4learning.com/wixie
Grade 2Grade 2