Embed Size (px)
Citation preview
1
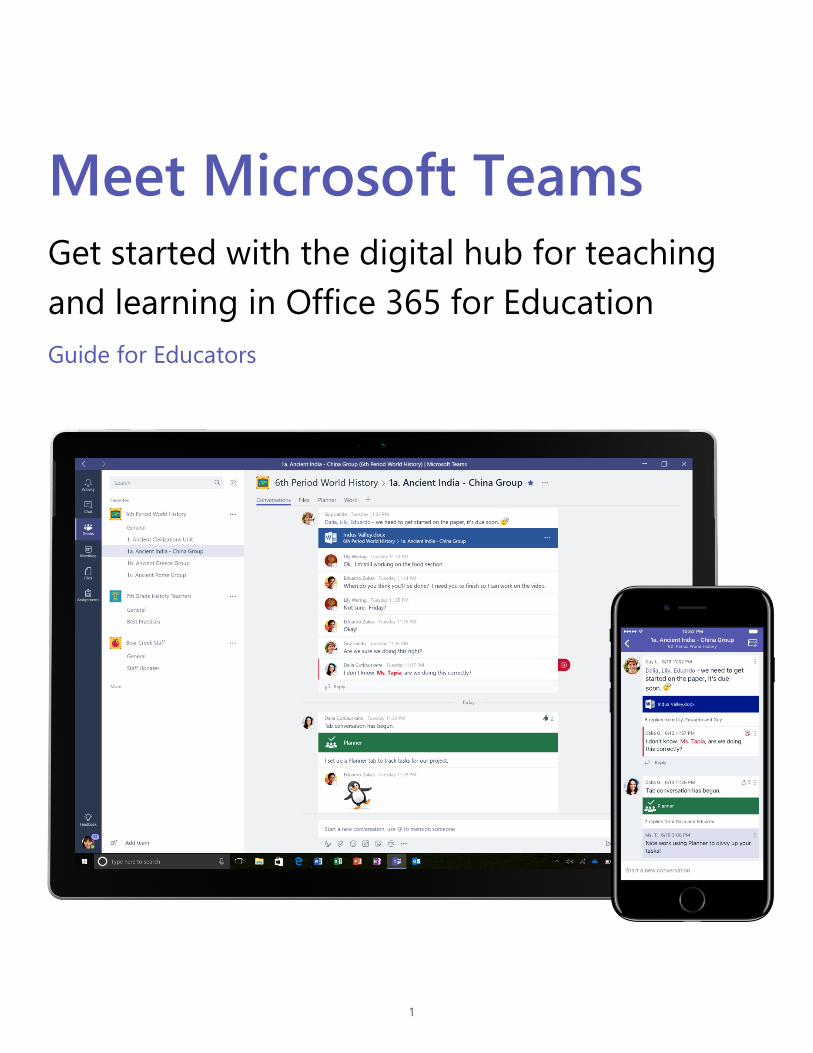
Meet Microsoft Teams
Get started with the digital hub for teaching
and learning in Office 365 for Education
Guide for Educators
2
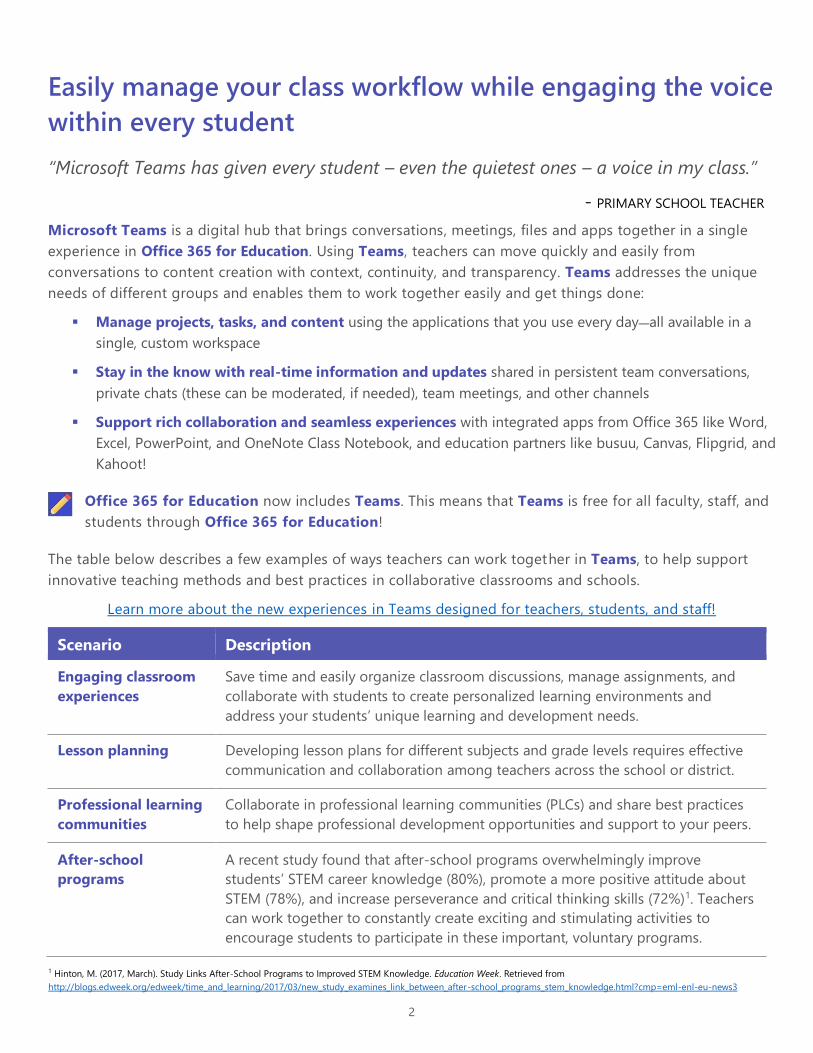
Easily manage your class workflow while engaging the voice
within every student
Microsoft Teams is a digital hub that brings conversations, meetings, files and apps together in a single
experience in Office 365 for Education. Using Teams, teachers can move quickly and easily from
conversations to content creation with context, continuity, and transparency. Teams addresses the unique
needs of different groups and enables them to work together easily and get things done:
▪ Manage projects, tasks, and content using the applications that you use every day—all available in a
single, custom workspace
▪ Stay in the know with real-time information and updates shared in persistent team conversations,
private chats (these can be moderated, if needed), team meetings, and other channels
▪ Support rich collaboration and seamless experiences with integrated apps from Office 365 like Word,
Excel, PowerPoint, and OneNote Class Notebook, and education partners like busuu, Canvas, Flipgrid, and
Kahoot!
Office 365 for Education now includes Teams. This means that Teams is free for all faculty, staff, and
students through Office 365 for Education!
The table below describes a few examples of ways teachers can work together in Teams, to help support
innovative teaching methods and best practices in collaborative classrooms and schools.
Learn more about the new experiences in Teams designed for teachers, students, and staff!
Scenario Description
Engaging classroom
experiences
Save time and easily organize classroom discussions, manage assignments, and
collaborate with students to create personalized learning environments and
address your students’ unique learning and development needs.
Lesson planning Developing lesson plans for different subjects and grade levels requires effective
communication and collaboration among teachers across the school or district.
Professional learning
communities
Collaborate in professional learning communities (PLCs) and share best practices
to help shape professional development opportunities and support to your peers.
After-school
programs
A recent study found that after-school programs overwhelmingly improve
students’ STEM career knowledge (80%), promote a more positive attitude about
STEM (78%), and increase perseverance and critical thinking skills (72%)1. Teachers
can work together to constantly create exciting and stimulating activities to
encourage students to participate in these important, voluntary programs.
1 Hinton, M. (2017, March). Study Links After-School Programs to Improved STEM Knowledge. Education Week. Retrieved from
http://blogs.edweek.org/edweek/time_and_learning/2017/03/new_study_examines_link_between_after-school_programs_stem_knowledge.html?cmp=eml-enl-eu-news3
“Microsoft Teams has given every student – even the quietest ones – a voice in my class.”
- PRIMARY SCHOOL TEACHER
3
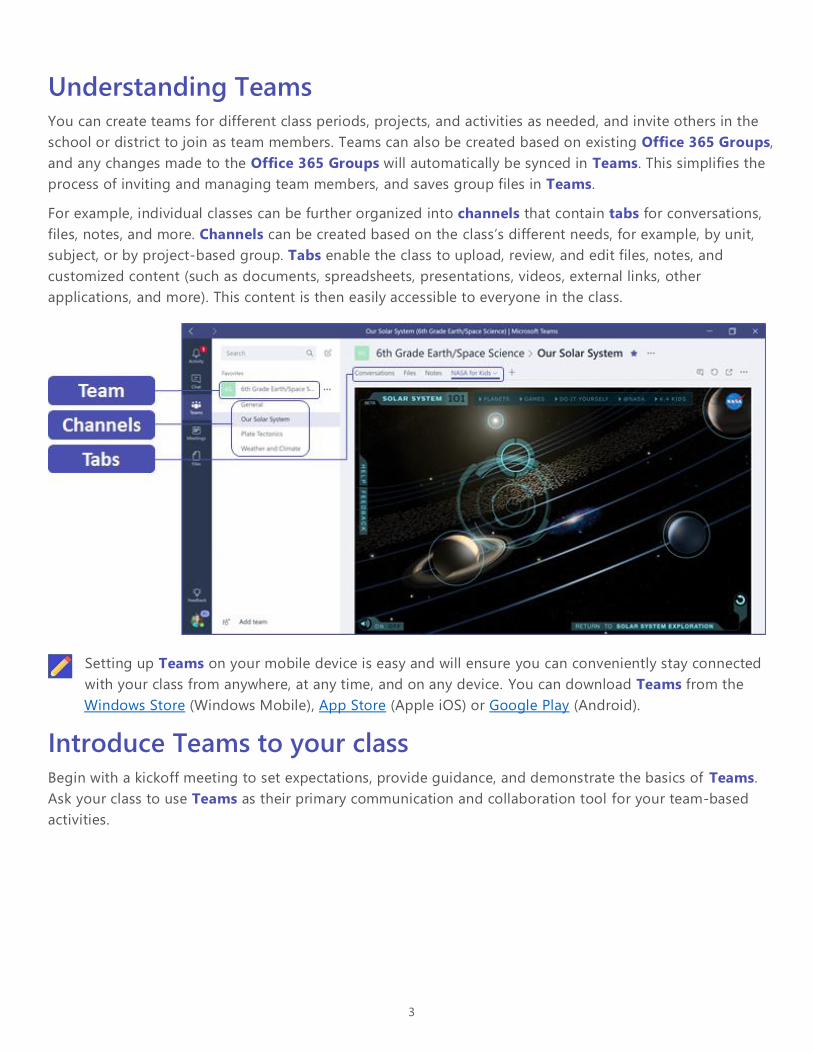
Understanding Teams You can create teams for different class periods, projects, and activities as needed, and invite others in the
school or district to join as team members. Teams can also be created based on existing Office 365 Groups,
and any changes made to the Office 365 Groups will automatically be synced in Teams. This simplifies the
process of inviting and managing team members, and saves group files in Teams.
For example, individual classes can be further organized into channels that contain tabs for conversations,
files, notes, and more. Channels can be created based on the class’s different needs, for example, by unit,
subject, or by project-based group. Tabs enable the class to upload, review, and edit files, notes, and
customized content (such as documents, spreadsheets, presentations, videos, external links, other
applications, and more). This content is then easily accessible to everyone in the class.
Setting up Teams on your mobile device is easy and will ensure you can conveniently stay connected
with your class from anywhere, at any time, and on any device. You can download Teams from the
Windows Store (Windows Mobile), App Store (Apple iOS) or Google Play (Android).
Introduce Teams to your class Begin with a kickoff meeting to set expectations, provide guidance, and demonstrate the basics of Teams.
Ask your class to use Teams as their primary communication and collaboration tool for your team-based
activities.
4
Customize Teams for your unique scenario Successful teams need simple and intuitive tools to enable fast and effective communication and collaboration.
Whether you’re preparing lesson plans, creating a personalized learning environment, developing an after-
school program, or managing any other team-based activity or project, Teams can help you get organized for
success. In the following steps, we’ll show you how to get started and customize Teams for your class scenario.
Create your team and invite team members
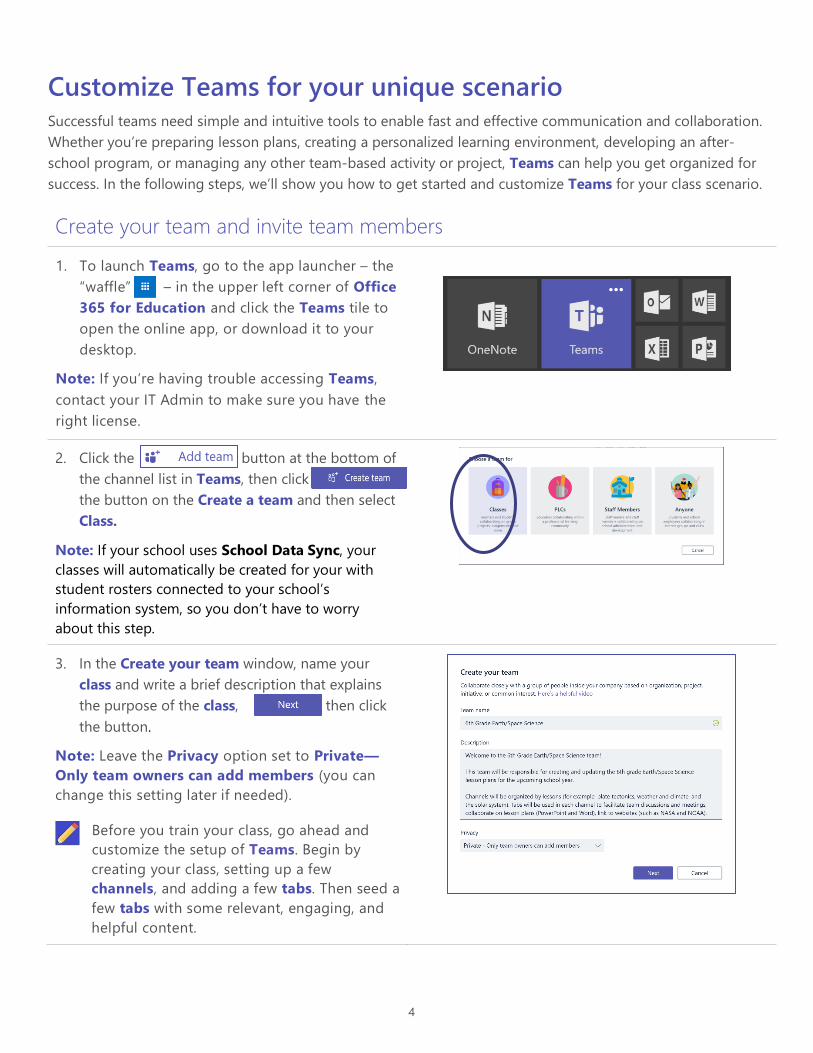
1. To launch Teams, go to the app launcher – the
“waffle” – in the upper left corner of Office
365 for Education and click the Teams tile to
open the online app, or download it to your
desktop.
Note: If you’re having trouble accessing Teams,
contact your IT Admin to make sure you have the
right license.
2. Click the button at the bottom of
the channel list in Teams, then click
the button on the Create a team and then select
Class.
Note: If your school uses School Data Sync, your
classes will automatically be created for your with
student rosters connected to your school’s
information system, so you don’t have to worry
about this step.
3. In the Create your team window, name your
class and write a brief description that explains
the purpose of the class, then click
the button.
Note: Leave the Privacy option set to Private—
Only team owners can add members (you can
change this setting later if needed).
Before you train your class, go ahead and
customize the setup of Teams. Begin by
creating your class, setting up a few
channels, and adding a few tabs. Then seed a
few tabs with some relevant, engaging, and
helpful content.
5
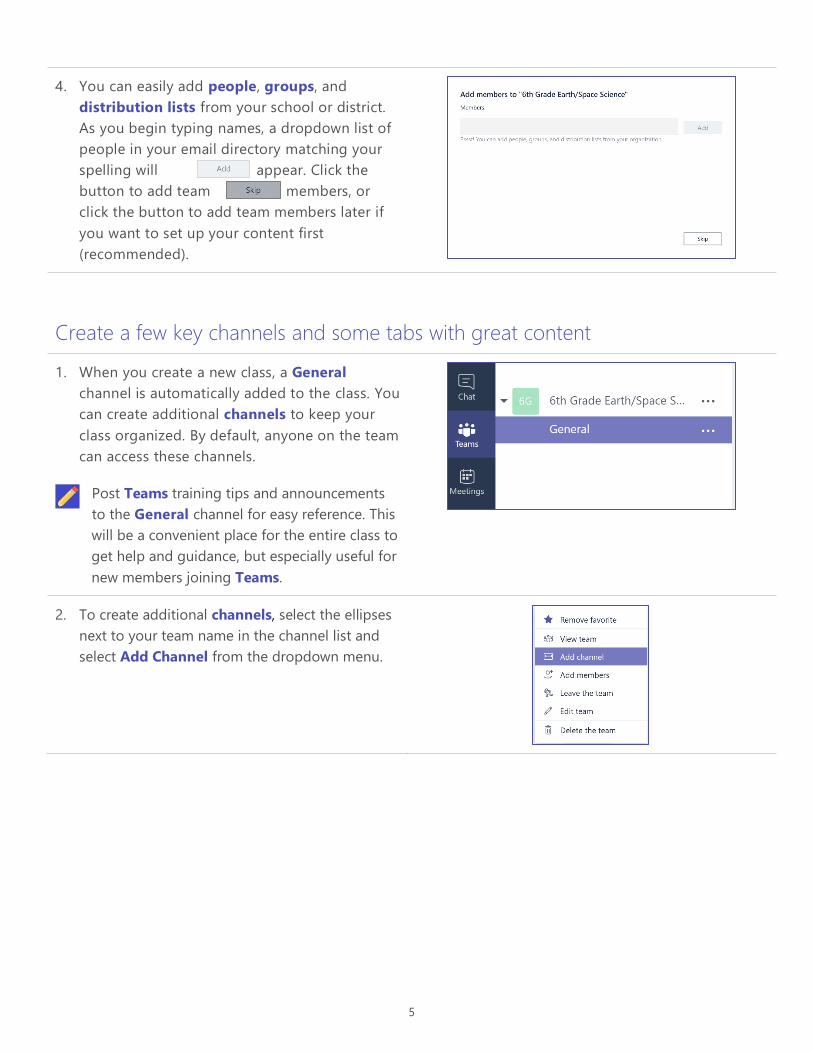
4. You can easily add people, groups, and
distribution lists from your school or district.
As you begin typing names, a dropdown list of
people in your email directory matching your
spelling will appear. Click the
button to add team members, or
click the button to add team members later if
you want to set up your content first
(recommended).
Create a few key channels and some tabs with great content
1. When you create a new class, a General
channel is automatically added to the class. You
can create additional channels to keep your
class organized. By default, anyone on the team
can access these channels.
Post Teams training tips and announcements
to the General channel for easy reference. This
will be a convenient place for the entire class to
get help and guidance, but especially useful for
new members joining Teams.
2. To create additional channels, select the ellipses
next to your team name in the channel list and
select Add Channel from the dropdown menu.
6
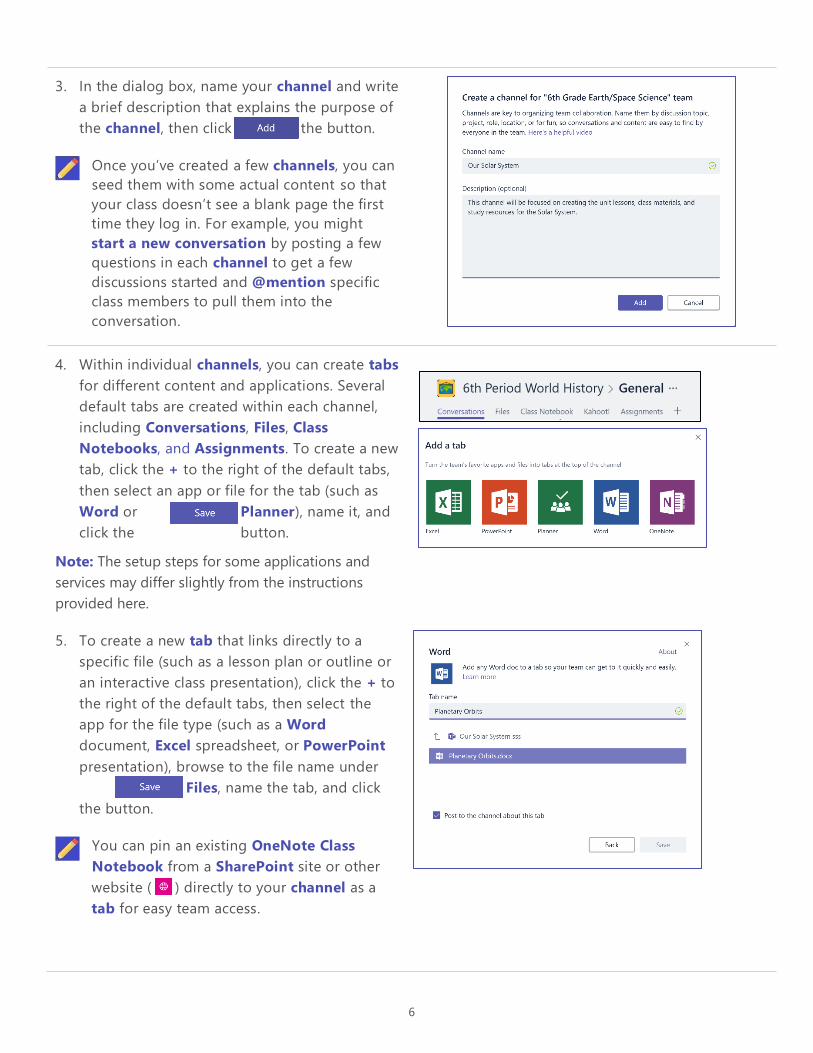
3. In the dialog box, name your channel and write
a brief description that explains the purpose of
the channel, then click the button.
Once you’ve created a few channels, you can
seed them with some actual content so that
your class doesn’t see a blank page the first
time they log in. For example, you might
start a new conversation by posting a few
questions in each channel to get a few
discussions started and @mention specific
class members to pull them into the
conversation.
4. Within individual channels, you can create tabs
for different content and applications. Several
default tabs are created within each channel,
including Conversations, Files, Class
Notebooks, and Assignments. To create a new
tab, click the + to the right of the default tabs,
then select an app or file for the tab (such as
Word or Planner), name it, and
click the button.
Note: The setup steps for some applications and
services may differ slightly from the instructions
provided here.
5. To create a new tab that links directly to a
specific file (such as a lesson plan or outline or
an interactive class presentation), click the + to
the right of the default tabs, then select the
app for the file type (such as a Word
document, Excel spreadsheet, or PowerPoint
presentation), browse to the file name under
Files, name the tab, and click
the button.
You can pin an existing OneNote Class
Notebook from a SharePoint site or other
website ( ) directly to your channel as a
tab for easy team access.
7
Move email conversations to Teams
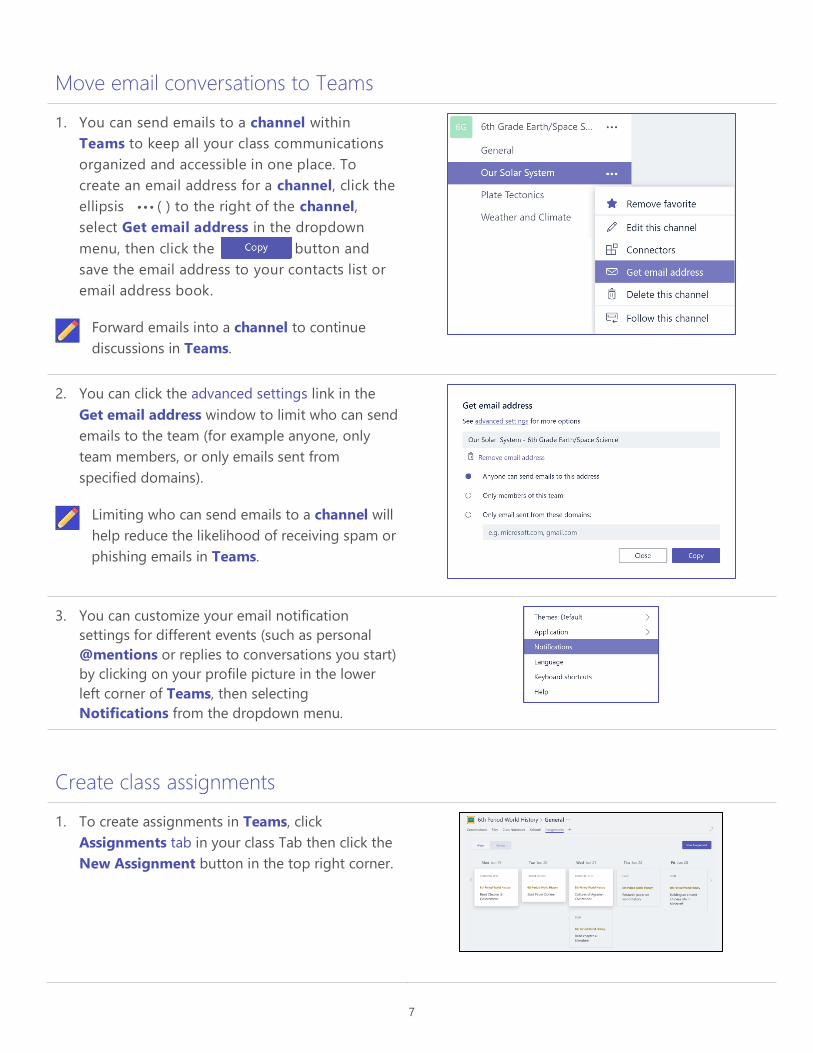
1. You can send emails to a channel within
Teams to keep all your class communications
organized and accessible in one place. To
create an email address for a channel, click the
ellipsis ( ) to the right of the channel,
select Get email address in the dropdown
menu, then click the button and
save the email address to your contacts list or
email address book.
Forward emails into a channel to continue
discussions in Teams.
2. You can click the advanced settings link in the
Get email address window to limit who can send
emails to the team (for example anyone, only
team members, or only emails sent from
specified domains).
Limiting who can send emails to a channel will
help reduce the likelihood of receiving spam or
phishing emails in Teams.
3. You can customize your email notification
settings for different events (such as personal
@mentions or replies to conversations you start)
by clicking on your profile picture in the lower
left corner of Teams, then selecting
Notifications from the dropdown menu.
Create class assignments
1. To create assignments in Teams, click
Assignments tab in your class Tab then click the
New Assignment button in the top right corner.
8
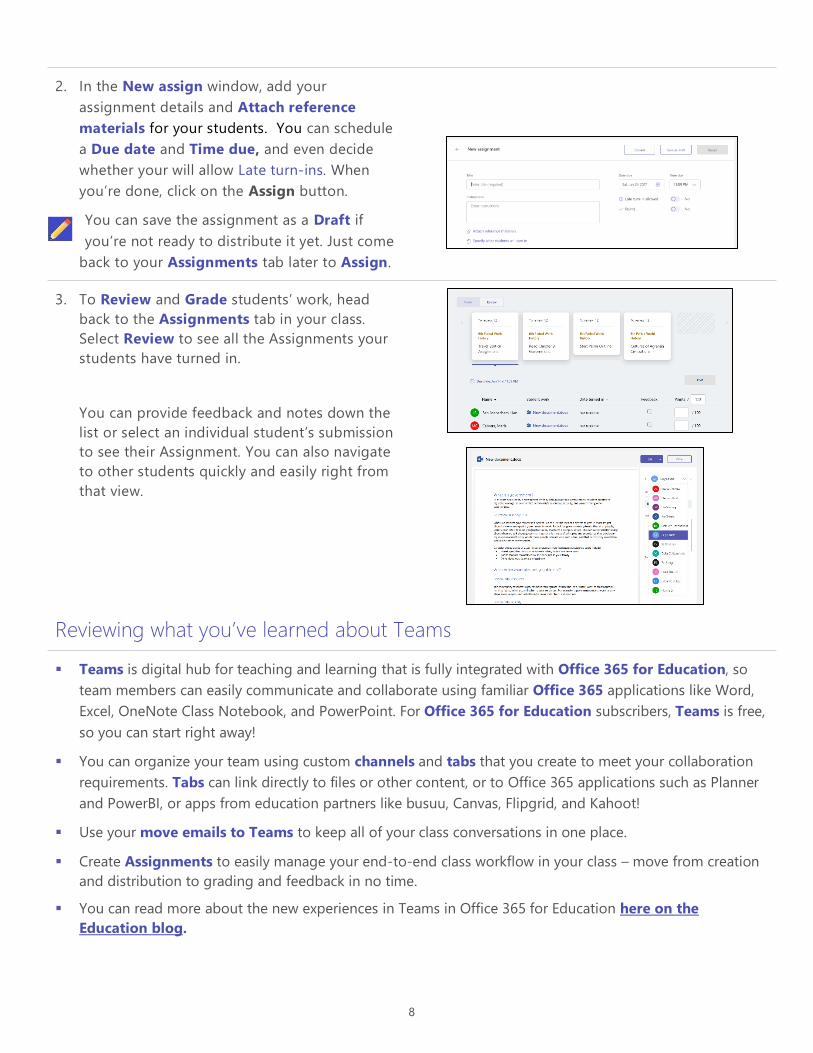
2. In the New assign window, add your
assignment details and Attach reference
materials for your students. You can schedule
a Due date and Time due, and even decide
whether your will allow Late turn-ins. When
you’re done, click on the Assign button.
You can save the assignment as a Draft if
you’re not ready to distribute it yet. Just come
back to your Assignments tab later to Assign.
3. To Review and Grade students’ work, head
back to the Assignments tab in your class.
Select Review to see all the Assignments your
students have turned in.
You can provide feedback and notes down the
list or select an individual student’s submission
to see their Assignment. You can also navigate
to other students quickly and easily right from
that view.
Reviewing what you’ve learned about Teams
▪ Teams is digital hub for teaching and learning that is fully integrated with Office 365 for Education, so
team members can easily communicate and collaborate using familiar Office 365 applications like Word,
Excel, OneNote Class Notebook, and PowerPoint. For Office 365 for Education subscribers, Teams is free,
so you can start right away!
▪ You can organize your team using custom channels and tabs that you create to meet your collaboration
requirements. Tabs can link directly to files or other content, or to Office 365 applications such as Planner
and PowerBI, or apps from education partners like busuu, Canvas, Flipgrid, and Kahoot!
▪ Use your move emails to Teams to keep all of your class conversations in one place.
▪ Create Assignments to easily manage your end-to-end class workflow in your class – move from creation
and distribution to grading and feedback in no time.
▪ You can read more about the new experiences in Teams in Office 365 for Education here on the
Education blog.


![Microsoft Teams for Distance Education · Web view[Microsoft Teams for Distance Education] Purpose of the document: Assist Professors with Microsoft Teams for distance educationNote:](https://img.pdfslide.us/doc/110x75/5fe7fcf1d700ed64f40abf46/microsoft-teams-for-distance-education-web-view-microsoft-teams-for-distance-education.jpg)