Embed Size (px)
Citation preview

3030 11

30 2
3030 33
MEASURES TO MEASURES TO PROMOTE URINARY PROMOTE URINARY
ELIMINATION ELIMINATION FLUID INTAKE AND FLUID INTAKE AND
OUTPUT MONITORING OUTPUT MONITORING
3030 44
It refers to the measurement It refers to the measurement of all fluids that enter and exit the of all fluids that enter and exit the
body.body.IntakeIntake- Includes all the food and - Includes all the food and
fluids fluids that are liquid at room that are liquid at room
temperature(such as ice cream temperature(such as ice cream gelatine, etc.), parenteral fluids, gelatine, etc.), parenteral fluids,
and any other fluids taken into the and any other fluids taken into the body. body.
OutputOutput-includes urine, vomitus, -includes urine, vomitus, diarrhea, drainage from suctioning diarrhea, drainage from suctioning
devices, and other fluids that devices, and other fluids that
come come out from the body.out from the body.
3030 55
Purpose: Purpose: ►To monitor the patient’s To monitor the patient’s fluid intake, output and fluid intake, output and
renal functions.renal functions.
30 6
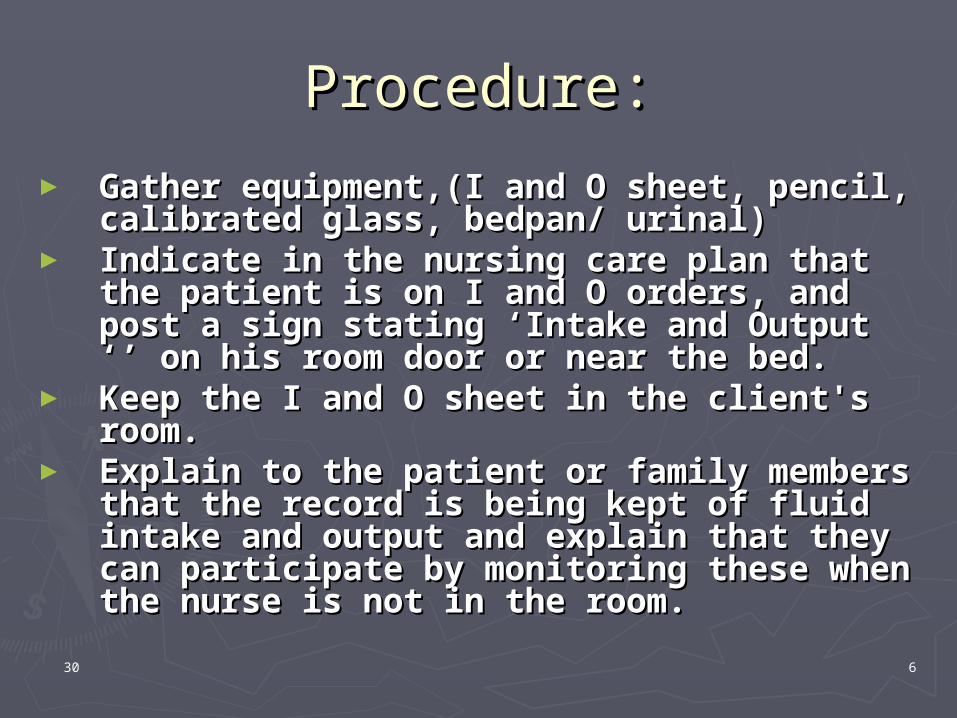
Procedure: Procedure:
► Gather equipment,(I and O sheet, pencil, Gather equipment,(I and O sheet, pencil, calibrated glass, bedpan/ urinal)calibrated glass, bedpan/ urinal)
► Indicate in the nursing care plan that the Indicate in the nursing care plan that the patient is on I and O orders, and post a patient is on I and O orders, and post a sign stating ‘Intake and Output ‘’ on his sign stating ‘Intake and Output ‘’ on his room door or near the bed.room door or near the bed.
► Keep the I and O sheet in the client's Keep the I and O sheet in the client's room.room.
► Explain to the patient or family members Explain to the patient or family members that the record is being kept of fluid that the record is being kept of fluid intake and output and explain that they intake and output and explain that they can participate by monitoring these can participate by monitoring these when the nurse is not in the room.when the nurse is not in the room.
30 7
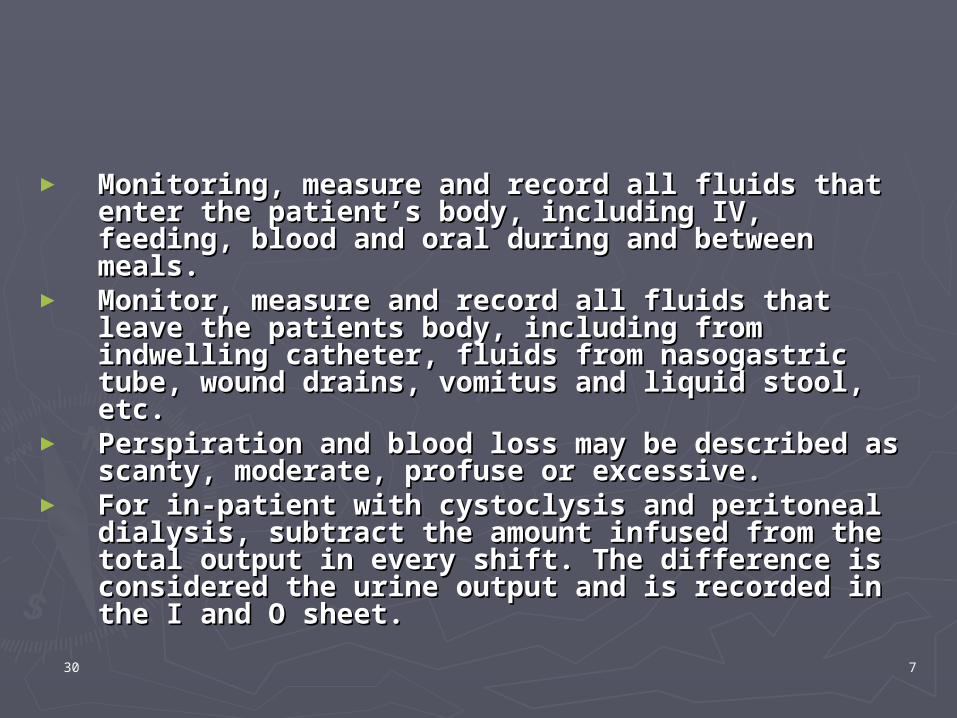
► Monitoring, measure and record all fluids that Monitoring, measure and record all fluids that enter the patient’s body, including IV, feeding, enter the patient’s body, including IV, feeding, blood and oral during and between meals.blood and oral during and between meals.
► Monitor, measure and record all fluids that Monitor, measure and record all fluids that leave the patients body, including from leave the patients body, including from indwelling catheter, fluids from nasogastric indwelling catheter, fluids from nasogastric tube, wound drains, vomitus and liquid stool, tube, wound drains, vomitus and liquid stool, etc.etc.
► Perspiration and blood loss may be described Perspiration and blood loss may be described as scanty, moderate, profuse or excessive.as scanty, moderate, profuse or excessive.
► For in-patient with cystoclysis and peritoneal For in-patient with cystoclysis and peritoneal dialysis, subtract the amount infused from the dialysis, subtract the amount infused from the total output in every shift. The difference is total output in every shift. The difference is considered the urine output and is recorded in considered the urine output and is recorded in the I and O sheet.the I and O sheet.

30 8
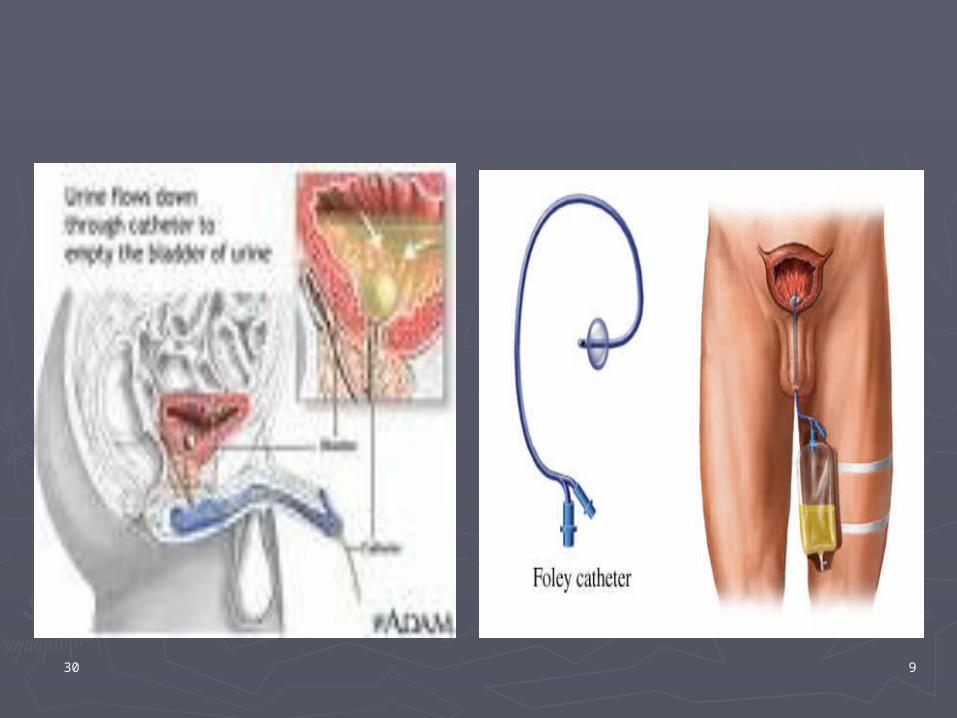
URINE CATHETERIZATIONURINE CATHETERIZATION
►It is the introduction of a sterile It is the introduction of a sterile catheter into the bladder from the catheter into the bladder from the urinary meatus for the purpose of urinary meatus for the purpose of withdrawing urine.withdrawing urine.
30 9
30 10
Catheterization is indicated in Catheterization is indicated in the following situations :the following situations :
1. For immediate relief of bladder distention1. For immediate relief of bladder distentiona. Patients an able to void 8-12 hours a. Patients an able to void 8-12 hours following surgery.following surgery.
b. Patients with acute retention following b. Patients with acute retention following trauma to the urethra.trauma to the urethra.c. Patients unable to void as a result of the c. Patients unable to void as a result of the effects of sedative and analgesic.effects of sedative and analgesic.
2. for long-term management of client with 2. for long-term management of client with incompetent bladder.incompetent bladder.
a. Spinal cord injuriesa. Spinal cord injuries b. Progressive neuromuscular degenerationb. Progressive neuromuscular degeneration3. To obtain sterile urine specimen.3. To obtain sterile urine specimen.
30 11
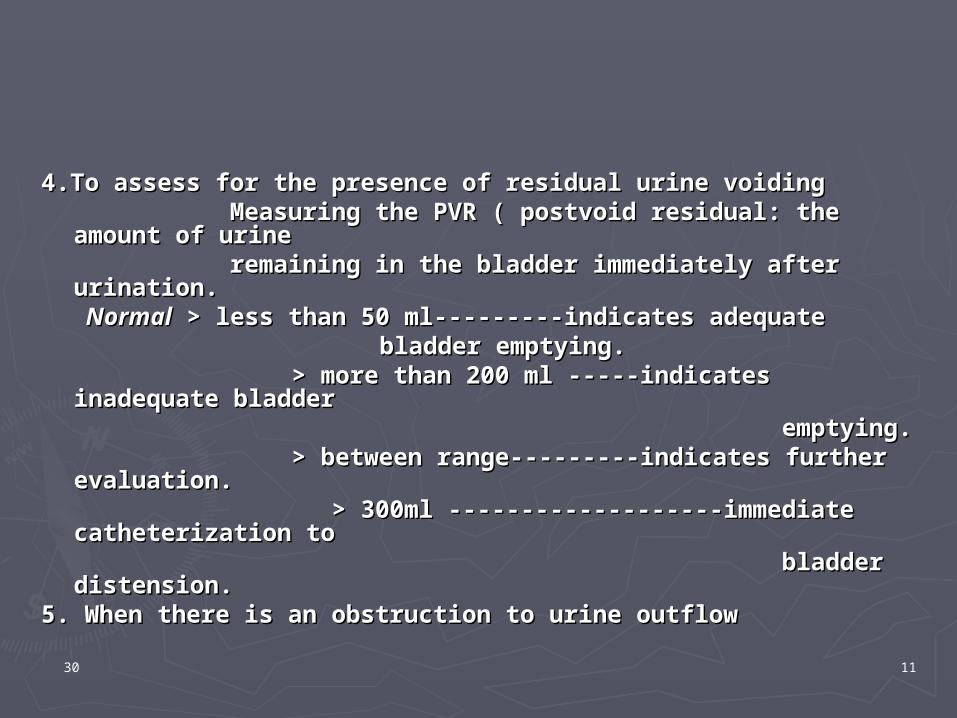
4.To assess for the presence of residual urine voiding4.To assess for the presence of residual urine voiding Measuring the PVR ( postvoid residual: the Measuring the PVR ( postvoid residual: the
amount of urine amount of urine remaining in the bladder immediately after remaining in the bladder immediately after
urination.urination. NormalNormal > less than 50 ml---------indicates adequate > less than 50 ml---------indicates adequate bladder emptying.bladder emptying.
> more than 200 ml -----indicates inadequate > more than 200 ml -----indicates inadequate bladder bladder
emptying.emptying. > between range---------indicates further > between range---------indicates further evaluation.evaluation.
> 300ml -------------------immediate > 300ml -------------------immediate catheterization to catheterization to
bladder distension.bladder distension.5. When there is an obstruction to urine outflow 5. When there is an obstruction to urine outflow
30 12
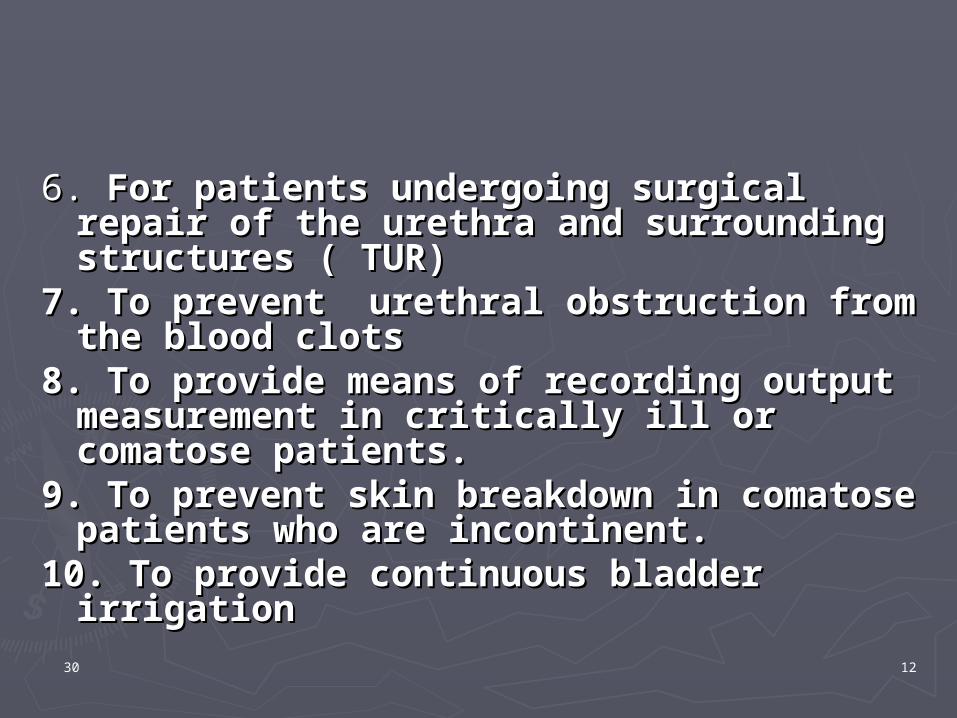
6. 6. For patients undergoing surgical For patients undergoing surgical repair of the urethra and surrounding repair of the urethra and surrounding structures ( TUR)structures ( TUR)
7. To prevent urethral obstruction from 7. To prevent urethral obstruction from the blood clotsthe blood clots
8. To provide means of recording output 8. To provide means of recording output measurement in critically ill or measurement in critically ill or comatose patients.comatose patients.
9. To prevent skin breakdown in 9. To prevent skin breakdown in comatose patients who are incontinent.comatose patients who are incontinent.
10. To provide continuous bladder 10. To provide continuous bladder irrigation irrigation
30 13
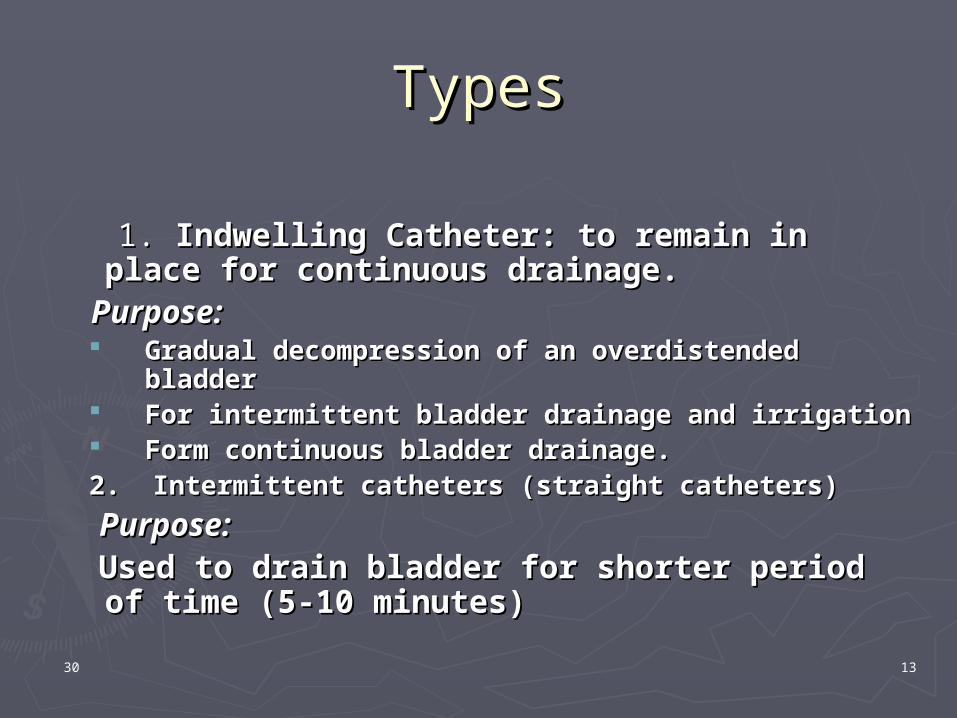
Types Types
1. 1. Indwelling Catheter: to remain in place for Indwelling Catheter: to remain in place for continuous drainage.continuous drainage.
Purpose:Purpose: Gradual decompression of an overdistended Gradual decompression of an overdistended
bladderbladder For intermittent bladder drainage and irrigationFor intermittent bladder drainage and irrigation Form continuous bladder drainage.Form continuous bladder drainage.2. Intermittent catheters (straight catheters)2. Intermittent catheters (straight catheters)
Purpose:Purpose: Used to drain bladder for shorter period of Used to drain bladder for shorter period of
time (5-10 minutes)time (5-10 minutes)
30 14
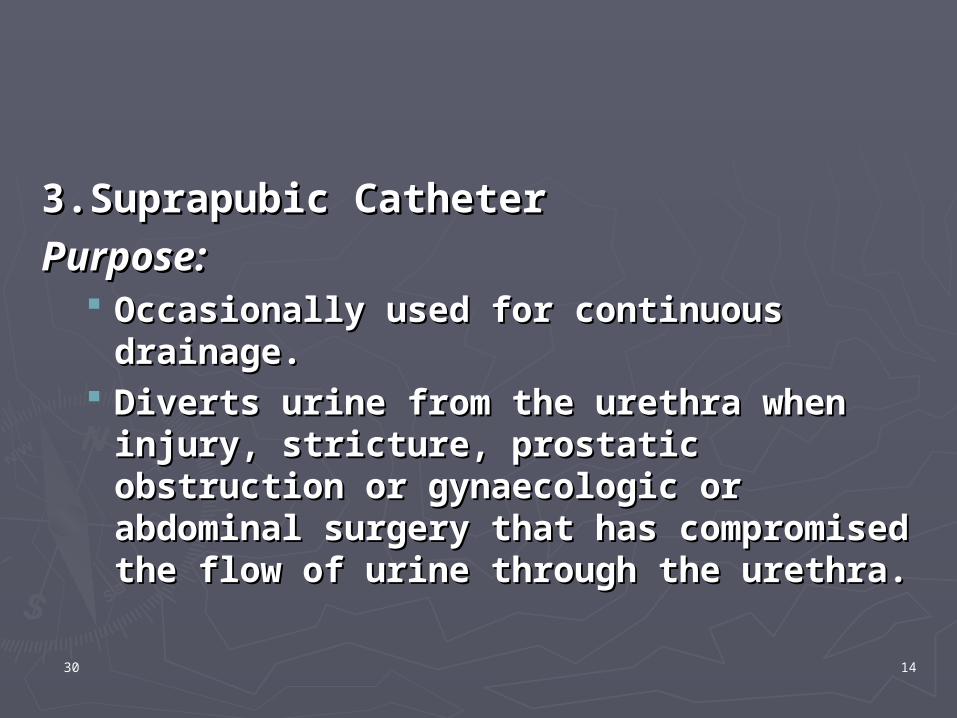
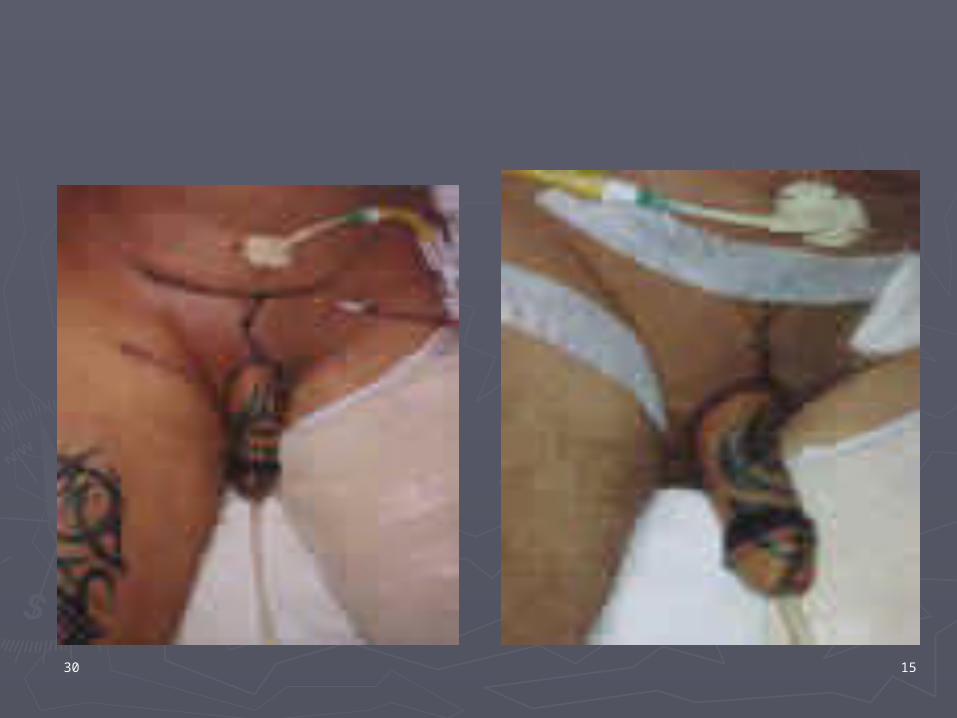
3.Suprapubic Catheter3.Suprapubic Catheter
Purpose:Purpose: Occasionally used for continuous Occasionally used for continuous
drainage.drainage. Diverts urine from the urethra when Diverts urine from the urethra when
injury, stricture, prostatic obstruction injury, stricture, prostatic obstruction or gynaecologic or abdominal surgery or gynaecologic or abdominal surgery that has compromised the flow of that has compromised the flow of urine through the urethra.urine through the urethra.
30 15
30 16
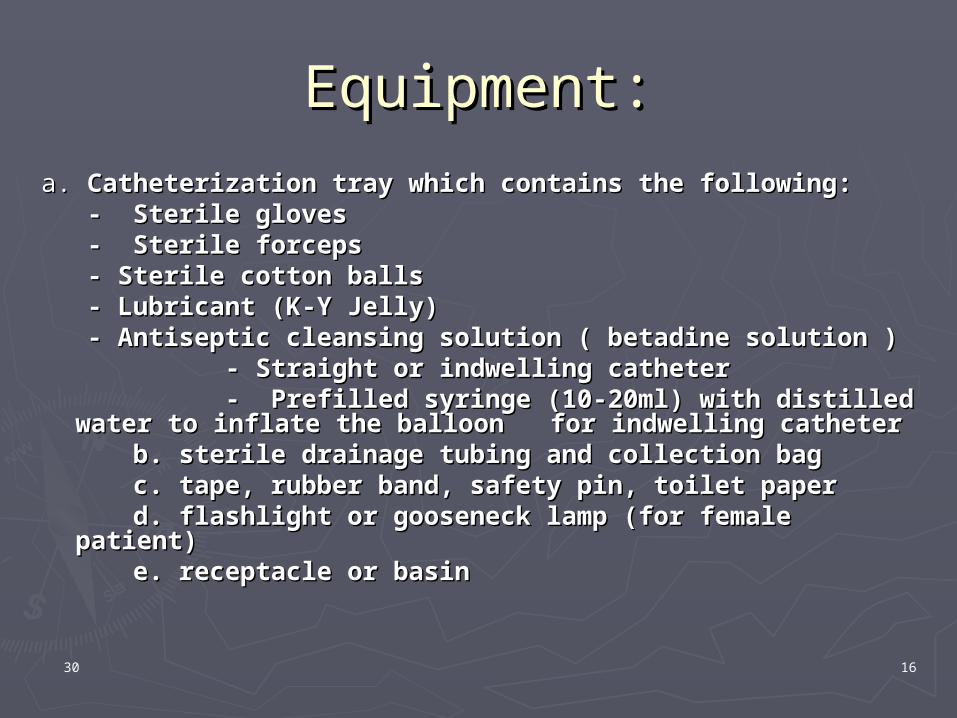
Equipment:Equipment:
a. a. Catheterization tray which contains the following:Catheterization tray which contains the following: - Sterile gloves- Sterile gloves - Sterile forceps - Sterile forceps - Sterile cotton balls - Sterile cotton balls - Lubricant (K-Y Jelly)- Lubricant (K-Y Jelly) - Antiseptic cleansing solution ( betadine solution ) - Antiseptic cleansing solution ( betadine solution ) - Straight or indwelling catheter - Straight or indwelling catheter - Prefilled syringe (10-20ml) with distilled water - Prefilled syringe (10-20ml) with distilled water
to inflate the balloon for indwelling catheterto inflate the balloon for indwelling catheter b. sterile drainage tubing and collection bagb. sterile drainage tubing and collection bag c. tape, rubber band, safety pin, toilet paperc. tape, rubber band, safety pin, toilet paper d. flashlight or gooseneck lamp (for female patient)d. flashlight or gooseneck lamp (for female patient) e. receptacle or basin e. receptacle or basin
30 17
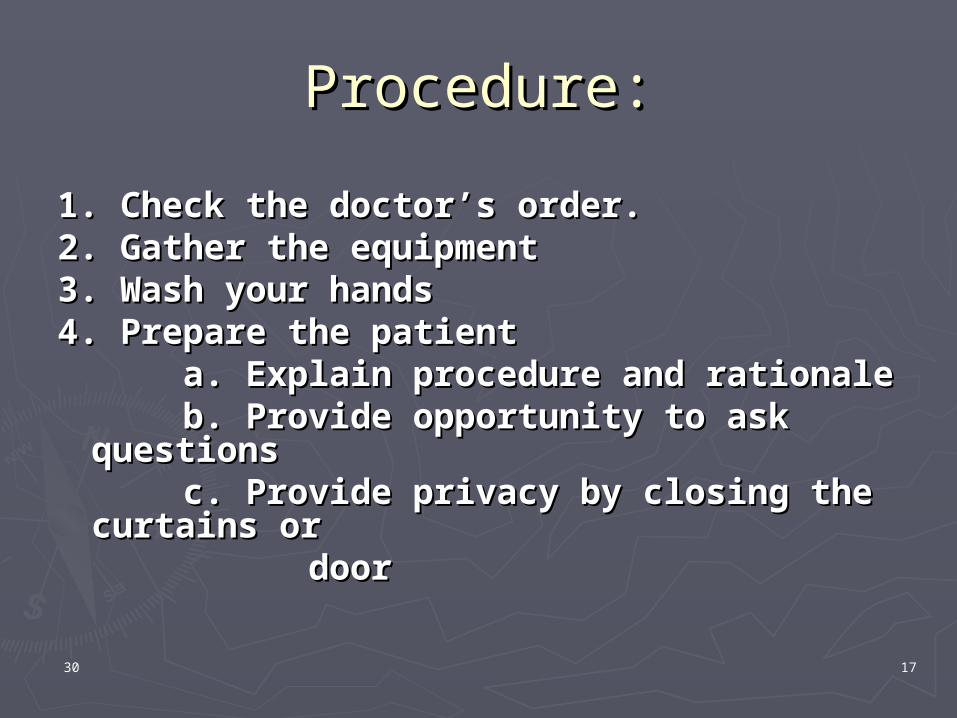
Procedure:Procedure:
1. Check the doctor’s order.1. Check the doctor’s order.2. Gather the equipment2. Gather the equipment3. Wash your hands3. Wash your hands4. Prepare the patient4. Prepare the patient a. Explain procedure and rationalea. Explain procedure and rationale b. Provide opportunity to ask b. Provide opportunity to ask
questionsquestions c. Provide privacy by closing the c. Provide privacy by closing the
curtains or curtains or doordoor
30 18
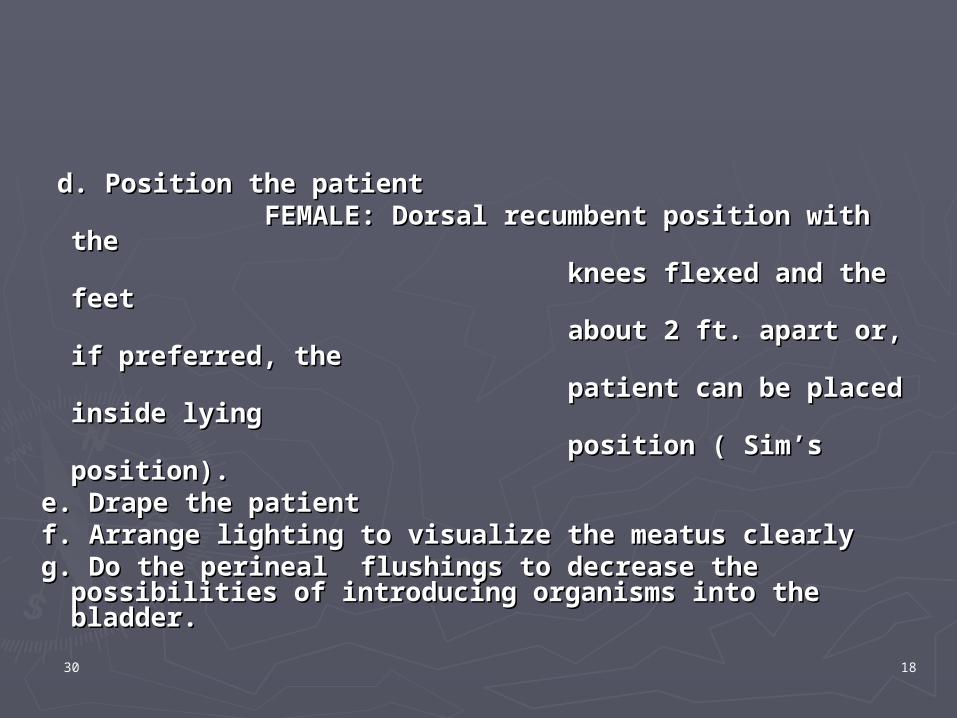
d. Position the patientd. Position the patient FEMALE: Dorsal recumbent position with FEMALE: Dorsal recumbent position with
the the knees flexed and the feet knees flexed and the feet about 2 ft. apart or, if about 2 ft. apart or, if
preferred, the preferred, the patient can be placed inside patient can be placed inside
lyinglying position ( Sim’s position).position ( Sim’s position).e. Drape the patiente. Drape the patientf. Arrange lighting to visualize the meatus clearlyf. Arrange lighting to visualize the meatus clearlyg. Do the perineal flushings to decrease the g. Do the perineal flushings to decrease the
possibilities of introducing organisms into the possibilities of introducing organisms into the bladder. bladder.
30 19
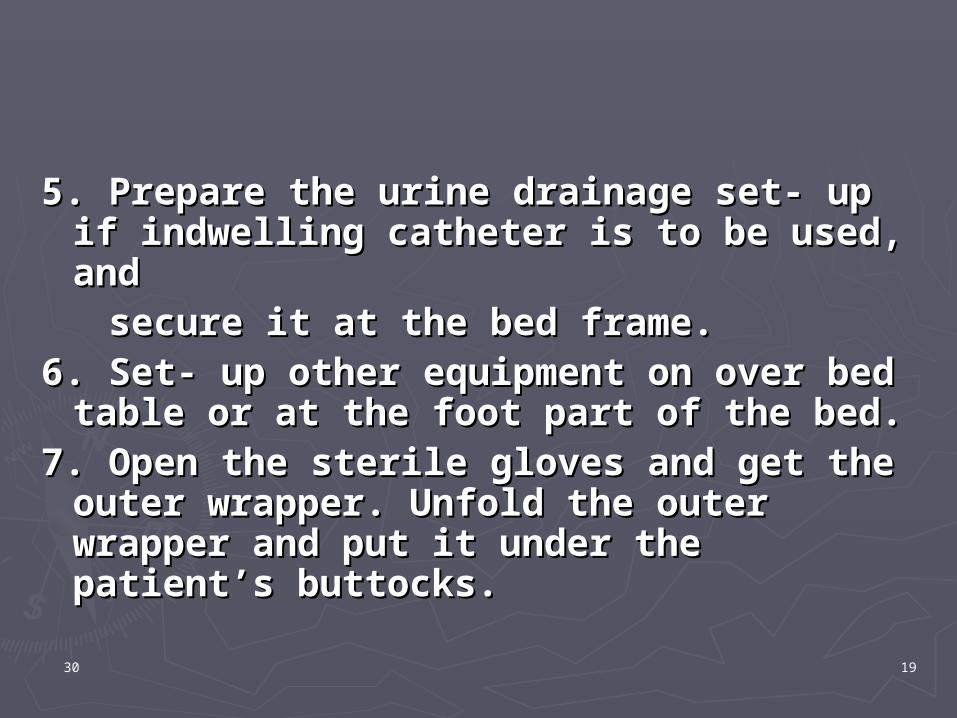
5. Prepare the urine drainage set- up if 5. Prepare the urine drainage set- up if indwelling catheter is to be used, and indwelling catheter is to be used, and
secure it at the bed frame.secure it at the bed frame.6. Set- up other equipment on over bed 6. Set- up other equipment on over bed
table or at the foot part of the bed.table or at the foot part of the bed.7. Open the sterile gloves and get the 7. Open the sterile gloves and get the
outer wrapper. Unfold the outer outer wrapper. Unfold the outer wrapper and put it under the wrapper and put it under the patient’s buttocks.patient’s buttocks.
30 20
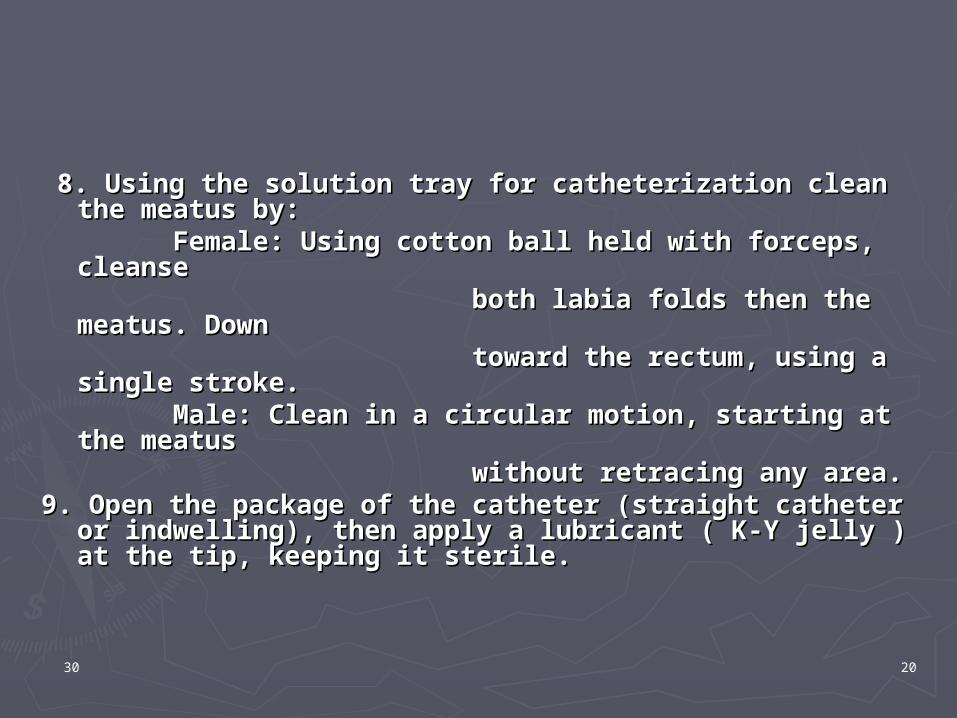
8. Using the solution tray for catheterization clean the 8. Using the solution tray for catheterization clean the meatus by:meatus by:
Female: Using cotton ball held with forceps, Female: Using cotton ball held with forceps, cleanse cleanse
both labia folds then the meatus. Down both labia folds then the meatus. Down toward the rectum, using a single stroke.toward the rectum, using a single stroke.
Male: Clean in a circular motion, starting at the Male: Clean in a circular motion, starting at the meatus meatus
without retracing any area.without retracing any area.9. Open the package of the catheter (straight catheter or 9. Open the package of the catheter (straight catheter or
indwelling), then apply a lubricant ( K-Y jelly ) at the indwelling), then apply a lubricant ( K-Y jelly ) at the tip, keeping it sterile. tip, keeping it sterile.
30 21
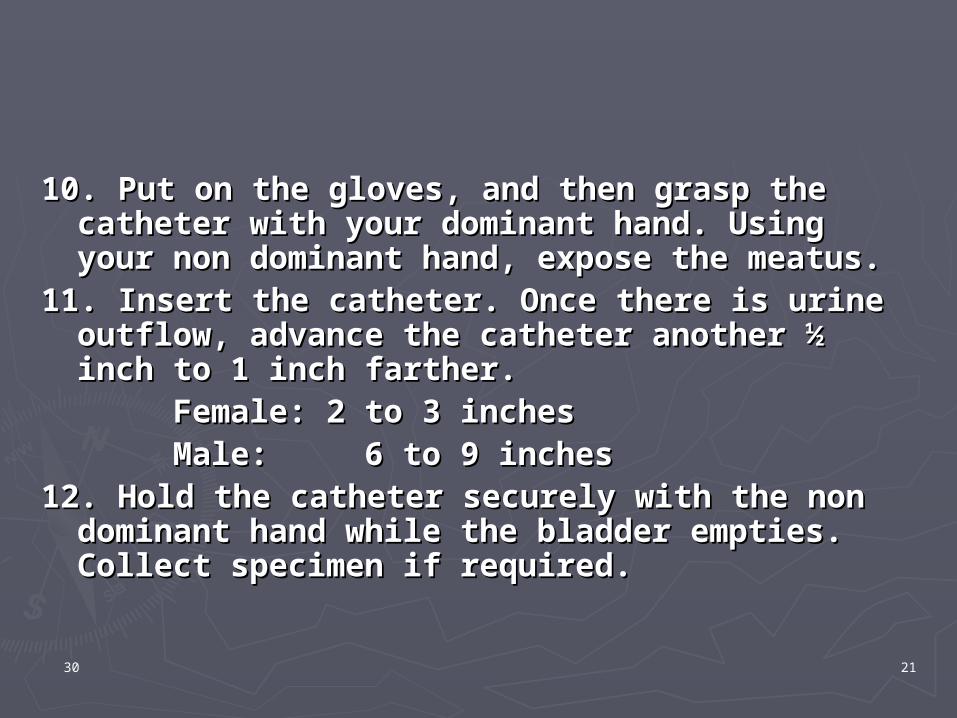
10. Put on the gloves, and then grasp the 10. Put on the gloves, and then grasp the catheter with your dominant hand. Using your catheter with your dominant hand. Using your non dominant hand, expose the meatus. non dominant hand, expose the meatus.
11. Insert the catheter. Once there is urine 11. Insert the catheter. Once there is urine outflow, advance the catheter another ½ inch outflow, advance the catheter another ½ inch to 1 inch farther.to 1 inch farther.
Female: 2 to 3 inchesFemale: 2 to 3 inchesMale: Male: 6 to 9 inches6 to 9 inches
12. Hold the catheter securely with the non 12. Hold the catheter securely with the non dominant hand while the bladder empties. dominant hand while the bladder empties. Collect specimen if required.Collect specimen if required.
30 22
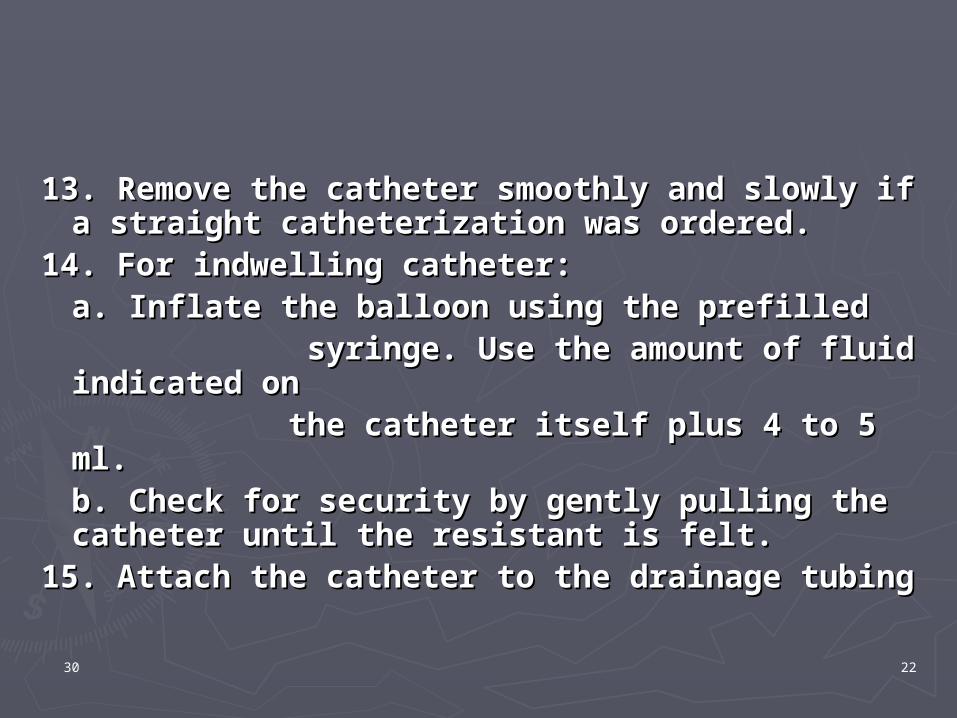
13. Remove the catheter smoothly and slowly 13. Remove the catheter smoothly and slowly if a straight catheterization was ordered.if a straight catheterization was ordered.
14. For indwelling catheter: 14. For indwelling catheter: a. Inflate the balloon using the prefilled a. Inflate the balloon using the prefilled
syringe. Use the amount of fluid syringe. Use the amount of fluid indicated on indicated on
the catheter itself plus 4 to 5 ml.the catheter itself plus 4 to 5 ml.b. Check for security by gently pulling b. Check for security by gently pulling
the catheter until the resistant is felt.the catheter until the resistant is felt.15. Attach the catheter to the drainage 15. Attach the catheter to the drainage
tubingtubing
30 23
16. Secure the catheter to the patient by 16. Secure the catheter to the patient by applying tape.applying tape.
Female: Inner aspect of the thighFemale: Inner aspect of the thigh
Male: To the side of lower abdomen Male: To the side of lower abdomen
17. Attach tubing to bed using tape or safety 17. Attach tubing to bed using tape or safety pin.pin.
18. Make the patient comfortable18. Make the patient comfortable
- cleanse and dry the perinial area - cleanse and dry the perinial area using using
wet towel or tissue paperwet towel or tissue paper
30 24
19. Care of the equipment used19. Care of the equipment used
20. Wash your hands20. Wash your hands
21. Record the time or the 21. Record the time or the catheterization, the amount of the catheterization, the amount of the urine removed, a description of urine removed, a description of the urine and patients response to the urine and patients response to the procedure.the procedure.
30 25
CARE OF THE PATIENTS WITH CARE OF THE PATIENTS WITH INDWELLING CATHETERINDWELLING CATHETER
►The urinary tract is usually sterile. The urinary tract is usually sterile. The introduction of organisms via The introduction of organisms via the catheter is a common of UTI.the catheter is a common of UTI.
30 26
A variety of measures are used A variety of measures are used to decrease the risk of infection:to decrease the risk of infection:
a. Place the patient on I and O a. Place the patient on I and O recording.recording.
b. Encourage the patient to b. Encourage the patient to consume increased quantities of consume increased quantities of fluid if not fluid if not
contraindicated.contraindicated.
30 27
c. Maintain external cleanliness around the catheter. c. Maintain external cleanliness around the catheter. Secretions that build up are optimum location for Secretions that build up are optimum location for bacterial growth.bacterial growth.
C.1 Do perineal flushing twice a day and after C.1 Do perineal flushing twice a day and after each BMeach BM
C.2 Clean the meatal area with antibacterial C.2 Clean the meatal area with antibacterial solution solution
and apply an antimicrobial ointment at the and apply an antimicrobial ointment at the meatus meatus
around the catheter. Be sure to ask the patient around the catheter. Be sure to ask the patient any any
about the allergy to the solution and to the about the allergy to the solution and to the ointment ointment
to be applied.to be applied.d. Keep the catheter drainage bag below the level of the d. Keep the catheter drainage bag below the level of the
bladder at all times .bladder at all times .

30 28
d. Keep the catheter drainage bag d. Keep the catheter drainage bag below the level of the bladder at all below the level of the bladder at all times times
e. Keep the drainage bag at the floore. Keep the drainage bag at the floorf. Take the catheter in a way that f. Take the catheter in a way that
avoids pulling it.avoids pulling it.g. Take extra care when moving or g. Take extra care when moving or
ambulating a patient, you must ambulating a patient, you must watch the position of the tubing and watch the position of the tubing and bag at all times to prevent pulling.bag at all times to prevent pulling.
30 29
h. Empty the bag at regular h. Empty the bag at regular intervals or as necessary intervals or as necessary
i. Observe for irritation at meatal i. Observe for irritation at meatal area. Report to the physician, if area. Report to the physician, if you find anyyou find any
j. Maintained a closed system at all j. Maintained a closed system at all times.times.
30 30
INDWELLING CATHETER INDWELLING CATHETER REMOVALREMOVAL
►The indwelling catheter removal The indwelling catheter removal and the after care of the patient and the after care of the patient should include should include
►the following nursing measures:the following nursing measures:
30 31
ProcedureProcedure
1. Verify orders1. Verify orders
2. Obtain a necessary equipment2. Obtain a necessary equipment
a. used syringe ( 10 cc- 20 cc )a. used syringe ( 10 cc- 20 cc )
b. tissue paperb. tissue paper
3. Explain the procedure to the 3. Explain the procedure to the patientspatients
4. Position the patients4. Position the patients
30 32
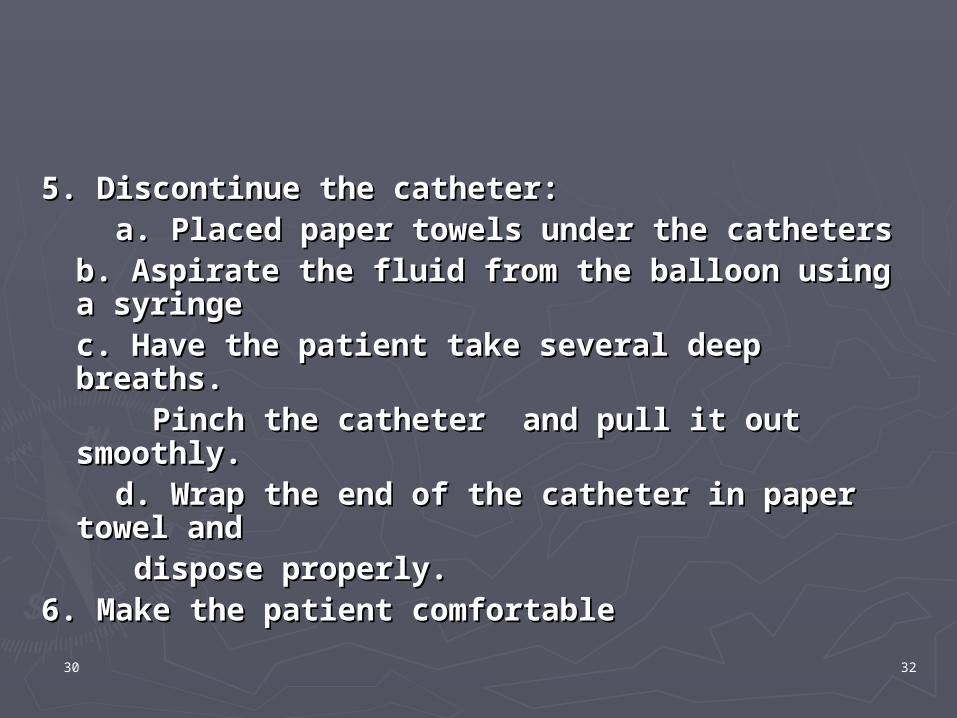
5. Discontinue the catheter:5. Discontinue the catheter: a. Placed paper towels under the cathetersa. Placed paper towels under the catheters
b. Aspirate the fluid from the balloon using a b. Aspirate the fluid from the balloon using a syringesyringec. Have the patient take several deep c. Have the patient take several deep breaths. breaths.
Pinch the catheter and pull it out smoothly.Pinch the catheter and pull it out smoothly. d. Wrap the end of the catheter in paper d. Wrap the end of the catheter in paper
towel and towel and dispose properly.dispose properly.6. Make the patient comfortable6. Make the patient comfortable
30 33
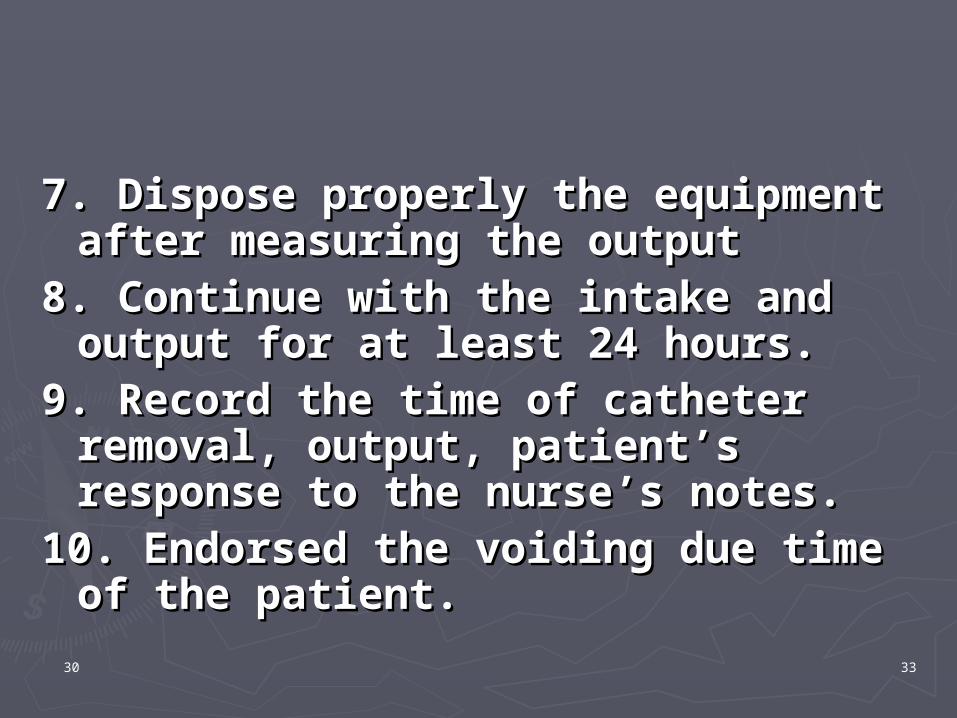
7. Dispose properly the equipment 7. Dispose properly the equipment after measuring the outputafter measuring the output
8. Continue with the intake and 8. Continue with the intake and output for at least 24 hours.output for at least 24 hours.
9. Record the time of catheter 9. Record the time of catheter removal, output, patient’s removal, output, patient’s response to the nurse’s notes.response to the nurse’s notes.
10. Endorsed the voiding due time 10. Endorsed the voiding due time of the patient.of the patient.
30 34
EXTERNAL CATHETERIZATION EXTERNAL CATHETERIZATION ( USE OF CONDOM CATHETER )( USE OF CONDOM CATHETER )
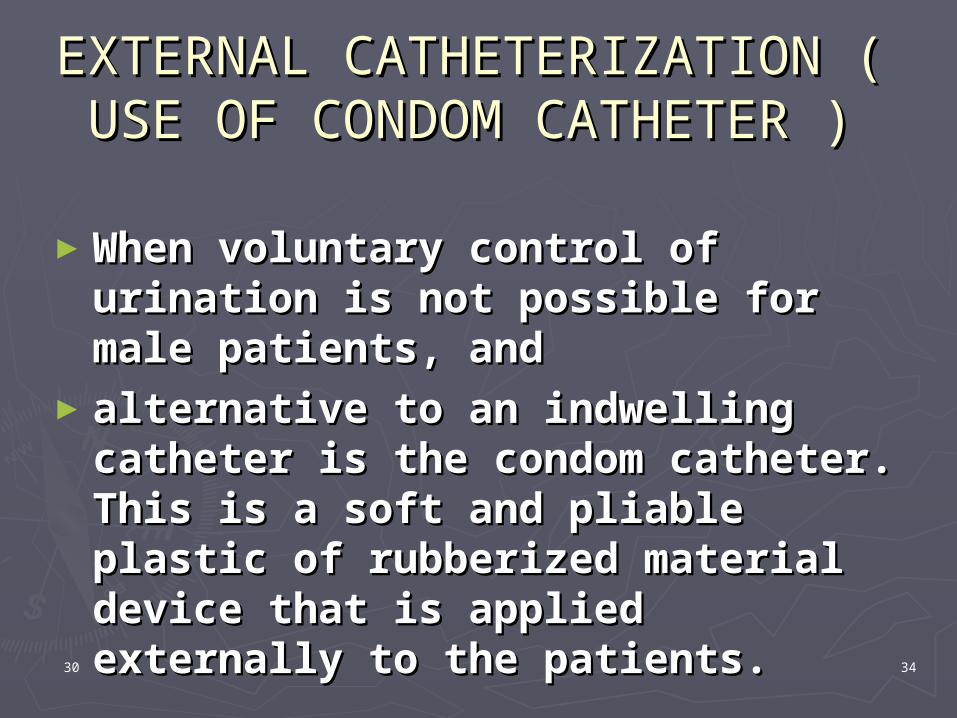
►When voluntary control of When voluntary control of urination is not possible for male urination is not possible for male patients, and patients, and
►alternative to an indwelling alternative to an indwelling catheter is the condom catheter. catheter is the condom catheter. This is a soft and pliable plastic This is a soft and pliable plastic of rubberized material device of rubberized material device that is applied externally to the that is applied externally to the patients.patients.
30 35
Nursing Consideration:Nursing Consideration:
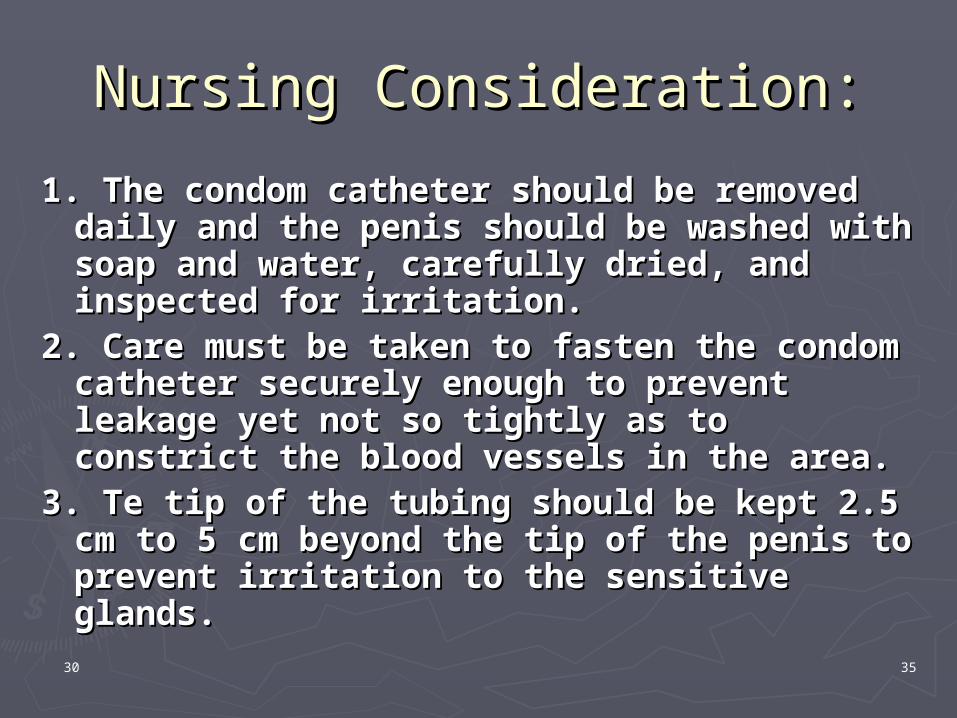
1. The condom catheter should be 1. The condom catheter should be removed daily and the penis should be removed daily and the penis should be washed with soap and water, carefully washed with soap and water, carefully dried, and inspected for irritation.dried, and inspected for irritation.
2. Care must be taken to fasten the 2. Care must be taken to fasten the condom catheter securely enough to condom catheter securely enough to prevent leakage yet not so tightly as to prevent leakage yet not so tightly as to constrict the blood vessels in the area.constrict the blood vessels in the area.
3. Te tip of the tubing should be kept 2.5 3. Te tip of the tubing should be kept 2.5 cm to 5 cm beyond the tip of the penis to cm to 5 cm beyond the tip of the penis to prevent irritation to the sensitive glands.prevent irritation to the sensitive glands.
30 36
44. To prevent urine from excoriating . To prevent urine from excoriating the glands, the tubing collecting the glands, the tubing collecting urine from the condom should be urine from the condom should be positioned to draw urine away positioned to draw urine away from the penis. from the penis.
30 37
Equipment: Equipment:
►condom sheath in appropriate size condom sheath in appropriate size with strapwith strap
►disposal glovesdisposal gloves►urinary drainage set-upurinary drainage set-up►basin of warm and soapbasin of warm and soap►washcloth and towelwashcloth and towel

30 38
Procedure:Procedure:
1. Explain the procedure to the 1. Explain the procedure to the patient.patient.
2. Assemble equipment2. Assemble equipment
3. Prepare urinary se-up for 3. Prepare urinary se-up for attachment to the condom attachment to the condom catheter.catheter.
4. Wash your hands.4. Wash your hands.
30 39
5. Assist the patient to supine position, close 5. Assist the patient to supine position, close the certain door. Use the top sheet as drape, the certain door. Use the top sheet as drape, expose only the patient’s genital area.expose only the patient’s genital area.
6. Don disposable gloves, wash the genital area 6. Don disposable gloves, wash the genital area with soap and water. Rinse, and dry with soap and water. Rinse, and dry thoroughlythoroughly
7. Roll the condom sheath outward onto itself. 7. Roll the condom sheath outward onto itself. Grasp the penis firmly with your non-Grasp the penis firmly with your non-dominant hand. Apply the condom sheath by dominant hand. Apply the condom sheath by rolling it onto the rolling it onto the
penis with your dominant hand, leave 2.5 to penis with your dominant hand, leave 2.5 to 5 cm. Space between the tip of the penis and 5 cm. Space between the tip of the penis and the end of the condom sheath.the end of the condom sheath.
30 40
8. Apply the elastic or Velcro strap snugly 8. Apply the elastic or Velcro strap snugly but not tightly. Don’t allow the elastic but not tightly. Don’t allow the elastic strap to come in contact with the skin.strap to come in contact with the skin.
9. Connect the equipment. Place the patient 9. Connect the equipment. Place the patient in a comfortable, safe position. Wash in a comfortable, safe position. Wash hands.hands.
10. Remove the equipment. Place the 10. Remove the equipment. Place the patient in a comfortable, safe position. patient in a comfortable, safe position. Wash your hands.Wash your hands.
11. Assess the patient’s response and 11. Assess the patient’s response and record observations on the patient’s record observations on the patient’s chart.chart.
30 41
CATHETER IRRIGATIONCATHETER IRRIGATION
►The flushing of a tube, canal, or The flushing of a tube, canal, or area with solution is called area with solution is called irrigation. The purpose of the irrigation. The purpose of the catheter irrigation is to restore or catheter irrigation is to restore or maintain its patency. maintain its patency.

30 42
A. Irrigating the Catheter using A. Irrigating the Catheter using the Closed System the Closed System
►provides intermittent or provides intermittent or continuous irrigation without continuous irrigation without disconnecting the catheter from disconnecting the catheter from its drainage system; it is used for its drainage system; it is used for patient at risk for occlusion of the patient at risk for occlusion of the catheter with blood clots and catheter with blood clots and mucus fragments after mucus fragments after genitourinary surgery.genitourinary surgery.
30 43
Equipment: Equipment:
►sterile basin sterile basin ►cotton balls with disinfectant or cotton balls with disinfectant or
alcohol swabsalcohol swabs►30-50 ml. syringe with 18-gauge 30-50 ml. syringe with 18-gauge
needle needle ►sterile irrigating solution sterile irrigating solution ►drapedrape
30 44
Procedure1: Closed SystemProcedure1: Closed System
1. Assemble equipment, wash your 1. Assemble equipment, wash your hands. Explain the procedure and its hands. Explain the procedure and its purpose to the patient. purpose to the patient.
2. Provide privacy by closing the curtain 2. Provide privacy by closing the curtain s or door and drape the patient with s or door and drape the patient with blanket.blanket.
3. Assist the patient to a comfortable 3. Assist the patient to a comfortable position and expose the aspiration port position and expose the aspiration port on the catheter set-up. Place the drape on the catheter set-up. Place the drape (towel or tissue paper) under the (towel or tissue paper) under the
catheter’s aspiration port. catheter’s aspiration port.
30 45
4. Open the sterile supplies. Pour sterile 4. Open the sterile supplies. Pour sterile solution into the sterile basin. Aspirate solution into the sterile basin. Aspirate irrigant (30ml-50ml ) into the sterile irrigant (30ml-50ml ) into the sterile syringe and attach the capped sterile syringe and attach the capped sterile needle.needle.
5. Disinfect the aspiration port with 5. Disinfect the aspiration port with alcohol swab or with antiseptic solution. alcohol swab or with antiseptic solution.
6. Clamp or fold the catheter tubing 6. Clamp or fold the catheter tubing distal to the aspiration port.distal to the aspiration port.
7. Remove the cap and insert the needle 7. Remove the cap and insert the needle into the port. Gently instill solution into into the port. Gently instill solution into the catheter. the catheter.
30 46
7. Remove the cap and insert the needle into the port. 7. Remove the cap and insert the needle into the port. Gently instill solution Gently instill solution
into the catheter. into the catheter. 8. Remove the needle from the port, unclamp the 8. Remove the needle from the port, unclamp the
tubing and allow irrigant and tubing and allow irrigant and urine to drain. Repeat the procedure as necessary.urine to drain. Repeat the procedure as necessary.9. Remove equipment and discard needle and syringe 9. Remove equipment and discard needle and syringe
in appropriate receptacle. Wash your hands, and in appropriate receptacle. Wash your hands, and place patient’s back to a comfortable position. place patient’s back to a comfortable position.
10. Assess and document the patient’s response to the 10. Assess and document the patient’s response to the procedure and the procedure and the
quality and amount of drainage in the nurse’s notes.quality and amount of drainage in the nurse’s notes.11. Record the amount of irrigant used and the total 11. Record the amount of irrigant used and the total
drainage in the I and O sheet.drainage in the I and O sheet.
30 47
B. Irrigating the catheter using B. Irrigating the catheter using the Open Systemthe Open System
It is an alternative method, It is an alternative method, require that the nurse aseptically require that the nurse aseptically break the closed drainage system: break the closed drainage system: this method is use intermittently this method is use intermittently to maintain catheters patency but to maintain catheters patency but should be done only when should be done only when necessary because of the risk of necessary because of the risk of introducing pathogens into the introducing pathogens into the bladderbladder
30 48
Equipments:Equipments:
► Irrigation trayIrrigation tray►Sterile BasinSterile Basin►Sterile AseptosyringeSterile Aseptosyringe►Sterile Irrigating solutionSterile Irrigating solution►Gauze PadGauze Pad►Cottonballs with disinfectantsCottonballs with disinfectants
30 49
Procedure 2: Open System Procedure 2: Open System
1. Follows steps 1 and 2 and procedure for 1. Follows steps 1 and 2 and procedure for closed closed
system.system.
2. Assist the client to a comfortable position and 2. Assist the client to a comfortable position and expose3 the connection between the catheter expose3 the connection between the catheter and the drainage tubing. Place a tissue paper and the drainage tubing. Place a tissue paper under catheter’s connection port.under catheter’s connection port.
3. Open the sterile supply. Pour the sterile 3. Open the sterile supply. Pour the sterile solution in the sterile basin. Aspirate irrigant solution in the sterile basin. Aspirate irrigant (30 ml) into the asepto syringe.(30 ml) into the asepto syringe.
30 50
4. Cleanse the catheter junction using 4. Cleanse the catheter junction using cottonballs with disinfectant.cottonballs with disinfectant.
5. Disinfect the catheter and drainage tube. 5. Disinfect the catheter and drainage tube. Place the cover over the drainage tip and Place the cover over the drainage tip and secure drainage tubing on the bed. Hold secure drainage tubing on the bed. Hold catheter tubing (2.5 cm )from its open end.catheter tubing (2.5 cm )from its open end.
6. Position the sterile basin beneath the 6. Position the sterile basin beneath the catheter. Insert the tip of the syringe into catheter. Insert the tip of the syringe into the catheter and gently irrigate with the catheter and gently irrigate with solution. solution.
30 51
7. Remove the syringe and allow drainage to return by 7. Remove the syringe and allow drainage to return by gravity flow into the gravity flow into the
basin, if there is no return flow, gentle aspirate the basin, if there is no return flow, gentle aspirate the solution from the solution from the
catheter. Continue with irrigation as ordered by the catheter. Continue with irrigation as ordered by the physician.physician.
8. Reattach the drainage tube to the catheter, beginning 8. Reattach the drainage tube to the catheter, beginning carefully not to carefully not to
contaminate the system.contaminate the system.9. Remove the equipments and place back the client in a 9. Remove the equipments and place back the client in a
comfortable position.Wash your handscomfortable position.Wash your hands10. Document client’s response to the procedure and the 10. Document client’s response to the procedure and the
quality and the quality and the amount of drainage on the client’s chartamount of drainage on the client’s chart
30 52
CystoclysisCystoclysis
► It is most frequently done It is most frequently done after surgical procedure on the after surgical procedure on the bladder. This is done to clean or bladder. This is done to clean or medicate the bladder itself. The medicate the bladder itself. The physician may order a specific physician may order a specific flow rate in ml/hour or may simply flow rate in ml/hour or may simply order that is a slow continuous order that is a slow continuous drip be used, or depending upon drip be used, or depending upon the character of the urine.the character of the urine.
30 53
Equipments:Equipments:
►Sterile irrigating solution (2 liters Sterile irrigating solution (2 liters bottle of PNSS)bottle of PNSS)
►Sterile tubing (IV tubing)Sterile tubing (IV tubing)►IV poleIV pole►Foley drainage set-up (tubing and Foley drainage set-up (tubing and
collection Bag)collection Bag)►3- way foley catheter in place.3- way foley catheter in place.
30 54
ProcedureProcedure
1. Explain the procedure/ purpose 1. Explain the procedure/ purpose to the client.to the client.
2. Assemble equipment.2. Assemble equipment.
3. Hand washing.3. Hand washing.
4. Provide privacy and drape the 4. Provide privacy and drape the client.client.

30 55
5. Prepare the sterile irrigation solution. (available 5. Prepare the sterile irrigation solution. (available in IV bottle). Attach the in IV bottle). Attach the
sterile tubing with drip chamber to the sterile tubing with drip chamber to the container.Hang the bottle on IVcontainer.Hang the bottle on IV
pole 2 ½ to 3 ft. above the level of client’s pole 2 ½ to 3 ft. above the level of client’s bladder. Release the clamp; remove the protective bladder. Release the clamp; remove the protective cover on the end of IV tubing without cover on the end of IV tubing without contaminating it. Allow the solution to flash the contaminating it. Allow the solution to flash the tubing and remove air. Reclamp or close the tubing and remove air. Reclamp or close the regulator.regulator.
6. Attach the irrigation tubing to the irrigation 6. Attach the irrigation tubing to the irrigation (usually on the third port) of the 3 way foley (usually on the third port) of the 3 way foley catheter using sterile technique.catheter using sterile technique.
7. Release the clamp on the irrigation tubing and 7. Release the clamp on the irrigation tubing and regulate the flow according to the physicians regulate the flow according to the physicians order.order.
30 56
7. Release the clamp on the irrigation tubing and regulate the flow 7. Release the clamp on the irrigation tubing and regulate the flow according according
to the physicians order.to the physicians order.8. As irrigation is completed, clamp the tubing. Do not allow the drip 8. As irrigation is completed, clamp the tubing. Do not allow the drip
chamber chamber to empty. Disconnection of the empty and attach a full irrigation to empty. Disconnection of the empty and attach a full irrigation
bottle. bottle. Continue as orders by the physician.Continue as orders by the physician.9. Assess the client’s response to the procedure and the quality and 9. Assess the client’s response to the procedure and the quality and
amount of amount of drainage. Empty the drainage collection bag as each new container is drainage. Empty the drainage collection bag as each new container is
hang hang and record.and record.10. Wash your hands.10. Wash your hands.11. Record the amount of irritant used on the intake and output and 11. Record the amount of irritant used on the intake and output and
record and record and subtract drainage collected to ensure accurate recording of urine subtract drainage collected to ensure accurate recording of urine
output.output.
30 57
Nursing Considerations:Nursing Considerations:
1. Use aseptic technique when irrigating the bladder to 1. Use aseptic technique when irrigating the bladder to prevent infection.prevent infection.
2. Review the physician’s order for the type and amount 2. Review the physician’s order for the type and amount of solution to be used and the type of irrigation to be of solution to be used and the type of irrigation to be performed.performed.
3 Do not force irrigation against any resistance; Notify 3 Do not force irrigation against any resistance; Notify the physician.the physician.
4. Refer for signs of active bleeding by assessing the 4. Refer for signs of active bleeding by assessing the color of the drainage, color of the drainage,
presence of pain or tenderness over the hypogastrium.presence of pain or tenderness over the hypogastrium.5. If the flow slows down, assess for the patency of the 5. If the flow slows down, assess for the patency of the
tubing, check for kinks or milk the tubings to remove tubing, check for kinks or milk the tubings to remove clots and refer to ROD if measures failed. Prepare clots and refer to ROD if measures failed. Prepare equipment needed for flushing the catheter.equipment needed for flushing the catheter.

30 58

30 59

30 60