Embed Size (px)
Citation preview
Masks, Bringing a Legend to Life
Activity Information Grade Appropriate Level: 4-7 (lower grades will need more assistance) Duration: 3-4 forty minute class periods Materials:
• Blank paper and pencil for each student • Your needs will be based on whether the type of masks you choose to make
are plaster, model magic or papier-mache masks. See the attached “Mask Making Ideas & Materials” handout from Opus Framing or view the handout at http://www.opusframing.com/library/pdf/mask_making.pdf
• Share pictures and books of First Nations masks and other dramatic masks. For optimal creativity in mask making, offer a variety of decorative materials for students to add the finishing touches to their masks. For example: glitter, acrylic paints, feathers, coloured yarn or wool, fabric swatches, felt, different size brushes, hot glue, material appropriate for making whiskers, eye lashes, etc. You should have thin, flexible cardboard available for students who may want to add animal like features to their masks, such as snouts or beaks, etc.
• Hole-punchers or other implement to put holes in the side of each mask • Stretchy string or white elastic to tie to masks so students can wear them • Show students real masks from your school board or local band office. • You will need lots of open table and floor space and several adult helpers.
Consider asking parents and volunteers from local art schools to assist you.
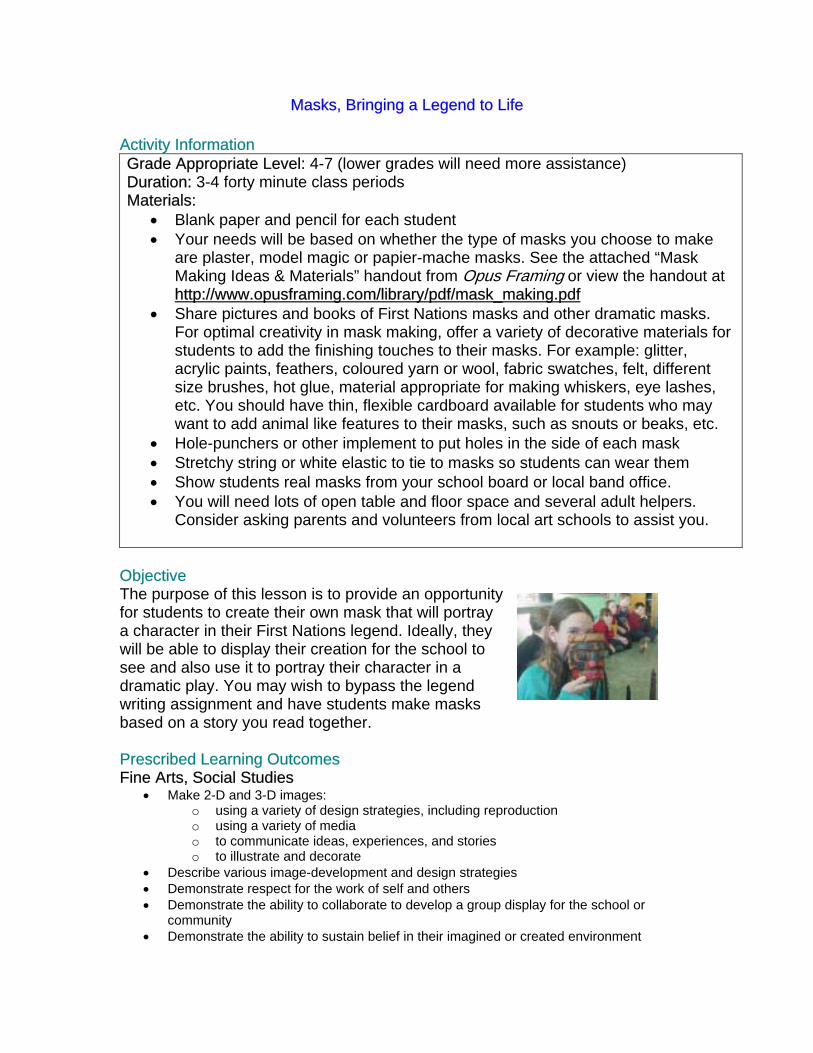
Objective The purpose of this lesson is to provide an opportunity for students to create their own mask that will portray a character in their First Nations legend. Ideally, they will be able to display their creation for the school to see and also use it to portray their character in a dramatic play. You may wish to bypass the legend writing assignment and have students make masks based on a story you read together. Prescribed Learning Outcomes Fine Arts, Social Studies
• Make 2-D and 3-D images: o using a variety of design strategies, including reproduction o using a variety of media o to communicate ideas, experiences, and stories o to illustrate and decorate
• Describe various image-development and design strategies • Demonstrate respect for the work of self and others • Demonstrate the ability to collaborate to develop a group display for the school or
community • Demonstrate the ability to sustain belief in their imagined or created environment
• Use a variety of vocal elements and movement to communicate meaning • Demonstrate the ability to maintain focus within a drama structure • Interact in role • Demonstrate appreciation of contributions of Aboriginal people • Assess the relationship between cultures and their environments
Introductory Activity
• Talk to the students about mask-making as a follow up to their writing assignment about First Nations legends. Have them choose a main character from their legend for mask making. Encourage students to choose a character that will allow for a lot of creative touches to be applied.
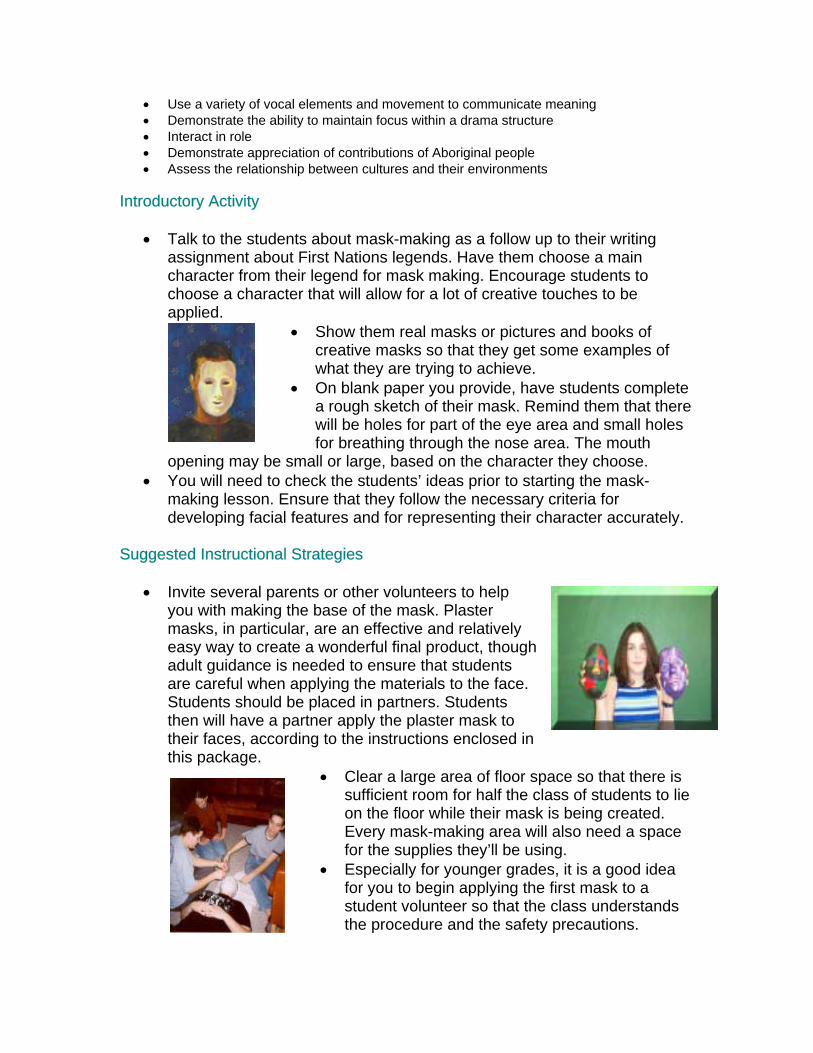
• Show them real masks or pictures and books of creative masks so that they get some examples of what they are trying to achieve.
• On blank paper you provide, have students complete a rough sketch of their mask. Remind them that there will be holes for part of the eye area and small holes for breathing through the nose area. The mouth
opening may be small or large, based on the character they choose. • You will need to check the students’ ideas prior to starting the mask-
making lesson. Ensure that they follow the necessary criteria for developing facial features and for representing their character accurately.
Suggested Instructional Strategies
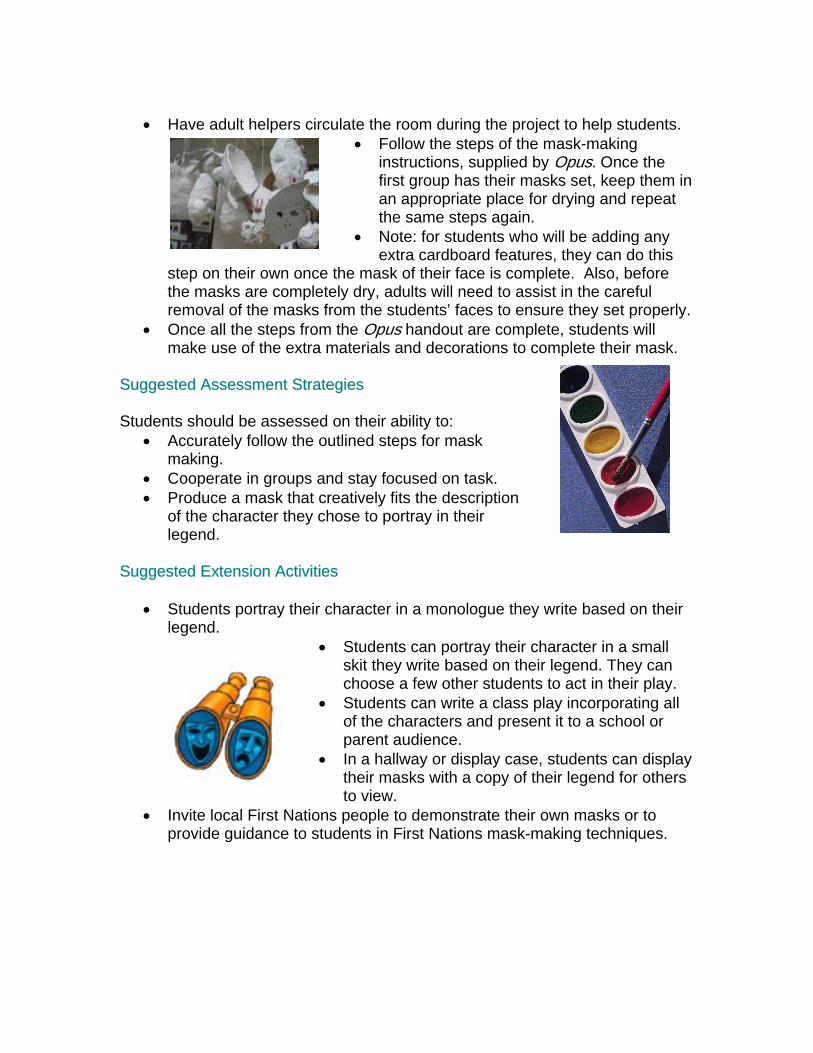
• Invite several parents or other volunteers to help you with making the base of the mask. Plaster masks, in particular, are an effective and relatively easy way to create a wonderful final product, though adult guidance is needed to ensure that students are careful when applying the materials to the face. Students should be placed in partners. Students then will have a partner apply the plaster mask to their faces, according to the instructions enclosed in this package.
• Clear a large area of floor space so that there is sufficient room for half the class of students to lie on the floor while their mask is being created. Every mask-making area will also need a space for the supplies they’ll be using.
• Especially for younger grades, it is a good idea for you to begin applying the first mask to a student volunteer so that the class understands the procedure and the safety precautions.
• Have adult helpers circulate the room during the project to help students.• Follow the steps of the mask-making
instructions, supplied by Opus. Once thefirst group has their masks set, keep them inan appropriate place for drying and repeatthe same steps again.
• Note: for students who will be adding anyextra cardboard features, they can do this
step on their own once the mask of their face is complete. Also, before the masks are completely dry, adults will need to assist in the careful removal of the masks from the students’ faces to ensure they set properly.
• Once all the steps from the Opus handout are complete, students willmake use of the extra materials and decorations to complete their mask.
Suggested Assessment Strategies
Students should be assessed on their ability to: • Accurately follow the outlined steps for mask
making.• Cooperate in groups and stay focused on task.• Produce a mask that creatively fits the description
of the character they chose to portray in theirlegend.
Suggested Extension Activities
• Students portray their character in a monologue they write based on theirlegend.
• Students can portray their character in a smallskit they write based on their legend. They canchoose a few other students to act in their play.
• Students can write a class play incorporating allof the characters and present it to a school orparent audience.
• In a hallway or display case, students can displaytheir masks with a copy of their legend for othersto view.
• Invite local First Nations people to demonstrate their own masks or toprovide guidance to students in First Nations mask-making techniques.
Suggested Links http://www.educ.uvic.ca/faculty/mroth/438/environment/haidamask.html (a Haida mask-making activity) http://www.fxsupply.com/mask/mask.html http://www.nativeonline.com/artists.html http://collections.ic.gc.ca/sifc/firstchart1.htm http://artscenecal.com/Listings/Pasadena/SouthwestMsmFile/SouthwestMsmExhibitions/ShimmeringSkyFile/ShimmeringSkyPortfolio1.html (a collection of BC and other native masks)
Lesson plan provided by: Fored BC Developed by: Eve Simon – Education Services Coordinator & VSB Teacher
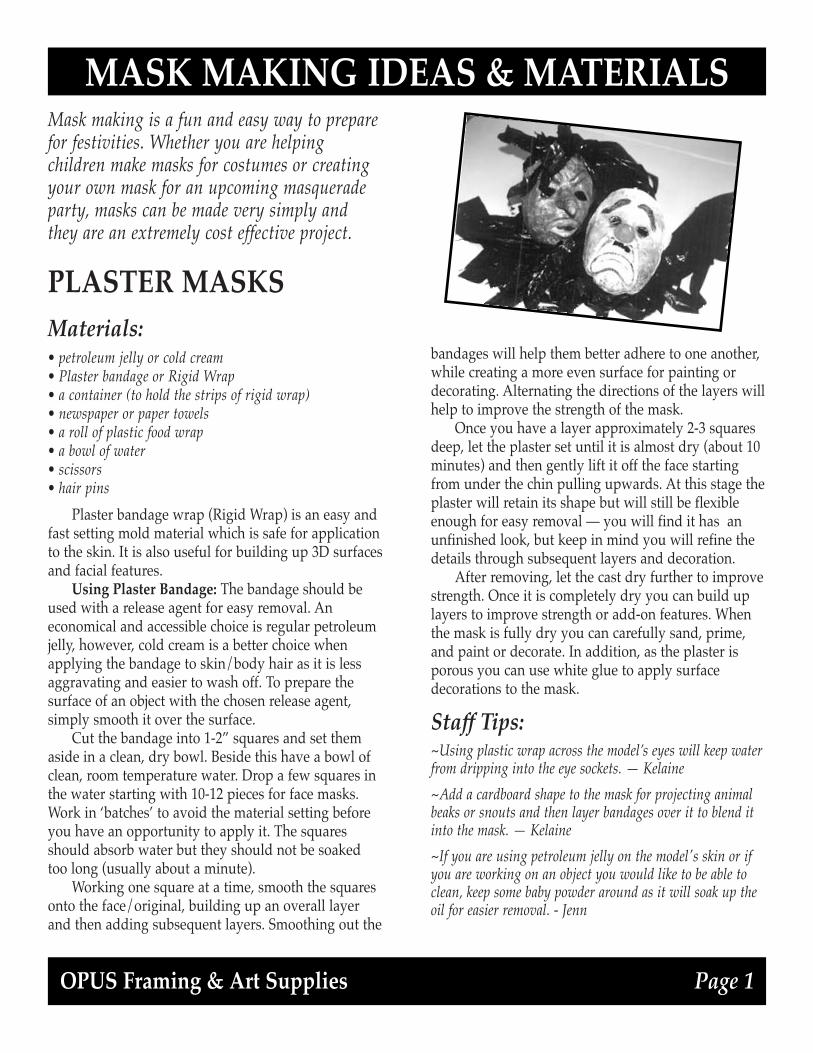
Mask making is a fun and easy way to preparefor festivities. Whether you are helpingchildren make masks for costumes or creatingyour own mask for an upcoming masqueradeparty, masks can be made very simply andthey are an extremely cost effective project.
PLASTER MASKSMaterials: • petroleum jelly or cold cream• Plaster bandage or Rigid Wrap• a container (to hold the strips of rigid wrap) • newspaper or paper towels • a roll of plastic food wrap• a bowl of water• scissors• hair pins
Plaster bandage wrap (Rigid Wrap) is an easy andfast setting mold material which is safe for applicationto the skin. It is also useful for building up 3D surfacesand facial features.
Using Plaster Bandage: The bandage should beused with a release agent for easy removal. Aneconomical and accessible choice is regular petroleumjelly, however, cold cream is a better choice whenapplying the bandage to skin/body hair as it is lessaggravating and easier to wash off. To prepare thesurface of an object with the chosen release agent,simply smooth it over the surface.
Cut the bandage into 1-2” squares and set themaside in a clean, dry bowl. Beside this have a bowl ofclean, room temperature water. Drop a few squares inthe water starting with 10-12 pieces for face masks.Work in ‘batches’ to avoid the material setting beforeyou have an opportunity to apply it. The squaresshould absorb water but they should not be soakedtoo long (usually about a minute).
Working one square at a time, smooth the squaresonto the face/original, building up an overall layerand then adding subsequent layers. Smoothing out the
bandages will help them better adhere to one another,while creating a more even surface for painting ordecorating. Alternating the directions of the layers willhelp to improve the strength of the mask.
Once you have a layer approximately 2-3 squaresdeep, let the plaster set until it is almost dry (about 10minutes) and then gently lift it off the face startingfrom under the chin pulling upwards. At this stage theplaster will retain its shape but will still be flexibleenough for easy removal — you will find it has anunfinished look, but keep in mind you will refine thedetails through subsequent layers and decoration.
After removing, let the cast dry further to improvestrength. Once it is completely dry you can build uplayers to improve strength or add-on features. Whenthe mask is fully dry you can carefully sand, prime,and paint or decorate. In addition, as the plaster isporous you can use white glue to apply surfacedecorations to the mask.
Staff Tips:~Using plastic wrap across the model’s eyes will keep waterfrom dripping into the eye sockets. — Kelaine
~Add a cardboard shape to the mask for projecting animalbeaks or snouts and then layer bandages over it to blend itinto the mask. — Kelaine
~If you are using petroleum jelly on the model's skin or ifyou are working on an object you would like to be able toclean, keep some baby powder around as it will soak up theoil for easier removal. - Jenn
MASK MAKING IDEAS & MATERIALS
OPUS Framing & Art Supplies Page 1
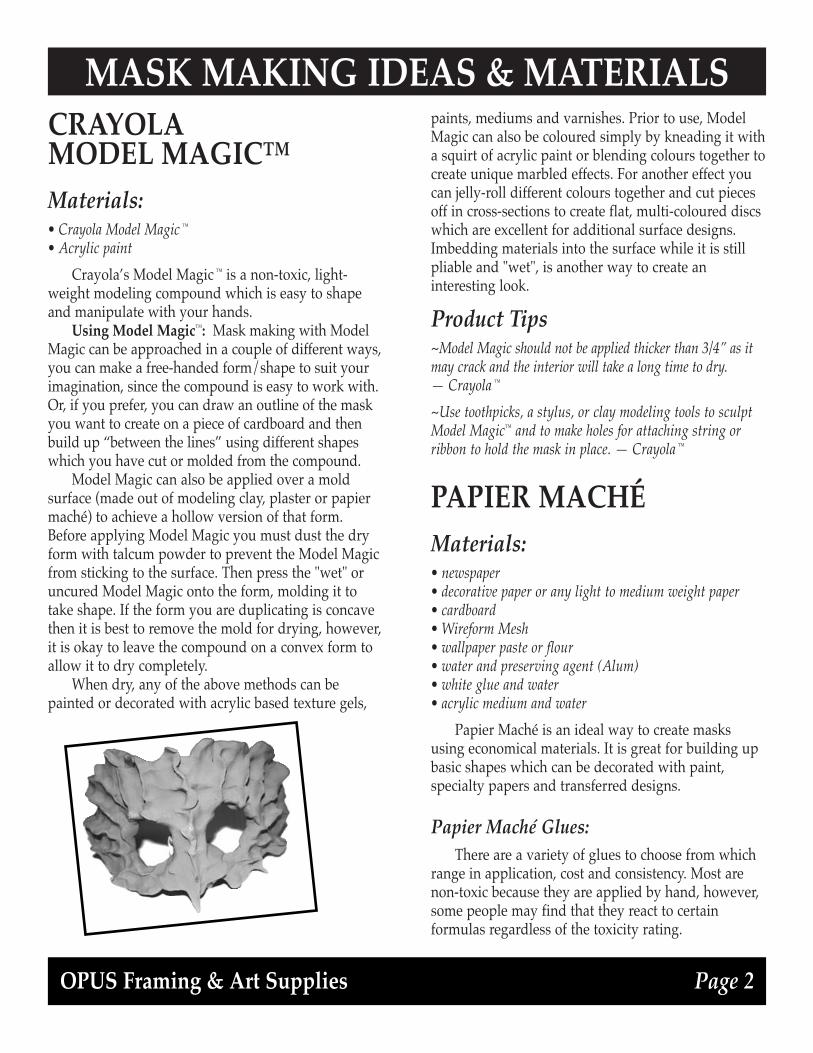
CRAYOLAMODEL MAGIC™Materials: • Crayola Model Magic ™
• Acrylic paint
Crayola’s Model Magic ™ is a non-toxic, light-weight modeling compound which is easy to shapeand manipulate with your hands.
Using Model Magic™: Mask making with ModelMagic can be approached in a couple of different ways,you can make a free-handed form/shape to suit yourimagination, since the compound is easy to work with.Or, if you prefer, you can draw an outline of the maskyou want to create on a piece of cardboard and thenbuild up “between the lines” using different shapeswhich you have cut or molded from the compound.
Model Magic can also be applied over a moldsurface (made out of modeling clay, plaster or papiermaché) to achieve a hollow version of that form.Before applying Model Magic you must dust the dryform with talcum powder to prevent the Model Magicfrom sticking to the surface. Then press the "wet" oruncured Model Magic onto the form, molding it totake shape. If the form you are duplicating is concavethen it is best to remove the mold for drying, however,it is okay to leave the compound on a convex form toallow it to dry completely.
When dry, any of the above methods can bepainted or decorated with acrylic based texture gels,
paints, mediums and varnishes. Prior to use, ModelMagic can also be coloured simply by kneading it witha squirt of acrylic paint or blending colours together tocreate unique marbled effects. For another effect youcan jelly-roll different colours together and cut piecesoff in cross-sections to create flat, multi-coloured discswhich are excellent for additional surface designs.Imbedding materials into the surface while it is stillpliable and "wet", is another way to create aninteresting look.
Product Tips~Model Magic should not be applied thicker than 3/4” as itmay crack and the interior will take a long time to dry. — Crayola ™
~Use toothpicks, a stylus, or clay modeling tools to sculptModel Magic™ and to make holes for attaching string orribbon to hold the mask in place. — Crayola ™
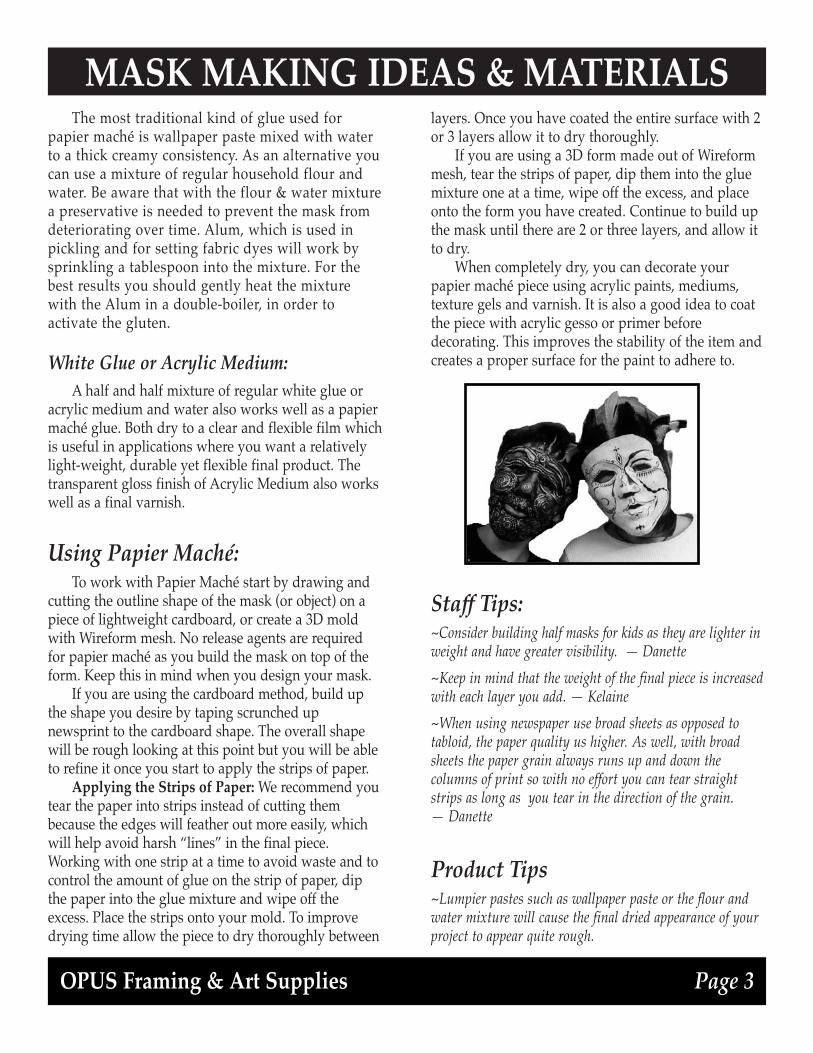
PAPIER MACHÉMaterials: • newspaper• decorative paper or any light to medium weight paper• cardboard• Wireform Mesh • wallpaper paste or flour• water and preserving agent (Alum) • white glue and water • acrylic medium and water
Papier Maché is an ideal way to create masksusing economical materials. It is great for building upbasic shapes which can be decorated with paint,specialty papers and transferred designs.
Papier Maché Glues: There are a variety of glues to choose from which
range in application, cost and consistency. Most arenon-toxic because they are applied by hand, however,some people may find that they react to certainformulas regardless of the toxicity rating.
MASK MAKING IDEAS & MATERIALS
OPUS Framing & Art Supplies Page 2
The most traditional kind of glue used forpapier maché is wallpaper paste mixed with waterto a thick creamy consistency. As an alternative youcan use a mixture of regular household flour andwater. Be aware that with the flour & water mixturea preservative is needed to prevent the mask fromdeteriorating over time. Alum, which is used inpickling and for setting fabric dyes will work bysprinkling a tablespoon into the mixture. For thebest results you should gently heat the mixturewith the Alum in a double-boiler, in order toactivate the gluten.
White Glue or Acrylic Medium: A half and half mixture of regular white glue or
acrylic medium and water also works well as a papiermaché glue. Both dry to a clear and flexible film whichis useful in applications where you want a relativelylight-weight, durable yet flexible final product. Thetransparent gloss finish of Acrylic Medium also workswell as a final varnish.
Using Papier Maché: To work with Papier Maché start by drawing and
cutting the outline shape of the mask (or object) on apiece of lightweight cardboard, or create a 3D moldwith Wireform mesh. No release agents are requiredfor papier maché as you build the mask on top of theform. Keep this in mind when you design your mask.
If you are using the cardboard method, build upthe shape you desire by taping scrunched upnewsprint to the cardboard shape. The overall shapewill be rough looking at this point but you will be ableto refine it once you start to apply the strips of paper.
Applying the Strips of Paper: We recommend youtear the paper into strips instead of cutting thembecause the edges will feather out more easily, whichwill help avoid harsh “lines” in the final piece.Working with one strip at a time to avoid waste and tocontrol the amount of glue on the strip of paper, dipthe paper into the glue mixture and wipe off theexcess. Place the strips onto your mold. To improvedrying time allow the piece to dry thoroughly between
layers. Once you have coated the entire surface with 2or 3 layers allow it to dry thoroughly.
If you are using a 3D form made out of Wireformmesh, tear the strips of paper, dip them into the gluemixture one at a time, wipe off the excess, and placeonto the form you have created. Continue to build upthe mask until there are 2 or three layers, and allow itto dry.
When completely dry, you can decorate yourpapier maché piece using acrylic paints, mediums,texture gels and varnish. It is also a good idea to coatthe piece with acrylic gesso or primer beforedecorating. This improves the stability of the item andcreates a proper surface for the paint to adhere to.
Staff Tips:~Consider building half masks for kids as they are lighter inweight and have greater visibility. — Danette
~Keep in mind that the weight of the final piece is increasedwith each layer you add. — Kelaine
~When using newspaper use broad sheets as opposed totabloid, the paper quality us higher. As well, with broadsheets the paper grain always runs up and down thecolumns of print so with no effort you can tear straightstrips as long as you tear in the direction of the grain. — Danette
Product Tips~Lumpier pastes such as wallpaper paste or the flour andwater mixture will cause the final dried appearance of yourproject to appear quite rough.
MASK MAKING IDEAS & MATERIALS
OPUS Framing & Art Supplies Page 3
~For a smoother finish try sanding with a fine sand paper,or use Stevenson's Modeling Paste to fill in any roughspots and sand when dry.
~Felt or Foam can be used to line the mask, or coversensitive areas to make it more comfortable to wear.
~Decorate your masks with acrylic paints, acrylic gouache,acrylic texture mediums or decorative papers.
NOTES:
MASK MAKING IDEAS & MATERIALS
OPUS Framing & Art Supplies Page 4
OPUS Vancouver OPUS Langley OPUS Victoria1360 Johnston St 20484 Fraser Hwy 512 Herald St
604-736-7028 604-533-0601 250-386-8133
OPUS Kelowna OPUS North Vancouver OPUS National1357 Ellis St 120 Lonsdale Ave Mail Order Service
250-763-3616 604-904-0447 1-800-663-6953
www.opusframing.com
OPUSFraming &Art Supplies
‘where artists prefer to shop’