Embed Size (px)
Citation preview
MapServer 101 Workshop Guide
Getting Started with MapServer Part 2: Vector Data AccessSeptember 24, 2007
This workshop guide walks through steps and introduces concepts for using vector data with MapServer. It assumes you are using MapServer 4.8 or more recent. This guide is accompanied by the MapServer Vector Data Access Guide (VectorDataAccessGuide.pdf), which is available in your C:/ms4w/apps/ms101/docs/ folder, and is also available on the MapServer website:
http://mapserver.gis.umn.edu/docs/reference/vector_data/
For more information on OGR see:http://gdal.maptools.org/ogr
http://mapserver.gis.umn.edu/docs/howto/ogr_howto
For comments, additions or corrections, please contact one of the maintainers at:Tyler Mitchell - [email protected] McKenna - [email protected]
This work is licensed under the Creative Commons Attribution-ShareAlike License. To view a copy of this license, visit: http://creativecommons.org/licenses/by-sa/2.0/ca/
or send a letter to Creative Commons,
559 Nathan Abbott Way, Stanford, California
94305, USA.
Getting Started with MapServer Page 1 of 12Part2 Workshop Guide – September 2007
Table of Contents
Tutorial Format ...................................................................................................................3Survey Of User Interests (5 minutes) .............................................................................3Orientation (5 minutes) ..................................................................................................4
Workshop file locations .............................................................................................4Setting up a starter map file.....................................................................................4Data file location......................................................................................................4MapServer web pages..............................................................................................5
Sample Layer Setup (15 minutes) ..................................................................................6Reviewing the data to be loaded ................................................................................6Key Info to Note ........................................................................................................7Create map layer in a MapServer application ...........................................................8
DATA/CONNECTION Parameters ........................................................................8Building the layer with sample data ..........................................................................8
Setting Extents ........................................................................................................8Styling Features ......................................................................................................9A Basic Map File Example .....................................................................................9A Complex Map File Example ...............................................................................9
Useful Command Line Utilities.........................................................................................11MapServer Utilities.......................................................................................................11
Shp2img....................................................................................................................11Shptree......................................................................................................................11
OGR Utilities................................................................................................................12ArcInfo Export File Converter (AVCE00)....................................................................12
Getting Started with MapServer Page 2 of 12Part2 Workshop Guide – September 2007
Tutorial Format This tutorial will walk through OGR and non-OGR related formats, starting with very simple examples and building into a more complex MapServer application. At the end of the tutorial, participants will have a fully functioning MapServer application built from a variety of data formats.
Some up-front theory and discussion is included in the accompanying document entitled MapServer Vector Data Access Guide. Participants will work through exercises that show how to access a few data formats on their own.
Near the end, some more advanced features and tools will be presented including: data conversion utilities and performance tuning/data organization.
If time permits, further features of interest may be covered including projections, raster data and loading of participant provided data.
Survey Of User Interests (5 minutes)
The following is a list of most of the available vector data formats. Please circle the top 3 formats that you are interested in learning about during this tutorial. If one is not on the list, feel free to add it. We will try to use the preferences of participants to guide the focus of the workshop.
1. MapInfo (TAB, MID/MIF) 2. Oracle Spatial (non-SDE) 3. PostgreSQL / PostGIS 4. US Census TIGER 5. ArcSDE (Oracle, DB2, MS SQL Server) 6. ESRI Geodatabase (MDB) 7. ArcView Shapefiles (.SHP) 8. ArcInfo Coverages (.ADF) 9. ArcInfo Export (.E00) 10. Microstation Design File (.DGN) 11. USGS SDTS (DLG only, not DEM) 12. IHO S-57 - Electronic Nautical Charts 13. UK NTF - Ordnance Survey 14. GML 15. Inline features directly in map file 16. Virtual data using ODBC connections to tables
_______________________________________
_______________________________________
Getting Started with MapServer Page 3 of 12Part2 Workshop Guide – September 2007
Orientation (5 minutes)
Purpose: To familiarize users with the main tools and files used in the workshop
Workshop file locations
MapServer For Windows (MS4W) layout
This tutorial is powered by MapTools' MS4W package, which includes the latest MapServer binaries and an Apache-based webserver configured to run MapServer. MS4W has the capability of using a variety of other MapTools applications, which we will not be reviewing in this session, but feel free to browse the site (http://www.maptools.org/).
The tutorial data files and applications are located in the ms101 applications folder. Open Windows Explorer (or My Computer) and goto the "ms101" folder:
C:\ms4w\apps\ms101\htdocs
Setting up a starter map file
The tutorial will consist of editing a map file. Locate the starter map file:
C:\ms4w\apps\ms101\htdocs\ms101.map
And make a copy of it. Name the copy:
C:\ms4w\apps\ms101\htdocs\ms101_vector.map
This is the map file you will be using in this part of the workshop.
Data file location
The data used in the tutorial is located in:
C:\ms4w\apps\ms101\data
Sub-directories include data samples in different formats.
Getting Started with MapServer Page 4 of 12Part2 Workshop Guide – September 2007
MapServer web pages
For this portion of the workshop, we will use a copy of existing MapServer HTML templates used earlier.
Copy the file:
C:\ms4w\apps\ms101\htdocs\indexfinal.html
To:
C:\ms4w\apps\ms101\htdocs\vector.html
The start page for our application will be:
http://localhost/ms101/vector.html
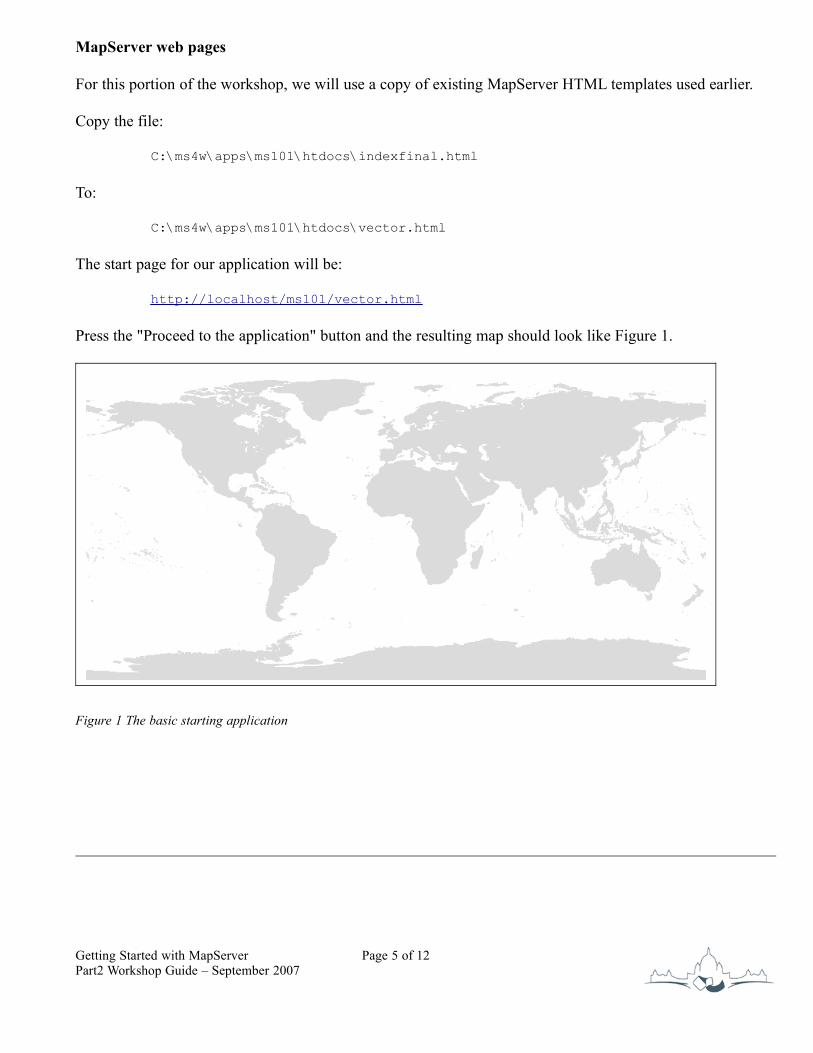
Press the "Proceed to the application" button and the resulting map should look like Figure 1.
Figure 1 The basic starting application
Getting Started with MapServer Page 5 of 12Part2 Workshop Guide – September 2007
Sample Layer Setup (15 minutes) This tutorial walks through loading one set of particular data format to provide the basic methodology of how to do the other formats.
Reviewing the data to be loaded
Datasets are located in the folder:
C:\ms4w\apps\ms101\data\
One of the widely used formats is ESRI Shapefiles. The data we are going to add as a layer to application is located in the "shapefile" sub-folder. The files we are going to add are a global city dataset called WorldCities.
Before adding any data to a MapServer application, it is wise to do some basic checks on the data. This is to ensure that the data is going to be usable. Many newcomers get frustrated with MapServer only to find that their data is ill-structured or even non-existant! Using a command line tool called "ogrinfo" we will ensure that the data will be useful for our tutorial application.
For this exercise we will have to use the Windows Command Prompt interface. The shortcut for this is located in the START menu under PROGRAMS, ACCESSORIES. The command prompt allows us to run various programs by typing commands. Throughout the tutorial we will give examples of commands to type, they will be prefixed with a greater-than sign ">" to show that it is to be type from the command prompt.
Before you can run any of the command line tools, you must first run a program that sets up some path settings. Type in the command:
C:/ms4w/setenv.bat
OGRINFO is the name of a utility that can interrogate and report on the status of OGR-supported data formats. The simplest syntax of the command is:
ogrinfo
We will use the command to report on the sample dataset by using the following command:
ogrinfo C:\ms4w\apps\ms101\data\shapefile\WorldCities.shp
The command will print out a list of all the LAYERS located in that file. For example:
> ogrinfo C:\ms4w\apps\ms101\data\shapefile\WorldCities.shpINFO: Open of `shapefile/WorldCities.shp'using driver `ESRI Shapefile' successful.1: WorldCities (Point)
Getting Started with MapServer Page 6 of 12Part2 Workshop Guide – September 2007
The above shows us that there is 1 layer within WorldCities.shp. Redundantly enough, the layer is also called WorldCities and we are told that it holds "Point" data.
For more on the shapefile format see the Data Format Overviews - Shapefiles section of this document.
You can make the command shorter by changing directory at the command line, using the command:
> cd c:\ms4w\apps\ms101\data\shapefiles
To get specific information about the layer, we simply add the layer name to the end of the ogrinfo command. Try this once and see how "verbose" the information is. In order to garner anything useful from this, users often filter all that information through other commands like "more" or "grep". However, there is a "summary" parameter that we can use with ogrinfo that is more efficient. This time, use the same command as last time (including the datasource and layer name) but add "-summary" to the end of the command. This provides a nice neat summary of information in this layer. For example:
> ogrinfo WorldCities.shp WorldCities -summaryINFO: Open of `shapefile/WorldCities.shp'using driver `ESRI Shapefile' successful.
Layer name: WorldCitiesGeometry: PointFeature Count: 12686Extent: (-178.166667, -54.800000) - (179.383333, 78.933333)Layer SRS WKT:(unknown)ID: Integer (6.0)ATTRIB: Integer (4.0)MGCC: Integer (4.0)ADMIN_CODE: Integer (4.0)UFI: Integer (9.0)POPULATION: Integer (9.0)NAME: String (250.0)
Key Info to Note
Geometry type: when adding a layer to a MapServer application, you must specify what kind of data you want to draw. If that geometry type is not included in your source data, it may not draw anything. In this case the geometry type is "Point".
Feature count: if there are no features in your source data, it won't look like much either, here we have 12,686 points in this data file.
Extent: when an application is created, an initial EXTENT must be specified. EXTENT tells MapServer what geographic area to focus on. In this case longitudes and latitudes (in decimal degree format not Degrees-Minutes-Seconds) of the data cover almost the complete extent of the earth. Note that EXTENT is reported in the same projection as the source data and is NOT always converted to lat/long format.
Projection info (SRS WKT): In data files that have a map projection or any other "spatial reference system" defined, that definition will be shown here. In our example, this is not defined. By looking at the
Getting Started with MapServer Page 7 of 12Part2 Workshop Guide – September 2007
EXTENT we get some hints that tell us it is in geographic coordinates or longitude and latitudes. For other types of data, i.e. UTM or Albers projections, the EXTENT will not help give many clues!
Create map layer in a MapServer application
MapServer applications are built by creating a text file (called a map file) that lists various settings and parameters. We are focusing in this tutorial on setting up LAYERs within a map file. Other settings will be shown but not discussed unless time permits at the end.
DATA/CONNECTION Parameters
The core pieces of info needed to load a dataset are usually limited to:
DATA: for shapefiles, the data parameters tells the name of the shapefile to use. For shapefiles specifically, there is only one layer in the file so a layer doesn't need to be specified. The path used can be "relative" from where the map file is located, relative to the location specified in the SHAPEPATH setting (also in the map file) or can be an "absolute" full path to the data.
CONNECTIONTYPE: except for shapefiles, most other vector data formats require a CONNECTIONTYPE setting. In this tutorial all the data file formats will use "CONNECTIONTYPE OGR". Database formats are generally handled by specifying the type of database being connected to - i.e. "CONNECTIONTYPE POSTGIS".
CONNECTION: In cases where OGR is used to access non-shapefile data, the CONNECTION parameter is used instead of DATA. This string of text points to the location of the datasource (i.e. the path to a folder or file). Then, after a comma, the layer number (i.e. shown by ogrinfo) is specified, minus 1. For example, layer 1 as reported by ogrinfo is identified as layer 0 in the CONNECTION string. This may seem strange, but is a sort of programming standard.
Building the layer with sample data
For the WorldCities.shp data, our connection information would look like:
DATA "C:\ms4w\apps\ms101\data\shapefile\WorldCities.shp"
For other data types, connection information will look more like:
CONNECTIONTYPE OGR CONNECTION "C:\ms4w\apps\ms101\data\format123\myfile.xyz,1"
Setting Extents
The tutorial application we are using starts by showing the whole earth. Because we can find out the extents of the data by using OGRINFO, we can change the overall map extents to match the data instead of zooming in from our default which is the entire earth. The above example WorldCities.shp also covers the planet, but
Getting Started with MapServer Page 8 of 12Part2 Workshop Guide – September 2007
all the other datasets we have available cover smaller geographic extents - in some cases very small areas. That is when changing the EXTENT line in the map comes in handy so you can view that particular locale to see if your data is loaded properly.
Styling Features
Styling is just a simpler way of saying "Setting the symbol, colour, size/thickness, etc. of features on your map". We are not focusing on how to make nice looking maps in this tutorial, but have some general rules of thumb you can follow to at least make your data visible.
A CLASS...END section is required to draw features in a layer. Within that section, specify:
COLOR 0 0 0
to draw your features black, since our background is set to white (255 255 255).
Creating SYMBOLS, i.e. for drawing points or painting lines, is an art in itself which we do not touch on here. We have created one basic symbol called "circle" which will work fine with all the data examples. This is also specified in the CLASS section like so:
SYMBOL 'circle'
Points features can have a SIZE setting, as can lines or outlines of polygons. These are specified in pixel sizes, i.e. for a 4 pixel wide line or point:
SIZE 4
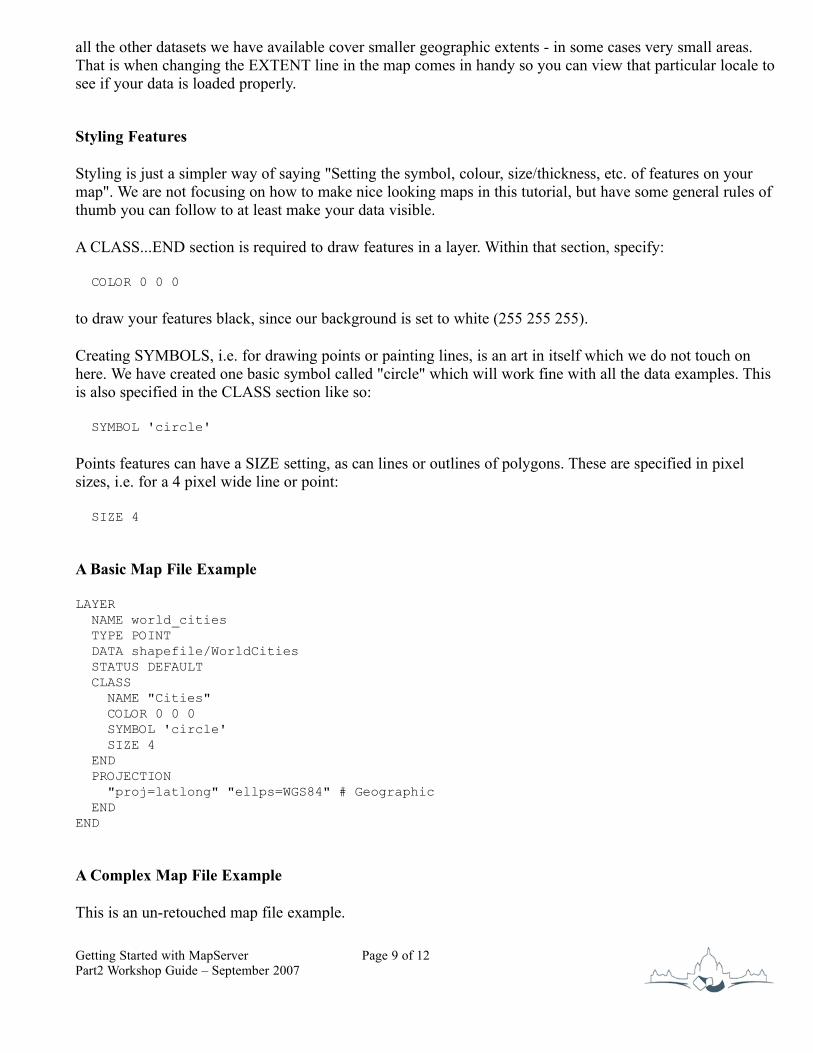
A Basic Map File Example
LAYER NAME world_cities TYPE POINT DATA shapefile/WorldCities STATUS DEFAULT CLASS NAME "Cities" COLOR 0 0 0 SYMBOL 'circle' SIZE 4 END PROJECTION "proj=latlong" "ellps=WGS84" # Geographic ENDEND
A Complex Map File Example
This is an un-retouched map file example.
Getting Started with MapServer Page 9 of 12Part2 Workshop Guide – September 2007
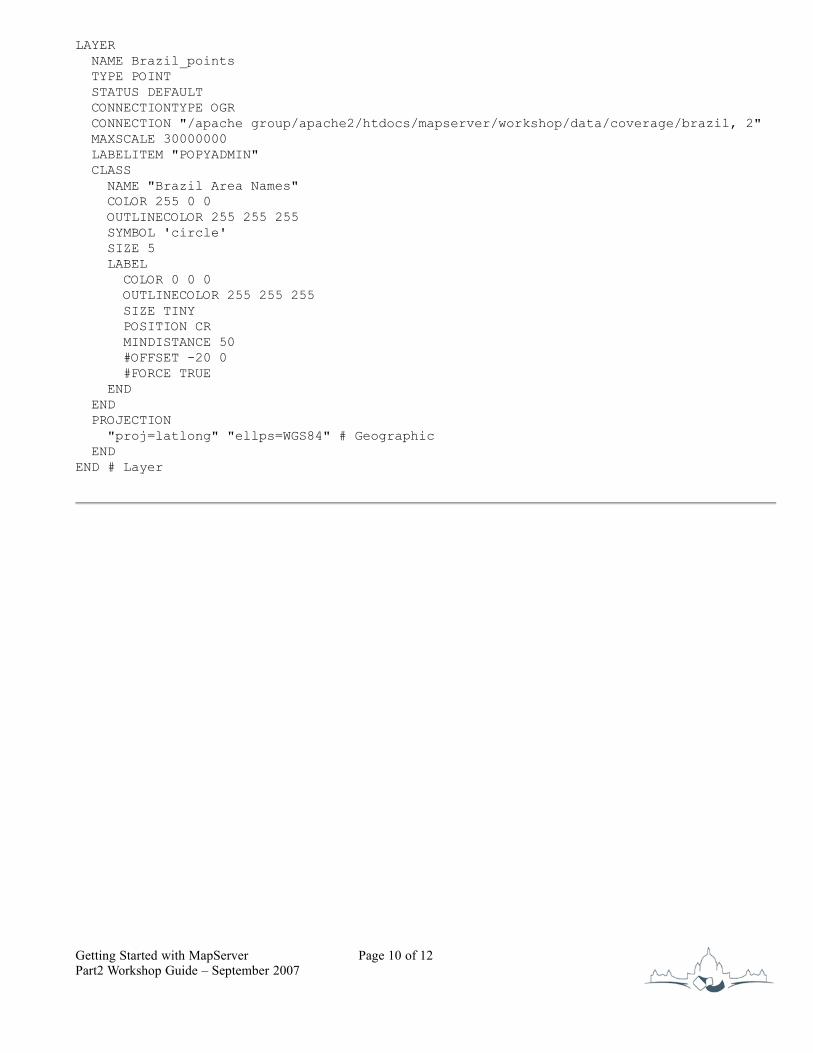
LAYER NAME Brazil_points TYPE POINT STATUS DEFAULT CONNECTIONTYPE OGR CONNECTION "/apache group/apache2/htdocs/mapserver/workshop/data/coverage/brazil, 2" MAXSCALE 30000000 LABELITEM "POPYADMIN" CLASS NAME "Brazil Area Names" COLOR 255 0 0 OUTLINECOLOR 255 255 255 SYMBOL 'circle' SIZE 5 LABEL COLOR 0 0 0 OUTLINECOLOR 255 255 255 SIZE TINY POSITION CR MINDISTANCE 50 #OFFSET -20 0 #FORCE TRUE END END PROJECTION "proj=latlong" "ellps=WGS84" # Geographic ENDEND # Layer
Getting Started with MapServer Page 10 of 12Part2 Workshop Guide – September 2007
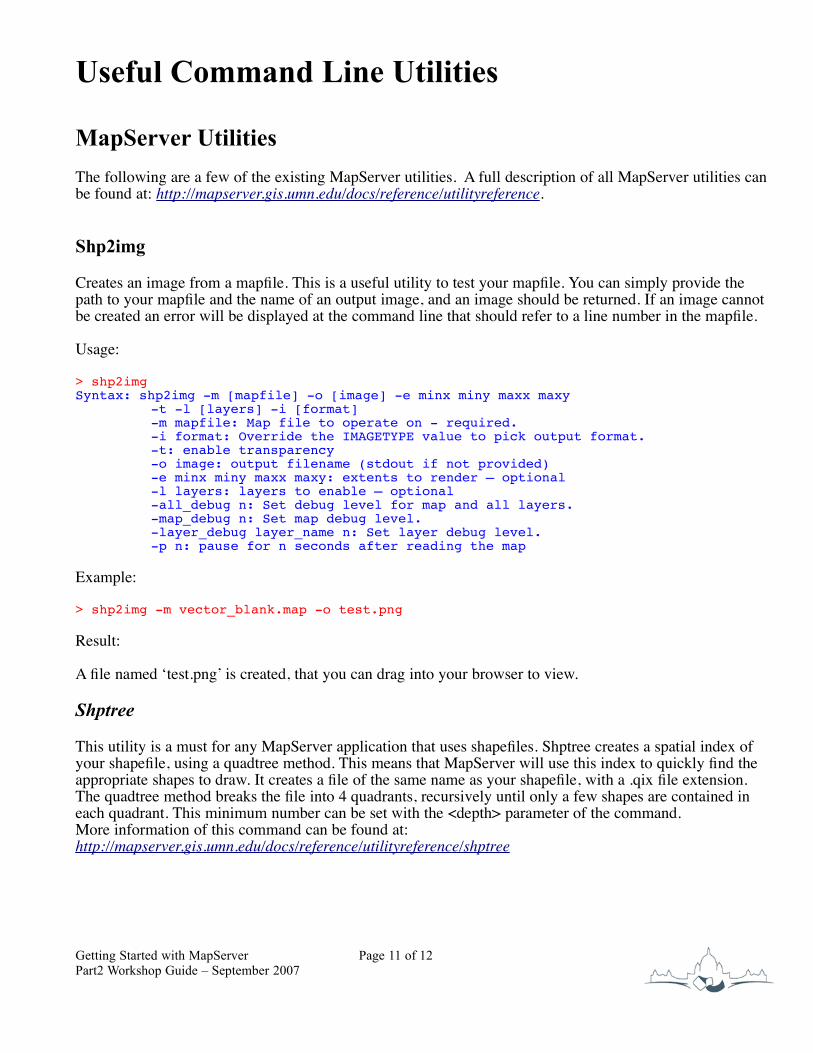
Useful Command Line Utilities
MapServer UtilitiesThe following are a few of the existing MapServer utilities. A full description of all MapServer utilities can be found at: http://mapserver.gis.umn.edu/docs/reference/utilityreference.
Shp2img
Creates an image from a mapfile. This is a useful utility to test your mapfile. You can simply provide thepath to your mapfile and the name of an output image, and an image should be returned. If an image cannotbe created an error will be displayed at the command line that should refer to a line number in the mapfile.
Usage:
> shp2imgSyntax: shp2img -m [mapfile] -o [image] -e minx miny maxx maxy
-t -l [layers] -i [format]-m mapfile: Map file to operate on - required.-i format: Override the IMAGETYPE value to pick output format.-t: enable transparency-o image: output filename (stdout if not provided)-e minx miny maxx maxy: extents to render – optional-l layers: layers to enable – optional-all_debug n: Set debug level for map and all layers.-map_debug n: Set map debug level.-layer_debug layer_name n: Set layer debug level.-p n: pause for n seconds after reading the map
Example:
> shp2img -m vector_blank.map -o test.png
Result:
A file named ‘test.png’ is created, that you can drag into your browser to view.
Shptree
This utility is a must for any MapServer application that uses shapefiles. Shptree creates a spatial index ofyour shapefile, using a quadtree method. This means that MapServer will use this index to quickly find theappropriate shapes to draw. It creates a file of the same name as your shapefile, with a .qix file extension.The quadtree method breaks the file into 4 quadrants, recursively until only a few shapes are contained ineach quadrant. This minimum number can be set with the <depth> parameter of the command.More information of this command can be found at: http://mapserver.gis.umn.edu/docs/reference/utilityreference/shptree
Getting Started with MapServer Page 11 of 12Part2 Workshop Guide – September 2007
Usage:
> shptreeshptree <shpfile> [<depth>] [<index_format>]
Where:<shpfile> is the name of the .shp file to index.<depth> (optional) is the maximum depth of the index to create, default is 0 meaning that shptree will calculate a reasonable default depth.<index_format> (optional) is one of: NL: LSB byte order, using new index format NM: MSB byte order, using new index format The following old format options are deprecated N: Native byte order L: LSB (intel) byte order M: MSB byte order The default index_format on this system is: NL
Example:
> shptree us_states.shp creating index of new LSB format
Result:
A file named ‘us_states.qix’ is created in the same location. (note that you can use the shptreevis utility,described next, to view the actual quadtree quadrants that are used by MapServer in this qix file)
OGR Utilities"The OGR Simple Features Library is a C++ open source library (and commandline tools) providing read(and sometimes write) access to a variety of vector file formats including ESRI Shapefiles, S-57, SDTS,PostGIS, Oracle Spatial, and Mapinfo mid/mif and TAB formats. OGR is a part of the GDAL library."
More information on the OGR utilities can be found at: http://gdal.maptools.org/ogr/ogr_utilities.htmlOGR is quite powerful as a C++ library (with great Python hooks to), but in the context of spatial datamanagement, it comes with three very powerful and equally useful utilities:1 OGRINFO which has already been discussed: a OGR vector data information and review tool.2 OGR2OGR: a utility for converting OGR-supported formats from/to other OGR formats.
ArcInfo Export File Converter (AVCE00)This utility (and accompanying Open Source C library) is quite powerful as it allows users to convert fromE00 files into ArcInfo coverages. Because E00 is used as a data exchange format for coverage data, it isimportant that MapServer application developers have the ability to convert this into an OGR-compatibleformat that MapServer can read. This utility can export ArcInfo coverages into E00 format or import E00files back into coverage format.
http://avce00.maptools.org/avce00/
For example, using the tool called avcimport is very simple:avcimport < input_file > < output_coverage >
Getting Started with MapServer Page 12 of 12Part2 Workshop Guide – September 2007