Embed Size (px)
Citation preview
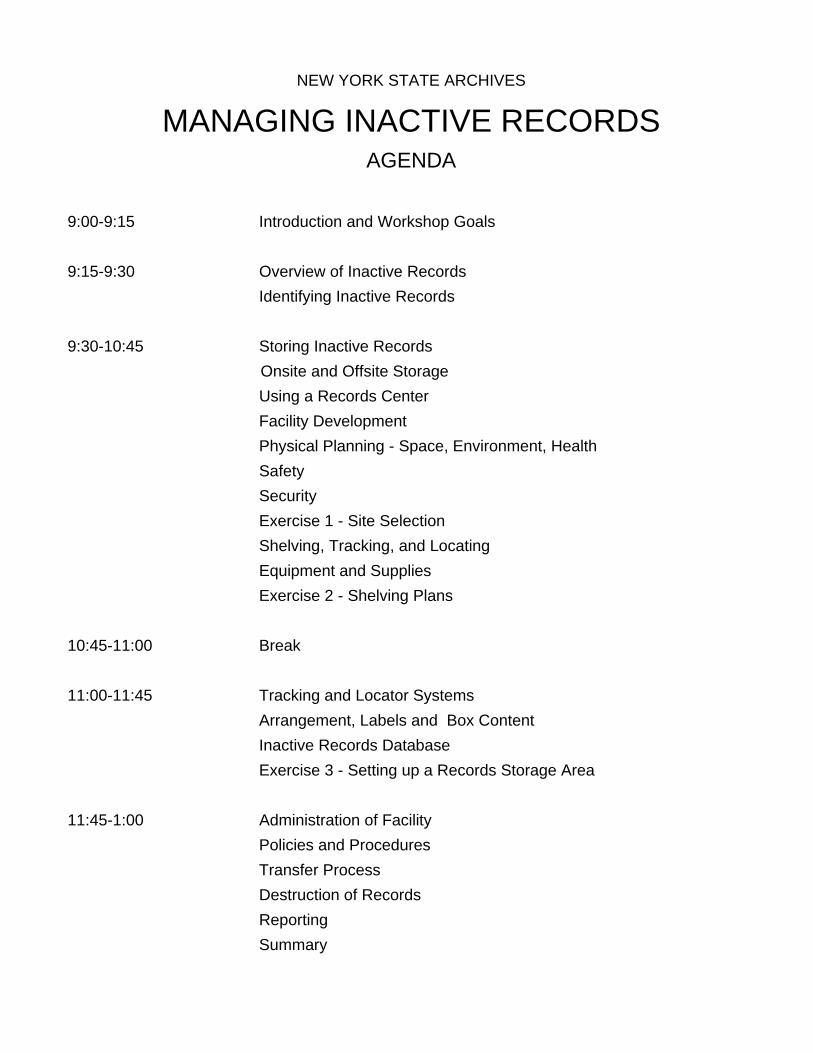
NEW YORK STATE ARCHIVES
MANAGING INACTIVE RECORDS AGENDA
9:00-9:15 Introduction and Workshop Goals
9:15-9:30 Overview of Inactive Records
Identifying Inactive Records
9:30-10:45 Storing Inactive Records
Onsite and Offsite Storage
Using a Records Center
Facility Development
Physical Planning - Space, Environment, Health
Safety
Security
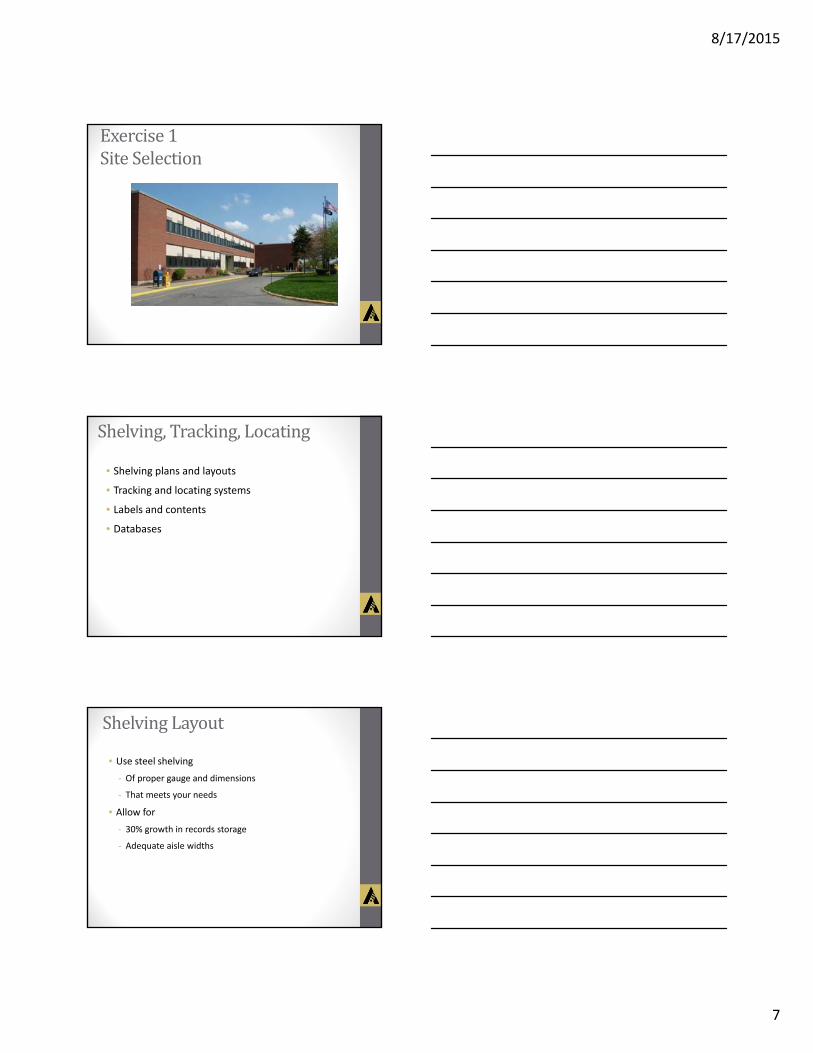
Exercise 1 - Site Selection
Shelving, Tracking, and Locating
Equipment and Supplies
Exercise 2 - Shelving Plans
10:45-11:00 Break
11:00-11:45 Tracking and Locator Systems
Arrangement, Labels and Box Content
Inactive Records Database
Exercise 3 - Setting up a Records Storage Area
11:45-1:00 Administration of Facility
Policies and Procedures
Transfer Process
Destruction of Records
Reporting
Summary
1

8/17/2015
1
ManagingInactiveRecords
• Define inactive records
• Outline steps for creating storage facilities
• Examine arrangement of records
• Discuss administrative processes
Today,WeWill...
LifeCycleofRecords
Active Phase Inactive Phase
Creation Disposition
Archives
8/17/2015
2
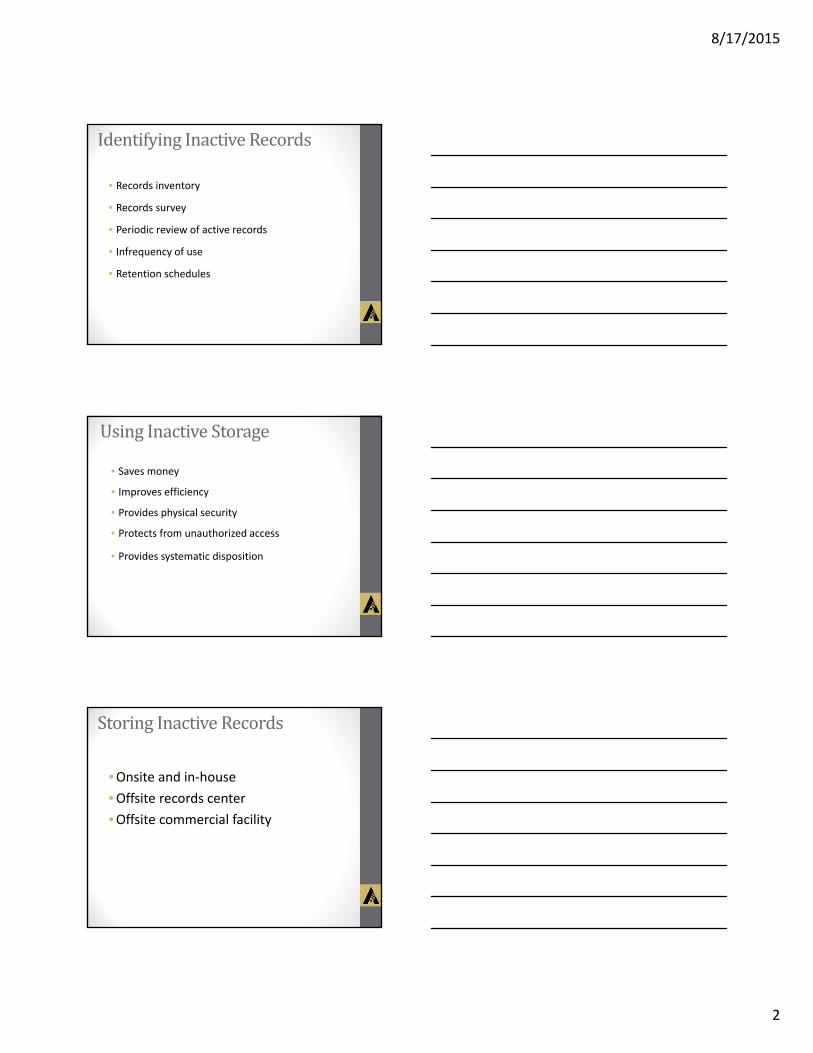
Identifying
•
InactiveRecords
Records inventory
Records survey
Periodic review of active records
Infrequency of use
Retention schedules
•
•
•
•
Using
•
InactiveStorage
Saves money
Improves efficiency
Provides physical security
Protects from unauthorized access
Provides systematic disposition
•
•
•
•
St
•
oringInactiveRecords
Onsite and in‐house
Offsite records center
Offsite commercial facility
•
•
8/17/2015
3
O
•
nsiteStorage
Often requires a renovation project
Can be less secure than other options
Allows direct control and easier access
No rental fees
•
•
•
Off
•
siteRecordsCenter
Efficient use of space
Saves money
Formalized operating procedures
Security
Environmental controls
Systematic disposition of records
•
•
•
•
•
Recor
•
dsStorageVendor
Fees for storage and other services
Research the quality of storage site and level of
service
Conduct a cost comparison
Must have a contract
•
•
•
8/17/2015
4
Inacti
•
veStorageDevelopment
Site selection
Physical planning
Equipment
Administration
•
•
•
Sit
•
eSelectionFactors
Physical structure
Space requirements
Environment
Safety
Security
•
•
•
•
PhysicalStructureInvolve professionals Examine
• Building and fire
inspectors
General contractor
Engineers
Architects
•
•
•
• Floor strength
Wall construction
Structural soundness
HVAC systems
Wiring
Plumbing
•
•
•
•
•
8/17/2015
5
Det
•
erminingSpaceRequirements
Inventory, survey, site inspection
Collect information•
‐ Volume, format, retention
• Add 30% to total cubic feet for growth
ConsiderOtherF
•
ormats
Microfilm
Discs
Photos
Negatives
Blueprints
•
•
•
•
• Tapes
Maps
Bound volumes
Videos
Glass negatives
•
•
•
•
En
•
vironmentandHumanHealth
Mold
Poor air quality
Storage of toxins
Insufficient workspace
Isolation
Disaster recovery complications
•
•
•
•
•
8/17/2015
6
En
•
vironment
Temperature (65‐72º F)
Humidity (40‐55%)
Cleanliness
Air circulation
Lighting
•
•
•
•
Saf
•
ety
Fire prevention
Flood prevention
Disaster planning
•
•
Security
• Restrict access
Install locks and limit keys
Alarms and guards
Install security cameras
Get management support
•
•
•
•
8/17/2015
7
ExSitereSelectioncise1
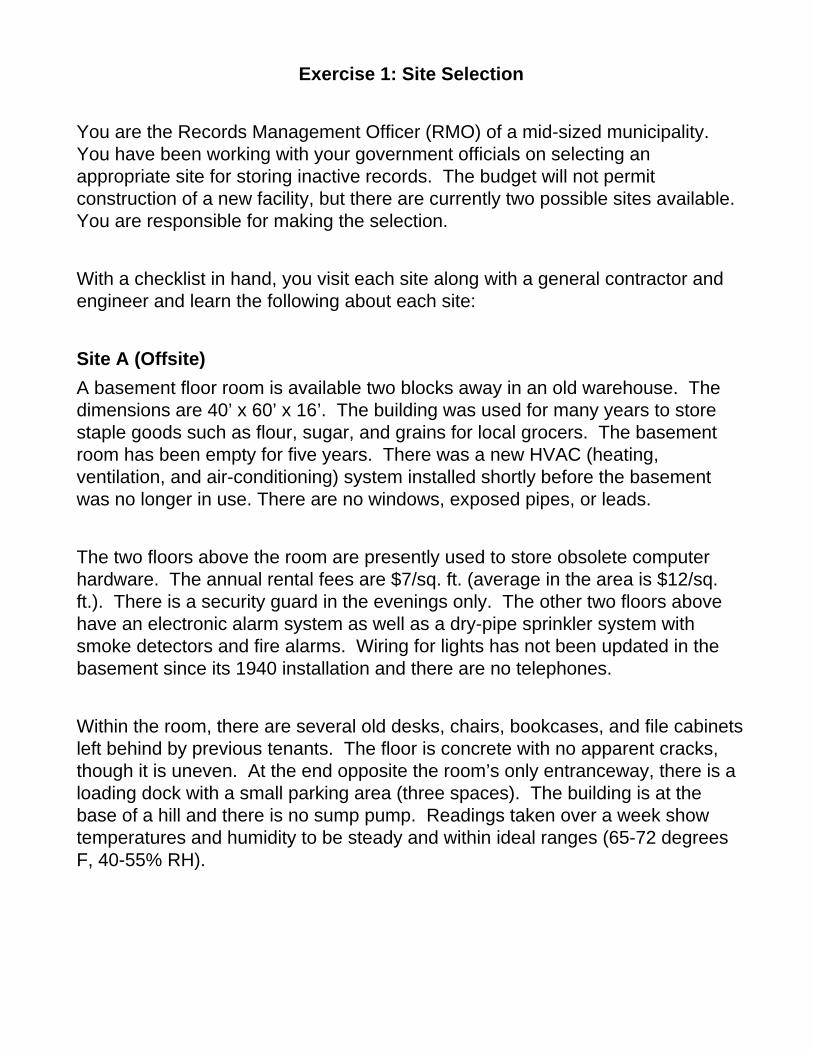
Shel
•
ving,Tracking,Locating
Shelving plans and layouts
Tracking and locating systems
Labels and contents
Databases
•
•
•
Shel
•
vingLayout
Use steel shelving
f proper gauge and dimensions
hat meets your needs
‐ O
‐ T
• Allow for
‐ 30% growth in records storage
Adequate aisle widths‐
Exercise 1: Site Selection
You are the Records Management Officer (RMO) of a mid-sized municipality. You have been working with your government officials on selecting an appropriate site for storing inactive records. The budget will not permit construction of a new facility, but there are currently two possible sites available. You are responsible for making the selection.
With a checklist in hand, you visit each site along with a general contractor and engineer and learn the following about each site:
Site A (Offsite)A basement floor room is available two blocks away in an old warehouse. The dimensions are 40’ x 60’ x 16’. The building was used for many years to store staple goods such as flour, sugar, and grains for local grocers. The basement room has been empty for five years. There was a new HVAC (heating, ventilation, and air-conditioning) system installed shortly before the basement was no longer in use. There are no windows, exposed pipes, or leads.
The two floors above the room are presently used to store obsolete computer hardware. The annual rental fees are $7/sq. ft. (average in the area is $12/sq. ft.). There is a security guard in the evenings only. The other two floors above have an electronic alarm system as well as a dry-pipe sprinkler system with smoke detectors and fire alarms. Wiring for lights has not been updated in the basement since its 1940 installation and there are no telephones.
Within the room, there are several old desks, chairs, bookcases, and file cabinets left behind by previous tenants. The floor is concrete with no apparent cracks, though it is uneven. At the end opposite the room’s only entranceway, there is a loading dock with a small parking area (three spaces). The building is at the base of a hill and there is no sump pump. Readings taken over a week show temperatures and humidity to be steady and within ideal ranges (65-72 degrees F, 40-55% RH).
9
Site B (Onsite)
A ground floor room has recently become available in your own building. The building is six years old and meets all local codes and regulations. The dimensions are 35’ x 30’ x 9’. Previous tenants were involved with publication distribution and accordingly left a bank of shelves (126” x 42” x 56”) along the north wall. No other furniture or equipment was left. Computers and telephones were used previously in the room. Two large windows are spaced evenly in the west wall. The relative humidity in the room fluctuates due to late afternoon sun through the windows and a recently discovered problem with the HVAC system. In addition, during the previous winter, a frozen water pipe in an adjacent room had burst. Unfortunately, it occurred over a weekend and wasn’t discovered until the following Monday. Thousands of publications were ruined and, in fact, the flooding provided the impetus for the previous tenants to move to a more suitable location.
Directly around the corner from the room’s one doorway is the loading dock, and the freight elevator is nearby. The doorway was designed to be wide enough to accommodate shipments of publications received by the former tenants. There is a building-wide smoke detector/sprinkler system and a security alarm system. Presently, there are no locks on the door to the room.
Exercise
Working in groups, decide which site you would select for your inactive records storage facility and write down the reasons for your selection. Use the checklist to help you with your selection.
10
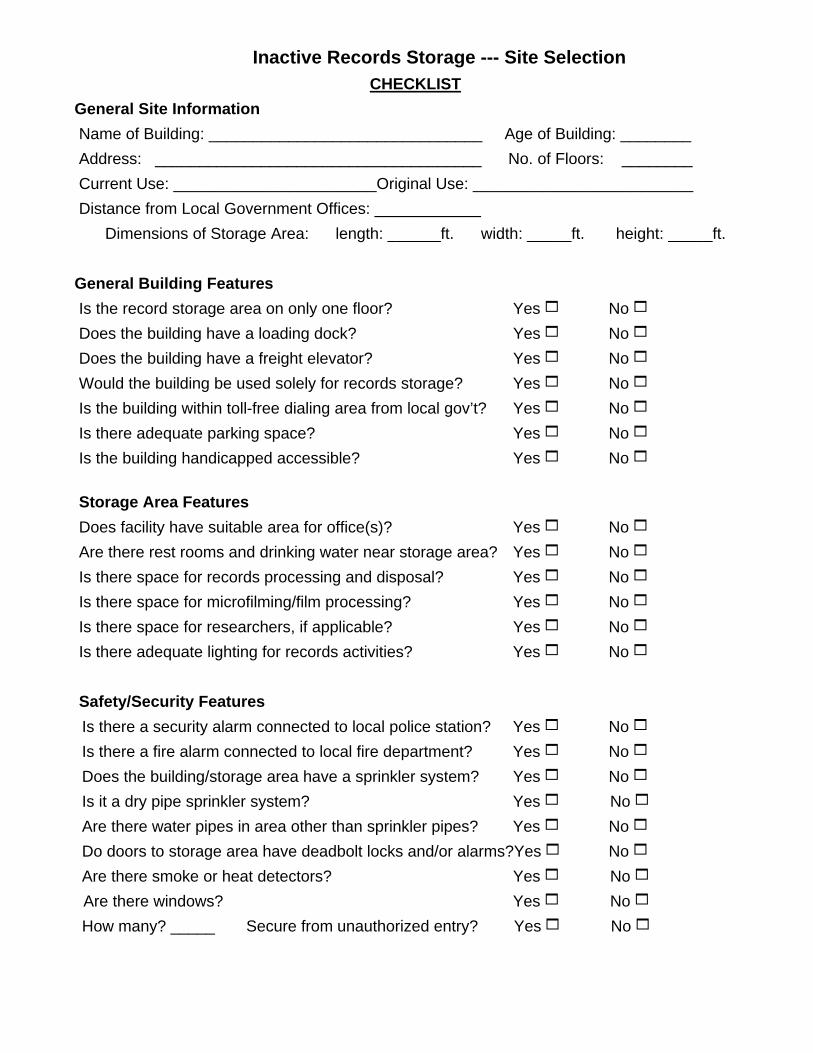
Inactive Records Storage --- Site SelectionCHECKLIST
General Site InformationName of Building: _______________________________ Age of Building: ________
Address: _____________________________________ No. of Floors: ________
Current Use: _______________________Original Use: _________________________
Distance from Local Government Offices: ____________
Dimensions of Storage Area: length: ______ft. width: _____ft. height: _____ft.
General Building FeaturesIs the record storage area on only one floor? Yes 1 No 1
Does the building have a loading dock? Yes 1 No 1
Does the building have a freight elevator? Yes 1 No 1
Would the building be used solely for records storage? Yes 1 No 1
Is the building within toll-free dialing area from local gov’t? Yes 1 No 1
Is there adequate parking space? Yes 1 No 1
Is the building handicapped accessible? Yes 1 No 1
Storage Area FeaturesDoes facility have suitable area for office(s)? Yes 1 No 1
Are there rest rooms and drinking water near storage area? Yes 1 No 1
Is there space for records processing and disposal? Yes 1 No 1
Is there space for microfilming/film processing? Yes 1 No 1
Is there space for researchers, if applicable? Yes 1 No 1
Is there adequate lighting for records activities? Yes 1 No 1
Safety/Security FeaturesIs there a security alarm connected to local police station? Yes 1 No 1
Is there a fire alarm connected to local fire department? Yes 1 No 1
Does the building/storage area have a sprinkler system? Yes 1 No 1
Is it a dry pipe sprinkler system? Yes 1 No 1
Are there water pipes in area other than sprinkler pipes? Yes 1 No 1
Do doors to storage area have deadbolt locks and/or alarms?Yes 1 No 1
Are there smoke or heat detectors? Yes 1 No 1
Are there windows? Yes 1 No 1
How many? _____ Secure from unauthorized entry? Yes1 No 1
11
CHECKLIST (CONTINUED)
Environmental ConditionsIs the storage area heated? Yes 1 No 1
Is the storage area air-conditioned? Yes 1 No 1
Is there air ventilation/circulation? Yes 1 No 1
Does the area have a separate HVAC system? Yes 1 No 1
Are there temperature/humidity controls? Yes 1 No 1
Are lights an adequate distance from shelves? Yes 1 No 1
Are lights off when area is not in use? Yes 1 No 1
If there are windows, do they have shades/blinds? Yes 1 No 1
Are there potential water leaks? Yes 1 No 1
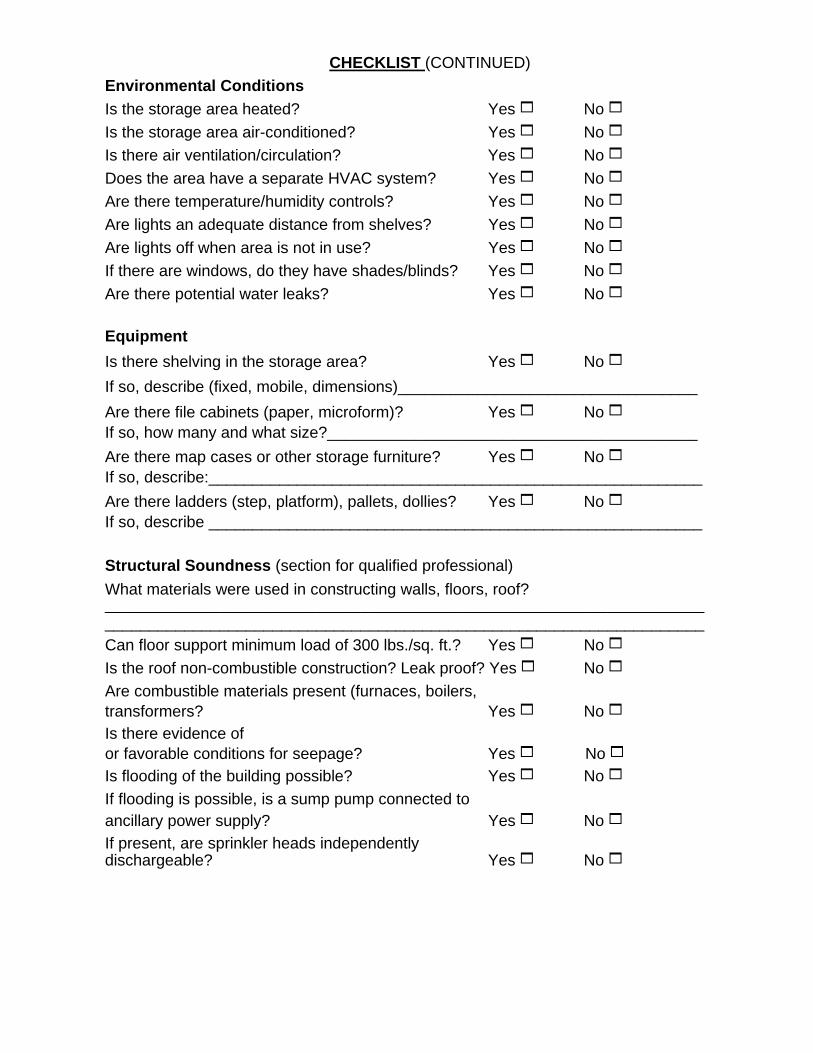
EquipmentIs there shelving in the storage area? Yes 1 No 1
If so, describe (fixed, mobile, dimensions)__________________________________
Are there file cabinets (paper, microform)? Yes 1 No 1If so, how many and what size?__________________________________________
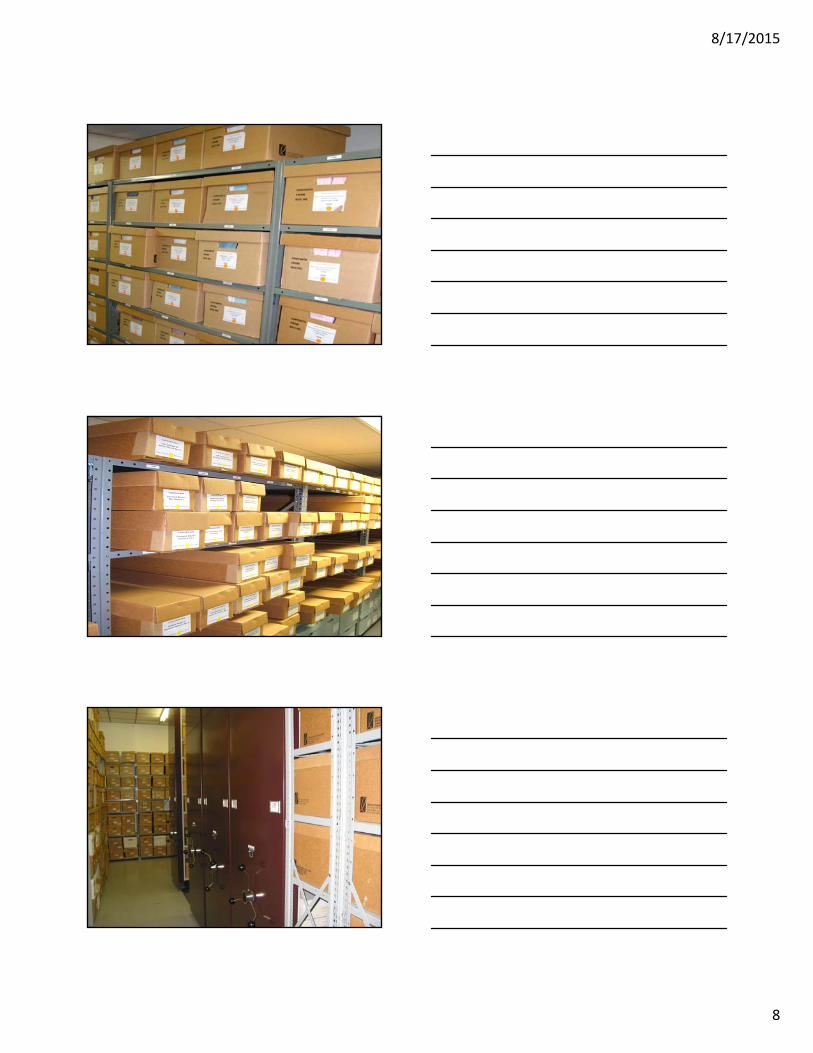
Are there map cases or other storage furniture? Yes 1 No 1If so, describe:________________________________________________________
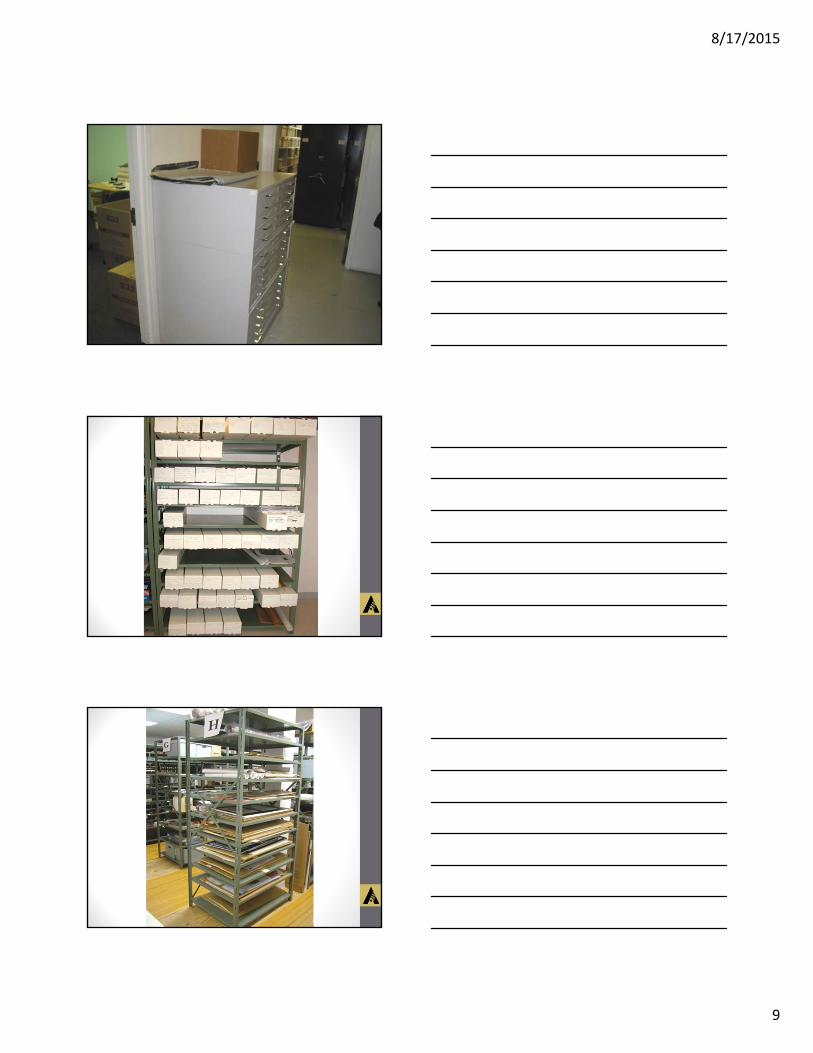
Are there ladders (step, platform), pallets, dollies? Yes 1 No 1If so, describe ________________________________________________________
Structural Soundness (section for qualified professional)
What materials were used in constructing walls, floors, roof? ________________________________________________________________________________________________________________________________________Can floor support minimum load of 300 lbs./sq. ft.? Yes 1 No 1
Is the roof non-combustible construction? Leak proof? Yes 1 No 1
Are combustible materials present (furnaces, boilers, transformers? Yes 1 No 1Is there evidence ofor favorable conditions for seepage? Yes 1 No 1
Is flooding of the building possible? Yes 1 No 1
If flooding is possible, is a sump pump connected to ancillary power supply? Yes 1 No 1
If present, are sprinkler heads independently dischargeable? Yes 1 No 1
12
8/17/2015
8
8/17/2015
9
8/17/2015
10
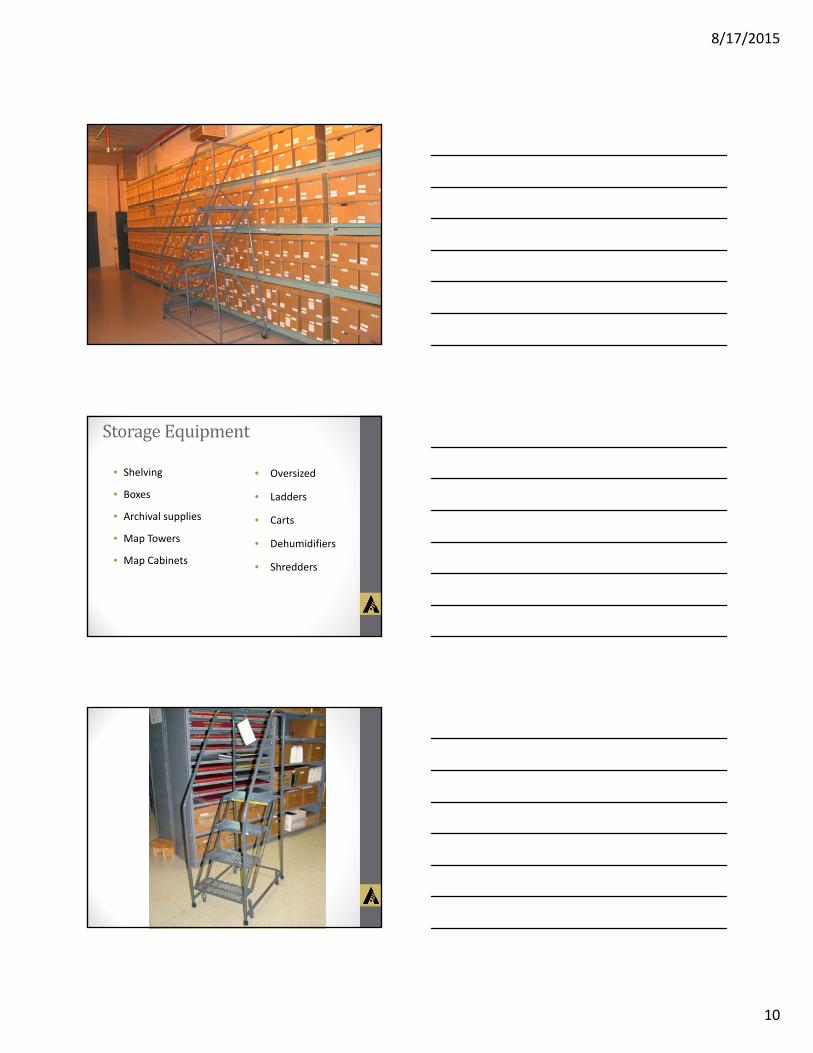
St
•
orageEquipment
Shelving
Boxes
Archival supplies
Map Towers
Map Cabinets
•
•
•
•
• Oversized
Ladders
Carts
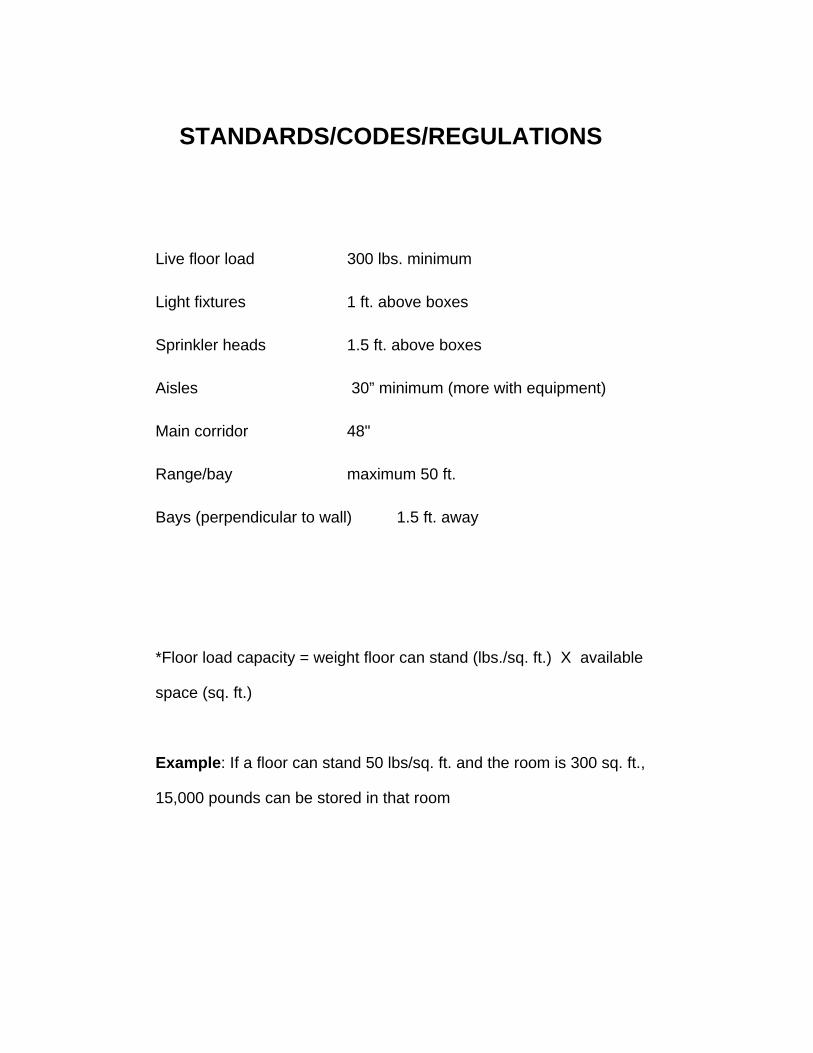
Dehumidifiers
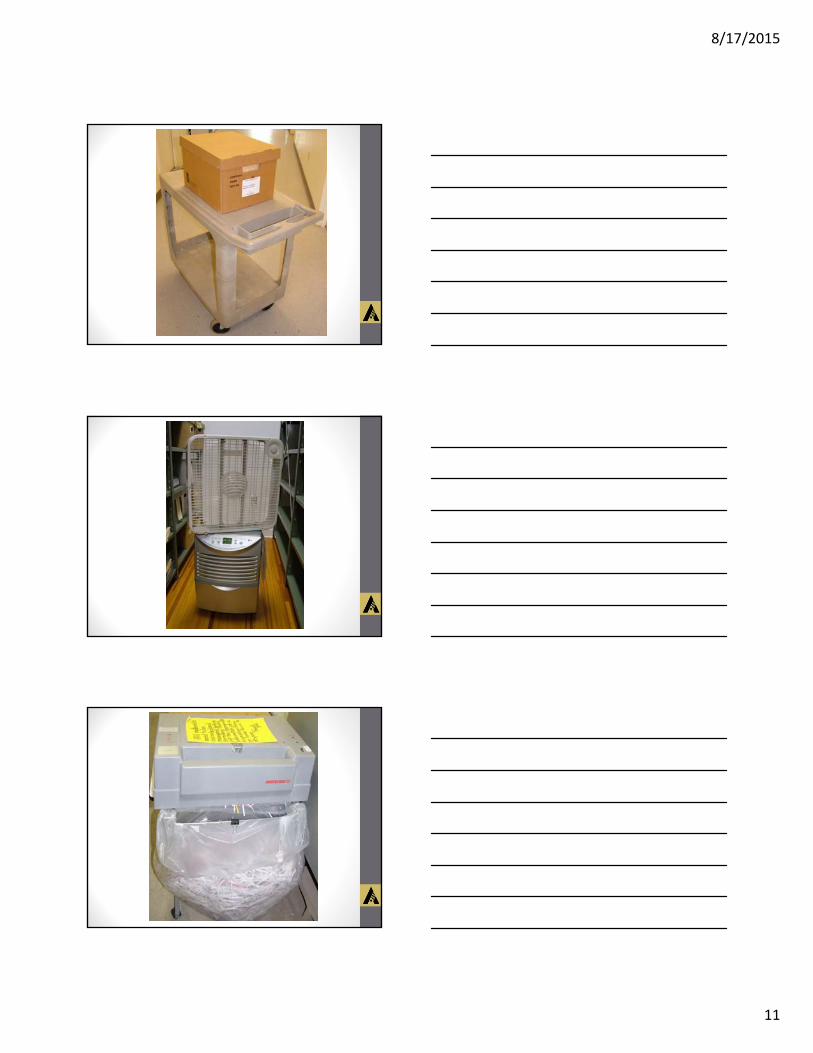
Shredders
•
•
•
•
EQUIPMENT AND SUPPLIESShelving units•18 gauge steel – reinforced lateral braces
•Back to back for maximum storage
•Allow 12-14" between shelves
•16" x 42" = 3 cu. ft. or 3 standard records center cartons (with no overhang)
aeasy to see and get at boxes
•32" x 42" = 6 cu. ft. or 6 standard records center cartons (with no overhang)
amaximizes space but it is more difficult to get to middle boxes
•Cost varies: Approximately $340, including installation, for 32” x 42” x 88”
Microfilm cabinets:•11 drawer cabinet (25" x 29" x 52")
Holds: 880 35mm reels or 1430 16mm reels
Weight: 400 lbs Cost: approximately $2035
Flat files and map cases
Drawer interior: 43" x 32" x 2“ (5 drawer)
Weight: 195 lbs Cost: approximately $790
Platform laddersMoveable stairs w/handrails and platform for placing boxes
Spring wheels
Cost: approximately $450-750
BoxesStandard record center carton
Size: 10" x 12" x 15" holds 1 cu. ft.
Cost: From New York State Industries for the Disabled:
$1.33/carton in batches of 25 (2007 price)$33.22 case
Acid-free/lignin-free (for archival records)
Come in various sizes Cost: 10"x12"x15" boxes are about $6-7/box
Standard file cabinetsLetter size = 1.5 cu. ft./drawer or 6 cu. ft./cabinet Cost: approximately $350-400
Legal size = 2 cu. ft./drawer or 8 cu. ft./cabinet
Lateral (letter) = 2.5 cu. ft./drawer or 10 cu. ft./cabinet
Lateral (legal) = 3 cu. ft./drawer or 12 cu. ft./cabinet
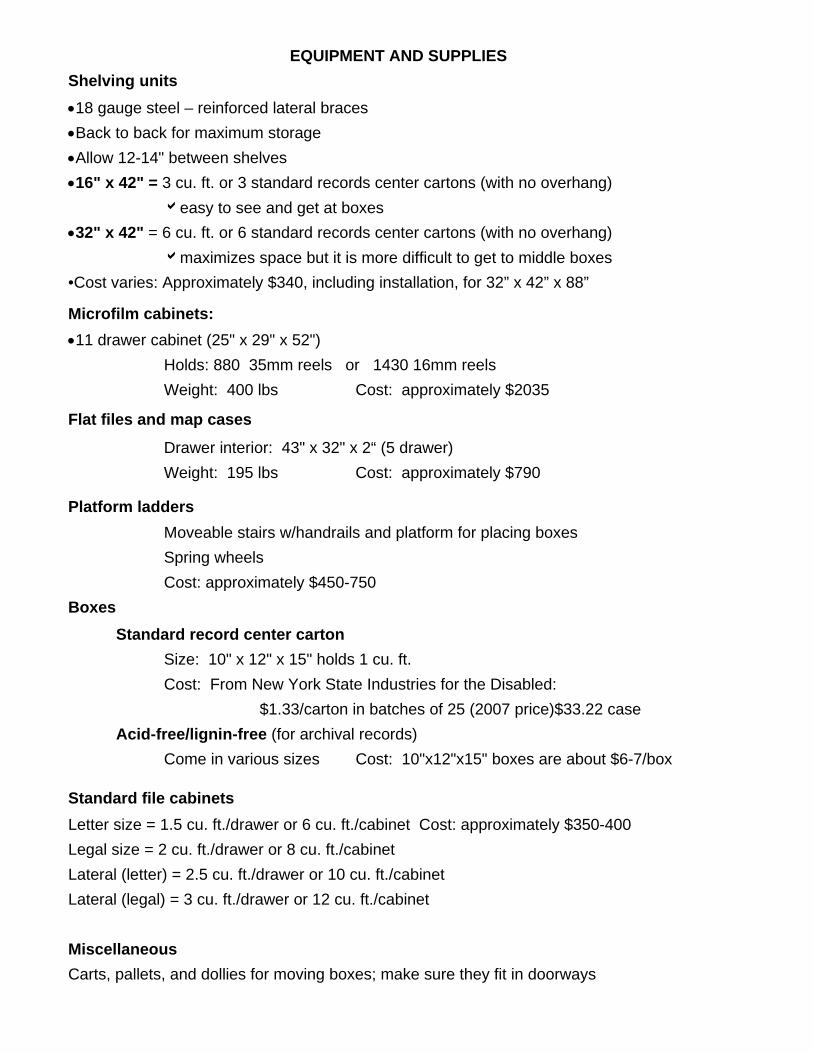
MiscellaneousCarts, pallets, and dollies for moving boxes; make sure they fit in doorways
16
STANDARDS/CODES/REGULATIONS
Live floor load 300 lbs. minimum
Light fixtures 1 ft. above boxes
Sprinkler heads 1.5 ft. above boxes
Aisles 30” minimum (more with equipment)
Main corridor 48"
Range/bay maximum 50 ft.
Bays (perpendicular to wall) 1.5 ft. away
*Floor load capacity = weight floor can stand (lbs./sq. ft.) X available
space (sq. ft.)
Example: If a floor can stand 50 lbs/sq. ft. and the room is 300 sq. ft.,
15,000 pounds can be stored in that room
17
8/17/2015
11
8/17/2015
12
Exercise2
Shelving Plans and Layouts
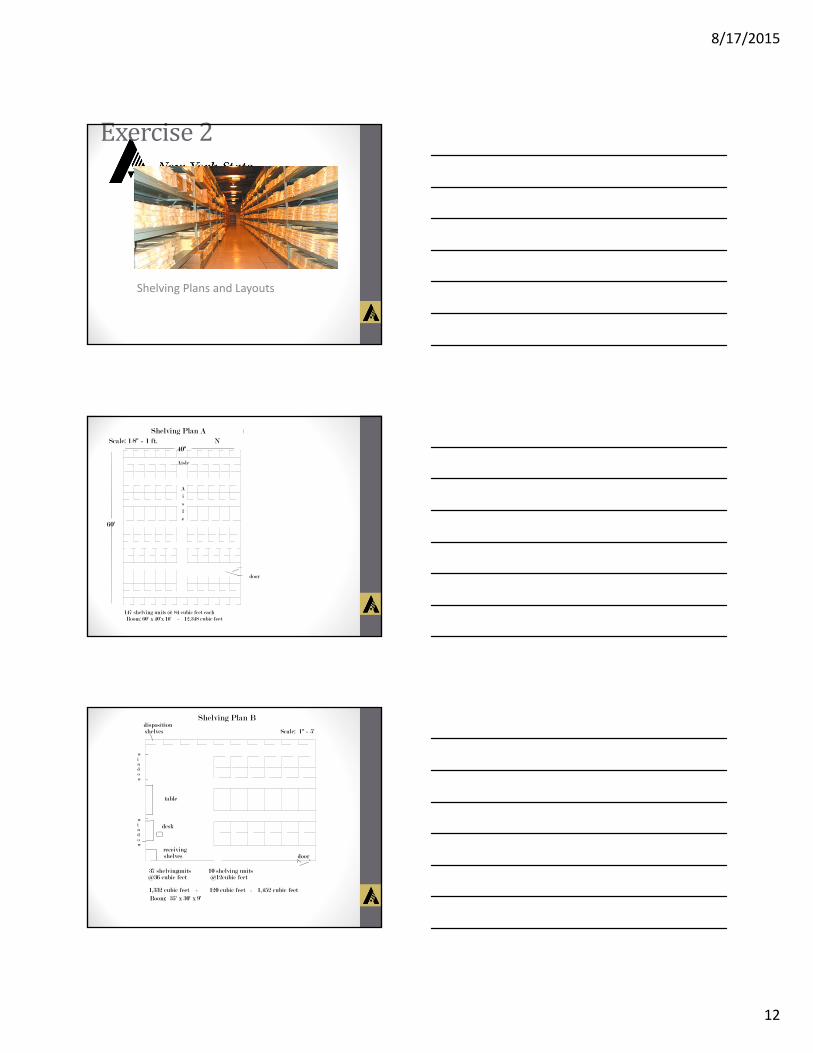
Shelving Plan AScale: 1/8" = 1 ft. N
40"
Aisle
A
i
s
l
e
door
60'
147 shelving units @ 84 cubic feet eachRoom: 60' x 40'x 16' = 12,348 cubic feet
Shelving Plan Bdispositionshelves Scale: 1" = 5'
table
desk
receivingshelves door
37 shelvingu nits 10 shelving units@36 cubic feet @12cubic feet
1,332 cubic feet + 120 cubic feet = 1,452 cubic feet
Room: 35' x 30' x 9'
window
window
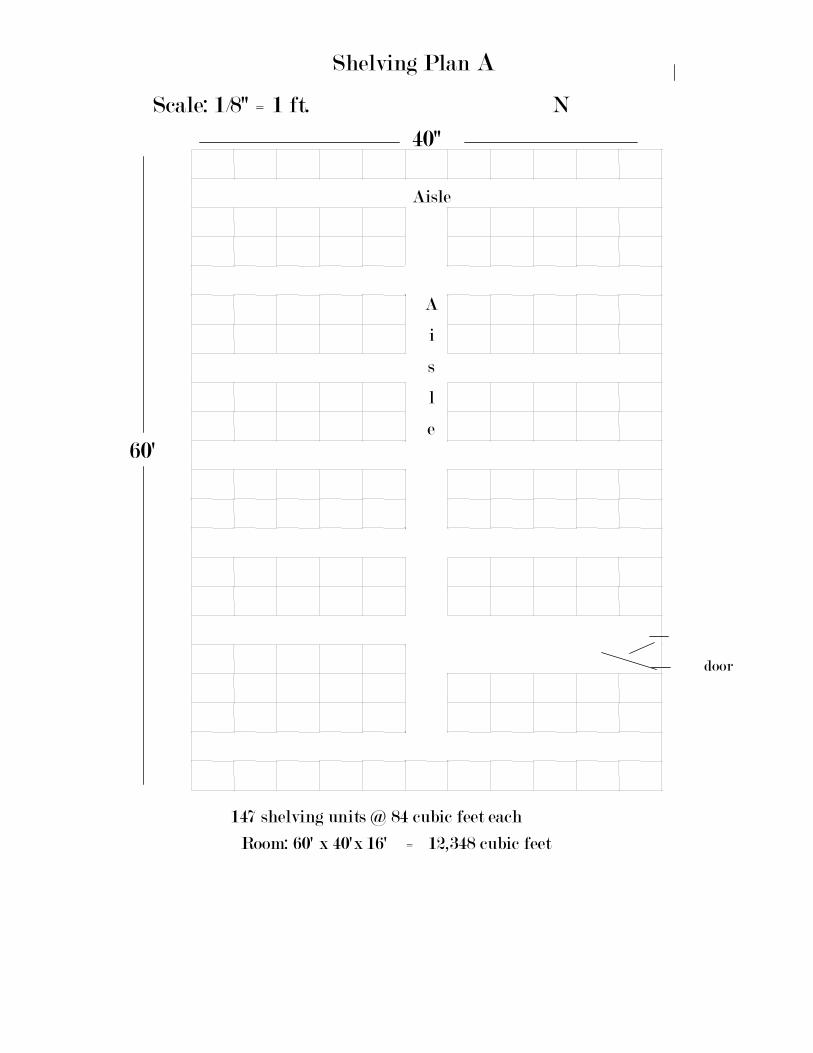
Shelving Plan A Scale: 1/8" = 1 ft. N
40"
Aisle
A
i
s
l
e
door
60'
147 shelving units @ 84 cubic feet each
Room: 60' x 40'x 16' = 12,348 cubic feet
20

Shelving Plan B disposition
shelves Scale: 1" = 5'
table
desk
receiving
shelves door
37 shelving units 10 shelving units @36 cubic feet @12cubic feet
1,332 cubic feet + 120 cubic feet = 1,452 cubic feet
Room: 35' x 30' x 9'
w i n d o w
w i n d o w
21
8/17/2015
13
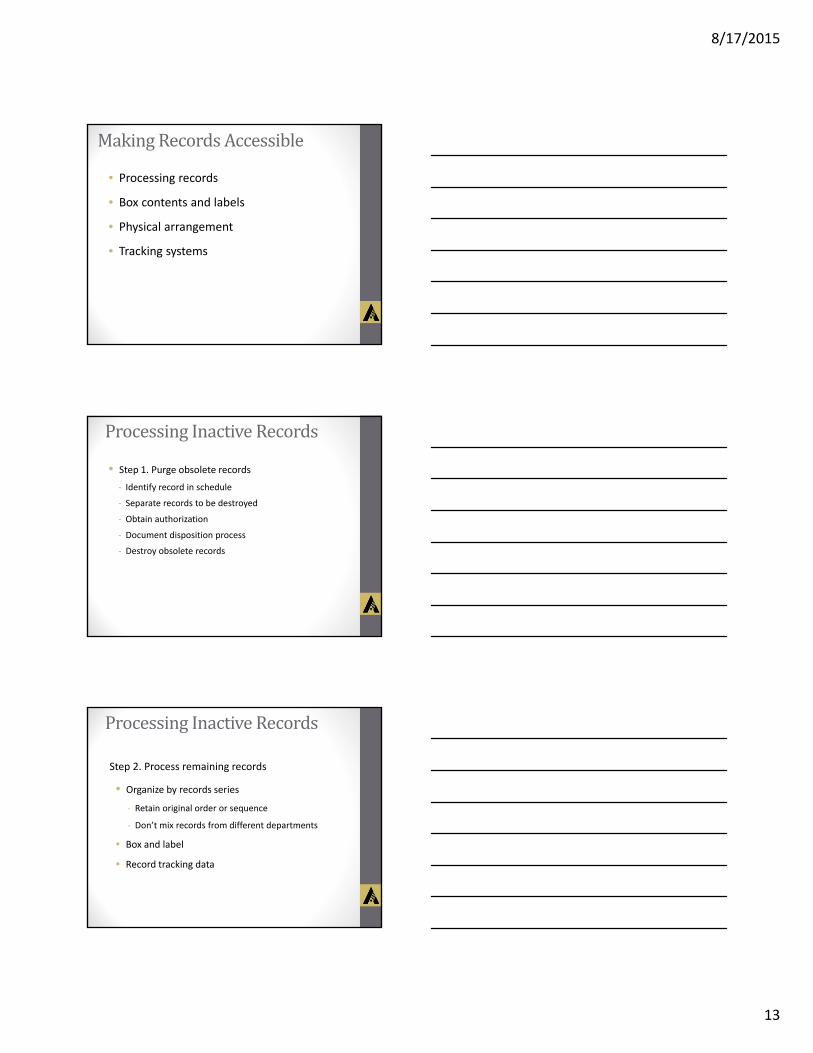
MakingR
•
ecordsAccessible
Processing records
Box contents and labels
Physical arrangement
Tracking systems
•
•
•
Pr
•
ocessingInactiveRecords
Step 1. Purge obsolete records
Identify record in schedule
Separate records to be destroyed
Obtain authorization
Document disposition process
Destroy obsolete records
‐
‐
‐
‐
‐
ProcessingInactiveRecords
Step 2. Process remaining records
• Organize by records series
Retain original order or sequence
Don’t mix records from different departments
‐
‐
• Box and label
Record tracking data•
8/17/2015
14
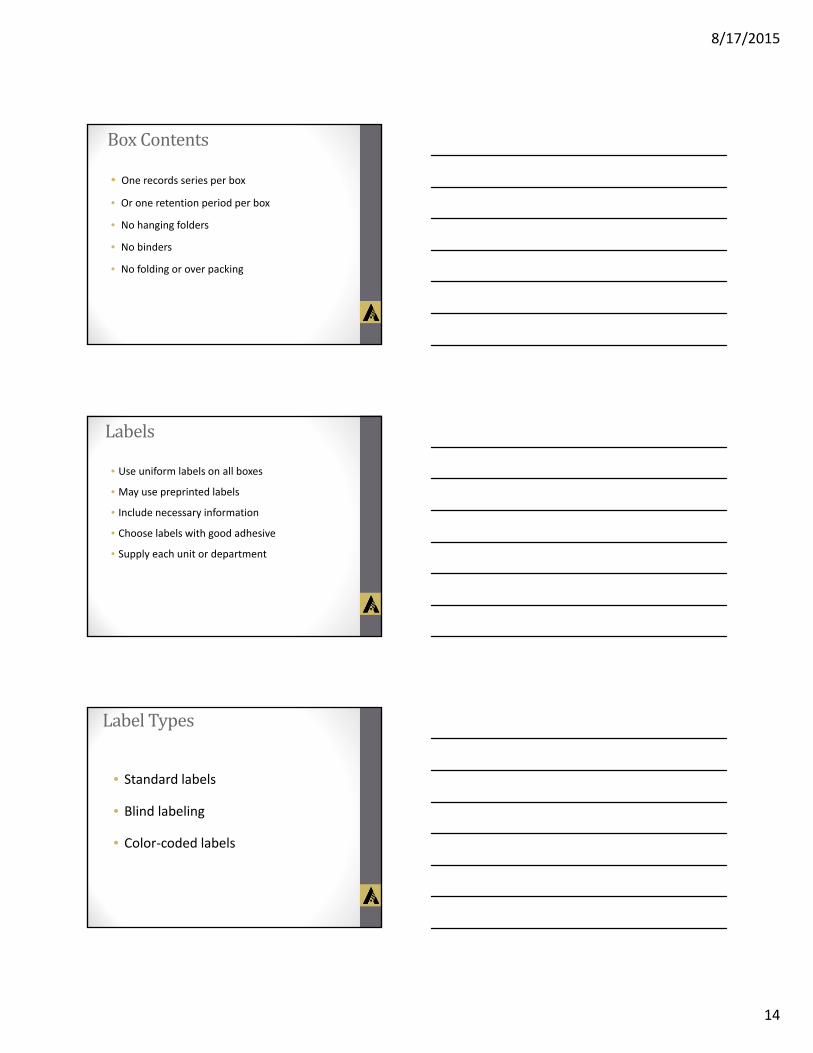
Bo
•
xContents
One records series per box
Or one retention period per box
No hanging folders
No binders
No folding or over packing
•
•
•
•
Labels
• Use uniform labels on all boxes
May use preprinted labels
Include necessary information
Choose labels with good adhesive
Supply each unit or department
•
•
•
•
LabelTypes
• Standard labels
Blind labeling
Color‐coded labels
•
•
8/17/2015
15
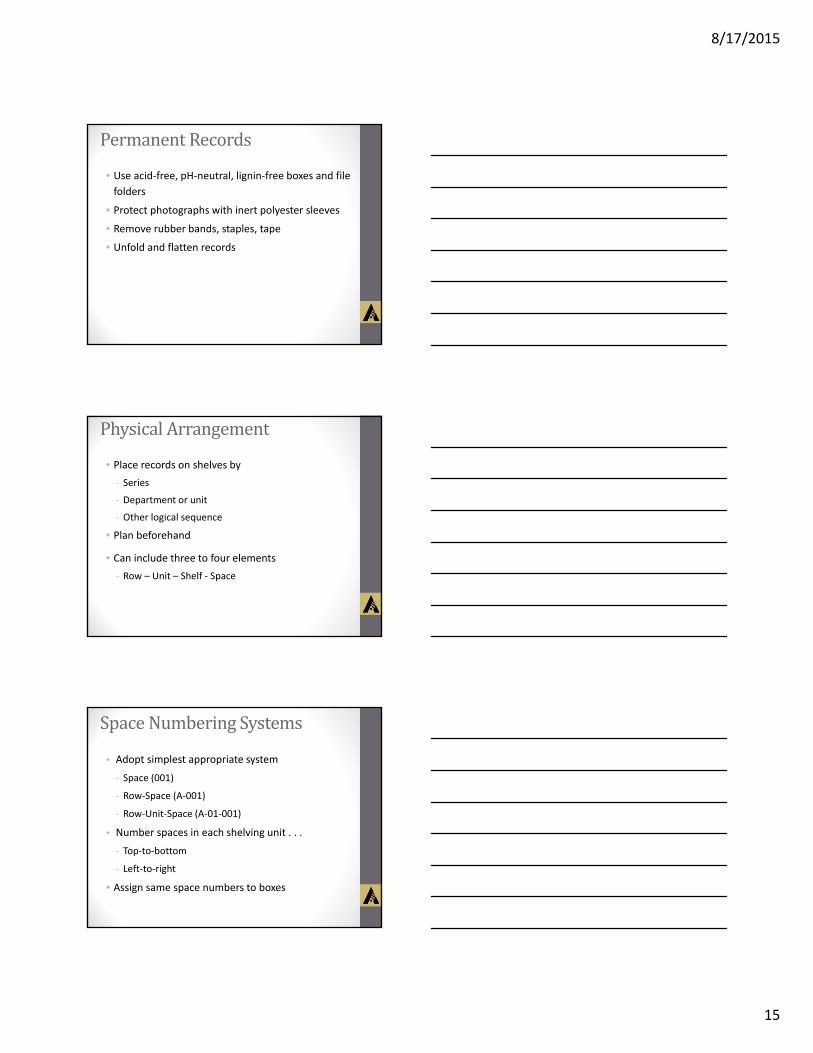
Pe
•
rmanentRecords
Use acid‐free, pH‐neutral, lignin‐free boxes and file
folders
Protect photographs with inert polyester sleeves
Remove rubber bands, staples, tape
Unfold and flatten records
•
•
•
Ph
•
ysicalArrangement
Place records on shelves by
Series
Department or unit
Other logical sequence
‐
‐
‐
• Plan beforehand
Can include three to four elements•
‐ Row – Unit – Shelf ‐ Space
Space
•
NumberingSystems
Adopt simplest appropriate system
‐ Space (001)
Row‐Space (A‐001)
Row‐Unit‐Space (A‐01‐001)
‐
‐
• Number spaces in each shelving unit . . .
‐ Top‐to‐bottom
Left‐to‐right ‐
• Assign same space numbers to boxes

8/17/2015
16
Tr
•
ackingMethods
Sign‐out log
Barcoding
RFID: Radio Frequency Identification
Database applications
•
•
•
Databases
•
forManagingRecords
Enhances access and retrieval
Update after disposition and transfer
Provides perpetual inventory of records
Generates labels and reports
Identifies records for destruction
•
•
•
•
Inactive
RecordsManagement
SoftwareDemonstration
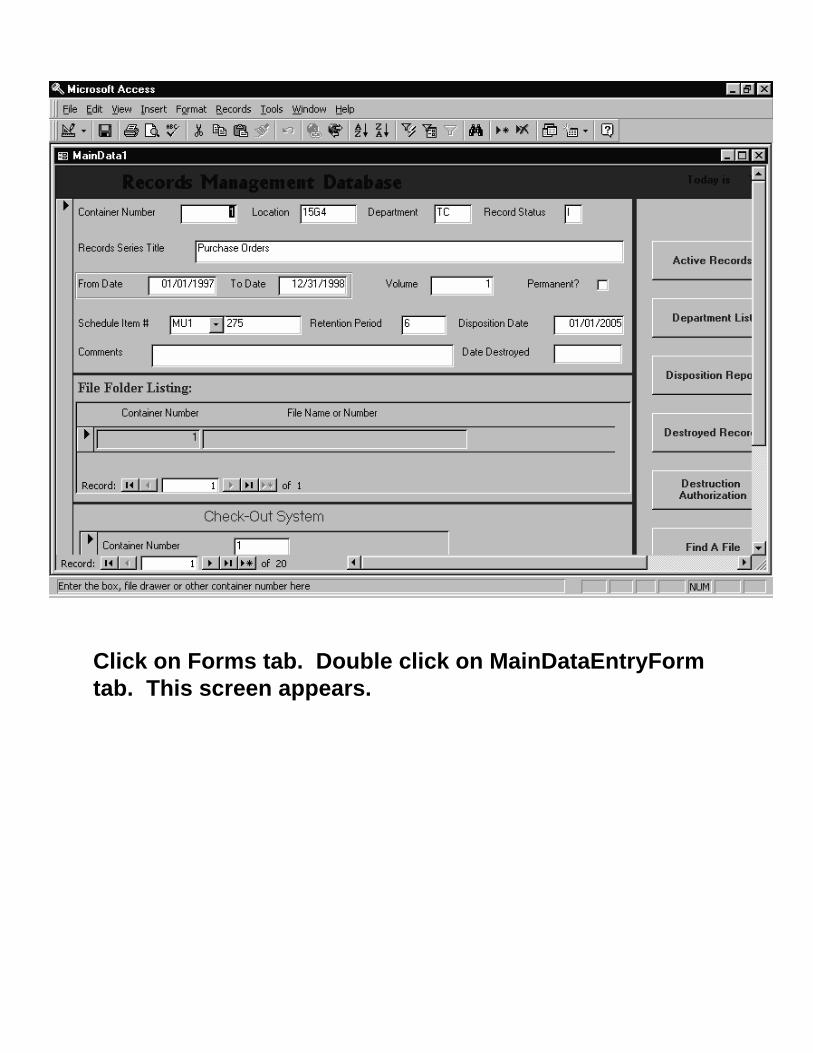
Click on Forms tab. Double click on MainDataEntryForm tab. This screen appears.
26
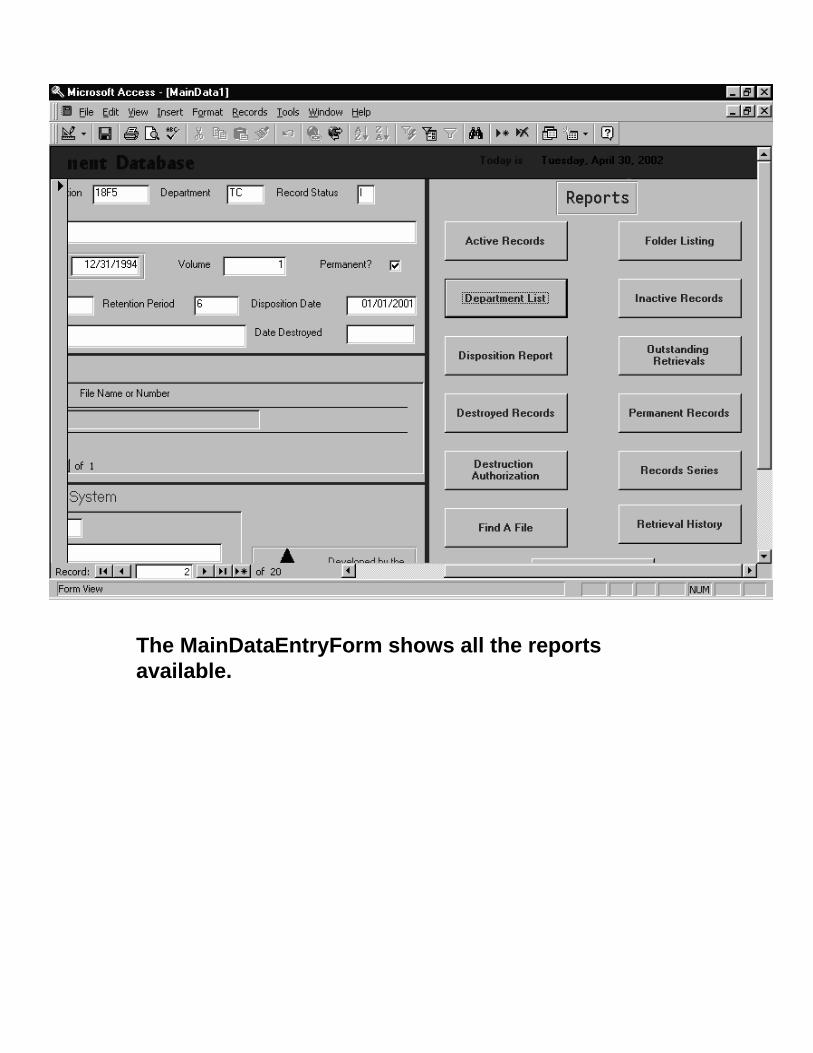
The MainDataEntryForm shows all the reports available.
27
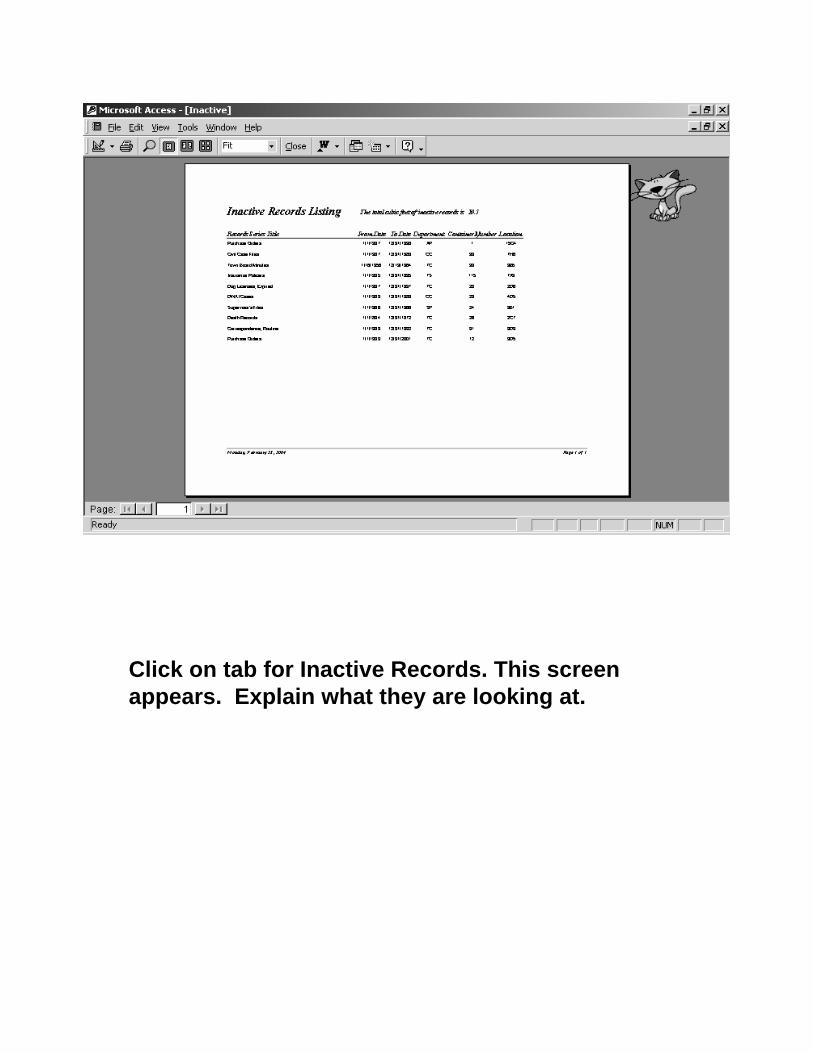
Click on tab for Inactive Records. This screen appears. Explain what they are looking at.
28
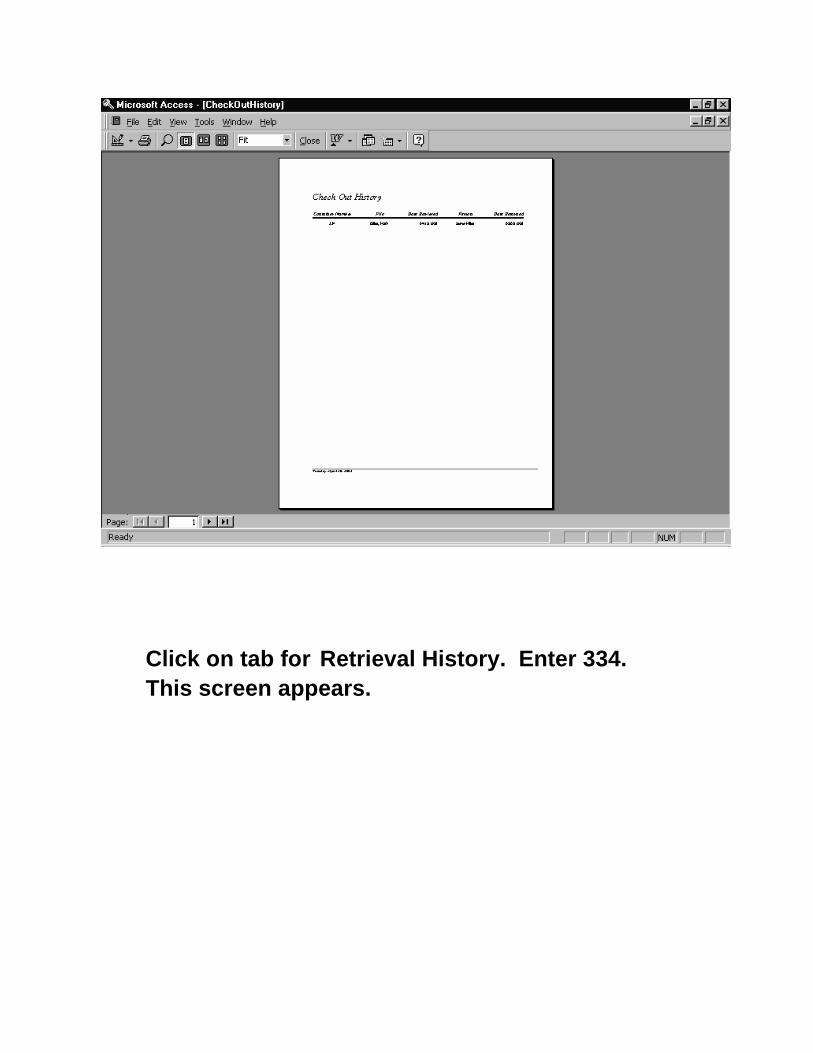
Click on tab for Retrieval History. Enter 334. This screen appears.
29
New York State Archives Records Management System (RMS)
USER’S MANUAL The file on the CD is “Read Only.” To begin using the database, copy the file from the CD to your personal computer or local area network. Introduction The New York State Archives designed the Records Management System (RMS) to aid local governments and state agencies store, retrieve, and dispose of records. You can use the system effectively as designed or tailor it to your particular situation. State Archives personnel are not responsible for customizing the software; the government or agency accepts the application as designed. The system was designed to manage all records, active and inactive, in all record formats. However, it is most effective in managing inactive records stored in records storage boxes. The system is designed in Microsoft Access2000, a popular and easy‐to‐use database program, and will convert into later versions. It cannot operate with earlier versions. The New York State Archives does NOT offer general Access database training, only training for this particular application. If additional Access training is needed, the State Archives suggests that users arrange for training with local vendors. Users who familiarize themselves with basic records management concepts will find the system easier to use. We therefore suggest users attend the Archives’ basic workshops, especially Inactive Records Management, and read Archives publications, especially #49, Administration of Inactive Records, if needed. For more information and assistance, contact your State Archives’ Regional Advisory Officer.
30
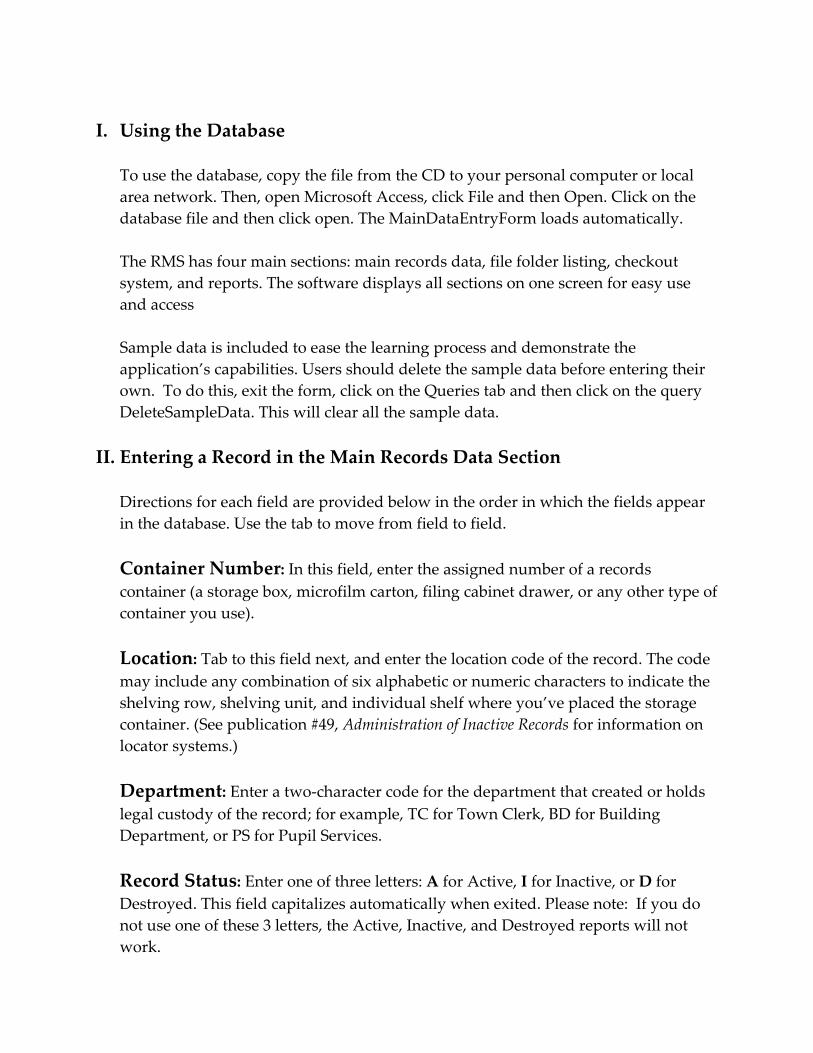
I. Using the Database
To use the database, copy the file from the CD to your personal computer or local area network. Then, open Microsoft Access, click File and then Open. Click on the database file and then click open. The MainDataEntryForm loads automatically. The RMS has four main sections: main records data, file folder listing, checkout system, and reports. The software displays all sections on one screen for easy use and access Sample data is included to ease the learning process and demonstrate the application’s capabilities. Users should delete the sample data before entering their own. To do this, exit the form, click on the Queries tab and then click on the query DeleteSampleData. This will clear all the sample data.
II. Entering a Record in the Main Records Data Section
Directions for each field are provided below in the order in which the fields appear in the database. Use the tab to move from field to field. Container Number: In this field, enter the assigned number of a records container (a storage box, microfilm carton, filing cabinet drawer, or any other type of container you use). Location: Tab to this field next, and enter the location code of the record. The code may include any combination of six alphabetic or numeric characters to indicate the shelving row, shelving unit, and individual shelf where you’ve placed the storage container. (See publication #49, Administration of Inactive Records for information on locator systems.) Department: Enter a two‐character code for the department that created or holds legal custody of the record; for example, TC for Town Clerk, BD for Building Department, or PS for Pupil Services. Record Status: Enter one of three letters: A for Active, I for Inactive, or D for Destroyed. This field capitalizes automatically when exited. Please note: If you do not use one of these 3 letters, the Active, Inactive, and Destroyed reports will not work.
31
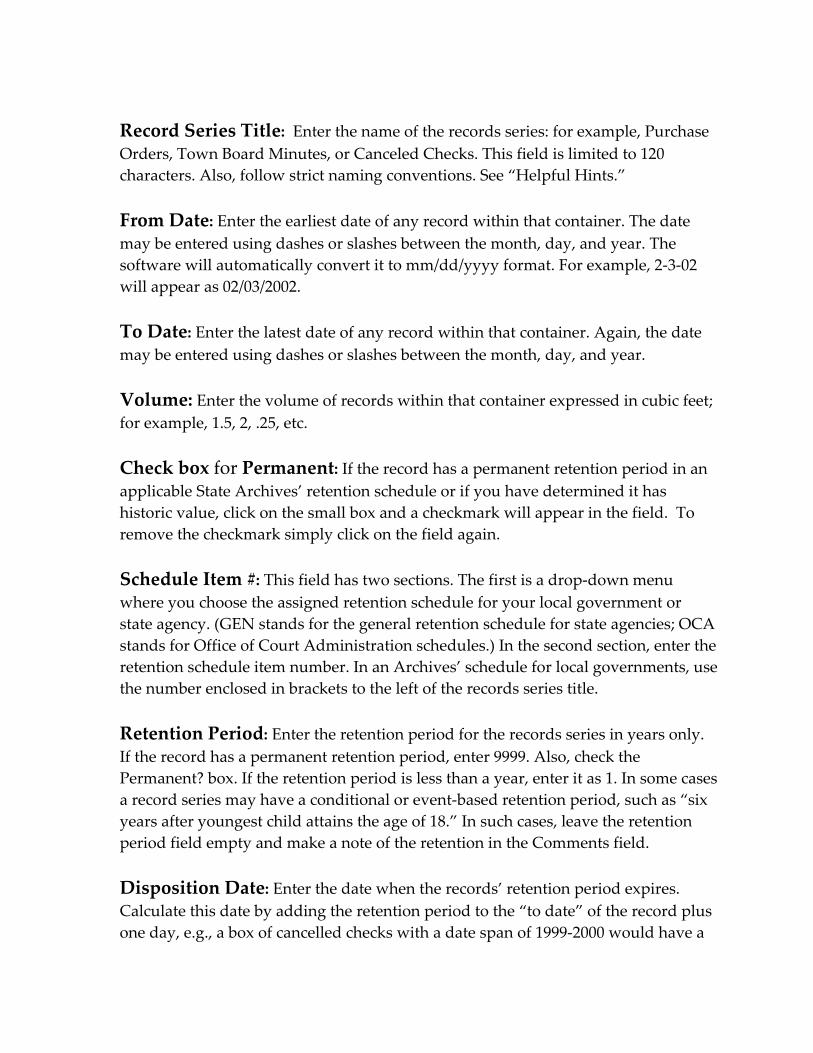
Record Series Title: Enter the name of the records series: for example, Purchase Orders, Town Board Minutes, or Canceled Checks. This field is limited to 120 characters. Also, follow strict naming conventions. See “Helpful Hints.” From Date: Enter the earliest date of any record within that container. The date may be entered using dashes or slashes between the month, day, and year. The software will automatically convert it to mm/dd/yyyy format. For example, 2‐3‐02 will appear as 02/03/2002.
To Date: Enter the latest date of any record within that container. Again, the date may be entered using dashes or slashes between the month, day, and year. Volume: Enter the volume of records within that container expressed in cubic feet; for example, 1.5, 2, .25, etc. Check box for Permanent: If the record has a permanent retention period in an applicable State Archives’ retention schedule or if you have determined it has historic value, click on the small box and a checkmark will appear in the field. To remove the checkmark simply click on the field again. Schedule Item #: This field has two sections. The first is a drop‐down menu where you choose the assigned retention schedule for your local government or state agency. (GEN stands for the general retention schedule for state agencies; OCA stands for Office of Court Administration schedules.) In the second section, enter the retention schedule item number. In an Archives’ schedule for local governments, use the number enclosed in brackets to the left of the records series title. Retention Period: Enter the retention period for the records series in years only. If the record has a permanent retention period, enter 9999. Also, check the Permanent? box. If the retention period is less than a year, enter it as 1. In some cases a record series may have a conditional or event‐based retention period, such as “six years after youngest child attains the age of 18.” In such cases, leave the retention period field empty and make a note of the retention in the Comments field. Disposition Date: Enter the date when the records’ retention period expires. Calculate this date by adding the retention period to the “to date” of the record plus one day, e.g., a box of cancelled checks with a date span of 1999‐2000 would have a
32
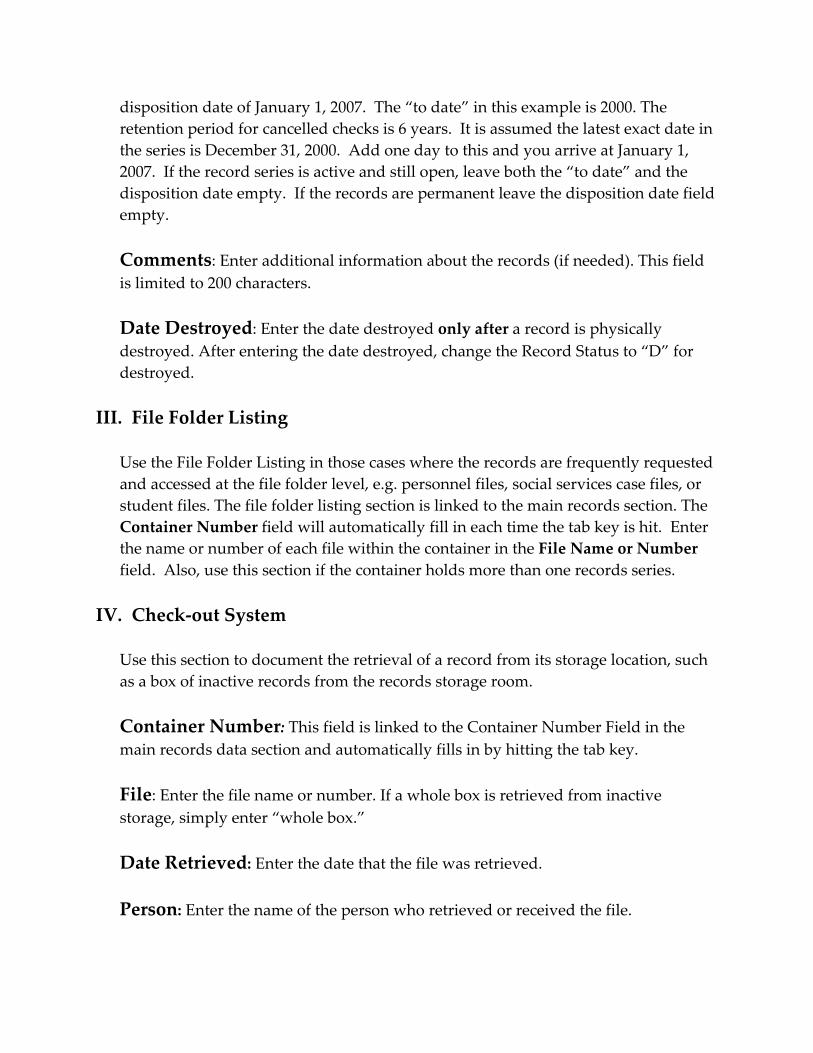
disposition date of January 1, 2007. The “to date” in this example is 2000. The retention period for cancelled checks is 6 years. It is assumed the latest exact date in the series is December 31, 2000. Add one day to this and you arrive at January 1, 2007. If the record series is active and still open, leave both the “to date” and the disposition date empty. If the records are permanent leave the disposition date field empty. Comments: Enter additional information about the records (if needed). This field is limited to 200 characters. Date Destroyed: Enter the date destroyed only after a record is physically destroyed. After entering the date destroyed, change the Record Status to “D” for destroyed.
III. File Folder Listing
Use the File Folder Listing in those cases where the records are frequently requested and accessed at the file folder level, e.g. personnel files, social services case files, or student files. The file folder listing section is linked to the main records section. The Container Number field will automatically fill in each time the tab key is hit. Enter the name or number of each file within the container in the File Name or Number field. Also, use this section if the container holds more than one records series.
IV. Check‐out System
Use this section to document the retrieval of a record from its storage location, such as a box of inactive records from the records storage room. Container Number: This field is linked to the Container Number Field in the main records data section and automatically fills in by hitting the tab key. File: Enter the file name or number. If a whole box is retrieved from inactive storage, simply enter “whole box.” Date Retrieved: Enter the date that the file was retrieved. Person: Enter the name of the person who retrieved or received the file.
33
Date Returned: Enter the date that the file was returned to its container. V. Reports
The RMS was built with 13 pre‐designed reports. The reports section appears on the right side of the screen and contains 13 labeled command buttons. To run a report, simply click the command button. Some reports will prompt you for more information before running. This criterion is referred to as a “parameter value.” To obtain a short description of each report, hold the mouse pointer over the command button. Active Records: This report returns all records with an active status (any record with an “A” in the status field). The report lists the records series title, date span, department, container number, location, and record status. The total volume of all active records appears in the header. Department List: This report lists all records held by a particular department regardless of record status. When you click on the report’s command button, a ʺparameter value” dialog box appears prompting you to enter the Department Code. Enter the two‐digit Department Code and click OK. The report lists records series title, date span, container number, location, record status, and disposition date. Destroyed Records: This report lists all destroyed records (records with a Record Status of ʺDʺ).
Destruction Authorization: This report creates a form listing all records authorized for destruction by a specified department. To create the form click on the destruction authorization command button. A parameter box appears prompting you to enter the earliest date. Enter that date and click OK. A parameter box then prompts you for the latest date. Enter that date and click OK. Another parameter box appears prompting you to enter the department code. Enter the desired code and click OK. A printable form appears, listing the container number, records series title, date span, schedule number, retention period, and disposition date. The form also has an authorization section for required signatures. Disposition Report: This report lists all records eligible for destruction. Click on the Disposition Report command button. A parameter box prompts you to enter the earliest date in the range. Enter the earliest date in the following format:
34
mm/dd/yyyy. You must enter it in this format or the system cannot identify the requested records. Another parameter box will then prompt you to enter the latest date in the range in the same format as above. The disposition report lists the following information: container number, location, records series title, department code, date span, retention schedule item number, retention period, and disposition date. Find a File: This report locates the container number and location of a particular file. Click on the Find a File command button and a parameter value box prompts you to enter the file name or number file you are searching for. Folder Listing: This report creates a contents list for a records container. Click on the folder listing command button, and a parameter box prompts you to enter the desired container number. Enter the number and click OK. The report lists all folders or files within the container. Inactive Records: This report returns a list of all inactive records (records with a Record Status of “I”). The report will list records series title, the date span, department, container number, and the location. The total cubic footage of inactive records appears in the report header. List All Records: This report lists all records with an active or inactive record status. Note: records with a destroyed status (code D) no longer exist and will not appear on this report. The report header contains the total volume of records. This report may satisfy the FOIL requirement that local governments and state agencies maintain a subject listing of records in their custody. Outstanding Retrievals: This report lists all records retrieved but not returned. It lists the container number, file name or number, the date retrieved, and the person who retrieved it.
Permanent Records: This report lists all records with a permanent retention (all records that have a checkmark in the Permanent? field). The report lists the records series title, date span, department, schedule item number, and location. Records Series: This report will give you a listing of all containers that hold a particular records series. Click on the command button, and a parameter box prompts you to enter the name of the records series. Type the name of the desired
35
series and click OK. The system creates a report listing the records series title, date span, department, location, container number, and record status. In the header of the report the retention schedule item number and retention period for the record series are listed. Retrieval History: This report lists all records retrievals made from a particular container number. When you click on the report button, a parameter box prompts you to enter the container number. The report lists the file name or number taken, the date it was taken, the person who retrieved or received the file, and the date it was returned.
VI. Queries
There are a number of queries in this database, although most are used by the system to design reports. Two will prove valuable, however:
DeleteDestroyedRecords erases all trace of destroyed records from the database, after your have destroyed them. DeleteSampleData clears all sample data from database.
VII. Helpful Hints
1. Remember to establish naming conventions that enforce consistent data entry rules. This ensures that all reports work as designed, so you can locate the data you need. For example, always use the same records series name. Don’t enter Purchase Orders, P.O.’s, and Vouchers for the same records series.
2. You can search for one particular record without running one of the reports by placing the cursor in the appropriate field (e.g. Records Series Title), then clicking on the binocular icon at the top of the screen. This opens a dialog box where you can enter the name of the record and then click “find first.” This will bring you to the desired record.
3. If your local government or agency uses only one retention schedule or opts to use this database to track only inactive records, you can simplify the data entry by using “default values.” To enter a default value for Record Status click on the table’s tab and open the table MainData, then click on the View menu, and then click Design View. Next, click on the field name Record Status. At the bottom of
36

the screen place the cursor in the default value field and type an “I” in the field. Now the Record Status field will auto‐fill with the letter I. This same process can be used for all other fields where the value entered will be identical for each record.
4. If your organization chooses not to use one of form’s sections, you can hide that section to ensure no one inadvertently enters data there. For example, if you want to hide the Check Out section of the form, open the form and then click on View and then Design View. Right mouse click on the Check Out section and choose Properties. In the Visible Field change the selection “Yes” to “No.”
37
8/17/2015
17
Exercise3
Setting Up an Inactive Records Storage Area
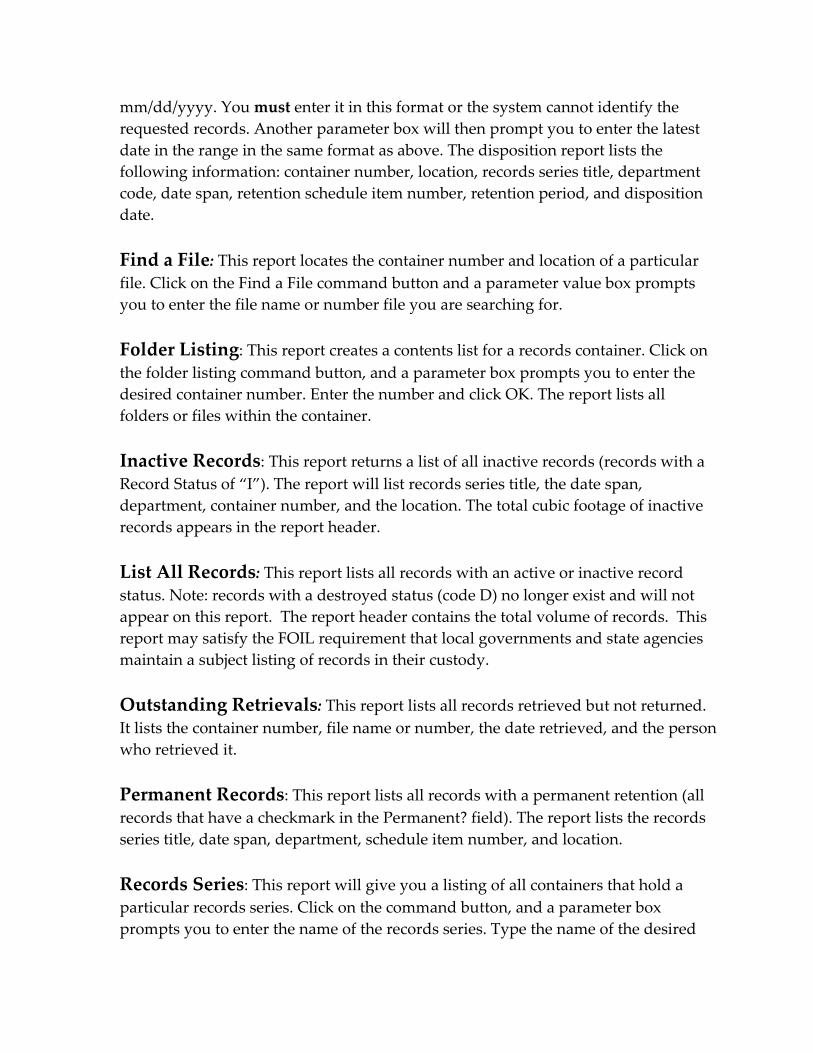
AdInactiminviesRtrecoration
dsProfan
ogr
•
am
Make part of overall RM plan
Policies and procedures
Staff
•
•
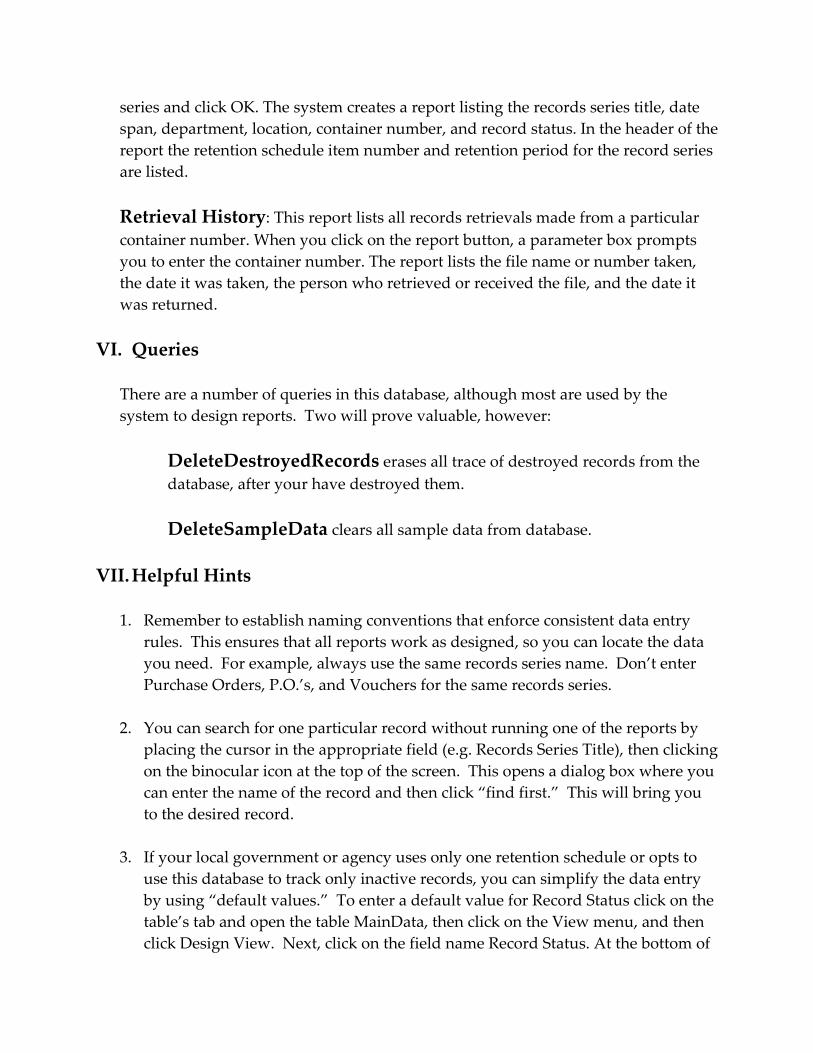
De
•
velopingPoliciesandProcedures
Promote program permanence
Reinforce uniform practices
Aid staff training
Document procedures
Establish responsibilities
•
•
•
•
Exercise 3 Setting Up an Inactive Records Center
You are responsible for setting up a new inactive storage area for your lo-cal government. You have a floor plan which shows where the shelving willbe. The shelving and new records management software will arrive in twoweeks. The preprinted box labels have already arrived. You estimate that there will be approximately 600 cubic feet of recordsstored in the new storage area. The shelving will hold nine hundred (900)cubic feet of records. An inventory has been done and you have information on each record se-ries (including retention requirements), however, you do not have control atthe box level.
• Three hundred fifty (350) cubic feet of records are in an adjacentroom;
• Two hundred cubic feet (200) are stacked in the storage areawhere the shelving will be placed;
• Approximately fifty (50) cubic feet of inactive records now in vari-ous offices can be transferred to storage.
• From the inventory you know that approximately 100 cubic feet ofrecords have met their retention requirements and can be dis-carded.
How should you proceed?
39
8/17/2015
18
Po
•
licyandProceduresTopics
Transfer of records
Access and retrieval
Reference services
Disposition
Reporting
•
•
•
•
T
•
ransferProcess
Periodic or perpetual schedule
Select records to transfer
Prepare and document records
Contact RMO
Move to inactive storage
•
•
•
•
AccessioningR
•
ecords
Receive transferred records
Review boxes and lists
Determine space requirements
Update records locator
Add records to storage area
•
•
•
•

8/17/2015
19
AccessandR
•
etrieval
Outline policies and procedures
Create and distribute necessary forms
Establish list of authorized personnel
Educate storage facility staff
•
•
•
Re
•
questingRecords
Complete request form
Obtain authorized signature
Send request in advance
•
•
R
•
eferenceServices
Rules for use and visitor’s Log
Photocopy services
Microfilm reader/printers
Public‐use computer
Tables for reference
Regular hours of operation
Security
•
•
•
•
•
•
8/17/2015
20
DestructionofR
•
ecords
Destroy appropriately
Destroy completely
Complete Authorization for Destruction form
Get appropriate signatures
•
•
•
Re
•
porting
Justify current needs
Improve operations
Make informed decisions
Validate existence of dedicated storage
•
•
•
F
•
orMoreInformation
Contact RAO
Attend workshops
Read State Archives publications
Network with others
Join associations and listservs
•
•
•
•
8/17/2015
21
Summary
• Identify your inactive records
Determine the best storage facility
Establish policies and procedures
Treat records responsibly
•
•
•
ThankYAttendin
ogufToodray!
www.archives.nysed.gov
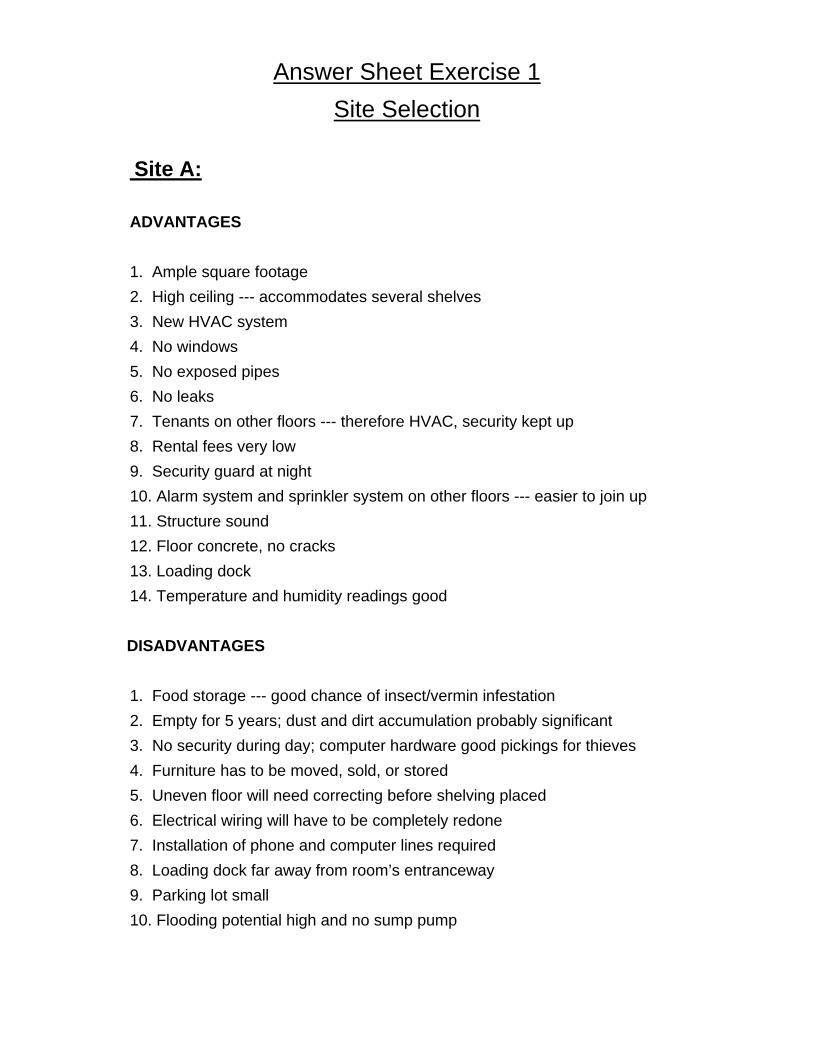
Answer Sheet Exercise 1
Site Selection
Site A:
ADVANTAGES
1. Ample square footage
2. High ceiling --- accommodates several shelves
3. New HVAC system
4. No windows
5. No exposed pipes
6. No leaks
7. Tenants on other floors --- therefore HVAC, security kept up
8. Rental fees very low
9. Security guard at night
10. Alarm system and sprinkler system on other floors --- easier to join up
11. Structure sound
12. Floor concrete, no cracks
13. Loading dock
14. Temperature and humidity readings good
DISADVANTAGES
1. Food storage --- good chance of insect/vermin infestation
2. Empty for 5 years; dust and dirt accumulation probably significant
3. No security during day; computer hardware good pickings for thieves
4. Furniture has to be moved, sold, or stored
5. Uneven floor will need correcting before shelving placed
6. Electrical wiring will have to be completely redone
7. Installation of phone and computer lines required
8. Loading dock far away from room’s entranceway
9. Parking lot small
10. Flooding potential high and no sump pump
44
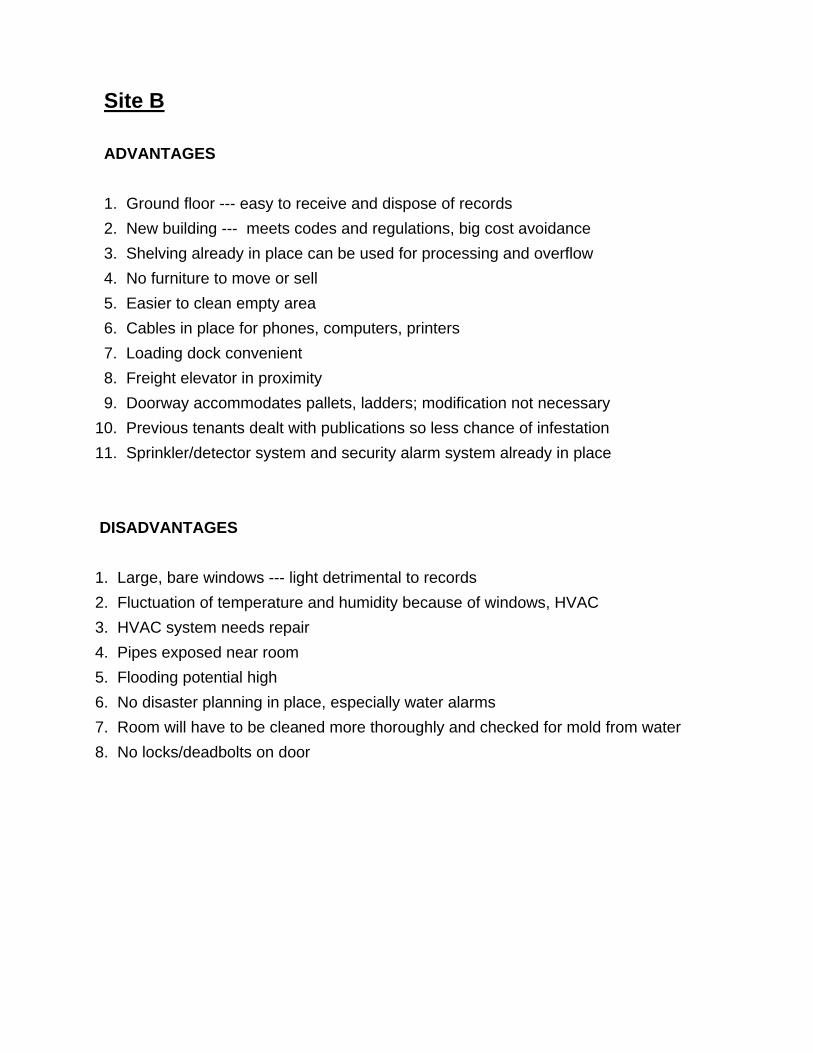
Site B
ADVANTAGES
1. Ground floor --- easy to receive and dispose of records
2. New building --- meets codes and regulations, big cost avoidance
3. Shelving already in place can be used for processing and overflow
4. No furniture to move or sell
5. Easier to clean empty area
6. Cables in place for phones, computers, printers
7. Loading dock convenient
8. Freight elevator in proximity
9. Doorway accommodates pallets, ladders; modification not necessary
10. Previous tenants dealt with publications so less chance of infestation
11. Sprinkler/detector system and security alarm system already in place
DISADVANTAGES
1. Large, bare windows --- light detrimental to records
2. Fluctuation of temperature and humidity because of windows, HVAC
3. HVAC system needs repair
4. Pipes exposed near room
5. Flooding potential high
6. No disaster planning in place, especially water alarms
7. Room will have to be cleaned more thoroughly and checked for mold from water
8. No locks/deadbolts on door
45
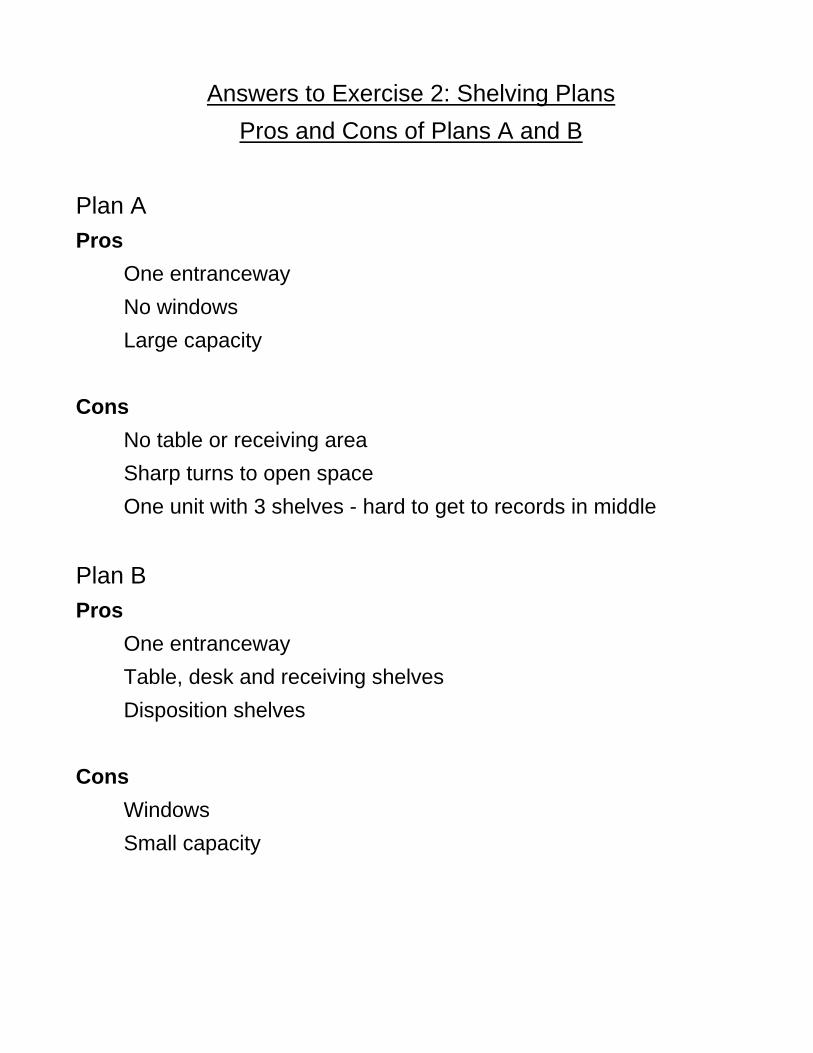
Answers to Exercise 2: Shelving Plans
Pros and Cons of Plans A and B
Plan A
ProsOne entranceway
No windows
Large capacity
ConsNo table or receiving area
Sharp turns to open space
One unit with 3 shelves - hard to get to records in middle
Plan B
ProsOne entranceway
Table, desk and receiving shelves
Disposition shelves
ConsWindows
Small capacity
46
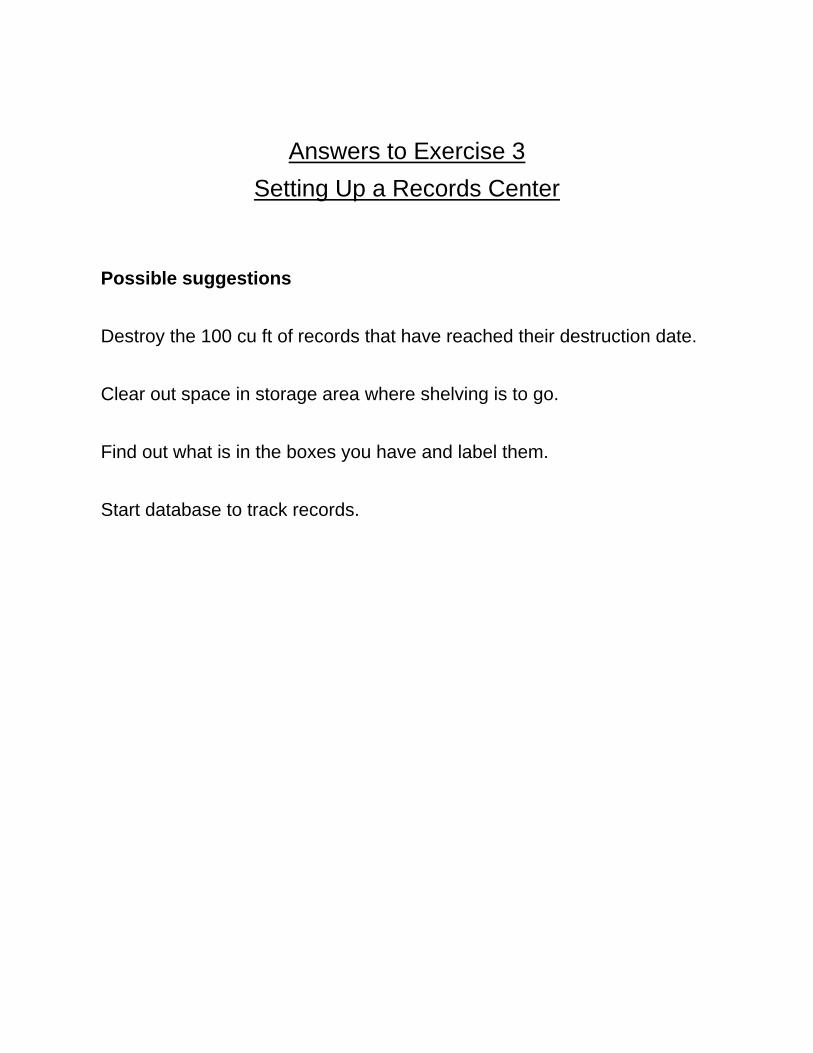
Answers to Exercise 3
Setting Up a Records Center
Possible suggestions
Destroy the 100 cu ft of records that have reached their destruction date.
Clear out space in storage area where shelving is to go.
Find out what is in the boxes you have and label them.
Start database to track records.
47