Embed Size (px)
Citation preview
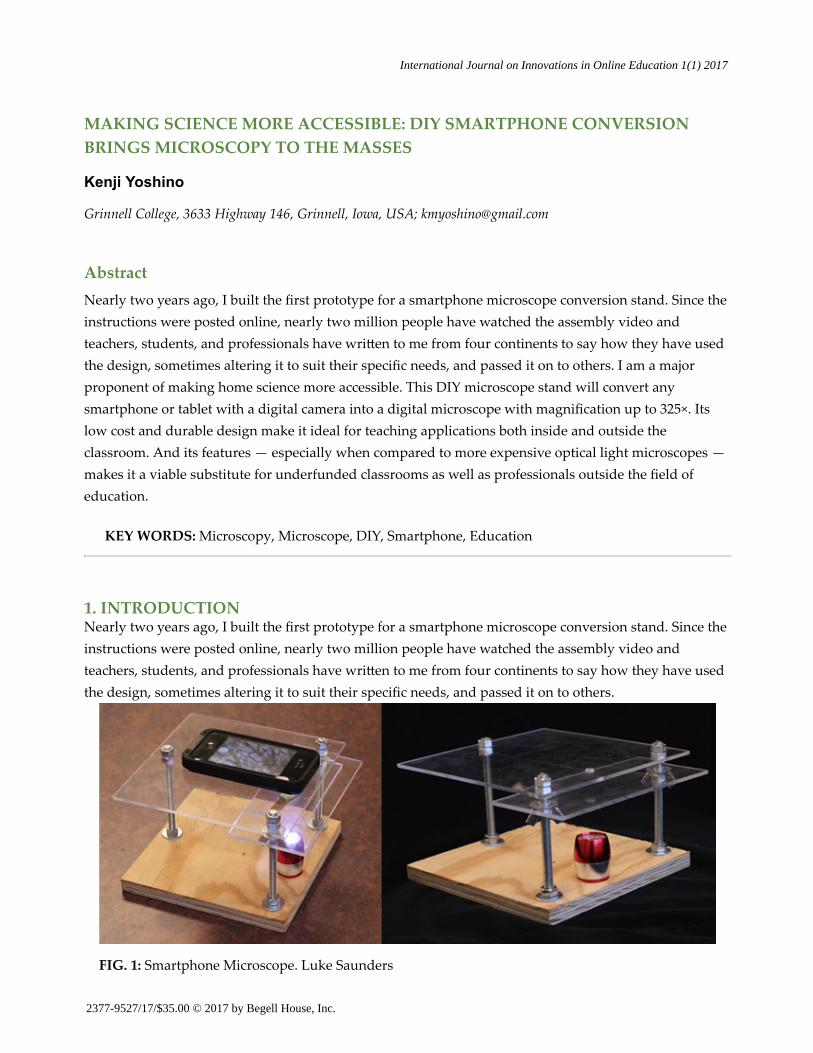
MAKING SCIENCE MORE ACCESSIBLE: DIY SMARTPHONE CONVERSIONBRINGS MICROSCOPY TO THE MASSES
AbstractNearly two years ago, I built the first prototype for a smartphone microscope conversion stand. Since theinstructions were posted online, nearly two million people have watched the assembly video andteachers, students, and professionals have wri椀�en to me from four continents to say how they have usedthe design, sometimes altering it to suit their specific needs, and passed it on to others. I am a majorproponent of making home science more accessible. This DIY microscope stand will convert anysmartphone or tablet with a digital camera into a digital microscope with magnification up to 325×. Itslow cost and durable design make it ideal for teaching applications both inside and outside theclassroom. And its features — especially when compared to more expensive optical light microscopes —makes it a viable substitute for underfunded classrooms as well as professionals outside the field ofeducation.
KEY WORDS: Microscopy, Microscope, DIY, Smartphone, Education
1. INTRODUCTION
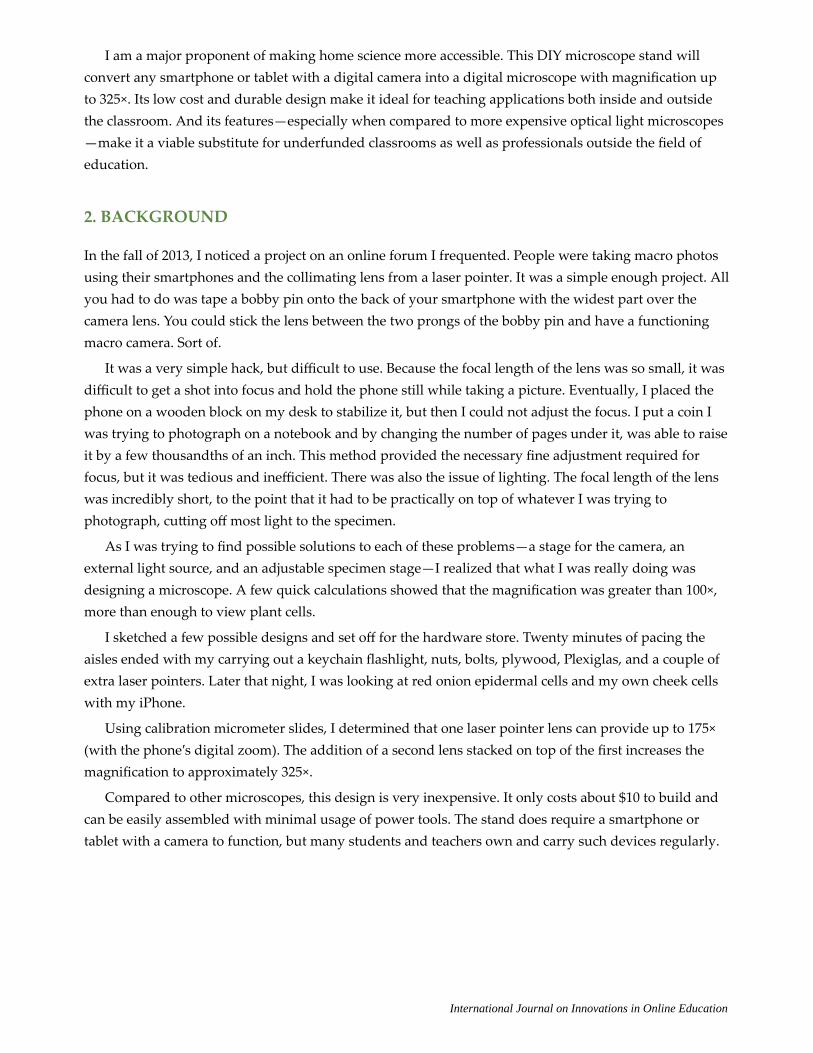
FIG. 1: Smartphone Microscope. Luke Saunders
Nearly two years ago, I built the first prototype for a smartphone microscope conversion stand. Since theinstructions were posted online, nearly two million people have watched the assembly video andteachers, students, and professionals have wri椀�en to me from four continents to say how they have usedthe design, sometimes altering it to suit their specific needs, and passed it on to others.
Kenji Yoshino
Grinnell College, 3633 Highway 146, Grinnell, Iowa, USA; [email protected]
International Journal on Innovations in Online Education 1(1) 2017
2377-9527/17/$35.00 © 2017 by Begell House, Inc.
I am a major proponent of making home science more accessible. This DIY microscope stand willconvert any smartphone or tablet with a digital camera into a digital microscope with magnification upto 325×. Its low cost and durable design make it ideal for teaching applications both inside and outsidethe classroom. And its features—especially when compared to more expensive optical light microscopes—make it a viable substitute for underfunded classrooms as well as professionals outside the field ofeducation.
2. BACKGROUND
In the fall of 2013, I noticed a project on an online forum I frequented. People were taking macro photosusing their smartphones and the collimating lens from a laser pointer. It was a simple enough project. Allyou had to do was tape a bobby pin onto the back of your smartphone with the widest part over thecamera lens. You could stick the lens between the two prongs of the bobby pin and have a functioningmacro camera. Sort of.
It was a very simple hack, but difficult to use. Because the focal length of the lens was so small, it wasdifficult to get a shot into focus and hold the phone still while taking a picture. Eventually, I placed thephone on a wooden block on my desk to stabilize it, but then I could not adjust the focus. I put a coin Iwas trying to photograph on a notebook and by changing the number of pages under it, was able to raiseit by a few thousandths of an inch. This method provided the necessary fine adjustment required forfocus, but it was tedious and inefficient. There was also the issue of lighting. The focal length of the lenswas incredibly short, to the point that it had to be practically on top of whatever I was trying tophotograph, cu椀�ing off most light to the specimen.
As I was trying to find possible solutions to each of these problems—a stage for the camera, anexternal light source, and an adjustable specimen stage—I realized that what I was really doing wasdesigning a microscope. A few quick calculations showed that the magnification was greater than 100×,more than enough to view plant cells.
I sketched a few possible designs and set off for the hardware store. Twenty minutes of pacing theaisles ended with my carrying out a keychain flashlight, nuts, bolts, plywood, Plexiglas, and a couple ofextra laser pointers. Later that night, I was looking at red onion epidermal cells and my own cheek cellswith my iPhone.
Using calibration micrometer slides, I determined that one laser pointer lens can provide up to 175×(with the phone′s digital zoom). The addition of a second lens stacked on top of the first increases themagnification to approximately 325×.
Compared to other microscopes, this design is very inexpensive. It only costs about $10 to build andcan be easily assembled with minimal usage of power tools. The stand does require a smartphone ortablet with a camera to function, but many students and teachers own and carry such devices regularly.
International Journal on Innovations in Online Education
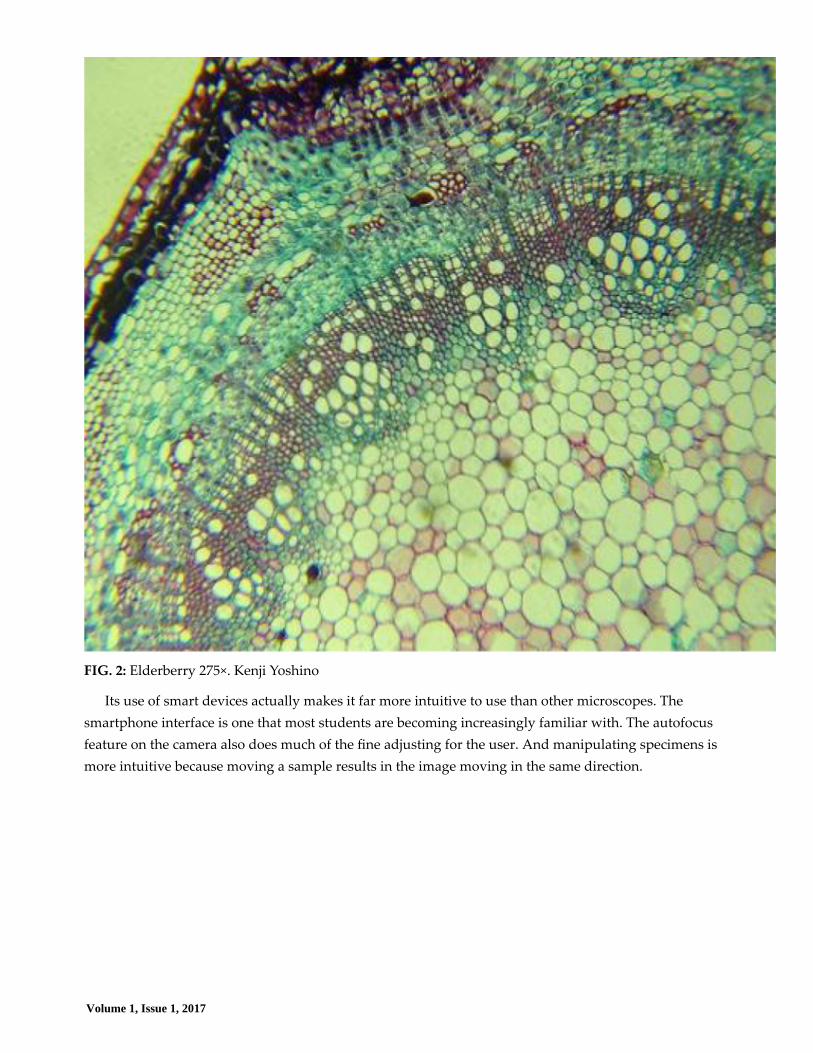
FIG. 2: Elderberry 275×. Kenji Yoshino
Its use of smart devices actually makes it far more intuitive to use than other microscopes. Thesmartphone interface is one that most students are becoming increasingly familiar with. The autofocusfeature on the camera also does much of the fine adjusting for the user. And manipulating specimens ismore intuitive because moving a sample results in the image moving in the same direction.
Volume 1, Issue 1, 2017
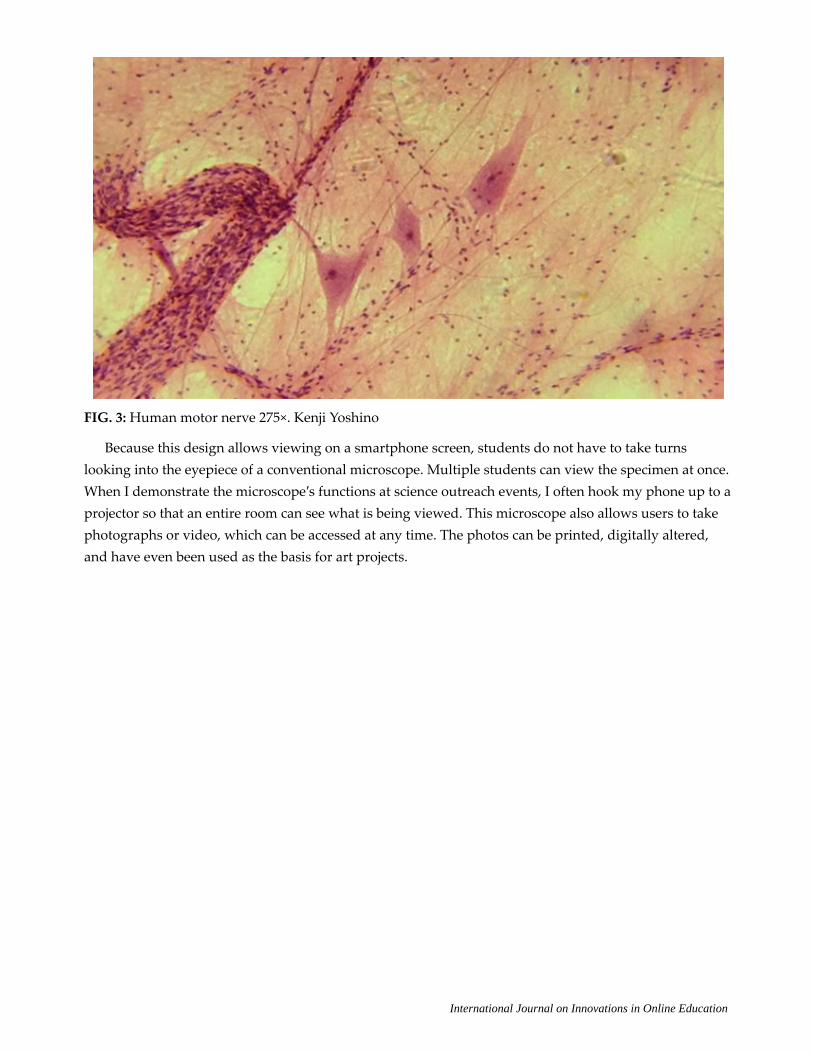
FIG. 3: Human motor nerve 275×. Kenji Yoshino
Because this design allows viewing on a smartphone screen, students do not have to take turnslooking into the eyepiece of a conventional microscope. Multiple students can view the specimen at once.When I demonstrate the microscope′s functions at science outreach events, I often hook my phone up to aprojector so that an entire room can see what is being viewed. This microscope also allows users to takephotographs or video, which can be accessed at any time. The photos can be printed, digitally altered,and have even been used as the basis for art projects.
International Journal on Innovations in Online Education
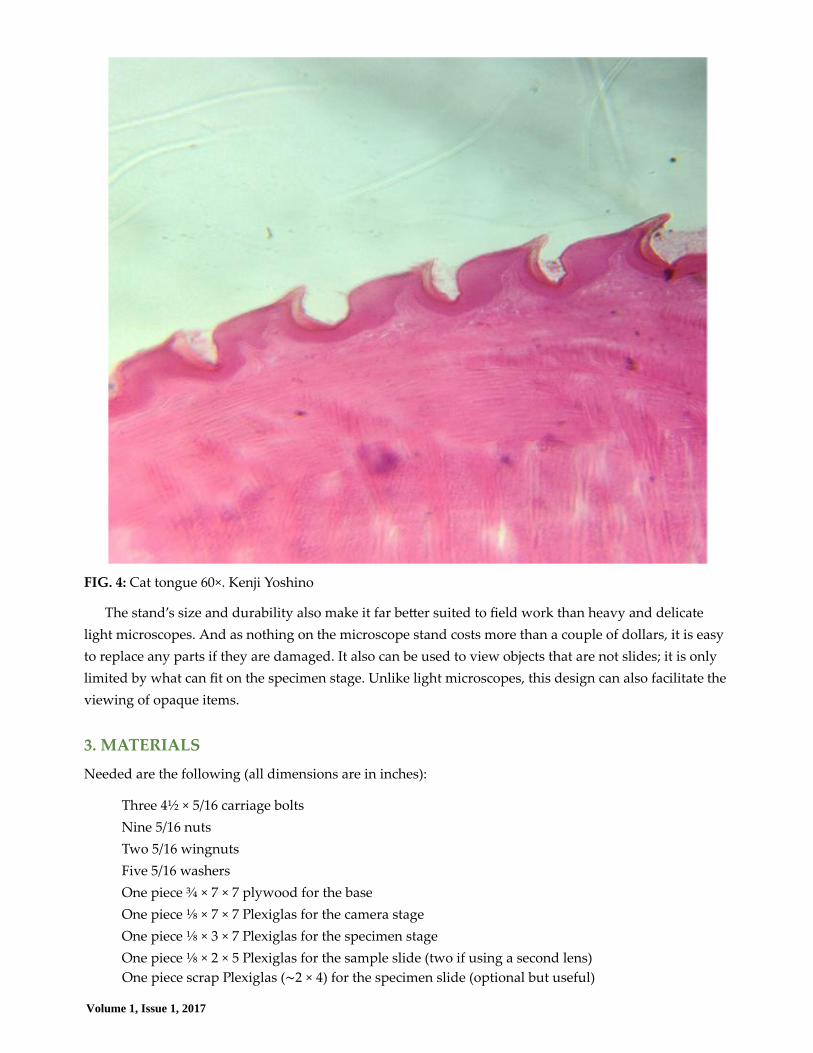
FIG. 4: Cat tongue 60×. Kenji Yoshino
The stand′s size and durability also make it far be椀�er suited to field work than heavy and delicatelight microscopes. And as nothing on the microscope stand costs more than a couple of dollars, it is easyto replace any parts if they are damaged. It also can be used to view objects that are not slides; it is onlylimited by what can fit on the specimen stage. Unlike light microscopes, this design can also facilitate theviewing of opaque items.
3. MATERIALS
Needed are the following (all dimensions are in inches):
One piece scrap Plexiglas (∼2 × 4) for the specimen slide (optional but useful)
Three 4½ × 5/16 carriage boltsNine 5/16 nutsTwo 5/16 wingnutsFive 5/16 washersOne piece ¾ × 7 × 7 plywood for the baseOne piece ⅛ × 7 × 7 Plexiglas for the camera stageOne piece ⅛ × 3 × 7 Plexiglas for the specimen stageOne piece ⅛ × 2 × 5 Plexiglas for the sample slide (two if using a second lens)
Volume 1, Issue 1, 2017
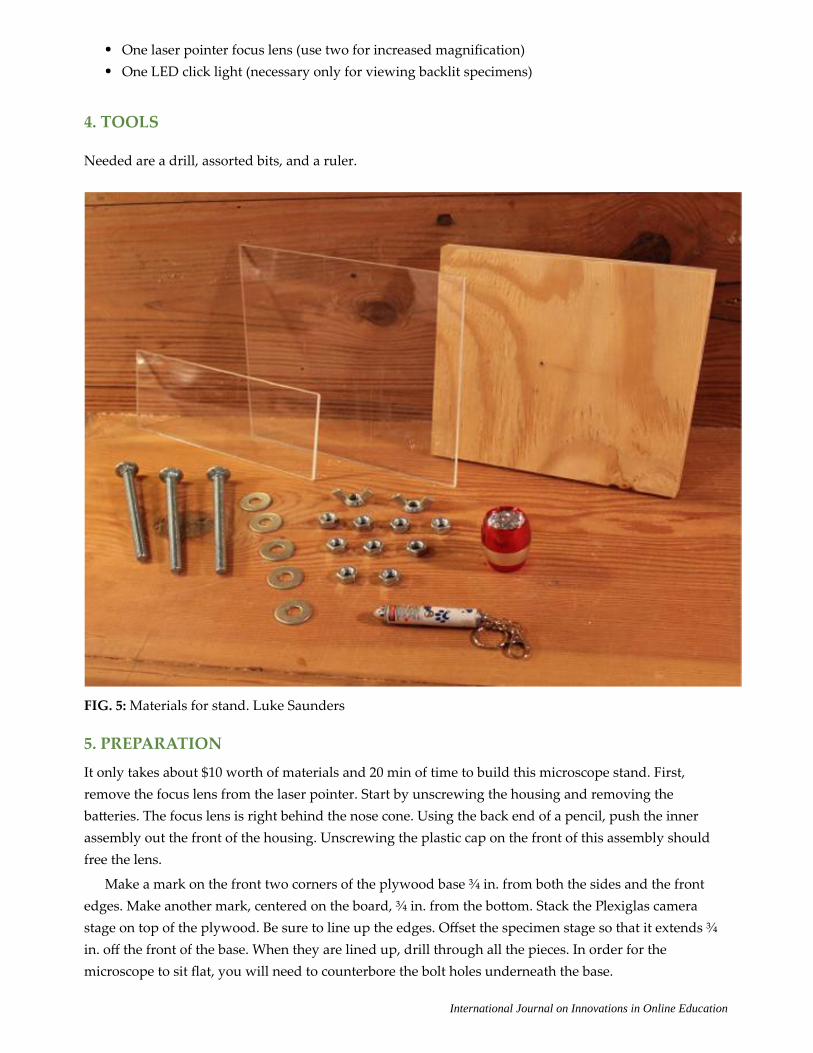
One laser pointer focus lens (use two for increased magnification)One LED click light (necessary only for viewing backlit specimens)
4. TOOLS
Needed are a drill, assorted bits, and a ruler.
FIG. 5: Materials for stand. Luke Saunders
Make a mark on the front two corners of the plywood base ¾ in. from both the sides and the frontedges. Make another mark, centered on the board, ¾ in. from the bo椀�om. Stack the Plexiglas camerastage on top of the plywood. Be sure to line up the edges. Offset the specimen stage so that it extends ¾in. off the front of the base. When they are lined up, drill through all the pieces. In order for themicroscope to sit flat, you will need to counterbore the bolt holes underneath the base.
International Journal on Innovations in Online Education
5. PREPARATION
It only takes about $10 worth of materials and 20 min of time to build this microscope stand. First,remove the focus lens from the laser pointer. Start by unscrewing the housing and removing theba椀�eries. The focus lens is right behind the nose cone. Using the back end of a pencil, push the innerassembly out the front of the housing. Unscrewing the plastic cap on the front of this assembly shouldfree the lens.
After inserting the bolts, flip the base over and add a washer and nut to secure each of the bolts to thebase. Drill a hole the same diameter as the lens in the camera stage, in line with the front two bolts.
To make sure the LED light is centered below the lens, use the hole you just drilled to mark theposition of the light. Use a spade bit to create a recess for the light, but be sure not to drill all the waythrough the base.
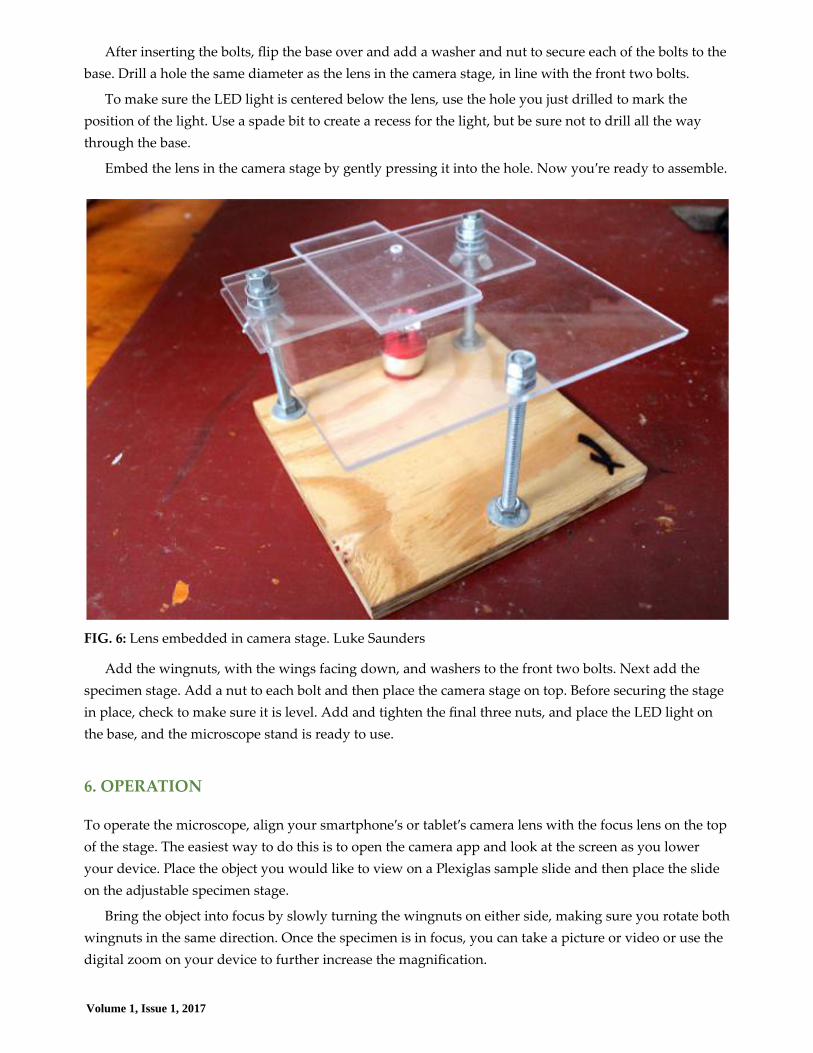
Embed the lens in the camera stage by gently pressing it into the hole. Now you′re ready to assemble.
FIG. 6: Lens embedded in camera stage. Luke Saunders
Add the wingnuts, with the wings facing down, and washers to the front two bolts. Next add thespecimen stage. Add a nut to each bolt and then place the camera stage on top. Before securing the stagein place, check to make sure it is level. Add and tighten the final three nuts, and place the LED light onthe base, and the microscope stand is ready to use.
6. OPERATION
To operate the microscope, align your smartphone′s or tablet′s camera lens with the focus lens on the topof the stage. The easiest way to do this is to open the camera app and look at the screen as you loweryour device. Place the object you would like to view on a Plexiglas sample slide and then place the slideon the adjustable specimen stage.
Bring the object into focus by slowly turning the wingnuts on either side, making sure you rotate bothwingnuts in the same direction. Once the specimen is in focus, you can take a picture or video or use thedigital zoom on your device to further increase the magnification.
Volume 1, Issue 1, 2017
The use of a Plexiglas sample slide is imperative for viewing anything thinner than a coin. The focallength of the lens is very short and the specimen stage can be raised close to it but not always closeenough because of the nuts holding up the camera stage. Using a transparent slide fixes this issue andmakes manipulating samples while viewing easier. With two lenses the focal length gets even smallerand two Plexiglas slides are required to focus.
7. ALTERATIONS
It is possible to stack two lenses in the camera stage. This has increased magnification to approximately325×. I embedded one lens from the top and another from below. If a椀�empting this set up, one should becareful not to let the lenses touch and to try to install them as level as possible. Failing to do so can causeaberrations in the image.
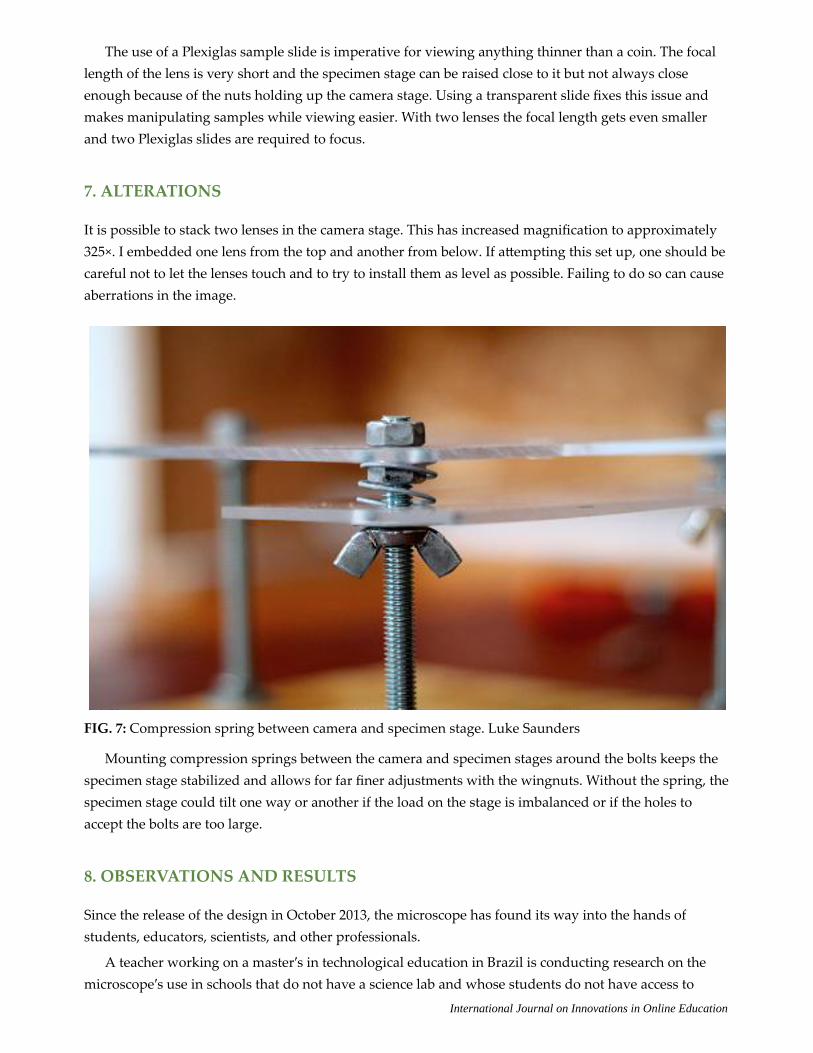
FIG. 7: Compression spring between camera and specimen stage. Luke Saunders
Mounting compression springs between the camera and specimen stages around the bolts keeps thespecimen stage stabilized and allows for far finer adjustments with the wingnuts. Without the spring, thespecimen stage could tilt one way or another if the load on the stage is imbalanced or if the holes toaccept the bolts are too large.
8. OBSERVATIONS AND RESULTS
Since the release of the design in October 2013, the microscope has found its way into the hands ofstudents, educators, scientists, and other professionals.
A teacher working on a master′s in technological education in Brazil is conducting research on themicroscope′s use in schools that do not have a science lab and whose students do not have access to
International Journal on Innovations in Online Education
conventional microscopes. Another teacher in Chile is investigating the applications of this microscope in“vulnerable” schools to see how it aids hands‑on science education. In the UK, a team of “sciencebuskers” use the microscope as part of its interactive demonstrations at public events at Imperial Collegein London. They favored this microscope design because it allowed members of the public to use theirphones and take something away from the project to show to others. Additionally, teachers in France,Argentina, and India, whose students did not previously have access to microscopes, used thismicroscope in their classrooms.
Naturally, the smartphone microscope has been adopted by science museums for science educationoutreach. The Science Center of Iowa and Arizona Science Center have both used the device to engageand educate their patrons about microscopy.
The microscope′s DIY nature has also made it a favorite of community makerspaces such as DesMoines′ Area 515. HiveBio, a community supported DIY biology laboratory in Sea椀�le, Washington, hasused the microscope extensively in its community workshops to further its aim of creating an accessibleand affordable lab space for members to carry out research and experiments. In its first DIY DigitalMicroscope Workshop in November 2013, HiveBio invited community members to assemble and thenuse the microscopes to view a variety of samples. The smartphone microscope is also used in theorganization′s Introduction to Microscopy workshops and its workshops on model organisms.
Radical Mycology, a grassroots organization dedicated to educating individuals and communitiesand giving them the skills to cultivate mushrooms and other fungi, has recently adopted the microscopefor field identification. Peter McCoy, the founder of Radical Mycology, uses his smartphone microscopeto identify spores and other characteristics on the gills of fungi.
Outside of the field of education, other working professionals have found uses for the microscope.Less than a week after the instructions were published, an exterminator in the pest control businesswrote in saying that he keeps the microscope stand in his truck for quick and easy identification ofinsects.
This smartphone‑to‑microscope conversion provides an alternative to expensive microscopes. Itsdesign and features make it ideal for both formal and informal science education and it serves as a viableoption for underfunded science classrooms that would not otherwise be able to perform experimentsrequiring a microscope.
9. SELECTED PUBLICATIONS
These include Radical Mycology by Peter McCoy, 2016 Edition, February 2016; forthcoming; MAKEmagazine, March 2015; Wired UK, September 2014, The Grinnell Magazine, winter 2013; Midi Libre, July2013; SocietyforScience.org; Instructables.com; Video.
Volume 1, Issue 1, 2017