Embed Size (px)
Citation preview

1
MAKING A HOMEMADE VAN DE GRAAFF GENERATOR
Step-by-Step Instructions
Great Science Project for Kids
Cheap and Easy to Build
Weekend Project
Parental Supervision
Required
BROUGHT TO YOU BY
JesseCorp Electroniucs

2
Hey kids! Want to impress everyone on your block with the coolest science project ever! Then this weekend project is just for you. With the help of your parents you can create your very own Van de Graaff generator and make your hair levitate with the help of science.
WHAT IS IT? A Van de Graaff generator
uses a moving belt that
carries electric charge up to a
metal dome. This is a lot like
when you rub your socks on
a rug and collect charge that
you can use to shock people.
In this case when you touch
the dome the charge flows
through your finger tips and
to the ends of your hair.
Since the charges are the
same sign they repel each
other like when you try to
push two magnets together
with the same magnetic side.
Figure 1. How a Van de Graaff Generator Works (1)

3
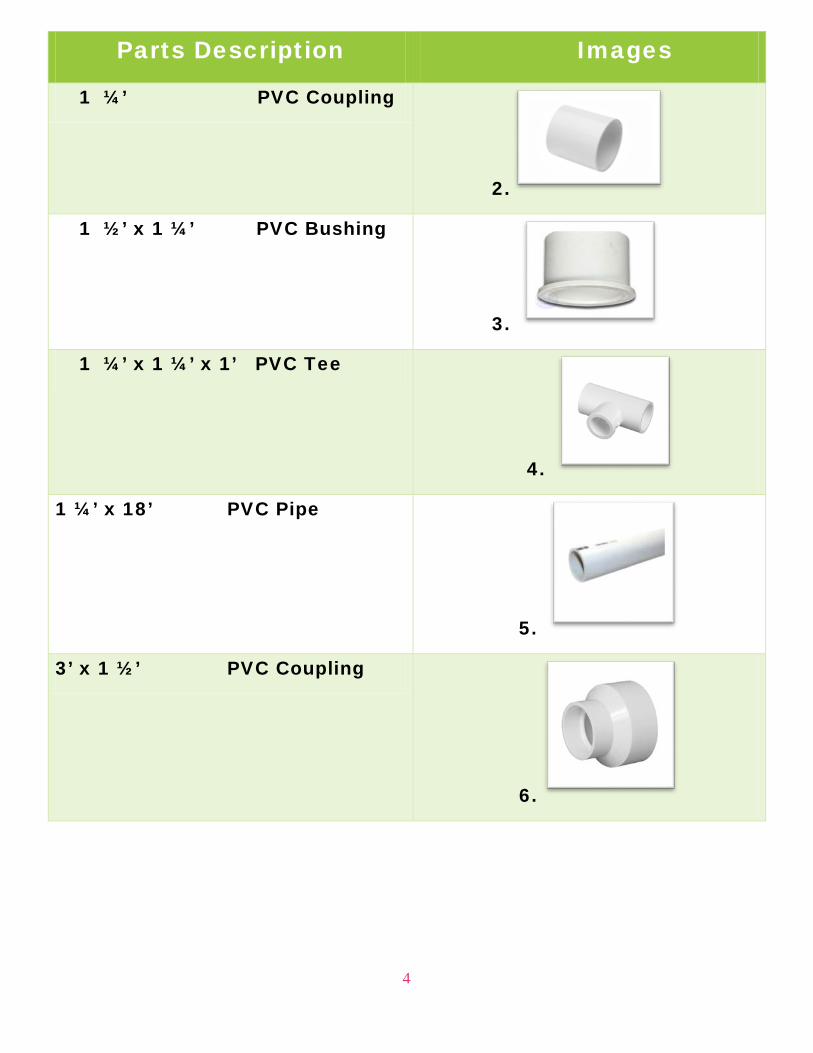
LIST OF MATERIALS
4
Parts Description Images
1 ¼’ PVC Coupling
2.
1 ½’ x 1 ¼’ PVC Bushing
3.
1 ¼’ x 1 ¼’ x 1’ PVC Tee
4.
1 ¼’ x 18’ PVC Pipe
5.
3’ x 1 ½’ PVC Coupling
6.

5
3-9V Small DC Motor
7.
1’ Bamboo Skewer
8.
4 AA Batteries
9.
1 ¼’ x ¼’ Glass fuse
10.
¼’ x 12’ Rubber Band
11.
6
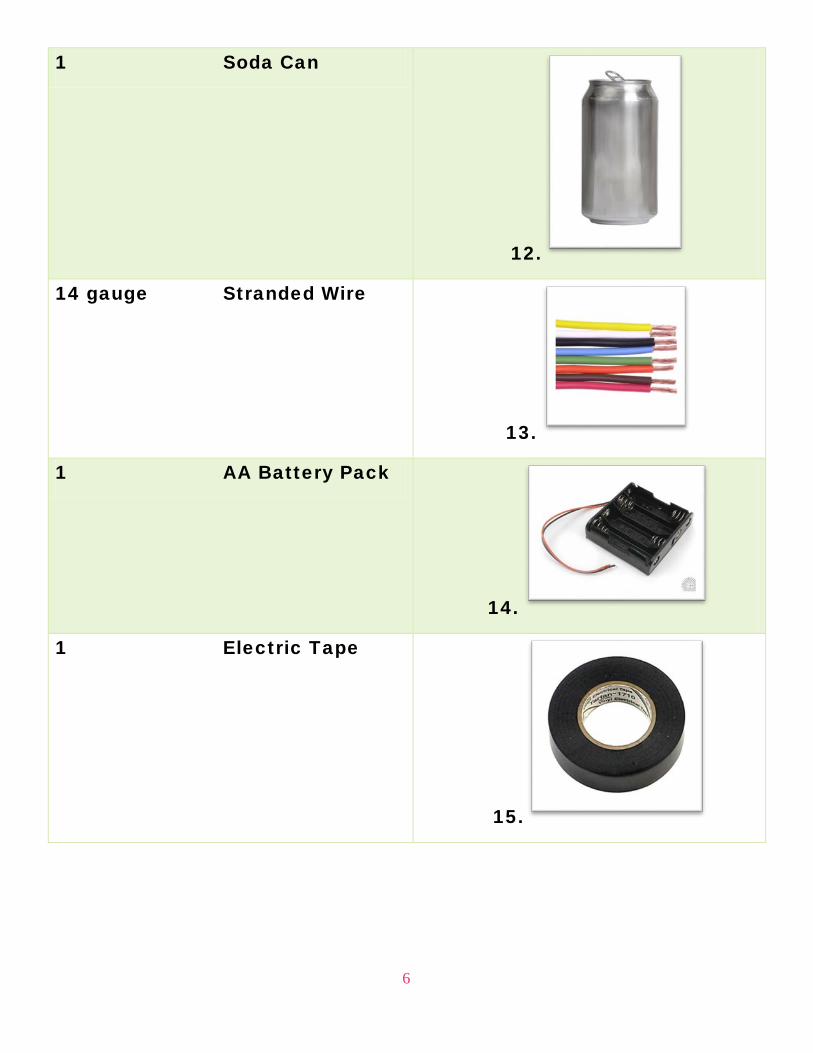
1 Soda Can
12.
14 gauge Stranded Wire
13.
1 AA Battery Pack
14.
1 Electric Tape
15.
7
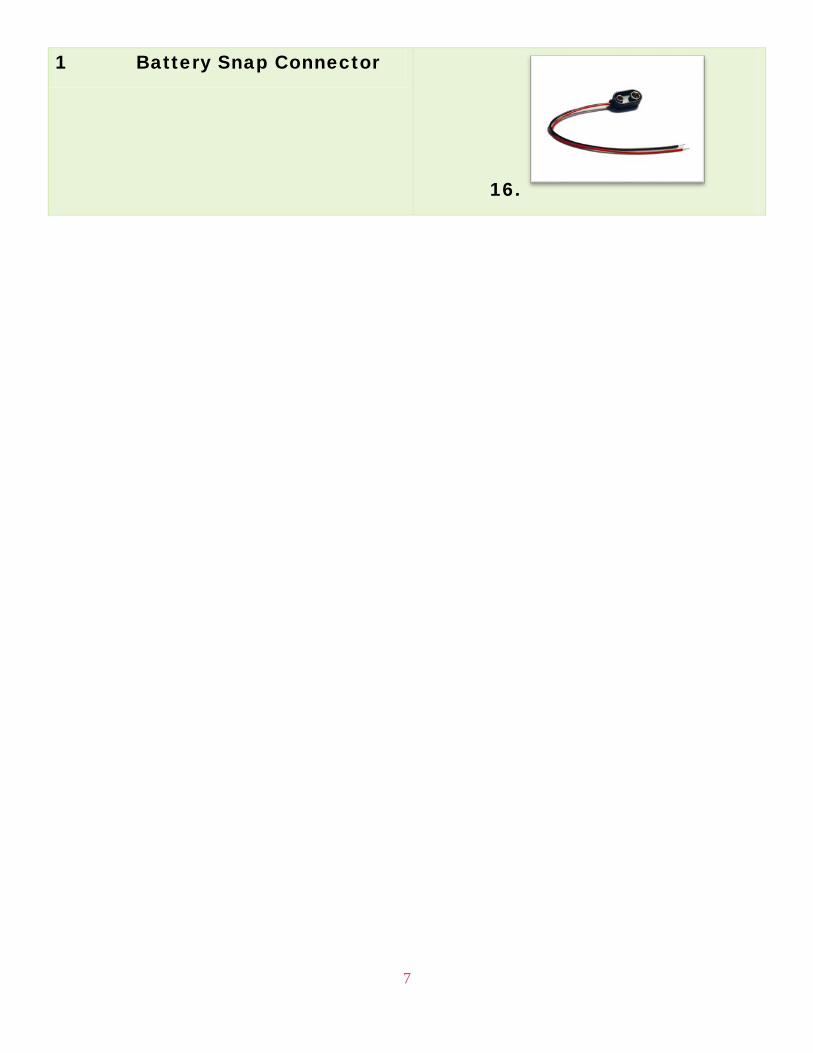
1 Battery Snap Connector
16.
8
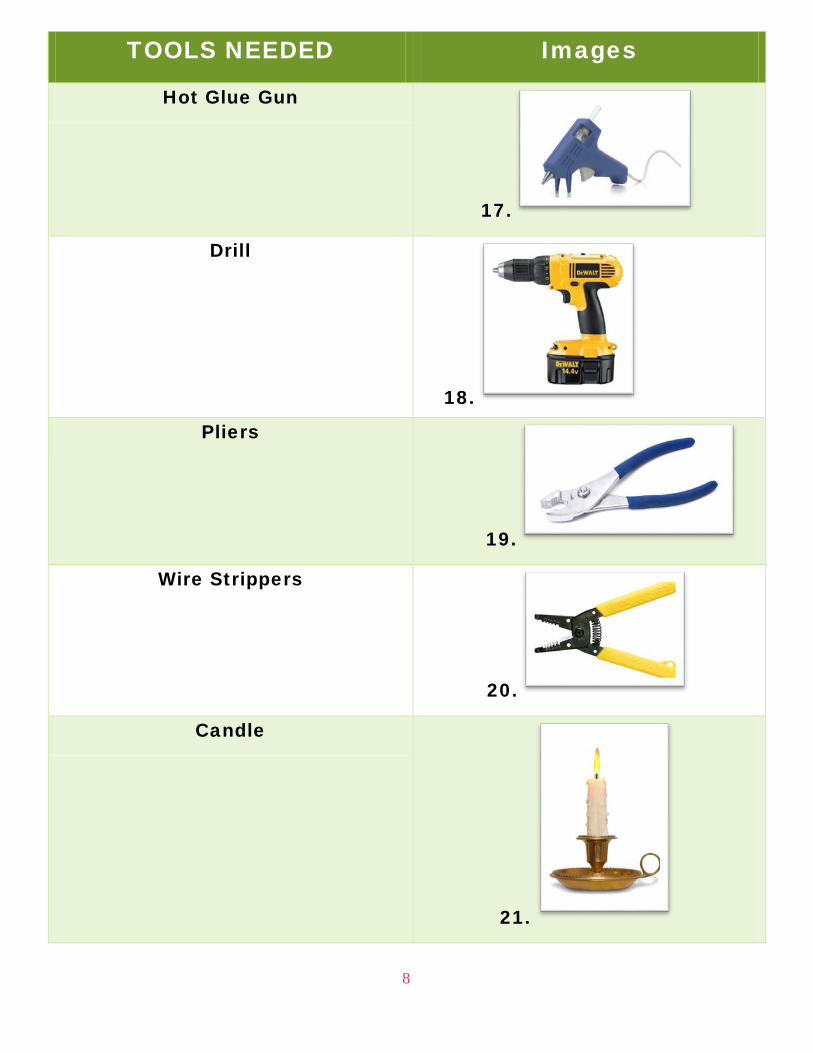
TOOLS NEEDED Images
Hot Glue Gun
17.
Drill
18.
Pliers
19.
Wire Strippers
20.
Candle
21.

9
Soldering Iron
22.
Can Opener
23.

10
INSTRUCTIONS
NOTE:
PARENTAL
SUPERVISION REQUIRED
11
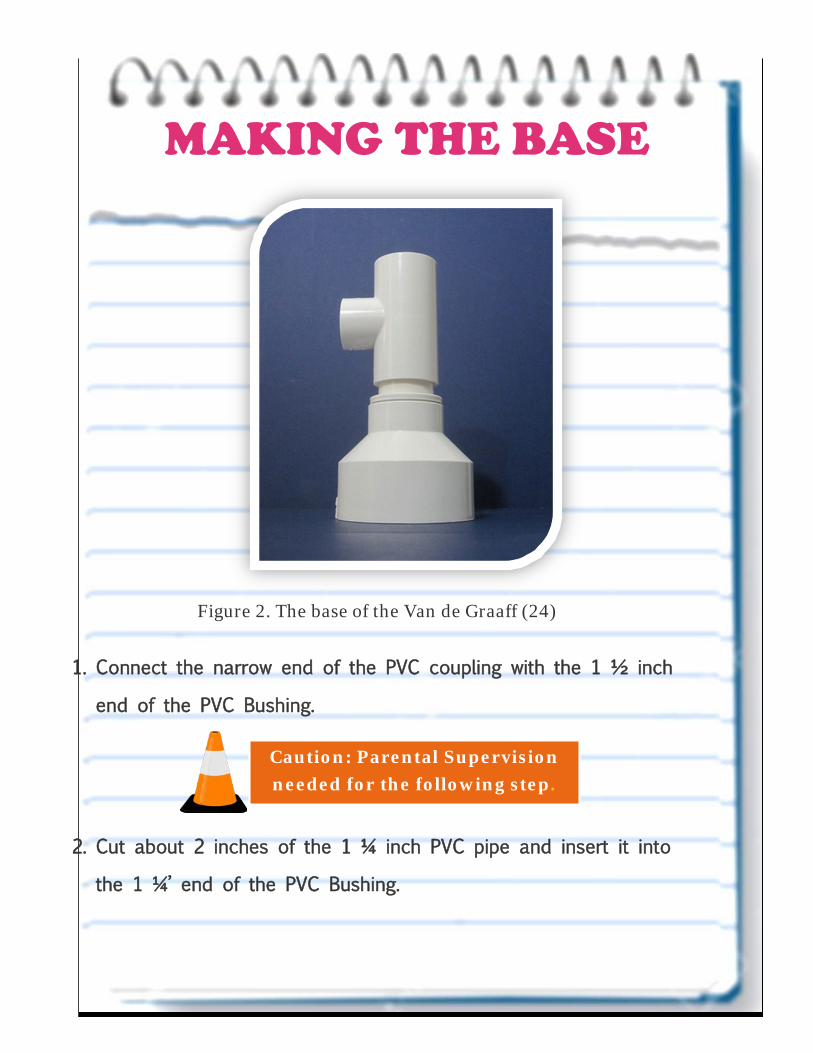
MAKING THE BASE
Figure 2. The base of the Van de Graaff (24)
1. Connect the narrow end of the PVC coupling with the 1 ½ inch
end of the PVC Bushing.
2. Cut about 2 inches of the 1 ¼ inch PVC pipe and insert it into
the 1 ¼’ end of the PVC Bushing.
Caution: Parental Supervision needed for the following step.

12
3. Connect one of the 1 ½’ ends of the tee connector to the free end of the 1 ¼’ pipe.
4. Cut another section of 1 ¼’ pipe about 15’ long.
PREPARING THE MOTOR
Figure 3: DC motor wrapped in electrical tape (25)
1. Wrap electrical tape around the shaft of the motor to gradually extend it.
2. Wrap the body of the DC motor with electrical tape to snuggly fit
within the outward facing Tee opening.
Caution: Parental Supervision needed for the following step.

13
3. Thread the rubber band down the top open end of the Tee
connector and around the shaft of the generator.
PEPARE THE FUSE
1. Use pliers to hold one end of the glass fuse and hold the other
metal end of the glass fuse over a lit candle.
2. After 30 seconds remove the glass fuse from the flame and use the
pliers to wiggle off the exposed metal end of the fuse.
3. Remove the wire within the fuse with the pliers.
Caution: Parental Supervision needed for the following step.

14
DRILL HOLES
1. Drill a hole just in the PVC Tee just above the shaft of the DC
motor.
2. Drill a hole about 1’ from the top of one end of the previously cut
15’ long PVC pipe section.
3. Drill another hole just below the previously drilled hole
Caution: Parental Supervision needed for the 3 following
steps.

15
THREADING TOP ASSEMBLY 1. Thread one end of the bamboo skewer through the farthest hole from
the top of PVC pipe. (Make sure not to the thread the skewer all the way
through the pipe)
2. Now thread the glass fuse through the skewer.
3. Pull the rubber band through long section of pipe and around the glass
fuse. Now feed the skewer all the way through pipe and fit the pipe in
the tee connector.
4. Hot glue the skewer in place.
5. Cut a 5’’ length of wire and strip one end of the insulation. Insert the
bare end into the base through the drilled hole. Make sure the strands
are spread out and the wire is close but not touching the rubber band.
6. Cut a 2’’ length wire and strip both ends to. Now feed one of the wire
through the remaining hole just above the glass fuse and rubber band
assembly. Like the bottom wire, make sure the strands are spread out
and close to but not touching the rubber band. For now secure the other
end of the wire to the pipe using electrical tape.

16
SODA CAN 1. Get an empty soda can and remove the lid using a can opener.
2. Attach the other end of the top wire strand to the inside of the
Aluminum can using electric tape.
3. Place the can over the top of the PVC Pipe and take down with
electrical tape.
BATTERIES 1. Place the 4 AA batteries in the battery pack.
2. Connect the battery pack to the 9v battery snap collector.
3. Connect the loose ends of the battery snap collector to the DC motor
terminals.
17
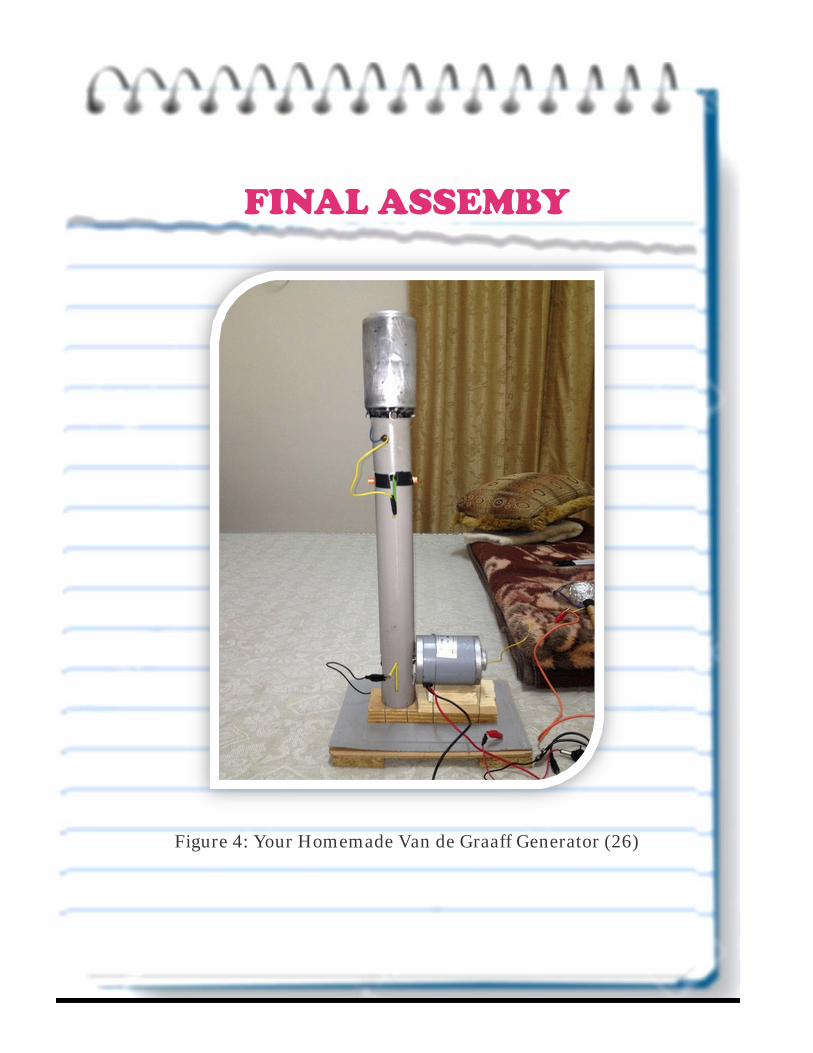
FINAL ASSEMBY
Figure 4: Your Homemade Van de Graaff Generator (26)

18
NOW TIME TO USE YOUR VAN DE
GRAAFF GENERATOR!!
After 10 mins touch the aluminum can with your hand and watch your
hair levitate!!
You can also tape slits of paper onto the aluminum can and watch as they levitate.

19
URL SOURCES 1. http://media-2.web.britannica.com/eb-media/37/237-004-9BFC21C0.jpg
2. http://www.seahorse.org/library/articles/standpipe/2stand1.jpg
3. http://makezine.com/projects/make-28/simple-van-de-graaff-generator/
4. https://www.plumbingsupply.com/images/pvc-fitting-437-slip-bushing-spigxs.jpg
5. http://www.benmarksupply.com/ecomm_images/items/large/401-012.jpg
6. http://www.homedepot.com/catalog/productImages/145/60/60a45992-65f1-4d03-
9829-380de5c085b3_145.jpg
7. http://www.pvcfittingsonline.com/media/catalog/product/cache/1/image/650x/040ec0
9b1e35df139433887a97daa66f/i/n/increaser-reducer_1.jpg
8. http://www.vetco.net/catalog/images/VE-MOT1N-1.jpg
9. http://i5.walmartimages.com/dfw/dce07b8c-8294/k2-_7e8a64ec-e6e2-4fa4-9d11-
a44541d1de96.v1.jpg
10. http://www.qwerkity.com/images/products/large/7098.jpg
11. http://www.pcscables.co.uk/images/1738/main.jpg
12. http://www.dick-blick.com/items/149/20/14920-0001-2ww-m.jpg
13. http://592f46.medialib.glogster.com/media/84c2b17e9c0aea0d064d84f19f5db4e6
b05e18c5d141c56077e156650d3134ff/can.jpg

20
14. https://avalanche.tessco.com/productimages/250x250/994573.jpg
15. https://cdn.solarbotics.com/products/images/bholdaax4/bholdaa_4cell_pl.jpg
16. http://www.smithtoolsupply.com/cache/web/images/3M_49656_1710_Tartan_Vinyl_
Electric_Tape_34_x_60_standard_123610.jpeg
17. http://www.gbfans.com/shop/images/9-volt-battery-connector.jpg
18. http://4.bp.blogspot.com/-
gQ3kzVegGLA/UT_TUyjdh2I/AAAAAAAAGuU/uRbHdHMb2Qw/s1600/Hot-Glue-Gun.jpg
19. http://drillgun.com/wp-content/uploads/2013/04/drill-cordless-300x300.jpg
20. https://upload.wikimedia.org/wikipedia/commons/5/51/Tool-pliers.jpg
21. http://www.licensedelectrician.com/Store/ID/Images/45-120_lg.jpg
22. http://i.ebayimg.com/00/s/ODQ4WDU2Ng==/z/BqYAAOxyRNJSlNp6/$_12.JPG?set_i
d=880000500F
23. https://www.circuitspecialists.com/content/104493/csi-40-0.jpg
24. http://ecx.images-amazon.com/images/I/41GLkeflzUL.jpg
25. http://rayswords.com/temp/150927_nicro_vent_motors.jpg
26. https://i.ytimg.com/vi/Sc381hgiSe4/maxresdefault.jpg