Embed Size (px)
Citation preview
MAKE AND TAKE ACTIVITIES AND SUPPLY LISTS
IL 2021 CREATIVE ARTS RETREAT
Most of the Make and Take activities use supplies found around the house. You may want to
take a look at the following supply list to purchase anything you may need. The Websites
provided for each activity give the directions and pictures.
MEANDER BOOK
Supplies:
Sheet of paper or cardstock
Scissors
Decorating supplies as desired
https://www.youtube.com/watch?v=KtyHsCmL5pM
One Sheet Notebook
Supplies Needed: Sheet of paper with at least one clean side
Scissors (although I just tear mine)
LInk:
https://youtu.be/sDdTdyzueDU
NOTES:
An awesome little notebook; great for using backsides of paper. I use these for all my daily notes.
Canning Jar Lid-Fabric Strip Flowers
Supplies needed:
o fabric (fat quarter or 1/4 yard fabric for petals—homespun works great because the
front and back are the same, but any cotton fabric will do)
o Scrap or fat quarter fabric for flower center and back up
o Canning jar lid—regular two piece lid for each flower
o Hot glue or craft glue
o Scissors and ruler or rotary cutter, ruler and mat
o Small amount of polyester fiberfill or torn apart cotton balls
o Small dowel rod or skewer for stem
o Green acrylic paint or floral tape to cover stem
Picture of project from Pinterest—
https://pin.it/1SuTBL4
YouTube Video—
https://youtu.be/5_fGxhWSVAI
Tile Coasters
Supplies needed:
• Square tiles (about 4”)
• 91% Isopropyl Alcohol (lower % will not work)
• Paint brush, eye dropper, and or straw
• Sealer (see links for good options)
• Peel and stick felt, felt and glue, or peel and stick cork for bottom of coasters to protect your table
These web sites give directions for how to do this project. The first doesn’t mention putting a material
on the bottom, but these tiles can easily scratch anything you’d set them on if you don’t.
https://lifestyleforreallife.com/2017/01/18/paint-sharpies-alcohol/
http://onelittleproject.com/sharpie-dyed-tile-coasters/
Watercolor and Ink Drawings
For this project, you need a few basic supplies—
Tag board or water color paper
Water color paints like those purchased for elementary students (I love Prang, but Crayola or others
could be used)
Paint brush(es)
Pigma pen (like used for Zentangle), Fine Tip Sharpie, or even a black pen.
Thinning water color paints of your choice with water, paint blobs of color onto the paper. When the
paint has dried, use your black pen to draw a design on top of the color. Once you have an idea, you
can focus your painting strategically, if desired. There are numerous ideas of drawings and design
options on Pinterest when searching watercolor and ink.
Fabric Flowers
TIME: 10 minutes
SUPPLIES (for one flower):
Fabric (a cotton fat quarter will do both)
Round object (drinking glass) to trace around
Pen
Scissors
Hand sewing needle
Strong sewing thread (any color)
Small circle of felt (any color) for back
Decorative button
Glue gun
Iron (I just used my thumbnail for creases)
Barrette, pin back, or magnet
LINKS:
https://youtu.be/jsYfPfDWtXg
https://youtu.be/0IjURb17PhA
NOTES:
Identical except for one fold so we included both options.
Banner Planner Clips
TIME: 5 minutes (25 min. video)
SUPPLIES:
Paper clips - large
Scrapbook paper scraps
Embellishments/stickers
Scissors
Paper cutter or straight edge
Glue
Pencil
LINK:
https://youtu.be/_9ZN2DhoFhI
Jewelry Components from Plastic Bottles
Supplies needed:
Plastic pieces cut from clean used bottles. Use craft scissors to cut.
Candle or heat gun.
Pliers.
Dowel, pencil, or chopstick for rolling beads.
Permanent markers and/or nail polish
Tiny punch, ice pick, sharp needle for punching holes (I used the sharp end of a seam ripper)
Jewelry findings (chain, jump rings, earrings, pieces of old jewelry, etc.)
These are easy, fun, use bottles we would normally throw away, and amazingly light weight to
wear.
Don’t worry too much about fumes. You want to just heat the plastic to help it melt. Don’t
put it in the flame, and don’t let it catch on fire.
Make lots of extras, so you can choose the one’s you like best.
I used permanent markers to color my pieces (usually on both sides), but nail polish works well
too, before or after melting the plastic.
Ideas at https://www.youtube.com/watch?v=TxfVzbQWfrY&t=110s
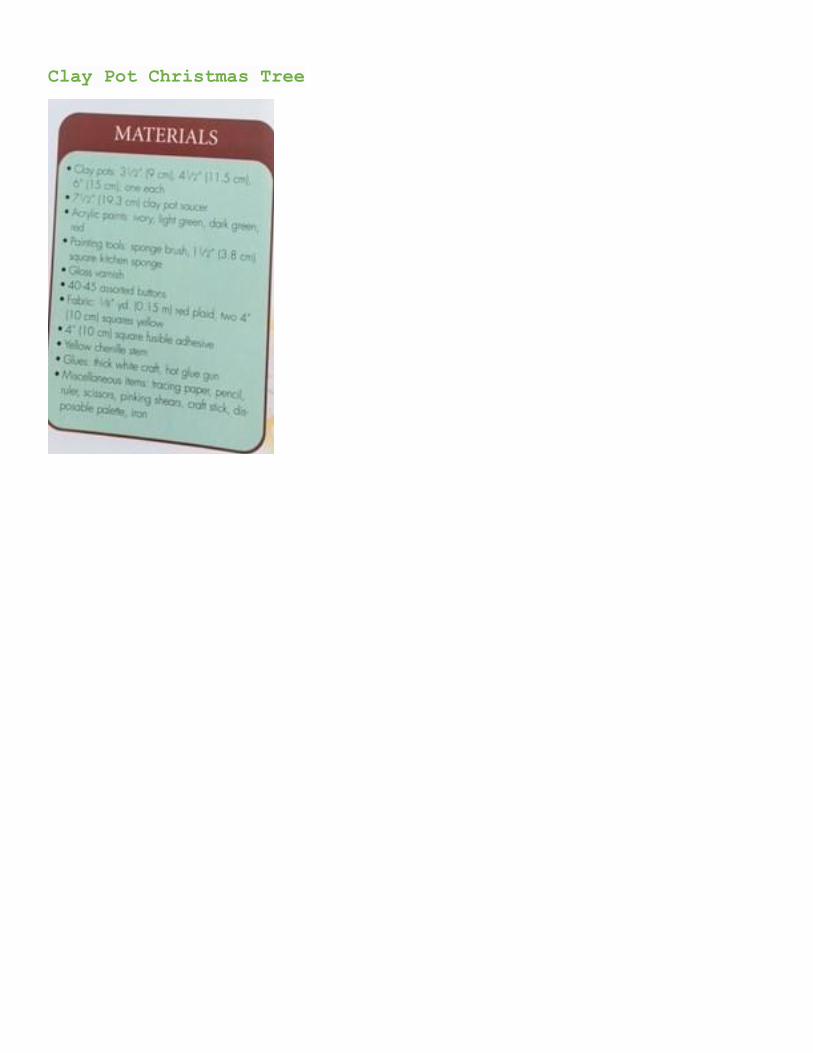
Clay Pot Christmas Tree

How to Make Any Size Envelopes with Free Templates This YouTube link will get you to a video workshop by Scrapbooking with Me Crafts for How to Make Any Size Envelopes with Free Templates (links below presentation). She is very thorough and works along at a gentle speed and of course you can always pause the video (bonus). Materials you will need to do this Make and Take Session: 12" by 12" scrapbooking paper or cardstock (whatever you choose to use) lightweight cardboard for templates or copy them on the printer a pair of scissors a straight edge - yardstick works LINK for video below: https://youtu.be/UgCmpuLlXn0
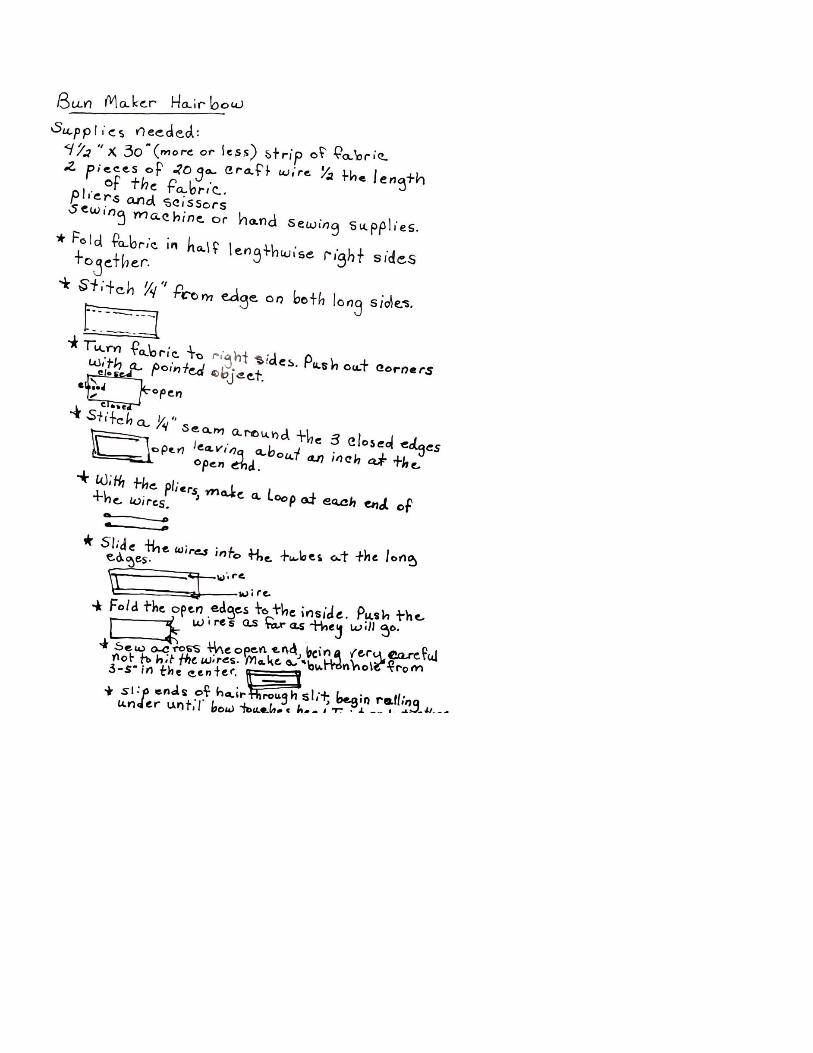
Bun Maker Hair Bow
Although there are several videos on Youtube telling how to make these, I found threading the
wire made the whole project a lot less than fun. This is my version of how to make this, and it
works just as well
Supplies needed:
4 1/2" x 30 " strip of fabric
2 pieces of 20 gauge craft wire 1/2 the length of the fabric
Pliers, scissors, sewing machine or thread and needle.
Directions:
1. Fold fabric in half lengthwise with right sides together.
2. Stitch 1/4" from edge on both long sides of the fabric.
3. Turn fabric to right sides. push out corners with a pointed object. One short sides will be
open.
4. Stitch a 1/4" seam around the three closed edges leaving about 1" at the open end.
5. With pliers, make a loop at each end of the wires.
6. Slide the wires into the the tubes at the long edges.
7. Fold the open edges to the inside and push the wires as far as they will go.
8. Sew across the open end being very careful not to hit the wires.
9. Make a button hole 3" - 5" in the center of the fabric.
10. Slip ends of hair through slit, begin rolling under until bow touches head. Then pull the ends
toward each other, cross and twist together.
Isn't this cute? Imagine all they pretty bows you can make to match every outfit!
See photos in the comments to see how to place in hair. Submitted by Janet Fish AZ

Then, pull the ends toward each other, cross, and twist together. You can also roll the bun
maker up instead of under. Isn’t this cute? Imagine all of the pretty bows you can match to
every outfit!
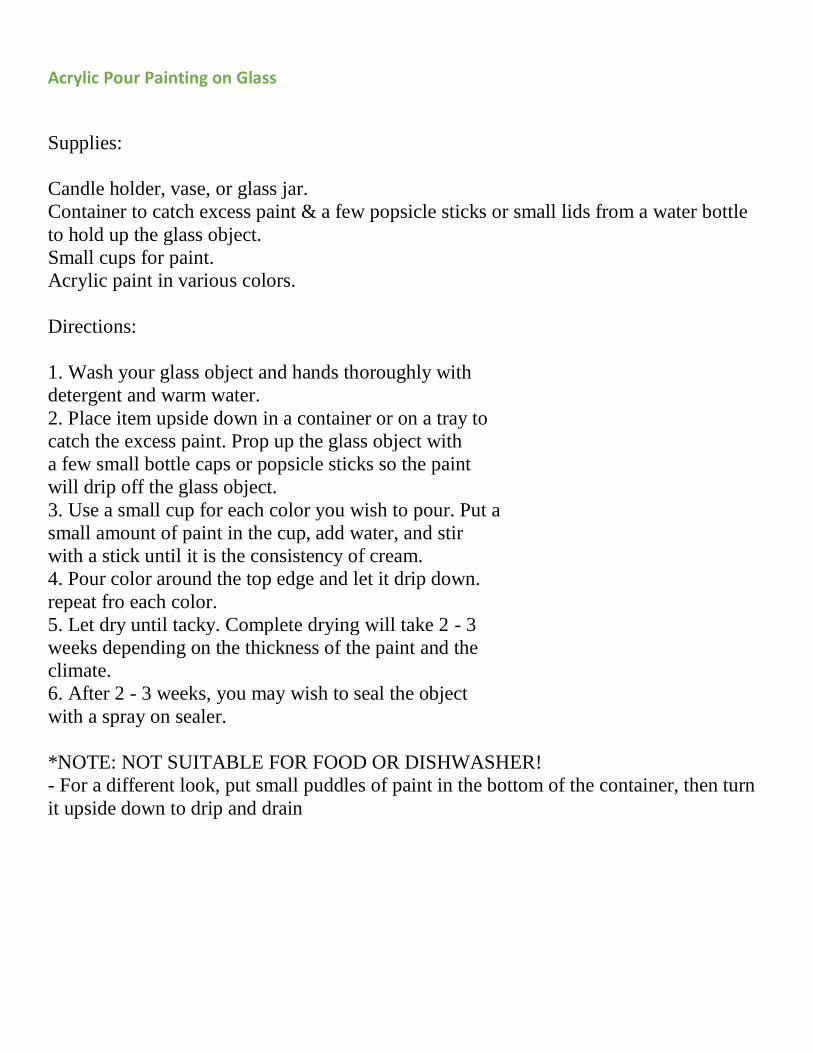
Acrylic Pour Painting on Glass
Supplies:
Candle holder, vase, or glass jar.
Container to catch excess paint & a few popsicle sticks or small lids from a water bottle
to hold up the glass object.
Small cups for paint.
Acrylic paint in various colors.
Directions:
1. Wash your glass object and hands thoroughly with
detergent and warm water.
2. Place item upside down in a container or on a tray to
catch the excess paint. Prop up the glass object with
a few small bottle caps or popsicle sticks so the paint
will drip off the glass object.
3. Use a small cup for each color you wish to pour. Put a
small amount of paint in the cup, add water, and stir
with a stick until it is the consistency of cream.
4. Pour color around the top edge and let it drip down.
repeat fro each color.
5. Let dry until tacky. Complete drying will take 2 - 3
weeks depending on the thickness of the paint and the
climate.
6. After 2 - 3 weeks, you may wish to seal the object
with a spray on sealer.
*NOTE: NOT SUITABLE FOR FOOD OR DISHWASHER!
- For a different look, put small puddles of paint in the bottom of the container, then turn
it upside down to drip and drain