Embed Size (px)
Citation preview
LOCUMENT RESUME
ED 103 249 SE 018 530
TIT' Snow and Ice, An Environmental Investigation.INSTITUTION Minnesota Environmental Sciences Foundation, Inc.,
Minneapolis.; National Wildlife Federation,Washington, D. C.
PUB DATE 71NOTE 25p.; Related documents are SE 018 514-534AVAILABLE FROM National Wildlife Federation, 1412 16t1 Street, N.V.,
Washington, D.C. 20036 (Order No. 79052, $1.50)
EDRS PRICE NF -$0.76 HC-$1.58 PLUS POSTAGEDESCRIPTORS *Ecology; Elementary Education; Elementary Grades;
*Environmental Education; Instructional Material;Investigations; *I-earning Activities; NaturalResources; Outdocr Education; *Science Education;Teaching Guides
IDENTIFIERS Ice; Snaw; *WeatAer
ABSTRACTThis environmental unit is one of a serles designed
for integration within an existing curriculum. The unit isself-contained and requires minimal teacher preparation. Thephilosophy behind the series is based on an experience-orientedprocess that encourages self-paced independent student 'work. In thisunit, students study the physical properties of snow and ice inrelation to water, heat, the environment, and theiselves. It is agoal of this unit that, by leaning more about the behavior of waterand its environmental influences, the students will become involvedenough to recognize water as a vital source of life and want toprotect it. Activities, designed for the elementary grader, aregenerally done outside. Students observe snowflakes, makecross-sections of snow banks, study snow density and make snowpaintings. Besides these, there are numerous other snow activitiesthat guide students to the goal of this unit. Each includes a list ofmaterials, background information, and directions for the teacher.(MA)
J S OE PAOTMENF OF HEALTHtOuCATTON V*IELFAVIEHAI TONAL ThISITFUTV OF
EDUCATIONN H A S V. F N uFFNO
Evt( t PWON,
Ht 'N w :A, ON DW.C.INN , N.' ,' F 4 OW IW
..*1 : tic N$ t ki rWiON= `, II 01
, \ 0,, ow p,-),
.41 lam i 11111111AULt
0
0
O co
0 a0
0
00
0
0
6
0
0
0
0
00
o 0
0
0 0 0
0o o
00
0
O 0
0
0
0
a 0o 0
O 0
0
00
0 jdrisaa.L.S 0
0
0
0
0
O 0
0
0
0
O
0a 0
0110
0
0
00
0 O
O 0 00 0
0
0 0
0 00
O 0 o
to 0
0
0
6 6
0
0
6 0
0
O 0 0co
0
0
0 a 0
O 0
0
0
0
0
0
o °0
0
0 0
00
00 0
0
0O 0
O 0 0 °O 0 0
O
0 0 0
O 0O * 0
co co
a
O 00 0
0
0
0
0
0
0
0
0
0
0
0
O 0O 0
00
O 0
0
0
a
0
V
PF14%41'60.4 ,t, RE Em+E)DoT,t THIS COT.,RIGHTED MATE NIAL NA!, BUN COUNTED EiT
John Cary StoneNat. Wildlife Fed.
U) EWIC ANU 141C.ANI:ATIONS OPEF.ATING°NW A AGM INIENTs WITH THE NATIONAL IN$71TUTE 1.); EDUCATION FUFTTIFFI AEFVODUCTION OUTSIDE THE f R1C SsiSTETO RE
WIRES PEFINTISSION OF THE f,OPYIIIIGNT
OWNER
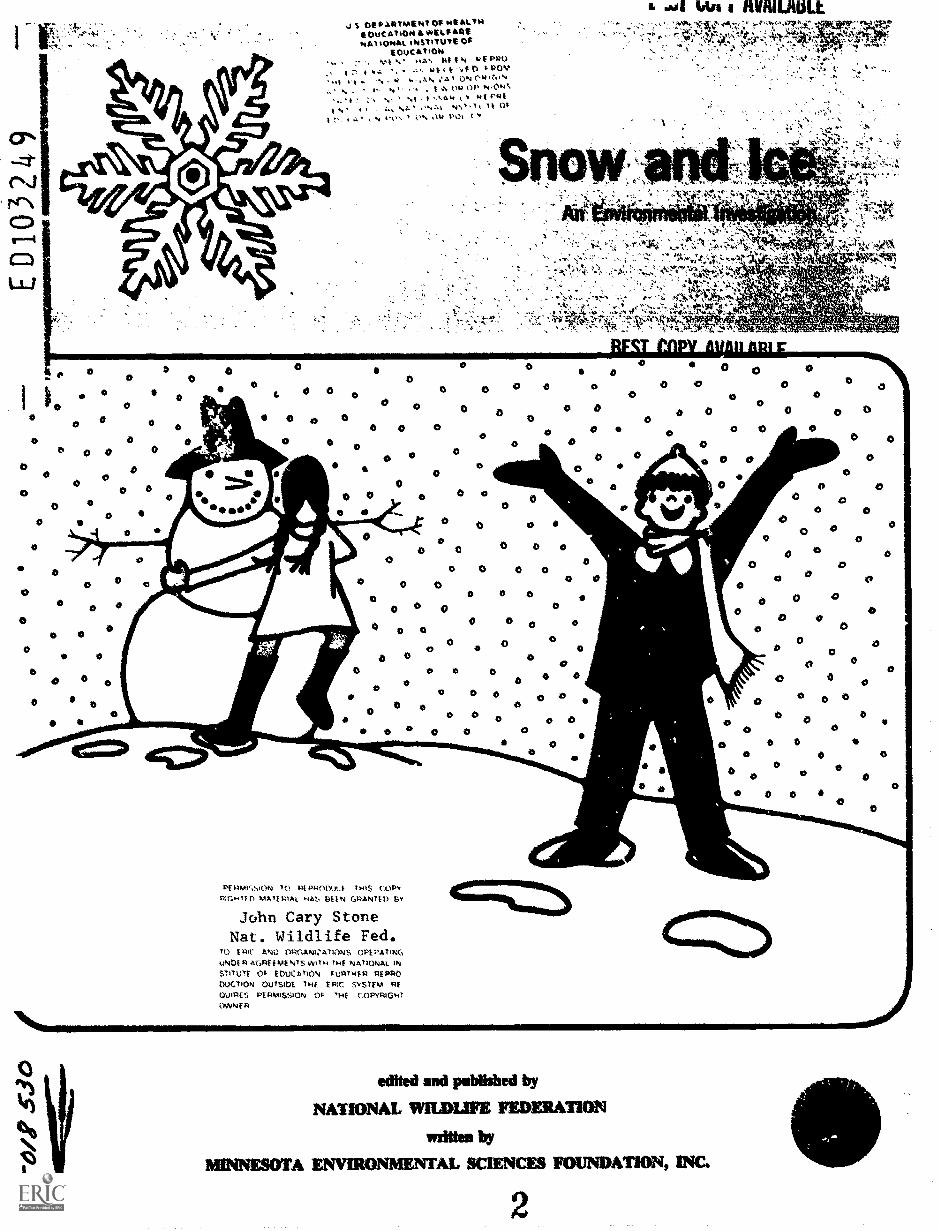
4gm st)edited and published by
NATIONAL WILDLIFE FEDERATION
written by
MINNESOTA ENVIRONMENTAL SCIENCES FOUNDATION, INC.
2
THE ENVIRONMENTAL UNITSI his Is ont of .1 ,2,101:`) 01 I'llV1101.111V111,11 1:11Its Ivy the Environmental St. iente 011d published by tilt
:\',1111ANn al t\'ild l'icdui t1
In b,th theory anti. piattite edut anon is the essential base for long-hinge lot .1l, regional and national programs
to improe and maint,un the quality ot ;0\ iconmen; nticessary tor mans tytiltorti and survival. C tiiens must be aware
ot ologit al relatit nships in order to rttogni,iti, appret late and tultill constructive roles in society. illy awareness
-h.tultl ht' 1.1k1111. bud otwh the existing tidutational pokes.- in classroom and related school attivities. No special
se, on et oiog\ till teplat e the need to inte?israte learning throughout the existing curricula of our school
sy,teras, Eurthei more he lite styles and V.Illie-systems nctuss,Ir!' for rational environmental tensions can best he
thiough repeated exposure to et ologit al learning which pervades the total educational experience,
It was t.:th these thoughts that we deveIopeo these t urrit Blum materials, _They were deigned for the clo:,sroom
It at het t. ;:st' lIth a minimal amount of preparation. Hwy are meant to be part of tilt existing curriculumto com-
plement and enhant ti what ,tudent, are already ....ixperient mg Fach unit is complete in it'.elt, containing easy-to-follow
aus( ttrtion f is and 1110110(k a'N WC!! t Iists of simple materials.
Eht undelvmg philosophy throughout these units is that learning about the en% tronment is not a meiror;iation
profess, but rather an experience-oriented. e xperiment-observation- conclusion sort ot Itiarnint;. We are confident that
students at all levels will arrive at intelligent ecological conclusions it given the proper opportunities to do so, and it
not toned into "right- answers and precisely "accurate" names for their observations. It followed in principle by the
teat her, these units will result in meaningtul environmental education.
In the prote,, of development. these units have been used and tested by classroom teachers. after which they have
undergone evaluations. revisions and adaptations. Further constructive comments trom tlassroom teachers are en-
, ouraged to the hope that we may make even more improvements.
A list of units in this group appears on the inside back cover.
About the National Wildlife Federation-1412 Sixteenth Street, NAV., Washington, D,C. 2003t .
rounded in 103o, the National Wildlife Federation has the largest membership of any conservation organi,ation in
the world and has affiliated groups in each of the 50 states. Guam, and the Virgin Islands, It is a non-profit, non-
governmental orgamia.ion devoted to the imprei.ement of the environment and proper use of all natural resources.
NM' distributes almost one million copies ot free and inexpensive educational materials each year to youngsters, edu-
cators and concerned (Ail/ens. Educational activities are financed through contributions for Wildlife Conservation
Stamps,
About the Environmental Science Center 5300 Glenwood Avenue, Minneapolis, Minnesota 55422
The Environmental Science Center. established in 10°7 under Title III of the Elementary and Secondary Education
Act is now the environmental education unit of the Minnesota Environmental Sciences Foundation. Inc. The Center
rks toward the establishment of environmental equilibrium through educationeducation in a fashion that will
develop a conscience which guides man in making rational judgments regarding the environmental consequences of
his actions To this end the Environmental Science Center is continuing to develop and test a wide variety of instruc-
tional materials and programs for adults who work with youngsters.
3
Snow and IceAn Environmental Investigation
BY
NATION Al. WILDLIFE FEDERATION
MINNESOTA ENVIRONMENTAL SCIENCES FOUNDATION, INC.
Detign and Illustrations hrJAN BLYLER
Through the activities in this unit, children will find out about manyphysical properties related to water and freezing.
But it is not necessary to dictate the explanations in terms of physicsand chemistry. The children can get firm handles on understandingwater's behavior without hearing any technical terms at all. In fact, theycan have a lot of fun experimenting and investigating on an intuitive,game-oriented level.
Without the special behavior of water our world would be so differ-ent that we wouldn't recognize iteven if we could be alive to see it.The relationship between water and temperature (which alters the formof water, making it ice, snow, or steam) is therefore a vital concept tobe grasped by all who must live in our environment. If the students cangain a knowledge of water's behavior, they can see a little more clearly howall the elements of the environment are inMrtwined, and how they relateto the world we all have to live in.
Water affects us, and we affect it. In fact, our very survival dependsupon water to much the same extent that its survival depends upon us.The goal of this unit is to get children interested and involved with water tothe point where they care enough to learn more and do more to protect it.
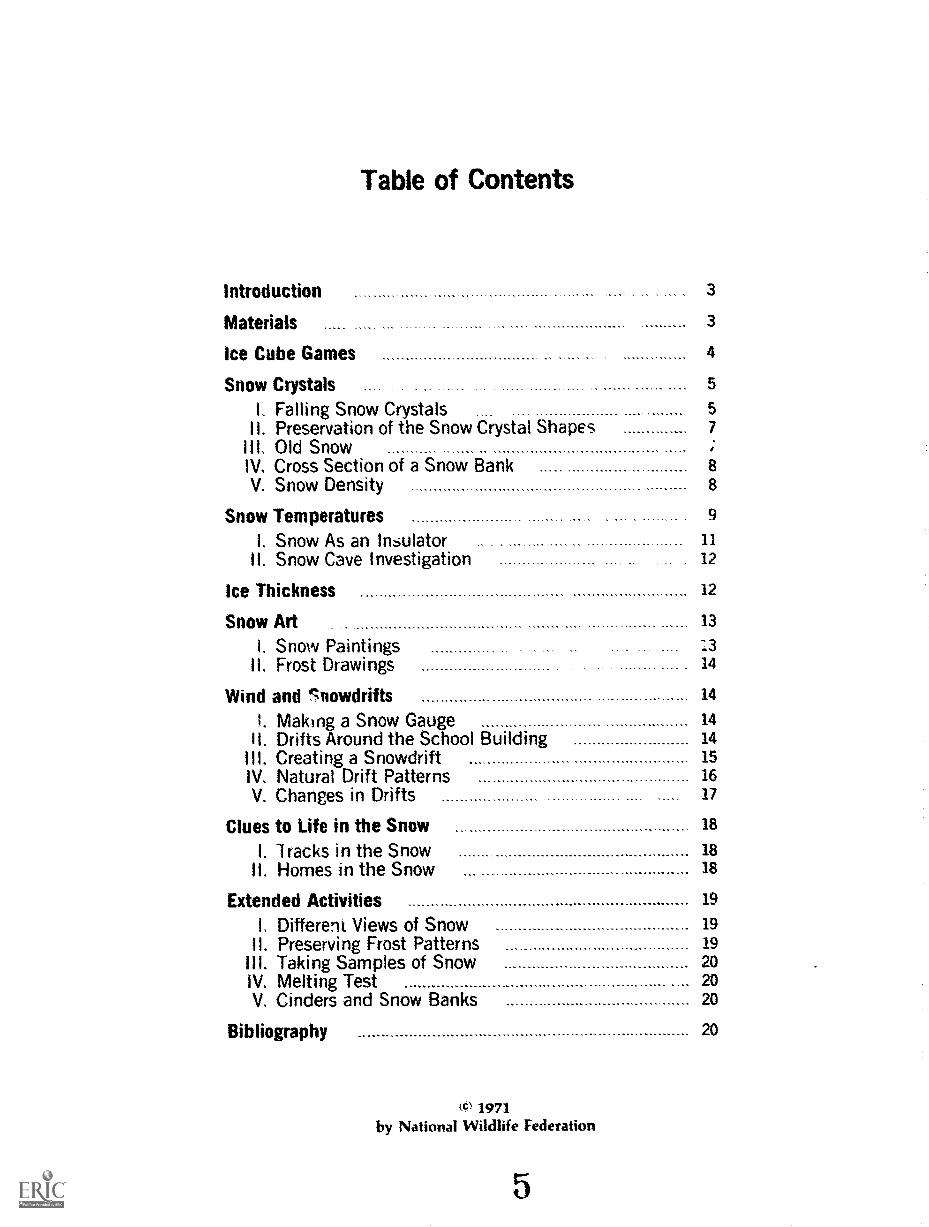
Table of Contents
Introduction 3
Materials 3
Ice Cube Games 4
Snow Crystals 5
1. Falling Snow Crystals 5II. Preservation of the Snow Crystal Shapes ........ 7
III. Old SnowIV. Cross Section of a Snow Bank 8
V. Snow Density 8
Snow Temperatures .. 9
1. Snow As an In6ulator 11
I. Snow Cave Investigation 12
Ice Thickness 12
Snow Art 13
I. Snow Paintings :3I. Frost Drawings .. 14
Wind and Snowdrifts 14
1. Making a Snow Gauge 14
II. Drifts Around the School Building 14
III. Creating a Snowdrift 15
IV. Natural Drift Patterns 16
V. Changes in Drifts 17
Clues to Life in the Snow 18
1. -tracks in the Snow 18
II. Homes in the Snow 18
Extended Activities 19
I. Different Views of Snow 19
I. Preserving Frost Patterns 19
Ill. Taking Samples of Snow 20IV. Melting Test 20V. Cinders and Snow Banks 20
Bibliography 20
(c) 1971by National Wildlife Federation
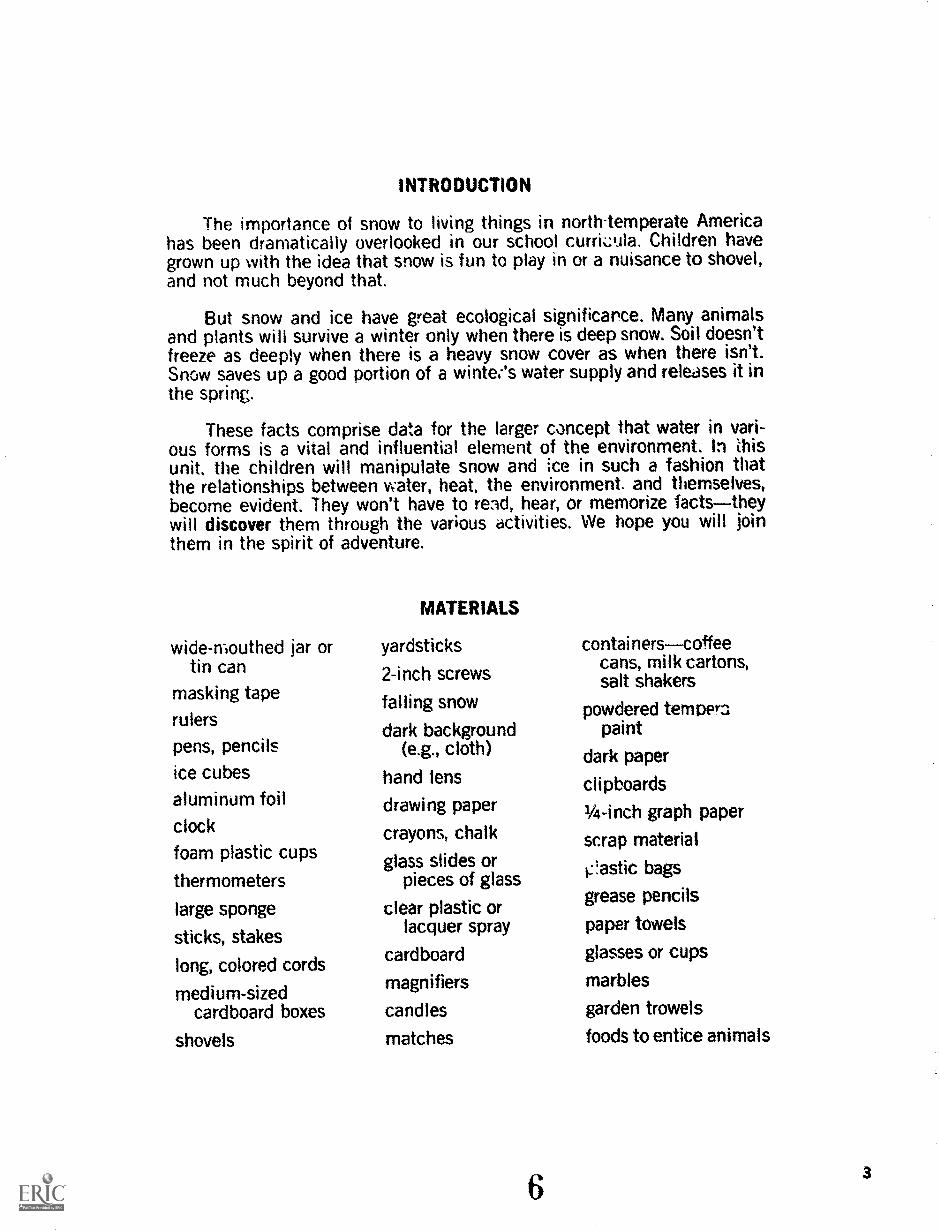
INTRODUCTION
The importance of snow to living things in north-temperate Americahas been dramatically overlooked in our school currOila. Children havegrown up with the idea that snow is fun to play in or a nuisance to shovel,and not much beyond that.
But snow and ice have great ecological significance. Many animalsand plants will survive a winter only when there is deep snow. Soil doesn'tfreeze as deeply when there is a heavy snow cover as when there isn't.Snow saves up a good portion of a winter's water supply and releases it inthe spring.
These facts comprise data for the larger concept that water in vari-ous forms is a vital and influential element of the environment. In thisunit, the children will manipulate snow and ice in such a fashion thatthe relationships between water, heat, the environment. and themselves,become evident. They won't have to read, hear, or memorize factstheywill discover them through the various activities. We hope you will jointhem in the spirit of adventure.
wide-mouthed jar ortin can
masking tape
rulers
pens, pencils
ice cubes
aluminum foilclock
foam plastic cups
thermometers
large sponge
sticks, stakes
long, colored cords
medium-sizedcardboard boxes
shovels
MATERIALS
yardsticks
2-inch screws
falling snow
dark background(e.g., cloth)
hand lens
drawing paper
crayons, chalk
glass slides orpieces of glass
clear plastic orlacquer spray
cardboard
magnifiers
candles
matches
containerscoffeecans, milk cartons,salt shakers
powdered tempernpaint
dark paper
clipboards
1/4-inch graph paper
scrap material
i.:!astic bags
grease pencils
paper towels
glasses or cups
marbles
garden trowels
foods to entice animals
3
BEST COPY AVAILABLE
Snow and IceICE CUBE GAMES
Games are fun for everyone. In addition, theyoften make a point. These ice cube games aresimple to play, but should also convey intuitivemessages to the children about the nature of waterand temperature.
The first game is Who can get an ice cube tomelt really fast?
The second game is: Who can make an ice cubelast really long?
A main goal is to have the children feel a needto collect information. The information collectedwill have to be selective, in order to be useful-that is, it will have to be relevant to their objectiveof melting or preserving an ice cube.
Those students who collect the most relevantinformation should be the most successful withtheir ice cubes. The information they use may havebeen gleaned from past experience or from thegame itself, but in either case the students shouldrealize they're basing their behavior on data they'vecollected.
State the object of one game to the childrenfor instance, melting an ice cube very quicklyandallow them to fend for themselves for a while, ex-perimenting and testing as they please. After thegame has been played once or twice, help thestudents compile the data they have collected.Useful data for the first game will fall mostly undertwo general categories: ways which are good tomelt ice cubes, and ways which do not melt icecubes very well.
Information from the students may look like thislist:
Good WaysPut on radiatorPut in mouthPut in pocketCrush cube
Pour Ways
Put or desk topPut in boxBlow on cubePut in cold room
Have the students play the game a few moretimes on the basis of the newly compiled informa-tion. Encourage the children to discover for them-selves the various means of playing the game
4
successfully, Don't give them clues. After they havecompiled their own lists they should be able torefine their methods and shorten the time formelting the ice cubes even further.
When trying to prevent an ice cube florn melting,the smallest space and best insulation should workthe most successfully.
Provide the students with:1. Ice cubes, two or three per student. For the
best and quickest results, ice cubes shouldbe small and uniform in size. Plastic trayscan be purchased for party ice cubes of only1/2 inch on an edge. The flat discs, squares, orhollow cylinders of ice made by some refrig-erators also work well.
2. Aluminum foil. Have it available when the stu-dents want to make a container for their ice.
3, Clock for timing. Many students won't thinkof checking the time when they start. If youdon't tell them to do this, they will learn itfor themselves more impressively when theyfind that they ;..re unable to compare theirresults with the other students' results.
4. Foam plastic cups, paper towels, and otherinsulating materials. Have them availablearound the room for students tc discoverwhen they want to preserve an ice cube.
5. Thermometers. Have them available for re-fined information gathering.
6. A large sponge.
A schedule something like the following could beused with the ice cube games:
1. Pose the problem: Who can get an ice cubeto melt really fast?
2. Set rules (i,e., methods or objects which mightbe "off limits" for your classroom situation).
3. Distribute the ice cubes.4. Have the class play the gamemaybe twice
to take care of blunders.5. Have the children who got their ice cubes to
melt fast explain how they did it.
BEST COPY AVAILABLE
b. Haw the Al,tre ideas, about the "real"goal of the game producing or reducingheat and the best way they found to reachthis goal.
7. Collect some of their information and makea list.
8. Discuss the list- why are certain thingt, on it?9. Try the game again with a rattle more empha-
sis on collecting data anJ keeping records.Introduce the tnermometers for anyone whowants to use them,
10. Note the techniques of three or four of thefastest meltmgs.
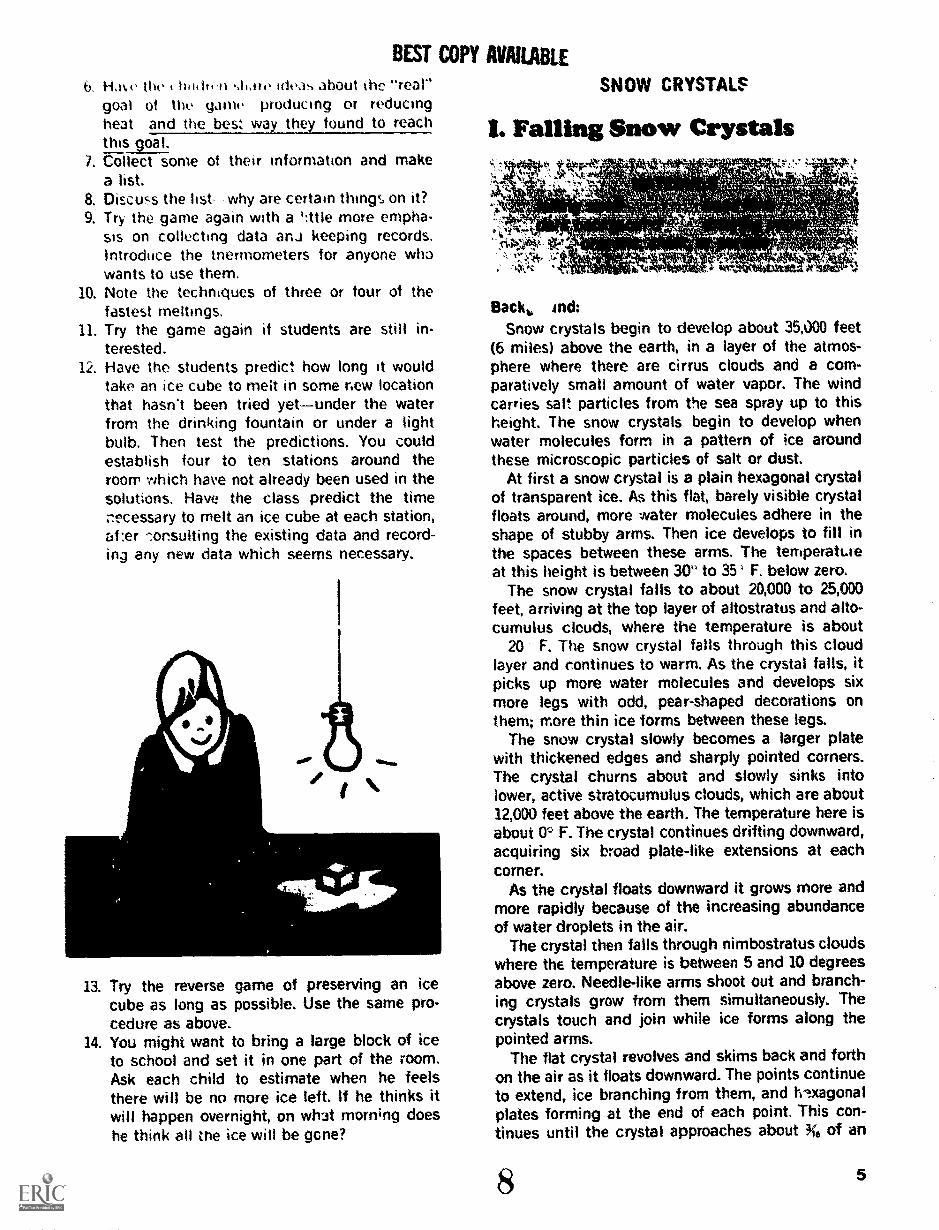
11. Try the game again if students are still in-terested.Have the students predict how long it wouldtake an ice cube to meit in some new locationthat hasn't been tried yetunder the waterfrom the drinking fountain or under a lightbulb. Then test the predictions. You couldestablish four to ten stations around theroom which have not already been used in thesolutions. Have the class predict the timenecessary to melt an ice cube at each station,af:er -consulting the existing data and record-ing any new data which seems necessary.
13. Try the reverse game of preserving an icecube as long as possible. Use the same pro-cedure as above.
14. You might want to bring a large block of iceto school and set it in one part of the room.Ask each child to estimate when he feelsthere will be no more ice left. If he thinks itwill happen overnight, on whit morning doeshe think all the ice will be gone?
SNOW CRYSTALS
I. Falling Snow Crystals
Back,, Ind:Snow crystals begin to develop about 35,000 feet
(6 miles) above the earth, in a layer of the atmos-phere where there are cirrus clouds and a com-paratively small amount of water vapor. The windcarries salt particles from the sea spray up to thisheight. The snow crystals begin to develop whenwater molecules form in a pattern of ice aroundthese microscopic particles of salt or dust.
At first a snow crystal is a plain hexagonal crystalof transparent ice. As this flat, barely visible crystalfloats around, more water molecules adhere in theshape of stubby arms. Then ice develops to fill inthe spaces between these arms. The temperatureat this height is between 30° to 35' F. below zero.
The snow crystal falls to about 20,000 to 25,000feet, arriving at the top layer of altostratus and alto-cumulus clouds, where the temperature is about
20 F. The snow crystal falls through this cloudlayer and continues to warm. As the crystal falls, itpicks up more water molecules and develops sixmore legs with odd, pear-shaped decorations onthem; more thin ice forms between these legs.
The snow crystal slowly becomes a larger platewith thickened edges and sharply pointed corners.The crystal churns about and slowly sinks intolower, active stratocumulus clouds, which are about12,000 feet above the earth. The temperature here isabout 0° F. The crystal continues drifting downward,acquiring six broad plate-like extensions at eachcorner.
As the crystal floats downward it grows more andmore rapidly because of the increasing abundanceof water droplets in the air.
The crystal then falls through nimbostratus cloudswhere the temperature is between 5 and 10 degreesabove zero. Needle-like arms shoot out and branch-ing crystals grow from them simultaneously. Thecrystals touch and join while ice forms along thepointed arms.
The flat crystal revolves and skims back and forthon the air as it floats downward. The points continueto extend, ice branching from them, and hexagonalplates forming at the end of each point, This con-tinues until the crystal approaches about 3f6 of an
8 5
rich in sire. I he now heavv enough to leavethe cloud and tall rapidly to earth.
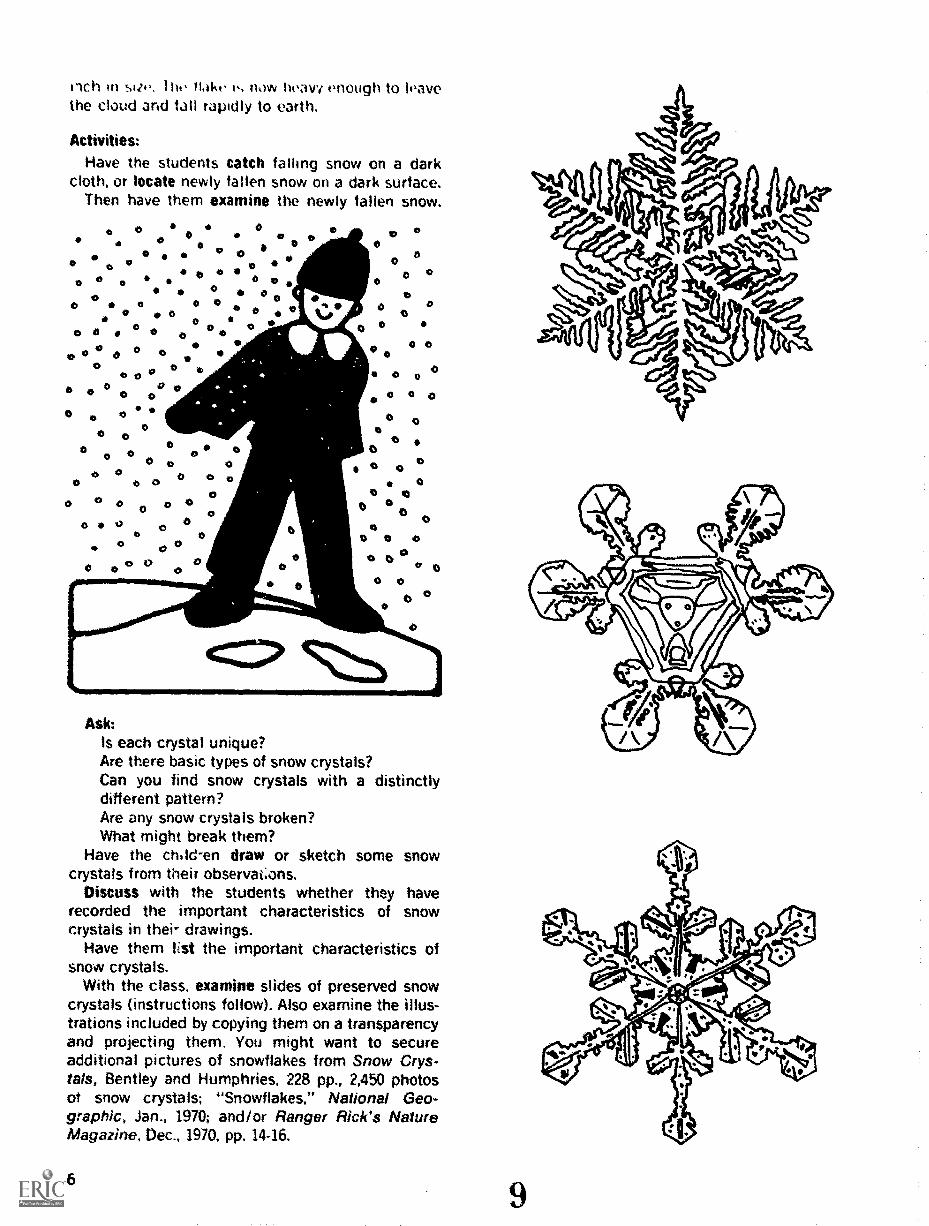
Activities:Have the students catch falling snow on a dark
cloth, or locate newly fallen snow on a dark surface.Then have them examine the newly fallen snow.
0
0
if0
0 0 000 0 0
00 0
0 0
0
o 00 0 0 0 00 0
0
0
00
0 0
0 O0
0 6 0 aa aO0 0
00
O b0 0 0O 0 0 a0 o0 0
O 00
O 0 0o
0
0
00
a 0 a
a0
0
O
0
O0
a 0
aa 0
O0
00
O 00
aco 0 0
co 0
0
0
Ask:Is each crystal unique?Are there basic types of snow crystals?Can you find snow crystals with a distinctlydifferent pattern?Are any snow crystals broken?What might break them?
Have the child-en draw or sketch some snowcrystals from their observat;ons.
Discuss with the students whether they haverecorded the important characteristics of snowcrystals in thei- drawings.
Have them list the important characteristics ofsnow crystals.
With the class, examine slides of preserved snowcrystals (instructions follow). Also examine the illus-trations included by copying them on a transparencyand projecting them. You might want to secureadditional pictures of snowflakes from Snow Crys-tals, Bentley and Humphries, 228 pp., 2,450 photosof snow crystals; "Snowflakes," National Geo-graphic, Jan., 1970; and/or Ranger Rick's NatureMagazine, Dec., 1970, pp. 14-16.
6
BEST COPY AVAILABLE
Have the cloy, draw or sketch snow crystals again,including the additiural into nut ion which the Silkdents have accumulated.
Snow forms in many crystal shapes, each de-pendent upon tmverture and other air conditions.Not very much is known yet about the weather con-ditions which produce different kinds of snowcrystals. The most common snow crystal, however,is the six-sided fern patterned one.
IL Preservation of the SnowCrystal Shapes
It is possible to preserve snowflakes by using aclear lacquer spray on a slide.
Store the slides and lacquer in the freezing com-partment of your refrigerator. Wait until it is snow-ing. then quickly take the slides outside so theydon't have a chance to warm up. Hold each slideon a small piece of cardboard or wood so that theheat from your hand does not make the slide warm,Spray a thin coat of clear lacquer on the slide, andThen hold the slide out in the snow until severalsnowflakes have fallen on it. Keep the slide outsidein the cold, but protected from the snow for an hourwhile it dries. After the hour is up and the slidesare dry, bring them in and examine them with amicroscope or hand lens.
Instead of using microscope slides, lantern slides(for a 35 mm. slide projector) might be used.When the activity is completed the slides canthen be projected and the children can look at allcf the snowflakes at the same time.
V
III. Old SnowBackground:
Snowflakes begin as delicate crystals but are soontransformed into the granular crystals which arefound within and at the bottom of a layer of snow.They change their form during the evaporation ofthe many fine p iints that term angles between thedelicate crystals. This evaporation makes the airaround the crystals my moist, The moisture re-condenses (because of the coldness) and depositsparticles of ice onto the flatter, smoother surfacesof the crystals. It is this continuous evaporationfrom sharp points and condensation onto flat placeswhich transforms the crystals into little lumps of ice.
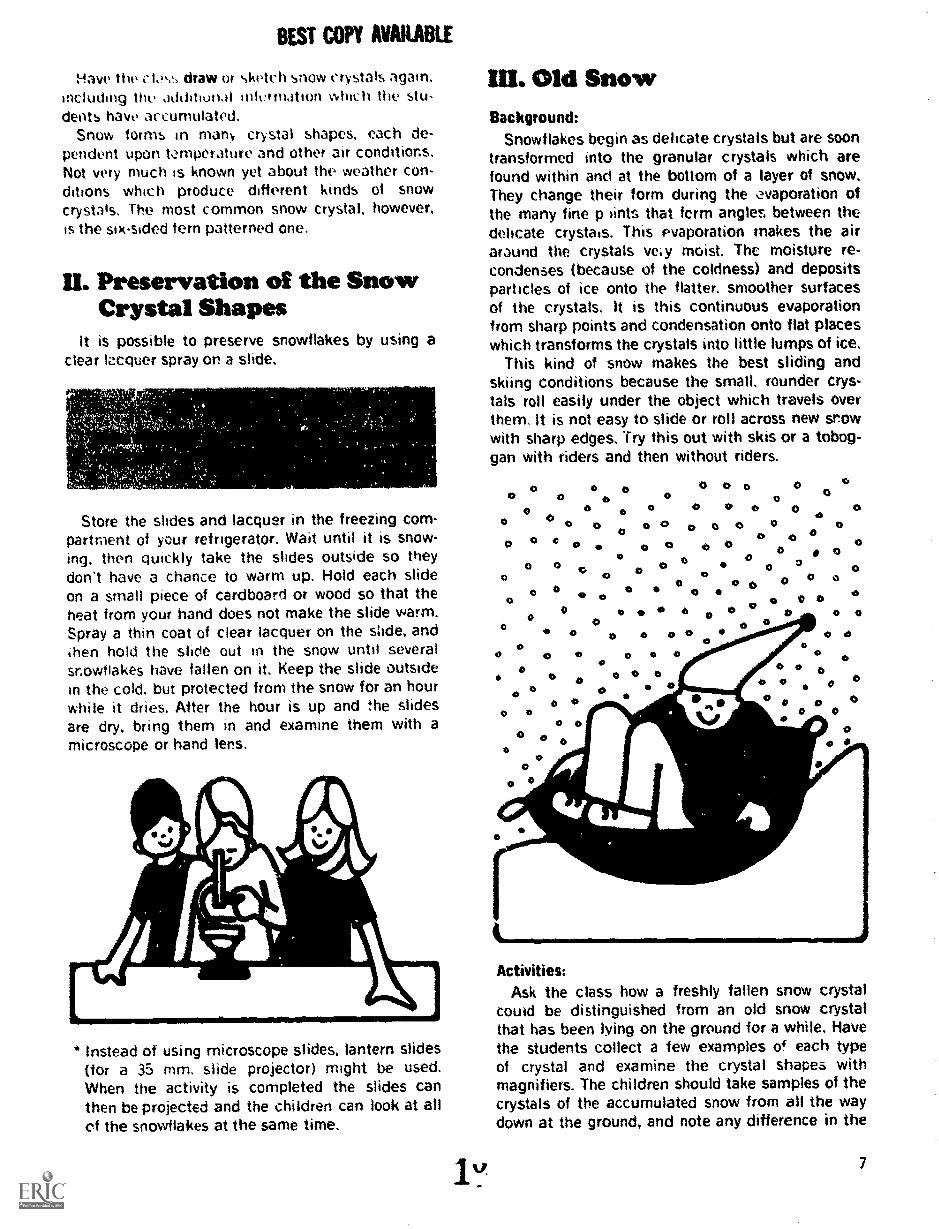
This kind of snow makes the best sliding andskiing conditions because the small, rounder crys-tals roll easily under the object which travels overthem. It is not easy to slide or roll across new snowwith sharp edges. Try this out with skis or a tobog-gan with riders and then without riders.
O 0 oO o oo o 0
O Co o 0 o a 0 o o 0o o c o 0 o 0o
o 0 0 0O 0 o oO 0 o 0 0 0 0
0 0 o 000 0 0 0
0
0
o
00 e0
0 0
0 00
0 6 0o
0
0
00
0
O 00 d 0
0o
0011) 0 0O 0 00
0
0
0
0
o
0
0
Activities:Ask the class how a freshly fallen snow crystal
could be distinguished from an old snow crystalthat has been lying on the ground for a while. Havethe students collect a few examples of each typeof crystal and examine the crystal shapes withmagnifiers. The children should take samples of thecrystals of the accumulated snow from all the waydown at the ground, and note any difference in the
7
BEST COPY AVAILABLE
crystal form between these and the crystals on thetop. Ask the a. it they .,iippo,e that the snowwhich fell first, and is closest to the ground, tell asthe crystal form they now observe.
IV. Cross Section ofa Snow Sank
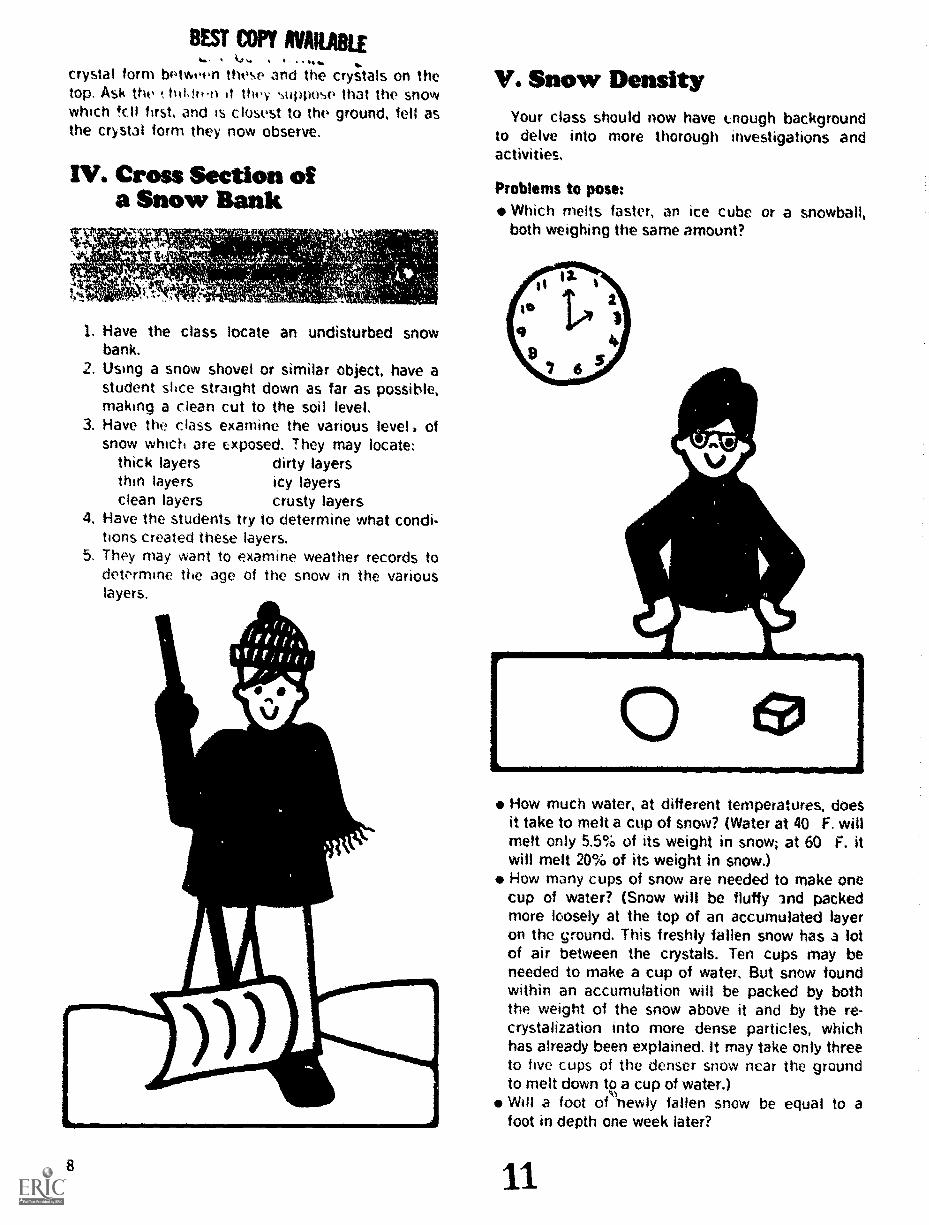
1. Have the class locate an undisturbed snowbank.
2. Using a snow shovel or similar object, have astudent slice straight down as far as possible,making a clean cut to the soil level.
3. Have the class examine the various level ofsnow which are exposed. They may locate:
thick layers dirty layersthin layers icy layersclean layers crusty layers
4. Have the students try to determine what condi-tions created these layers.
5. They may want to examine weather records todetermine the age of the snow in the variouslayers.
8
V. Snow DensityYour class should now have enough background
to delve into more thorough investigations andactivities,
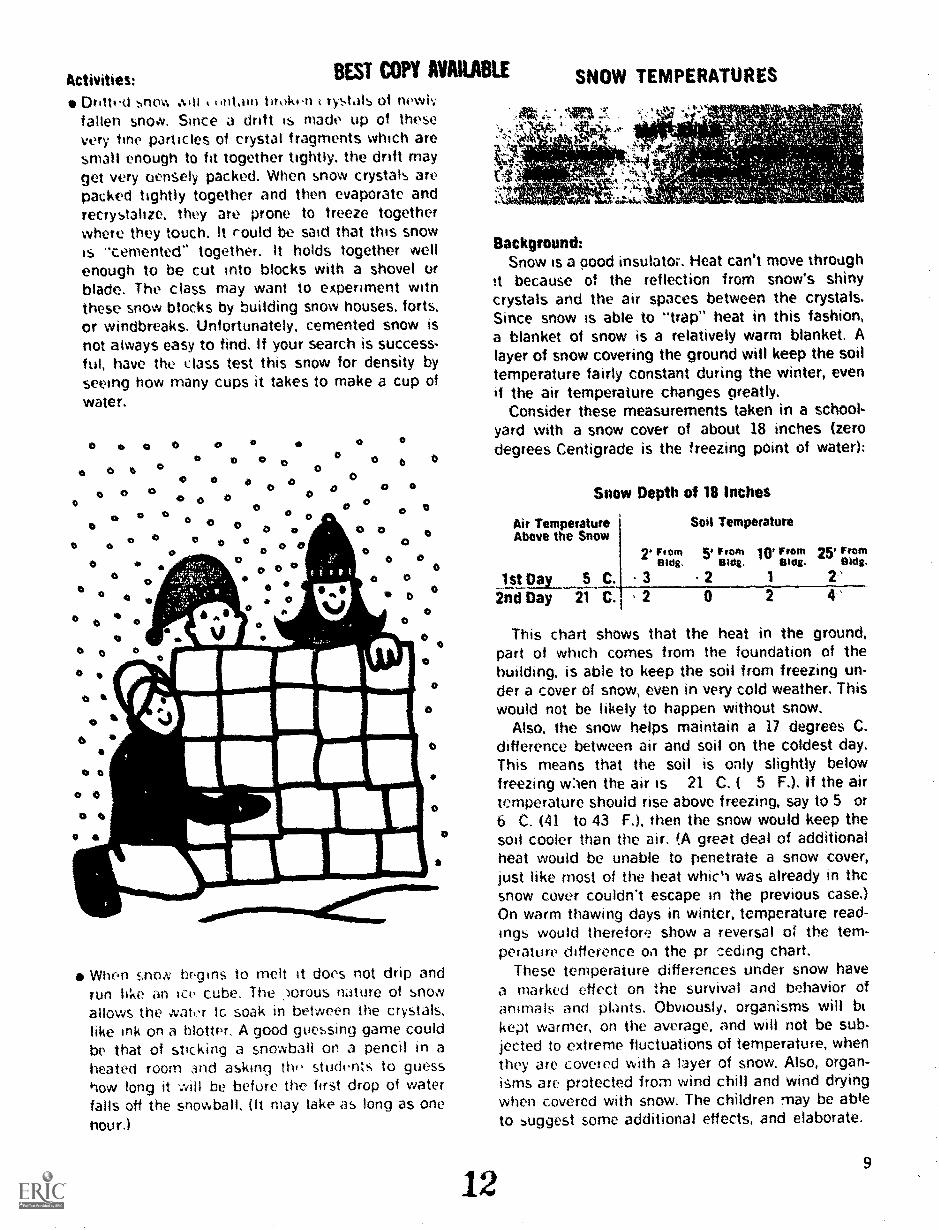
Problems to pose:Which melts faster, an ice cube or a snowball,both weighing the same amount?
How much water, at different temperatures, doesit take to melt a cup of snow? (Water at 40 F. willmelt only 5.5% of its weight in snow; at 60 F. itwill melt 20% of its weight in snow.)How many cups of snow are needed to make onecup of water? (Snow will be fluffy -Ind packedmore loosely at the top of an accumulated layeron the ground. This freshly fallen snow has a lotof air between the crystals. Ten cups may beneeded to make a cup of water. But snow foundwithin an accumulation will be packed by boththe weight of the snow above it and by the re-crystalization into more dense particles, whichhas already been explained. It may take only threeto live cups of the denser snow near the groundto melt down to a cup of water.)Will a foot of
,),
newly fallen snow be equal to afoot in depth one week later?
11
Activities: BEST COPY AVAILABLE
Dont 11 snow wei < ,intain broken rystals of newlyfallen snow, Since a drift is made up of thesevery tine particles of crystal fragments which aresmall enough to fit together tightly. the drift mayget very oensely packed. When snow crystals arepacked tightly together and then evaporate andrecrystalize, they are prone to freeze togetherwhere they touch. It could be said that this snowis "cemented" together. It holds together wellenough to be cut into blocks with a shovel orblade. The class may want to experiment withthese snow blocks by building snow houses. forts,or windbreaks. Unfortunately, cemented snow isnot always easy to find. If your search is success-ful, have the class test this snow for density byseeing how many cups it takes to make a cup of
water.
o *0
0 0
D O o 00
O 0 0 o 0O
0 00
6
0
0
0
0
0 00 0
MOW
0
0
When snow bp gins to melt it does not drip andrun like an ice cube. The )orous nature of snowallows the Nater to soak in between the crystals,like in on a blotter. A good guessing game couldbe that of sticking a snowball on a pencil in aheated room and asking the students to guesshow long it be before the first drop of waterfalls off the snowball. (It may take as long as oneflour.)
12
SNOW TEMPERATURES
Background:Snow is a pod insulator. Heat can't move through
it because of the reflection from snow's shinycrystals and the air spaces between the crystals.Since snow is able to "trap" heat in this fashion,a blanket of snow is a relatively warm blanket. Alayer of snow covering the ground will keep the soiltemperature fairly constant during the winter, evenif the air temperature changes greatly.
Consider these measurements taken in a school-yard with a snow cover of about 18 inches (zerodegrees Centigrade is the freezing point of water):
Snow Depth of 18 Inches
All TemperatureAbove the Snow
lst Day 5 C.2nd Day 21 C.
Sot! Temperature
2, From 5, FromBldg. Bldg.
3 2
2
10' Fran 25' FromBldg. Bldg.
12.'
24'
This chart shows that the heat in the ground,part of which comes from the foundation of thebuilding, is able to keep the soil from freezing un-der a cover of snow, even in very cold weather. Thiswould not be likely to happen without snow.
Also, the snow helps maintain a 17 degrees C.difference between air and soil on the coldest day.This means that the soil is only slightly belowfreezing wren the air is 21 C. ( 5 F.). if the airtemperature should rise above freezing, say to 5 or6 C. (41 to 43 F.), then the snow would keep thesoil cooler than the air. (A great deal of additionalheat would be unable to penetrate a snow cover,just like most of the heat which was already in thesnow cover couldn't escape in the previous case.)On warm thawing days in winter, temperature read-ings would therefore show a reversal of the tem-perature difference on the pr ceding Chart.
These temperature differences under snow havea marked effect on the survival and behavior ofanimals and plants. Obviously, organisms will btkept warmer, on the average, and will not be sub-jected to extreme fluctuations of temperature, whenthey are covered with a layer of snow. Also, organ-isms are protected from wind chill and wind dryingwhen covered with snow. The children may be ableto suggest some additional effects, and elaborate.
9
Snow also affects human behavior in the winter.Have the children ihscuss the following ..ituations:
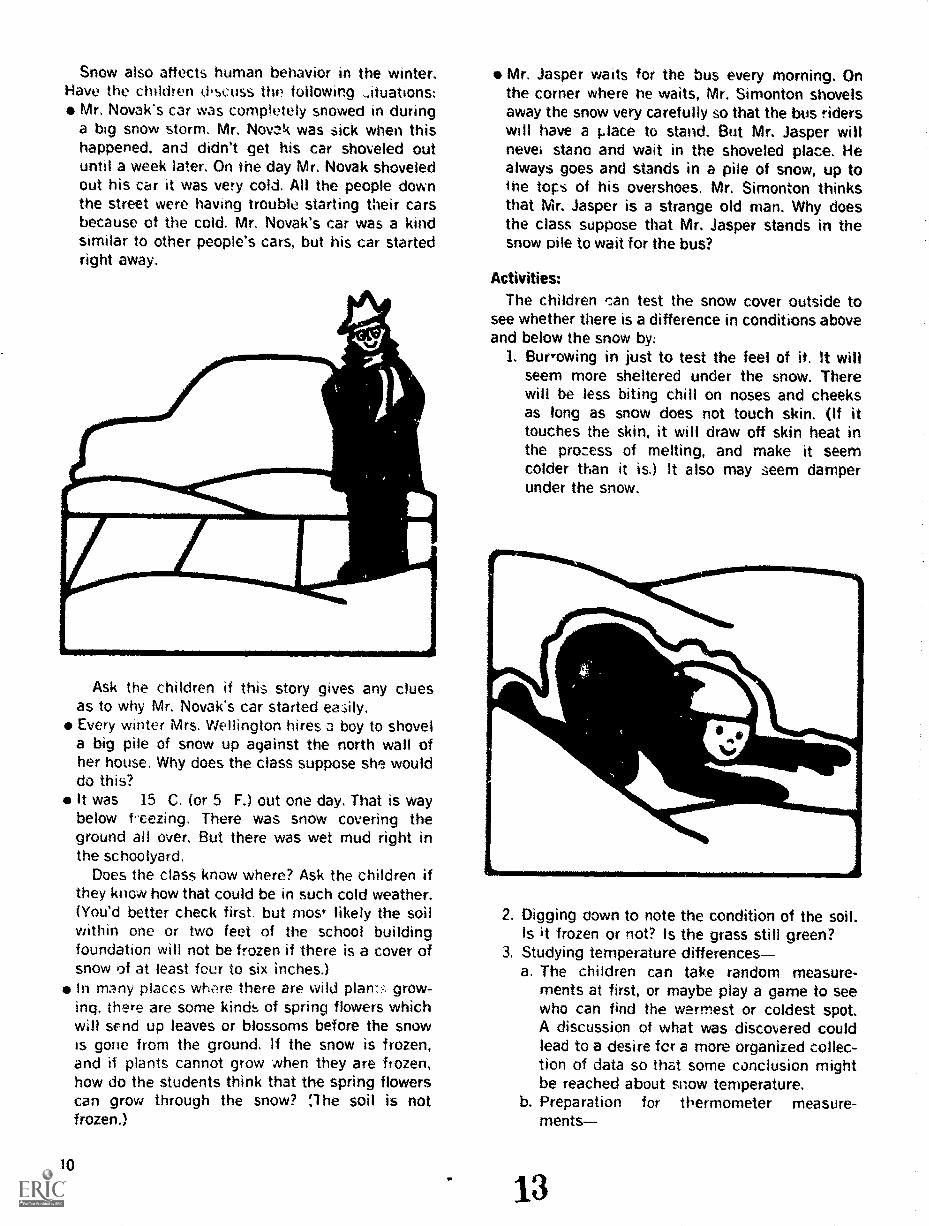
Mr. Novak's car was completely snowed in duringa big snow storm. Mr. Novak was sick when thishappened, and didn't get his car shoveled outuntil a week later. On the day Mr. Novak shoveledout his car it was very cold. All the people downthe street were having trouble starting their carsbecause of the cold. Mr. Novak's car was a kindsimilar to other people's cars, but his car startedright away.
Ask the children if this story gives any cluesas to why Mr. Novak's car started easily.Every winter Mrs. Wellington hires a boy to shovela big pile of snow up against the north wall ofher house. Why does the class suppose she woulddo this?It was 15 C. (or 5 F.) out one day. That is waybelow f-eezing. There was snow covering theground all over. But there was wet mud right inthe schoolyard.
Does the class know where? Ask the children ifthey know how that could be in such cold weather.(You'd better check first. but most likely the soilwithin one or two feet of the school buildingfoundation will not be frozen if there is a cover ofsnow of at least four to six inches.)In many places where there are wild plan::-. grow-ing, there are some kinds of spring flowers whichwill send up leaves or blossoms before the snowis gone from the ground. If the snow is frozen,and if plants cannot grow when they are frozen,how do the students think that the spring flowerscan grow through the snow? ',1he soil is notfrozen.)
10
Mr. Jasper waits for the bus every morning. Onthe corner where tie waits, Mr. Simonton shovelsaway the snow very carefully so that the bus riderswill have a 1...lace to stand. But Mr. Jasper willnevei steno and wait in the shoveled place. Healways goes and stands in a pile of snow, up tothe tops of his overshoes. Mr. Simonton thinksthat Mr. Jasper is a strange old man. Why doesthe class suppose that Mr. Jasper stands in thesnow pile to wait for the bus?
Activities:The children ran test the snow cover outside to
see whether there is a difference in conditions aboveand below the snow by:
1. Burrowing in just to test the feel of it. It willseem more sheltered under the snow. Therewill be less biting chill on noses and cheeksas long as snow does not touch skin. (If ittouches the skin, it will draw off skin heat inthe process of melting, and make it seemcolder than it is.) It also may seem damperunder the snow.
2. Digging down to note the condition of the soil.Is it frozen or not? Is the grass still green?
3. Studying temperature differencesa. The children can take random measure-
ments at first, or maybe play a game to seewho can find the warmest or coldest spot.A discussion of what was discovered couldlead to a desire for a more organized collec-tion of data so that some conclusion mightbe reached about snow temperature.
b. Preparation for thermometer measure-ments
13
BEST COPY AVAkABLE
Select a number of stations. Mark themwith a !,tic.k or with dry te,npera colorsprinkled on the snow. Select stationsthat will provide the widest possible di-vergence of results such as:
near the school budding and awayfrom it
-- in deep snow and in shallow sr,owunder bushes and in the clear
Put long, colored cords on thermometersso they won't be lost in the snow.Have the children work in pairs or ingroups. For fast work in cold weather,each pair of children could be responsi-ble for only one rad'
c. Measurements with a th_rmometerMeasure air tert...perature in at least threelocations.Measure the temperature halfway down inthe snow.Measure the temperature at soil surface.Collect data on a big picture chart.Form conclusions. Can any of the prob-lems in the previous situat'ons for dis-cussion about how snow affects humansbe solved now?
I. Snow As an Insulator
The purpose of this section is to determine tem-perature differences between air inside boxes whichare exposed to the wind on the north and southsides of the building, and boxes which are coveredwith a thick of thin layer of snow.
Background:1. Have the children cut a small door on one side
of eac'l of six boxes. The doors should be onlylarge enough to permit a hand and thermom-eter to enter. The students should cut onlyalong three sides of a door so that it can beswung shut after each temperature reading.A 2-inch screw could be placed in each doorto use as a handle.
2. Have the children seal the box tops closedwith masking tape.
3. It may be necessary to place one or two heavystones in each box as weights against the wind.
14
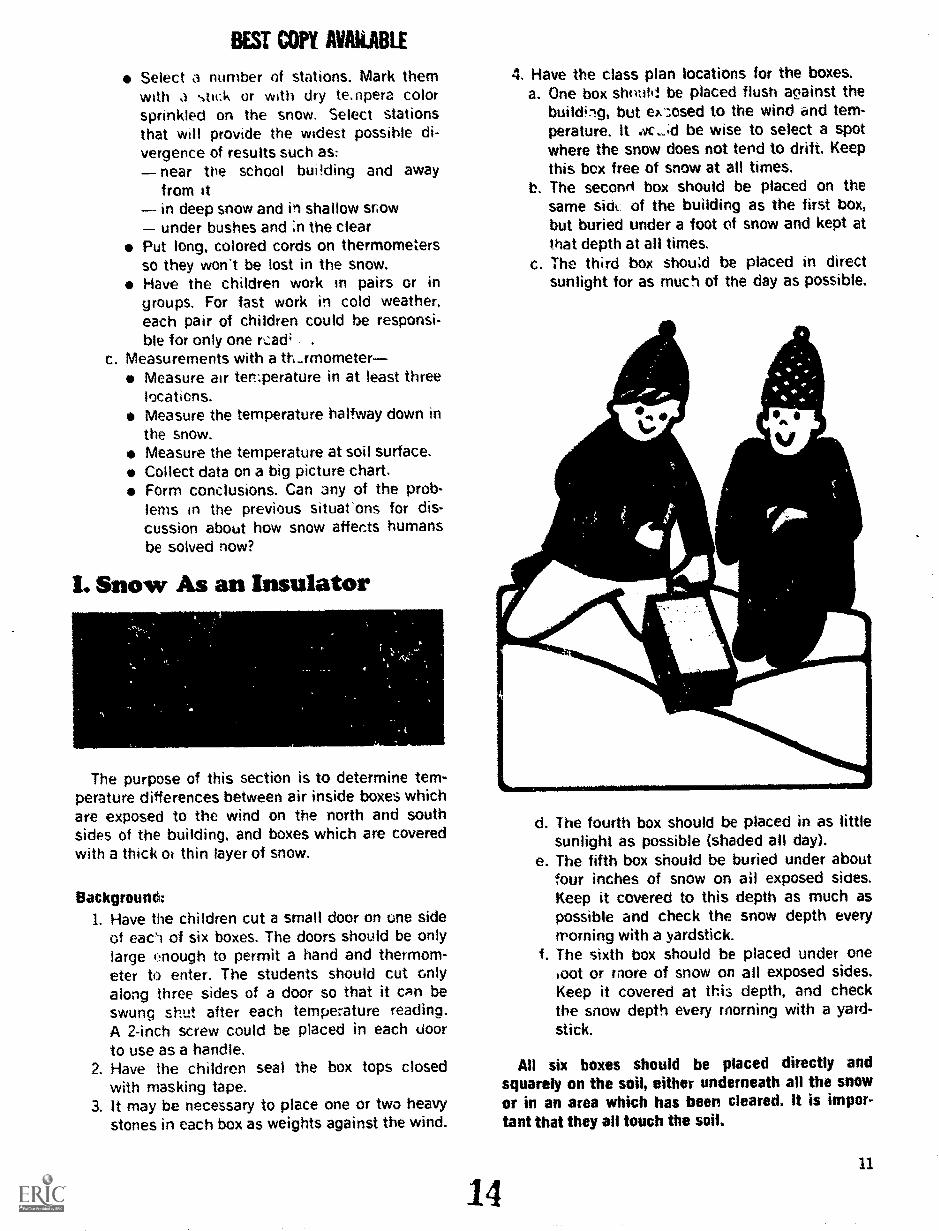
4. Have the class plan locations for the boxes.a. One box shozild be placed flush aoainst the
building, but ex'Ased to the wind and tem-perature. It ac.,;(1 be wise to select a spotwhere the snow does not tend to drift. Keepthis box free of snow at all times.
b. The seconri box should be placed on thesame sick of the building as the first box,but buried under a foot of snow and kept atthat depth at all times.
c. The third box should be placed in directsunlight for as much of the day as possible.
d. The fourth box should be placed in as littlesunlight as possible (shaded all day).
e. The fifth box should be buried under aboutfour inches of snow on ail exposed sides.Keep it covered to this depth as much aspossible and check the snow depth everymorning with a yardstick.
f. The sixth box should be placed under one,00t or more of snow on all exposed sides.Keep it covered at this depth, and checkthe snow depth every morning with a yard-stick.
All six boxes should be placed directly andsquarely on the soil, either underneath all the snowor in an area which has been cleared. It is impor-tant that they all touch the soil..
11
Activities:Have the students check and record the tem-perature of the air near each box.
2. Have them check and record the temperatureof the air inside each box. This will probablytake between five and ten minutes. The colderit is, the longer it will take to get an accuratereading. You .gill probably want to have a childcheck the thermometer periocically the firstor second time that a reading is taken, to estab-lish a proper time duration for an accuratetemperature measurement. It will be necessaryto dig in at the side of the buried boxes whereeach door is located, in order to get a thermom-eter inside. Have the children lay it down in-side each box. Be sure to replace the snowcover at the proper depth for the boxes whichare buried.
3. Have the class repeat this reading under vary-ing weather conditions over a one- or two-weekperiod.
4. When all the information is gethered, have theclass examine the results.
5. Discuss the findings. Have the children makepredictions and generalizations about snowtemperature. Did they find that snow is a goodinsulator? How much effect did they find thatthe sun seems to have upon winter tempera-tures? Did they discover that the depth of thesnow cover makes a difference in the insula-tion which is provided? Have them suggestwhat other factors may have influenced theirfindings. Have the class invent other activitiesto go with the problem.
1.
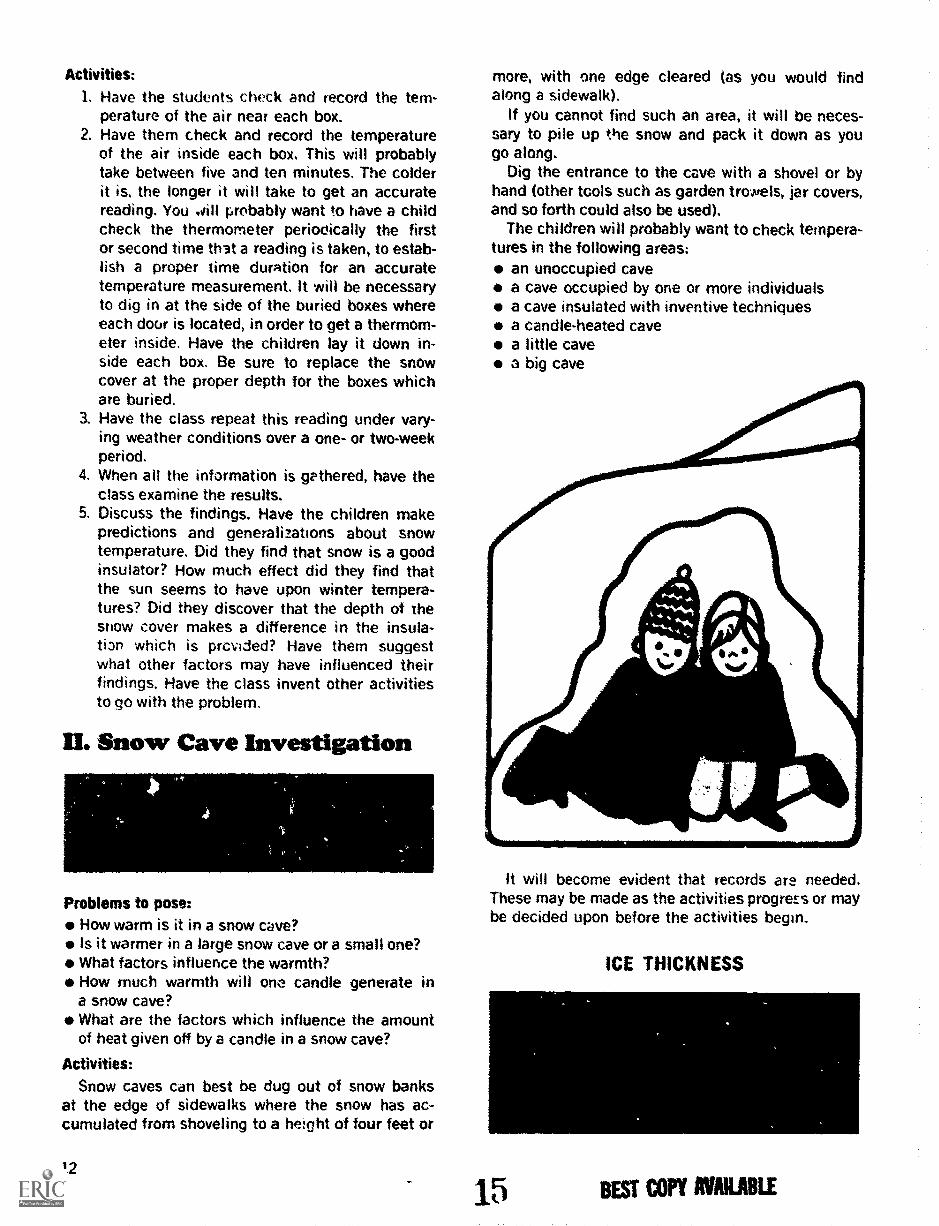
II. Snow Cave Investigation
Problems to pose:How warm is it in a snow cave?Is it warmer in a large snow cave or a small one?What factors influence the warmth?How much warmth will one candle generate ina snow cave?What are the factors which influence the amountof heat given off by a candle in a snow cave?
Activities:Snow caves can best be dug out of snow banks
at the edge of sidewalks where the snow has ac-cumulated from shoveling to a height of four feet or
12
more, with one edge cleared (as you would findalong a sidewalk).
If you cannot find such an area, it will be neces-sary to pile up the snow and pack it down as yougo along.
Dig the entrance to the cave with a shovel or byhand (other tools such as garden trowels, jar covers,and so forth could also be used).
The children will probably want to check tempera-tures in the following areas:
an unoccupied cavea cave occupied by one or more individualsa cave insulated with inventive techniquesa candle-heated cavea little cavea big cave
It will become evident that records are needed.These may be made as the activities progress or maybe decided upon before the activities begin.
ICE THICKNESS
BEST COPY AVAILABLE
BEST COPY AVAILABLE
Problems to pose:How fast does ice develop?What factors influence this development?How thick does the ice become in a container?What factors influence the thickness of ice?Does ice ever get thinner?
Activities:You will want to pose the problems and then al-
low the cuss time for contemplating them. One waythey might devise to investigate the problems wouldbe to place the same number of cupfuls of water inseveral containers. In a separate container theymight want to double the amount of water. Eachcontainer should be numbered with crayon on theoutside, and e h should have the water levelmarked on the outside also. All the containersshould be brought outdoors on a cold day andplaced in a location where they won't be blownaway. The children could then observe and recordwhat happens.
J
There are a number of factors which you maywant to encourage the class to test.
influence of air temperature on ice thicknessinfluence of water temperature on ice thicknesssize of the container
a amount of watertemperature of water under the icethickness of the icetime needed to develop ice
16
influence of time on ice thicknesslocation of ice formation --top, sides, or bottom ofcanportion whi-h freezes lastTo study the problems, and to look at all the in-
fluencing factors, many tests will need to be st upunder different environmental circumstances.
Encourage the children to keep readable anduseful records.
SNOW ART
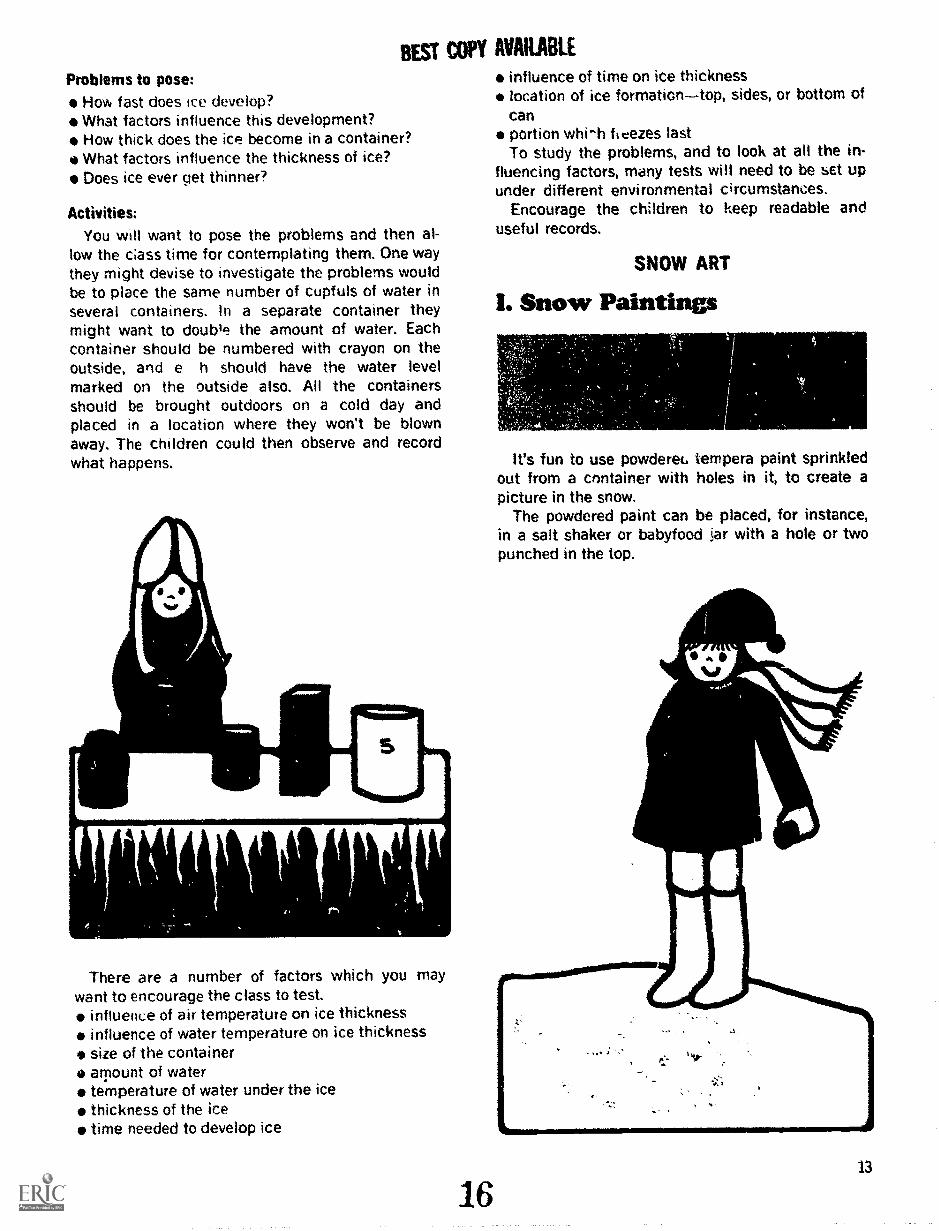
I. Snow Paintings
It's fun to use powdereL tempera paint sprinkledout from a container with holes in it, to create apicture in the snow.
The powdered paint can be placed, for instance,in a salt shaker or babyfood jar with a hole or twopunched in the top.
13
A day without wind is necessary to avoid havingthe paint land on the children. Painting along theedge of walks is easiest. Tracks in the snow willmess up the paintings if the child walks into thearea he is painting.
It may be possible for a child to "shake paint"in a larger area by incorporating his tracks into thepicture, or it may be possible to put the shaker ona long stick for a larger picture.
IL Frost Drawings
When you have frost on your windows it can befun to mark off square inches on the frosted win-dow and have several children draw what they see.
Cut a square inch out of the center of a largepiece of dark paper. Prop this paper against thewindow or tape it from the frame. It will expose apattern in the one inch area which was cut away.
Have one child reproduce this design in pencil,crayon, or chalk on another piece of paper. Thenmove the dark paper to expose another inch for an-other child to draw. The whole window can be repro-duced this way and the parts displayed together, insections. or separately, by those who are interested.
WIND AND SNOWDRIFTS
Snow depth and drifts are of concern to manypeople and organizations. The highway departmenttries to control the drifting of snow by constructingsnow fences, thus making its snow removal job lessdifficult. The farmer knows that a heavy snow cov-erage is good for his soil because it keeps theground from freezing to as great a depth as itwould without the snow. His soil, therefore, remainsmore porous and can better receiv. and hold springrains. Foresters have begun creating drifts to holdthe snow on the tops of mountains. The result ismany more days of spring runoff for the valleysbelow.
The effect of wind on snow can be related to theeffect of wind on soil. Wind erosion the land takesplace in a way similar to that of the formation ofsnowdrifts, but at a much sI 'wer rate. You maywish to relate the children's work with snow to theproblem of the erosion of soil by the wind.
14
BEST COPY AVAILABLE
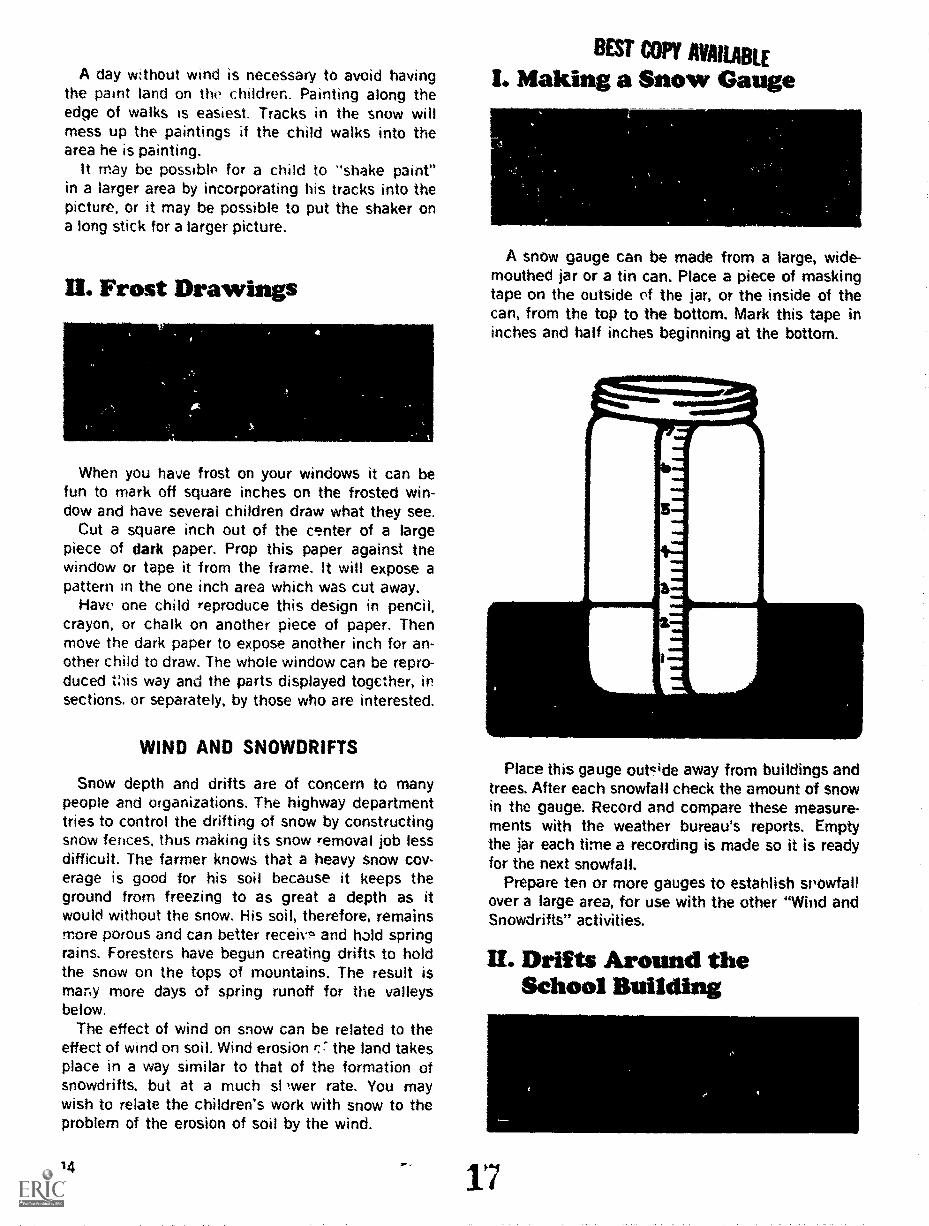
Making a Snow Gauge
A snow gauge can be made from a large, wide-mouthed jar or a tin can. Place a piece of maskingtape on the outside of the jar, or the inside of thecan, from the top to the bottom. Mark this tape ininches and half inches beginning at the bottom.
Place this gauge outside away from buildings andtrees. After each snowfall check the amount of snowin the gauge. Record and compare these measure-ments with the weather bureau's reports. Emptythe jar each time a recording is made so it is readyfor the next snowfall.
Prepare ten or more gauges to establish snowfallover a large area, for use with the other "Wind andSnowdrifts" activities.
If. Drifts Around theSchool Building
17
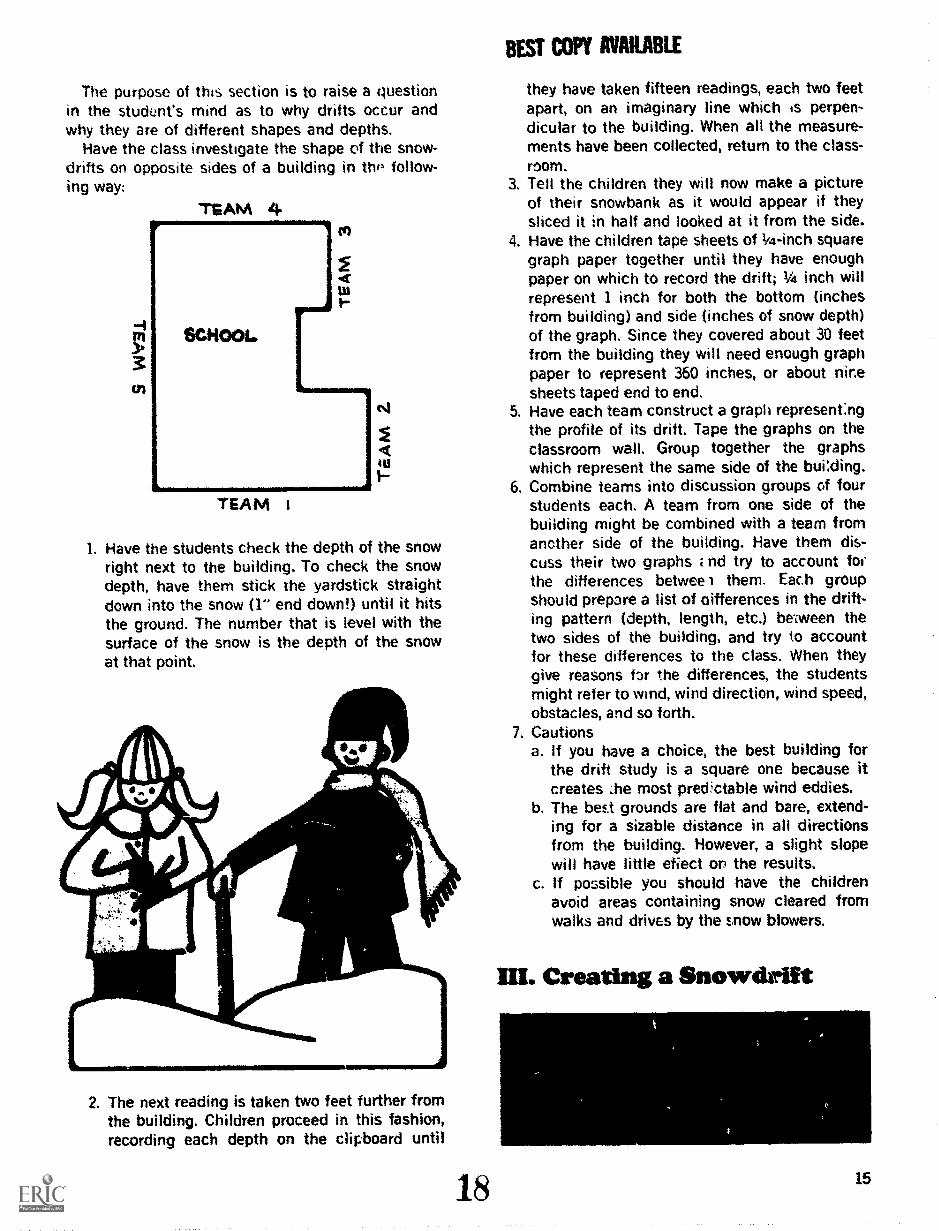
The purpose of this section is to raise a questionin the student's mind as to why drifts occur andwhy they are of different shapes and depths.
Have the class investigate the shape of the snow-drifts on opposite sides of a building in tlw follow-ing way:
TEAM 4
TEAM
1. Have the students check the depth of the snowright next to the building. To check the snowdepth, have them stick the yardstick straightdown into the snow (1" end down!) until it hitsthe ground. The number that is level with thesurface of the snow is the depth of the snowat that point.
ftw-NempirefT
'11 go
2. The next reading is taken two feet further fromthe building. Children proceed in this fashion,recording each depth on the clipboard until
BEST COPY AVARABLE
they have taken fifteen readings, each two feetapart, on an imaginary line which Is perpen-dicular to the building. When all the measure-ments have been collected, return to the class-room.
3. Tell the children they will now make a pictureof their snowbank as it would appear if theysliced it in half and looked at it from the side.
4. Have the children tape sheets of 1/4-inch squaregraph paper together until they have enoughpaper on which to record the drift; 1 inch willrepresent 1 inch for both the bottom (inchesfrom building) and side (inches of snow depth)of the graph. Since they covered about 30 feetfrom the building they will need enough graphpaper to represent 360 inches, or about nicesheets taped end to end.
5. Have each team construct a graph represent:rigthe profile of its drift. Tape the graphs on theclassroom wall. Group together the graphswhich represent the same side of the building.
6. Combine teams into discussion groups of fourstudents each. A team from one side of thebuilding might be combined with a team fromanother side of the building. Have them dis-cuss their two graphs nd try to account forthe differences betwee 1 them. Each groupshould prepare a list of differences in the drift-ing pattern (depth, length, etc.) between thetwo sides of the building, and try to accountfor these differences to the class. When theygive reasons far the differences, the studentsmight refer to wind, wind direction, wind speed,obstacles, and so forth.
7. Cautionsa. If you have a choice, the best building for
the drift study is a square one because itcreates .he most predictable wind eddies.
b. The best grounds are flat and bare, extend-ing for a sizable distance in all directionsfrom the building. However, a slight slopewill have little effect or the results.
c. If possible you should have the childrenavoid areas containing snow cleared fromwalks and drives by the snow blowers.
18
HI. Creating a Snowchtift
15
The purpose of this section is to study the effectof the shape of an obstruction on the formation ofdrifts by the wind. Hopefully, the class will also gaina feeling for what happens to the wind as it hits anobstruction.
In the tot owing activities the children will dis-cover how L3structions to the wind cause windeddies whicfs in turn build and sculpture snowdrifts.
1. Explain to the children that they will attemptto crei-..e some snowdrifts like those theystudied around the school building, only on asmaller scale.
2. Select a flat area such as a baseball field whichis free of obstacles and barriers. The snow inthis area should be smooth and even in depth.It is desirable that the area not be heavilytrafficked.
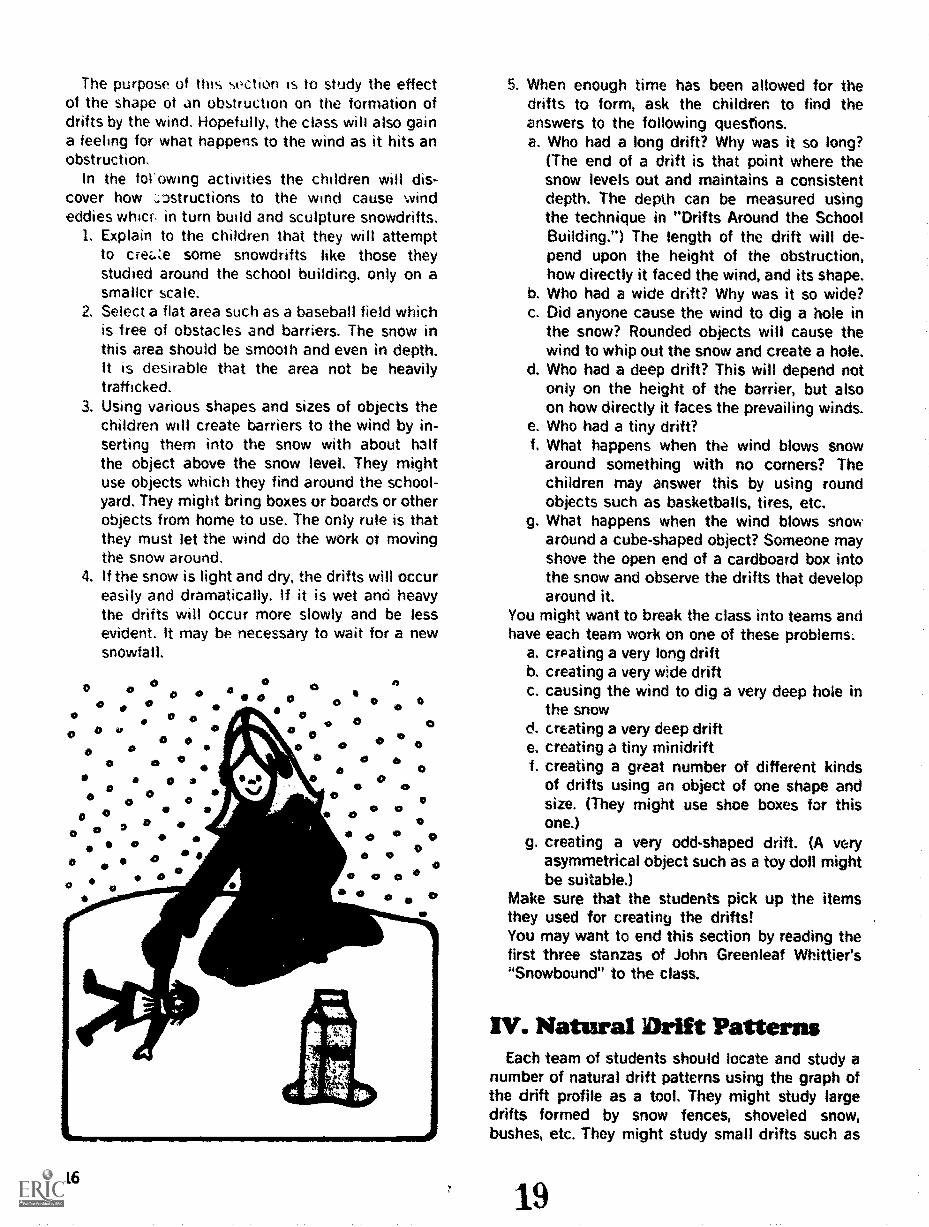
3. Using various shapes and sizes of objects thechildren will create barriers to the wind by in-serting them into the snow with about halfthe object above the snow level. They mightuse objects which they find around the school-yard. They might bring boxes or boards or otherobjects from home to use. The only rule is thatthey must let the wind do the work of movingthe snow around.
4. If the snow is light and dry, the drifts will occureasily and dramatically, If it is wet and heavythe drifts will occur more slowly and be lessevident. It may be necessary to wait for a newsnowfall.
00
00
O 0
0*
o
o
O a0 o 0 0
0 o 0 0
0
0
0o
0 000
0
0
0
0 00 0
0 0
0 0 0
0
00
0
0
16
5. When enough time has been allowed for thedrifts to form, ask the children to find theanswers to the following questions.a. Who had a long drift? Why was it so long?
(The end of a drift is that point where thesnow levels out and maintains a consistentdepth. The depth can be measured usingthe technique in "Drifts Around the SchoolBuilding.") The length of the drift will de-pend upon the height of the obstruction,how directly it faced the wind, and its shape.
b. Who had a wide drift? Why was it so wide?c. Did anyone cause the wind to dig a hole in
the snow? Rounded objects will cause thewind to whip out the snow and create a hole.
d. Who had a deep drift? This will depend notonly on the height of the barrier, but alsoon how directly it faces the prevailing winds.
e. Who had a tiny drift?f. What happens when the wind blows snow
around something with no corners? Thechildren may answer this by using roundobjects such as basketballs, tires, etc.
g. What happens when the wind blows snowaround a cube-shaped object? Someone mayshove the open end of a cardboard box intothe snow and observe the drifts that developaround it.
You might want to break the class into teams andhave each team work on one of these problems:
a. creating a very long driftb. creating a very wide driftc. causing the wind to dig a very deep hole in
the snowd. creating a very deep drifte. creating a tiny minidriftf. creating a great number of different kinds
of drifts using an object of one shape andsize. (They might use shoe boxes for thisone.)
g. creating a very odd-shaped drift. (A veryasymmetrical object such as a toy doll mightbe suitable.)
Make sure that the students pick up the itemsthey used for creating the drifts!You may want to end this section by reading thefirst three stanzas of John Greenleaf Whittier's"Snowbound" to the class.
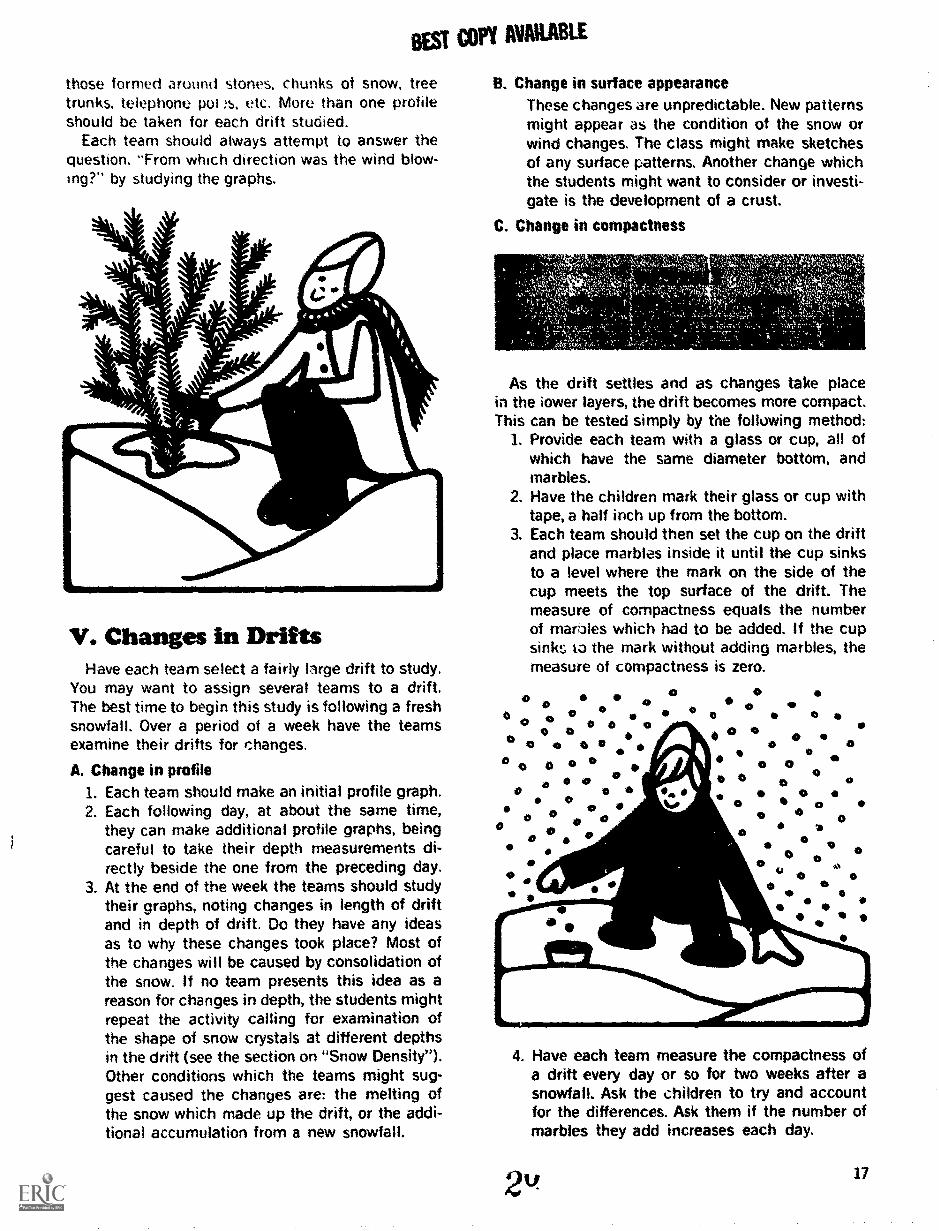
IV. Natural Drift PatternsEach team of students should locate and study a
number of natural drift patterns using the graph ofthe drift profile as a tool. They might study largedrifts formed by snow fences, shoveled snow,bushes, etc. They might study small drifts such as
19
BEST COPY AVAILABLE
those formed around stones, chunks of snow, treetrunks, telephone poi :s, etc. More than one profileshould be taken for each drift studied.
Each team should always attempt to answer thequestion, "From which direction was the wind blow-ing?" by studying the graphs.
V. Changes in DriftsHave each team select a fairly large drift to study.
You may want to assign several teams to a drift.The best time to begin this study is following a freshsnowfall. Over a period of a week have the teamsexamine their drifts for changes.
A. Change in profile1. Each team should make an initial profile graph.2. Each following day, at about the same time,
they can make additional profile graphs, beingcareful to take their depth measurements di-rectly beside the one from the preceding day.
3. At the end of the week the teams should studytheir graphs, noting changes in length of driftand in depth of drift. Do they have any ideasas to why these changes took place? Most ofthe changes will be caused by consolidation ofthe snow. If no team presents this idea as areason for changes in depth, the students mightrepeat the activity calling for examination ofthe shape of snow crystals at different depthsin the drift (see the section on "Snow Density").Other conditions which the teams might sug-gest caused the changes are: the melting ofthe snow which made up the drift, or the addi-tional accumulation from a new snowfall.
B. Change in surface appearanceThese changes are unpredictable. New patternsmight appear as the condition of the snow orwind changes. The class might make sketchesof any surface patterns. Another change whichthe students might want to consider or investi-gate is the development of a crust.
C. Change in compactness
As the drift settles and as changes take placein the iower layers, the drift becomes more compact.This can be tested simply by the following method:
1. Provide each team with a glass or cup, all ofwhich have the same diameter bottom, andmarbles.
2. Have the children mark their glass or cup withtape, a half inch up from the bottom.
3. Each team should then set the cup on the driftand place marbles inside it until the cup sinksto a level where the mark on the side of thecup meets the top surface of the drift. Themeasure of compactness equals the numberof marales which had to be added. If the cupsink, to the mark without adding marbles, themeasure of compactness is zero.
0 0o o 0
0 0 0 00 0 0 0
O 0 0O 0 0
00 a° 00o 0
a
0 0o 0
00
0
000
a
WOO
0 0
a
0
0
0
0
0
4. Have each team measure the compactness ofa drift every day or so for two weeks after asnowfall. Ask the children to try and accountfor the differences. Ask them if the number ofmarbles they add increases each day.
17
CLUES TO LIIFE IN THE SNOW
I. Tracks In the SnowThere are many small animals that live in and
around buildings and grounds, even in the city. Mostof these animals stay active during the winter.
If your school grounds include an open field ofweeds and tall grasses, or a low, swampy area, mice,shrews, and moles may be present. If the groundsborder on a woody section, add birds and squirrelsto the list of possible animals.
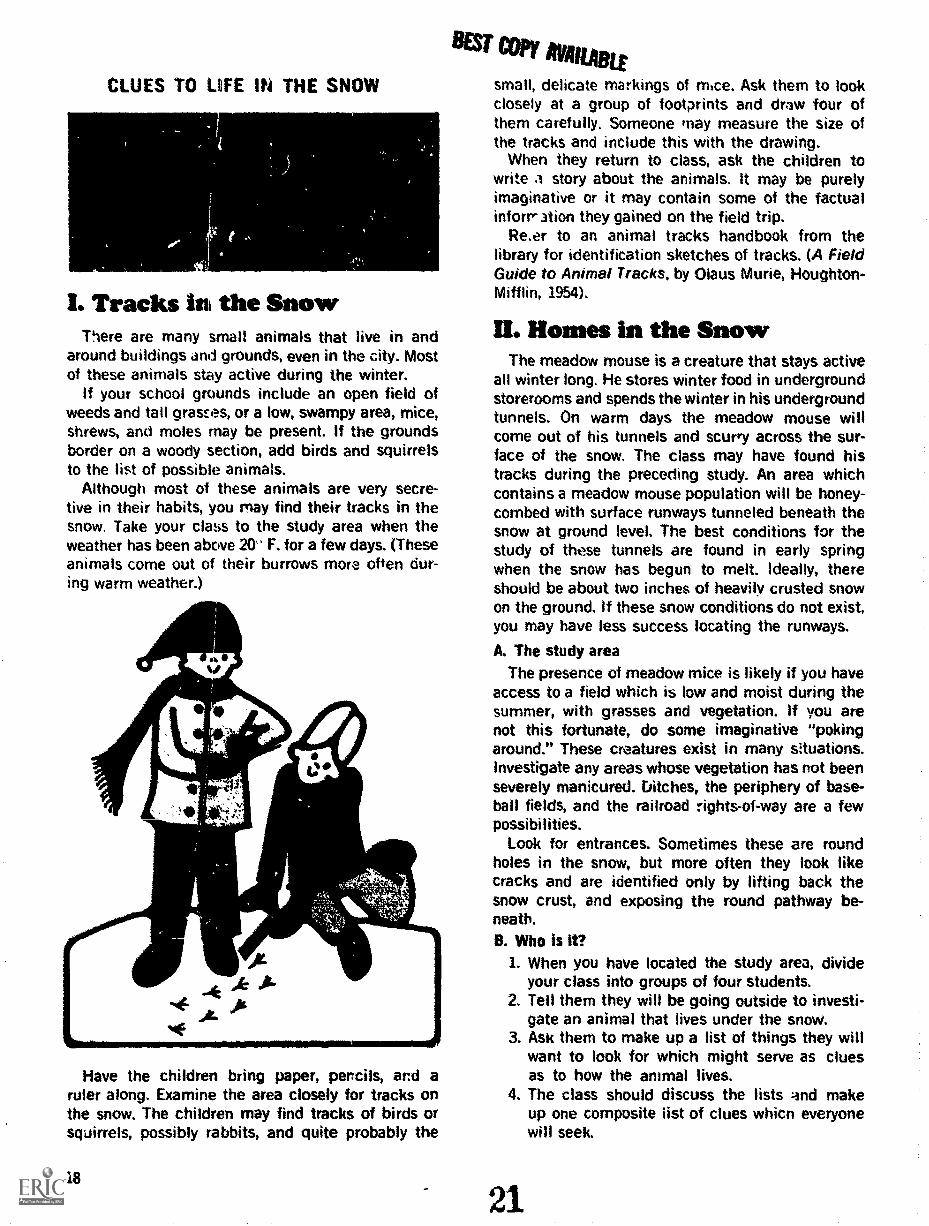
Although most of these animals are very secre-tive in their habits, you may find their tracks in thesnow. Take your class to the study area when theweather has been above 20' F. for a few days. (Theseanimals come out of their burrows more often cur-ing warm weather.)
41
JHave the children bring paper, pencils, and a
ruler along. Examine the area closely for tracks onthe snow. The children may find tracks of birds orsquirrels, possibly rabbits, and quite probably the
18
BEST Copy ilvimmat
small, delicate markings of mice. Ask them to lookclosely at a group of footprints and draw four ofthem carefully. Someone may measure the size ofthe tracks and include this with the drawing.
When they return to class, ask the children towrite a story about the animals. It may be purelyimaginative or it may contain some of the factualinforr 3tion they gained on the field trip.
Rear to an animal tracks handbook from thelibrary for identification sketches of tracks. (A FieldGuide to Animal Tracks, by Oiaus Murie, Houghton-Mifflin, 1954).
U. Homes in the SnowThe meadow mouse is a creature that stays active
all winter long. He stores winter food in undergroundstorerooms and spends the winter in his undergroundtunnels. On warm days the meadow mouse willcome out of his tunnels and scurry across the sur-face of the snow. The class may have found histracks during the preceding study. An area whichcontains a meadow mouse population will be honey-combed with surface runways tunneled beneath thesnow at ground level. The best conditions for thestudy of these tunnels are found in early springwhen the snow has begun to melt. Ideally, thereshould be about two inches of heavily crusted snowon the ground. If these snow conditions do not exist,you may have less success locating the runways.
A. The study areaThe presence of meadow mice is likely if you have
access to a field which is low and moist during thesummer, with grasses and vegetation. If you arenot this fortunate, do some imaginative "pokingaround." These creatures exist in many situations.Investigate any areas whose vegetation has not beenseverely manicured. Ditches, the periphery of base-ball fields, and the railroad rights-of-way are a fewpossibilities.
Look for entrances. Sometimes these are roundholes in the snow, but more often they look likecracks and are identified only by lifting back thesnow crust, and exposing the round pathway be-neath.B. Who is it?
1. When you have located the study area, divideyour class into groups of four students.
2. Tell them they will be going outside to investi-gate an animal that lives under the snow.
3. Ask them to make up a list of things they willwant to look for which might serve as cluesas to how the animal lives.
4. The class should discuss the lists and makeup one composite list of clues whicn everyonewill seek.
21
5. Take the students to the area and allow themto investigate until Norm: one locates a tunnelunder the snow. They may want to see whereit leads. Let a few students uncover the tunneland follow it until they lose it.
6. Return to the classroom,7. Has anyone guessed what creatures made the
tunnel? Make up a list of all the different ani-mals the children suggest. Ask the children toexamine the list. Are there any members of thelist they can scratch off after observing the tun-nel? (For example, maybe some animals on thelist are too large to fit in the tunnel.)
C. Eating habits1. Have the children make a list of different foods
they think the creature migh eat. Their firstsuggestions will probably include foods chil-dren eat. Remind them that animals often eatthings we would not think of eating. Maybethey can suggest a few more foods which ani-mals eat but human beings might not want toeat. A good list of foods to entice the animalsmight include: cereals, fruits, vegetables, meats(cooked and raw), eggs, randy, paper, marsh-mallows, coffee, tobacco, toothpaste, etc. Askthe children to bring some of these items fromhome. Each team could be made responsiblefor collecting and investigating one or two ofthe food items.
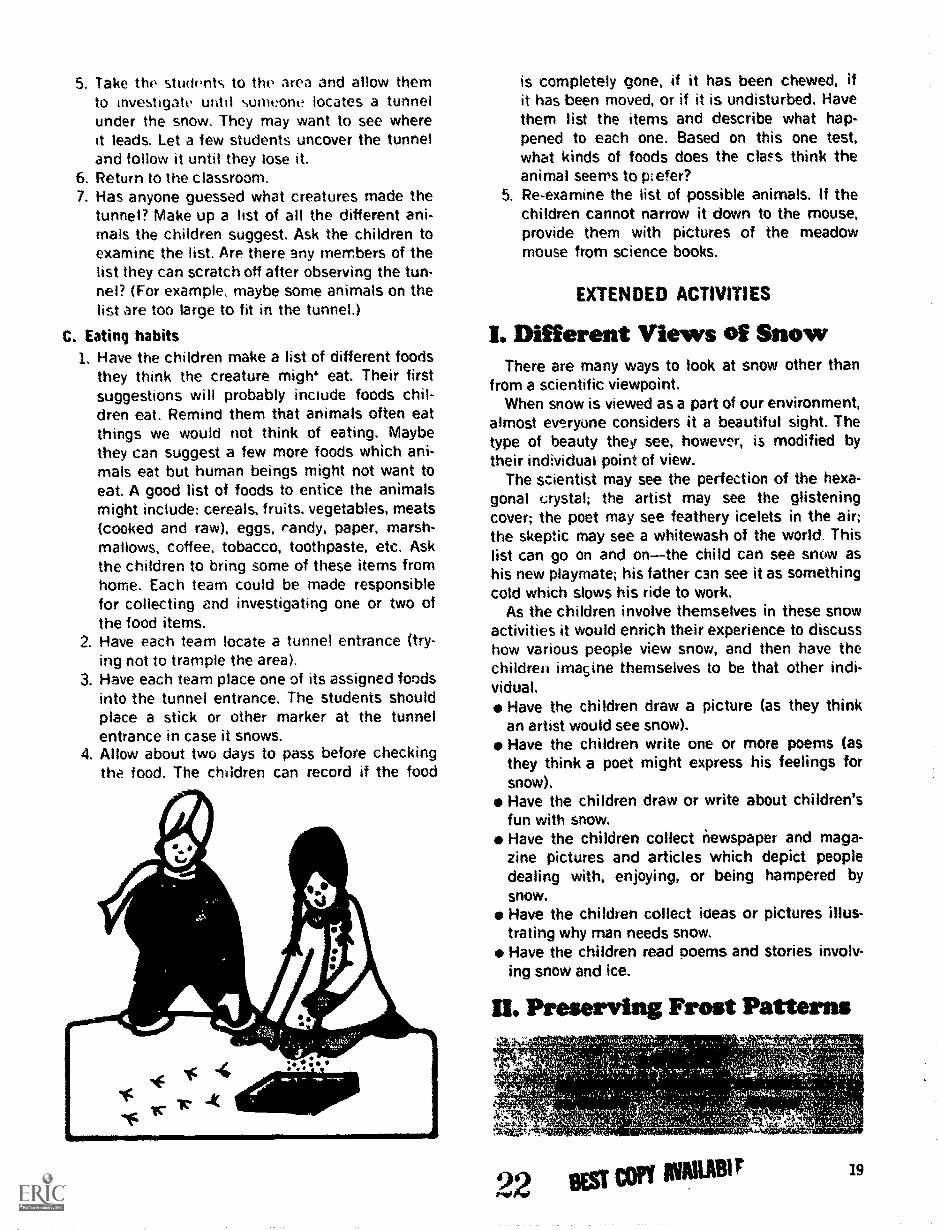
2. Have each team locate a tunnel entrance (try-ing not to trample the area).
3. Have each team place one of its assigned foodsinto the tunnel entrance. The students shouldplace a stick or other marker at the tunnelentrance in case it snows.
4. Allow about two days to pass before checkingthe food. The children can record if the food
is completely gone, if it has been chewed, ifit has been moved, or if it is undisturbed. Havethem list the items and describe what hap-pened to each one. Based on this one test,what kinds of foods does the clan think theanimal seems to prefer?
5. Re-examine the list of possible animals. If thechildren cannot narrow it down to the mouse,provide them with pictures of the meadowmouse from science books.
EXTENDED ACTIVITIES
I. Different Views of SnowThere are many ways to look at snow other than
from a scientific viewpoint.When snow is viewed as a part of our environment,
almost everyone considers it a beautiful sight. Thetype of beauty they see, however, is modified bytheir individual point of view.
The scientist may see the perfection of the hexa-gonal crystal; the artist may see the glisteningcover; the poet may see feathery icelets in the air;the skeptic may see a whitewash of the world. Thislist can go on and onthe child can see snow ashis new playmate; his father can see it as somethingcold which slows his ride to work.
As the children involve themselves in these snowactivities it would enrich their experience to discusshow various people view snow, and then have thechildren imagine themselves to be that other indi-vidual.
Have the children draw a picture (as they thinkan artist would see snow).Have the children write one or more poems (asthey think a poet might express his feelings forsnow).Have the children draw or write about children'sfun with snow.Have the children collect newspaper and maga-zine pictures and articles which depict peopledealing with, enjoying, or being hampered bysnow.Have the children collect ideas or pictures illus-trating why man needs snow.Have the children read poems and stories involv-ing snow and ice.
U. Preserving Frost Patterns
22 BEST COPT IIVAILABir 19
On a dear cold night set a pane of glass or amicroscope slide on cardboard and place it wherefrost will collect on it. Heap snow around the card-board. The warmth around the cardboard will causesome snow to melt slightly. The moisture whichcomes in contact with the glass will become coldagain and refreeze, forming frost crystals. Fros:can also be collected on the underside of a glass,metal, or plastic plate placed on a tube which ex-tends through the snow to the soil surface. The soilis iloist and on a cold night it will be warmer thanthe air, especially when the ground is insulated bysnow. Moisture will collect on the underside of theplate and become frost overnight.
Place the collecting appartus in the shade so thatthe sun does not melt the frost before you get to it.In the morning, spray the frosted surface with lac-quer from a spray can which has been stored in afreezer. Leave the appartus outside until the lacquerhardens, Then you will have a permanent replica ofthe frost pattern for study.
HI. Taking Samples of Snow
Have the children remove the top and bottom of astraight-sided can. Then have them push the canstraight down into the snow until its upper rim isflush with the snow surface. They should now reachunder the can and place one hand or a piece ofcardboard under the bottom edge of the can. Havethem remove the container of snow with hand orcardboard, and slide off any heaping snow on thetop. The children should dump the snow from thecylinder into a can whose bottom is intact, Finally,have them melt the snow and test for water content,dirt, etc. Have them take samples of various kindsof snow.
IV. Melting Test
Have the children cut four squares from heavy-duty aluminum foil. Have them leave one piece asit is, sh;ny on both sides. Two pieces should bepainted black on one side only, and the fourth pieceshould be painted black on both sides, After thepaint is dry, have the children gently lay them in arow on clean snow in a sunny area. One of theidentical pieces should be placed with the blackside down, and the other with the black side up.After two or three hours, have the children examinethe pieces of foil. Ask which has melted farthestinto the snow. Which has melted the least? Can theclass explain this? They may want to repeat theexperiment using paper painted with all differentcolors (a red square, a 'Aue square, etc ).
V. Cinders and Snow BanksOften a snowplow will scrape up cinders and
gravel and toss them to the side where they be-come part of the snow bank that lines the street.In time, the sun will warm the cinders and gravel,causing them to melt their way down into the snow,and leave protruding points behind them. Have theclass examine these protrusions and see if thereis any particular direction toward which they point.
BIBLIOGRAPHY
Bell, Thelma Harrington, Snow. New York: TheViking Press, 1954.
Webster. David, Snow Stompers. Garden City, N.Y.:Natural History Press, 1968.
23 BEST COPY MIMI

THE ENVIRONMENTAL UNITS
Below is a list of the first titles in the Environmental Discovery Series.The ones with order numbers next to them are available as of August, 1972.The others are in preparation and will be available in the coming weeks.Also, ten additional units will be announced soon.
Next to the titles, we have suggested the grades for which each is mostappropriate. We emphasize that these are suggested grade levels. Theteacher is encouraged to adapt the activities to a wide range of grade levels,and subject areas depending upon the interests and abilities of the students.
OrderNo. Title
GradeLevel Price
OrderNo. Title
GradeLevel Price
79007 Plants in the Classroom 3-6 51.50 70123 Genetic Variation 4-9 1.50
79016 Vacant Lot Studies 5-9 1.50 79132 Soil 2.9 51.50
79025 Differences in Living Things 4-8 1.00 79141 11Ie Patterns and Graphs 1-2 1.00
70034 Shadows 1-8 1.00 79150 Plant Puzzles 1-6 1.50
79043 Wind 3-6 1.50 79169 Brine Shrimp and Their Habitat 1-5 1.50
79052 Snow and Ice 1 -b 1.50 79178 Nature's Part in Art 3+ 1.30
70061 Man's HabitatThe City 4-9 1.50 70212 Contour Mapping 4-9 1.50
79070 Fish and Water Temperature 4-9 1.50 Change in a Small Ecosystem 5-9
79089 Oaks, Acorns, Climate and Squirrels 1-b 1.50 Transect Studies 3.0
79105 Nature Hunt Spec. Ed. K-1 1.00 Stream Profiles 4-9
79098 Sampling Button Populations 3-9 1.00 Color and Change K-1
79114 The Rise anti Fall of a Yeast Community 6-9 1.00 Outdoor Fun for Students 1.12
If you would like a free brochure describing activities in the individual units, write:
The National Wildlife FederationEducational Servicing1412 16th Street, N.W.
Washington, D. C. 2003$
Written and developed by:
NWF MESF Karen justadJohn Cary Stone Edmund Bray Edward LandinJames D. Davis Barbara Clark Richard MyshakWendy Kay Robert Collins Michael NaylonPhil Nicholson Joann Current Robert O'HaraTom L. Smith John Heitkatnp Noreen Teachout
David Jones Carl Vogt
NATIONAL WILDLIFE FEDERATION1412 Sixteenth Street, N.W.Washington, D.C. 20036