Embed Size (px)
Citation preview
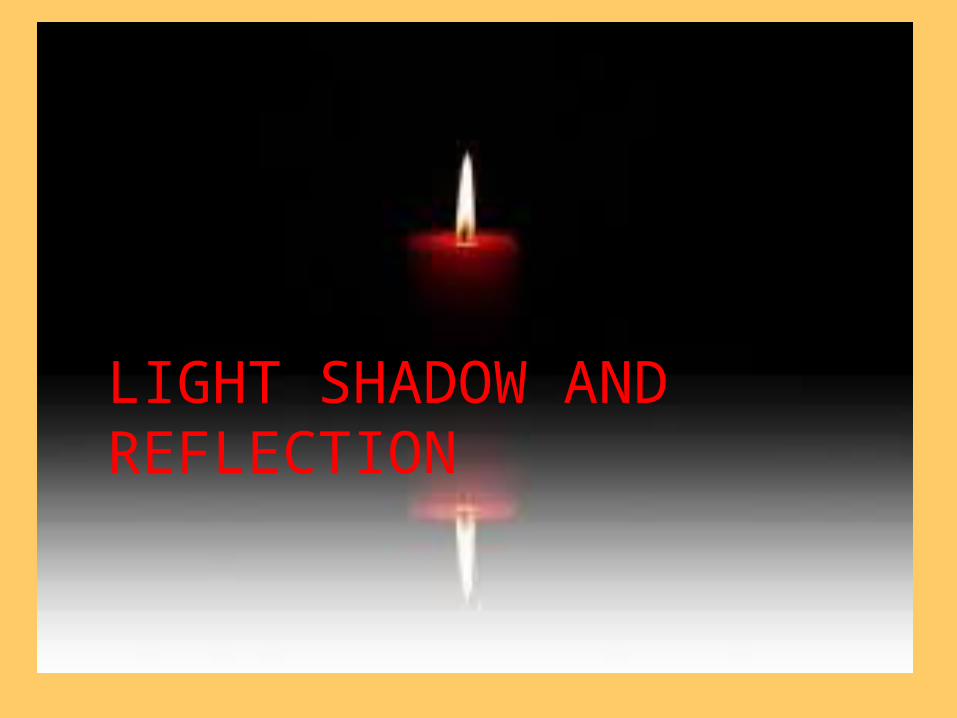
LIGHT SHADOW AND REFLECTION
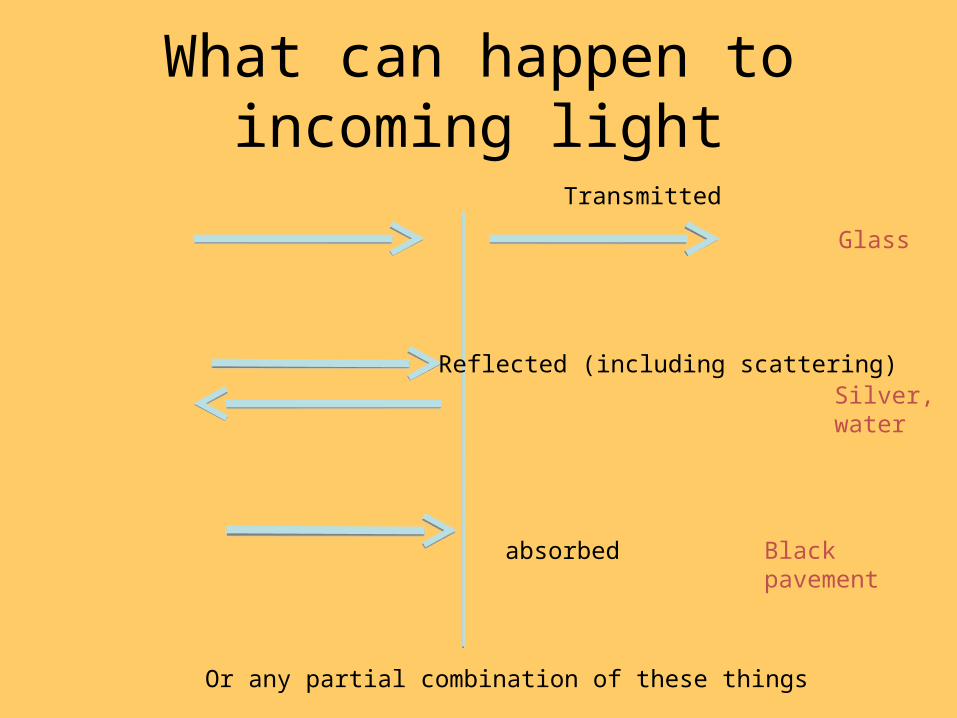
What can happen to incoming light
Transmitted
Reflected (including scattering)
absorbed
Or any partial combination of these things
Glass
Silver, water
Black pavement
Materials and Light
There are three different types of materials that light will or will not pass through.TransparentTranslucentOpaque
Transparent Light
Materials that you can see through allow almost all of the light to pass through.Light is allowed through with very little bending or scattering of the rays of light.

Examples of Transparent Materials
Clear glassClean waterClear plastic
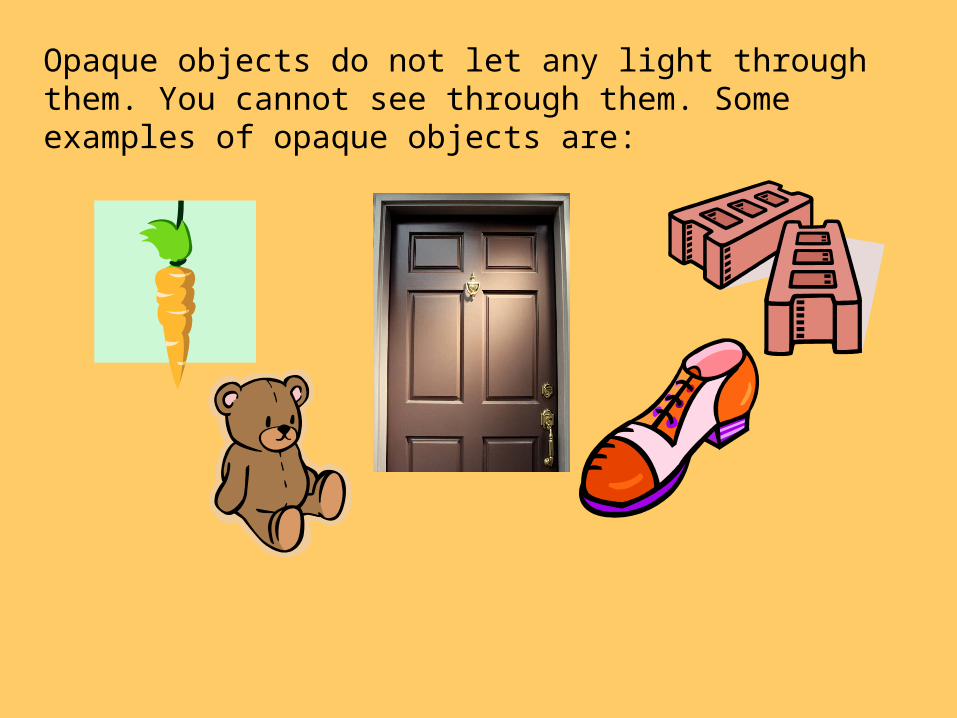
Opaque objects do not let any light through them. You cannot see through them. Some examples of opaque objects are:
Translucent Materials
Materials that allow only some light to pass through.Objects allow light to pass through, but they scatter the rays so much that you cannot get a clear view of what is on the other side.Examples of Translucent Materials
•Thin fabrics•Frosted glass•Thin paper
Opaque Materials
Light cannot pass through these material
Examples of Opaque Materials
•Brick •Metal•Thick paper•Aluminum Foil•Wood•Stones
ACTIVITYWhy is wax paper translucent?
Why is transparent tape called transparent tape
Answer
Ans 1 You can see some light, but you cannot see through it.
I can barely see my leftovers wrapped in wax paper.
Ans 2 You can see through it or light rays are allowed to pass through it.
I can completely see my leftovers wrapped in transparent plastic wrap.
Quick Facts about Opaque Materials
•These objects will cast a shadow when lit up.•Brick, metal, and thick paper stop light completely.•This is why you cannot see your leftovers wrapped in aluminum foil!
SHADOW
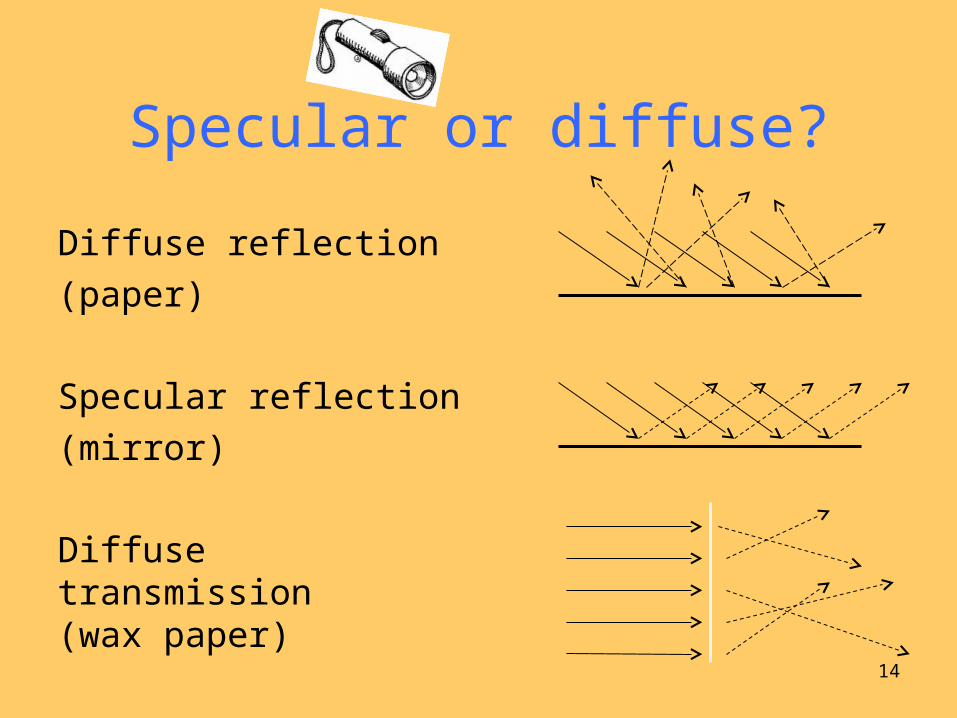
Specular or diffuse?
Diffuse reflection
(paper)
Specular reflection
(mirror)
Diffuse transmission(wax paper)
14
Pinhole Photography
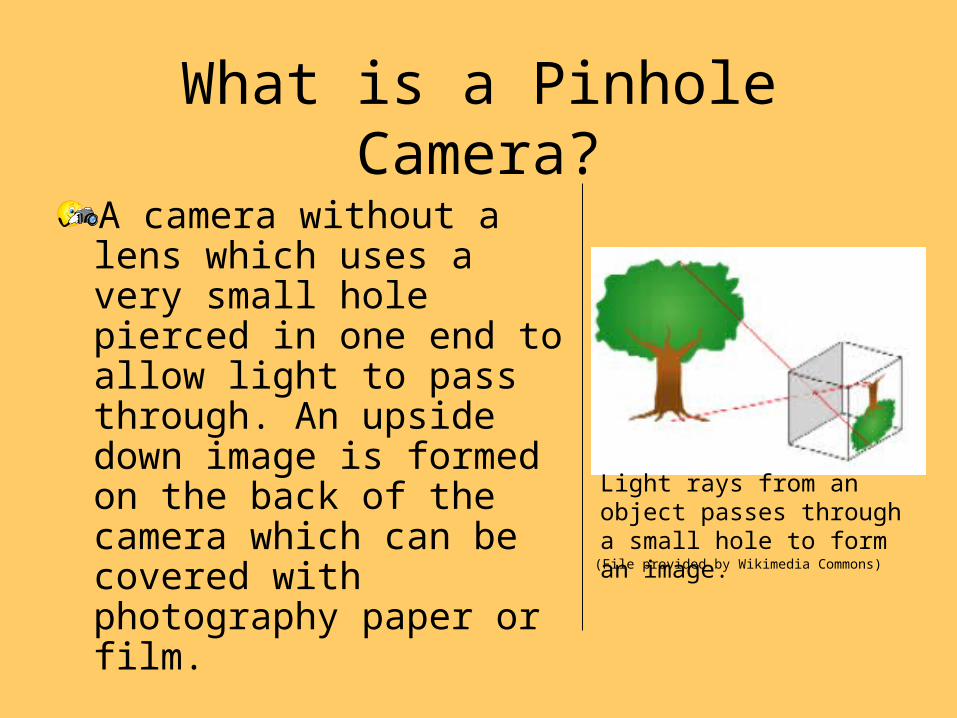
What is a Pinhole Camera?
A camera without a lens which uses a very small hole pierced in one end to allow light to pass through. An upside down image is formed on the back of the camera which can be covered with photography paper or film. (File provided by Wikimedia Commons)
Light rays from an object passes through a small hole to form an image.
A camera has a few simple components:
A light tight box Aperture – A hole through which light
enters the camera.Shutter – A way to control how long
light enters the box.Lens – A way of focusing light for a
sharp image.Viewfinder – A way to aim the camera.Film Holder – A way to hold the film
in the correct place to receive the focused light.

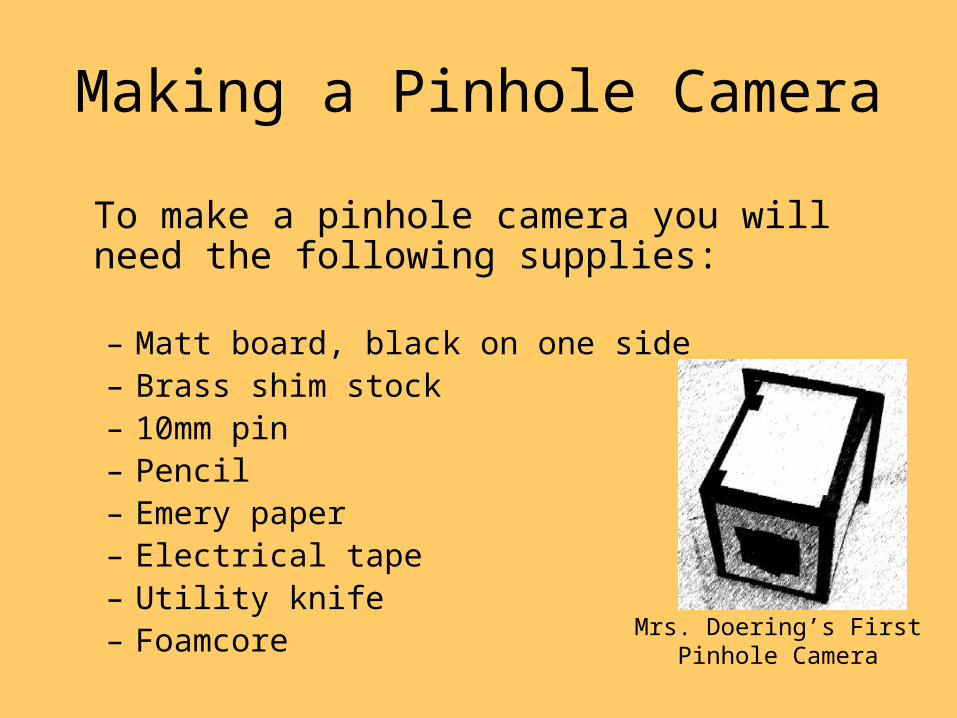
Making a Pinhole Camera
To make a pinhole camera you will need the following supplies:
– Matt board, black on one side– Brass shim stock– 10mm pin– Pencil– Emery paper– Electrical tape– Utility knife– Foamcore Mrs. Doering’s First
Pinhole Camera
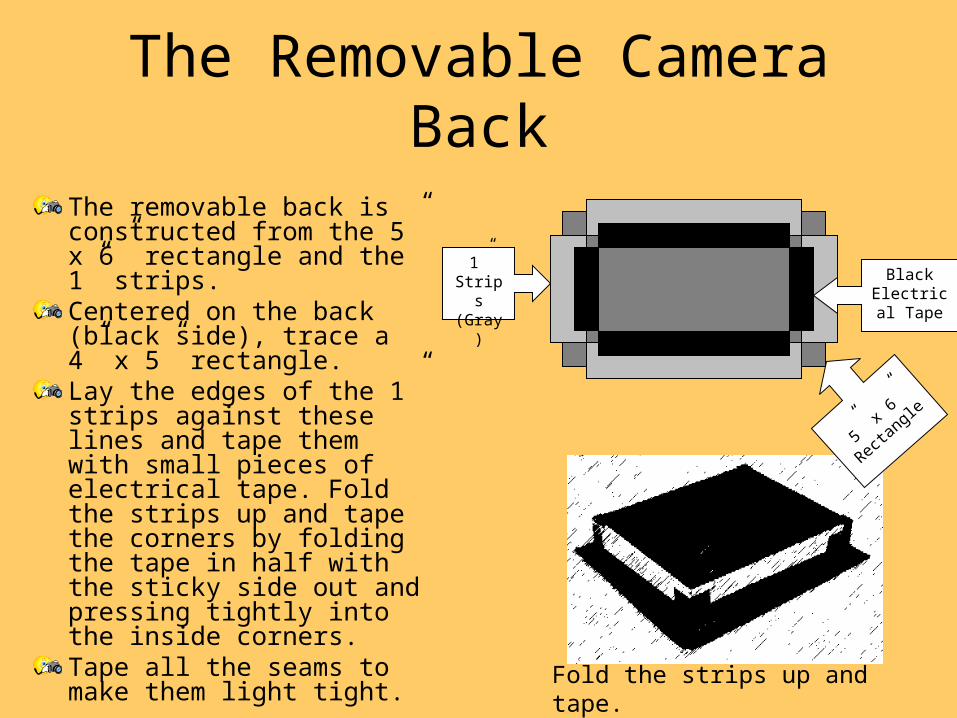
The Removable Camera Back
The removable back is constructed from the 5” x 6” rectangle and the 1” strips.Centered on the back (black side), trace a 4” x 5” rectangle. Lay the edges of the 1” strips against these lines and tape them with small pieces of electrical tape. Fold the strips up and tape the corners by folding the tape in half with the sticky side out and pressing tightly into the inside corners.Tape all the seams to make them light tight.
1” Strips(Gray)
Black Electrical
Tape
5” x 6
”
Recta
ngle
Fold the strips up and tape.
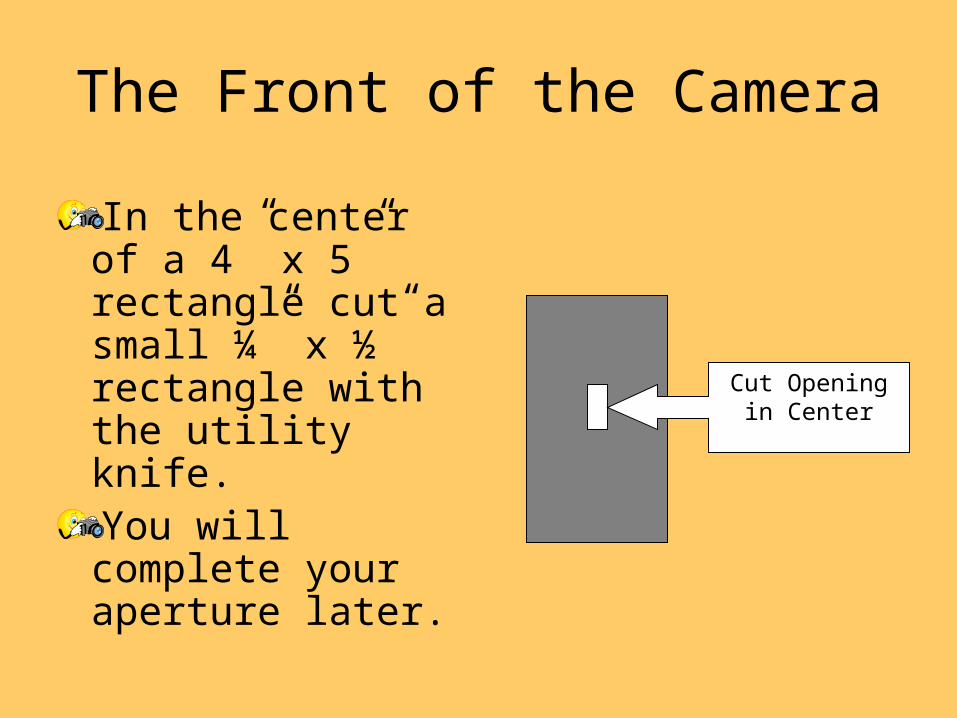
The Front of the Camera
In the center of a 4” x 5” rectangle cut a small ¼” x ½” rectangle with the utility knife.You will complete your aperture later.
Cut Opening in Center
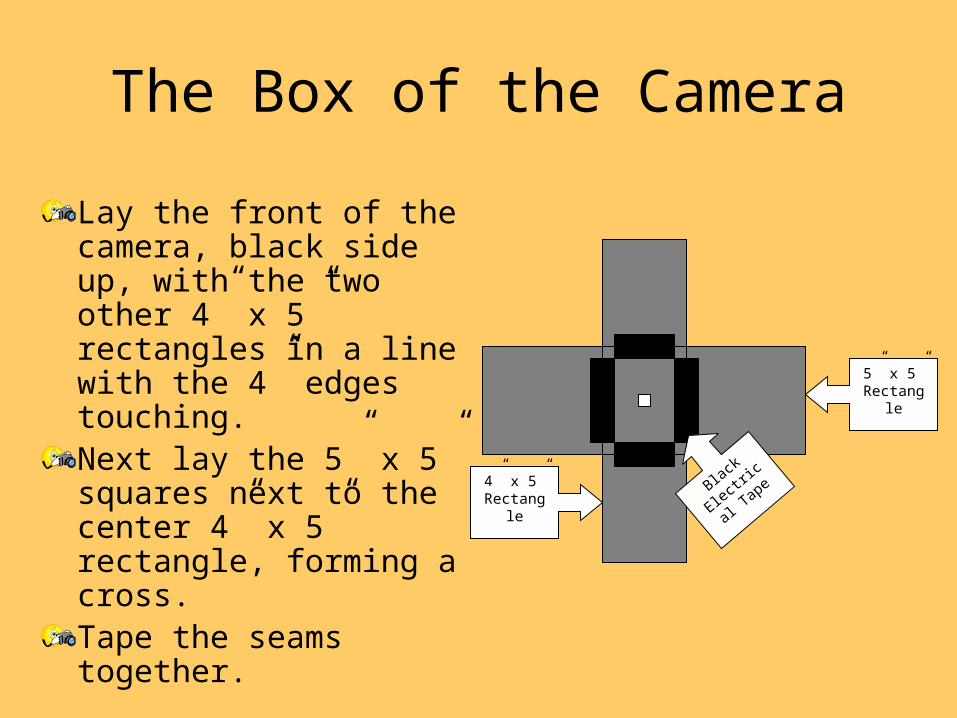
The Box of the Camera
Lay the front of the camera, black side up, with the two other 4” x 5” rectangles in a line with the 4” edges touching.Next lay the 5” x 5” squares next to the center 4” x 5” rectangle, forming a cross.Tape the seams together.
5” x 5”Rectangl
e
4” x 5”Rectangl
e
Black
Elect
rical
Tape
Attach the Pinhole to the Camera
Place the brass pinhole/aperture over the open rectangle on the outside of the camera front.Using electrical tape, attach the brass pinhole/aperture securely. Make sure the pinhole is visible through the opening.For a shutter, take a piece of tape and cover the hole.
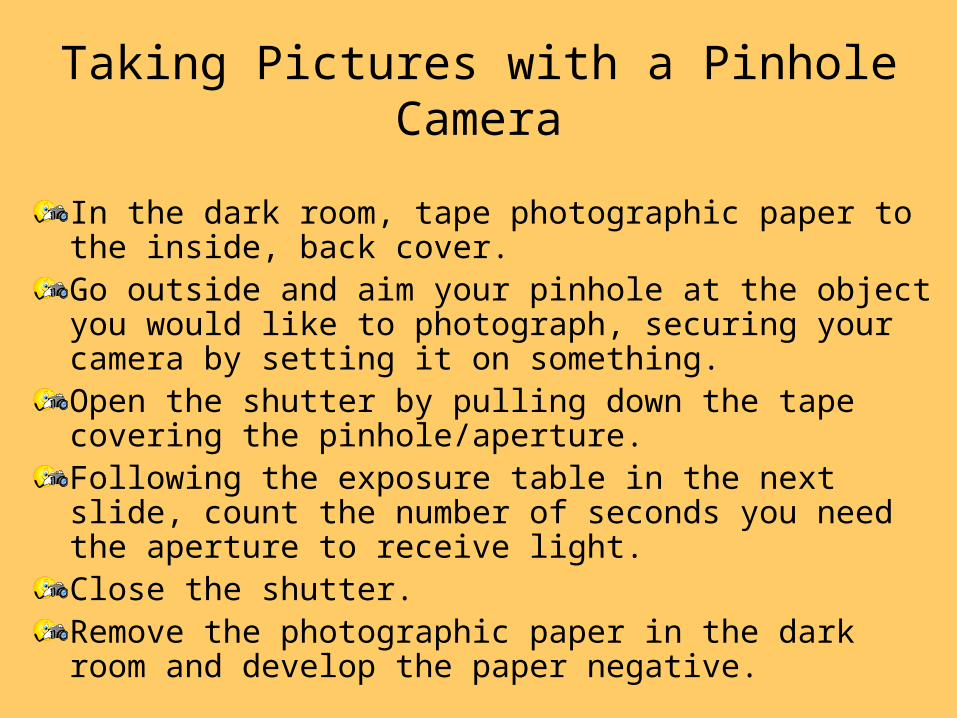
Taking Pictures with a Pinhole Camera
In the dark room, tape photographic paper to the inside, back cover.Go outside and aim your pinhole at the object you would like to photograph, securing your camera by setting it on something.Open the shutter by pulling down the tape covering the pinhole/aperture.Following the exposure table in the next slide, count the number of seconds you need the aperture to receive light.Close the shutter.Remove the photographic paper in the dark room and develop the paper negative.
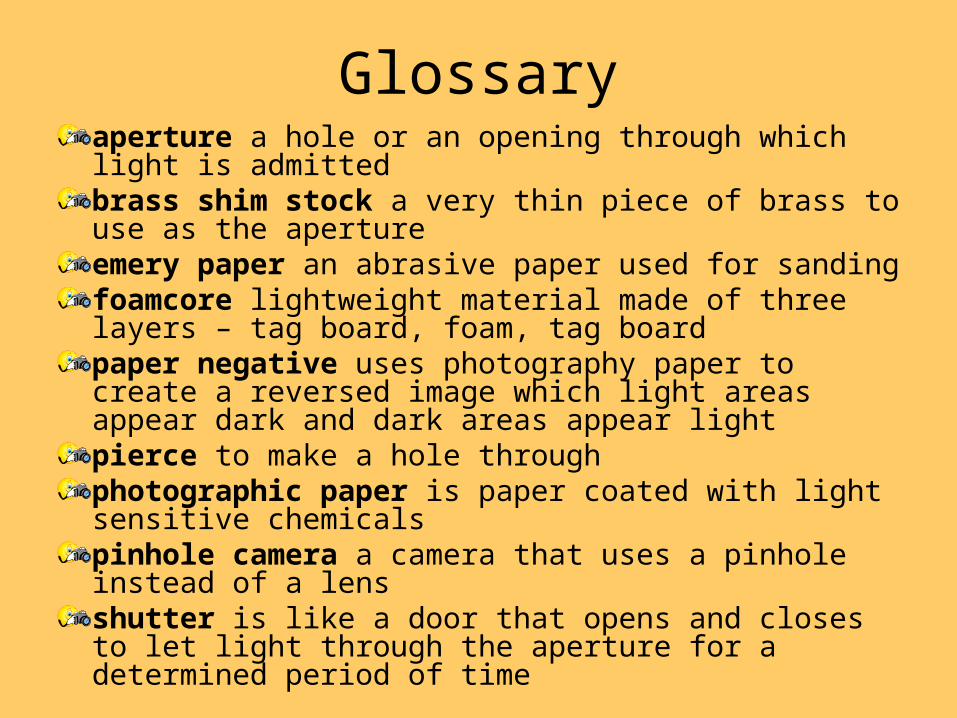
Glossaryaperture a hole or an opening through which light is admittedbrass shim stock a very thin piece of brass to use as the aperture emery paper an abrasive paper used for sandingfoamcore lightweight material made of three layers – tag board, foam, tag boardpaper negative uses photography paper to create a reversed image which light areas appear dark and dark areas appear lightpierce to make a hole throughphotographic paper is paper coated with light sensitive chemicalspinhole camera a camera that uses a pinhole instead of a lensshutter is like a door that opens and closes to let light through the aperture for a determined period of time
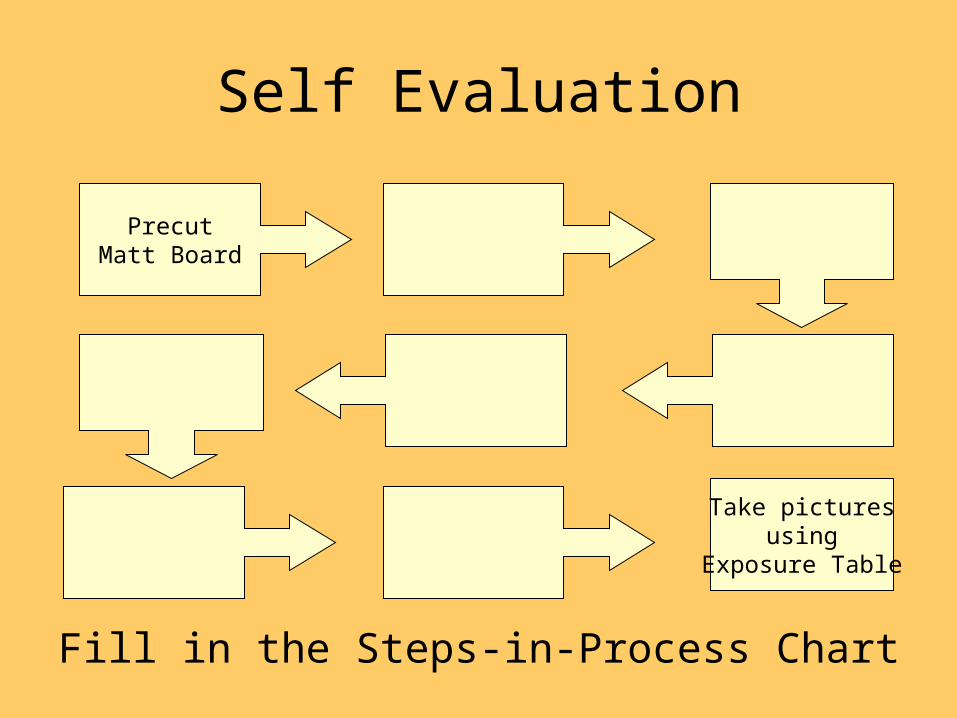
Self Evaluation
Fill in the Steps-in-Process Chart
PrecutMatt Board
Take picturesusing
Exposure Table
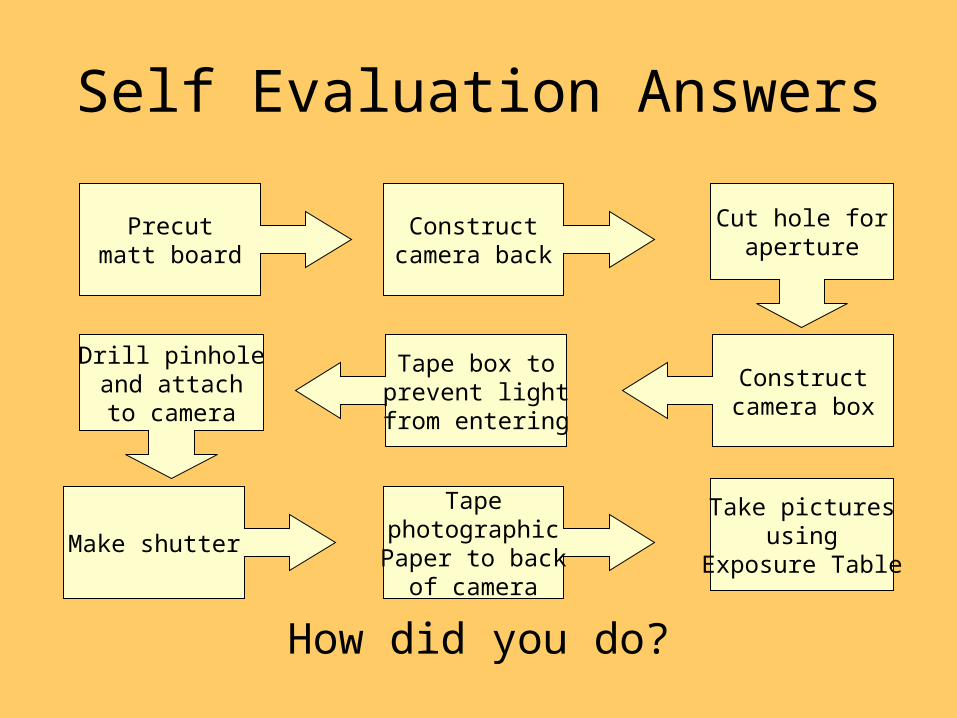
Self Evaluation Answers
How did you do?
Precutmatt board
Constructcamera back
Cut hole foraperture
Constructcamera box
Tape box toprevent lightfrom entering
Drill pinholeand attachto camera
Make shutter
TapephotographicPaper to back
of camera
Take picturesusing
Exposure Table
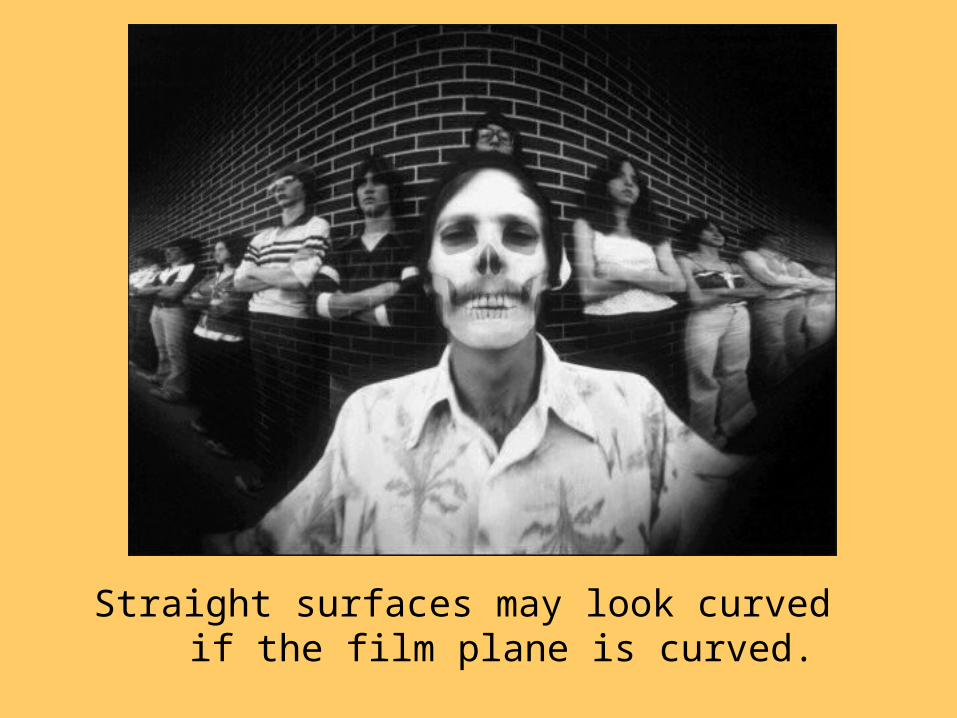
Straight surfaces may look curved if the film plane is curved.
MIRROR AND REFLECTION
What is a mirror?
• Since silver is such a good reflector a coating of silver on glass - a good (common) mirror
• If the silver coating is thin enough the mirror can be made to transmit 50% of the light and to reflect the other 50%
– This is called a half-silvered mirror
– A half-silvered mirror used with proper lighting can show objects on one side or the other of the mirror
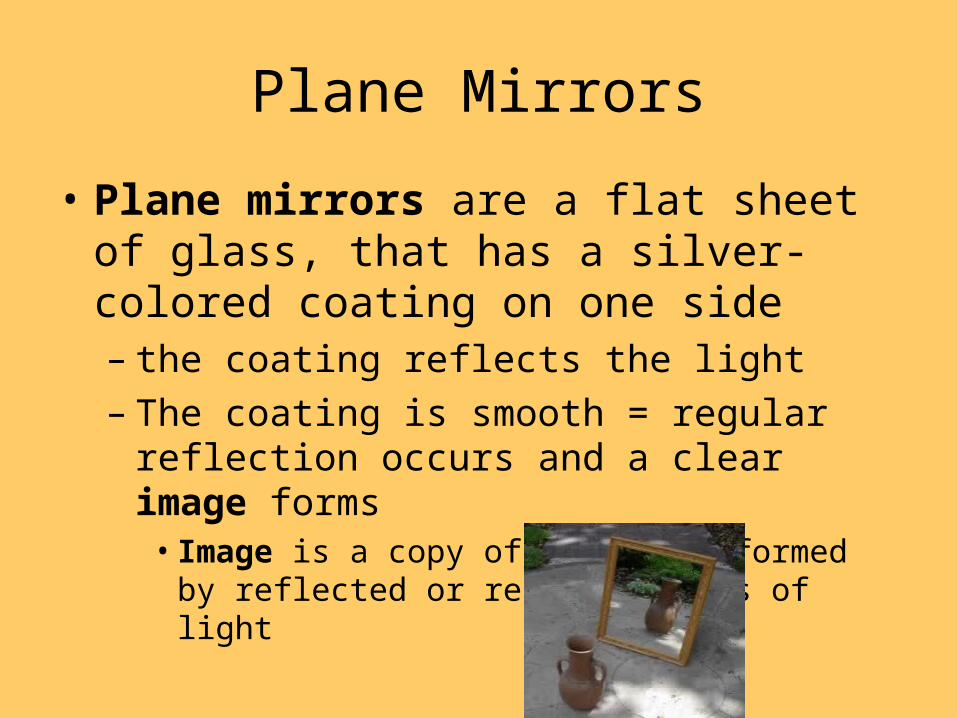
Plane Mirrors
• Plane mirrors are a flat sheet of glass, that has a silver-colored coating on one side– the coating reflects the light– The coating is smooth = regular reflection
occurs and a clear image forms• Image is a copy of an object formed by reflected or
refracted rays of light
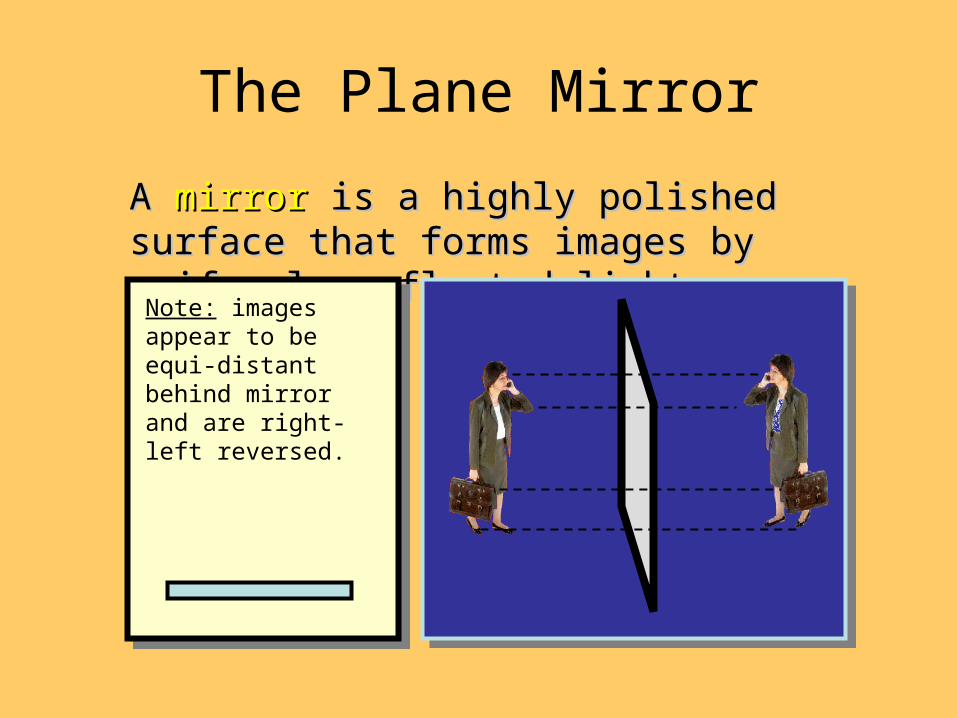
The Plane Mirror
A A mirrormirror is a highly polished surface that is a highly polished surface that forms images by uniformly reflected light.forms images by uniformly reflected light.
Note: images appear to be equi-distant behind mirror and are right-left reversed.
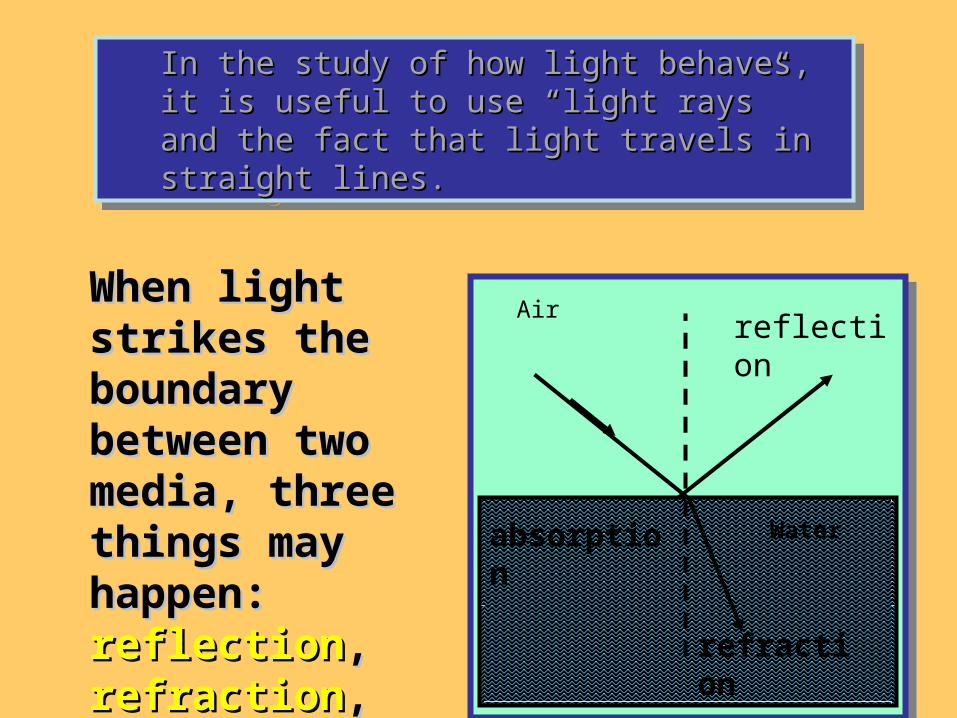
In the study of how light behaves, it is In the study of how light behaves, it is useful to use “light rays” and the fact that useful to use “light rays” and the fact that light travels in straight lines.light travels in straight lines.
In the study of how light behaves, it is In the study of how light behaves, it is useful to use “light rays” and the fact that useful to use “light rays” and the fact that light travels in straight lines.light travels in straight lines.
When light strikes When light strikes the boundary the boundary between two between two media, three media, three things may things may happen: happen: reflectionreflection, , refractionrefraction, or , or absorptionabsorption..
reflection
refraction
absorption Water
Air
How Images Form
• Light rays from the object strike the mirror and reflect towards the observer’s eye – Even though rays are reflected the observer’s
brain treats them as if they had come from behind the mirror
– Image appears to be behind the mirror