Embed Size (px)
Citation preview
Tap Water Education Project / Junior High School / Lesson Plan 2: Drinking Water in Our Community 1
TEACHERS GUIDE
Drinking Water in Our Community Overview
How do we know our drinking water is safe to drink?
This lesson includes a set of activities that will help students to understand all of the steps through which communities can and do protect their drinking water. Students will gather the information that they need by accessing resources that are available on the website. Through the process of learning, they will understand better why it is important to keep drinking water safe for consumption. They will also explore the roles and responsibilities of people who work in their communities to make sure that the water stays safe – every day.
Outcomes
Students will:
understand the concept of a watershed including water cycles and contaminant sources;
learn if there are measures in place to protect the source water and what potential threats could impact its safety;
be able to describe the path drinking water takes -- from the source waterbody through the water treatment system to homes, schools and workplaces;
understand where their community gets its drinking water; investigate parameters for which drinking water is tested; know how to access online drinking water quality data for their community; and learn about the career of a water treatment plant operator.
LESSON 2
Tap Water Education Project / Junior High School / Lesson Plan 2: Drinking Water in Our Community 2
Materials Needed
Students will need access to a computer and the Internet so they can collect information about their watershed from the NWT Spatial Data Warehouse and NWT Drinking Water Quality Database
One notebook for each student for taking notes during the interview with a drinking water treatment plant operator.
Student worksheet, 1 copy for each student For each two to four students:
1. flipchart paper (for drawing the watershed) 2. coloured paper (for land-use and watershed attribute cut-outs) 3. scissors 4. masking tape 5. markers
Enclosed map: Watersheds of the NWT highlighting the Mackenzie River Basin Maps online: (http://www.geomatics.gov.nt.ca/maps.aspx?i=8)
GNWT Community Water Catchment Basins- Drinking Water source Watershed Enclosed information sheet: "GNWT Report on Drinking Water" Enclosed video: Clean Your Water Tank 9.25 minutes
Suggested Approach
Introduction
Introduce the concepts of:
a) a watershed (i.e. all the land area that contributes runoff to a particular body of water),
b) the water cycle (i.e. the continuous cycling of water on earth through evaporation and evapotranspiration, condensation, precipitation, run-off, above- and below-ground water bodies and glaciers and ice caps),
c) water contamination (i.e. pollution of water by either human or natural sources, which can occur with chemical toxins, changes in water temperature, oversupply of nutrients, or other stresses created by natural processes)
Tap Water Education Project / Junior High School / Lesson Plan 2: Drinking Water in Our Community 3
GRADE 7 Science in Action Unit A: Interactions and Ecosystems (Social and Environmental Emphasis) Overview: Ecosystems develop and are maintained by natural processes and are affected by human action. To foster an understanding of ecosystems, this unit develops student awareness of ecosystem components and interactions, as well as natural cycles and processes of change. Building on this knowledge, students investigate human impacts and engage in studies that involve environmental monitoring and research. By reflecting on their findings, students become aware of the intended and unintended consequences of human activity, and recognize the need for responsible decision making and action. Focusing Questions: How do human activities affect ecosystems? What methods can we use to observe and monitor changes in ecosystems, and assess the impacts of our actions? Key Concepts The following concepts are developed in this unit and may also be addressed in other units at other grade levels. The intended level and scope of treatment is defined by the outcomes below.
interactions and interdependencies environmental monitoring environmental impacts producers, consumers, decomposers nutrient cycles and energy flow species distribution succession endangered species extinction environmental management
LESSON 2
Curriculum Links
Tap Water Education Project / Junior High School / Lesson Plan 2: Drinking Water in Our Community 4
Grade 8 Science in Action
Unit E: Freshwater and Saltwater Systems (Social and Environmental Emphasis)
Overview: Earth is sometimes described as the water planet: over two-thirds of Earth’s surface is covered by oceans and freshwater features. By exploring examples of aquatic systems, students come to appreciate the dynamic nature of these systems and learn about the interaction of landforms, sediments, water and climate. Students also investigate factors that affect the distribution and health of living things in aquatic environments and the supply and quality of water for human use.
Focusing Questions: How do water, land and climate interact? What are the characteristics of freshwater and saltwater systems, and how do they affect living things, including humans?
Key Concepts The following concepts are developed in this unit and may also be addressed in other units at other grade levels. The intended level and scope of treatment is defined by the outcomes below.
water quality water-borne materials erosion and deposition stream characteristics continental drainage systems ocean basins climate glaciers and icecaps adaptations to aquatic ecosystems human impact
Dene Kede The Land
Use Dene names and show how people and animals use water in various ways. Field trip to a local waterbody. Listen to Elder’s stories about a local waterbody.
Tap Water Education Project / Junior High School / Lesson Plan 2: Drinking Water in Our Community 5
Mapping Your Watershed
Description Students will use the NWT Spatial Data Warehouse, NWT Drinking Water Quality Database, and their own knowledge to map their home watershed. Students will create paper collages of their watershed and its attributes and human and non-human activities taking place in it. Once this picture is created, students can discuss and physically re-arrange land and water use on the collage, with the goal of optimizing drinking water quality for their community.
Introduce the NWT Drinking Water Quality Database.
(http://www.maca.gov.nt.ca/?page_id=1664) For activity 1, they can find the information that they need under ‘Find Chemical Tests’ with the drop down menu for their community. For activity 2, they will need to explore other pages on the website using the ‘Related Pages’ menu on the side of the screen, including ‘What we measure’. They will also discover a lot of interesting information within the downloadable documents found under ‘Drinking Water Links and Resources’, for example the ‘GNWT Report on Drinking Water’. Help the students to become familiar with these pages.
Introduce the Government of Northwest Territories Geomatics Community Water Catchment Basin maps. (http://www.geomatics.gov.nt.ca/maps.aspx?i=8) Students should be able to find and download their community drinking water source watershed map from this website.
Introduce the NWT Spatial Data Warehouse. (http://sdw.enr.gov.nt.ca/SilverlightViewer_SDW/Viewer.html?Viewer=Spatial%20Data%20Warehouse) Students can access a wealth of information about various aspects of their home watershed by clicking different ‘Operational Layers’ on and off on the left side of the screen and zooming into various communities (some attributes only show up when the map is zoomed in quite a bit). You should plan some time to explore this site so that students can understand what information can be found in each layer.
Assign students to groups of three. Ask each group to use the three websites and their own knowledge of the land to complete the worksheet and create their own model watershed using flipchart paper and coloured cut-outs.
When the collages are complete, have each group discuss the possible real and potential impacts that each human use can have on the water and on the ecological health of the watershed. Also discuss how natural features can impact water. Make sure they consider any potential sources of contamination and any protected areas within the watershed.
Ask students to rearrange the cut-outs on their maps for the best possible drinking water quality and ecological health. Have them discuss any other measures that could be taken to optimize drinking water quality.
Activity 1
Tap Water Education Project / Junior High School / Lesson Plan 2: Drinking Water in Our Community 6
Activity 2 Our Community Drinking Water - Background Research
Description
Students will use the NWT Drinking Water Quality Database and other sources to learn more about their community's drinking water source, water-treatment system, and how drinking water is tested to ensure it is safe. Based on their background research into the local water-treatment system, students will prepare questions they would like to ask the plant operator in preparation for the field trip to the water-treatment plant in Activity 2.
Introduce the topic of drinking water treatment, and the NWT Drinking Water Quality Database (www.maca.gov.nt.ca/?page_id=1664). Students can access drinking water quality test results for each NWT community by navigating to the ‘Find Chemical Tests’ and ‘Find Bacteriological Tests’ / Community drop down list.
Answers to questions 1-6 in the student handout can be found on the NWT Drinking Water Quality Database website and are provided in the teachers’s guide.
After going through the answers to questions 1-6 with the class, encourage students to think about what topics related to source water protection and water treatment they would like to learn more about, and what questions they would like to ask the water treatment plant operator (question 7)
Career choices - Individually or in groups, students read through the introduction to the career of being a water treatment plant operator, and then brainstorm and record three career related questions they would like to ask the operator.
Activity 3 Visit to the Local Water Treatment Facility
Description
A class visit to community water treatment facilities provides a valuable opportunity for hands-on, interactive learning about the water treatment process. Personal interaction with local treatment facility operators enables students to learn more about a career option that is found in every NWT community.
Materials Needed
Students should bring the questions they have prepared for the water treatment plant operator (from Activity 1). These questions focus on both the water treatment system and the career of water treatment plant operator.
Students will need a notebook and pen for taking notes and answering their questions.
Tap Water Education Project / Junior High School / Lesson Plan 2: Drinking Water in Our Community 7
Preparation
Complete Activity 1 (Our Community Drinking Water - Background Research) to stimulate critical thought and curiosity about this topic as well as to learn vocabulary associated with the field of water treatment.
Contact staff at the local water-treatment facility to arrange a site visit.
Suggested Approach
Organize and lead a class visit to the local water-treatment facility. If possible, a combined trip to the water-treatment and wastewater-treatment facilities will enable students to learn about how water is treated for use in the community and how wastewater is treated before it is released back to the environment.
Follow-up and Reflection
Water quality
Students summarize the answers to their questions about the local water-treatment facility. What did students learn from their visit?
Career choices
Students write a reflective writing piece based on the career and job-related questions they asked the water treatment plant operator
Taking it Further
Optional activity 4 The final part of our drinking water’s journey - Cleaning Home Water Tanks This is a great activity to include if you teach in a community that relies on trucked water. After being pumped from the source water, treated in the water treatment plant and transported by truck, water then sits in water tanks in houses or public buildings. Cleaning those tanks is the last important step in ensuring safe and clean water and is the responsibility of individual households (in the case of private homes) or the responsibility of the municipal government (in the case of municipal public buildings). Health and Social Services has prepared a video illustrating how homeowners can clean their tanks and explaining why this is important. The video is included in your resource package and can also be watched on-line. The video is 9.25 minutes in duration. http://www.youtube.com/watch?v=SRy5ex3JCHY Students can watch the video and answer the questions 1 through 5 on the student worksheet for activity 4. Questions 6 through 9 are questions that students can take home to learn about their own water tank. Question 10 provides an opportunity for reflection and dialogue in the classroom.
Tap Water Education Project / Junior High School / Lesson Plan 2: Drinking Water in Our Community 8
Optional Activity 5: Learning from our Elders Take a field trip to a local body of water with an elder from your community who is willing to tell stories about it or bring a local elder into the classroom to talk about water. Have students consider the importance of the water body to their community now and in the past. Help the students to consider the changes in how residents access drinking water now compared with when their Elders were young. Ask the students to reflect on why chlorine is added to tap water now when their Elders used to drink water without chlorine.
Optional Activity 6: Exploring Land and Water Board Registries Your region’s Land and Water Board online registry also shows the most current land and water use applications in your area. Students can search the registry to find land and water use activities near your drinking water source. First, they will need to know which Water Board regulates the land around their community. In the Tlicho region, go to: http://wlwb.ca/ In the Inuvialuit Settlement Region, go to: http://www.nwtwb.com/ In the Gwich’in Settlement Region, go to: http://glwb.com/ In the Sahtu Settlement Region, go to: http://slwb.com/ In unsettled claim areas, go to: http://mvlwb.com/
Optional Activity 7: Land Conservation Have students research a protected area initiative or land use plan conservation area near their community, in small groups. Students can design a poster or make a presentation to the class to answer the following questions:
Does the area protect the community’s drinking water source? What other values does it conserve? Are there threats to this area? Have students been to the area? What were there impressions of it and what did they do there?
Tap Water Education Project / Junior High School / Lesson Plan 2: Drinking Water in Our Community 9
Drinking Water in Our Community
Introduction
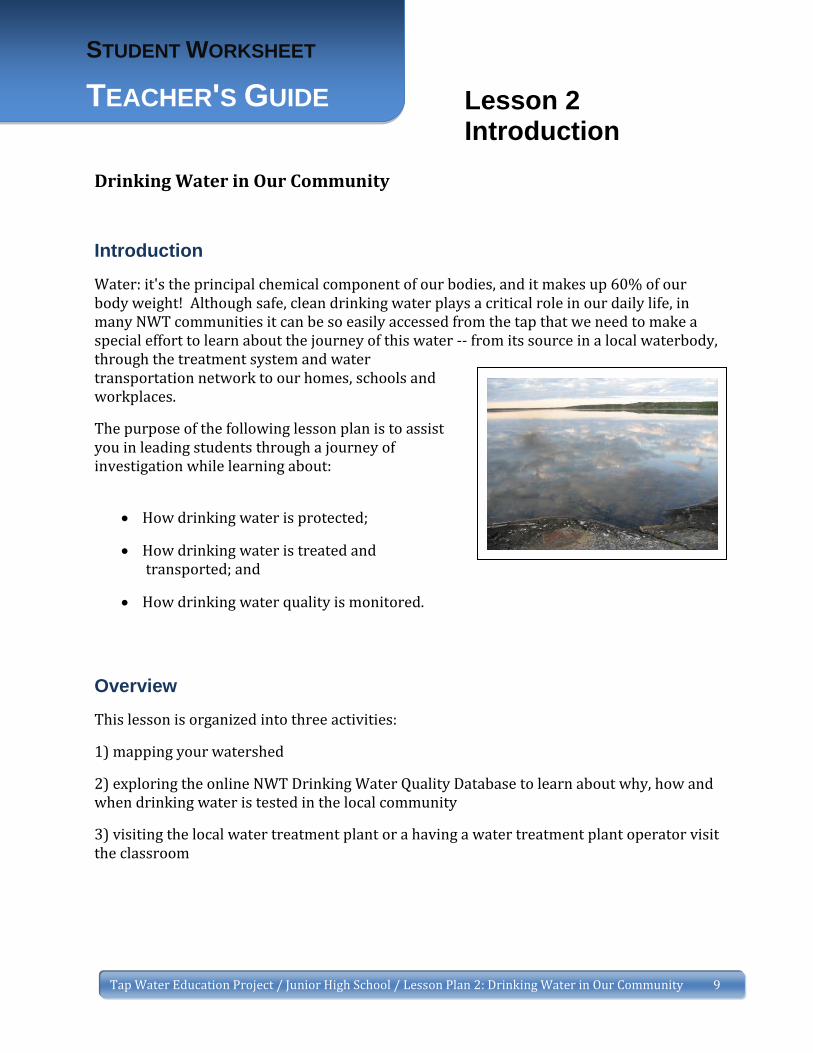
Water: it's the principal chemical component of our bodies, and it makes up 60% of our body weight! Although safe, clean drinking water plays a critical role in our daily life, in many NWT communities it can be so easily accessed from the tap that we need to make a special effort to learn about the journey of this water -- from its source in a local waterbody, through the treatment system and water transportation network to our homes, schools and workplaces.
The purpose of the following lesson plan is to assist you in leading students through a journey of investigation while learning about:
How drinking water is protected;
How drinking water is treated and transported; and
How drinking water quality is monitored.
Overview
This lesson is organized into three activities:
1) mapping your watershed
2) exploring the online NWT Drinking Water Quality Database to learn about why, how and when drinking water is tested in the local community
3) visiting the local water treatment plant or a having a water treatment plant operator visit the classroom
STUDENT WORKSHEET
TEACHER'S GUIDE
Lesson 2 Introduction
Tap Water Education Project / Junior High School / Lesson Plan 2: Drinking Water in Our Community 10
Small watersheds can be within larger ones. The small lake that you are imagining might flow through a river to another one, making it part of that larger watershed.
Large watersheds can contain many small rivers and lakes, which all eventually drain into a larger one. Picture the Mackenzie River that flows all the way from Great Slave Lake to the Beaufort Sea. This massive river receives water from a huge extent of land, including much of British Columbia, Alberta and Saskatchewan.
Activity 1 Mapping Your Watershed
What is a watershed?
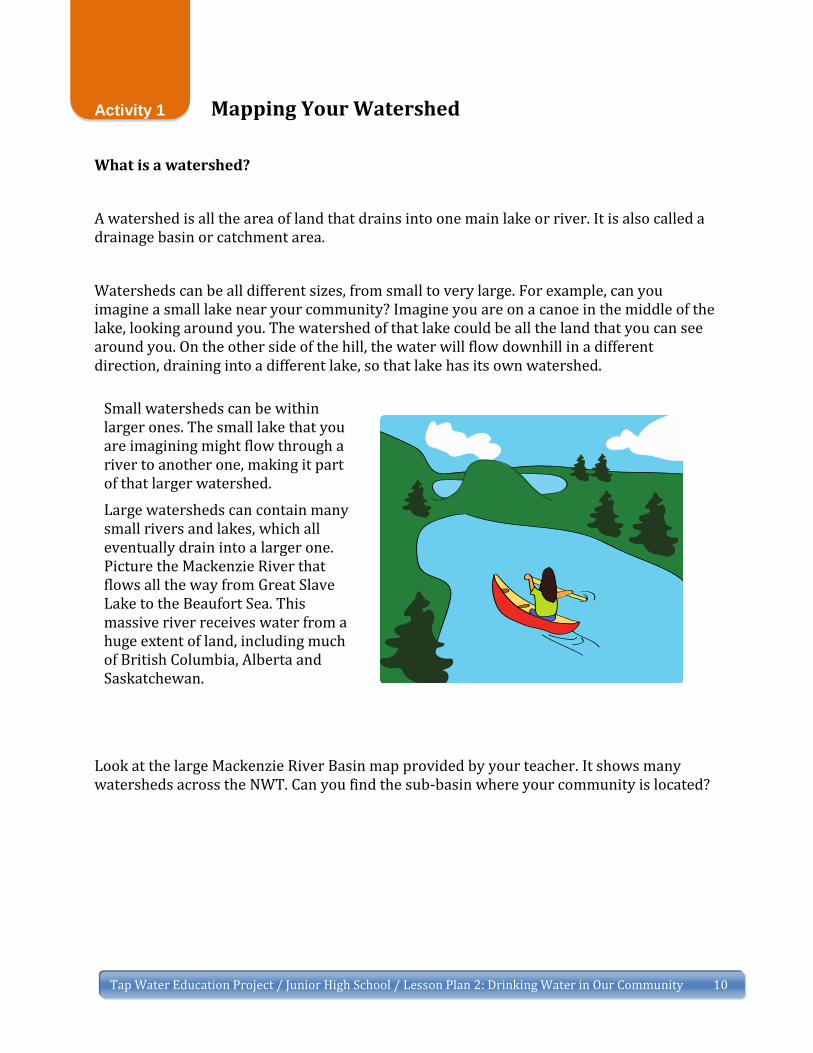
A watershed is all the area of land that drains into one main lake or river. It is also called a drainage basin or catchment area.
Watersheds can be all different sizes, from small to very large. For example, can you imagine a small lake near your community? Imagine you are on a canoe in the middle of the lake, looking around you. The watershed of that lake could be all the land that you can see around you. On the other side of the hill, the water will flow downhill in a different direction, draining into a different lake, so that lake has its own watershed.
Look at the large Mackenzie River Basin map provided by your teacher. It shows many watersheds across the NWT. Can you find the sub-basin where your community is located?
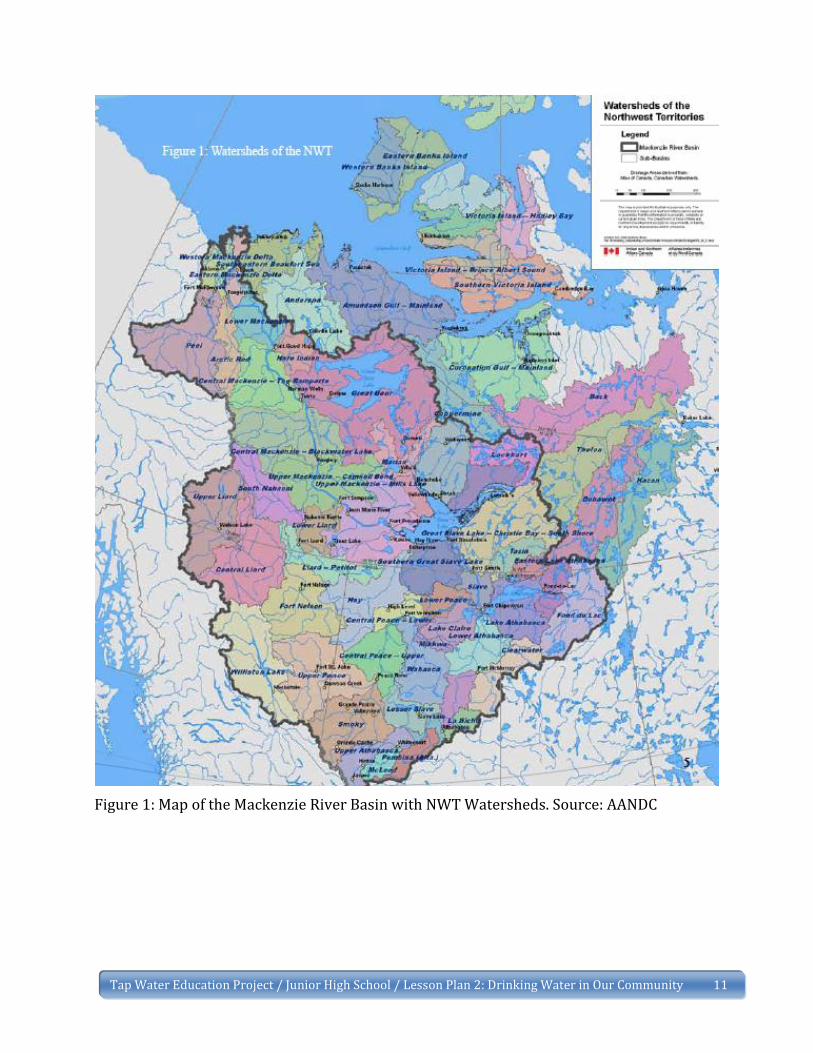
Tap Water Education Project / Junior High School / Lesson Plan 2: Drinking Water in Our Community 11
Figure 1: Map of the Mackenzie River Basin with NWT Watersheds. Source: AANDC
Tap Water Education Project / Junior High School / Lesson Plan 2: Drinking Water in Our Community 12
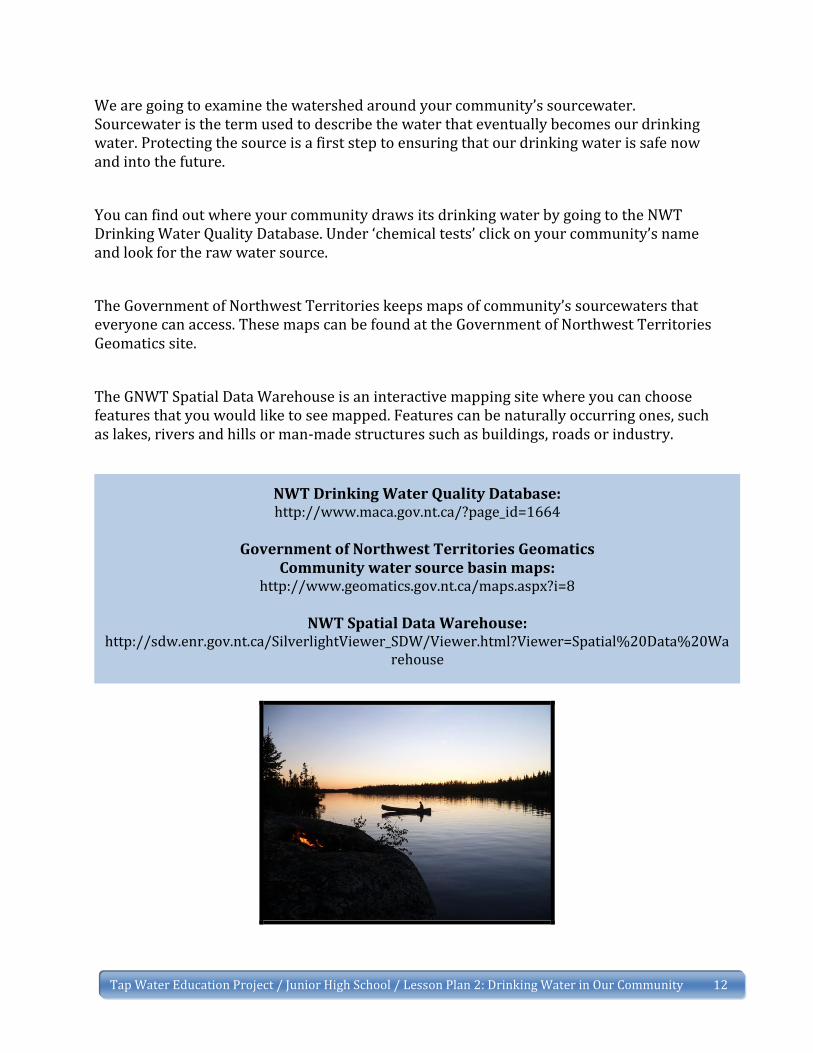
We are going to examine the watershed around your community’s sourcewater. Sourcewater is the term used to describe the water that eventually becomes our drinking water. Protecting the source is a first step to ensuring that our drinking water is safe now and into the future.
You can find out where your community draws its drinking water by going to the NWT Drinking Water Quality Database. Under ‘chemical tests’ click on your community’s name and look for the raw water source.
The Government of Northwest Territories keeps maps of community’s sourcewaters that everyone can access. These maps can be found at the Government of Northwest Territories Geomatics site.
The GNWT Spatial Data Warehouse is an interactive mapping site where you can choose features that you would like to see mapped. Features can be naturally occurring ones, such as lakes, rivers and hills or man-made structures such as buildings, roads or industry.
NWT Drinking Water Quality Database: http://www.maca.gov.nt.ca/?page_id=1664
Government of Northwest Territories Geomatics
Community water source basin maps: http://www.geomatics.gov.nt.ca/maps.aspx?i=8
NWT Spatial Data Warehouse:
http://sdw.enr.gov.nt.ca/SilverlightViewer_SDW/Viewer.html?Viewer=Spatial%20Data%20Warehouse
Tap Water Education Project / Junior High School / Lesson Plan 2: Drinking Water in Our Community 13
In groups of 3-4, follow these steps to learn about your watershed:
1. Using the Mackenzie Basin map on the previous page, find the sub-basin that surrounds your community.
The name of my community’s sub-basin is __________________________________________
2. Find out about your community’s sourcewater:
a. Go to the Water Quality Database and find the name of your community’s source water. (If it doesn’t have a name, you can write ‘no name’) ___________________________________________
b. Which kind of water source does your community have? (circle the right answer) Lake River Groundwater well
3. Using the information that you can find on the websites, draw your community and its source watershed on your large piece of paper paper. Draw and label the following items:
a. Draw and label your community and any other communities that are in the watershed.
b. Draw and label the sourcewater and other major bodies of water in the watershed.
4. Using paper cut-outs, add 3-5 human, land or water uses within the water shed. What are these?
a. ______________________________________________________________
b. ______________________________________________________________
c. ______________________________________________________________
d. ______________________________________________________________
e. ______________________________________________________________
Tap Water Education Project / Junior High School / Lesson Plan 2: Drinking Water in Our Community 14
5. Using paper cut-outs, add 3-5 things that occur naturally in your watershed.
a. _______________________________________________________________
b. ______________________________________________________________
c. ______________________________________________________________
d. ______________________________________________________________
e. ______________________________________________________________
6. How do you think the natural features on your map can impact the water? Examples include: Soil – filtration, biodegradation, Soil without vegetation: run-off with increased sediments, particles, nutrients Soil with vegetation: increased evapotransipiration by vegetation, increased soil stability Different kinds of soil – can discuss that some soils absorb more water Rocks – will not absorb water
7. How do you think the human-made features on your map can impact the water?
Help students to consider things like: cars, boats, fuel tanks, roads and vehicles, nearby industry, the community landfill, the community sewage lagoon, deforestation cause by development, dams if applicable
8. How can human uses of land and water be planned to protect drinking water? On your map, rearrange the cut-outs for the best possible drinking water quality and the best outcomes for human health.
Help students to think about flow directions and where some of the land uses that can have negative impacts are in relation to the community’s drinking water intake. Can they move things around so that these land uses are downstream of the intake instead of upstream? Help them to consider the location of their community’s landfill and sewage lagoon and where the water flows in relation to those and the drinking water intake. They can also consider recreational uses of water and where land and water are used to harvest country foods.
Tap Water Education Project / Junior High School / Lesson Plan 2: Drinking Water in Our Community 15
Activity 2 Our Community Drinking Water In the last activity, we were introduced to the Drinking Water Quality Database. That is where you discovered the source of your community’s drinking water. Let’s look at it more closely.
The Northwest Territories Drinking Water Quality Database is an online resource that provides the following information:
what kind of drinking water treatment system is found in each community how drinking water is tested when drinking water is tested recent drinking water test results for each community.
Please use the three websites shown in ‘activity 1’ to answer the following questions.
1. From what water source does your community get its drinking water?
2. Name three major land and water uses within or near your community’s drinking water source. What are the potential threats and benefits to your drinking water from each use?
Threat Benefit
a)
b)
c)
3. What type of water treatment plant does your community have?
You may need to give students a hint: they can find this information in the GNWT annual Drinking Water Reports, which can be downloaded in pdf forms from MACA’s Water Quality website under the ‘Related Pages: Annual Reports’ link on the left sidebar.

Tap Water Education Project / Junior High School / Lesson Plan 2: Drinking Water in Our Community 16
4. Drinking water is frequently tested for the bacteria E. coli (Escherichia coli).
a) Why do water treatment operators test for this bacteria?
Operators test for E. Coli because it is the only species in the coliform group that is exclusively found in the intestinal tract of humans and other warm-blooded animals and it is excreted in large numbers in feces. Of all contaminants in drinking water, human and animal feces present the greatest danger to public health. The reason E.coli is relied on so heavily as a measure is that it is a good indicator of the bacteriological safety of drinking water.
b) Where does E. Coli come from?
E. coli are naturally occurring fecal coliforms found in human and animal intestines. While the strain of E. coli known as E. coli 0157:H7, which contaminated the water in Walkerton, Ontario, is very harmful and potentially deadly, most strains of E. coli are relatively harmless.
c) What happens if a water-treatment plant operator finds that E. coli is present in a drinking water sample?
It is the If E. coli is found in the water, it means that the water has been contaminated by human or animal feces that can harbour a number of other pathogenic, or disease causing, organisms. The maximum acceptable concentration of E. coli in drinking water is zero. If E. coli is detected in drinking water, a boil water advisory is generally issued right away.
5. Why is chlorine used in the water treatment process?
Chlorine is added to drinking water to kill any disease causing microorganisms (called pathogens). Enough chlorine has to be added that there is residual chlorine that stays in the drinking water and continues to prevent recontamination as the water travels through pipes or through trucks, tanks and pipes into people’s homes.
6. What is turbidity, and why is it measured in source drinking water?
Turbidity is a measure of the relative clarity or cloudiness of water. Turbidity in water is caused by suspended and colloidal matter, such as clay, silt, finely divided organic and inorganic matter, and plankton and other microscopic organisms. Turbidity is considered a health-related parameter because the particles can shelter bacteria from chlorine disinfection and act as a food source for micro-organisms. Water with high turbidity may increase the amount of chlorine required for disinfection and the possibility of water-borne illness.
7. How many times a year is drinking water tested for a set of 28 different physical and chemical parameters (items)?
One a year.
Tap Water Education Project / Junior High School / Lesson Plan 2: Drinking Water in Our Community 17
8. Please list 5 questions that you would like to ask the local water treatment plant operator so you can increase your understanding of water treatment in your community.
a)
b)
c)
d)
e)
Tap Water Education Project / Junior High School / Lesson Plan 2: Drinking Water in Our Community 18
Activity 3 Visit to the Local Water Treatment Facility
Career Choices
One of the best ways to learn more about the many career options available is to talk to people who work in different jobs. Through such conversations it is possible to learn about the training needed for a given career and what kinds of activities different jobs involve.
Water treatment and wastewater treatment is an essential service provided in each NWT community by water treatment and wastewater treatment plant operators. Trained water and wastewaster treatment facility operators are in high demand in NWT communities and these positions provide ongoing training and learning opportunities.
Although until recently the career of water treatment plant operator has often been chosen by men, many women are taking interest in this career. There are already female water treatment plant operators working in several NWT communities and there are female engineers who design and help manage territorial water and wastewater treatment systems.
During the time spent learning about the local water treatment system, there will be an opportunity to learn more about the career of being a treatment plant operator.
What would you like to learn about being a water treatment plant operator?
What are three career related questions you would like to ask the water treatment plant operator?
a)
b)
c)
Tap Water Education Project / Junior High School / Lesson Plan 2: Drinking Water in Our Community 19
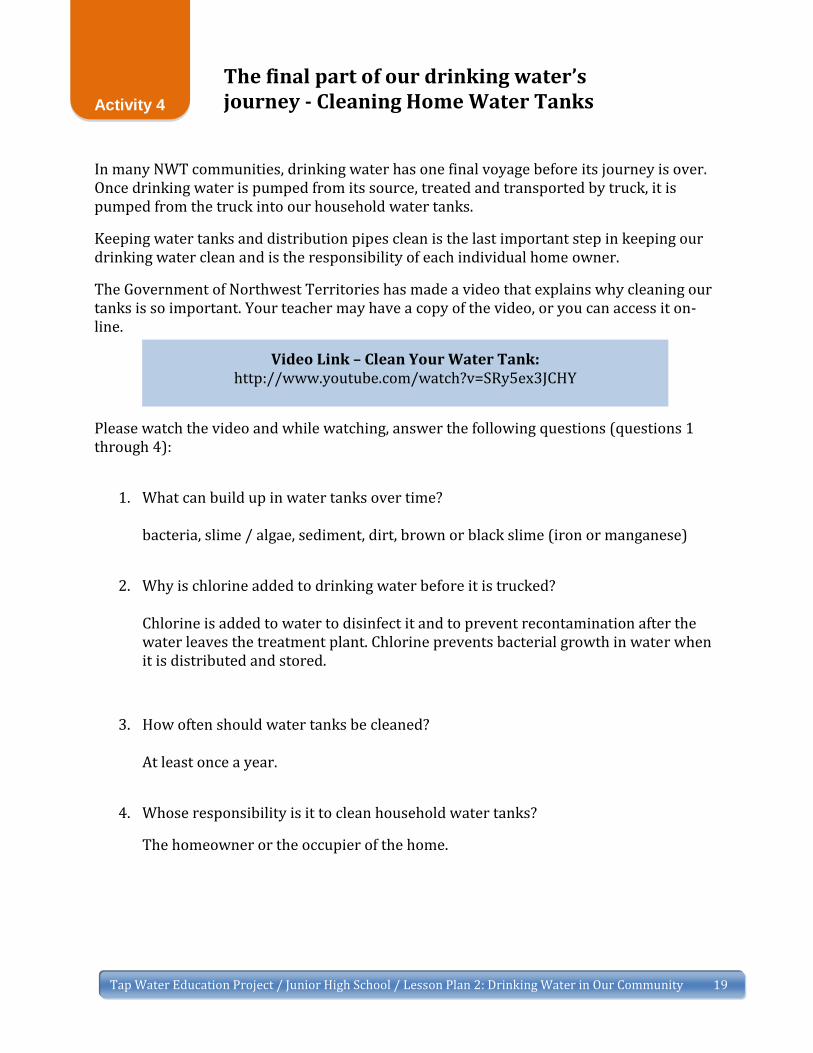
Activity 4
In many NWT communities, drinking water has one final voyage before its journey is over. Once drinking water is pumped from its source, treated and transported by truck, it is pumped from the truck into our household water tanks.
Keeping water tanks and distribution pipes clean is the last important step in keeping our drinking water clean and is the responsibility of each individual home owner.
The Government of Northwest Territories has made a video that explains why cleaning our tanks is so important. Your teacher may have a copy of the video, or you can access it on-line.
Please watch the video and while watching, answer the following questions (questions 1 through 4):
1. What can build up in water tanks over time? bacteria, slime / algae, sediment, dirt, brown or black slime (iron or manganese)
2. Why is chlorine added to drinking water before it is trucked? Chlorine is added to water to disinfect it and to prevent recontamination after the water leaves the treatment plant. Chlorine prevents bacterial growth in water when it is distributed and stored.
3. How often should water tanks be cleaned? At least once a year.
4. Whose responsibility is it to clean household water tanks?
The homeowner or the occupier of the home.
Video Link – Clean Your Water Tank: http://www.youtube.com/watch?v=SRy5ex3JCHY
The final part of our drinking water’s journey - Cleaning Home Water Tanks
Tap Water Education Project / Junior High School / Lesson Plan 2: Drinking Water in Our Community 20
When you go home, ask people in your household questions 5 to 8.
5. When was the last time your household water tank was cleaned?
6. What are some challenges that make it difficult for a tank to be cleaned?
7. Have people in your household found ways to address these challenges? If yes, how? If no, how might these challenges be addressed in the future?
8. Are their other options for cleaning tanks in your community? Are community-wide cleanings organized or do private contractors sometimes come and offer to clean water tanks for payment?
Once you are back in the classroom, talk with your classmates about what you learned. As a group, answer question 9.
9. What can communities do to make it easier and more common for homeowners to clean their drinking water tanks?
Ideas: students can talk about community level initiatives such as organizing community tank cleanings. Having the necessary tools may be an issue so finding ways to ensure that the store stocks them or sharing some tools among multiple households are also options. Individuals may have their own challenges that they need to address such as finding the time or childcare or if they are physically unable to do it, finding someone to help. Students may have many other ideas depending on the conversations they have had with their household members.