Embed Size (px)
Citation preview
Lecture 7
Action View, Bootstrap & Deploying
1 / 36
Homeworks 5 & 6Homework 5 was graded
Homework 6 was due last night
Any questions?
2 / 36

Final ProjectsIt's time to start thinking about your final project
Proposals will be due on March 21
Ideas:
Re-create one of your favorite sites
Build off of one of the homeworks you startedin this class
More details to come after break
3 / 36
More Generators
4 / 36
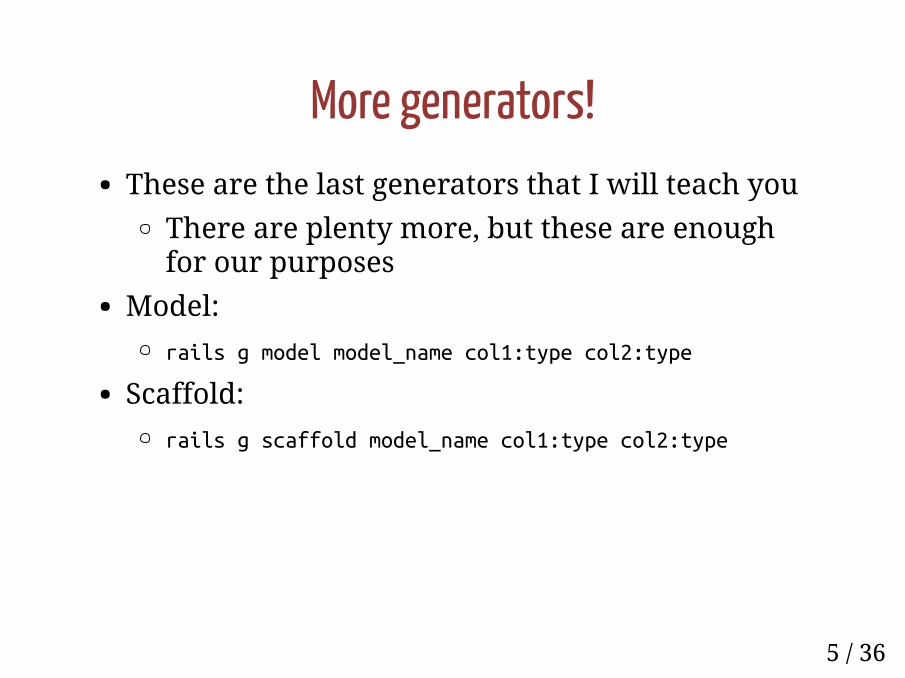
More generators!These are the last generators that I will teach you
There are plenty more, but these are enoughfor our purposes
Model:
rails g model model_name col1:type col2:type
Scaffold:
rails g scaffold model_name col1:type col2:type
5 / 36
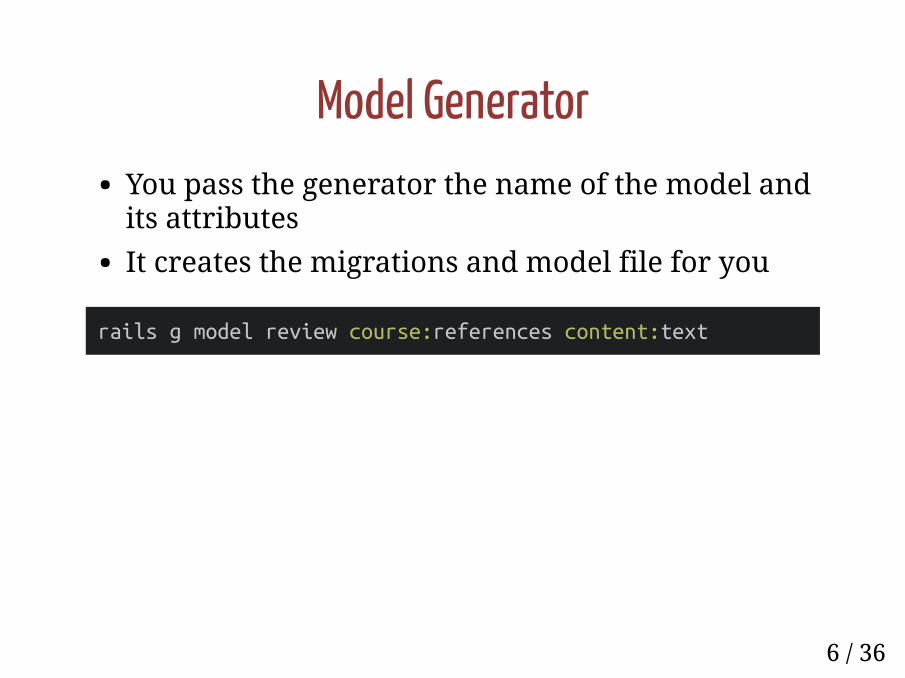
Model GeneratorYou pass the generator the name of the model andits attributes
It creates the migrations and model file for you
rails g model review course:references content:text
6 / 36
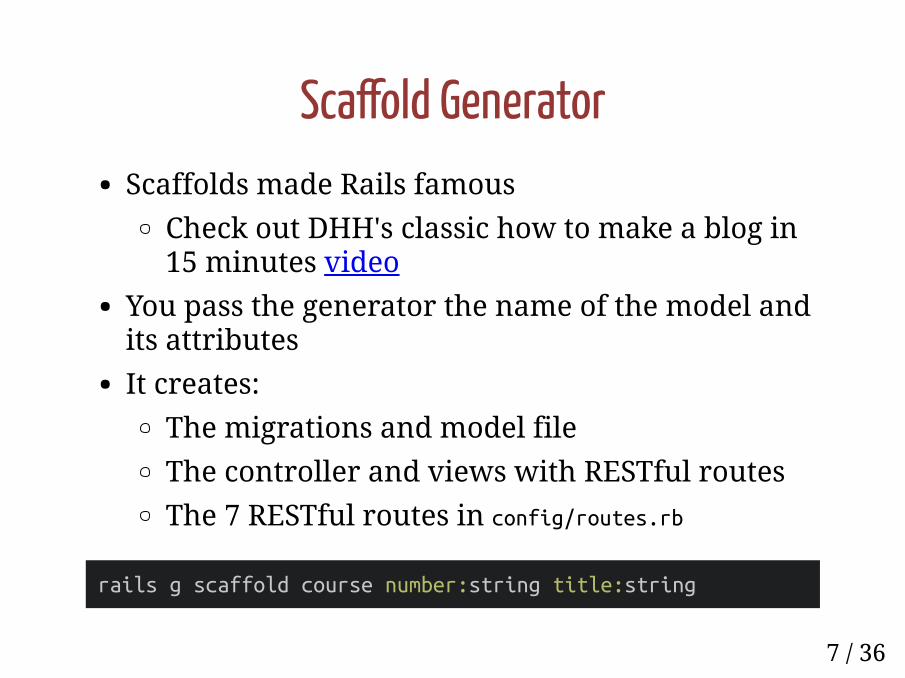
Sca�old GeneratorScaffolds made Rails famous
Check out DHH's classic how to make a blog in15 minutes video
You pass the generator the name of the model andits attributes
It creates:
The migrations and model file
The controller and views with RESTful routes
The 7 RESTful routes in config/routes.rb
rails g scaffold course number:string title:string
7 / 36
Action View
8 / 36
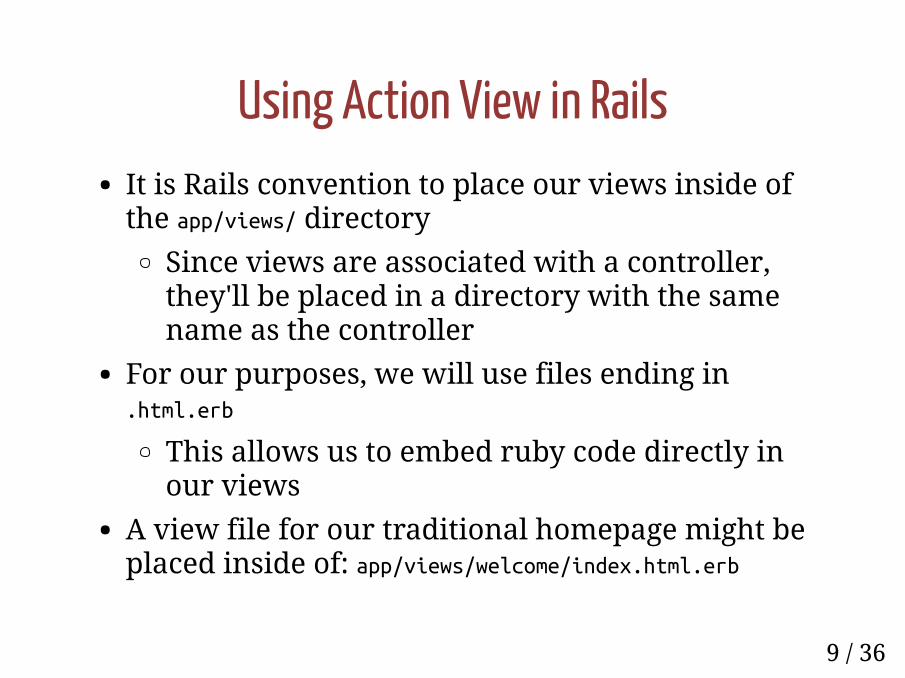
Using Action View in RailsIt is Rails convention to place our views inside ofthe app/views/ directory
Since views are associated with a controller,they'll be placed in a directory with the samename as the controller
For our purposes, we will use files ending in.html.erb
This allows us to embed ruby code directly inour views
A view file for our traditional homepage might beplaced inside of: app/views/welcome/index.html.erb
9 / 36

LayoutsCan be used to extract out common boilerplatecode
Rails ships with a default layout:app/views/layouts/application.html.erb
Every view that we create will be wrapped in thislayout by default
Contains <html>, <head>, <title>, <body> tags
Our views will be placed inside of the <body> tags
Uses <%= yield %>
You can create other layouts (out of the scope ofthis class)
10 / 36
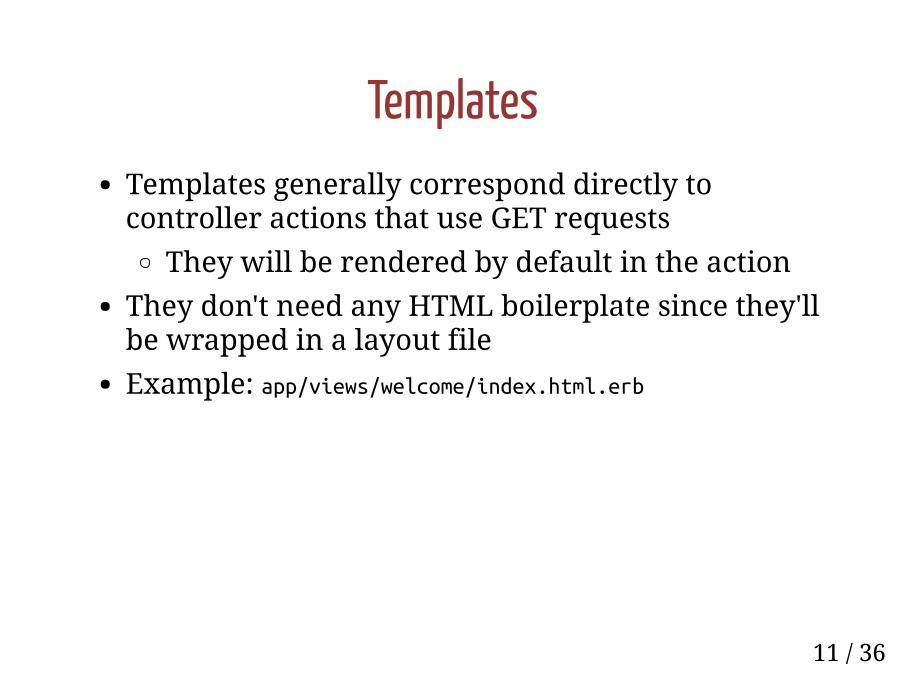
TemplatesTemplates generally correspond directly tocontroller actions that use GET requests
They will be rendered by default in the action
They don't need any HTML boilerplate since they'llbe wrapped in a layout file
Example: app/views/welcome/index.html.erb
11 / 36

PartialsAllow you to break your views into smallerchunks
Great for small, reusable blocks of code
They get placed into their own view file & can berendered in other templates
Names start with an _
Example: app/views/courses/_form.html.erb
To render a partial in a template:
<%= render 'courses/form' %>
Notice the _ is omitted when rendering thepartial
12 / 36

LocalsPartials should be modular
Should not rely on instance variables passedfrom the controller
Instead, they should use local variables that getpassed along when the partial is rendered
13 / 36
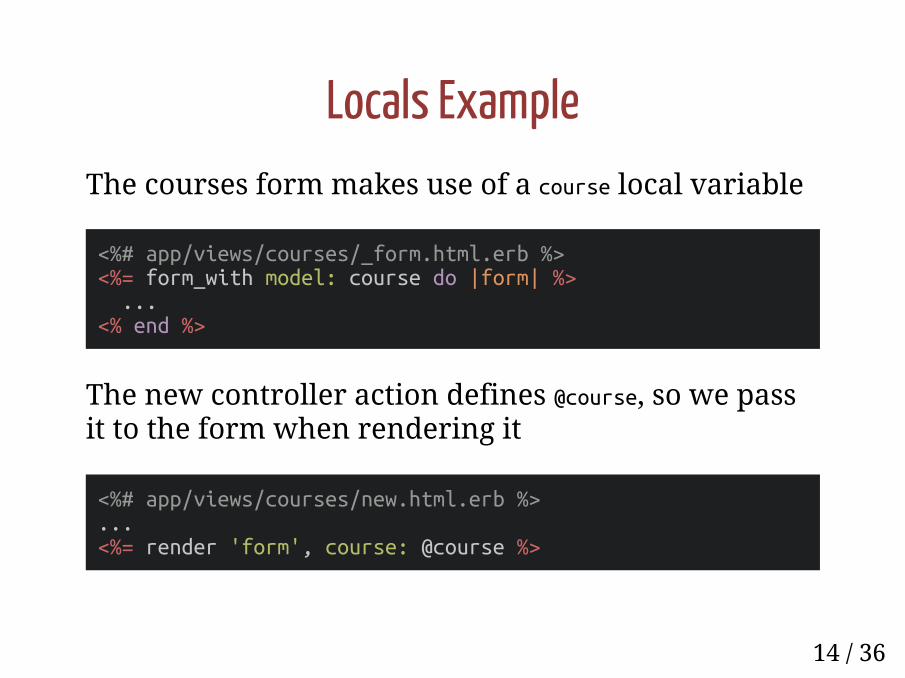
Locals ExampleThe courses form makes use of a course local variable
<%# app/views/courses/_form.html.erb %><%= form_with model: course do |form| %> ...<% end %>
The new controller action defines @course, so we passit to the form when rendering it
<%# app/views/courses/new.html.erb %>...<%= render 'form', course: @course %>
14 / 36
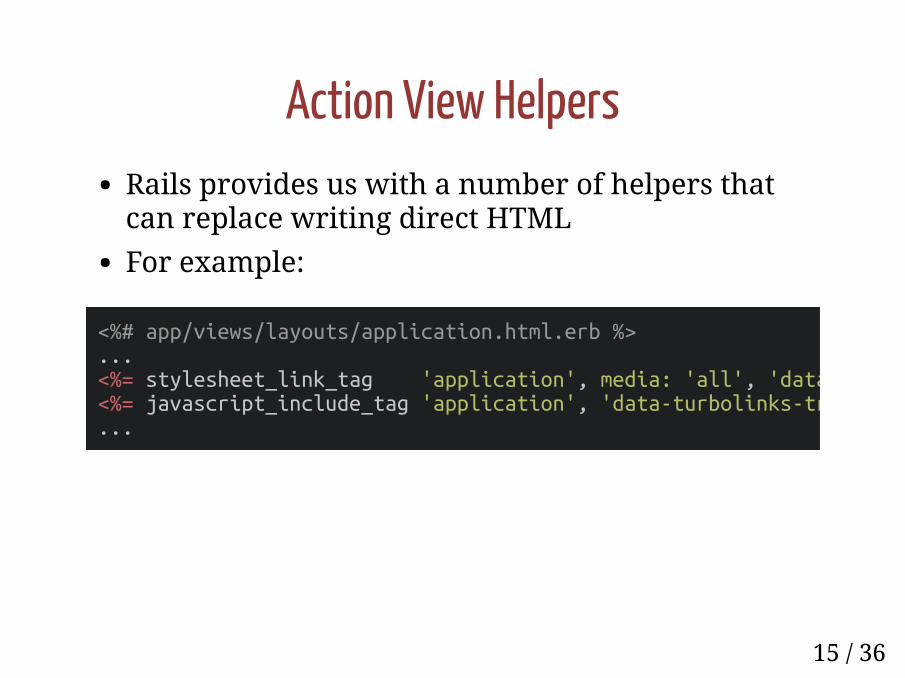
Action View HelpersRails provides us with a number of helpers thatcan replace writing direct HTML
For example:
<%# app/views/layouts/application.html.erb %>...<%= stylesheet_link_tag 'application', media: 'all', 'data<%= javascript_include_tag 'application', 'data-turbolinks-tr...
15 / 36

URL HelperThe URL helper provides us with some methods ofinteracting with URLs
The most important one for our purposes is link_to
link_to generates an anchor tag with theprovided text and URL
<%# The following are equivalent %><%= link_to @course.name, @course %><a href="/courses/<%= @course.id %>"><%= @course.name %></a>
16 / 36
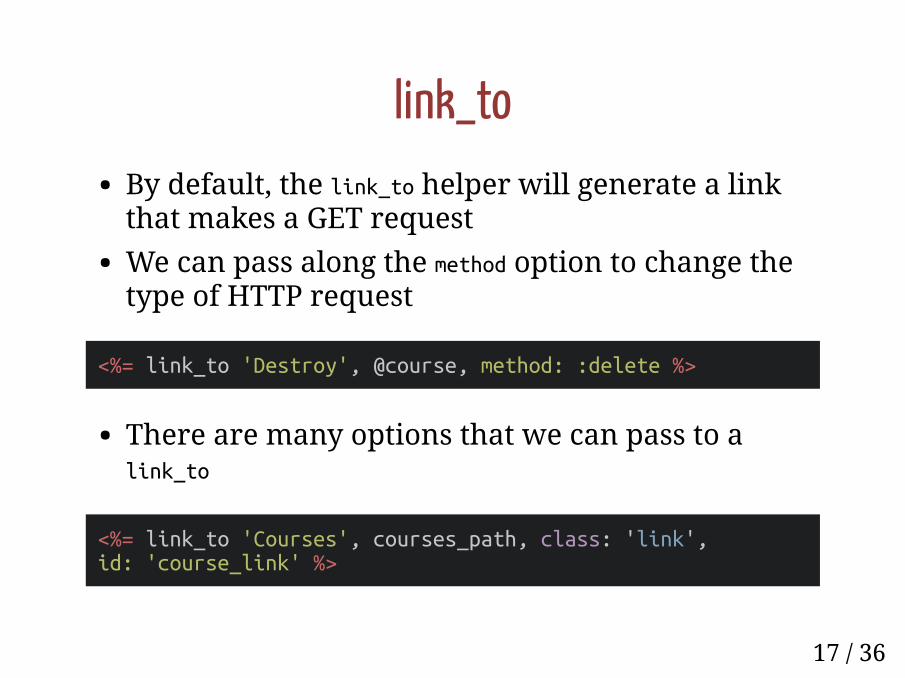
link_toBy default, the link_to helper will generate a linkthat makes a GET request
We can pass along the method option to change thetype of HTTP request
<%= link_to 'Destroy', @course, method: :delete %>
There are many options that we can pass to alink_to
<%= link_to 'Courses', courses_path, class: 'link',id: 'course_link' %>
17 / 36
Form HelpersThe Form helper provides us with some methodsfor interacting with forms
We will focus on form_with (not form_tag or form_for)
form_with generates the actual form while there areadditional helpers for generating form fields
18 / 36

form_withWe can pass it a model
<%= form_with model: Course.new do |form| %> <%= form.text_field :title %><% end %><form action="/courses" method="post" data-remote="true"> <input type="text" name="course[title]"></form>
Or a URL
<%= form_with url: courses_path do |form| %> <%= form.text_field :title %><% end %><form action="/courses" method="post" data-remote="true"> <input type="text" name="title"></form>
19 / 36
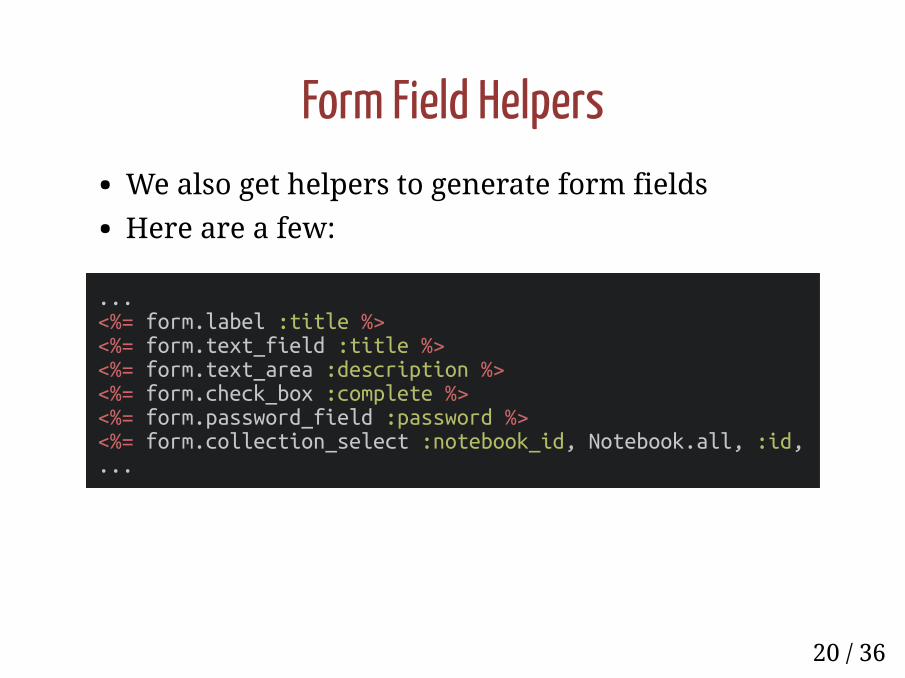
Form Field HelpersWe also get helpers to generate form fields
Here are a few:
...<%= form.label :title %><%= form.text_field :title %><%= form.text_area :description %><%= form.check_box :complete %><%= form.password_field :password %><%= form.collection_select :notebook_id, Notebook.all, :id, ...
20 / 36
Other HelpersThere are a lot more
Check out some of them here
21 / 36
Bootstrap
22 / 36

BootstrapWe will be covering Bootstrap 4 in this class
Allows us to quickly create web applications thatlook nice without having to write our own CSS
Has a 12 column grid system that allows us toeasily layout our site
Basically just involves adding classes to our HTMLelements
23 / 36

Pros:
Supported by almostevery browser
Mobile-first &extremely responsive
Customizable
Grid System
Good documentation
Cons:
Very verbose, end upadding a ton ofclasses
Without extensivecustomization, everyBootstrap site looksthe same
Tied to jQuery
Bit of a learning curve
Bootstrap Pros & Cons
24 / 36
Bootstrap GemThere are a number of ways to include Bootstrapin your project, we'll use the gem
Thorough setup instructions are provided on thewebsite
The gem uses the Rails complicated asset pipelinewhich makes it easy to customize Bootstrap andfollow Rails best practices
25 / 36
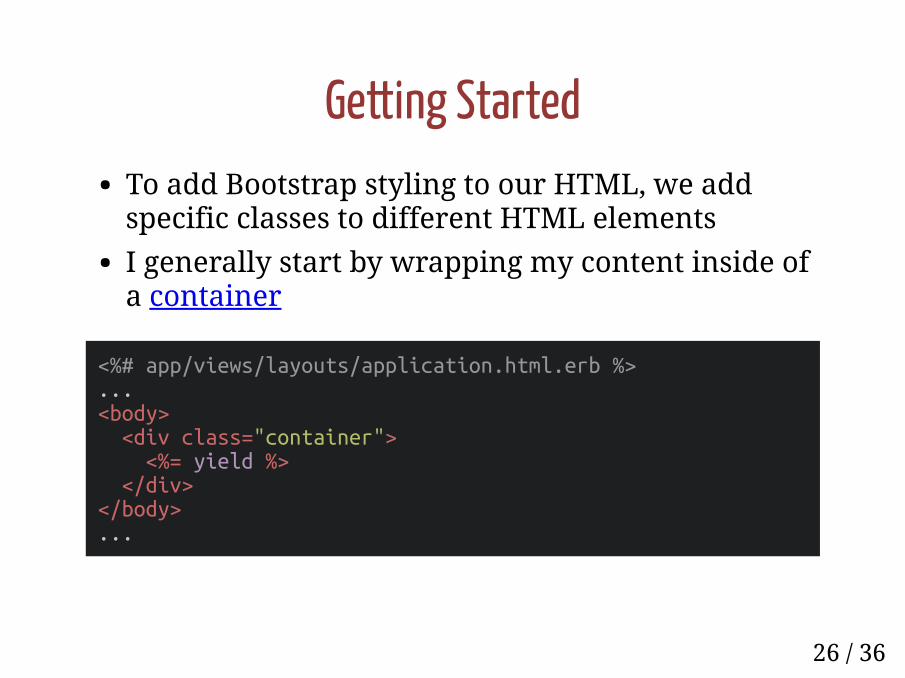
Getting StartedTo add Bootstrap styling to our HTML, we addspecific classes to different HTML elements
I generally start by wrapping my content inside ofa container
<%# app/views/layouts/application.html.erb %>...<body> <div class="container"> <%= yield %> </div></body>...
26 / 36

NavbarNext I usually add a Bootstrap-styled navbar to myapp
I create a partial for the navbar:app/views/layouts/_nav.html.erb
Then I render the partial in the default layout:
<%# app/views/layouts/application.html.erb %>...<body> <%= render 'layouts/nav' %> <div class="container"> <%= yield %> </div></body>...
27 / 36
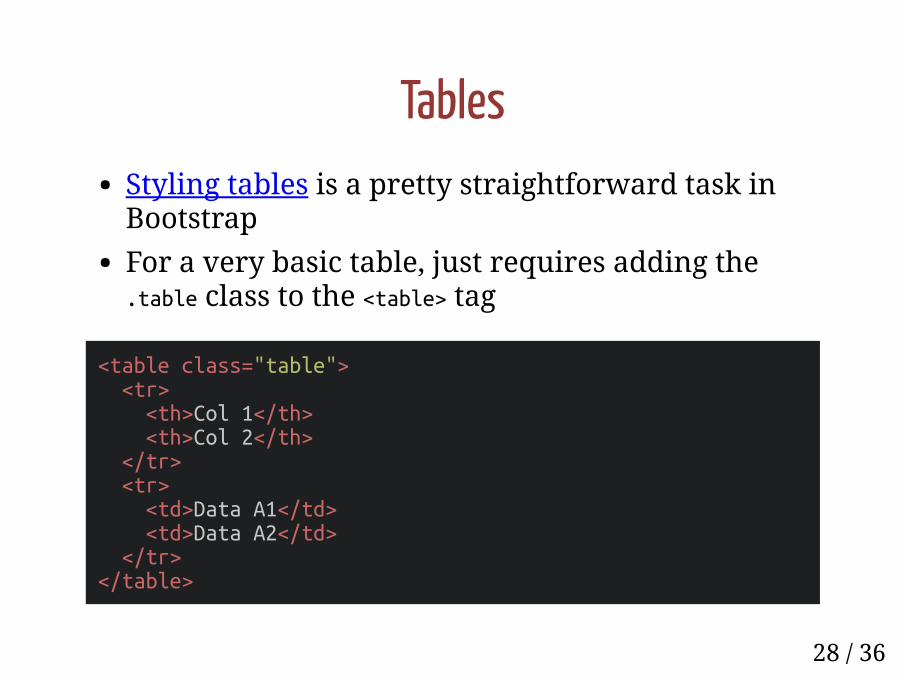
TablesStyling tables is a pretty straightforward task inBootstrap
For a very basic table, just requires adding the.table class to the <table> tag
<table class="table"> <tr> <th>Col 1</th> <th>Col 2</th> </tr> <tr> <td>Data A1</td> <td>Data A2</td> </tr></table>
28 / 36
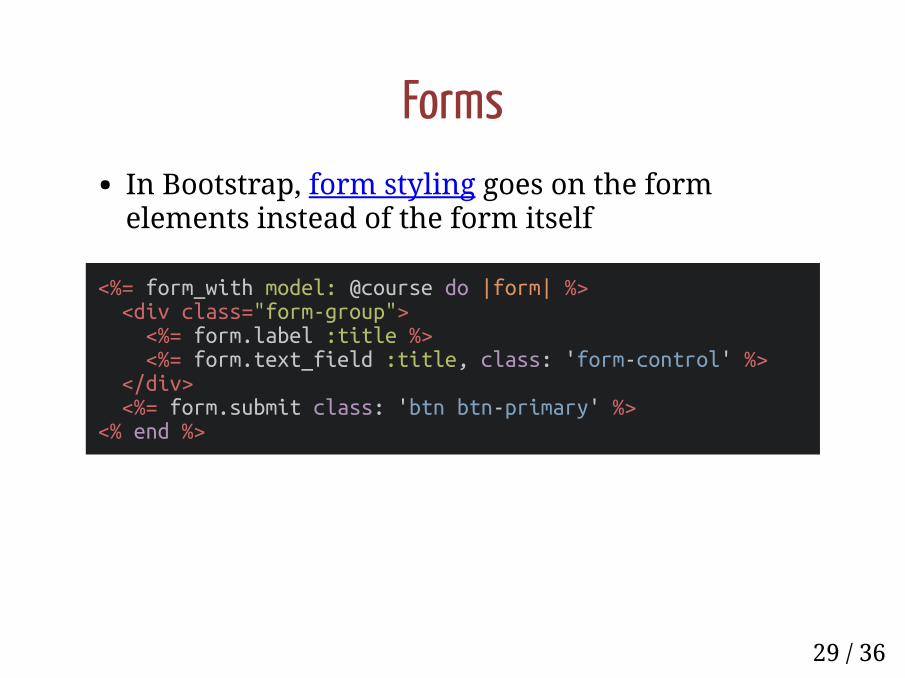
FormsIn Bootstrap, form styling goes on the formelements instead of the form itself
<%= form_with model: @course do |form| %> <div class="form-group"> <%= form.label :title %> <%= form.text_field :title, class: 'form-control' %> </div> <%= form.submit class: 'btn btn-primary' %><% end %>
29 / 36
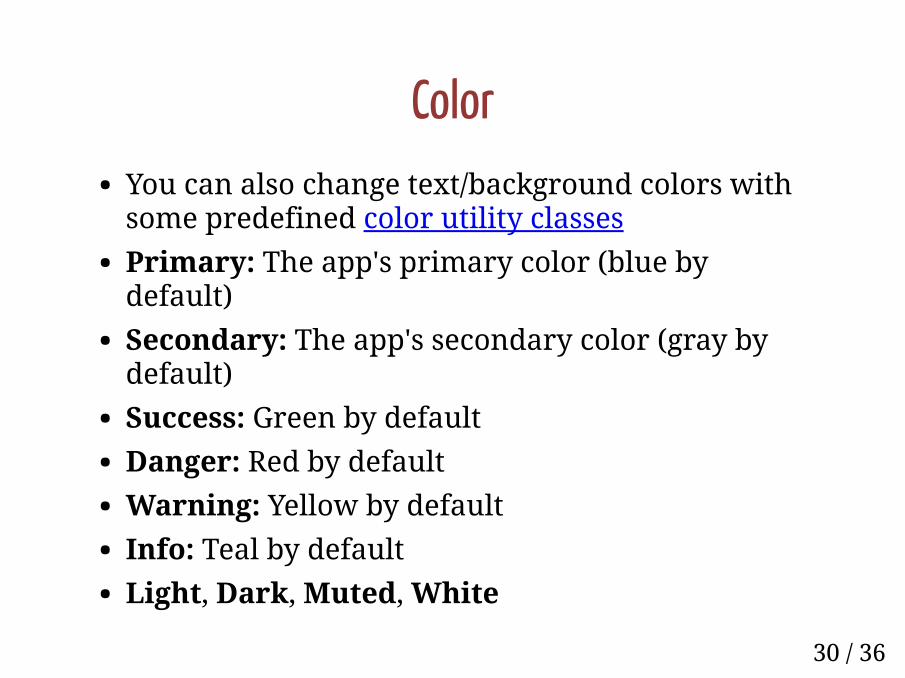
ColorYou can also change text/background colors withsome predefined color utility classes
Primary: The app's primary color (blue bydefault)
Secondary: The app's secondary color (gray bydefault)
Success: Green by default
Danger: Red by default
Warning: Yellow by default
Info: Teal by default
Light, Dark, Muted, White
30 / 36

SizeUsed in different ways:
For example, to specify the width of a button
For example, to specify the intended behavioron a specific device size
Sizes:
xs, sm, md, lg, xl
31 / 36
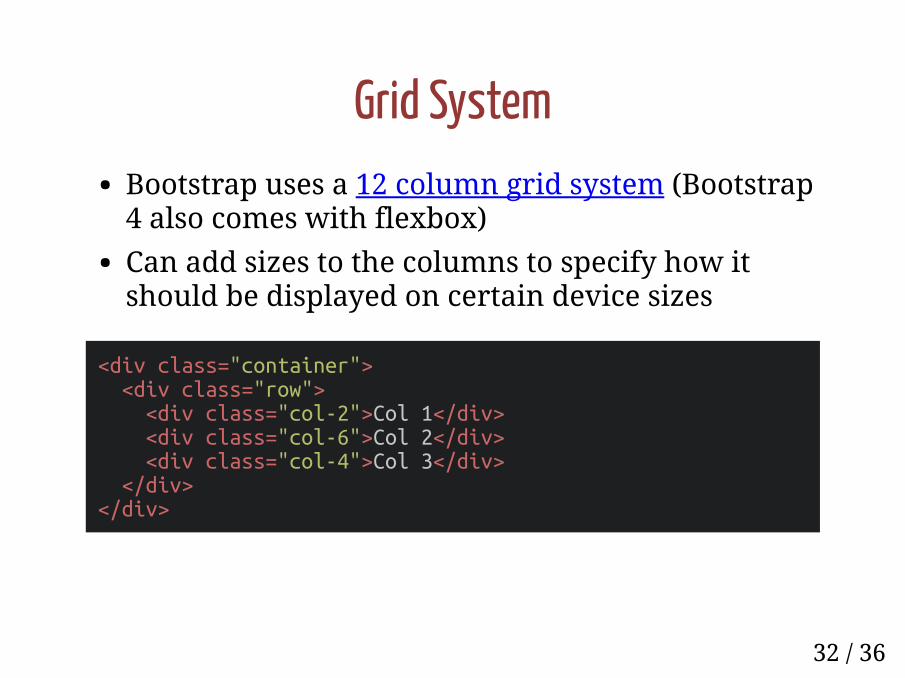
Grid SystemBootstrap uses a 12 column grid system (Bootstrap4 also comes with flexbox)
Can add sizes to the columns to specify how itshould be displayed on certain device sizes
<div class="container"> <div class="row"> <div class="col-2">Col 1</div> <div class="col-6">Col 2</div> <div class="col-4">Col 3</div> </div></div>
32 / 36
Possibilities of BootstrapBootstrap is very extensive and there's no waythat I could go through it all
Take a look at some of the examples
Read through the documentation
33 / 36

Deploying
34 / 36
HerokuHeroku allows us to deploy our application to theweb fairly easily and for no cost
This guide does a great job of explaining the stepsrequired to deploy an application
35 / 36
Homework 7Start as early as possible (at least with the MCstuff)
Homework 7 starts with you running rails new togenerate a Rails app
You'll then add all of the models, controllers, andviews necessary
Afterwards, you'll add in some Bootstrap stylingand then deploy to Heroku
Grading:
Normal 25 points
5 manually graded points for deploying toHeroku & including Bootstrap
36 / 36