Embed Size (px)
Citation preview
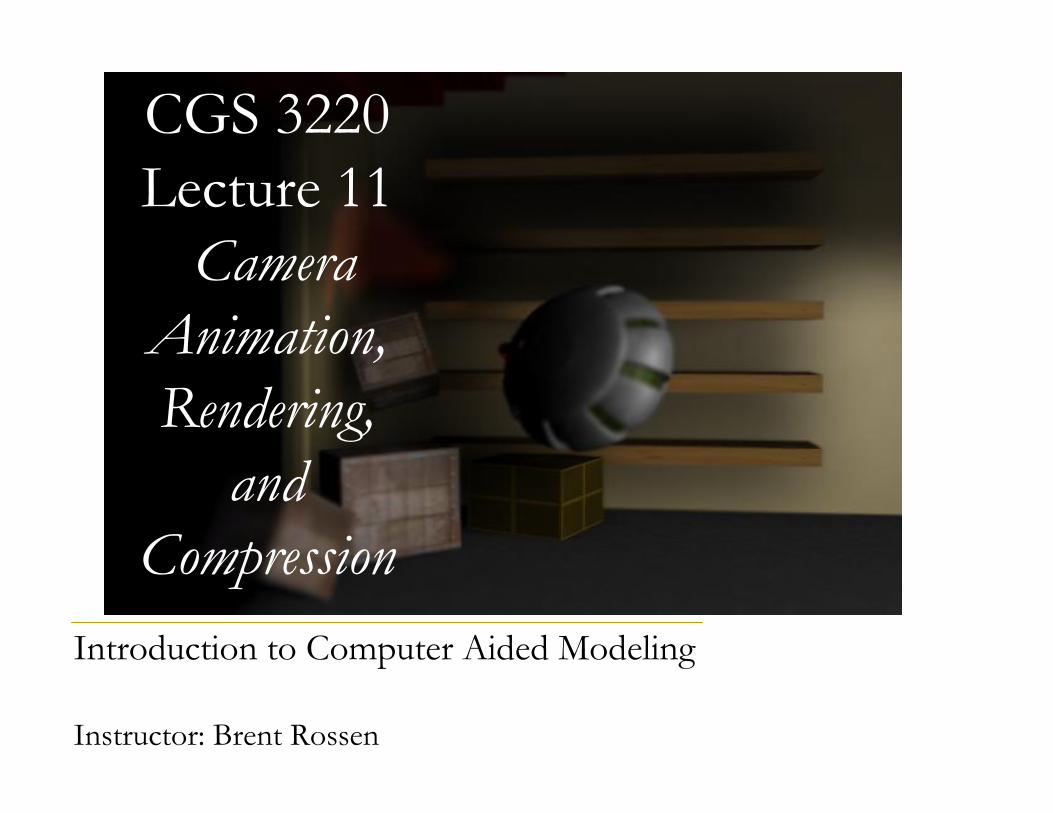
Introduction to Computer Aided Modeling
Instructor: Brent Rossen
CGS 3220Lecture 11
Camera Animation, Rendering,
andCompression
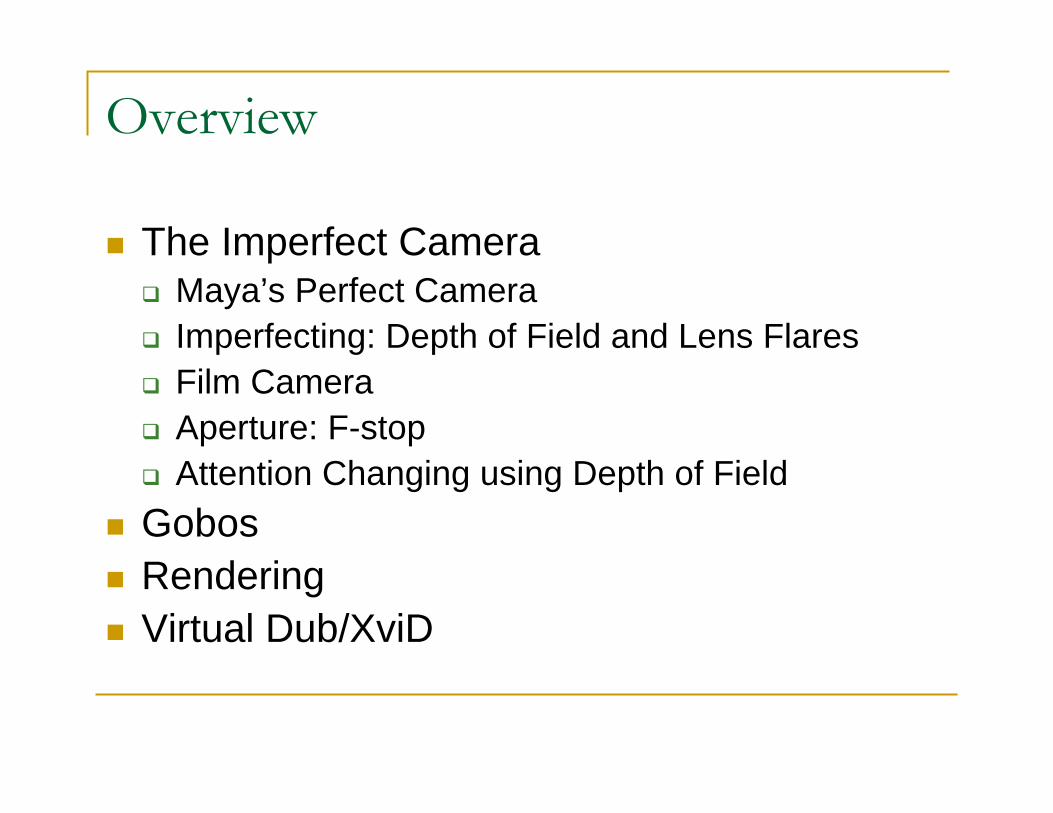
Overview
The Imperfect CameraMaya’s Perfect CameraImperfecting: Depth of Field and Lens FlaresFilm CameraAperture: F-stopAttention Changing using Depth of Field
GobosRenderingVirtual Dub/XviD
Maya’s Perfect Camera
Operates like a perfectly still camera in a vacuumAudiences are used to seeing flaws, even our eyes don’t work perfectlyFlaws and optical phenomenon (like lens flares) help to create film like realism
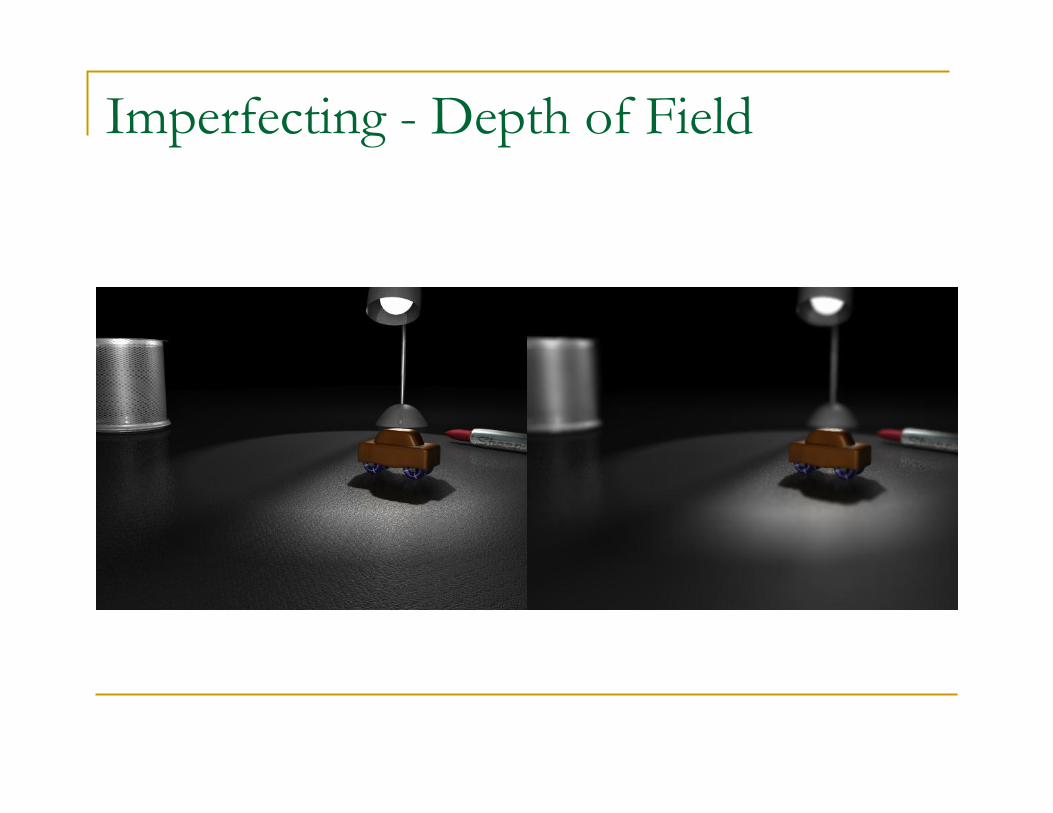
Imperfecting - Depth of Field
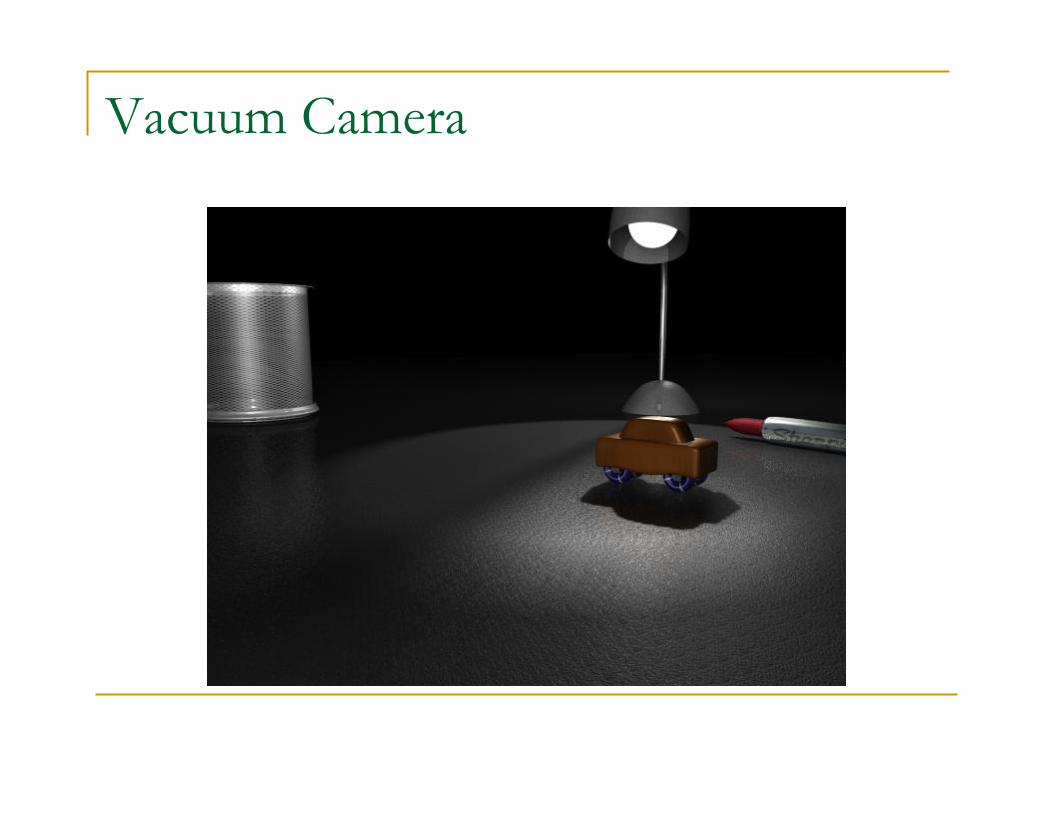
Vacuum Camera
Film Camera
Goal: mimic the feel of filmIncreasing the aperture: for good exposure cinematographers may need to increase the amount of available light hitting the negativeF-stop: measure of the aperture
Low f-stop = wide aperture (used in low light, gives small focal depth)High f-stop = tight aperture (used in high light, gives large focal depth)
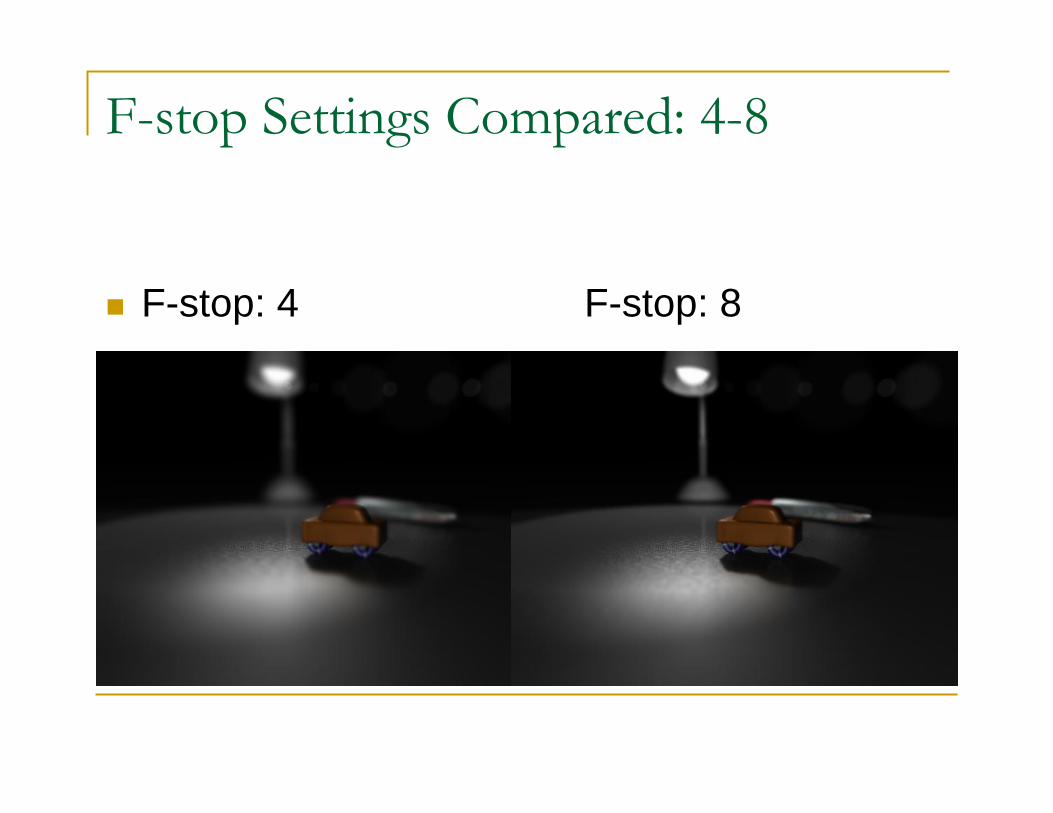
F-stop Settings Compared: 4-8
F-stop: 4 F-stop: 8
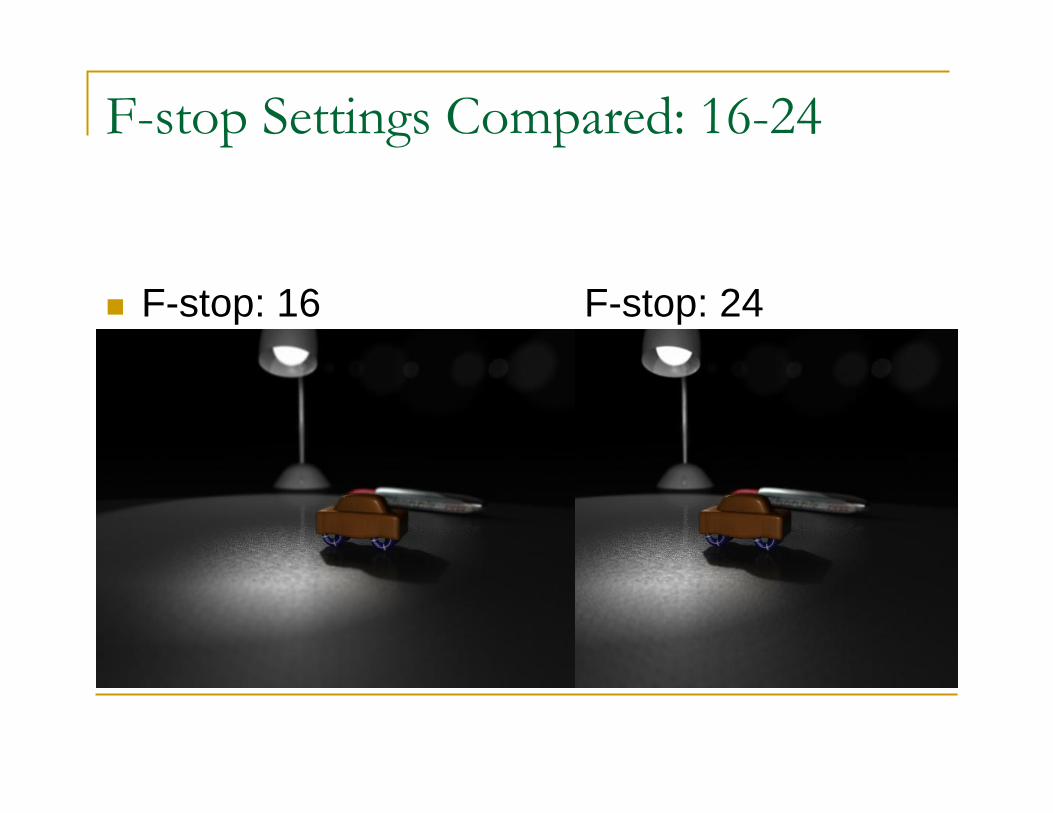
F-stop Settings Compared: 16-24
F-stop: 16 F-stop: 24
Depth of Field – Howto
Select Camera Node > Attribute Editor > Depth of FieldCheck Depth of FieldSet the Focus Distance according to the object you want to have attentionSet the f-stop according to the amount of light you have or the depth of field intensity you want
F-stop rangeLow Light: 4 - Bright light: 24
Measuring Tools
Use measuring tools to determine the distance to the attention objectCreate > Measure Tool > Distance ToolUse make live to snap to objectsEdit > Parent the measure tool locator to the object you want it to stick to for trackingCamera DistanceAlternative: Display > Heads Up Display > Object Details (Camera Distance for selected object)
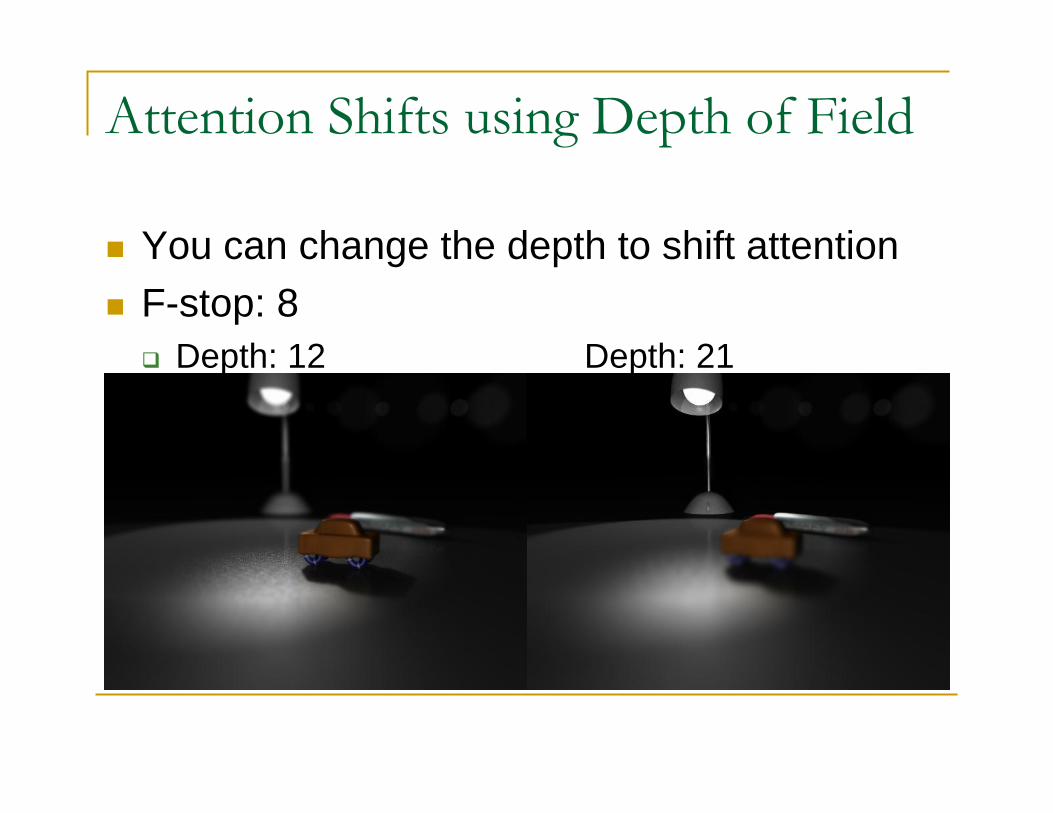
Attention Shifts using Depth of Field
You can change the depth to shift attentionF-stop: 8
Depth: 12 Depth: 21
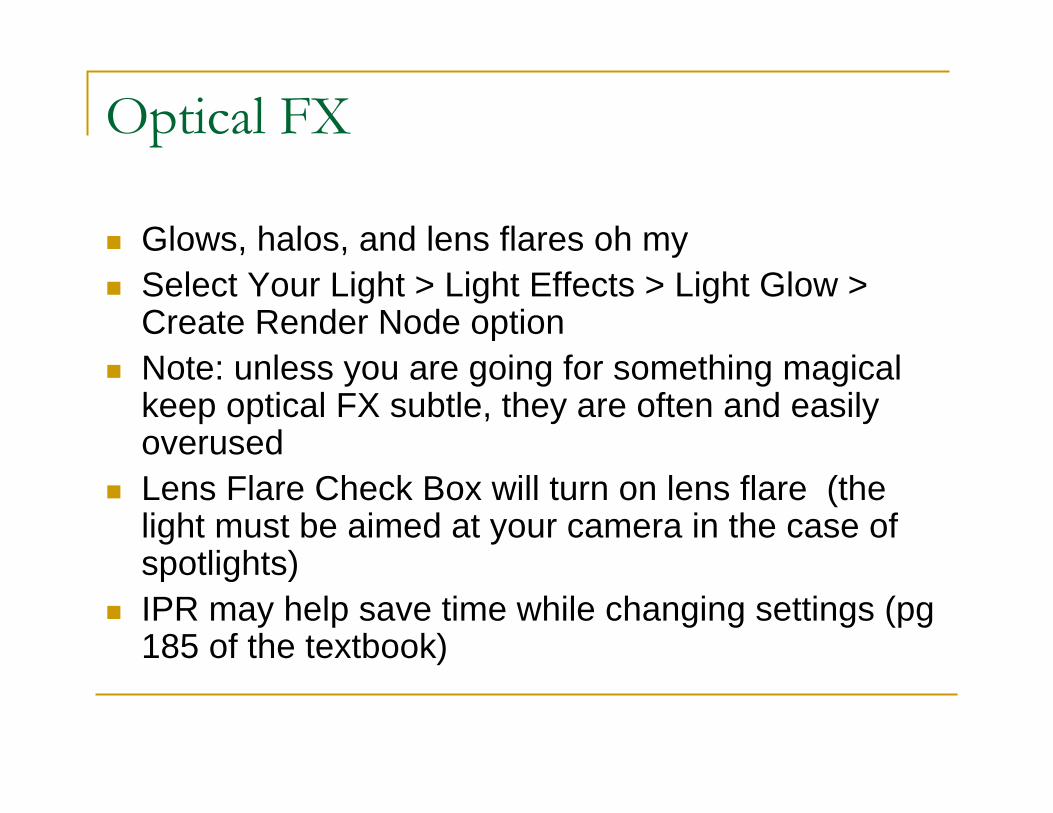
Optical FX
Glows, halos, and lens flares oh mySelect Your Light > Light Effects > Light Glow > Create Render Node optionNote: unless you are going for something magical keep optical FX subtle, they are often and easily overusedLens Flare Check Box will turn on lens flare (the light must be aimed at your camera in the case of spotlights)IPR may help save time while changing settings (pg 185 of the textbook)
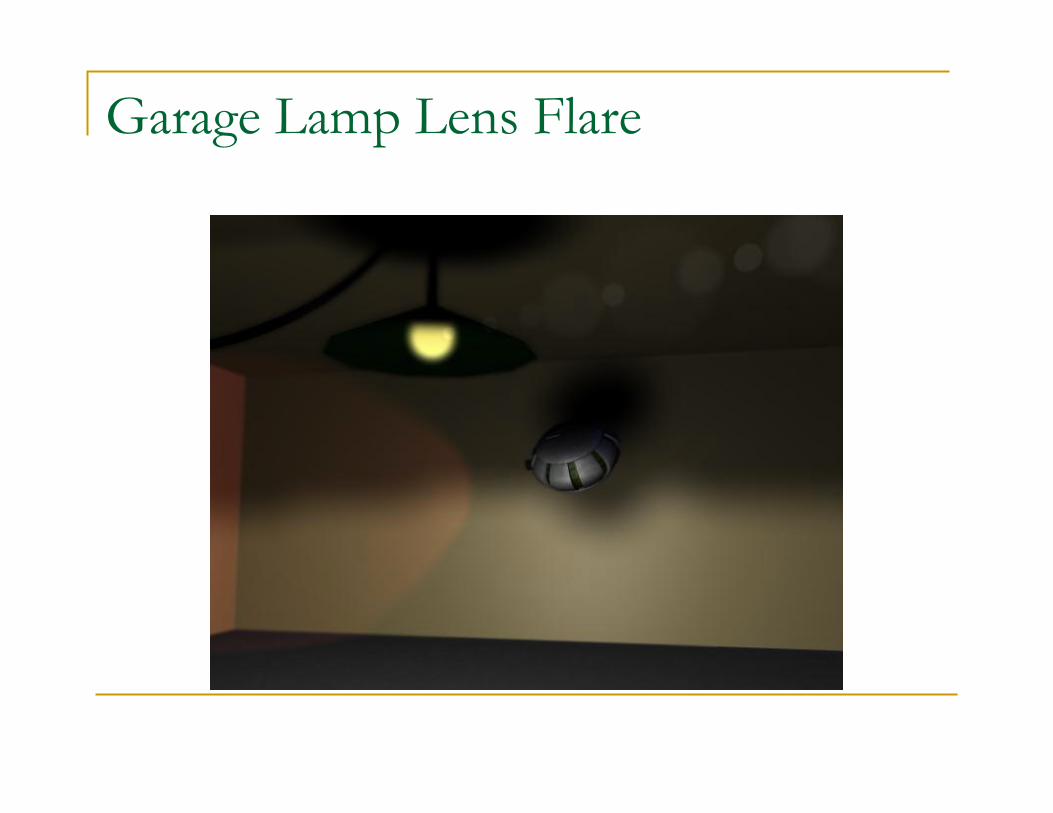
Garage Lamp Lens Flare
Gobo Lighting
When you want to throw a shadow but don’t want to create the object for said shadow, gobo’s the toolOften used in real cinematography for: Leaves, Venetian Blinds, Jail Cell BarsMap an image to the intensity of a spotlight and you have a gobo light effectMuch faster to render than raytracing the shadows of an actual transparent model
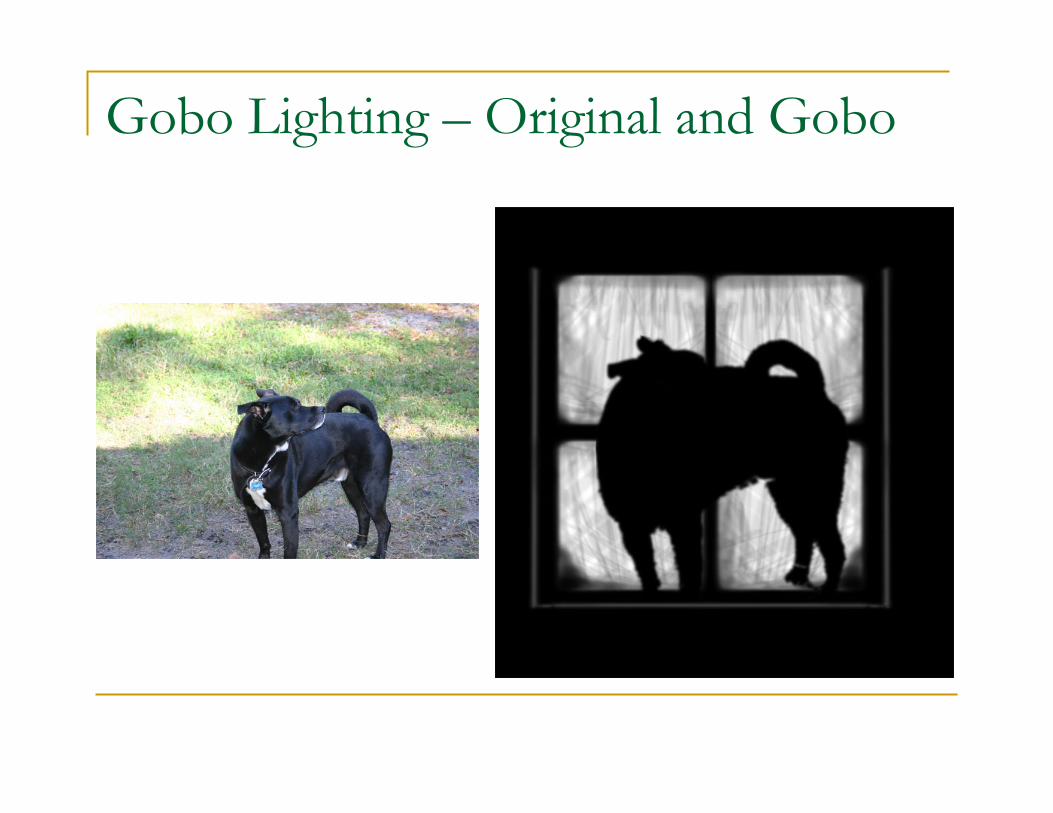
Gobo Lighting – Original and Gobo
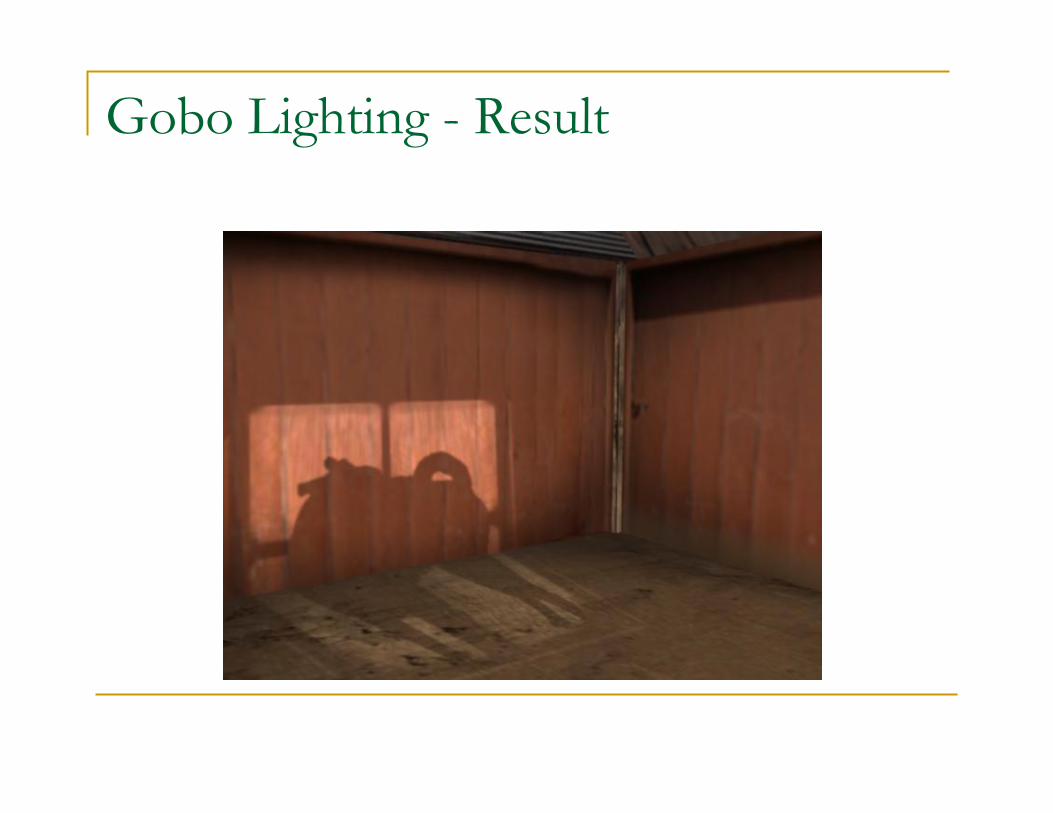
Gobo Lighting - Result
Orb Camera
Let’s use some of these techniques in our orb/garage sceneCreate > Cameras > Camera and AimIn the outliner, under camera1_group, place the camera1_aim under the orbGroupNow our camera will automatically follow every move of the orb
For a really good effect, you’d want to animate the aim so that there was always a slight delay before following
Camera Animation
Let’s animate the camera itself to follow the orb inside the garageGeneral Directions: Track sideways before entering, move towards center and lower to enter, on impact move to far corner
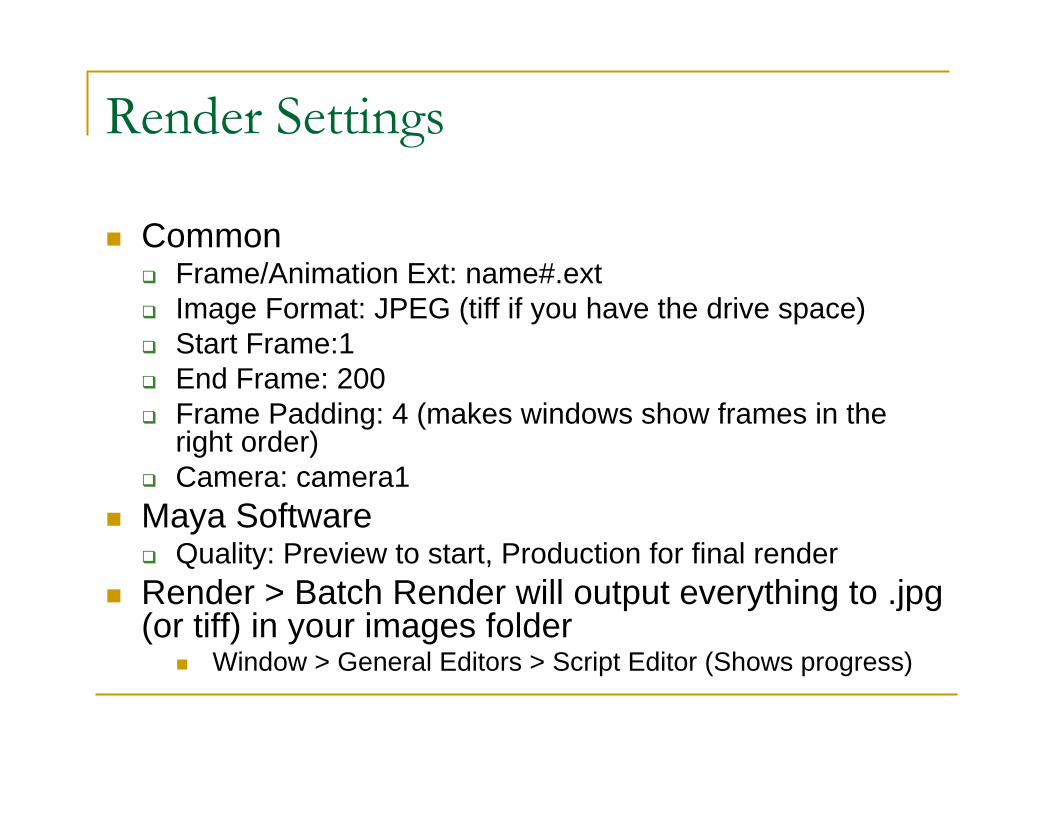
Render Settings
CommonFrame/Animation Ext: name#.extImage Format: JPEG (tiff if you have the drive space)Start Frame:1End Frame: 200Frame Padding: 4 (makes windows show frames in the right order)Camera: camera1
Maya SoftwareQuality: Preview to start, Production for final render
Render > Batch Render will output everything to .jpg (or tiff) in your images folder
Window > General Editors > Script Editor (Shows progress)
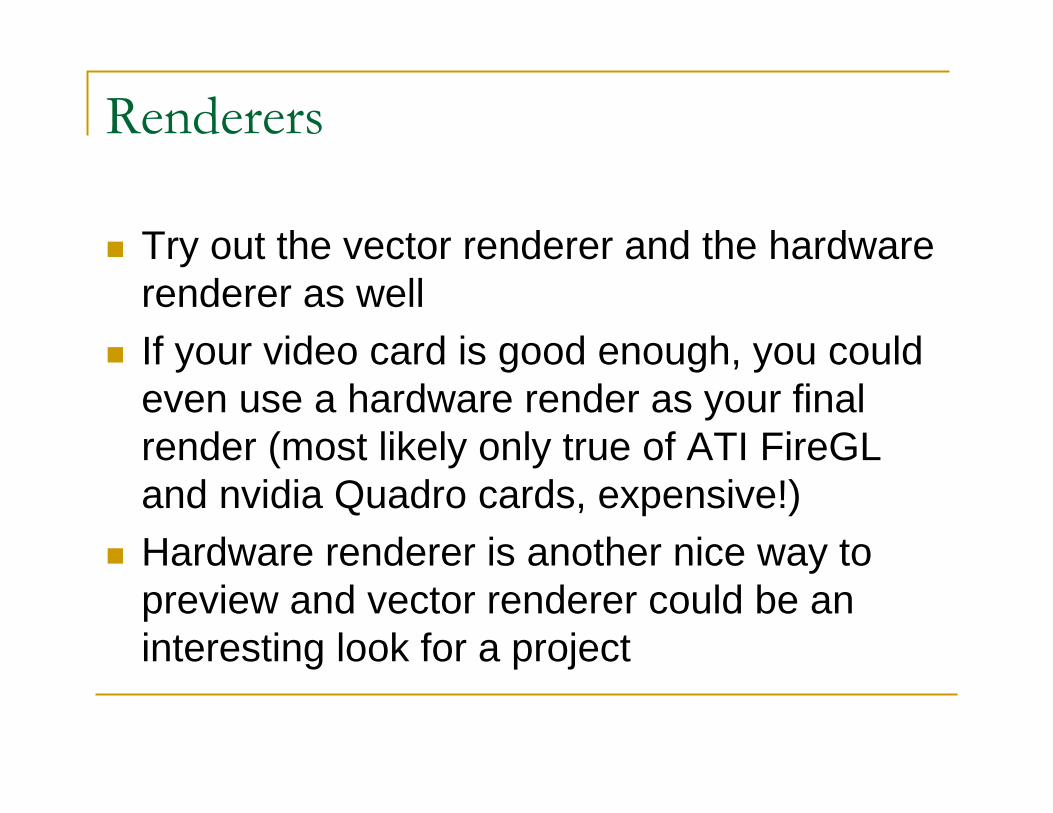
Renderers
Try out the vector renderer and the hardware renderer as wellIf your video card is good enough, you could even use a hardware render as your final render (most likely only true of ATI FireGLand nvidia Quadro cards, expensive!)Hardware renderer is another nice way to preview and vector renderer could be an interesting look for a project
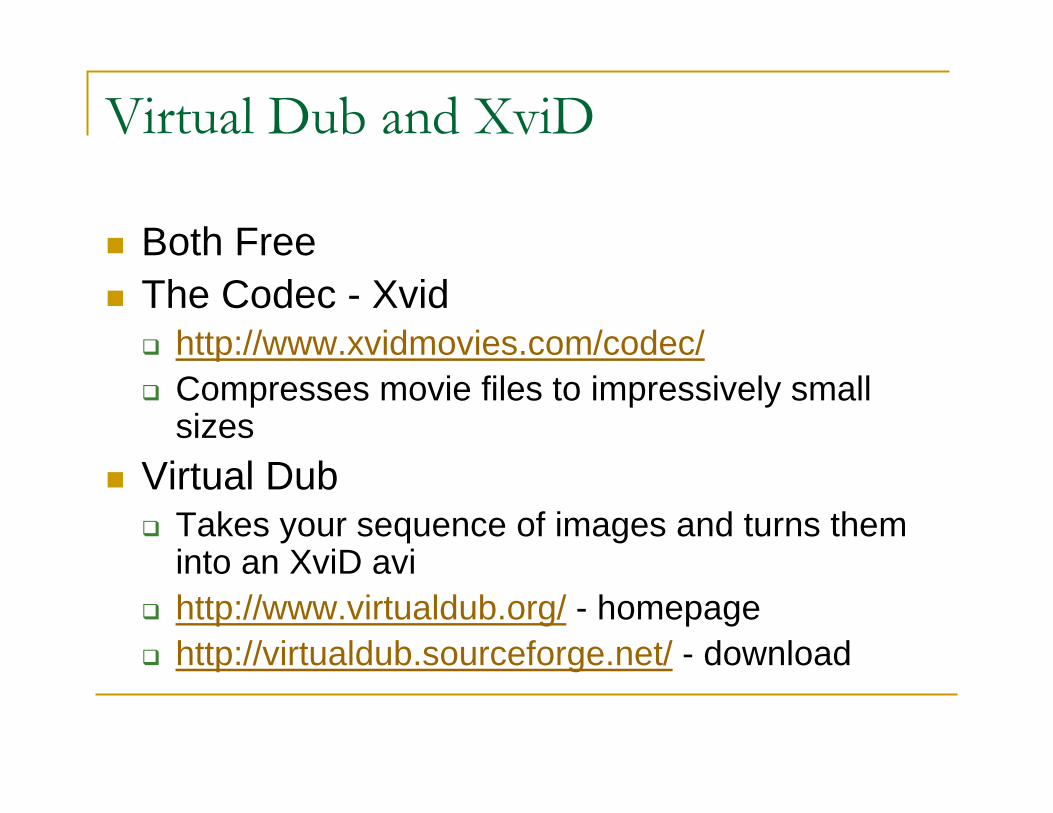
Virtual Dub and XviD
Both FreeThe Codec - Xvid
http://www.xvidmovies.com/codec/Compresses movie files to impressively small sizes
Virtual DubTakes your sequence of images and turns them into an XviD avihttp://www.virtualdub.org/ - homepagehttp://virtualdub.sourceforge.net/ - download
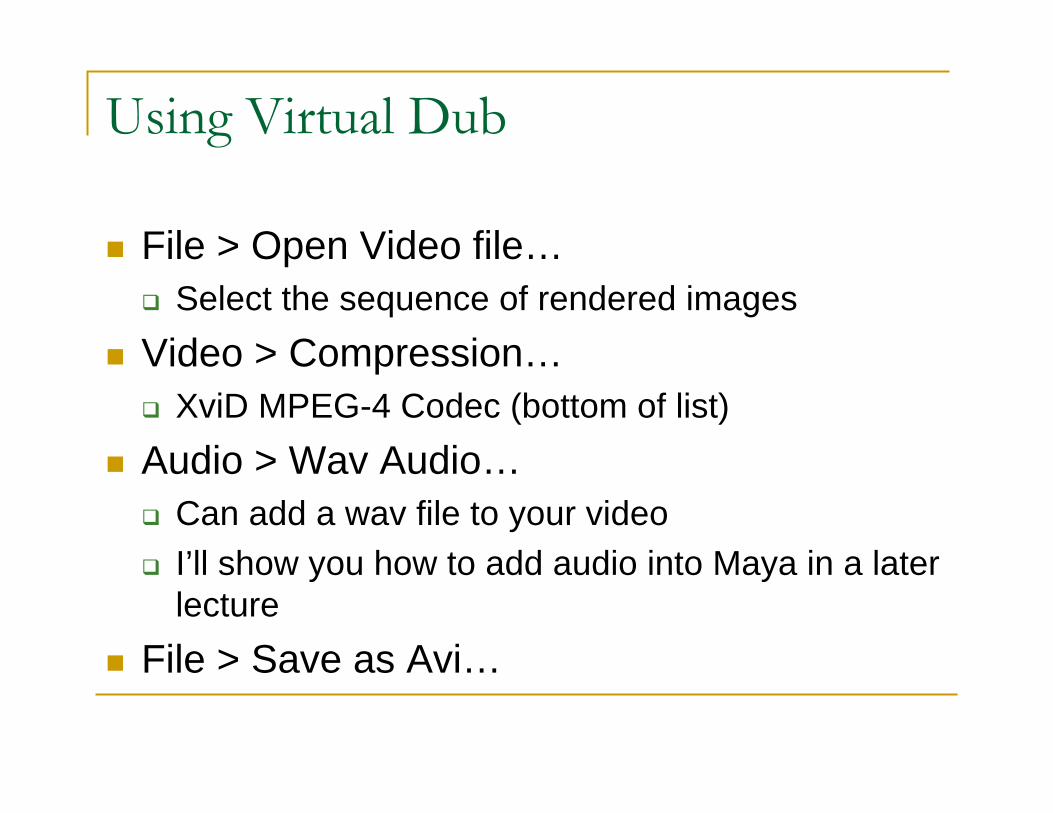
Using Virtual Dub
File > Open Video file…Select the sequence of rendered images
Video > Compression…XviD MPEG-4 Codec (bottom of list)
Audio > Wav Audio…Can add a wav file to your videoI’ll show you how to add audio into Maya in a later lecture
File > Save as Avi…
Render without Depth of Field
Requires Xvid Codechttp://www.cise.ufl.edu/~brossen/cgs3034/examples/orbAnimationNoDepth.avi
Depth of Field
Go to the camera viewView > Camera Attribute Editor…Turn on the Depth of Field check boxKeyframe the focus distance at frame 1
Display > Heads up Display > Object DetailsNow whatever you select shows a “Distance From Camera”F Stop 5.6 is good for this low light scene
Enter Depths
Select the target node, enter the distance as the Focus distance for frame 1Turn on auto keyEnter the distance at the frame when the orb ducks under the garage door, when it’s furthest from the camera, and just before it hits the boxes
Render with Depth of Field
Requires Xvid Codechttp://www.cise.ufl.edu/~brossen/cgs3034/examples/orbCameraAnimationWithDepth.avi
Wrapping Up
Sometimes bad is good – camera realismUse optical FX sparinglyGobos are good time savers for off screen elementsXviD and Virtual Dub makes eyes and drives happy