Embed Size (px)
Citation preview
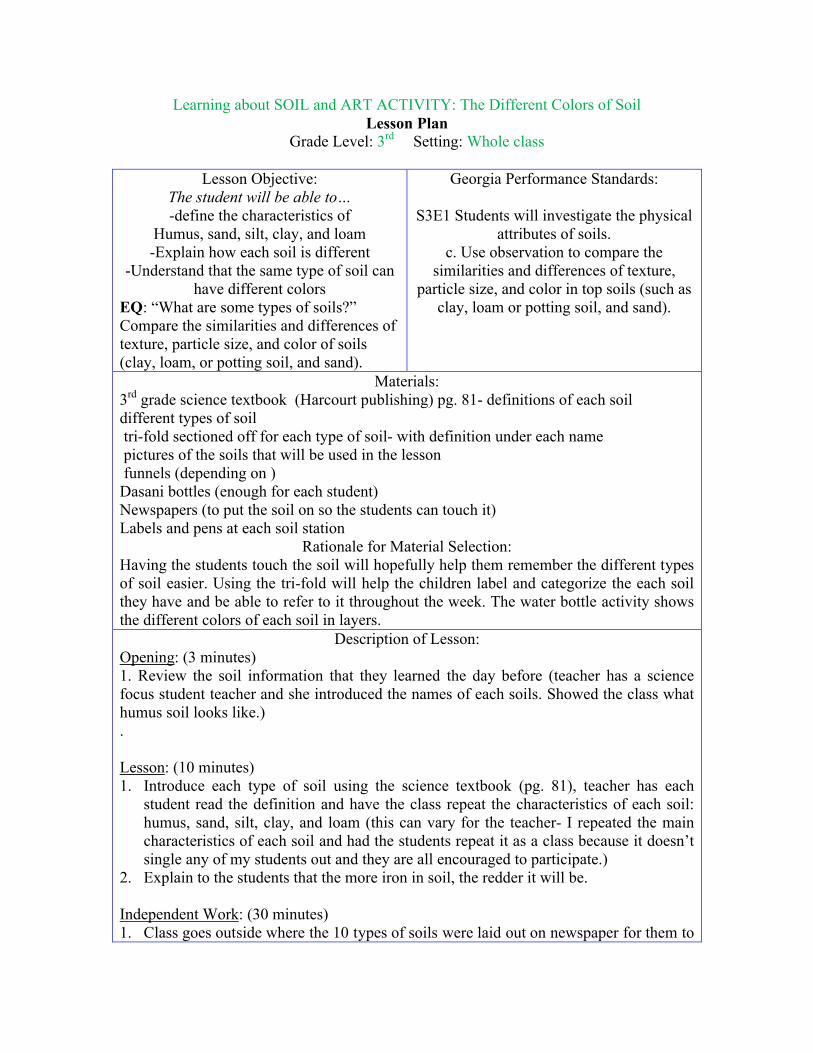
Learning about SOIL and ART ACTIVITY: The Different Colors of SoilLesson Plan
Grade Level: 3rd Setting: Whole class
Lesson Objective:The student will be able to…-define the characteristics of
Humus, sand, silt, clay, and loam-Explain how each soil is different
-Understand that the same type of soil can have different colors
EQ: “What are some types of soils?” Compare the similarities and differences of texture, particle size, and color of soils (clay, loam, or potting soil, and sand).
Georgia Performance Standards:
S3E1 Students will investigate the physical attributes of soils.
c. Use observation to compare the similarities and differences of texture,
particle size, and color in top soils (such as clay, loam or potting soil, and sand).
Materials:3rd grade science textbook (Harcourt publishing) pg. 81- definitions of each soildifferent types of soil tri-fold sectioned off for each type of soil- with definition under each name pictures of the soils that will be used in the lesson funnels (depending on )Dasani bottles (enough for each student)Newspapers (to put the soil on so the students can touch it)Labels and pens at each soil station
Rationale for Material Selection:Having the students touch the soil will hopefully help them remember the different types of soil easier. Using the tri-fold will help the children label and categorize the each soil they have and be able to refer to it throughout the week. The water bottle activity shows the different colors of each soil in layers.
Description of Lesson:Opening: (3 minutes)1. Review the soil information that they learned the day before (teacher has a science focus student teacher and she introduced the names of each soils. Showed the class what humus soil looks like.) .
Lesson: (10 minutes)1. Introduce each type of soil using the science textbook (pg. 81), teacher has each
student read the definition and have the class repeat the characteristics of each soil: humus, sand, silt, clay, and loam (this can vary for the teacher- I repeated the main characteristics of each soil and had the students repeat it as a class because it doesn’t single any of my students out and they are all encouraged to participate.)
2. Explain to the students that the more iron in soil, the redder it will be.
Independent Work: (30 minutes) 1. Class goes outside where the 10 types of soils were laid out on newspaper for them to
touch and feel. Have the kids walk around and ask them questions about what are some differences they noticed between one soil and another. Since the class is going to do an art activity focusing on the colors, put the soil in groups of red, black, or tan (or something like that so it was easy for the students to really distinguish one color over another.)
2. Then they had pictures of each soil which they had to put up on a tri-fold that had the definition and name of the 5 different soils in their book. You want the students to be able to group the soils and see in one place (the tri-fold) the differences in color. Also talk/ ask questions about the texture and size of the soils. (5 minutes)
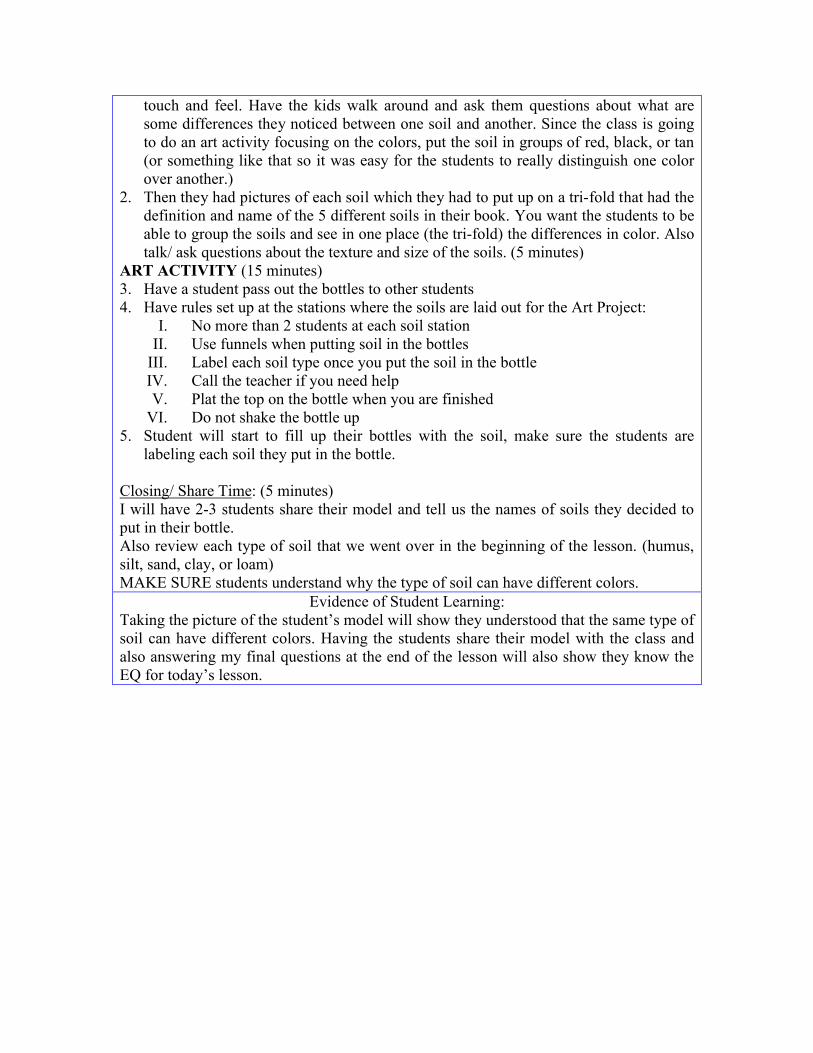
ART ACTIVITY (15 minutes)3. Have a student pass out the bottles to other students4. Have rules set up at the stations where the soils are laid out for the Art Project:
I. No more than 2 students at each soil stationII. Use funnels when putting soil in the bottles
III. Label each soil type once you put the soil in the bottleIV. Call the teacher if you need helpV. Plat the top on the bottle when you are finished
VI. Do not shake the bottle up5. Student will start to fill up their bottles with the soil, make sure the students are
labeling each soil they put in the bottle.
Closing/ Share Time: (5 minutes)I will have 2-3 students share their model and tell us the names of soils they decided to put in their bottle. Also review each type of soil that we went over in the beginning of the lesson. (humus, silt, sand, clay, or loam)MAKE SURE students understand why the type of soil can have different colors.
Evidence of Student Learning:Taking the picture of the student’s model will show they understood that the same type of soil can have different colors. Having the students share their model with the class and also answering my final questions at the end of the lesson will also show they know the EQ for today’s lesson.