Embed Size (px)
Citation preview
Live View on Leaf Capture
Step by step sequences for using Live View with different cameras
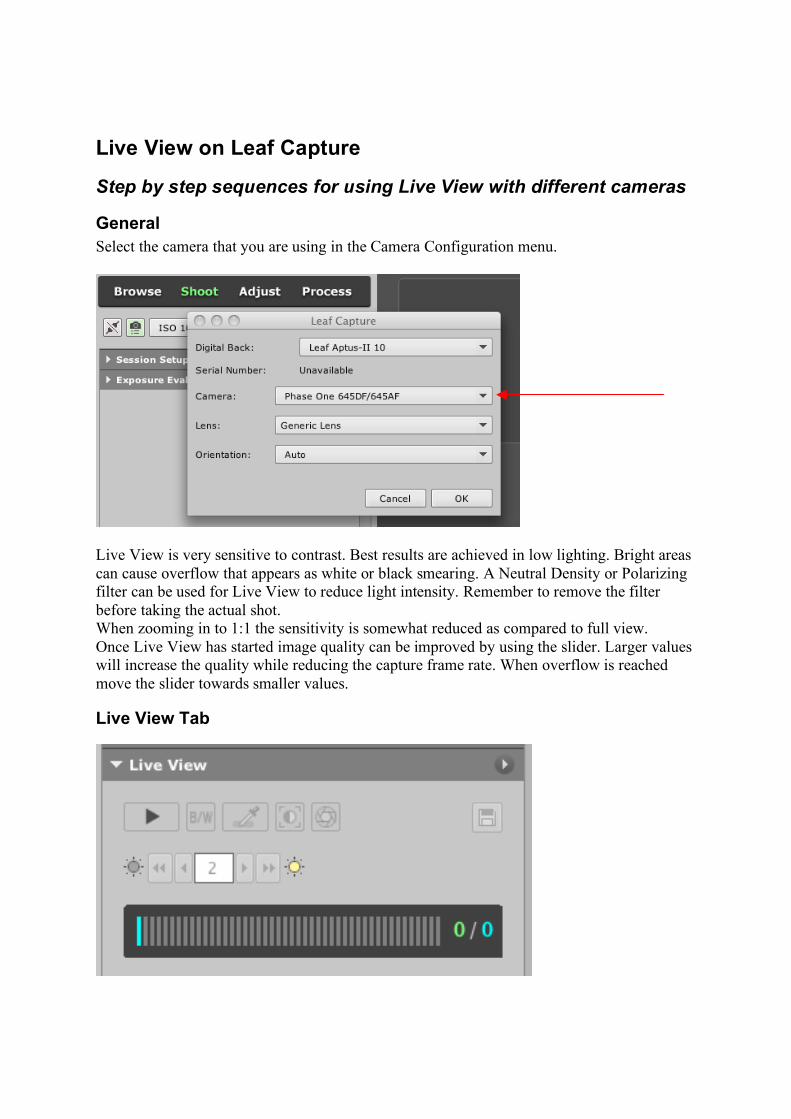
General Select the camera that you are using in the Camera Configuration menu.
Live View is very sensitive to contrast. Best results are achieved in low lighting. Bright areas can cause overflow that appears as white or black smearing. A Neutral Density or Polarizing filter can be used for Live View to reduce light intensity. Remember to remove the filter before taking the actual shot. When zooming in to 1:1 the sensitivity is somewhat reduced as compared to full view. Once Live View has started image quality can be improved by using the slider. Larger values will increase the quality while reducing the capture frame rate. When overflow is reached move the slider towards smaller values.
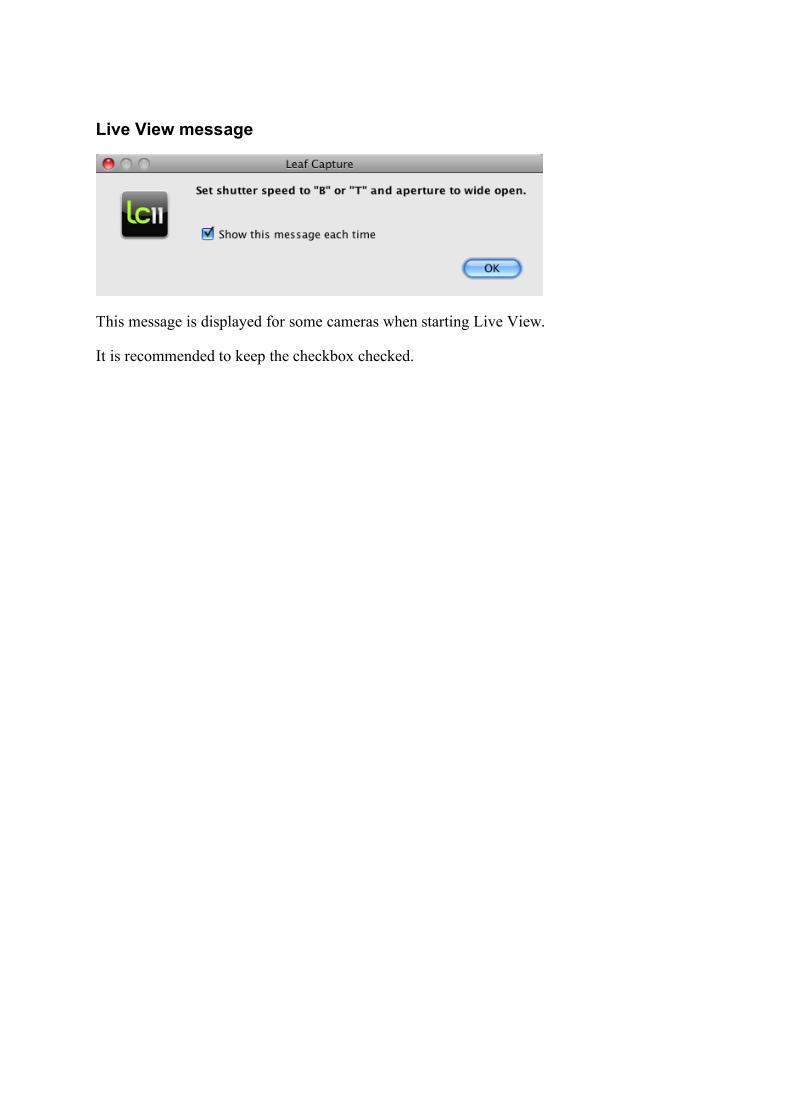
Live View Tab
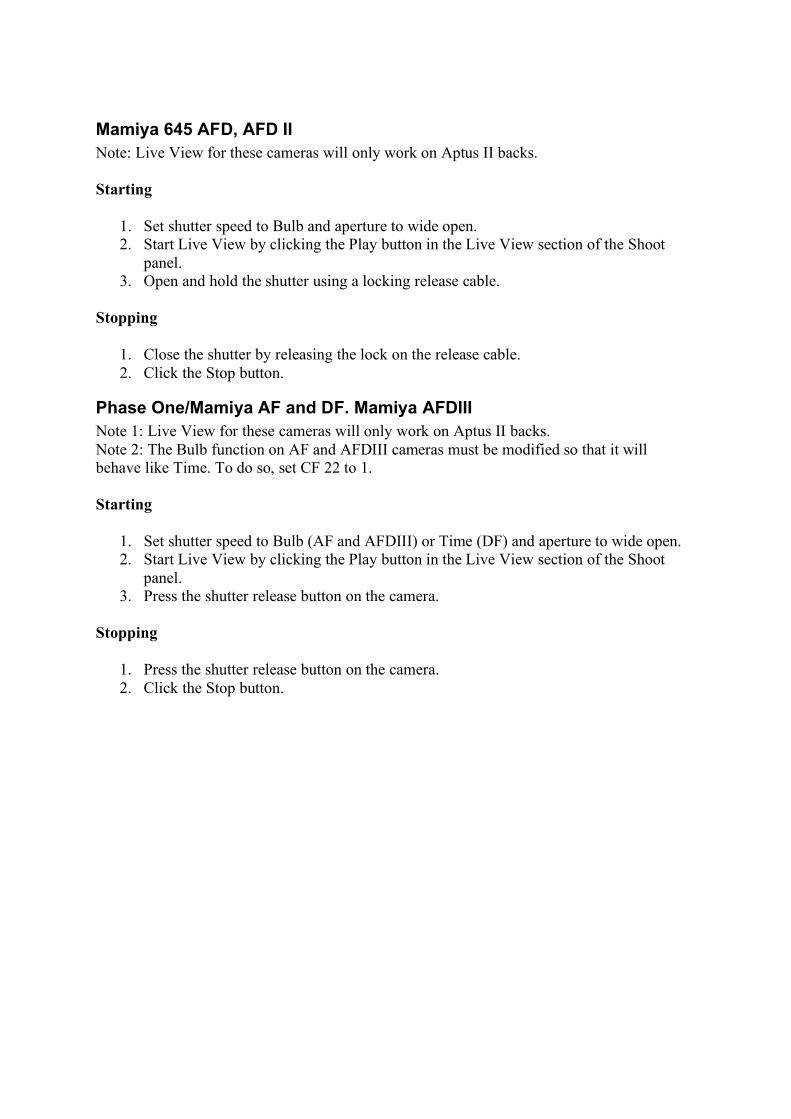
Live View message
This message is displayed for some cameras when starting Live View.
It is recommended to keep the checkbox checked.
Mamiya 645 AFD, AFD II Note: Live View for these cameras will only work on Aptus II backs. Starting
1. Set shutter speed to Bulb and aperture to wide open. 2. Start Live View by clicking the Play button in the Live View section of the Shoot
panel. 3. Open and hold the shutter using a locking release cable.
Stopping
1. Close the shutter by releasing the lock on the release cable. 2. Click the Stop button.
Phase One/Mamiya AF and DF. Mamiya AFDIII Note 1: Live View for these cameras will only work on Aptus II backs. Note 2: The Bulb function on AF and AFDIII cameras must be modified so that it will behave like Time. To do so, set CF 22 to 1. Starting
1. Set shutter speed to Bulb (AF and AFDIII) or Time (DF) and aperture to wide open. 2. Start Live View by clicking the Play button in the Live View section of the Shoot
panel. 3. Press the shutter release button on the camera.
Stopping
1. Press the shutter release button on the camera. 2. Click the Stop button.

Large Format cameras with mechanical shutters e.g. Copal, Prontor, Compur. Starting
1. Start Live View by clicking the Play button in the Live View section of the Shoot panel. Leaf Capture will display a message.
2. Open the shutter using B or T or the Open lever on the shutter. 3. Click OK in the message.
Stopping
1. Click the Stop button. Leaf Capture will display a message: 2. Close the shutter. 3. Click OK in the message.
If you uncheck the box in the message you will not get the message but the sequence remains unchanged except that the OK does not need to be clicked. To bring the message back, the Preferences need to be reset.
Large Format with Rollei Electronic Shutter Starting Start Live View by pressing the Play button in the Live View section of the Shoot panel. Stopping Do one of the following:
1. Click the Stop button. 2. Click the Shoot button in Leaf Capture or press the Shoot button on the Rollei
Control.
Large Format with Schneider Shutter Starting Start Live View by pressing the Play button in the Live View section of the Shoot panel. Stopping Do one of the following:
1. Click the Stop button. 2. Click the Shoot button in Leaf Capture.

Hasselblad ELD, ELX with Leaf Remote Cable and 503CW with winder and Leaf Remote Cable
Starting
1. Start Live View by clicking the Play button in the Live View section of the Shoot panel. Leaf Capture will display a message.
2. Set the shutter speed to B and the aperture to wide open. 3. Click OK in the message.
If you uncheck the box in the message you will subsequently not get the message. You must remember to set the shutter speed to B and the aperture to wide open. To bring the message back, the Preferences need to be reset. Stopping
1. Click the Stop button. Leaf Capture will display a message: 2. Close the shutter. 3. Click OK in the message.
If you uncheck the box in the message you will subsequently not get the message. To bring the message back, the Preferences need to be reset.
ELX
Control Cable
Control Cable
503CW with winder

Hasselblad ELX without Remote Cable, 503 CW without Remote Cable and 500 series Starting
1. Start Live View by clicking the Play button in the Live View section of the Shoot panel. Leaf Capture will display a message.
2. Set the shutter speed to B and the aperture to wide open. 3. Click OK in the message. 4. Press and hold the shutter release on the camera or move the Lock lever to T position
(ELX). If you uncheck the box in the message you will subsequently not get the message. You must remember to set the shutter speed to B and the aperture to wide open. To bring the message back, the Preferences need to be reset. Stopping
1. Click the Stop button. Leaf Capture will display a message. 2. Close the shutter or move the Lock lever to 0. 3. Click OK in the message.
If you uncheck the box in the message you will subsequently not get the message. To bring the message back, the Preferences need to be reset.
Mamiya RZ Note: The Remote Cable must be used when using Live View in addition to the Sync cable. Starting Start Live View by clicking the Play button in the Live View section of the Shoot panel. Leaf Capture will display a message.
1. Set the slider on the lens to T. 2. Click OK in the message window.
Note: If you have cleared the checkbox in the message window then the sequence should be as follows.
1. Set the slider on the lens to T. 2. Start Live View from Leaf Capture.
To bring back the message window you should reset the preferences for Leaf Capture. Stopping
1. Set the slider on the lens to N. 2. Click the Stop button.
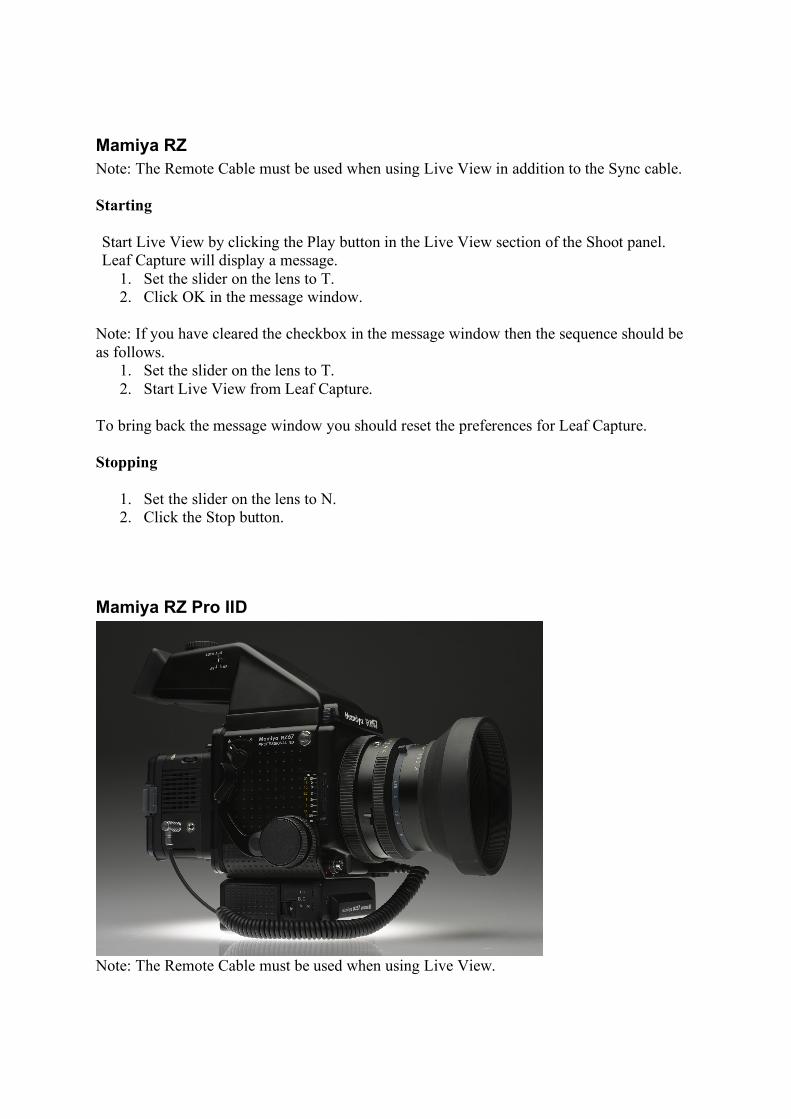
Mamiya RZ Pro IID
Note: The Remote Cable must be used when using Live View.
Starting
1. Start Live View by clicking the Play button in the Live View section of the Shoot panel. Leaf Capture will display a message:
2. Set the slider on the lens to T. 3. Click OK in the message window.
Note: If you have cleared the checkbox in the message window then the sequence should be as follows.
1. Set the slider on the lens to T. 2. Start Live View from Leaf Capture.
To bring back the message window you should reset the preferences for Leaf Capture. Stopping
1. Set the slider on the lens to N. 2. Click the Stop button.
Hasselblad H1/H2 Starting
1. Start Live View by pressing the Play button in the Live View section of the Shoot panel.
Stopping
1. Click the Stop button.