Embed Size (px)
Citation preview

- 1 -
LAMAX X10 TaurusWaterproof up to 40 m
Native 4K video at 30 fpsPhotos at a resolution of 16 MP
WiFi
- 2 -
Safety Precautions1. Do not drop or subject the camera to severe impact and avoid anything which may it
cause physical damage. 2. Do not place the camera near objects that generate magnetic fields, such as magnets or
electric motors. Do not place the camera too close to objects that emit powerful radio waves, such as antennas. Strong magnetics fields or radio waves may cause damage to the camera or corrupt the captured video and audio recordings.
3. Do not expose the camera to high temperatures or direct sunlight.4. Use only high-quality microSDHC and SDXC cards with a speed index of at least Class 10
UHS-I U1. For shooting at a resolution of 4K at 30 fps (fps = frames per second) and 720p at 240 fps we recommend using UHS-I U3 cards. Slower cards may limit the functionality of the camera and it may not be able to record in all modes and at all resolutions.
5. Do not place the microSD card near magnetic fields or in places where static electricity may occur. This will prevent any accidental loss of data.
6. If the device overheats, produces smoke or a suspicious odour whilst charging, immedi-ately unplug the device and stop charging.
7. When charging, keep the camera out of reach of children. Power cord may cause electric shock or strangulation. Do not charge unattended.
8. Store the camera in a cool dry dust-free environment.
IntroductionThank you for purchasing the LAMAX X10 Taurus action camera. You have acquired a dura-ble assistant for any situation, that fears no challenge and will reward you with high-quality native 4K recordings at thirty frames per second. A wide range of accessories are included in the basic package so you can fully utilize the camera right out of the box. We wish you many a wonderful experience forever preserved thanks to the LAMAX action camera.
- 3 -
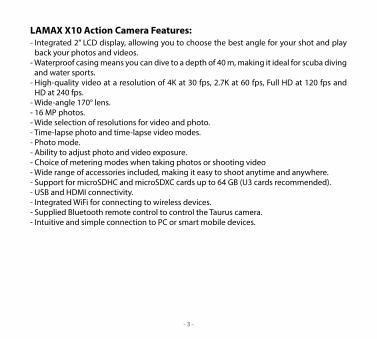
LAMAX X10 Action Camera Features: - Integrated 2” LCD display, allowing you to choose the best angle for your shot and play
back your photos and videos.- Waterproof casing means you can dive to a depth of 40 m, making it ideal for scuba diving
and water sports.- High-quality video at a resolution of 4K at 30 fps, 2.7K at 60 fps, Full HD at 120 fps and
HD at 240 fps. - Wide-angle 170° lens. - 16 MP photos.- Wide selection of resolutions for video and photo. - Time-lapse photo and time-lapse video modes. - Photo mode.- Ability to adjust photo and video exposure.- Choice of metering modes when taking photos or shooting video- Wide range of accessories included, making it easy to shoot anytime and anywhere.- Support for microSDHC and microSDXC cards up to 64 GB (U3 cards recommended). - USB and HDMI connectivity.- Integrated WiFi for connecting to wireless devices. - Supplied Bluetooth remote control to control the Taurus camera.- Intuitive and simple connection to PC or smart mobile devices.
- 4 -
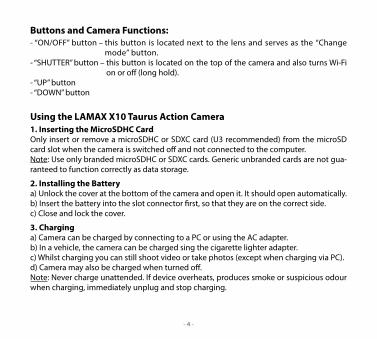
Buttons and Camera Functions:- “ON/OFF” button – this button is located next to the lens and serves as the “Change
mode” button.- “SHUTTER” button – this button is located on the top of the camera and also turns Wi-Fi
on or off (long hold).- “UP” button- “DOWN” button
Using the LAMAX X10 Taurus Action Camera1. Inserting the MicroSDHC Card Only insert or remove a microSDHC or SDXC card (U3 recommended) from the microSD card slot when the camera is switched off and not connected to the computer. Note: Use only branded microSDHC or SDXC cards. Generic unbranded cards are not gua-ranteed to function correctly as data storage.
2. Installing the Batterya) Unlock the cover at the bottom of the camera and open it. It should open automatically.b) Insert the battery into the slot connector first, so that they are on the correct side.c) Close and lock the cover.
3. Charginga) Camera can be charged by connecting to a PC or using the AC adapter. b) In a vehicle, the camera can be charged sing the cigarette lighter adapter.c) Whilst charging you can still shoot video or take photos (except when charging via PC).d) Camera may also be charged when turned off.Note: Never charge unattended. If device overheats, produces smoke or suspicious odour when charging, immediately unplug and stop charging.
- 5 -
4. Turning the Camera On and Offa) To turn camera on, press and hold the “ON/OFF” button for 3-5 seconds.b) To turn camera off, press and hold the “ON/OFF” button for 3-5 seconds.
5. Switching Modes and Navigating the MenuTapping the “ON/OFF” button toggles between the modes: video / photo / video gallery / photo gallery / settings.
6. Recording VideoSwitch the camera to “video” mode by pressing the “ON/OFF” button. A camera icon will appear on the upper left corner of the display. To start recording, press the “SHUTTER” but-ton. A recording animation appears on the lower left corner of the display and begins to countdown the recording time. To stop recording press the “SHUTTER” button again. The audio can be turned on or off before or whilst recording by pressing the “UP” button. When recording, individual recordings can be locked by pressing the “ON/OFF” button. When “Loop record” is enabled these locked entries will never be wiped.
7. Photo ModeSwitch the camera to “photo” mode by pressing the “ON/OFF” button. A camera icon will appear on the upper left corner of the display. To take a photo press the “SHUTTER” button. There will be a shutter sound and the screen will flash.
- 6 -
Settings on the X10 Taurus Action CameraNavigate to the settings menu by tapping the “ON/OFF” button multiple times. Open set-tings by pressing the “SHUTTER” button. Navigate through the options using the “UP” and “DOWN” buttons. To confirm your selection press the “SHUTTER” button, or to go back press the “ON/OFF” button. Confirm the option by selecting the circle or cancel by select-ing the cross.Note: When the battery is discharged completely, or removed and re-inserted, the camera will not remember the date and time settings. This is a normal feature of the camera, and does not constitute a fault in the product. After each full discharge or re-installation of a battery, please set the time and date again in the camera settings.
1. Video Resolution – changes the video resolution. Note: “Super View” dynamically stretches the video from a 4:3 aspect ratio to a 16:9 as-pect ratio. The centre of the frame is unchanged and the edges are stretched. This set-ting is only appropriate in the situation when the action is focussed in the middle of the frame and when it does not matter that the sides are stretched.
2. Photo Resolution – changes the photo resolution.3. Video Quality – changes the quality of the video. The higher the quality, the more de-
tailed the resulting shots. Recording at a lower quality takes up less space on the card.4. Photo Quality – changes the quality of the image. The higher the quality, the more de-
tailed the resulting image is. Photos with a lower quality take up less space on the card.5. Default Mode – determines whether the camera is in photo or video mode as default
when switched on.6. Long Exposure – activate this feature when, for example, shooting at night. The longer
the exposure, the more residual light is received by the sensor. This allows you to take spectacular photos at twilight/night.
7. Stabilization – enables video stabilization when shooting (only works at certain resolu-tions).
- 7 -
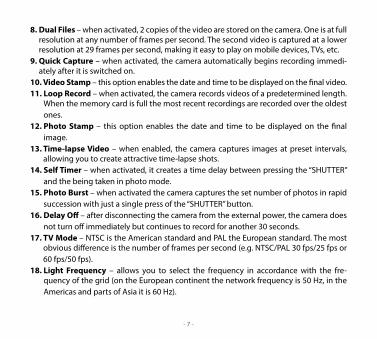
8. Dual Files – when activated, 2 copies of the video are stored on the camera. One is at full resolution at any number of frames per second. The second video is captured at a lower resolution at 29 frames per second, making it easy to play on mobile devices, TVs, etc.
9. Quick Capture – when activated, the camera automatically begins recording immedi-ately after it is switched on.
10. Video Stamp – this option enables the date and time to be displayed on the final video.11. Loop Record – when activated, the camera records videos of a predetermined length.
When the memory card is full the most recent recordings are recorded over the oldest ones.
12. Photo Stamp – this option enables the date and time to be displayed on the final image.
13. Time-lapse Video – when enabled, the camera captures images at preset intervals, allowing you to create attractive time-lapse shots.
14. Self Timer – when activated, it creates a time delay between pressing the “SHUTTER” and the being taken in photo mode.
15. Photo Burst – when activated the camera captures the set number of photos in rapid succession with just a single press of the “SHUTTER” button.
16. Delay Off – after disconnecting the camera from the external power, the camera does not turn off immediately but continues to record for another 30 seconds.
17. TV Mode – NTSC is the American standard and PAL the European standard. The most obvious difference is the number of frames per second (e.g. NTSC/PAL 30 fps/25 fps or 60 fps/50 fps).
18. Light Frequency – allows you to select the frequency in accordance with the fre-quency of the grid (on the European continent the network frequency is 50 Hz, in the Americas and parts of Asia it is 60 Hz).
- 8 -
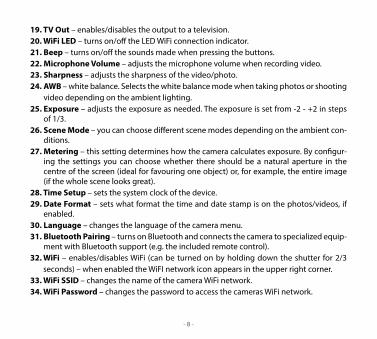
19. TV Out – enables/disables the output to a television.20. WiFi LED – turns on/off the LED WiFi connection indicator.21. Beep – turns on/off the sounds made when pressing the buttons.22. Microphone Volume – adjusts the microphone volume when recording video.23. Sharpness – adjusts the sharpness of the video/photo.24. AWB – white balance. Selects the white balance mode when taking photos or shooting
video depending on the ambient lighting.25. Exposure – adjusts the exposure as needed. The exposure is set from -2 - +2 in steps
of 1/3.26. Scene Mode – you can choose different scene modes depending on the ambient con-
ditions.27. Metering – this setting determines how the camera calculates exposure. By configur-
ing the settings you can choose whether there should be a natural aperture in the centre of the screen (ideal for favouring one object) or, for example, the entire image (if the whole scene looks great).
28. Time Setup – sets the system clock of the device.29. Date Format – sets what format the time and date stamp is on the photos/videos, if
enabled.30. Language – changes the language of the camera menu.31. Bluetooth Pairing – turns on Bluetooth and connects the camera to specialized equip-
ment with Bluetooth support (e.g. the included remote control).32. WiFi – enables/disables WiFi (can be turned on by holding down the shutter for 2/3
seconds) – when enabled the WiFI network icon appears in the upper right corner. 33. WiFi SSID – changes the name of the camera WiFi network.34. WiFi Password – changes the password to access the cameras WiFi network.
- 9 -
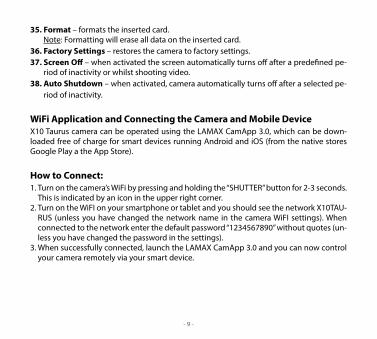
35. Format – formats the inserted card.Note: Formatting will erase all data on the inserted card.
36. Factory Settings – restores the camera to factory settings.37. Screen Off – when activated the screen automatically turns off after a predefined pe-
riod of inactivity or whilst shooting video.38. Auto Shutdown – when activated, camera automatically turns off after a selected pe-
riod of inactivity.
WiFi Application and Connecting the Camera and Mobile DeviceX10 Taurus camera can be operated using the LAMAX CamApp 3.0, which can be down-loaded free of charge for smart devices running Android and iOS (from the native stores Google Play a the App Store).
How to Connect:1. Turn on the camera’s WiFi by pressing and holding the “SHUTTER” button for 2-3 seconds.
This is indicated by an icon in the upper right corner.2. Turn on the WiFI on your smartphone or tablet and you should see the network X10TAU-
RUS (unless you have changed the network name in the camera WiFI settings). When connected to the network enter the default password “1234567890” without quotes (un-less you have changed the password in the settings).
3. When successfully connected, launch the LAMAX CamApp 3.0 and you can now control your camera remotely via your smart device.

- 10 -
Remote ControlCamera can be remotely controlled using the remote control which comes as part of the basic package. Be careful, the remote control is not waterproof. To connect the camera with the remote control, do the following:
1. In the camera settings, select Bluetooth Pairing.2. Confirm to begin Bluetooth pairing.3. Press any button on the remote control.4. When successfully connected the blue LED on the remote lights up and the camera
displays the message “Pairing Successful”. Now you can control the camera using the remote.
- 11 -
Please Note- For your own safety, do not use this device whilst driving. - To use this product, please refer to the most recent version of the manual which is avail-
able to download at: http://lamax-electronics.com- Printing errors reserved.
Safety Precautions- Only use the charger that comes supplied with the device. Using a different charger may
cause the device to malfunction or cause other dangerous hazards.- Do not use the charger in a humid environment. Never touch the charger with wet hands
or while standing in water. - When powering the device or charging the battery, leave sufficient space for air circula-
tion. Do no cover the charger with paper or other objects that will reduce cooling. Do not us the charger inside a carrying case.
- Connect the charger to a correct power source. Voltage requirements are found on the product or packaging.
- Do not use the charger if it is visibly damaged. If damaged, do not attempt to repair yourself!
- If the device overheats, immediately disconnect the power supply.- Do not charge device unattended.
- 12 -
Device Maintenance- Good maintenance of the device ensures its trouble-free operation and reduces the risk
of damage.- Keep device away from moisture and extreme temperatures. Do not expose to direct sun-
light or ultraviolet radiation. - Do not drop the device or subject it to severe impact. - Avoid sudden and extreme temperature changes. This may cause condensation inside
the unit, which could damage the unit. If condensation does occur, allow device to com-pletely dry out before using it again.
- Screen surface can be easily scratched. Do not touch it with sharp objects.- Thoroughly clean the device when it is switched off. To clean the exterior, use a soft, lint-
free cloth. Clean the screen with paper tissues.- Never attempt to disassemble, repair or modify. Disassembling, modifying or any attempt
at repair voids the warranty and can cause damage to the device and even personal injury or property damage.
- Do not store or carry the device, its parts or accessories with flammable liquids, gases or explosive materials.
- Discourage theft by not leaving the device or accessories in plain sight in an unattended vehicle.
- Overheating may damage the unit.
- 13 -
Further Information1) For households: This symbol (crossed-out wheelie bin) on the product or accompanying documentation means that used electrical or electronic products should not be disposed of in household waste. To ensure the proper disposal of the product it should be taken to a designated collec-tion point where it will be accepted free of charge. Correct disposal of this product will help save valuable natural resources and prevent any poten-tial negative impact on the environment and human health. For more details, please con-tact your local authorities or nearest collection site. Improper disposal of this waste could result in a fine. Information for users on disposal of electrical and electronic equipment (corporate and business use): For proper disposal of electrical and electronic equipment request detailed information from your dealer or vendor. Information for users on disposal of electric and electronic equipment in countries outside the European Union: The above symbol (crossed-out wheelie bin) is only valid in the European Union. For proper disposal of electrical and electronic equipment, ask for details from your local authority or dealer. The crossed-out wheelie bin symbol is applicable on the product, packaging or printed materials.
2) Warranty claims should be made at your local retailer. If you have any technical problems or questions, please contact your dealer who will inform you of what steps need to be taken next. Follow the rules for working with electrical equipment. Users may not disas-semble the device or replace any part of it. When opening or removing covers there is a risk of electric shock. Incorrect reassembly and reconnecting of devices also runs the risk of electric shock.
- 14 -
Declaration of Conformity: The company elem6 s.r.o. hereby declares that a X10 Taurus devices conform with the essential requirements and other relevant provisions of Decree no. 426/2000 Coll. (resp. Directive 1999/5/EC).
Manufacturer:elem6 s.r.o., Braškovská 308/15, 161 00 Prague 6http://www.lamax-electronics.com