Embed Size (px)
Citation preview
7/31/2019 Ladybird Sp2 Instructions
http://slidepdf.com/reader/full/ladybird-sp2-instructions 1/4
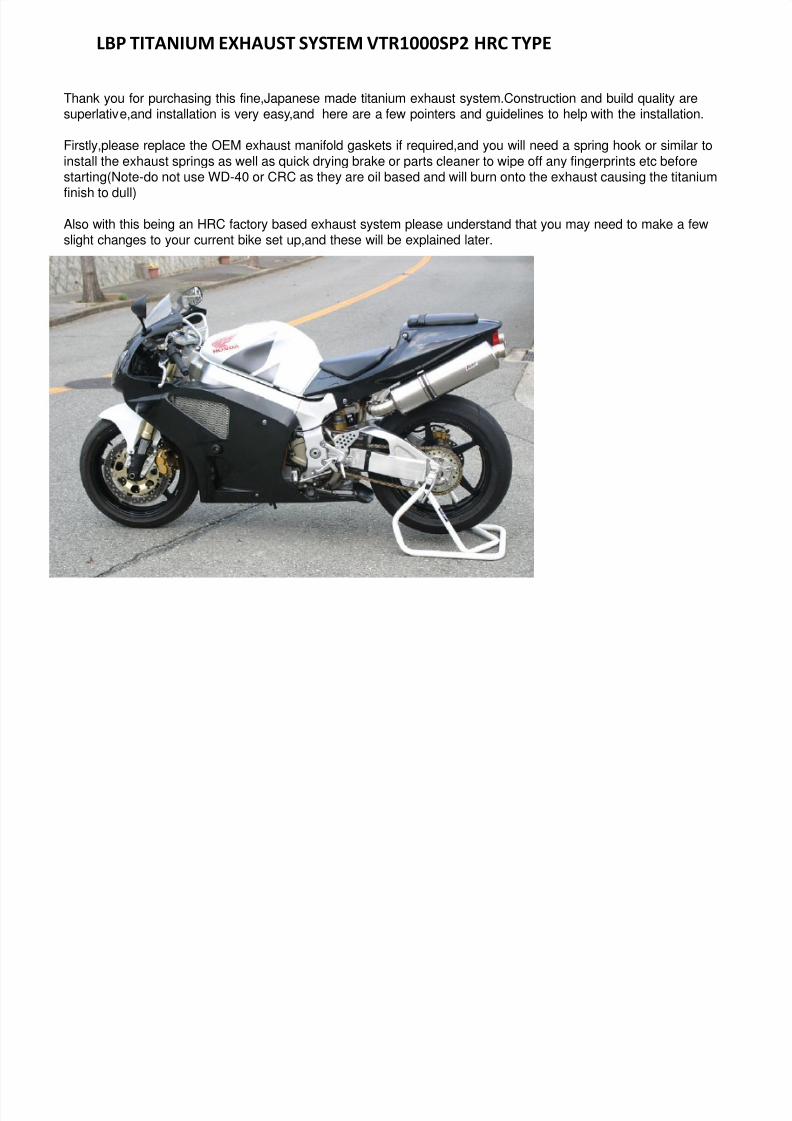
LBP TITANIUM EXHAUST SYSTEM VTR1000SP2 HRC TYPE
Thank you for purchasing this fine,Japanese made titanium exhaust system.Construction and build quality aresuperlative,and installation is very easy,and here are a few pointers and guidelines to help with the installation.
Firstly,please replace the OEM exhaust manifold gaskets if required,and you will need a spring hook or similar toinstall the exhaust springs as well as quick drying brake or parts cleaner to wipe off any fingerprints etc beforestarting(Note-do not use WD-40 or CRC as they are oil based and will burn onto the exhaust causing the titaniumfinish to dull)
Also with this being an HRC factory based exhaust system please understand that you may need to make a fewslight changes to your current bike set up,and these will be explained later.

7/31/2019 Ladybird Sp2 Instructions
http://slidepdf.com/reader/full/ladybird-sp2-instructions 2/4
N
o品名
数量
N
o品名
数量
① フロントエキゾーストパイプ 1 ⑩ サイレンサーステー 1
② リヤエキゾーストパイプ 1 ⑪ EXフランジカラー 2
③ 集合部 1 ⑫ EXフランジ 2
④ 右テールパイプ 1 ⑬ スプリング 1
5
⑤ 左テールパイプ 1 ⑭ ボルトM8-25 2
⑥ 右サイレンサー(左右フック) 1 ⑮ ワッシャー 2
⑦ 左サイレンサー(上下フック) 1 ⑯ ボルトM8-15 1
⑧ サイレンサーバンド 2 ⑰ ナットM8 1
⑨ サイレンサーステー 2 ⑱ バッフル/ボルト付(M6-10)
SILENCER STAYS
FRONT HEADER
REAR HEADER
RIGHT TAIL PIPE
COLLECTOR
LEFT TAIL PIPE
LEFT SIDE SILENCER (LEFT/RIGHT HOOKS)
RIGHT SIDESILENCER )UP/DOWN HOOKS)
SILENCER BANDS
PART DESCRIPTION NUMBER OF ITEMS
LEFT SIDE SILENCER STAY
EXHAUST FLANGE COLLARS
EXHAUST FLANGES
15
2
SPRINGS
M8-25 bolts
M8-15 bolts
WASHER
M8 NUTBAFFLES (OPTIONAL)
7/31/2019 Ladybird Sp2 Instructions
http://slidepdf.com/reader/full/ladybird-sp2-instructions 3/4
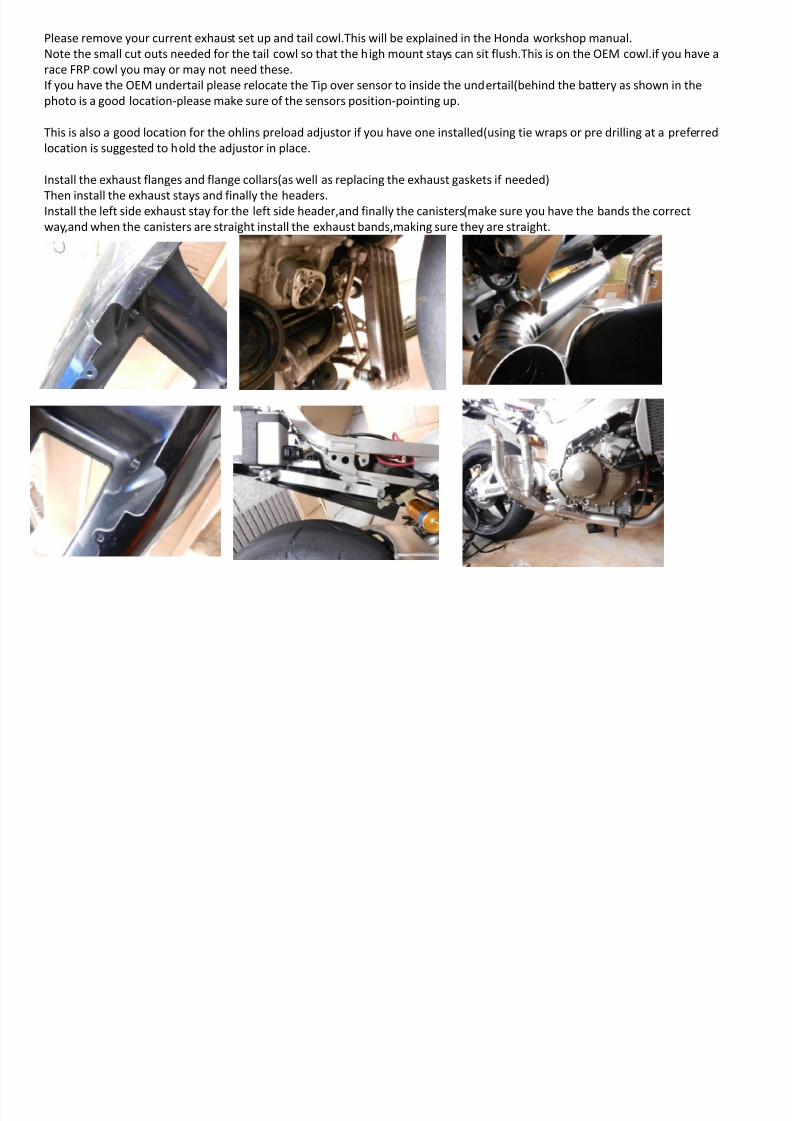
Please remove your current exhaust set up and tail cowl.This will be explained in the Honda workshop manual.
Note the small cut outs needed for the tail cowl so that the high mount stays can sit flush.This is on the OEM cowl.if you have a
race FRP cowl you may or may not need these.
If you have the OEM undertail please relocate the Tip over sensor to inside the undertail(behind the battery as shown in the
photo is a good location-please make sure of the sensors position-pointing up.
This is also a good location for the ohlins preload adjustor if you have one installed(using tie wraps or pre drilling at a preferredlocation is suggested to hold the adjustor in place.
Install the exhaust flanges and flange collars(as well as replacing the exhaust gaskets if needed)
Then install the exhaust stays and finally the headers.
Install the left side exhaust stay for the left side header,and finally the canisters(make sure you have the bands the correct
way,and when the canisters are straight install the exhaust bands,making sure they are straight.
7/31/2019 Ladybird Sp2 Instructions
http://slidepdf.com/reader/full/ladybird-sp2-instructions 4/4
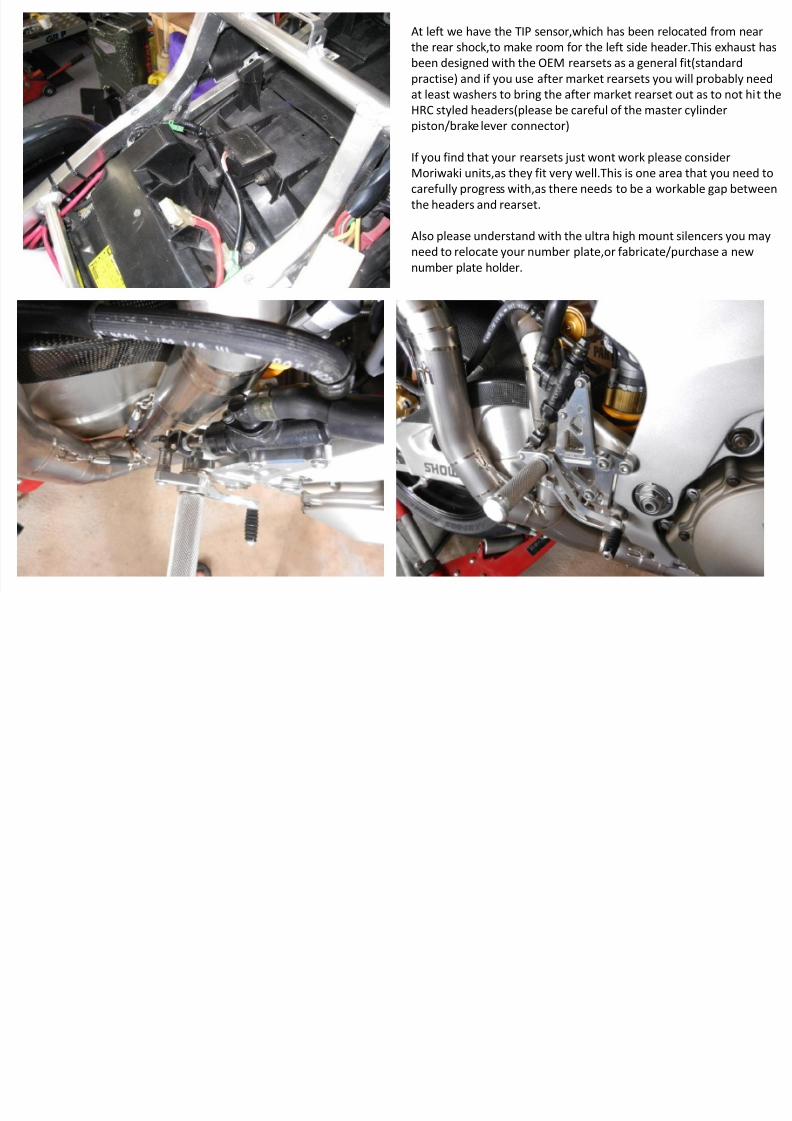
At left we have the TIP sensor,which has been relocated from near
the rear shock,to make room for the left side header.This exhaust has
been designed with the OEM rearsets as a general fit(standard
practise) and if you use after market rearsets you will probably need
at least washers to bring the after market rearset out as to not hit the
HRC styled headers(please be careful of the master cylinder
piston/brake lever connector)
If you find that your rearsets just wont work please consider
Moriwaki units,as they fit very well.This is one area that you need to
carefully progress with,as there needs to be a workable gap between
the headers and rearset.
Also please understand with the ultra high mount silencers you may
need to relocate your number plate,or fabricate/purchase a new
number plate holder.