Embed Size (px)
Citation preview
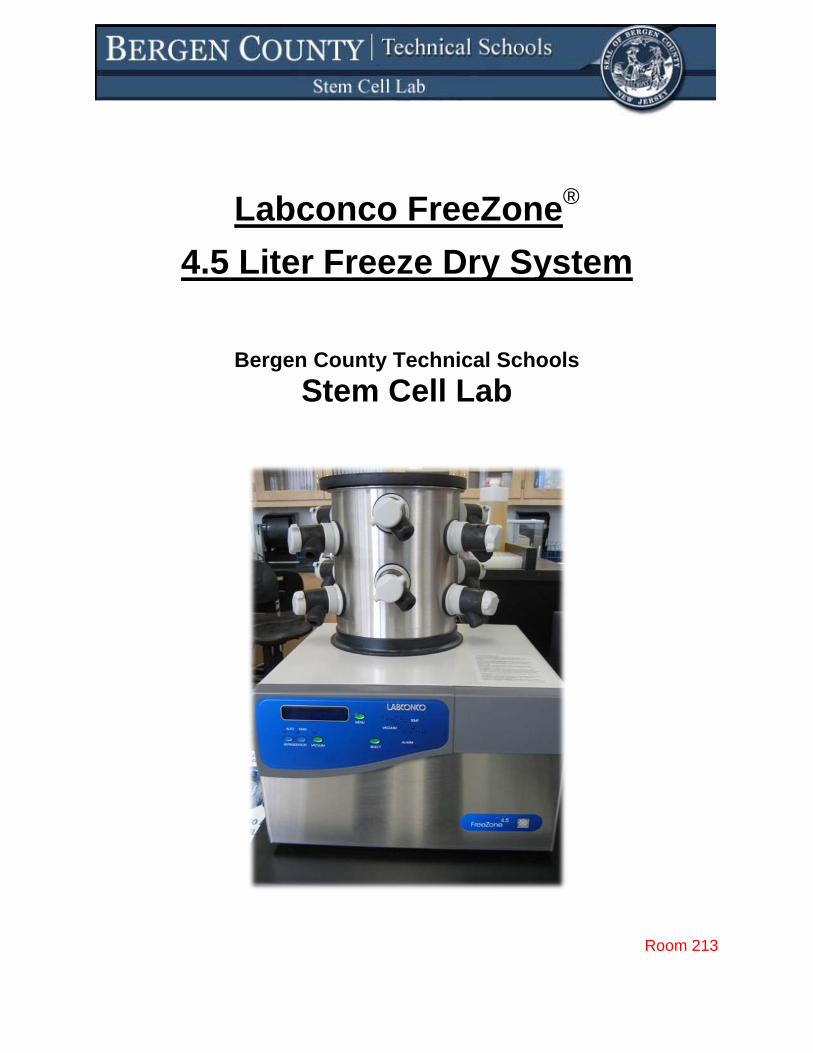
Labconco FreeZone®
4.5 Liter Freeze Dry System
Bergen County Technical Schools Stem Cell Lab
Room 213
Labconco FreeZone® 4.5 Liter Freeze Dry System Information Sheet
The Labconco FreeZone® 4.5 Liter Freeze Dry System is an instrument used in
sample preparation, and for the preservation and storage of biological specimen,
pharmaceuticals, and foods. Freeze drying, or lyophilization, is one of a number of
dehydration methods, but is especially suited for substances that are heat sensitive.
The process of freeze drying works by freezing the material, and then reducing the
surrounding pressure and adding enough heat to allow the frozen water in the material
to sublime directly from its solid phase to a gas.
The Freeze Dry Process
Freeze drying has been used extensively in the development of pharmaceuticals,
such as antibiotics, and preservation of biological samples, such as proteins, plasma,
viruses, and microorganisms. This process has been shown to be nondestructive in
nature, which has been demonstrated by the retention of viability in freeze dried viruses
and microorganisms.
As already stated, freeze drying is a process of freezing a sample and reducing
the pressure, followed by a heating that causes the solid water to sublime. The basis of
the sublimation process involves the absorption of heat by the frozen sample in order to
vaporize the ice, the use of a vacuum pump to enhance the removal of water vapor from
the surface of the sample, the transfer of water vapor to a collector, and the removal of
heat by the collector in order to condense the water vapor.
Freeze Dry Rates
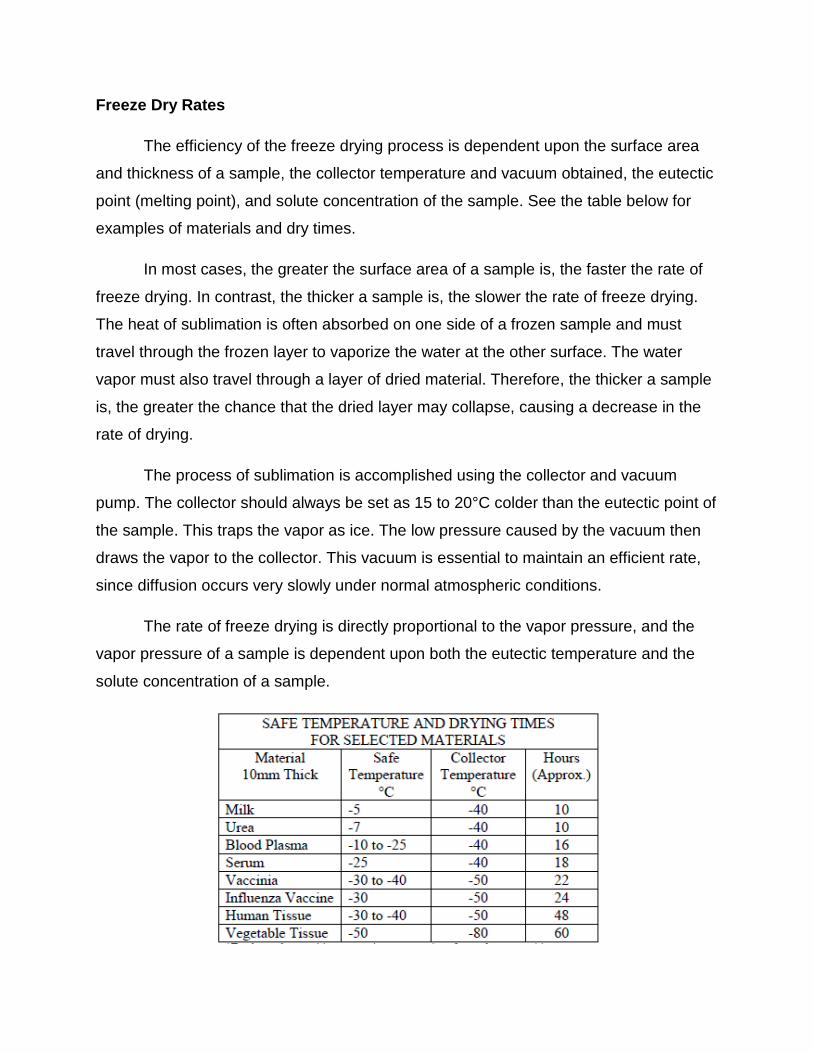
The efficiency of the freeze drying process is dependent upon the surface area
and thickness of a sample, the collector temperature and vacuum obtained, the eutectic
point (melting point), and solute concentration of the sample. See the table below for
examples of materials and dry times.
In most cases, the greater the surface area of a sample is, the faster the rate of
freeze drying. In contrast, the thicker a sample is, the slower the rate of freeze drying.
The heat of sublimation is often absorbed on one side of a frozen sample and must
travel through the frozen layer to vaporize the water at the other surface. The water
vapor must also travel through a layer of dried material. Therefore, the thicker a sample
is, the greater the chance that the dried layer may collapse, causing a decrease in the
rate of drying.
The process of sublimation is accomplished using the collector and vacuum
pump. The collector should always be set as 15 to 20°C colder than the eutectic point of
the sample. This traps the vapor as ice. The low pressure caused by the vacuum then
draws the vapor to the collector. This vacuum is essential to maintain an efficient rate,
since diffusion occurs very slowly under normal atmospheric conditions.
The rate of freeze drying is directly proportional to the vapor pressure, and the
vapor pressure of a sample is dependent upon both the eutectic temperature and the
solute concentration of a sample.
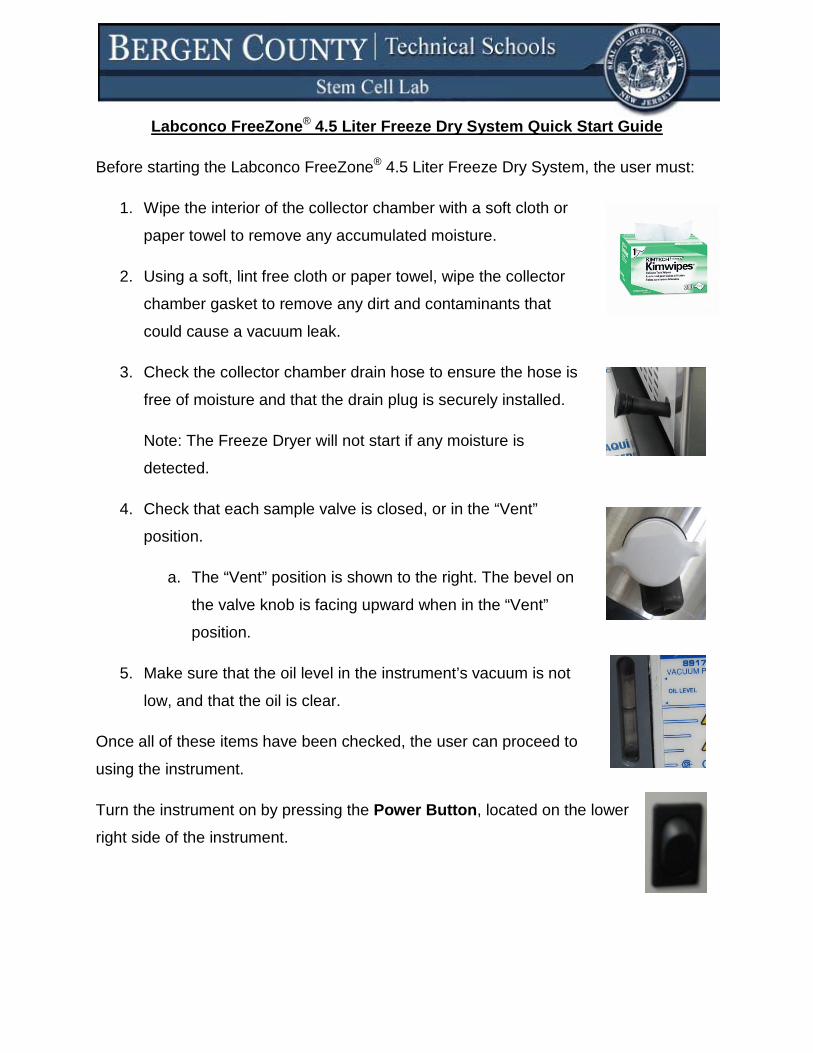
1. Wipe the interior of the collector chamber with a soft cloth or
Labconco FreeZone® 4.5 Liter Freeze Dry System Quick Start Guide
Before starting the Labconco FreeZone® 4.5 Liter Freeze Dry System, the user must:
paper towel to remove any accumulated moisture.
2. Using a soft, lint free cloth or paper towel, wipe the collector
chamber gasket to remove any dirt and contaminants that
could cause a vacuum leak.
3. Check the collector chamber drain hose to ensure the hose is
free of moisture and that the drain plug is securely installed.
Note: The Freeze Dryer will not start if any moisture is
detected.
4. Check that each sample valve is closed, or in the “Vent”
position.
a. The “Vent” position is shown to the right. The bevel on
the valve knob is facing upward when in the “Vent”
position.
5. Make sure that the oil level in the instrument’s vacuum is not
low, and that the oil is clear.
Once all of these items have been checked, the user can proceed to
using the instrument.
Turn the instrument on by pressing the Power Button, located on the lower
right side of the instrument.
The Freeze Dryer is already set-up with lab standards. If these conditions need to be
altered for a freeze dry protocol, proceed with the following steps under instructor
supervision. Otherwise, continue to the next section.
Configuring the Freeze Dryer
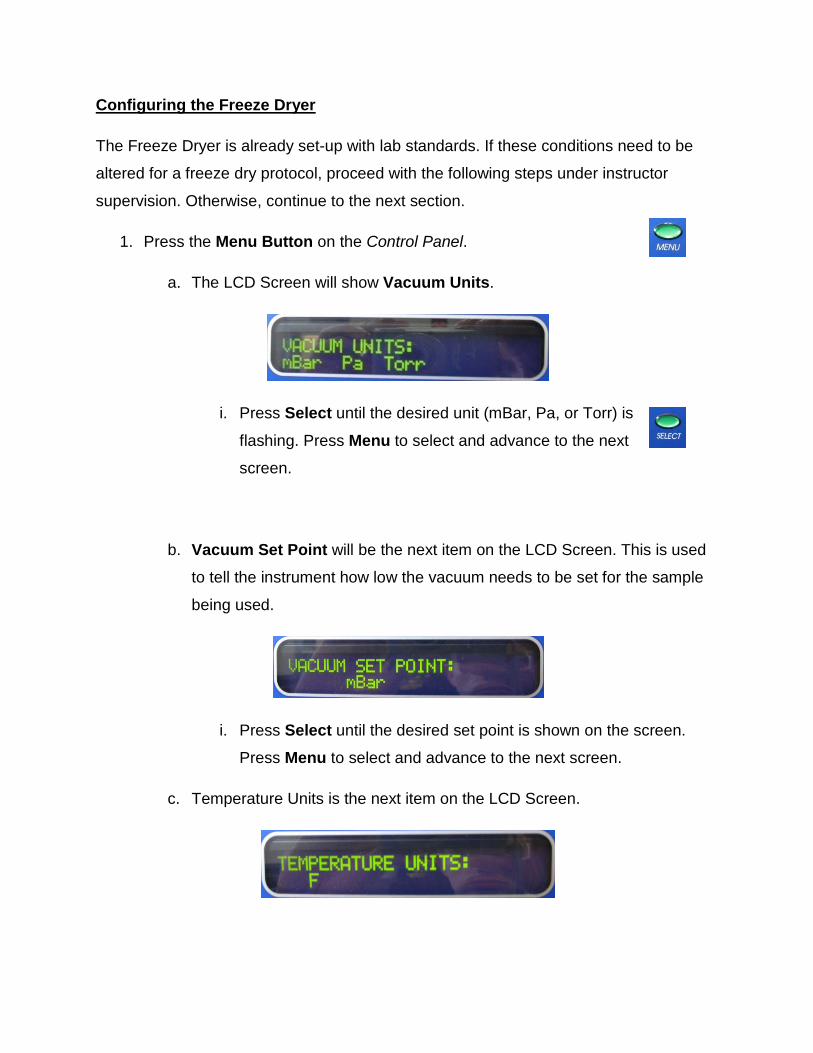
1. Press the Menu Button on the Control Panel.
a. The LCD Screen will show Vacuum Units.
i. Press Select until the desired unit (mBar, Pa, or Torr) is
flashing. Press Menu to select and advance to the next
screen.
b. Vacuum Set Point will be the next item on the LCD Screen. This is used
to tell the instrument how low the vacuum needs to be set for the sample
being used.
i. Press Select until the desired set point is shown on the screen.
Press Menu to select and advance to the next screen.
c. Temperature Units is the next item on the LCD Screen.

i. Press Select to select whether to display the temperature in
Celsius or Fahrenheit. When the item is flashing, press Menu to
select and advance to the next screen.
d. The next two screens show the total hours that the Refrigeration and the
Vacuum have been used. No changes need to be made on these
screens. Press Menu to advance past each.
e. The next screen is the Transmission Rate Screen. This is used to
change the time between data transmissions.
i. Press Select to change the time interval to 10, 30, 60, 300, or 600
seconds. Press Menu to select and advance to the next screen.
2. After moving through these screens, the instrument will return to the LCD Main Screen, and show the conditions of the instrument. At this point, the user will be
able to proceed to the Freeze Drying Procedure.
The Freeze Dryer can be operated in one of two modes: Automatic and Manual. Determine which mode to use, and follow that procedure.
Starting Up a Freeze Dry Protocol
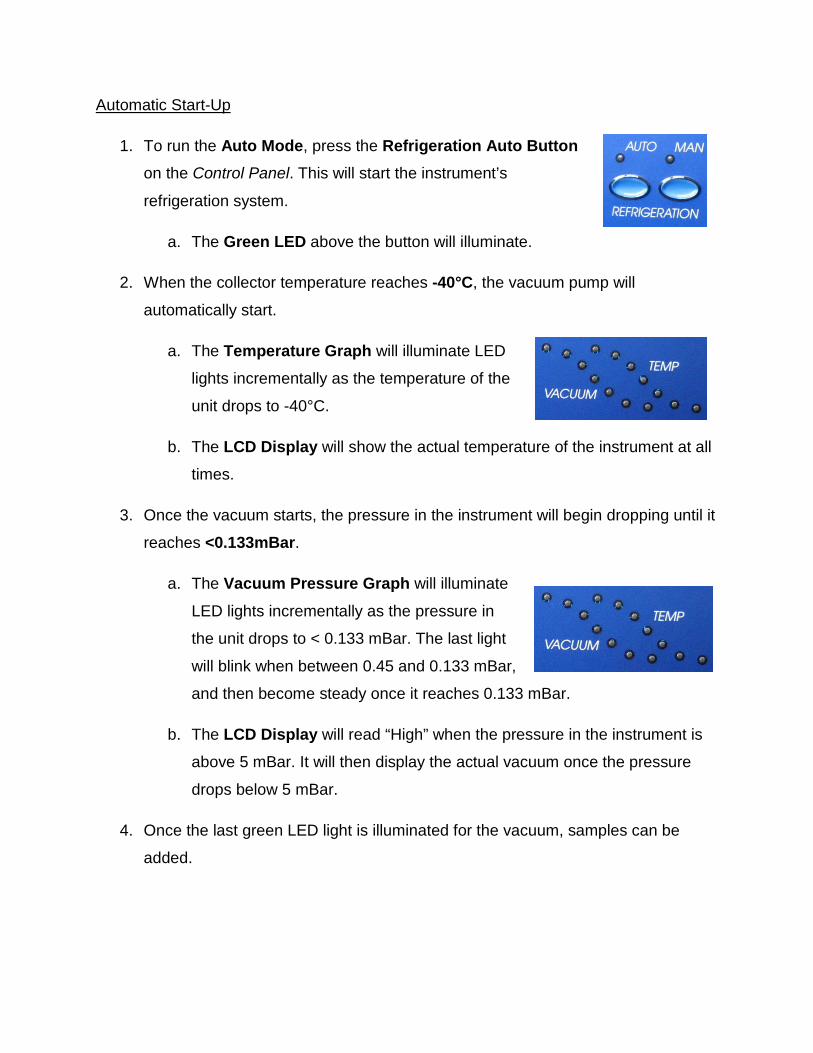
1. To run the Auto Mode, press the Refrigeration Auto Button
Automatic Start-Up
on the Control Panel. This will start the instrument’s
refrigeration system.
a. The Green LED above the button will illuminate.
2. When the collector temperature reaches -40°C, the vacuum pump will
automatically start.
a. The Temperature Graph will illuminate LED
lights incrementally as the temperature of the
unit drops to -40°C.
b. The LCD Display will show the actual temperature of the instrument at all
times.
3. Once the vacuum starts, the pressure in the instrument will begin dropping until it
reaches <0.133mBar.
a. The Vacuum Pressure Graph will illuminate
LED lights incrementally as the pressure in
the unit drops to < 0.133 mBar. The last light
will blink when between 0.45 and 0.133 mBar,
and then become steady once it reaches 0.133 mBar.
b. The LCD Display will read “High” when the pressure in the instrument is
above 5 mBar. It will then display the actual vacuum once the pressure
drops below 5 mBar.
4. Once the last green LED light is illuminated for the vacuum, samples can be
added.
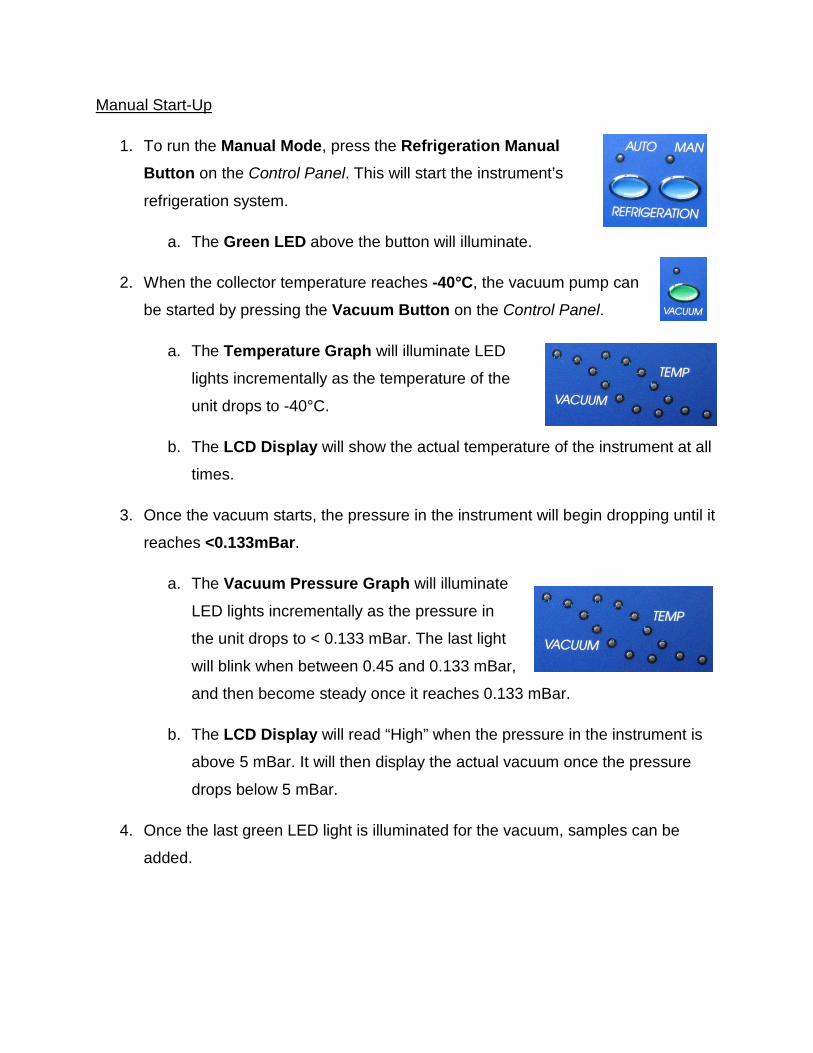
1. To run the Manual Mode, press the Refrigeration Manual
Manual Start-Up
Button on the Control Panel. This will start the instrument’s
refrigeration system.
a. The Green LED above the button will illuminate.
2. When the collector temperature reaches -40°C, the vacuum pump can
be started by pressing the Vacuum Button on the Control Panel.
a. The Temperature Graph will illuminate LED
lights incrementally as the temperature of the
unit drops to -40°C.
b. The LCD Display will show the actual temperature of the instrument at all
times.
3. Once the vacuum starts, the pressure in the instrument will begin dropping until it
reaches <0.133mBar.
a. The Vacuum Pressure Graph will illuminate
LED lights incrementally as the pressure in
the unit drops to < 0.133 mBar. The last light
will blink when between 0.45 and 0.133 mBar,
and then become steady once it reaches 0.133 mBar.
b. The LCD Display will read “High” when the pressure in the instrument is
above 5 mBar. It will then display the actual vacuum once the pressure
drops below 5 mBar.
4. Once the last green LED light is illuminated for the vacuum, samples can be
added.
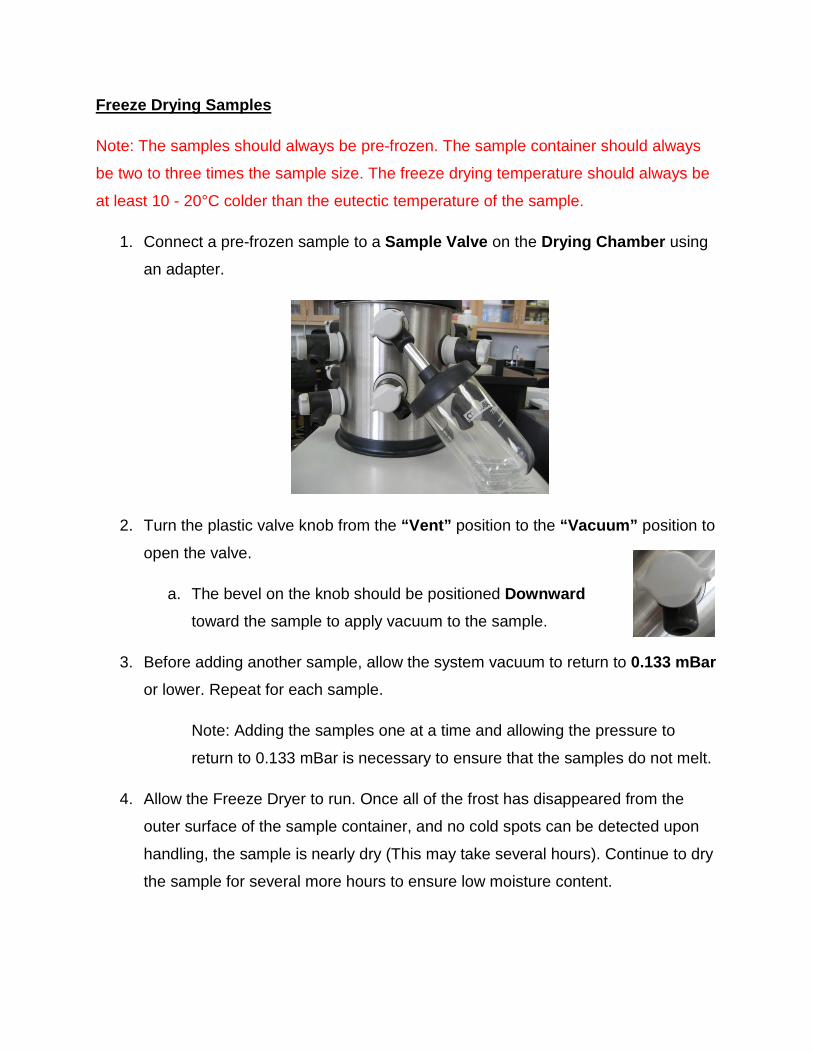
1. Connect a pre-frozen sample to a Sample Valve on the Drying Chamber using
an adapter.
Freeze Drying Samples
Note: The samples should always be pre-frozen. The sample container should always
be two to three times the sample size. The freeze drying temperature should always be
at least 10 - 20°C colder than the eutectic temperature of the sample.
2. Turn the plastic valve knob from the “Vent” position to the “Vacuum” position to
open the valve.
a. The bevel on the knob should be positioned Downward
toward the sample to apply vacuum to the sample.
3. Before adding another sample, allow the system vacuum to return to 0.133 mBar or lower. Repeat for each sample.
Note: Adding the samples one at a time and allowing the pressure to
return to 0.133 mBar is necessary to ensure that the samples do not melt.
4. Allow the Freeze Dryer to run. Once all of the frost has disappeared from the
outer surface of the sample container, and no cold spots can be detected upon
handling, the sample is nearly dry (This may take several hours). Continue to dry
the sample for several more hours to ensure low moisture content.
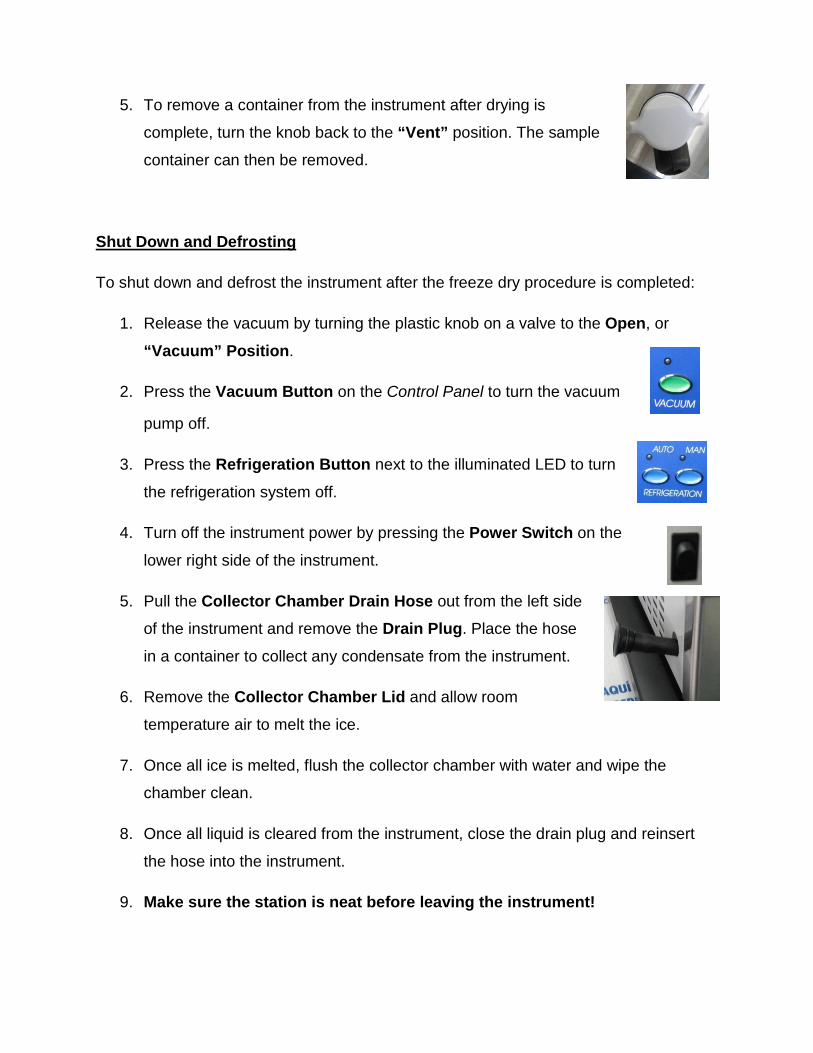
5. To remove a container from the instrument after drying is
complete, turn the knob back to the “Vent” position. The sample
container can then be removed.
1. Release the vacuum by turning the plastic knob on a valve to the Open, or
Shut Down and Defrosting
To shut down and defrost the instrument after the freeze dry procedure is completed:
“Vacuum” Position.
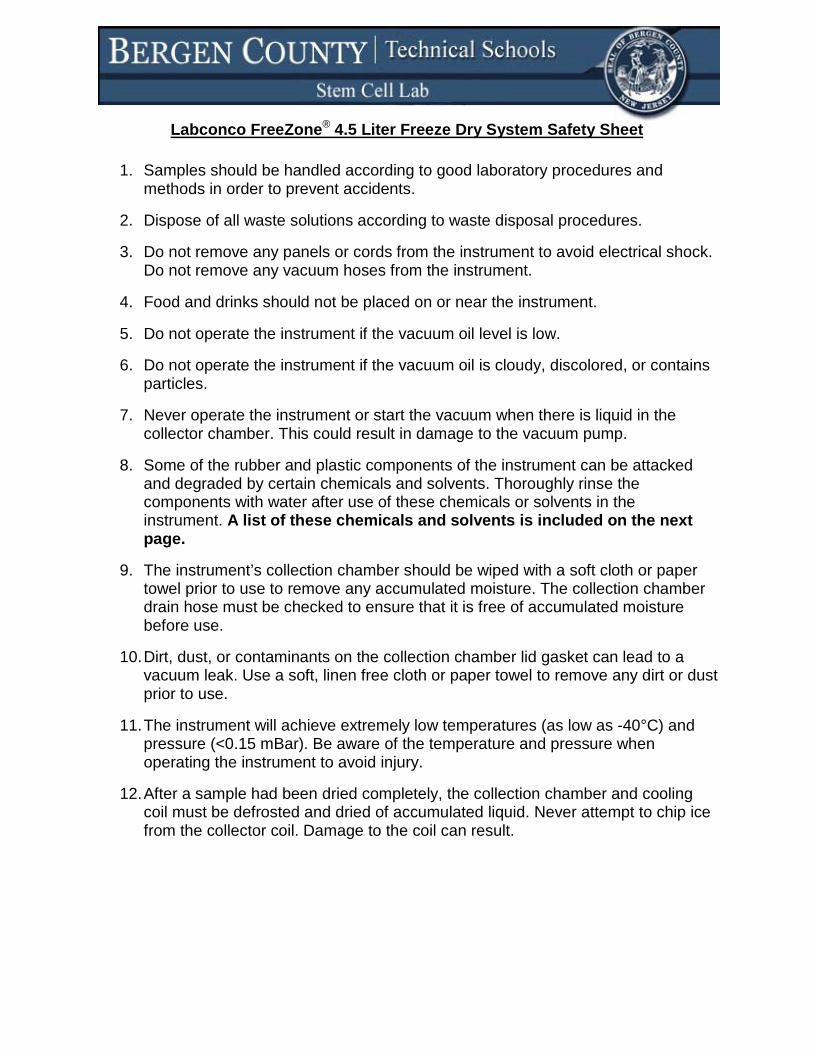
2. Press the Vacuum Button on the Control Panel to turn the vacuum
pump off.
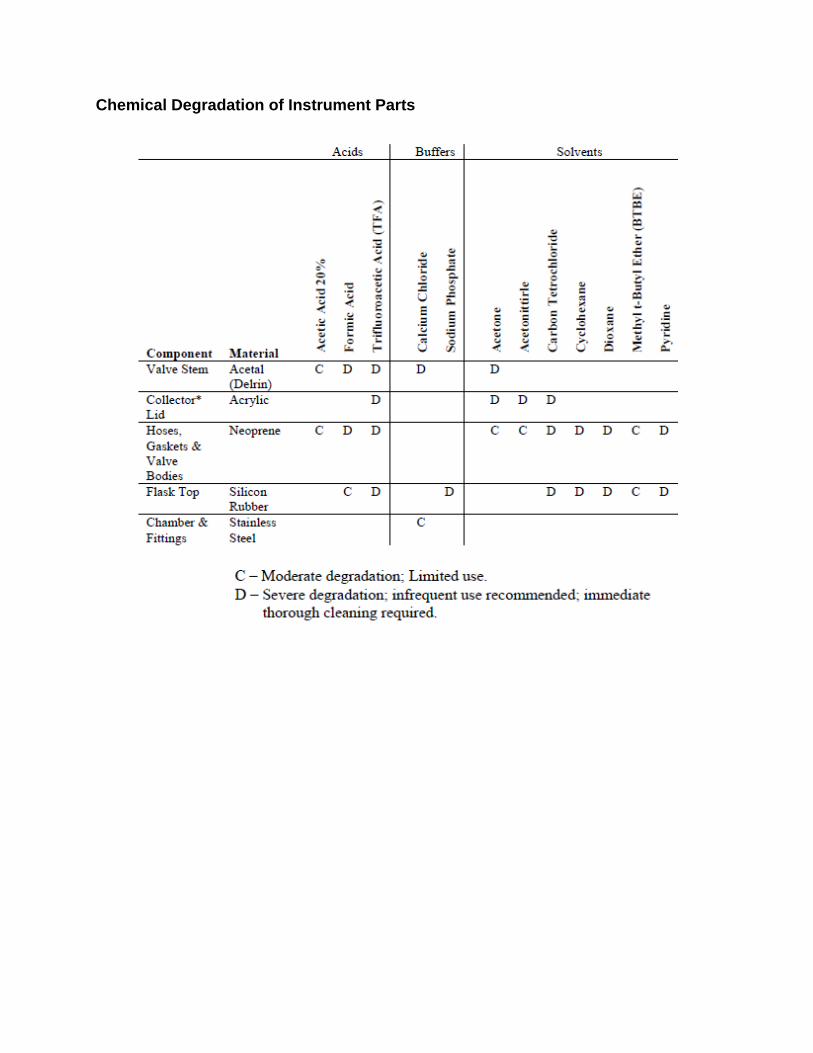
3. Press the Refrigeration Button next to the illuminated LED to turn
the refrigeration system off.
4. Turn off the instrument power by pressing the Power Switch on the
lower right side of the instrument.
5. Pull the Collector Chamber Drain Hose out from the left side
of the instrument and remove the Drain Plug. Place the hose
in a container to collect any condensate from the instrument.
6. Remove the Collector Chamber Lid and allow room
temperature air to melt the ice.
7. Once all ice is melted, flush the collector chamber with water and wipe the
chamber clean.
8. Once all liquid is cleared from the instrument, close the drain plug and reinsert
the hose into the instrument.
9. Make sure the station is neat before leaving the instrument!
1. Samples should be handled according to good laboratory procedures and methods in order to prevent accidents.
Labconco FreeZone® 4.5 Liter Freeze Dry System Safety Sheet
2. Dispose of all waste solutions according to waste disposal procedures.
3. Do not remove any panels or cords from the instrument to avoid electrical shock. Do not remove any vacuum hoses from the instrument.
4. Food and drinks should not be placed on or near the instrument.
5. Do not operate the instrument if the vacuum oil level is low.
6. Do not operate the instrument if the vacuum oil is cloudy, discolored, or contains particles.
7. Never operate the instrument or start the vacuum when there is liquid in the collector chamber. This could result in damage to the vacuum pump.
8. Some of the rubber and plastic components of the instrument can be attacked and degraded by certain chemicals and solvents. Thoroughly rinse the components with water after use of these chemicals or solvents in the instrument. A list of these chemicals and solvents is included on the next page.
9. The instrument’s collection chamber should be wiped with a soft cloth or paper towel prior to use to remove any accumulated moisture. The collection chamber drain hose must be checked to ensure that it is free of accumulated moisture before use.
10. Dirt, dust, or contaminants on the collection chamber lid gasket can lead to a vacuum leak. Use a soft, linen free cloth or paper towel to remove any dirt or dust prior to use.
11. The instrument will achieve extremely low temperatures (as low as -40°C) and pressure (<0.15 mBar). Be aware of the temperature and pressure when operating the instrument to avoid injury.
12. After a sample had been dried completely, the collection chamber and cooling coil must be defrosted and dried of accumulated liquid. Never attempt to chip ice from the collector coil. Damage to the coil can result.
Chemical Degradation of Instrument Parts
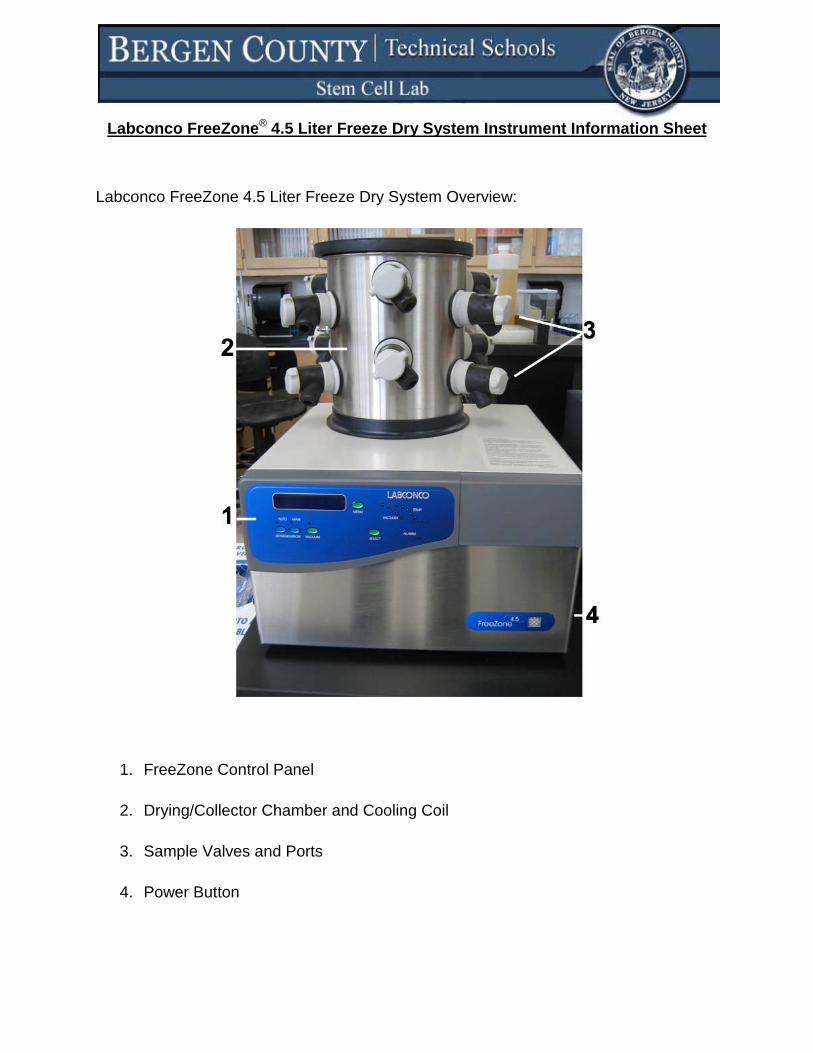
Labconco FreeZone 4.5 Liter Freeze Dry System Overview:
Labconco FreeZone® 4.5 Liter Freeze Dry System Instrument Information Sheet
1. FreeZone Control Panel
2. Drying/Collector Chamber and Cooling Coil
3. Sample Valves and Ports
4. Power Button
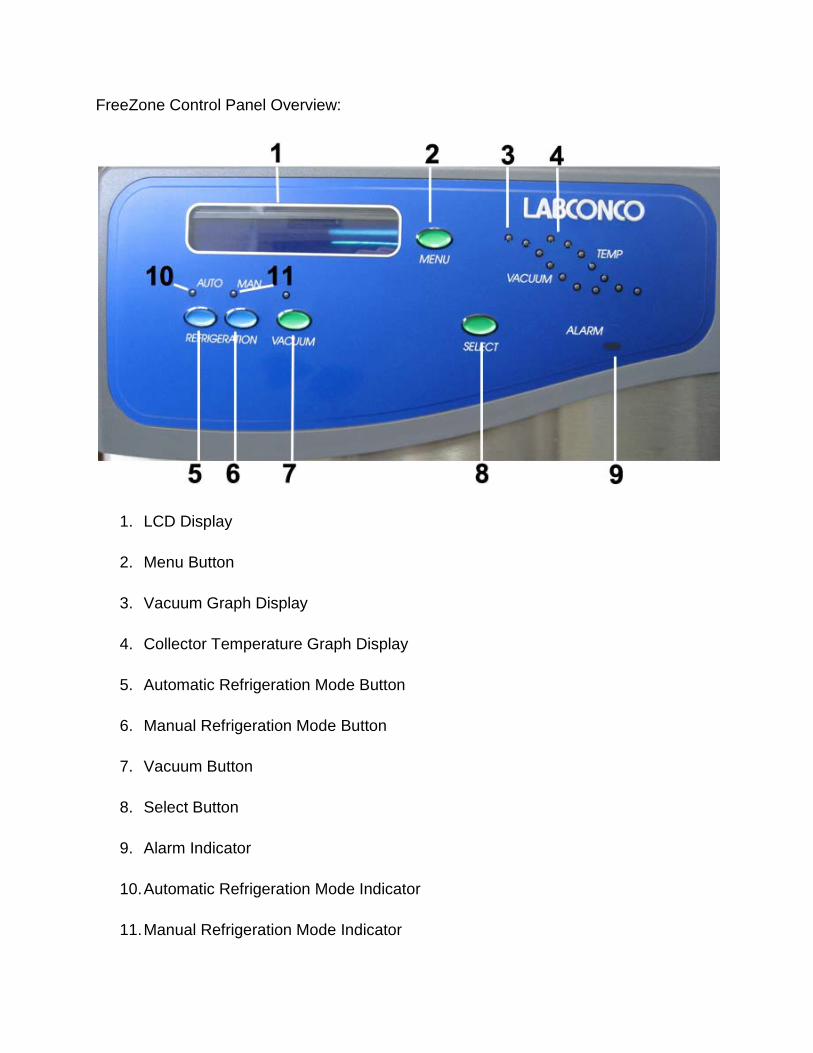
FreeZone Control Panel Overview:
1. LCD Display
2. Menu Button
3. Vacuum Graph Display
4. Collector Temperature Graph Display
5. Automatic Refrigeration Mode Button
6. Manual Refrigeration Mode Button
7. Vacuum Button
8. Select Button
9. Alarm Indicator
10. Automatic Refrigeration Mode Indicator
11. Manual Refrigeration Mode Indicator
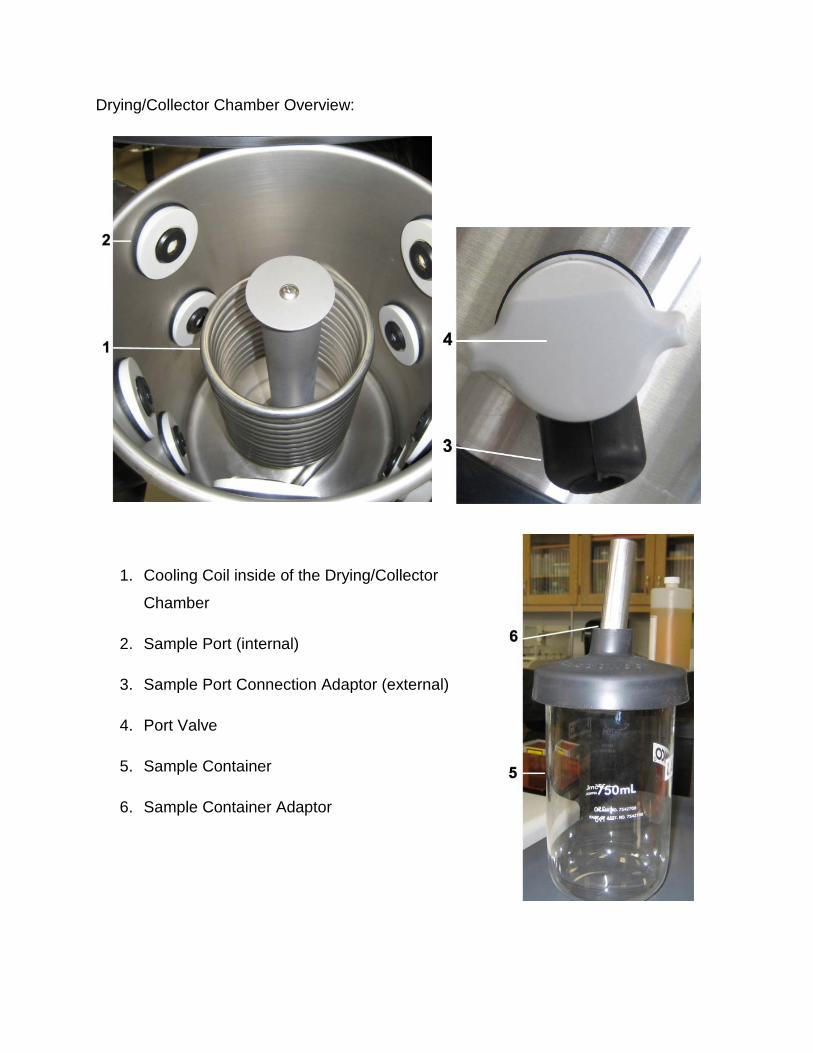
Drying/Collector Chamber Overview:
1. Cooling Coil inside of the Drying/Collector
Chamber
2. Sample Port (internal)
3. Sample Port Connection Adaptor (external)
4. Port Valve
5. Sample Container
6. Sample Container Adaptor