Embed Size (px)
Citation preview

Lab 10: Exploring GMOs

Lab Objectives
• To understand how genetic engineering supplements traditional methods of plant breeding to generate new traits in crop plants
• To understand how changing the genome of an organism can affect its ability to survive in different environments
Notebook

Procedure Overview
Part 1: Extraction of DNA from food samples
Part 2: Set up PCR reactions
Part 3: Electrophoresis of PCR products
Part 4: Analysis of results
Notebook
Background Information
• First genetically modified (GM) crop was released in the US in 1994
• GM crops are controversial due to potential health and environmental risks
• Foreign genetic material from another plant or from other species
• Inserted gene codes for a protein that gives the plant an advantage over similar crop plants

Why genetically modify?
• Pest resistance
• Herbicide tolerance
• Delayed fruit ripening
• Improved fruit yield
• Increased nutrient content
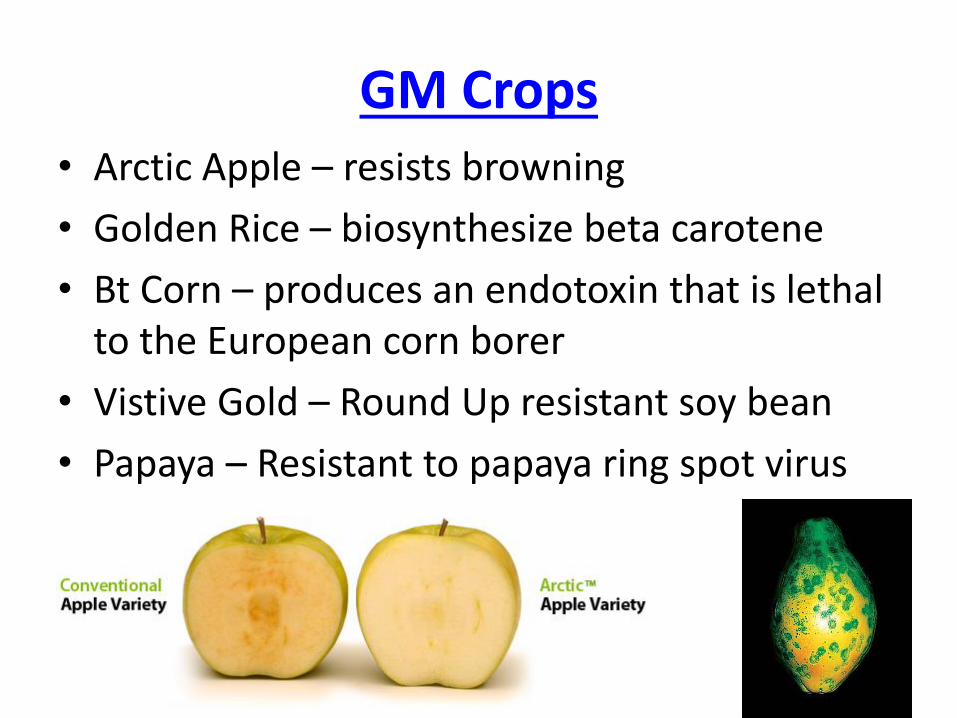
GM Crops • Arctic Apple – resists browning
• Golden Rice – biosynthesize beta carotene
• Bt Corn – produces an endotoxin that is lethal to the European corn borer
• Vistive Gold – Round Up resistant soy bean
• Papaya – Resistant to papaya ring spot virus
How do you genetically modify a crop?
• Identify a trait (protein) that has the potential to improve a crop
• Isolate (clone) the gene that codes for the protein
• Engineer the gene so that the crop plant’s cells will read it correctly and manufacture the protein of interest
• Introduce the engineered gene into the plant
• Backcross the GM crop into the highest-yielding crop in the field


GMO-Associated Sequences
• 35S promoter of the cauliflower mosaic virus (CaMV 35S)
• Terminator of the nopaline synthase (NOS) gene of Agrobacterium tumefaciens
• Both sequences are present in ~85% of GM crops around the world

For or Against GMOs?
• Reduce use of herbicides and pesticides
• Preserve land
• Improve nutritional value of food
• Drought tolerance
• Salinity tolerance
• Longer shelf life
• Potential for “superweeds” or “superbugs”
• Possible allergens
• Not enough research
• Unpredictable changes to an ecosystem
• Antibiotic resistance
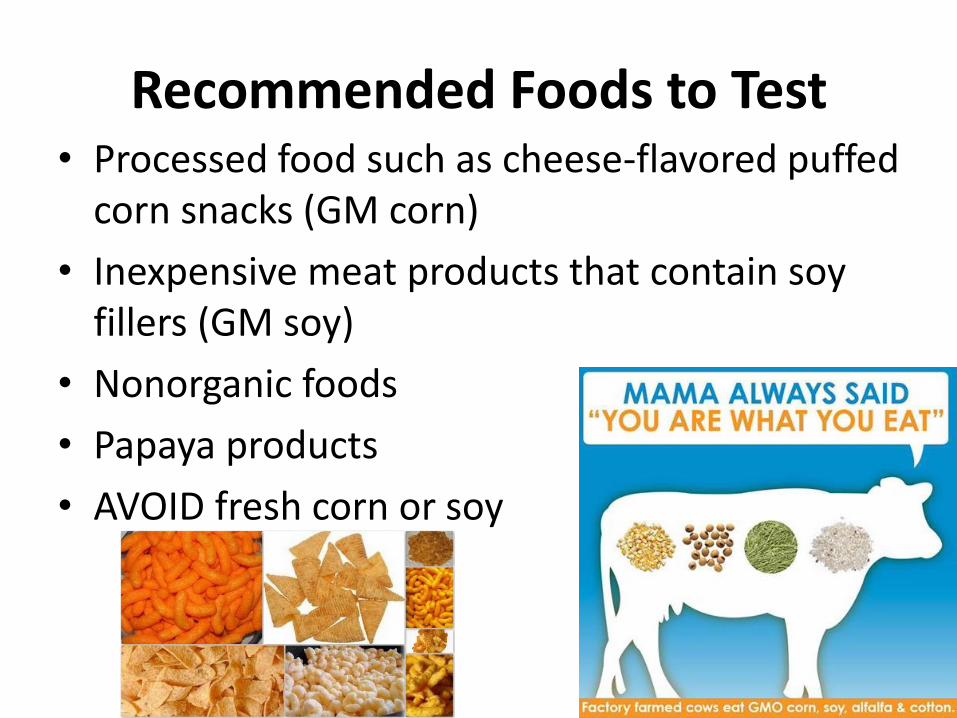
Recommended Foods to Test • Processed food such as cheese-flavored puffed
corn snacks (GM corn)
• Inexpensive meat products that contain soy fillers (GM soy)
• Nonorganic foods
• Papaya products
• AVOID fresh corn or soy

GM Food Labeling Legislation
• United States: Food is labeled “GM Free” if the food is < 5% GM
• European Union: Food is labeled “GM” if the food is > 1% GM
• Japan: Food is labeled “GM” if the food is > 5% GM

Test Foods Notebook
Part 1: Extraction of DNA from Food Samples
• Two microcentrifuge tubes – label as follows:
–Non-GMO (with group initials)
– Test Food (with group initials)
• Prepare 50 µL of Non-GMO ground slurry and 50 µL of Test Food ground slurry
• Prepare the non-GMO sample first to avoid contamination!
Notebook

Part 2: PCR Workstation
• Ice bath
• GMM: GMO Master Mix with primer (ice)
• PMM: Plant Master Mix with primer (ice)
• GMO +: GMO Positive Control DNA (ice)
• Test Food DNA
• Non-GMO Food Control DNA (oats)
• 6 PCR tubes and 6 PCR Adaptors
• 2-20 µL micropipette with tips

• Plant primers (PMM) – Used to determine if DNA was extracted from the plant material
– Targets a 455 bp region of a chloroplast gene
• GMO primers (GMM) – Used to determine if the food contains GMOs
– Targets a 203 bp fragment of the CAMV 35S promoter and a 225 bp fragment of the NOS terminator
Part 2: Set Up PCR Reactions
Notebook

Part 2: Set Up PCR Reactions
• Number the tubes #1-6
• Label clearly with group initials
Notebook

Purpose of Each PCR Reaction
Notebook

Part 3: Gel Electrophoresis of PCR Products
• First, add 10 µL of Orange G loading dye to each PCR sample (use a fresh tip each time) – gently tap the tubes to mix
• Load 20 µL of each sample into the wells according to the chart provided
• Load 20 µL of the molecular weight ruler (MWR) into Lane 7
Notebook

Part 3: Gel Electrophoresis of PCR Products
• Use a 3 % gel for electrophoresis of PCR products
• Run at 100 volts for 30-45 minutes
• Record a picture of your gel using UV light
Notebook

Part 4: Analysis of Results
• Draw the results of gel electrophoresis into your lab notebook
• Be sure to label each well on the gel picture
• Label the base pair size for each fragment of the ladder (molecular weight ruler)
• Write a conclusion based on the results of your test food
• Discuss any sources of error that may have affected your results
Notebook

Analysis of Results