Embed Size (px)
Citation preview

Kobo™ Writing Life Content Conversion Guidelines
Kobo Writing Life – Content Conversion Guidelines 2
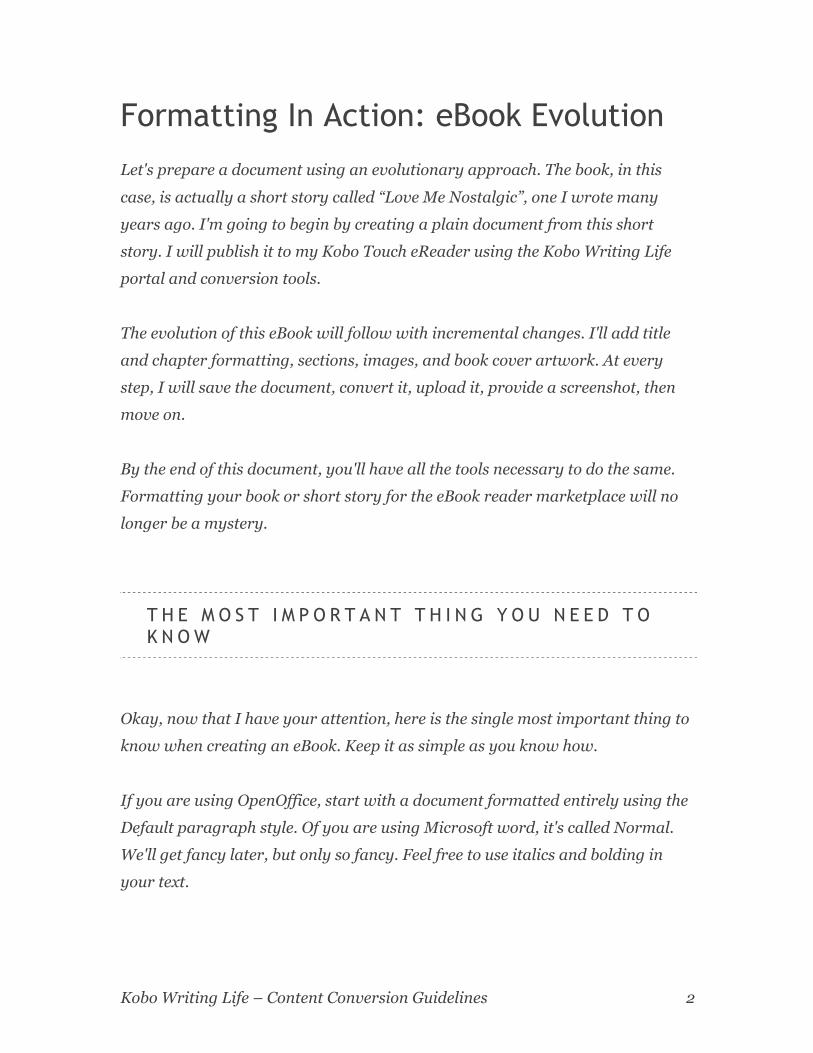
Formatting In Action: eBook Evolution
Let's prepare a document using an evolutionary approach. The book, in this
case, is actually a short story called “Love Me Nostalgic”, one I wrote many
years ago. I'm going to begin by creating a plain document from this short
story. I will publish it to my Kobo Touch eReader using the Kobo Writing Life
portal and conversion tools.
The evolution of this eBook will follow with incremental changes. I'll add title
and chapter formatting, sections, images, and book cover artwork. At every
step, I will save the document, convert it, upload it, provide a screenshot, then
move on.
By the end of this document, you'll have all the tools necessary to do the same.
Formatting your book or short story for the eBook reader marketplace will no
longer be a mystery.
T H E M O S T I M P O R T A N T T H I N G Y O U N E E D T O K N O W
Okay, now that I have your attention, here is the single most important thing to
know when creating an eBook. Keep it as simple as you know how.
If you are using OpenOffice, start with a document formatted entirely using the
Default paragraph style. Of you are using Microsoft word, it's called Normal.
We'll get fancy later, but only so fancy. Feel free to use italics and bolding in
your text.
Kobo Writing Life – Content Conversion Guidelines 3
Remember, eBook readers are about text, not trying to do weird and wonderful
things. Clean text with simple formatting will win you more accolades than any
attempt to produce an electronic version of a coffee table book.
Think simple as you work your way through this. You'll thank me later.
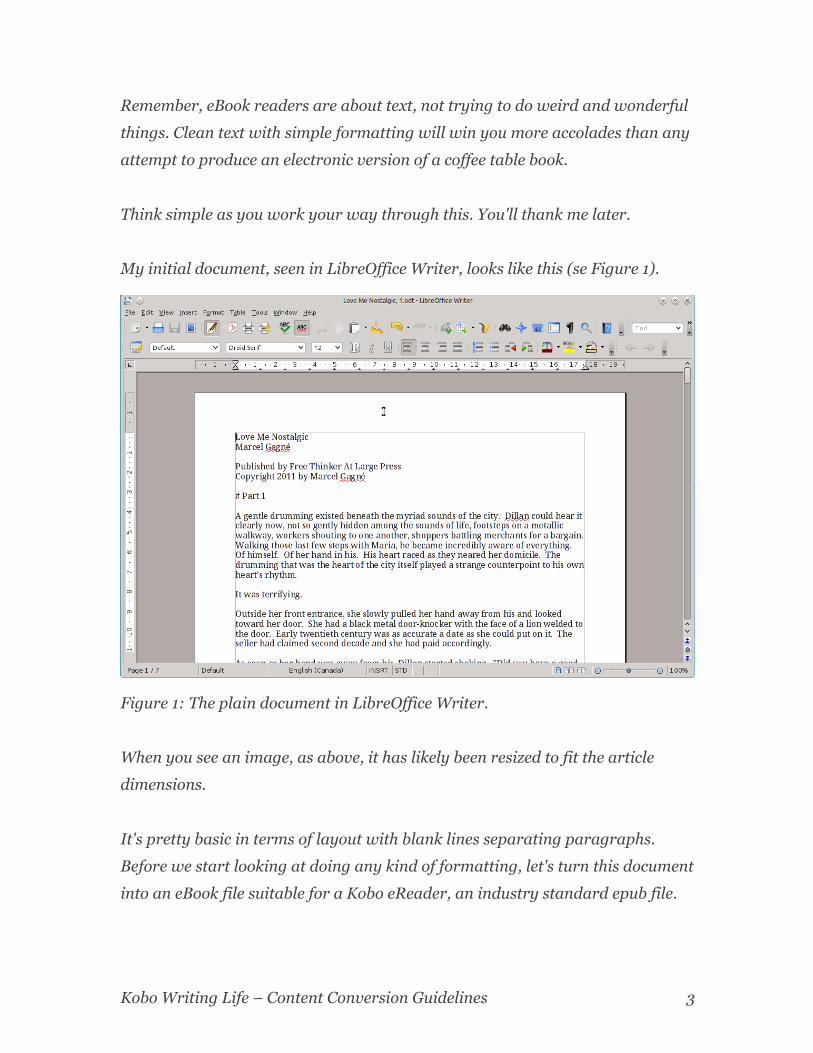
My initial document, seen in LibreOffice Writer, looks like this (se Figure 1).
Figure 1: The plain document in LibreOffice Writer.
When you see an image, as above, it has likely been resized to fit the article
dimensions.
It's pretty basic in terms of layout with blank lines separating paragraphs.
Before we start looking at doing any kind of formatting, let's turn this document
into an eBook file suitable for a Kobo eReader, an industry standard epub file.
Kobo Writing Life – Content Conversion Guidelines 4
C O N V E R S I O N A H O Y !
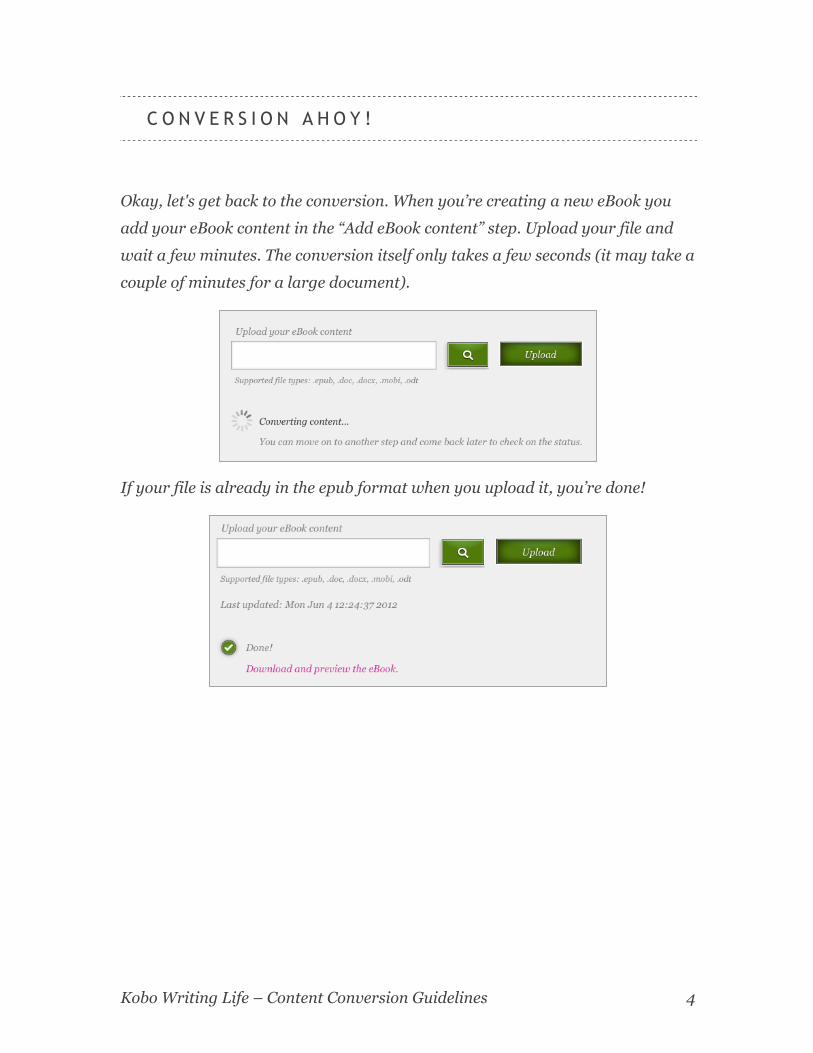
Okay, let's get back to the conversion. When you’re creating a new eBook you
add your eBook content in the “Add eBook content” step. Upload your file and
wait a few minutes. The conversion itself only takes a few seconds (it may take a
couple of minutes for a large document).
If your file is already in the epub format when you upload it, you’re done!
Kobo Writing Life – Content Conversion Guidelines 5
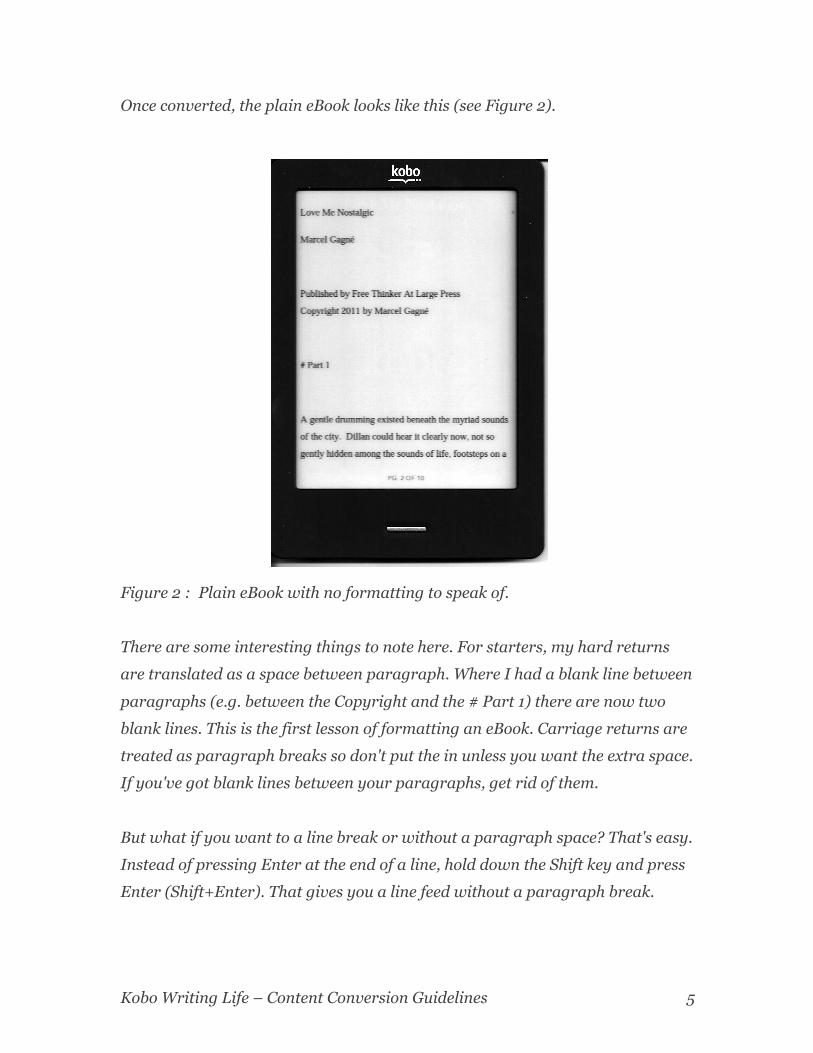
Once converted, the plain eBook looks like this (see Figure 2).
Figure 2 : Plain eBook with no formatting to speak of.
There are some interesting things to note here. For starters, my hard returns
are translated as a space between paragraph. Where I had a blank line between
paragraphs (e.g. between the Copyright and the # Part 1) there are now two
blank lines. This is the first lesson of formatting an eBook. Carriage returns are
treated as paragraph breaks so don't put the in unless you want the extra space.
If you've got blank lines between your paragraphs, get rid of them.
But what if you want to a line break or without a paragraph space? That's easy.
Instead of pressing Enter at the end of a line, hold down the Shift key and press
Enter (Shift+Enter). That gives you a line feed without a paragraph break.

Kobo Writing Life – Content Conversion Guidelines 6
The single most important format after default or plain is Heading 1, and
maybe Heading 2. My short story is broken up into four parts which I call,
coincidentally, Part 1, Part 2, Part 3, and Part 4. In each case I'm going to apply
the Heading 1 tag. I save the document and re-upload my file in the “Add eBook
content” step once more. The result appears in Figure 3.
Figure 3 : The Heading 1 tag as applied to my Part 1 section.
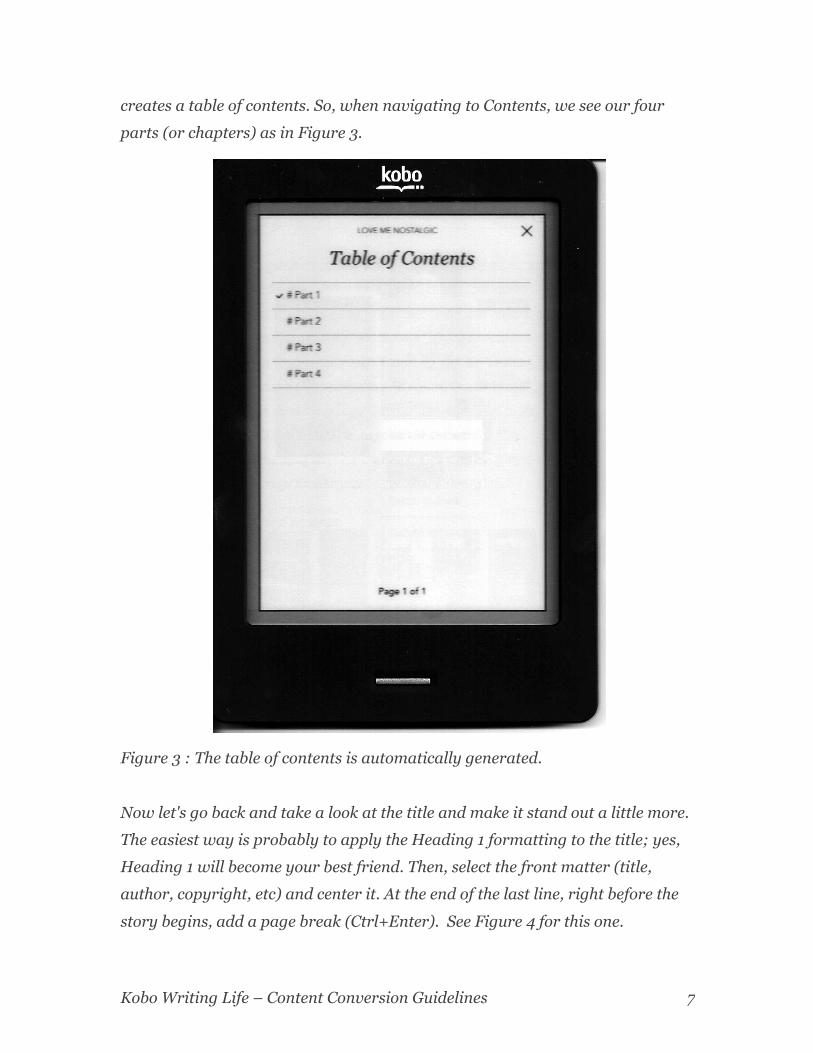
All those parts could just as easily have been chapter headings. An added bonus
of applying the Heading 1 formatting is that the conversion automatically
Kobo Writing Life – Content Conversion Guidelines 7
creates a table of contents. So, when navigating to Contents, we see our four
parts (or chapters) as in Figure 3.
Figure 3 : The table of contents is automatically generated.
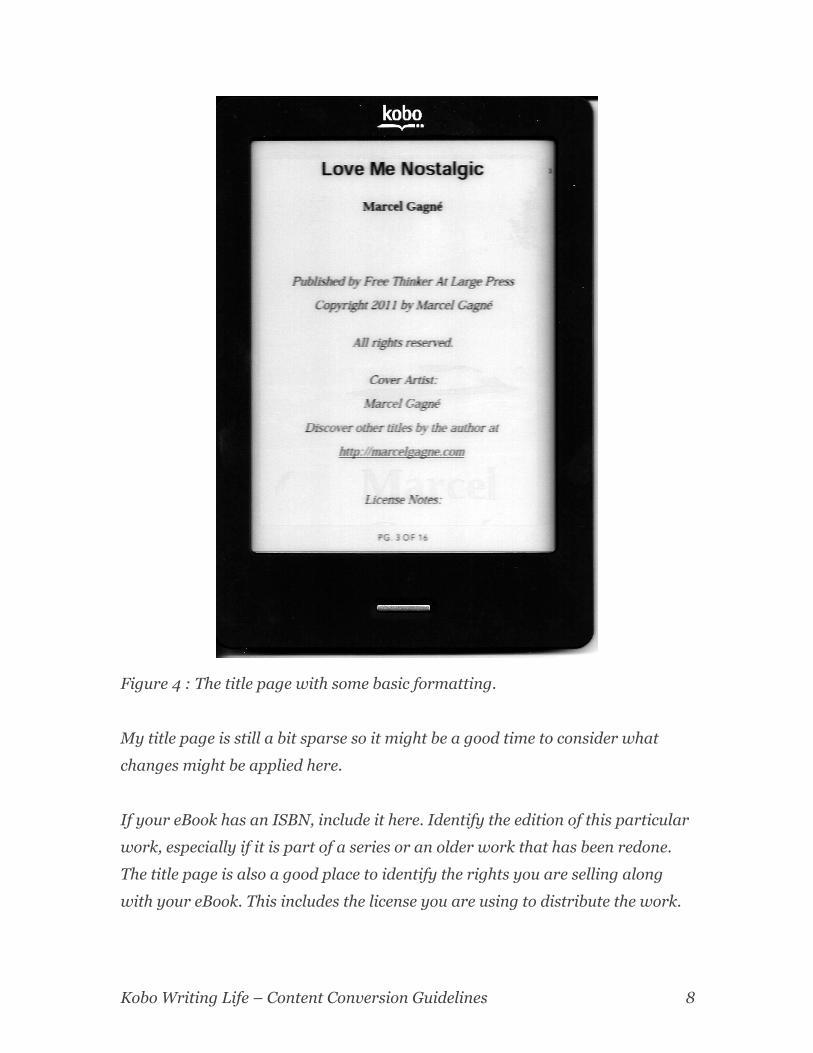
Now let's go back and take a look at the title and make it stand out a little more.
The easiest way is probably to apply the Heading 1 formatting to the title; yes,
Heading 1 will become your best friend. Then, select the front matter (title,
author, copyright, etc) and center it. At the end of the last line, right before the
story begins, add a page break (Ctrl+Enter). See Figure 4 for this one.
Kobo Writing Life – Content Conversion Guidelines 8
Figure 4 : The title page with some basic formatting.
My title page is still a bit sparse so it might be a good time to consider what
changes might be applied here.
If your eBook has an ISBN, include it here. Identify the edition of this particular
work, especially if it is part of a series or an older work that has been redone.
The title page is also a good place to identify the rights you are selling along
with your eBook. This includes the license you are using to distribute the work.
Kobo Writing Life – Content Conversion Guidelines 9
Do you reserve all rights? Are people allowed to share the eBook? Are people
allowed to make copies?
You might also include a Website address or some information about the
publishing company that produced the book. Open up a paper book and see
what's included there. Use your judgement.
C O V E R I M A G E
The next step in our eBook beautification project is the addition of cover art. For
this example, I created a cover using the GIMP, a free and open source software
image editor, and some free artwork (in this case, distributed under a Creative
Commons license).
I won't go into a discussion on the pluses and minuses of making your own
covers. Hiring a good artist can be expensive though, a fact you need to
consider as you evaluate the investment you put into your eBooks.
If you are creating your own images, keep in mind that the standard Kobo
eReader has a 600 by 800 pixel screen. This is a good resolution to shoot for
when designing your art.
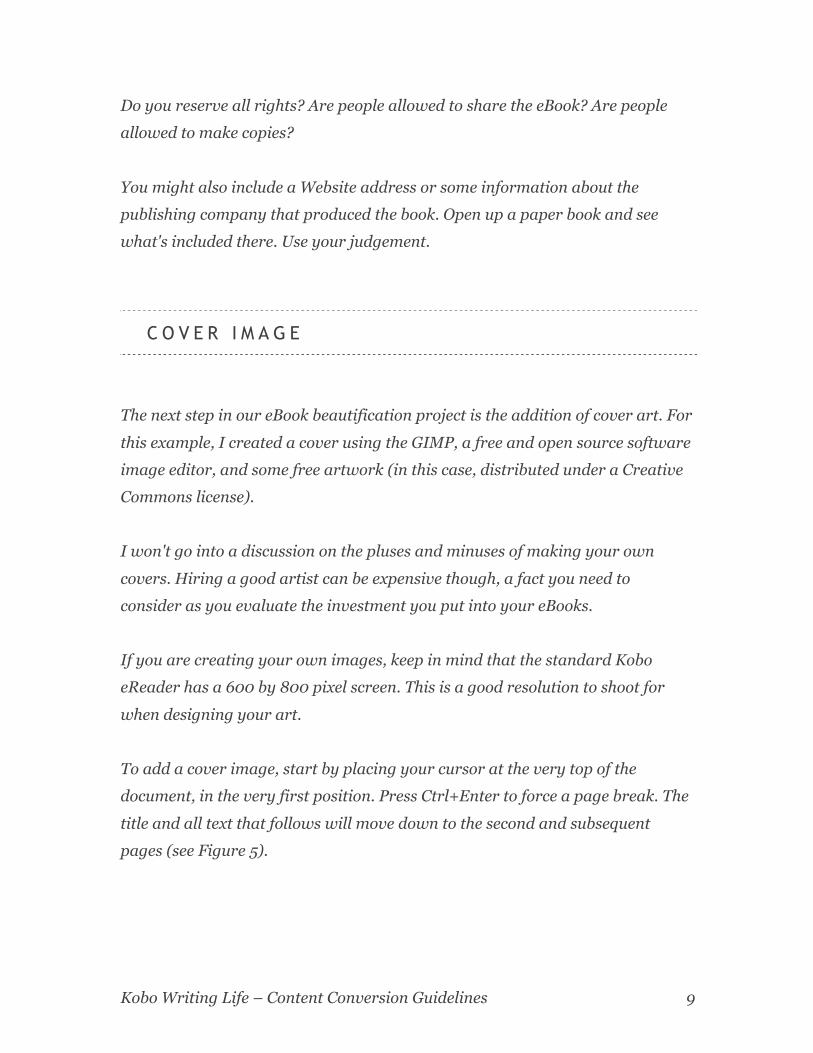
To add a cover image, start by placing your cursor at the very top of the
document, in the very first position. Press Ctrl+Enter to force a page break. The
title and all text that follows will move down to the second and subsequent
pages (see Figure 5).
Kobo Writing Life – Content Conversion Guidelines 10
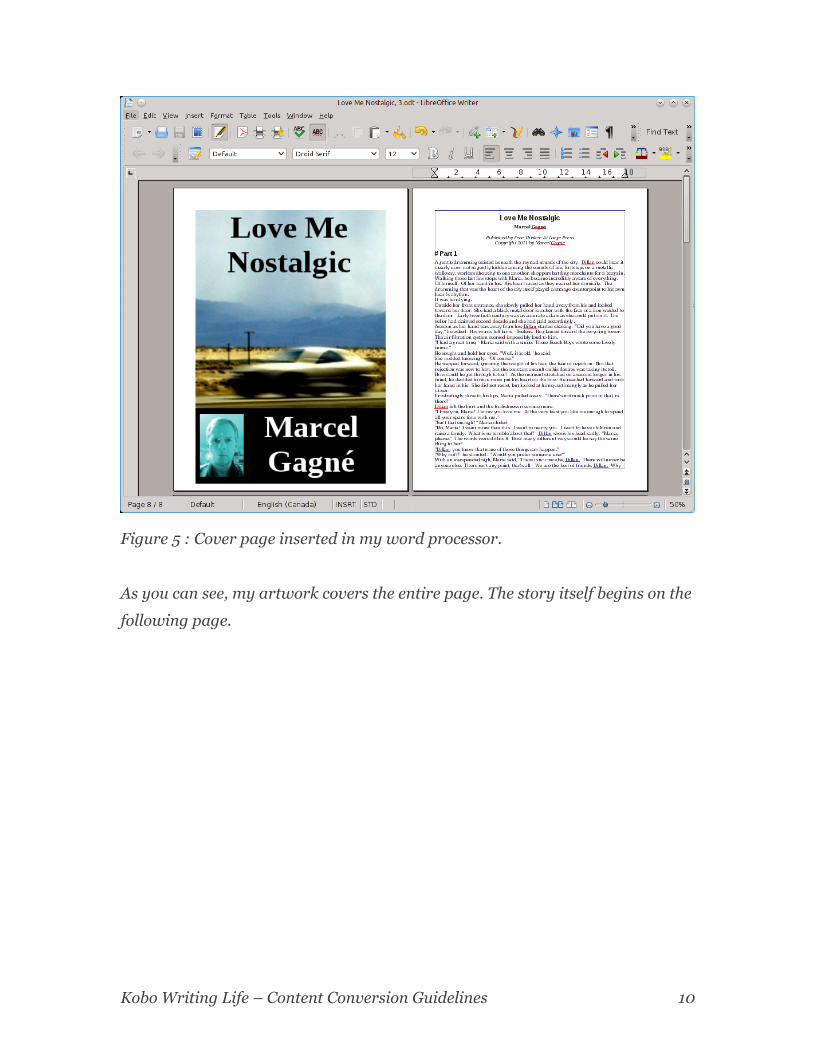
Figure 5 : Cover page inserted in my word processor.
As you can see, my artwork covers the entire page. The story itself begins on the
following page.
Kobo Writing Life – Content Conversion Guidelines 11
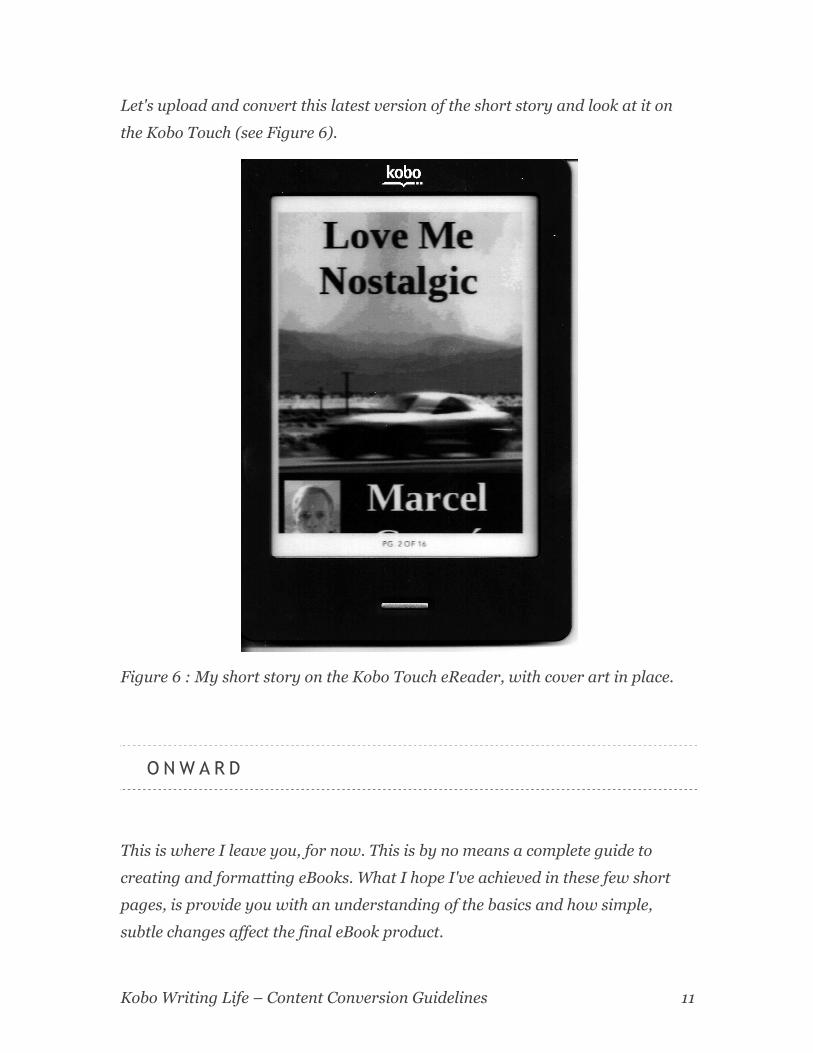
Let's upload and convert this latest version of the short story and look at it on
the Kobo Touch (see Figure 6).
Figure 6 : My short story on the Kobo Touch eReader, with cover art in place.
O N W A R D
This is where I leave you, for now. This is by no means a complete guide to
creating and formatting eBooks. What I hope I've achieved in these few short
pages, is provide you with an understanding of the basics and how simple,
subtle changes affect the final eBook product.