Embed Size (px)
Citation preview
Let’s Hear It
For /R/!Presented by
Dawn M. Moore MA, CCC/SLP
Expressions Speech & Language Center
www.expressionsspeech.com
Why is /r/ so hard to train
compared to other sounds?
The /r/ sound is very different than most sounds we treat. If you think of
beginning remediation for /s/, you have the child try to keep their tongue
behind their teeth if they exhibit a frontal lisp and get them to attempt a snake
sound. If they cannot produce /k/, you might use a tongue depressor to hold
the tip down while they elevate the back and produce a /k/.
Why do these things not work for /r/?
The /r/ is different because of its variations. The /r/ sound has two different
phonemes that can represent it. It can be consonantal /r/ or vocalic /ɚ/. Why
is this important? For some reason, vocalic /ɚ/ is much harder to train,
possibly due to the coarticulatory nature of the vowel and /r/ sound.
However, initial /r/ or consonantal /r/ is not as hard to train. When most
people think of /r/ therapy, they automatically begin with /ɚ/. It is this starting
point that leads to failure for most new clinicians. If we say /ɚ/ is the hardest
sound, why start with it? Many of us have certain placements we begin with
when we train other sounds. I typically train final „sh‟ first as I have found that
it is easier. Same with final /f/ and final /k/. I could start with the initial
placement for each of those sounds, but since I am trying to elicit the correct
sound in one position, I am going to start where I believe it might be easiest.
The /r/ sound is no different in that respect except that a lot of SLP‟s forget
there is another placement/sound besides /ɚ/.
By beginning with initial /r/
you are building a foundation for final /ɚ/.
The vocalic /ɚ/ sound is the only consonant sound that is two sounds in one.
That is the biggest hint that this sound is different from all the others. Also, /r/
is different from our other sounds because you cannot typically elicit a “good”
production with just placement feedback. It takes more. A lot more!
THIS IS NOT A QUICK FIX FOR /R/ BECAUSE
THERE IS NO QUICK FIX!
2
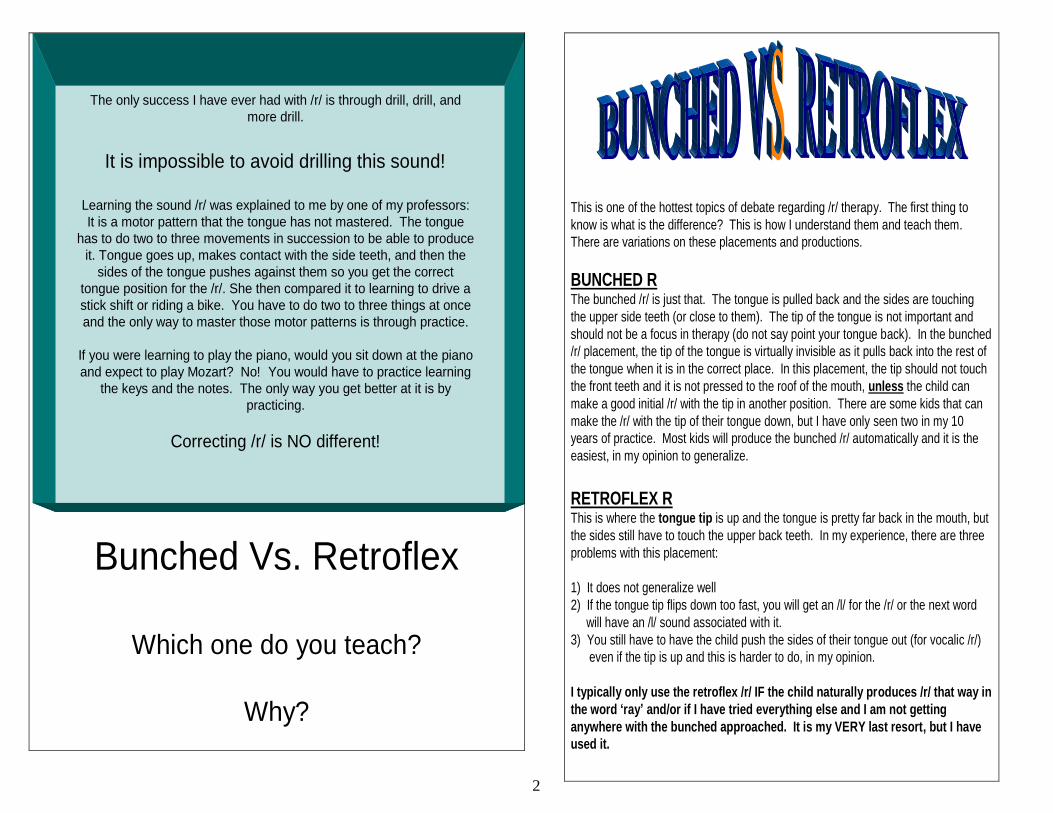
The only success I have ever had with /r/ is through drill, drill, and
more drill.
It is impossible to avoid drilling this sound!
Learning the sound /r/ was explained to me by one of my professors:
It is a motor pattern that the tongue has not mastered. The tongue
has to do two to three movements in succession to be able to produce
it. Tongue goes up, makes contact with the side teeth, and then the
sides of the tongue pushes against them so you get the correct
tongue position for the /r/. She then compared it to learning to drive a
stick shift or riding a bike. You have to do two to three things at once
and the only way to master those motor patterns is through practice.
If you were learning to play the piano, would you sit down at the piano
and expect to play Mozart? No! You would have to practice learning
the keys and the notes. The only way you get better at it is by
practicing.
Correcting /r/ is NO different!
Bunched Vs. Retroflex
Which one do you teach?
Why?
This is one of the hottest topics of debate regarding /r/ therapy. The first thing to
know is what is the difference? This is how I understand them and teach them.
There are variations on these placements and productions.
BUNCHED RThe bunched /r/ is just that. The tongue is pulled back and the sides are touching
the upper side teeth (or close to them). The tip of the tongue is not important and
should not be a focus in therapy (do not say point your tongue back). In the bunched
/r/ placement, the tip of the tongue is virtually invisible as it pulls back into the rest of
the tongue when it is in the correct place. In this placement, the tip should not touch
the front teeth and it is not pressed to the roof of the mouth, unless the child can
make a good initial /r/ with the tip in another position. There are some kids that can
make the /r/ with the tip of their tongue down, but I have only seen two in my 10
years of practice. Most kids will produce the bunched /r/ automatically and it is the
easiest, in my opinion to generalize.
RETROFLEX RThis is where the tongue tip is up and the tongue is pretty far back in the mouth, but
the sides still have to touch the upper back teeth. In my experience, there are three
problems with this placement:
1) It does not generalize well
2) If the tongue tip flips down too fast, you will get an /l/ for the /r/ or the next word
will have an /l/ sound associated with it.
3) You still have to have the child push the sides of their tongue out (for vocalic /r/)
even if the tip is up and this is harder to do, in my opinion.
I typically only use the retroflex /r/ IF the child naturally produces /r/ that way in
the word „ray‟ and/or if I have tried everything else and I am not getting
anywhere with the bunched approached. It is my VERY last resort, but I have
used it.
3
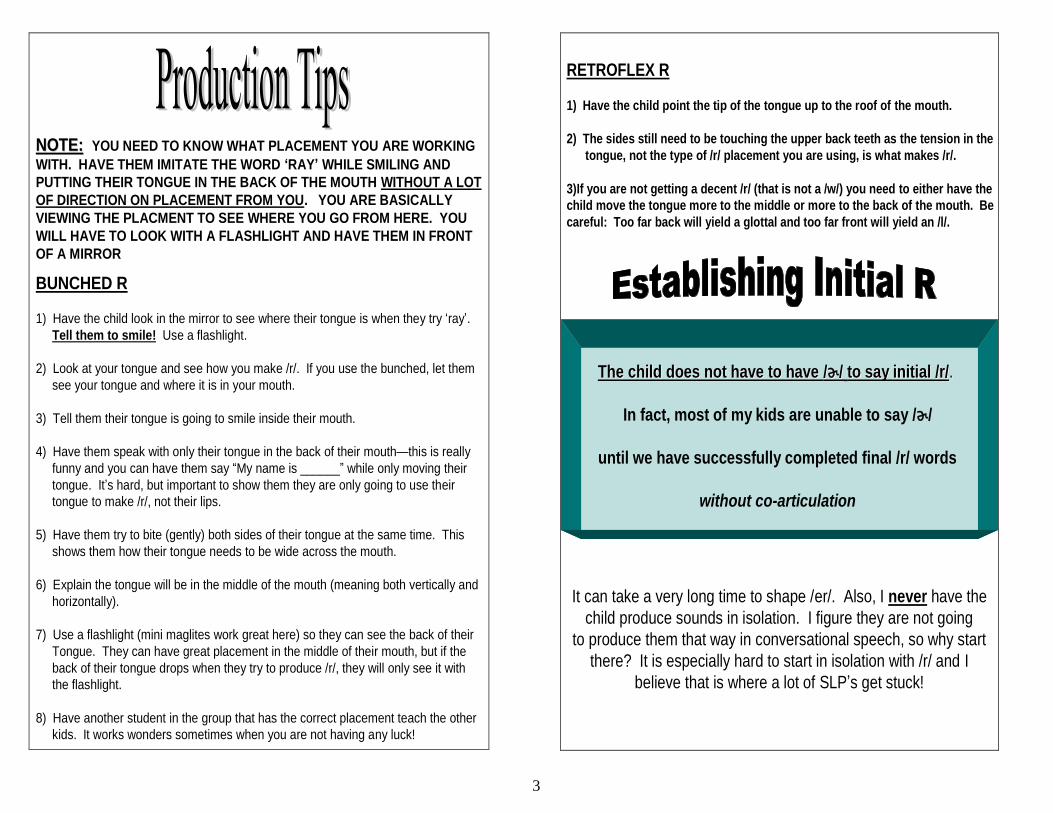
NOTE:NOTE: YOU NEED TO KNOW WHAT PLACEMENT YOU ARE WORKING
WITH. HAVE THEM IMITATE THE WORD „RAY‟ WHILE SMILING AND
PUTTING THEIR TONGUE IN THE BACK OF THE MOUTH WITHOUT A LOT
OF DIRECTION ON PLACEMENT FROM YOU. YOU ARE BASICALLY
VIEWING THE PLACMENT TO SEE WHERE YOU GO FROM HERE. YOU
WILL HAVE TO LOOK WITH A FLASHLIGHT AND HAVE THEM IN FRONT
OF A MIRROR
BUNCHED R
1) Have the child look in the mirror to see where their tongue is when they try „ray‟.
Tell them to smile! Use a flashlight.
2) Look at your tongue and see how you make /r/. If you use the bunched, let them
see your tongue and where it is in your mouth.
3) Tell them their tongue is going to smile inside their mouth.
4) Have them speak with only their tongue in the back of their mouth—this is really
funny and you can have them say “My name is ______” while only moving their
tongue. It‟s hard, but important to show them they are only going to use their
tongue to make /r/, not their lips.
5) Have them try to bite (gently) both sides of their tongue at the same time. This
shows them how their tongue needs to be wide across the mouth.
6) Explain the tongue will be in the middle of the mouth (meaning both vertically and
horizontally).
7) Use a flashlight (mini maglites work great here) so they can see the back of their
Tongue. They can have great placement in the middle of their mouth, but if the
back of their tongue drops when they try to produce /r/, they will only see it with
the flashlight.
8) Have another student in the group that has the correct placement teach the other
kids. It works wonders sometimes when you are not having any luck!
The child does not have to have The child does not have to have //ɚɚ// to say to say initial /r/initial /r/..
In fact, most of my kids are unable to say /ɚ/
until we have successfully completed final /r/ words
without co-articulation
RETROFLEX R
1) Have the child point the tip of the tongue up to the roof of the mouth.
2) The sides still need to be touching the upper back teeth as the tension in the
tongue, not the type of /r/ placement you are using, is what makes /r/.
3)If you are not getting a decent /r/ (that is not a /w/) you need to either have the
child move the tongue more to the middle or more to the back of the mouth. Be
careful: Too far back will yield a glottal and too far front will yield an /l/.
It can take a very long time to shape /er/. Also, I never have the
child produce sounds in isolation. I figure they are not going
to produce them that way in conversational speech, so why start
there? It is especially hard to start in isolation with /r/ and I
believe that is where a lot of SLP‟s get stuck!

4
STEP 1
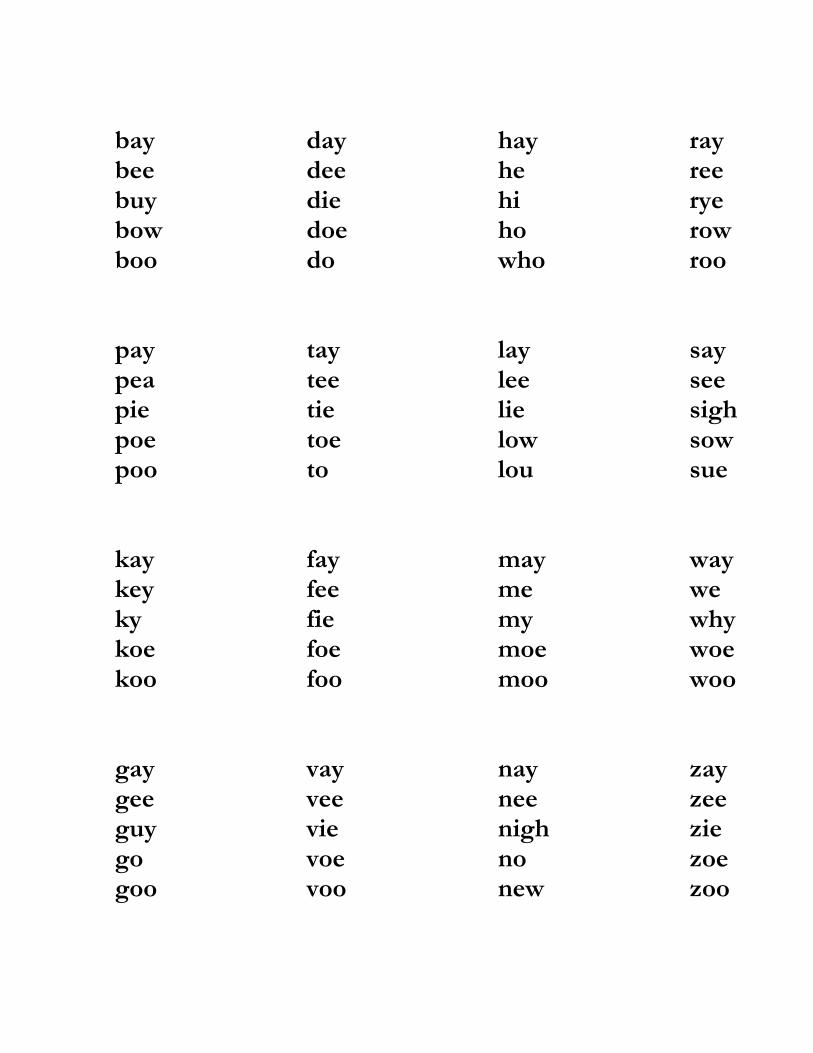
NONSENSE WORDS
My first step with /r/ kids would be to do nonsense words paired with other nonsense
words. I have 80 of them on a sheet. They are simply initial consonants with long
vowel sounds. Make a lot of copies, you will need 5 sheets per child. What you do is
verbally put the word "ray" in front of every word on that sheet and have them say "ray-
bay" after you etc. You will need to say all of your initial /r/ words like this "erray"
where you hold out the /ɚ/ a little in the beginning to provide them a beginning model
for /ɚ/ . YOU DO NOT EXPECT YOUR KIDS TO COPY THE //ɚɚ// PART!
Remember: You are going to be their best source for a good model and I rarely let
my /r/ kids do any drill without me saying it first. Everything my kids
do is an imitation of what I say. You will find they will change their
productions based on how you say it. Try saying the words
while changing your intonation and you will hear them imitate you
in the same exact way. They need to be able to do the same with /r/.
Clincian: ray bay (Remember to say //ɚɚ// in front of your /r/ words!)
Child: ray-bay
Example of feedback: Oh, your lips came together and you said a /w/…try biting the
sides of your tongue when you say the first word. Or you can say "you need to have
your tongue smiling up inside your top teeth." Refer to PRODUCTION notes above
Clincian: ray bee
Child: ray-bee
Clincian: ray bye
Child: ray-bye
(You keep score by doing this: If they missed it, put a line in front of the word, if
they got it right write the word "ray")
Clincian: ray bow If they miss it, give more Feedback: Lips came together
Child: ray-bow again….let's get back to the /r/ spot…bite the sides of your
tongue, etc.
Clincian: ray boo
Child: ray-boo
Then, I do the same thing but use /d/ nonsense words ray day ray dee ray die ray doe ray doo The target here is to get them to smile when the say the /r/ and for them not to glide to the /w/. You will only use 1 sheet per session per child and you may not get through that one sheet depending on how much feedback and placement work you have to do with the child. After the 80 times with 'ray' (which goes pretty fast--about 7 minutes, but you still need to give a lot of feedback!), in the next session, I switch to 'ree' on a new page and start all over again getting 80 productions with the word „ree‟ in front of every word on the page. ree bay ree bee ree buy ree bow ree boo From there you do 1 Page of 'rye„ 1 Page of „row„ 1 Page of 'roo„ This means you will spend at LEAST 5 sessions with the nonsense sheets, maybe more if you don't get through one sheet each session. It's okay if you don't as long as you are working on feedback and placement. You should hear their /r/ getting better as you go on, even though it might not be a perfect /r/, but an approximation. Just don't let them do the /w/ anymore. You could spend over a month here, depending on how much you see the child and how much feedback and placement you have to do. Note: You may work on one sheet over several sessions depending on the number of children per group.
5
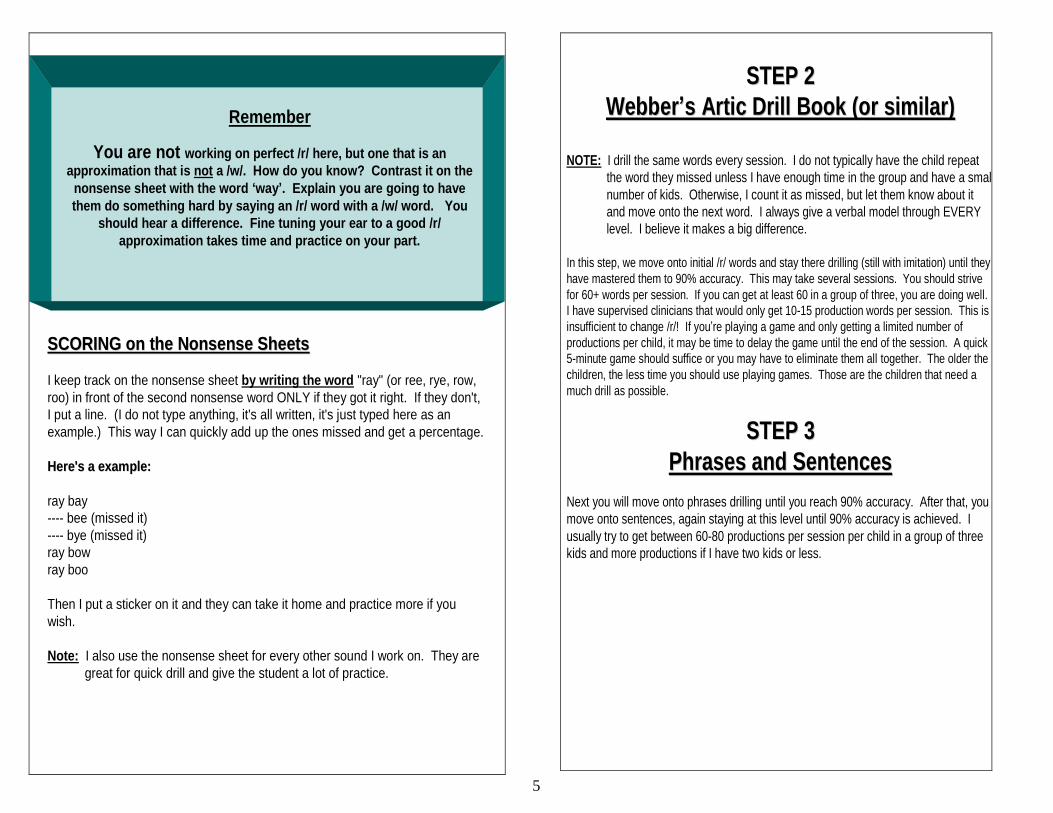
SCORING on the Nonsense SheetsSCORING on the Nonsense Sheets
I keep track on the nonsense sheet by writing the word "ray" (or ree, rye, row,
roo) in front of the second nonsense word ONLY if they got it right. If they don't,
I put a line. (I do not type anything, it's all written, it's just typed here as an
example.) This way I can quickly add up the ones missed and get a percentage.
Here's a example:Here's a example:
ray bay
---- bee (missed it)
---- bye (missed it)
ray bow
ray boo
Then I put a sticker on it and they can take it home and practice more if you
wish.
Note: I also use the nonsense sheet for every other sound I work on. They are
great for quick drill and give the student a lot of practice.
Remember
You are not working on perfect /r/ here, but one that is an
approximation that is not a /w/. How do you know? Contrast it on the
nonsense sheet with the word „way‟. Explain you are going to have
them do something hard by saying an /r/ word with a /w/ word. You
should hear a difference. Fine tuning your ear to a good /r/
approximation takes time and practice on your part.
STEP 2STEP 2
WebberWebber‟‟s Artic Drill Book (or similar)s Artic Drill Book (or similar)
NOTE: I drill the same words every session. I do not typically have the child repeat
the word they missed unless I have enough time in the group and have a small
number of kids. Otherwise, I count it as missed, but let them know about it
and move onto the next word. I always give a verbal model through EVERY
level. I believe it makes a big difference.
In this step, we move onto initial /r/ words and stay there drilling (still with imitation) until they
have mastered them to 90% accuracy. This may take several sessions. You should strive
for 60+ words per session. If you can get at least 60 in a group of three, you are doing well.
I have supervised clinicians that would only get 10-15 production words per session. This is
insufficient to change /r/! If you‟re playing a game and only getting a limited number of
productions per child, it may be time to delay the game until the end of the session. A quick
5-minute game should suffice or you may have to eliminate them all together. The older the
children, the less time you should use playing games. Those are the children that need a
much drill as possible.
STEP 3STEP 3
Phrases and SentencesPhrases and Sentences
Next you will move onto phrases drilling until you reach 90% accuracy. After that, you
move onto sentences, again staying at this level until 90% accuracy is achieved. I
usually try to get between 60-80 productions per session per child in a group of three
kids and more productions if I have two kids or less.
6
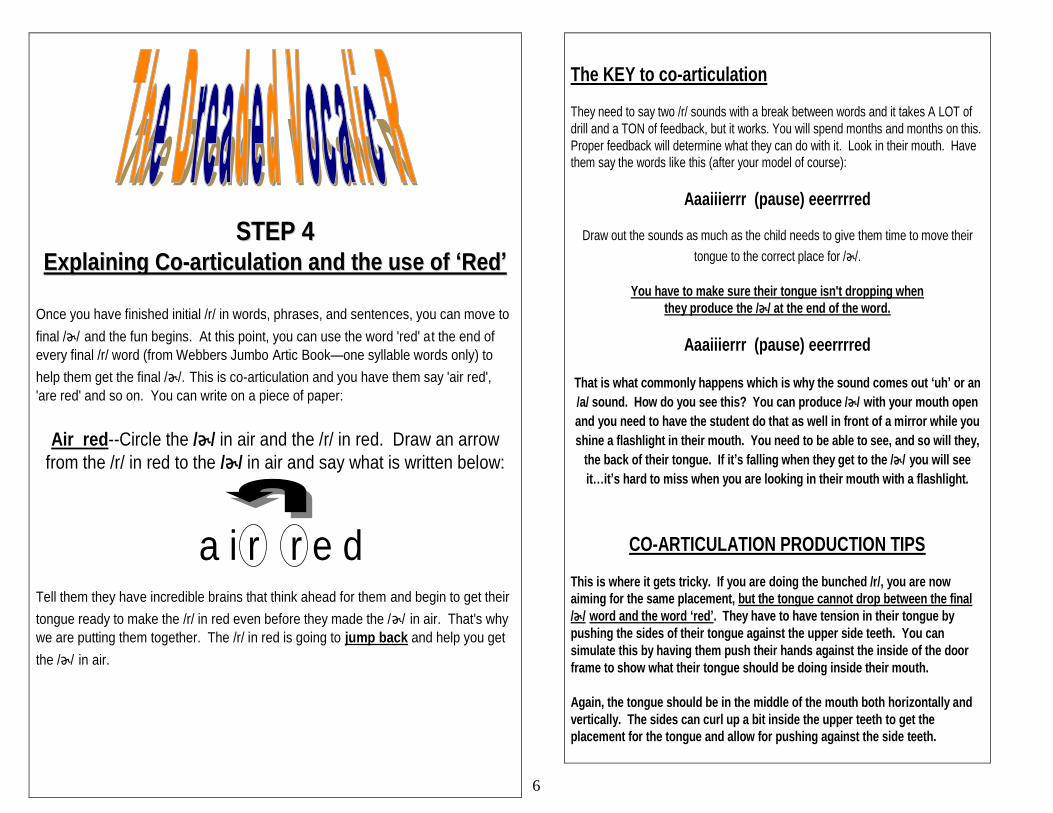
STEP 4STEP 4Explaining CoExplaining Co--articulation and the use of articulation and the use of „„RedRed‟‟
Once you have finished initial /r/ in words, phrases, and sentences, you can move to
final /ɚ/ and the fun begins. At this point, you can use the word 'red' at the end of
every final /r/ word (from Webbers Jumbo Artic Book—one syllable words only) to
help them get the final /ɚ/. This is co-articulation and you have them say 'air red',
'are red' and so on. You can write on a piece of paper:
Air red--Circle the /ɚ/ in air and the /r/ in red. Draw an arrow
from the /r/ in red to the /ɚ/ in air and say what is written below:
a i r r e dTell them they have incredible brains that think ahead for them and begin to get their
tongue ready to make the /r/ in red even before they made the /ɚ/ in air. That's why
we are putting them together. The /r/ in red is going to jump back and help you get
the /ɚ/ in air.
The KEY to co-articulation
They need to say two /r/ sounds with a break between words and it takes A LOT of
drill and a TON of feedback, but it works. You will spend months and months on this.
Proper feedback will determine what they can do with it. Look in their mouth. Have them say the words like this (after your model of course):
Aaaiiierrr (pause) eeerrrred
Draw out the sounds as much as the child needs to give them time to move their
tongue to the correct place for /ɚ/.
You have to make sure their tongue isn't dropping when
they produce the /ɚ/ at the end of the word.
Aaaiiierrr (pause) eeerrrred
That is what commonly happens which is why the sound comes out „uh‟ or an
/a/ sound. How do you see this? You can produce /ɚ/ with your mouth open
and you need to have the student do that as well in front of a mirror while you
shine a flashlight in their mouth. You need to be able to see, and so will they,
the back of their tongue. If it‟s falling when they get to the /ɚ/ you will see
it…it‟s hard to miss when you are looking in their mouth with a flashlight.
CO-ARTICULATION PRODUCTION TIPS
This is where it gets tricky. If you are doing the bunched /r/, you are now
aiming for the same placement, but the tongue cannot drop between the final
/ɚ/ word and the word „red‟. They have to have tension in their tongue by
pushing the sides of their tongue against the upper side teeth. You can
simulate this by having them push their hands against the inside of the door
frame to show what their tongue should be doing inside their mouth.
Again, the tongue should be in the middle of the mouth both horizontally and
vertically. The sides can curl up a bit inside the upper teeth to get the
placement for the tongue and allow for pushing against the side teeth.
7
Retroflex /r/ with co-articulation
If you are using this placement, you will still have to make sure the sides of the
tongue push out and make contact with the side teeth. The tip will stay up during the
production of both /r/ sounds. It is harder, but can be used, especially if the child has
a natural disposition towards the placement.
Either way, make sure you have the child say two words and not one word that runs
into another. If that is what you‟re getting, you are going too fast (or the child is) and
you need to slow down their productions. The slow speed gives their tongue time to
reach the /ɚ/ placement.
NOTE: Co-articulation works with other sounds too. Refer to your Artic
Techniques and Tips Handout for information on how to elicit sounds in other
positions IF the child has the sound in one position already. Has anyone done
that before?
EASIEST SOUNDS TO PRODUCE
(and how to break them down)
I had an interesting discussion recently about which final /ɚ/ sound is easier to elicit.
I have found that words like air, bare, gear, and fire are easier to produce at the
beginning of co-articulation. Others have found better luck with /ar/ and /or/ words. I
usually try them the first session just to see if the child can do them, but if they are
really off, production wise, and I am getting a good /ɚ/ with the others, I will skip /ar/
and /or/ for a few sessions and add them back in here and there.
From the discussion we had, it seemed those in the north had better luck eliciting the
/ɚ/ using co-articulation in the /ar/ and /or/ words, while thoses in the south found
them harder. Could be due to dialect and southern drawl, who knows. You will only
find out which is easier for your student by trying them all at first.
For words like „fire‟, I have the child say this word type by breaking them down into
fie‟ „eeerrrr‟ „eerrred. There is a slight pause in between the „fie‟ and „eeerrr‟ as well
as the normal pause before the word „red‟. I have found that breaking that final /ɚ/
word down like that (and others like it tire, wire, etc.) really helps with the placement.
The other difficult sound is the /ɚ/ when it is paired with a single consonant in a word
like „her‟ and „sir‟. In this case I draw out the word as much as I can to make it
almost two syllables and then add „red‟. It would be something like this: „hhhh‟
„eeerrr‟ „eeerrred‟ This is one of the hardest words, but you should hear it getting
better as they get better with co-articulation in general.
Don't forget to break down 'ar' as 'a + er' saying and drawing out each sound where
your jaw drops for /a/ and comes up moving your tongue into position for /ɚ/. Hold it
out as long as the child needs to get them to start on the bottom with the /a/ and then
move to the /ɚ/ placement.
The same with 'or' which is really /o/ + /ɚ/. They have to round their lips at the
beginning or they will not get it. If they are going to say the word door, it would
sound like this:
/dɔɔɔɔɔ/ /eeerrrr/ + eeerrred
DOOR + RED
where the first part almost sounds like the beginning of the word „dough‟.
It helps to write it down like I did above for the child to see how there are 2 sounds in
there. I explain that we just say them so fast, you don't hear that we really are saying
two sounds in there. This explanation usually helps a lot
You will stay here drilling the final /ɚ/ words with „red‟ until you reach 90%.
STEP 5STEP 5
Dropping Dropping „„RedRed‟‟ and moving onand moving on
Now you have to start over with the final /ɚ/ words without „red‟. (I never use
the two syllable words in Webber‟s book, only one syllable words.) This goes
a lot faster and you should be able to move onto final /ɚ/ phrases pretty
quickly, again, staying there until you reach 90%. After that, it‟s final
/r/sentences until 90% accuracy.
TRICK: One of the children on my caseload taught another
child how to produce the sounds without „red‟ by having the
child pretend he was still going to say it. We then started
calling it “say „red‟ in your head” and it really worked for this
other child that was having a hard time dropping „red‟!
NOTE: It may not be until this point that you can get
the child to say /er/ in isolation!!!! It may even be a while
beyond this point!
DO NOT WORRY ABOUT /er/ AT ALL!
8
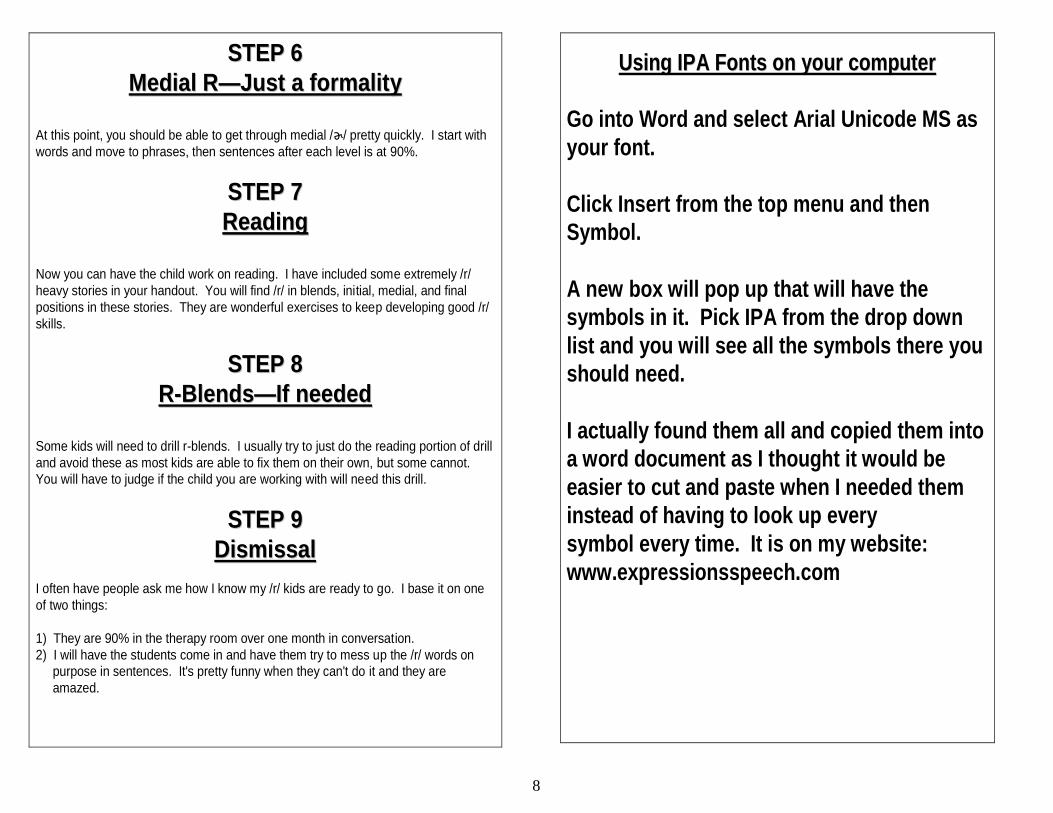
STEP 6STEP 6
Medial RMedial R——Just a formalityJust a formality
At this point, you should be able to get through medial /ɚ/ pretty quickly. I start with
words and move to phrases, then sentences after each level is at 90%.
STEP 7STEP 7
ReadingReading
Now you can have the child work on reading. I have included some extremely /r/
heavy stories in your handout. You will find /r/ in blends, initial, medial, and final
positions in these stories. They are wonderful exercises to keep developing good /r/
skills.
STEP 8STEP 8
RR--BlendsBlends——If neededIf needed
Some kids will need to drill r-blends. I usually try to just do the reading portion of drill
and avoid these as most kids are able to fix them on their own, but some cannot.
You will have to judge if the child you are working with will need this drill.
STEP 9STEP 9
DismissalDismissal
I often have people ask me how I know my /r/ kids are ready to go. I base it on one
of two things:
1) They are 90% in the therapy room over one month in conversation.
2) I will have the students come in and have them try to mess up the /r/ words on
purpose in sentences. It's pretty funny when they can't do it and they are
amazed.
Using IPA Fonts on your computerUsing IPA Fonts on your computer
Go into Word and select Arial Unicode MS as
your font.
Click Insert from the top menu and then
Symbol.
A new box will pop up that will have the
symbols in it. Pick IPA from the drop down
list and you will see all the symbols there you
should need.
I actually found them all and copied them into
a word document as I thought it would be
easier to cut and paste when I needed them
instead of having to look up every
symbol every time. It is on my website:
www.expressionsspeech.com
9
You can access all of the documents
used today plus MANY others by
going to our WEBSITE:
www.expressionsspeech.com
Be sure to join our group on
Facebook too! The link is on our
website!
For those of you that like to “see”
therapy in action, I have started
professional production on an /r/
video to accompany this program
that should be available sometime in
the spring! It will be available for
purchase on the website above.
Make Voice Recordings on Your
Computer!
http://audacity.sourceforge.net/ This is a
great way to make a recording of your voice
and the child‟s productions like the ones you
heard today. You will need a microphone
(you can get them at Walmart that is a
combination headset and microphone). This
is great for kids to hear how the sound and
they love to hear themselves.
Smartphones
Most cellphones have voice recorders as well
and the ability to connect headphones. You
only need the headphones to occlude the
hearing, not for listening, so they don‟t even
need to be plugged in.
10
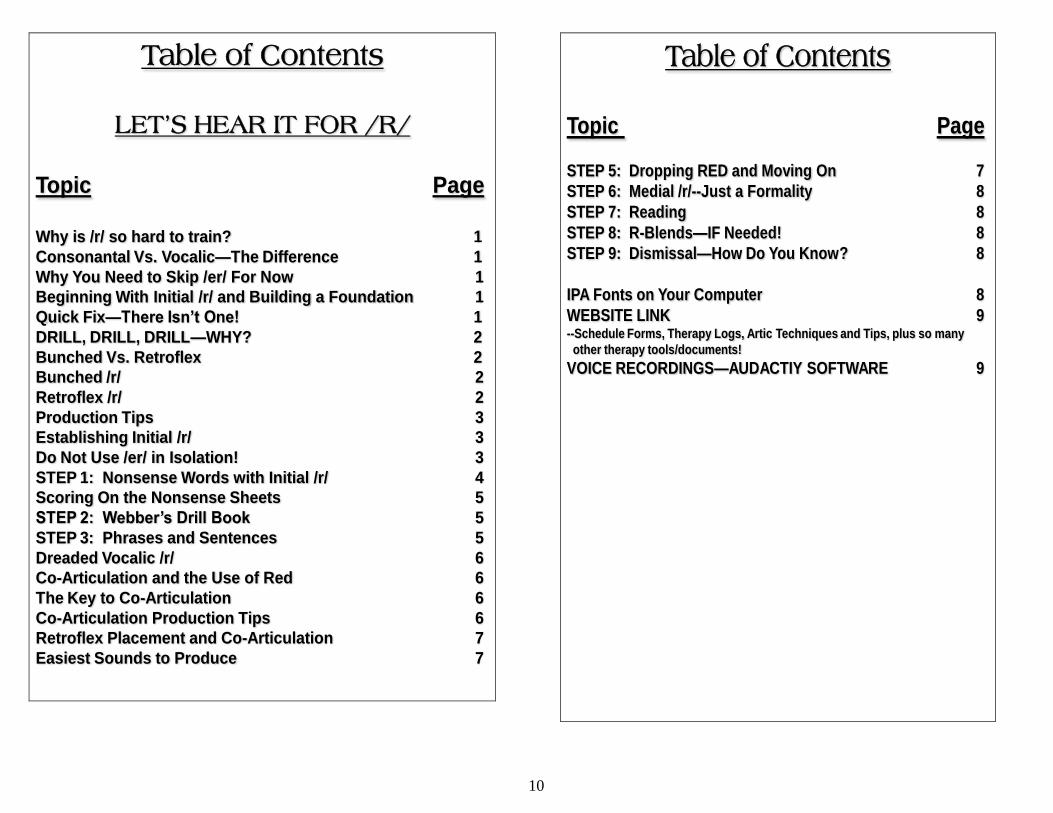
Table of Contents
LET’S HEAR IT FOR /R/
Topic Page
Why is /r/ so hard to train? 1
Consonantal Vs. Vocalic—The Difference 1
Why You Need to Skip /er/ For Now 1
Beginning With Initial /r/ and Building a Foundation 1
Quick Fix—There Isn‟t One! 1
DRILL, DRILL, DRILL—WHY? 2
Bunched Vs. Retroflex 2
Bunched /r/ 2
Retroflex /r/ 2
Production Tips 3
Establishing Initial /r/ 3
Do Not Use /er/ in Isolation! 3
STEP 1: Nonsense Words with Initial /r/ 4
Scoring On the Nonsense Sheets 5
STEP 2: Webber‟s Drill Book 5
STEP 3: Phrases and Sentences 5
Dreaded Vocalic /r/ 6
Co-Articulation and the Use of Red 6
The Key to Co-Articulation 6
Co-Articulation Production Tips 6
Retroflex Placement and Co-Articulation 7
Easiest Sounds to Produce 7
Table of Contents
Topic Page
STEP 5: Dropping RED and Moving On 7
STEP 6: Medial /r/--Just a Formality 8
STEP 7: Reading 8
STEP 8: R-Blends—IF Needed! 8
STEP 9: Dismissal—How Do You Know? 8
IPA Fonts on Your Computer 8
WEBSITE LINK 9--Schedule Forms, Therapy Logs, Artic Techniques and Tips, plus so many
other therapy tools/documents!
VOICE RECORDINGS—AUDACTIY SOFTWARE 9
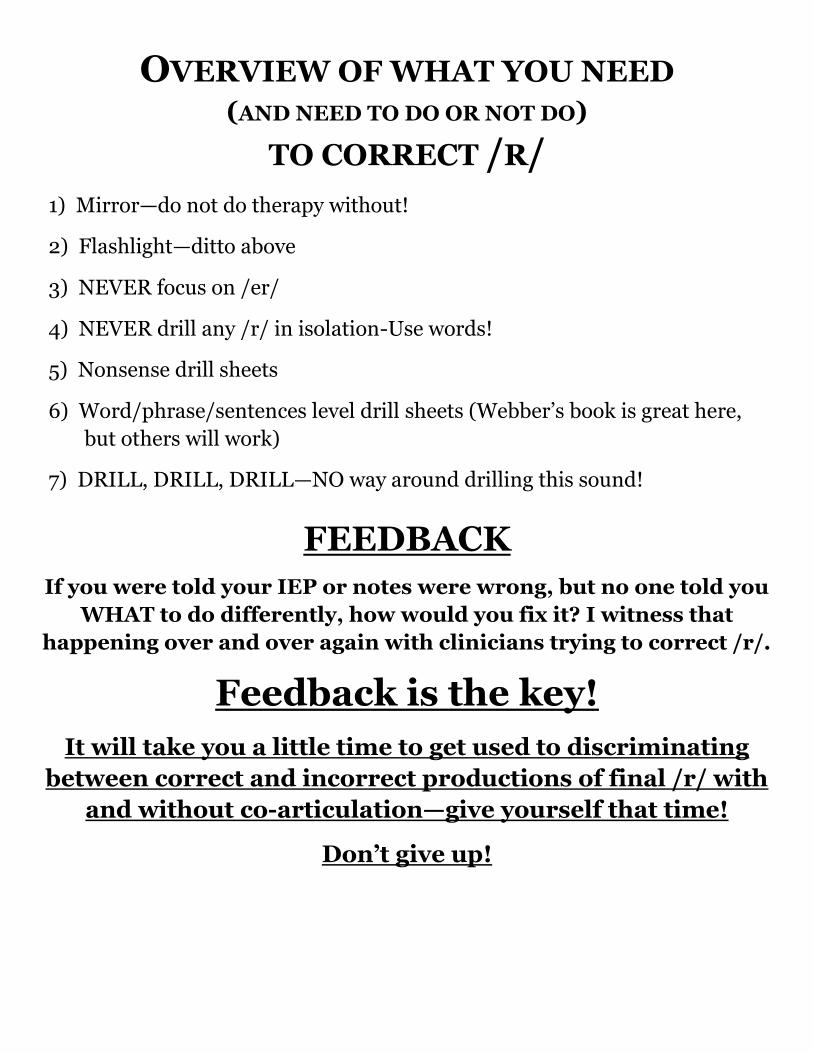
OVERVIEW OF WHAT YOU NEED (AND NEED TO DO OR NOT DO)
TO CORRECT /R/
1) Mirror—do not do therapy without!
2) Flashlight—ditto above
3) NEVER focus on /er/
4) NEVER drill any /r/ in isolation-Use words!
5) Nonsense drill sheets
6) Word/phrase/sentences level drill sheets (Webber’s book is great here,
but others will work)
7) DRILL, DRILL, DRILL—NO way around drilling this sound!
FEEDBACK
If you were told your IEP or notes were wrong, but no one told you
WHAT to do differently, how would you fix it? I witness that
happening over and over again with clinicians trying to correct /r/.
Feedback is the key!
It will take you a little time to get used to discriminating
between correct and incorrect productions of final /r/ with
and without co-articulation—give yourself that time!
Don’t give up!
bay day hay raybee dee he ree buy die hi ryebow doe ho rowboo do who roo
pay tay lay saypea tee lee see pie tie lie sighpoe toe low sowpoo to lou sue
kay fay may waykey fee me we ky fie my whykoe foe moe woekoo foo moo woo
gay vay nay zaygee vee nee zee guy vie nigh ziego voe no zoegoo voo new zoo
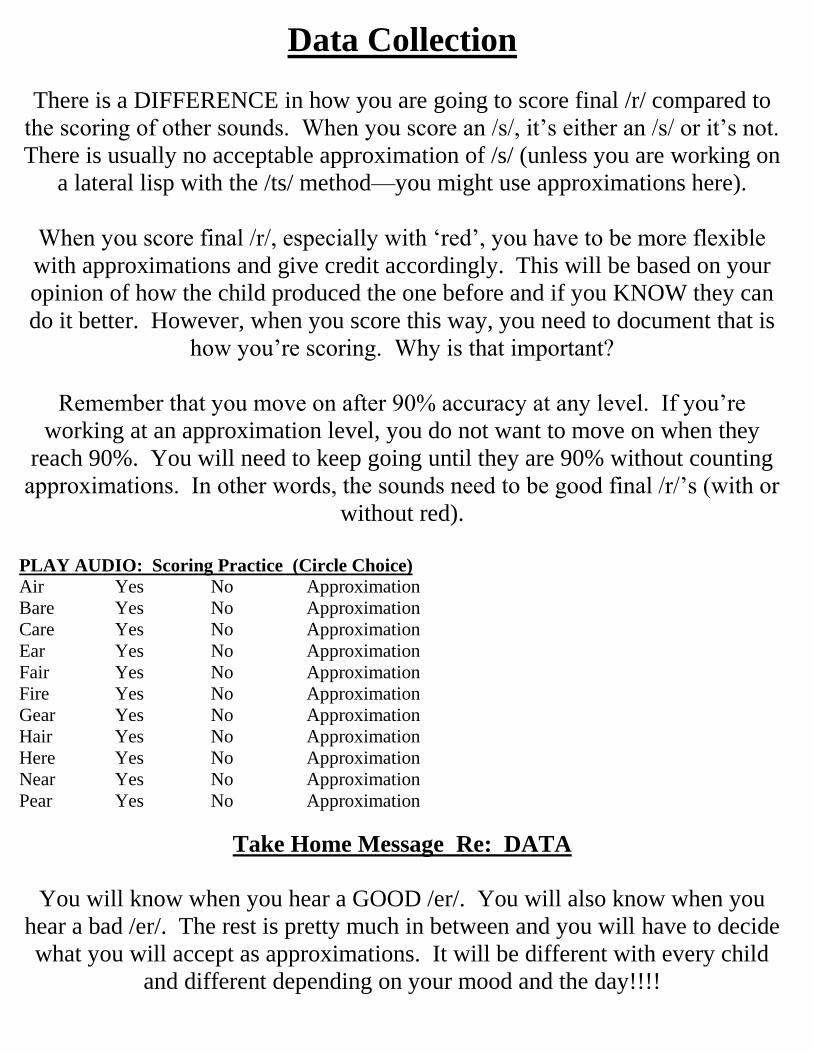
Data Collection
There is a DIFFERENCE in how you are going to score final /r/ compared to
the scoring of other sounds. When you score an /s/, it’s either an /s/ or it’s not.
There is usually no acceptable approximation of /s/ (unless you are working on
a lateral lisp with the /ts/ method—you might use approximations here).
When you score final /r/, especially with ‘red’, you have to be more flexible
with approximations and give credit accordingly. This will be based on your
opinion of how the child produced the one before and if you KNOW they can
do it better. However, when you score this way, you need to document that is
how you’re scoring. Why is that important?
Remember that you move on after 90% accuracy at any level. If you’re
working at an approximation level, you do not want to move on when they
reach 90%. You will need to keep going until they are 90% without counting
approximations. In other words, the sounds need to be good final /r/’s (with or
without red).
PLAY AUDIO: Scoring Practice (Circle Choice)
Air Yes No Approximation
Bare Yes No Approximation
Care Yes No Approximation
Ear Yes No Approximation
Fair Yes No Approximation
Fire Yes No Approximation
Gear Yes No Approximation
Hair Yes No Approximation
Here Yes No Approximation
Near Yes No Approximation
Pear Yes No Approximation
Take Home Message Re: DATA
You will know when you hear a GOOD /er/. You will also know when you
hear a bad /er/. The rest is pretty much in between and you will have to decide
what you will accept as approximations. It will be different with every child
and different depending on your mood and the day!!!!
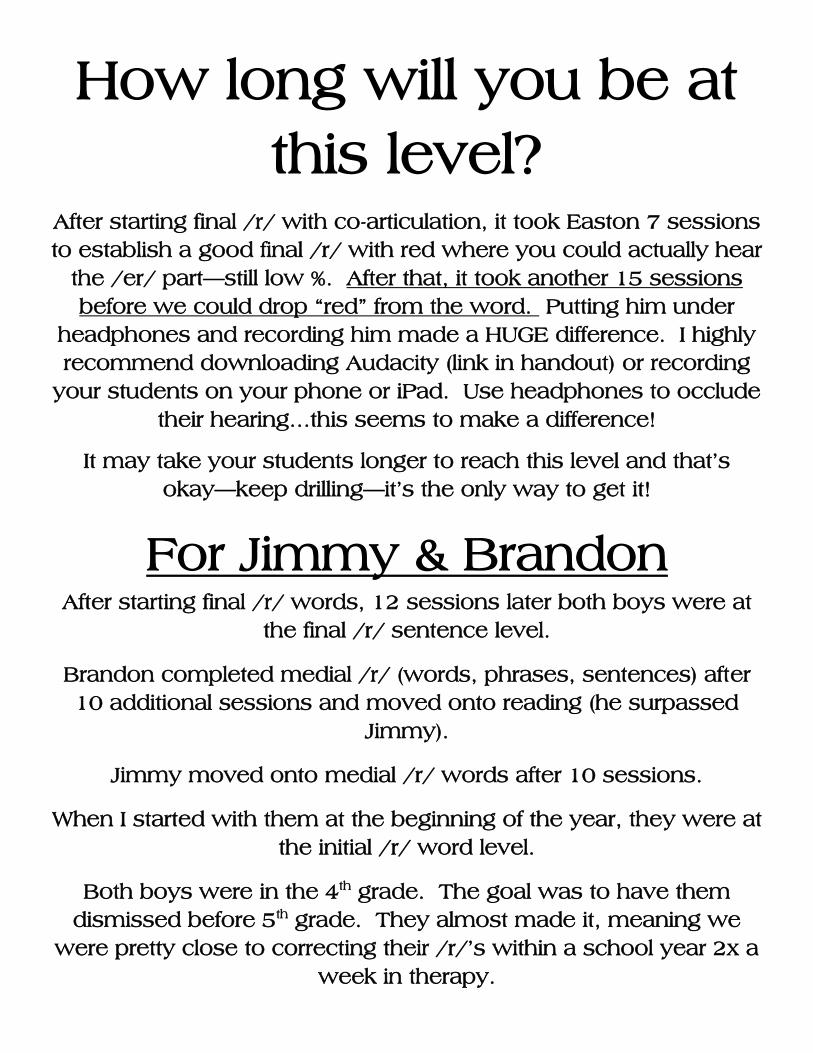
How long will you be at
this level? After starting final /r/ with co-articulation, it took Easton 7 sessions
to establish a good final /r/ with red where you could actually hear
the /er/ part—still low %. After that, it took another 15 sessions
before we could drop “red” from the word. Putting him under
headphones and recording him made a HUGE difference. I highly
recommend downloading Audacity (link in handout) or recording
your students on your phone or iPad. Use headphones to occlude
their hearing…this seems to make a difference!
It may take your students longer to reach this level and that’s
okay—keep drilling—it’s the only way to get it!
For Jimmy & Brandon
After starting final /r/ words, 12 sessions later both boys were at
the final /r/ sentence level.
Brandon completed medial /r/ (words, phrases, sentences) after
10 additional sessions and moved onto reading (he surpassed
Jimmy).
Jimmy moved onto medial /r/ words after 10 sessions.
When I started with them at the beginning of the year, they were at
the initial /r/ word level.
Both boys were in the 4th grade. The goal was to have them
dismissed before 5th grade. They almost made it, meaning we
were pretty close to correcting their /r/’s within a school year 2x a
week in therapy.
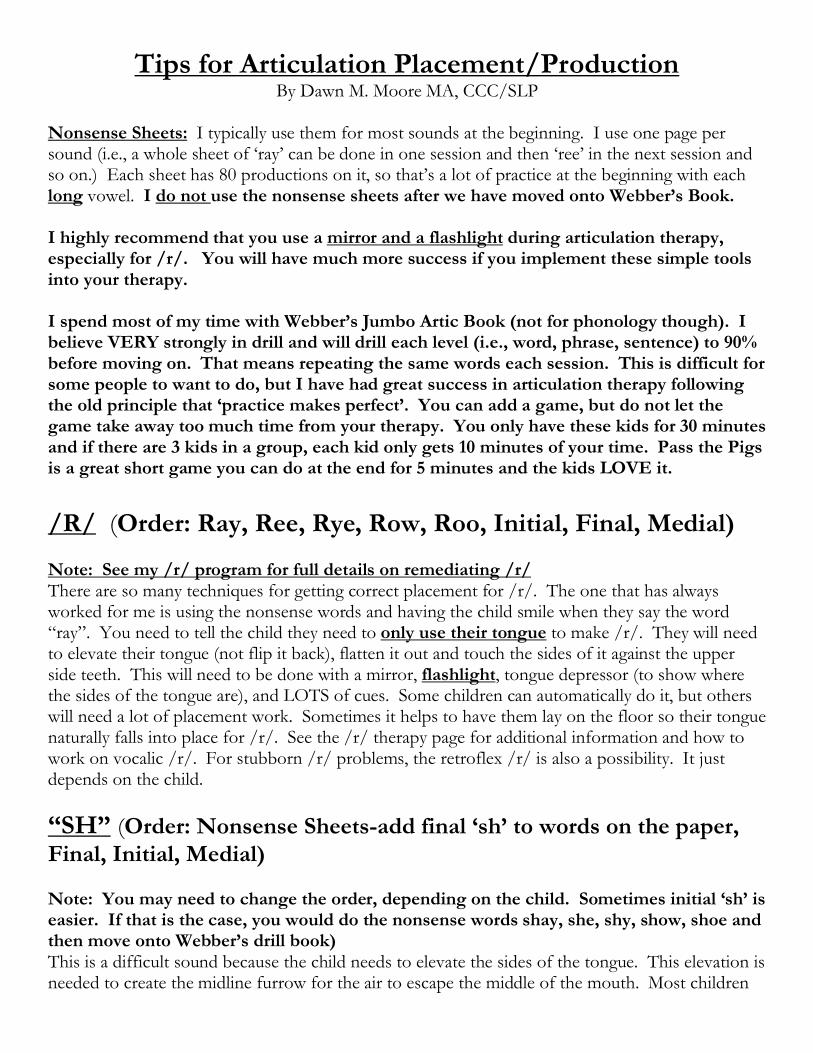
Tips for Articulation Placement/ProductionBy Dawn M. Moore MA, CCC/SLP
Nonsense Sheets: I typically use them for most sounds at the beginning. I use one page per sound (i.e., a whole sheet of ‘ray’ can be done in one session and then ‘ree’ in the next session and so on.) Each sheet has 80 productions on it, so that’s a lot of practice at the beginning with each long vowel. I do not use the nonsense sheets after we have moved onto Webber’s Book.
I highly recommend that you use a mirror and a flashlight during articulation therapy, especially for /r/. You will have much more success if you implement these simple tools into your therapy.
I spend most of my time with Webber’s Jumbo Artic Book (not for phonology though). I believe VERY strongly in drill and will drill each level (i.e., word, phrase, sentence) to 90% before moving on. That means repeating the same words each session. This is difficult for some people to want to do, but I have had great success in articulation therapy following the old principle that ‘practice makes perfect’. You can add a game, but do not let the game take away too much time from your therapy. You only have these kids for 30 minutes and if there are 3 kids in a group, each kid only gets 10 minutes of your time. Pass the Pigs is a great short game you can do at the end for 5 minutes and the kids LOVE it.
/R/ (Order: Ray, Ree, Rye, Row, Roo, Initial, Final, Medial)
Note: See my /r/ program for full details on remediating /r/There are so many techniques for getting correct placement for /r/. The one that has always worked for me is using the nonsense words and having the child smile when they say the word “ray”. You need to tell the child they need to only use their tongue to make /r/. They will need to elevate their tongue (not flip it back), flatten it out and touch the sides of it against the upper side teeth. This will need to be done with a mirror, flashlight, tongue depressor (to show where the sides of the tongue are), and LOTS of cues. Some children can automatically do it, but others will need a lot of placement work. Sometimes it helps to have them lay on the floor so their tongue naturally falls into place for /r/. See the /r/ therapy page for additional information and how to work on vocalic /r/. For stubborn /r/ problems, the retroflex /r/ is also a possibility. It just depends on the child.
“SH” (Order: Nonsense Sheets-add final ‘sh’ to words on the paper, Final, Initial, Medial)
Note: You may need to change the order, depending on the child. Sometimes initial ‘sh’ is easier. If that is the case, you would do the nonsense words shay, she, shy, show, shoe and then move onto Webber’s drill book)This is a difficult sound because the child needs to elevate the sides of the tongue. This elevation is needed to create the midline furrow for the air to escape the middle of the mouth. Most children
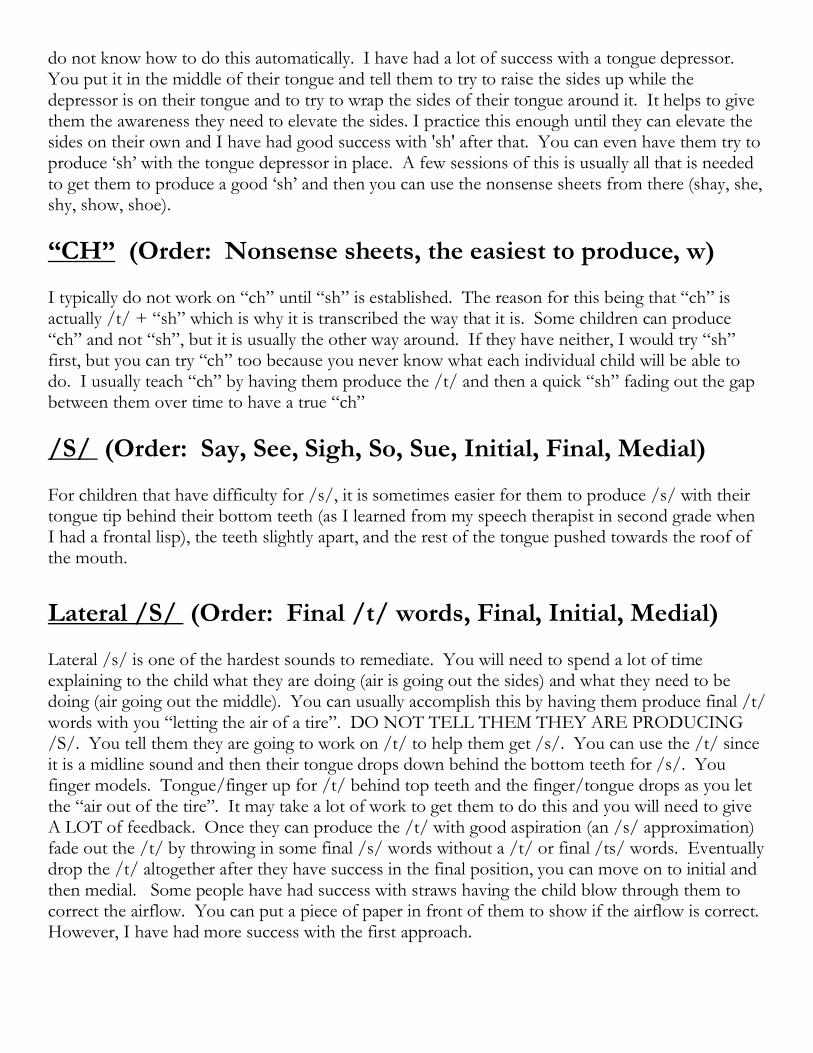
do not know how to do this automatically. I have had a lot of success with a tongue depressor. You put it in the middle of their tongue and tell them to try to raise the sides up while the depressor is on their tongue and to try to wrap the sides of their tongue around it. It helps to give them the awareness they need to elevate the sides. I practice this enough until they can elevate the sides on their own and I have had good success with 'sh' after that. You can even have them try to produce ‘sh’ with the tongue depressor in place. A few sessions of this is usually all that is needed to get them to produce a good ‘sh’ and then you can use the nonsense sheets from there (shay, she, shy, show, shoe).
“CH” (Order: Nonsense sheets, the easiest to produce, w)
I typically do not work on “ch” until “sh” is established. The reason for this being that “ch” is actually /t/ + “sh” which is why it is transcribed the way that it is. Some children can produce “ch” and not “sh”, but it is usually the other way around. If they have neither, I would try “sh” first, but you can try “ch” too because you never know what each individual child will be able to do. I usually teach “ch” by having them produce the /t/ and then a quick “sh” fading out the gap between them over time to have a true “ch”
/S/ (Order: Say, See, Sigh, So, Sue, Initial, Final, Medial)
For children that have difficulty for /s/, it is sometimes easier for them to produce /s/ with their tongue tip behind their bottom teeth (as I learned from my speech therapist in second grade when I had a frontal lisp), the teeth slightly apart, and the rest of the tongue pushed towards the roof of the mouth.
Lateral /S/ (Order: Final /t/ words, Final, Initial, Medial)
Lateral /s/ is one of the hardest sounds to remediate. You will need to spend a lot of time explaining to the child what they are doing (air is going out the sides) and what they need to be doing (air going out the middle). You can usually accomplish this by having them produce final /t/ words with you “letting the air of a tire”. DO NOT TELL THEM THEY ARE PRODUCING /S/. You tell them they are going to work on /t/ to help them get /s/. You can use the /t/ since it is a midline sound and then their tongue drops down behind the bottom teeth for /s/. You finger models. Tongue/finger up for /t/ behind top teeth and the finger/tongue drops as you let the “air out of the tire”. It may take a lot of work to get them to do this and you will need to give A LOT of feedback. Once they can produce the /t/ with good aspiration (an /s/ approximation) fade out the /t/ by throwing in some final /s/ words without a /t/ or final /ts/ words. Eventuallydrop the /t/ altogether after they have success in the final position, you can move on to initial and then medial. Some people have had success with straws having the child blow through them to correct the airflow. You can put a piece of paper in front of them to show if the airflow is correct. However, I have had more success with the first approach.
ALL OTHER LATERALSYou need to work on the correct placement for each individual sound. If they are lateralizing the “sh”, work on the above placement techniques for that sound. I typically target /s/ first as I have noticed that if they can fix /s/, many of the others are easier to get and some, especially ‘sh’ can fix itself.
NOTE: If you cannot correct the lateral sound no matter what you do, a dental referral may be in order to see if there is a structural problem with jaw alignment.
ANOTHER APPROACH: It was recommended on the message board to use a frontal lisp and actually teach a frontal to help remediate a lateral. I have used this with some success with kids where nothing else worked.
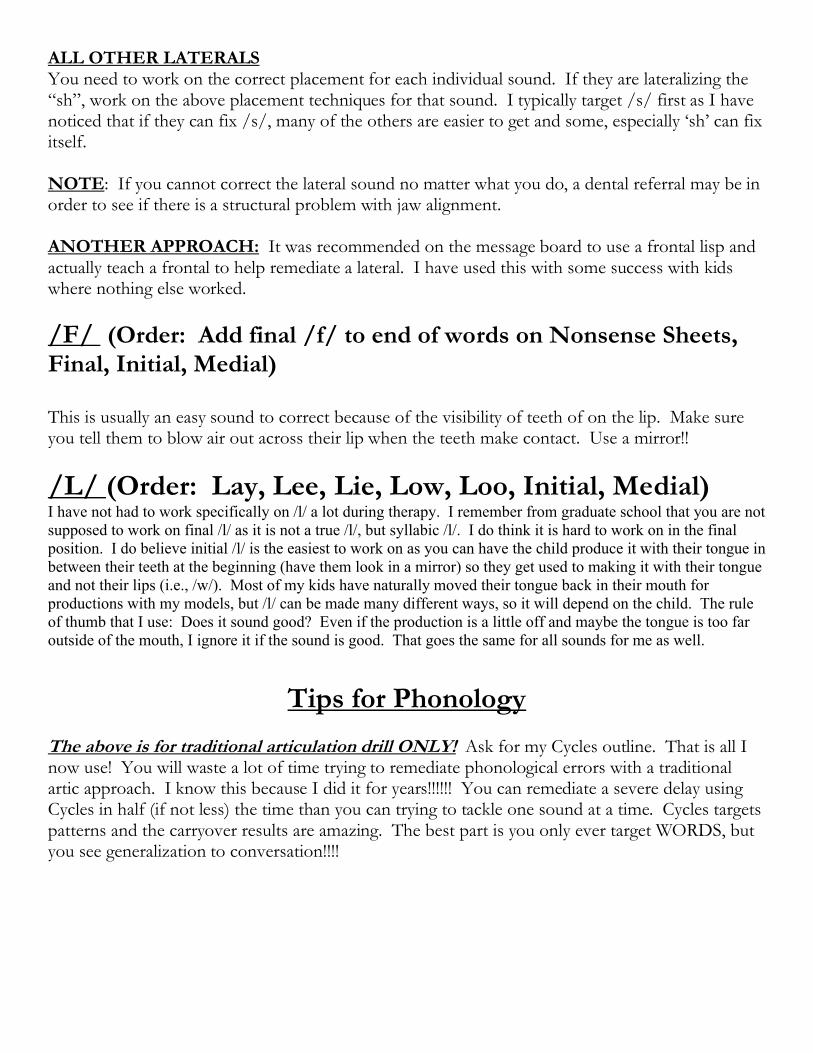
/F/ (Order: Add final /f/ to end of words on Nonsense Sheets, Final, Initial, Medial)
This is usually an easy sound to correct because of the visibility of teeth of on the lip. Make sure you tell them to blow air out across their lip when the teeth make contact. Use a mirror!!
/L/ (Order: Lay, Lee, Lie, Low, Loo, Initial, Medial)I have not had to work specifically on /l/ a lot during therapy. I remember from graduate school that you are not supposed to work on final /l/ as it is not a true /l/, but syllabic /l/. I do think it is hard to work on in the final position. I do believe initial /l/ is the easiest to work on as you can have the child produce it with their tongue in between their teeth at the beginning (have them look in a mirror) so they get used to making it with their tongue and not their lips (i.e., /w/). Most of my kids have naturally moved their tongue back in their mouth for productions with my models, but /l/ can be made many different ways, so it will depend on the child. The rule of thumb that I use: Does it sound good? Even if the production is a little off and maybe the tongue is too far outside of the mouth, I ignore it if the sound is good. That goes the same for all sounds for me as well.
Tips for Phonology
The above is for traditional articulation drill ONLY! Ask for my Cycles outline. That is all I now use! You will waste a lot of time trying to remediate phonological errors with a traditional artic approach. I know this because I did it for years!!!!!! You can remediate a severe delay using Cycles in half (if not less) the time than you can trying to tackle one sound at a time. Cycles targets patterns and the carryover results are amazing. The best part is you only ever target WORDS, but you see generalization to conversation!!!!
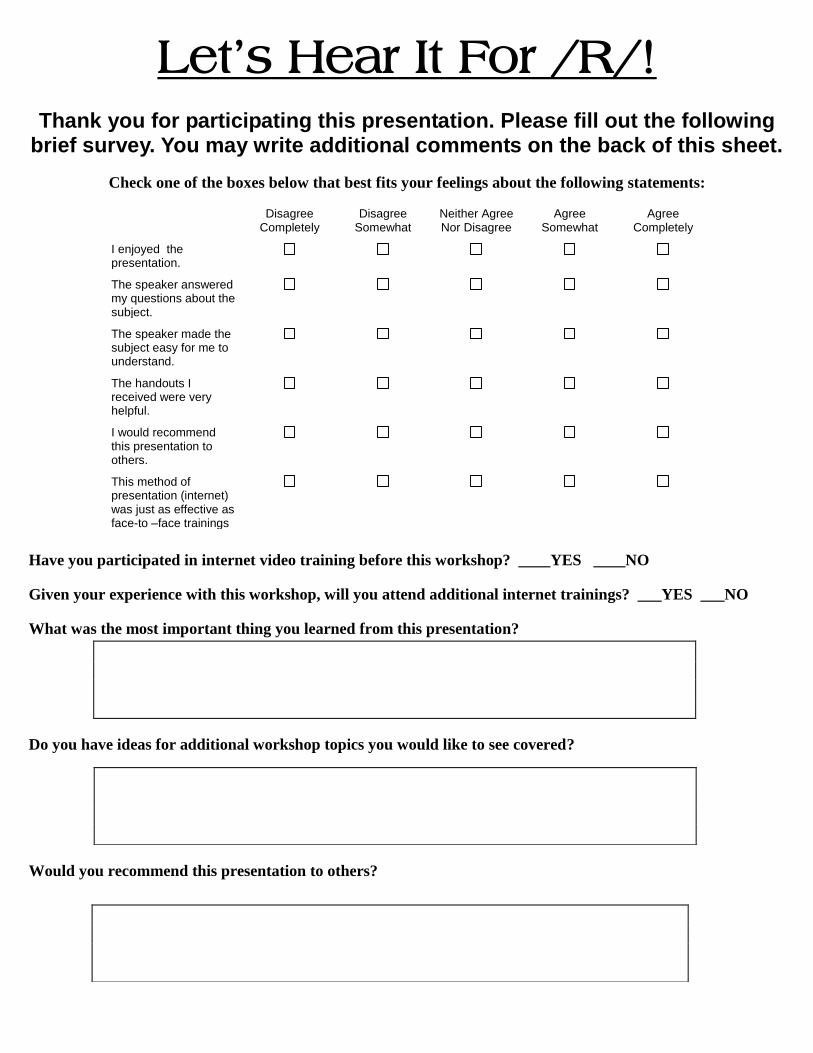
Let’s Hear It For /R/!
Thank you for participating this presentation. Please fill out the following brief survey. You may write additional comments on the back of this sheet.
Check one of the boxes below that best fits your feelings about the following statements:
Have you participated in internet video training before this workshop? ____YES ____NO
Given your experience with this workshop, will you attend additional internet trainings? ___YES ___NO
What was the most important thing you learned from this presentation?
Do you have ideas for additional workshop topics you would like to see covered?
Would you recommend this presentation to others?
Disagree
Completely Disagree
Somewhat Neither Agree Nor Disagree
Agree Somewhat
Agree Completely
I enjoyed the presentation.
The speaker answered my questions about the subject.
The speaker made the subject easy for me to understand.
The handouts I received were very helpful.
I would recommend this presentation to others.
This method of presentation (internet) was just as effective as face-to –face trainings