Embed Size (px)
Citation preview
Intel Galileo gen 2 Board
The Arduino Intel Galileo board is a microcontroller board based on the Intel® Quark SoC X1000, a 32-bit Intel Pentium®-class system on a chip (SoC). It is the first board based on Intel® architecture designed to be fully pin-compatible with shields designed for the Arduino Uno R3. Digital pins 0 to 13 (and the adjacent AREF and GND pins), Analog inputs 0 to 5, the power header, ICSP header, and the UART port pins (0 and 1), are all in the same locations as on the Arduino Uno R3. This is also known as the Arduino 1.0 pinout.
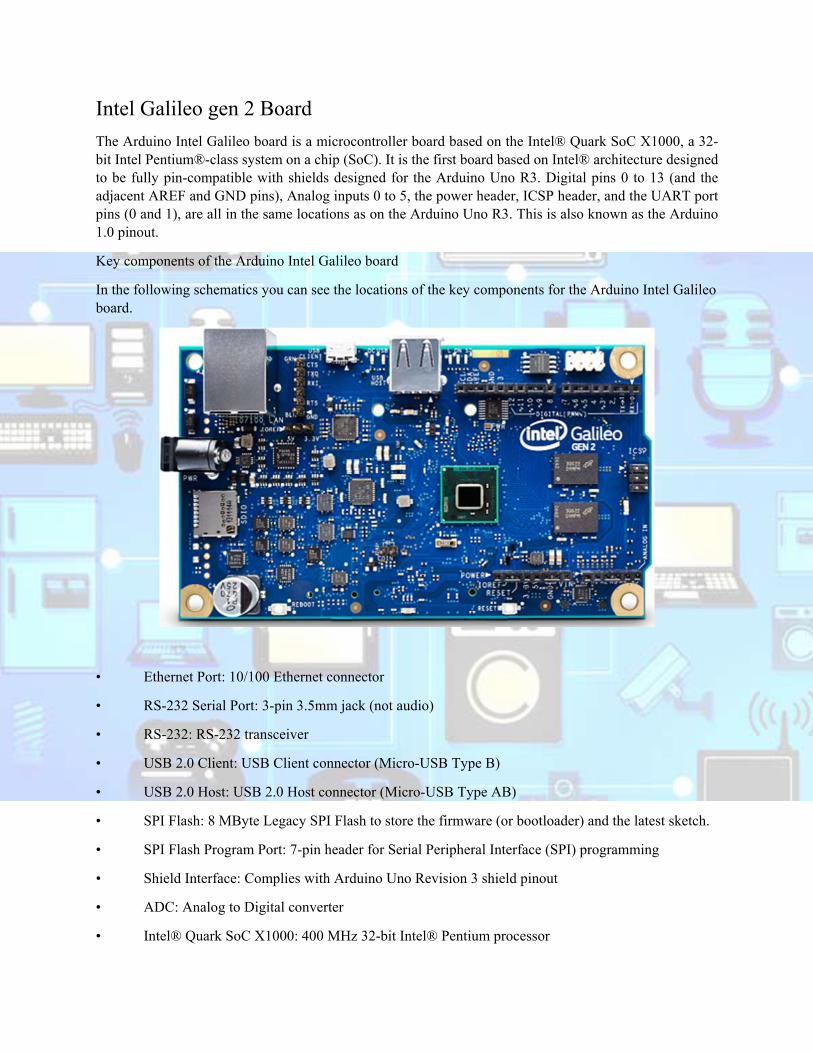
Key components of the Arduino Intel Galileo board
In the following schematics you can see the locations of the key components for the Arduino Intel Galileo board.
• Ethernet Port: 10/100 Ethernet connector
• RS-232 Serial Port: 3-pin 3.5mm jack (not audio)
• RS-232: RS-232 transceiver
• USB 2.0 Client: USB Client connector (Micro-USB Type B)
• USB 2.0 Host: USB 2.0 Host connector (Micro-USB Type AB)
• SPI Flash: 8 MByte Legacy SPI Flash to store the firmware (or bootloader) and the latest sketch.
• SPI Flash Program Port: 7-pin header for Serial Peripheral Interface (SPI) programming
• Shield Interface: Complies with Arduino Uno Revision 3 shield pinout
• ADC: Analog to Digital converter
• Intel® Quark SoC X1000: 400 MHz 32-bit Intel® Pentium processor
• ICSP: 6-pin in-circuit serial programming (ICSP) header
• 256 MB DDR3 RAM: 256 MByte DRAM, enabled by the firmware by default
• Arduino Interface: Complies with Arduino Uno Revision 3 pinout
• JTAG Debug Port: 10-pin standard JTAG header for debugging
• GPIO Expander: GPIO pulse width modulation provided by a single I2C I/O expander
• Micro SD slot: Supports micro SD card up to 32 GBytes (Optional)
• 5V Power: The board is powered via an AC-to-DC adapter
• Voltage Regulator: Generates 3.3 volt supply
• Eth PHY: Ethernet Physical layer transceiver
Physical Characteristics of the Arduino Intel Galileo board
• 10 cm long and 7 cm wide respectively, with the USB connectors, UART jack, Ethernet connector, and power jack extending beyond the former dimension
• Four screw holes (4 mm diameter) allow the board to be attached to a surface or case
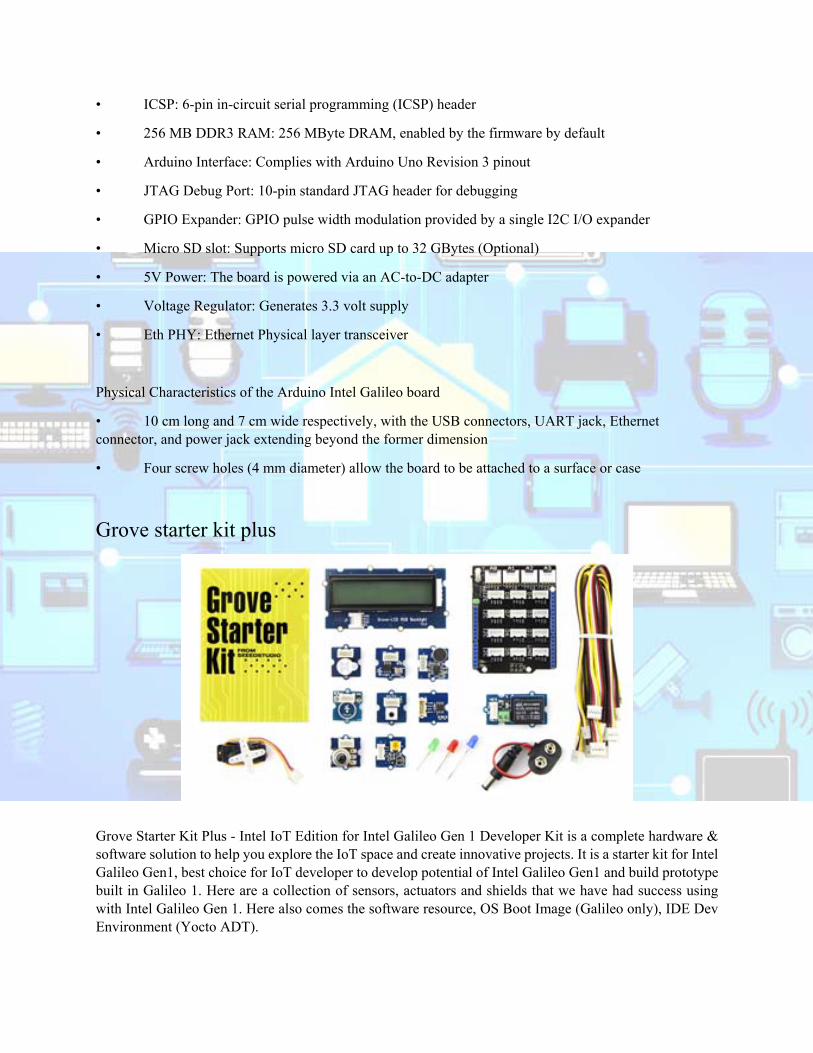
Grove starter kit plus
Grove Starter Kit Plus - Intel IoT Edition for Intel Galileo Gen 1 Developer Kit is a complete hardware & software solution to help you explore the IoT space and create innovative projects. It is a starter kit for Intel Galileo Gen1, best choice for IoT developer to develop potential of Intel Galileo Gen1 and build prototype built in Galileo 1. Here are a collection of sensors, actuators and shields that we have had success using with Intel Galileo Gen 1. Here also comes the software resource, OS Boot Image (Galileo only), IDE Dev Environment (Yocto ADT).
DAY 1 Session 1
Getting started with basics
Introduction to Intel Galileo Gen 2
Hardware Description & Interfacing Components
x86 Microcontroller
C/C++ on Galileo
OpenCV on Galileo
Arduino Shields with Galileo
Sensors with Galileo
Arduino Sketches on Linux
Brief Introduction to Embedded Linux
Session 2
Trying out the tools
Flashing & preparing the SD card for the Intel Galileo Gen 2
Run Arduino sketches over USB Cable
Boot your Galileo with linux and connect over ssh
Boot your Galileo with linux and connect over ssh, but keep the possibility to run Arduino sketches from linux
Booting in Debian Linux / Yocto Linux
Hardware Interfacing of Intel Galileo (with Arduino Shilding , sensors, actuators, and network adapters)
DAY 2 Session 1
Hands‐on on introduction and interfacing of sensors and actuators with Intel Galileo Gen 2 development board. Interfaced Sensors listed below:
- Base Shield - Buzzer - Sound Sensor - Rotary Angle Sensor (P) - Touch Sensor - Light Sensor (P) - Vibrator - Temperature Sensor - Relay - Magnetic switch - Switch (P) - Red LED (3mm) - Green LED (3mm) - Blue LED (5mm) - Servo - Button (P)
DAY 2 Session 2
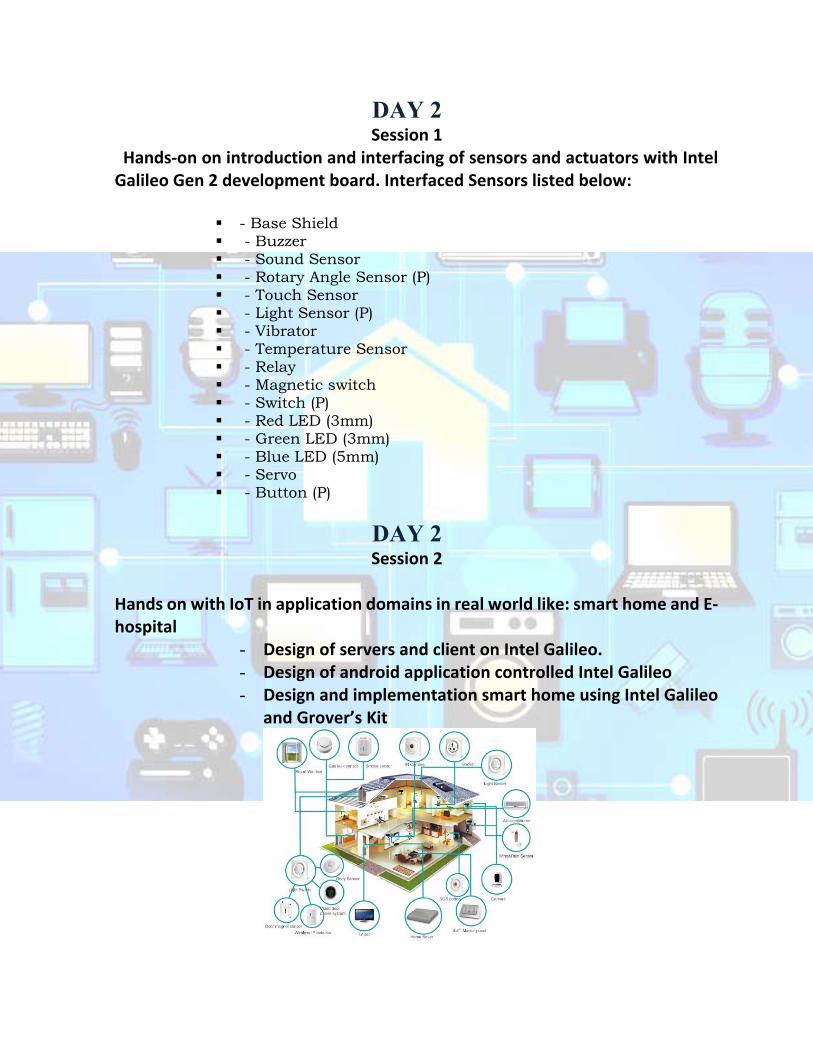
Hands on with IoT in application domains in real world like: smart home and E‐hospital
- Design of servers and client on Intel Galileo. - Design of android application controlled Intel Galileo - Design and implementation smart home using Intel Galileo
and Grover’s Kit

- Design and implementation E‐hospital using Intel Galileo
and Grover’s Kit