Embed Size (px)
Citation preview

Introduction to Photoshop
Christy Avery
Peer-led workshop
December 2, 2009

Why might you want to use Photoshop?
• Change color mode, size etc. (i.e. formatting graphs for journals)
• Adding in text not easily incorporated in graphing package
• Sprucing up graphs, moving around results, etc.

Photoshop Desktop
Toolbox Palettes
Ruler
Title bar

Toolbox
Tool Name Purpose / how to use
Marquee Click and drag to select part of the image
MoveClick and drag to move a selected area or an
entire layer.
TypeClick the image with the type tool where you
want to add type. Then start typing.
ZoomClick or drag to zoom in (to zoom out, press the
Alt key)
HandDrag with the hand tool to move around an
image
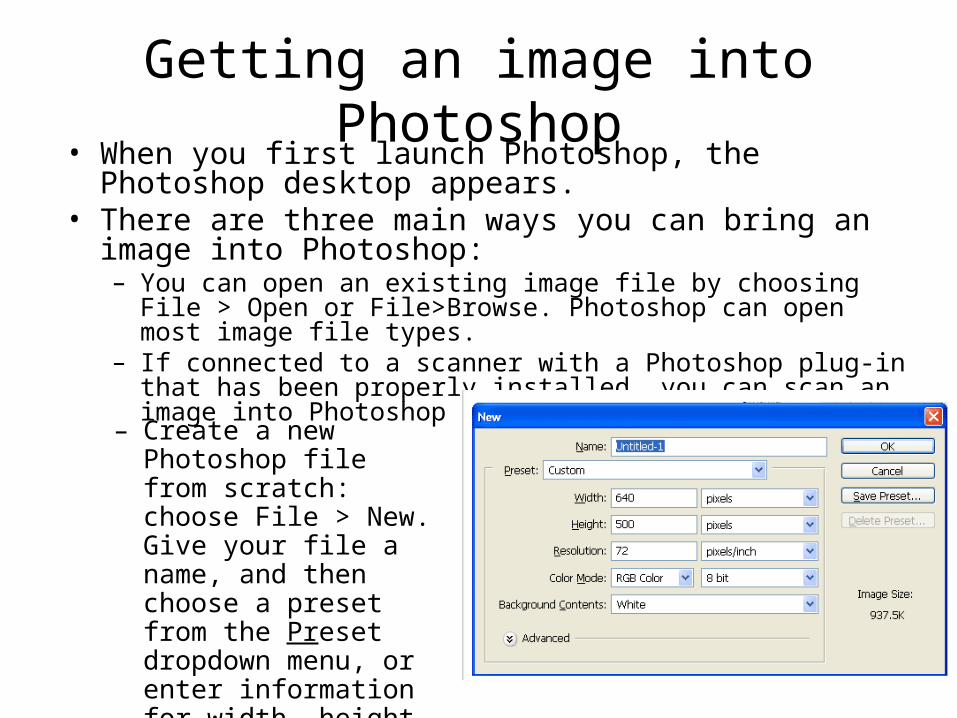
Getting an image into Photoshop• When you first launch Photoshop, the Photoshop
desktop appears. • There are three main ways you can bring an image into
Photoshop:– You can open an existing image file by choosing File > Open or
File>Browse. Photoshop can open most image file types.– If connected to a scanner with a Photoshop plug-in that has
been properly installed, you can scan an image into Photoshop by Choosing File > Import.
– Create a new Photoshop file from scratch: choose File > New. Give your file a name, and then choose a preset from the Preset dropdown menu, or enter information for width, height, resolution, and color mode (usually RGB).
Color Modes
• Whenever you are working in Photoshop, you are working in a color mode.
• To change color modes, choose Image > Mode.• The default mode is RGB mode: three channels
(Red-Green-Blue)– Default mode for the web.
• CMYK mode: four channels (Cyan, Magenta, Yellow, Black)– used by professional printing houses. If you are
producing a images for a publication or poster, you may need to save it in CMYK mode.
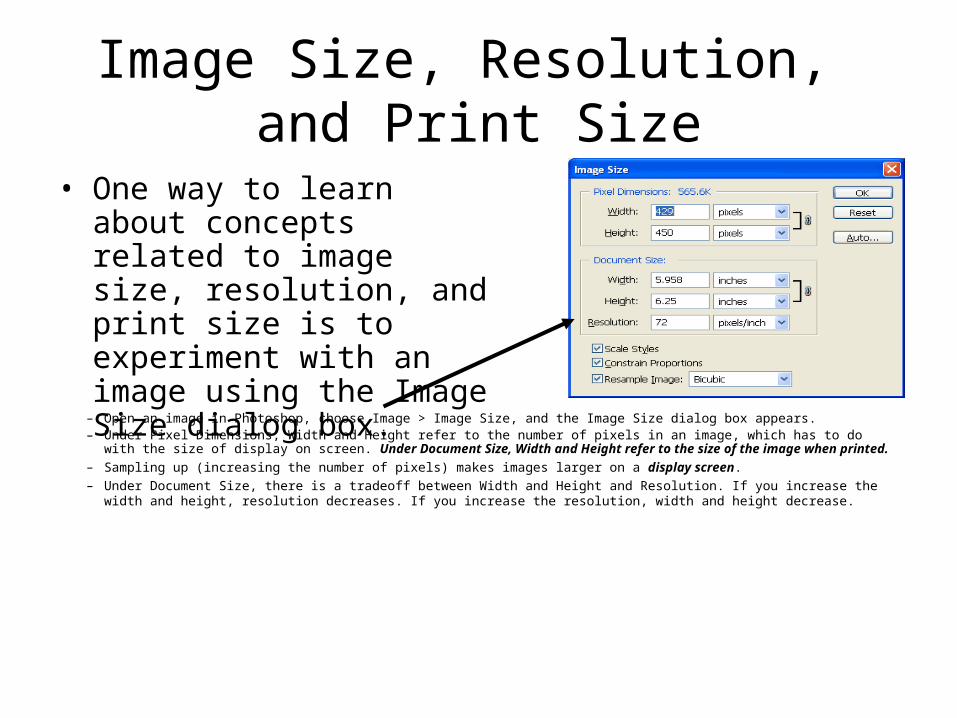
Image Size, Resolution, and Print Size
• One way to learn about concepts related to image size, resolution, and print size is to experiment with an image using the Image Size dialog box.
– Open an image in Photoshop, choose Image > Image Size, and the Image Size dialog box appears. – Under Pixel Dimensions, Width and Height refer to the number of pixels in an image, which has to do with the size
of display on screen. Under Document Size, Width and Height refer to the size of the image when printed.
– Sampling up (increasing the number of pixels) makes images larger on a display screen. – Under Document Size, there is a tradeoff between Width and Height and Resolution. If you increase the width and
height, resolution decreases. If you increase the resolution, width and height decrease.
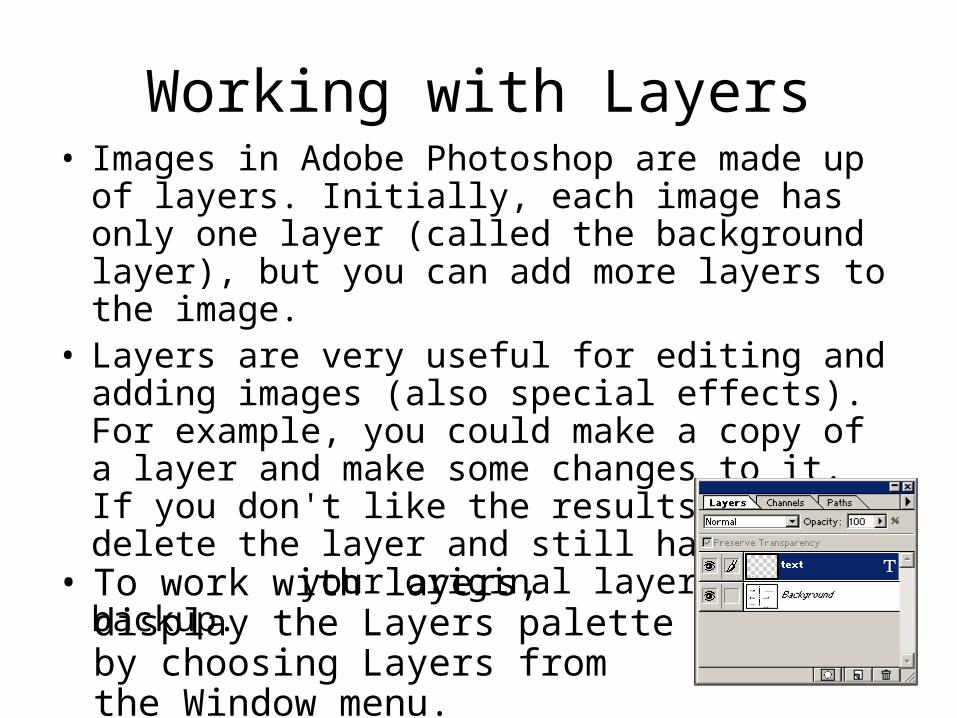
Working with Layers• Images in Adobe Photoshop are made up of
layers. Initially, each image has only one layer (called the background layer), but you can add more layers to the image.
• Layers are very useful for editing and adding images (also special effects). For example, you could make a copy of a layer and make some changes to it. If you don't like the results, you can delete the layer and still have your original layer as a backup.
• To work with layers, display the Layers palette by choosing Layers from the Window menu.
Working with Layers
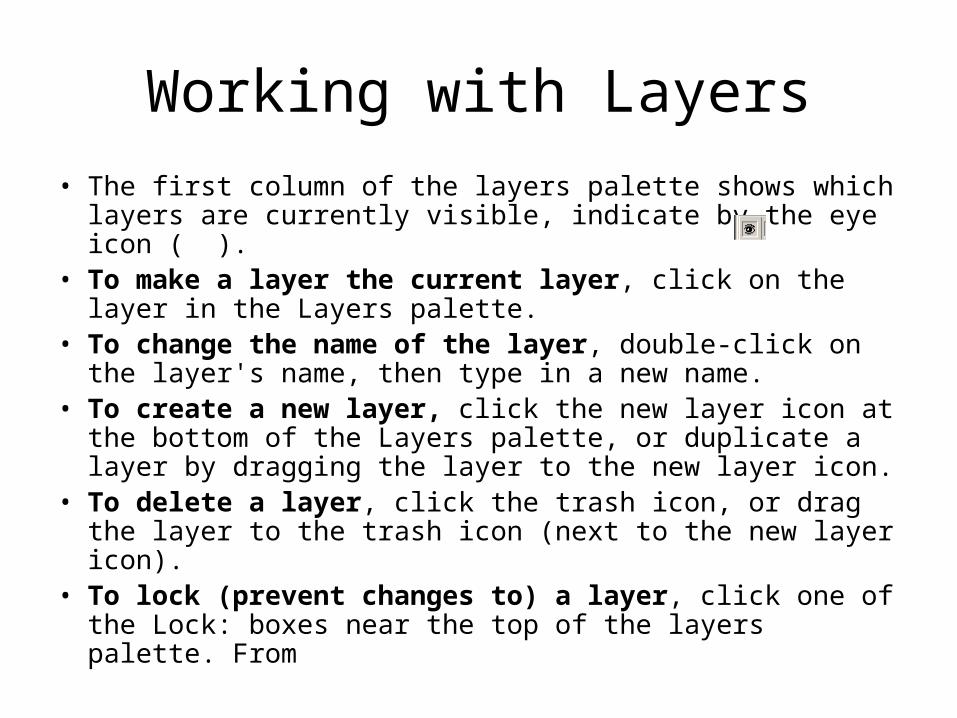
• The first column of the layers palette shows which layers are currently visible, indicate by the eye icon ( ).
• To make a layer the current layer, click on the layer in the Layers palette.
• To change the name of the layer, double-click on the layer's name, then type in a new name.
• To create a new layer, click the new layer icon at the bottom of the Layers palette, or duplicate a layer by dragging the layer to the new layer icon.
• To delete a layer, click the trash icon, or drag the layer to the trash icon (next to the new layer icon).
• To lock (prevent changes to) a layer, click one of the Lock: boxes near the top of the layers palette. From
Working with Layers
• One advantage of layers is that they can be used to combine images. You can combine images by opening two images in Photoshop, and then copy and pasting a selection from one image to another, which also creates a new layer
• Flattening layers (LayerFlatten image) compresses all layers into one. This is necessary once your are done editing and helpful if you need to move part in the full picture (see examples).

Adding Type to Images
• To add type to images use the Type tool ("T" in the Toolbox).
• To enter a single line of text, click on the image with the type tool and type. A type layer is automatically created.
• To reposition the text while you are using the Type tool, press the Ctrl key. The Type will change into the move tool ( ) so you can move the text box.
• To adjust the color and format of your type, double click the layer, highlight the type and then change the settings using the options that appears in the Options bar whenever the Type tool is selected).
• When you use the Type tool, a type layer is automatically created. As long as your type is on a Type layer it is editable until you flatten it.
Painting Techniques
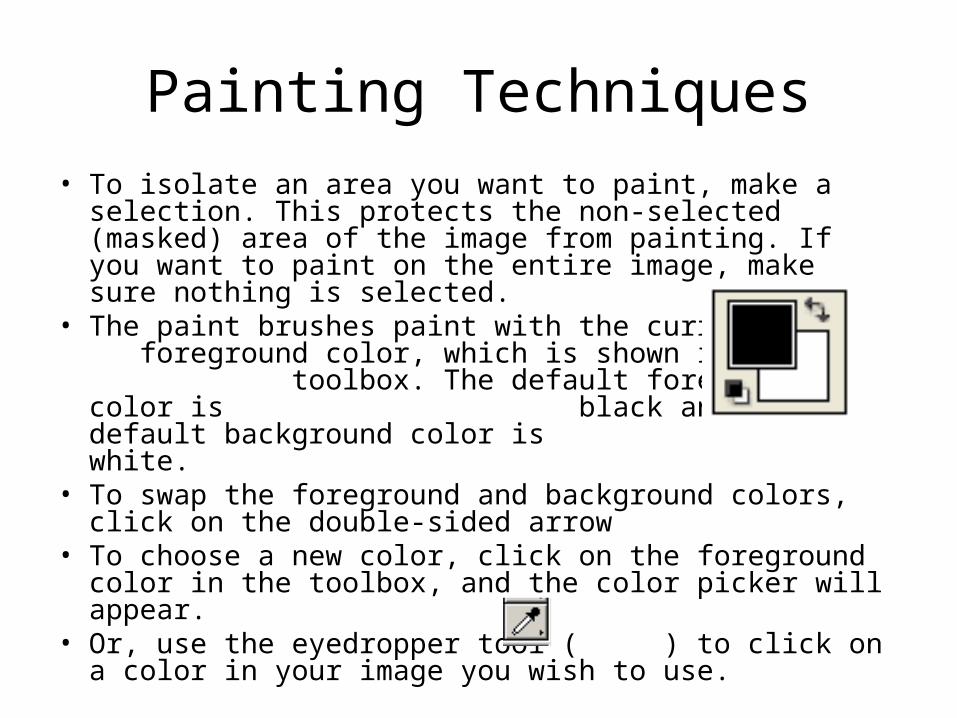
• To isolate an area you want to paint, make a selection. This protects the non-selected (masked) area of the image from painting. If you want to paint on the entire image, make sure nothing is selected.
• The paint brushes paint with the current foreground color, which is shown in the toolbox. The default foreground color is black and the default background color is white.
• To swap the foreground and background colors, click on the double-sided arrow
• To choose a new color, click on the foreground color in the toolbox, and the color picker will appear.
• Or, use the eyedropper tool ( ) to click on a color in your image you wish to use.
Painting Techniques
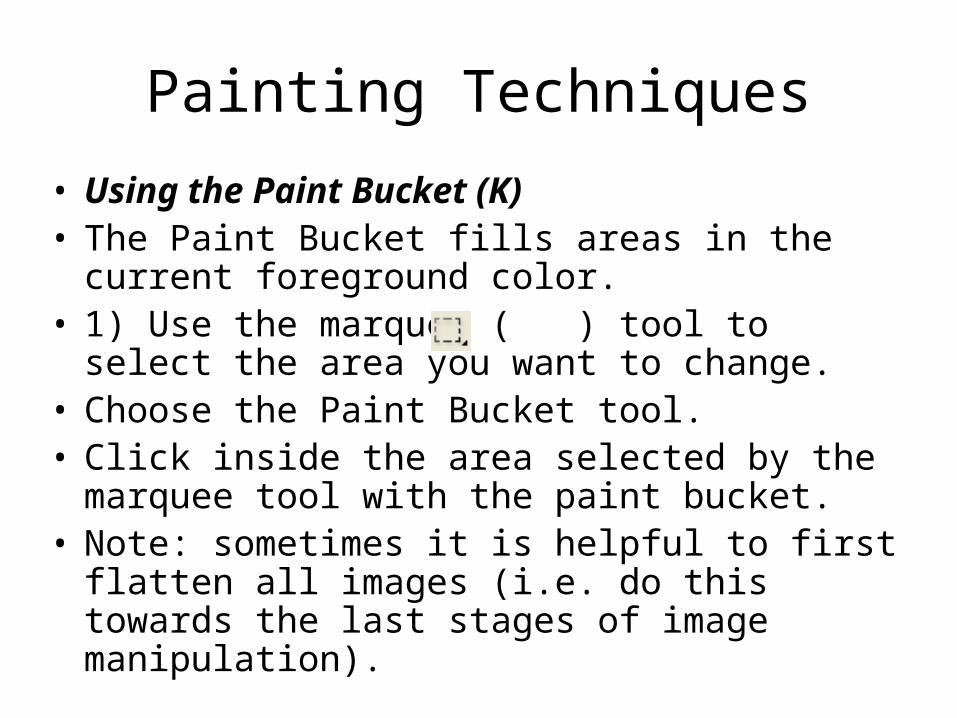
• Using the Paint Bucket (K) • The Paint Bucket fills areas in the current
foreground color. • 1) Use the marquee ( ) tool to select the area
you want to change.• Choose the Paint Bucket tool.• Click inside the area selected by the marquee
tool with the paint bucket.• Note: sometimes it is helpful to first flatten all
images (i.e. do this towards the last stages of image manipulation).
Final Steps in Preparing Images
• When saving or exporting files, you need to save images as TIF, GIF or JPEG. (Native Photoshop format (.psd) is not word or otherwise compatible.) To do this you can use File > Save As.
• Photoshop's native format allows layers, but other file formats do not. When you save a file as anything other than a .psd, any multiple-layer file will be flattened.
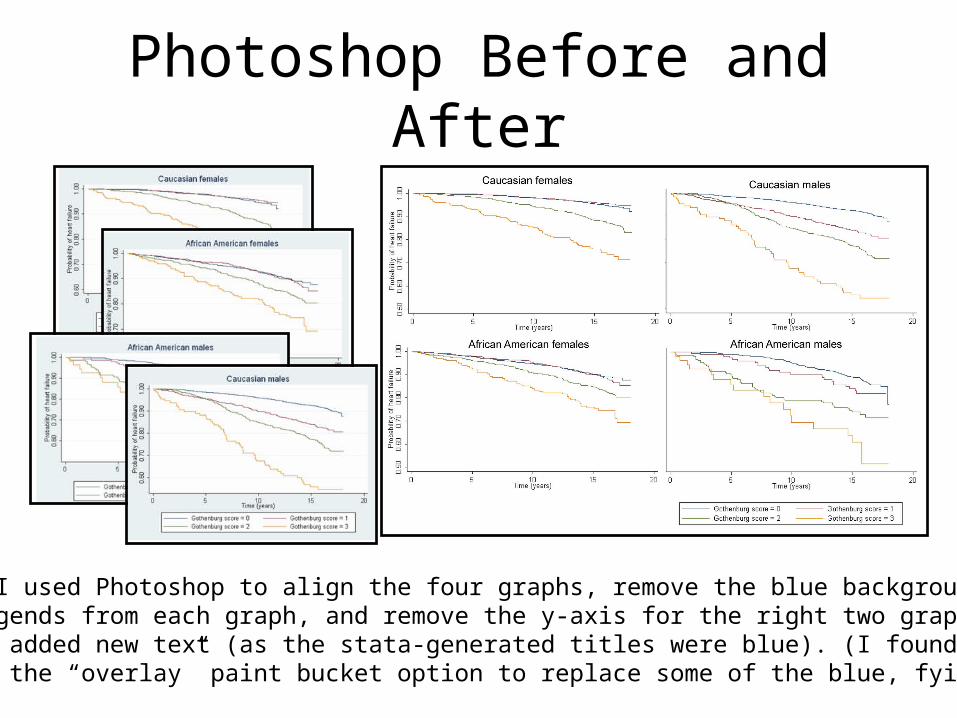
Photoshop Before and After
Here, I used Photoshop to align the four graphs, remove the blue backgroundand legends from each graph, and remove the y-axis for the right two graphs.I also added new text (as the stata-generated titles were blue). (I found I neededto use the “overlay” paint bucket option to replace some of the blue, fyi.)